I am a pretty huge snob about what enters my mouth. I place full blame on my parents for this for feeding me too well growing up. Even someone who loves to cook as much as I do doesn't want to take the time to make something uniquely fabulous every day. So how do I satisfy my too-high taste standards on a daily basis? My method for keeping quick meals delicious and interesting throughout a busy week involves a few master strategies:
1) great ingredients (both pantry and fresh)
2) a "cookfest" once or twice per week
3) becoming a master of sauces and pantry concoctions
I have MUCH more to say about all of these strategies, but today I'm going to leave you with a quick recipe that falls under strategy #3. It needs to sit for about a week or two before you can use it, so figured we better hop to it! (Actually it needs to ferment for a week or two, but I didn't want to scare my newbie cooks too much with that word.)
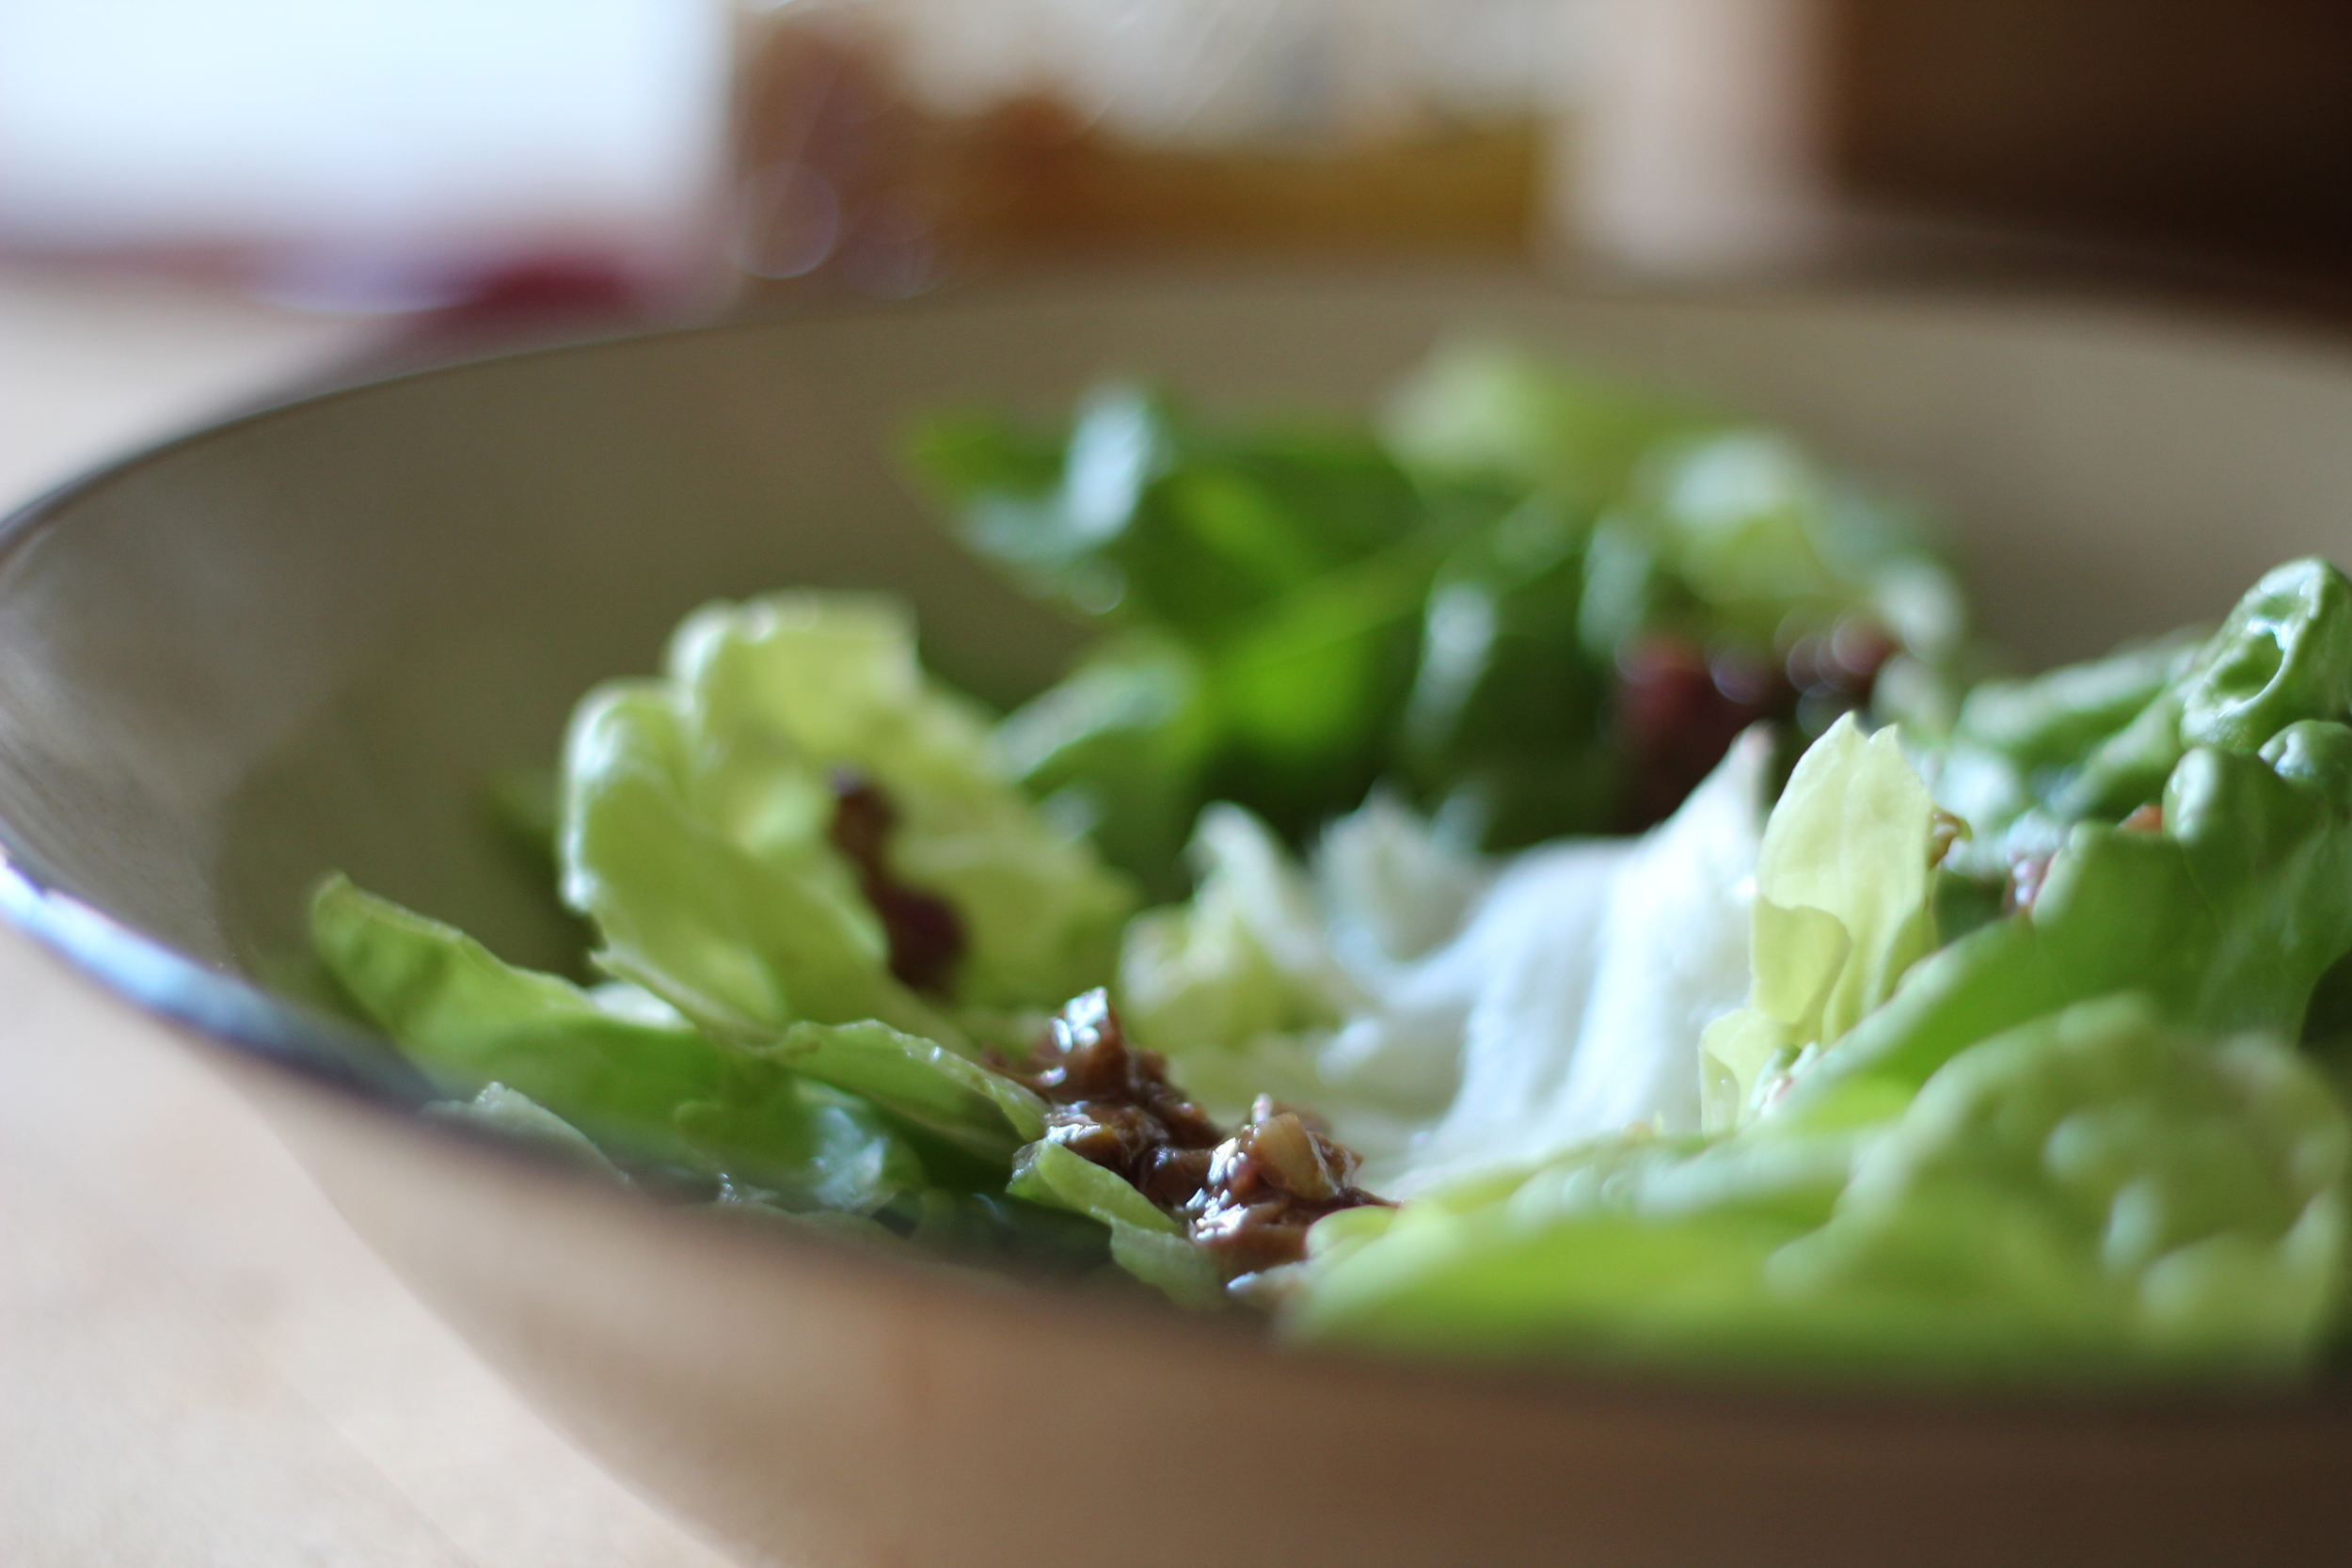
I know a fermentation recipe is probably a little much for my second recipe post, so here is my sales pitch for why you should try this: First, there are just two ingredients that you might already have on hand. Second, this is a recipe that requires a little "feel," a tad bit of risk-taking, and has lots of room for creativity once you get the basics down. It's a perfect, easy confidence-builder-in-experimentation recipe (thus fulfilling the mission of this blog)! Third - fermented things are good for you because they promote healthy "gut" bacteria. And finally, I'll be using this ingredient in other recipes - including my favorite avocado kale salad - so I need to tell you how to make it before we can get to those!

Preserved Lemon
Active time: 20 minutes
Total time until usable: about 1-2 weeks
Ingredients:
- 3 to 4 lemons, the juicier the better (you might not use them all but just in case)
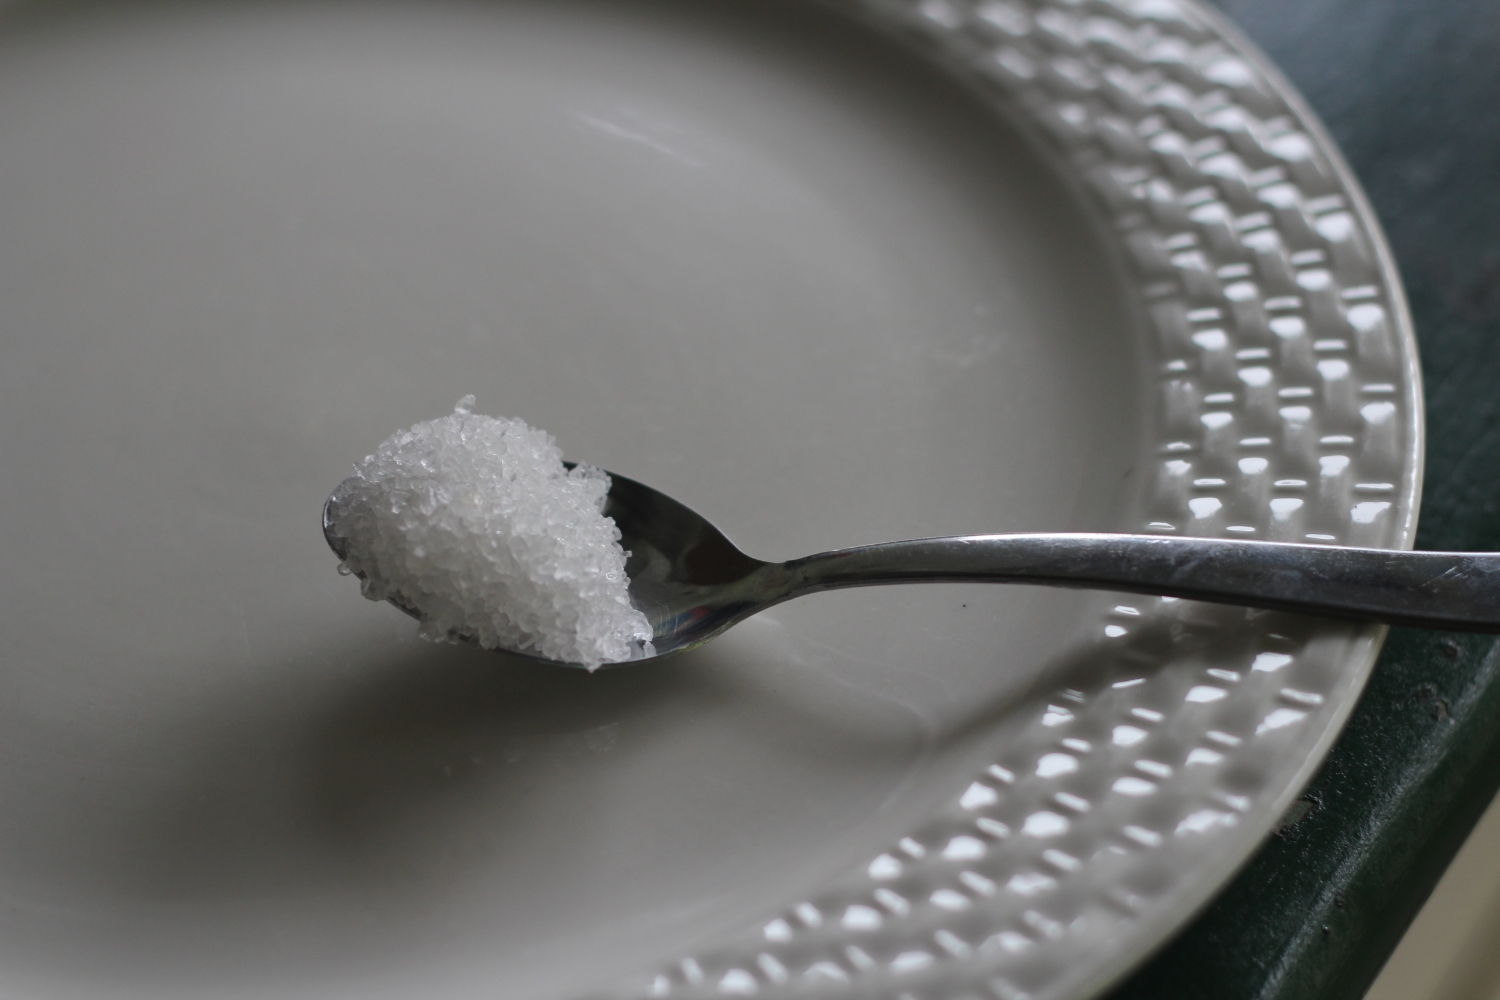
- salt (kosher, regular, or coarse - it doesn't matter), roughly a half cup
Tools and stuff:
- pint-size (mason) jar with a lid - wide mouthed is best but a smaller mouth works too
- knife and cutting board
- ideally: a muddler or pestle, backup plan: smaller jar that fits into your mason jar, or the back of a spoon
Things to know:
Ideally you should make this when you're going to be home for 1-2 weeks. If this is your first fermentation, it's great to check it every other day to get a feel for how it's changing (though that's not actually necessary). If you're a more seasoned cook/fermenter, feel free to leave it alone for a week before you check it. Once it's done it gets moved to the fridge and can live there indefinitely!
Instructions:
1. Wash your lemons and cut off any bad spots from the rinds.
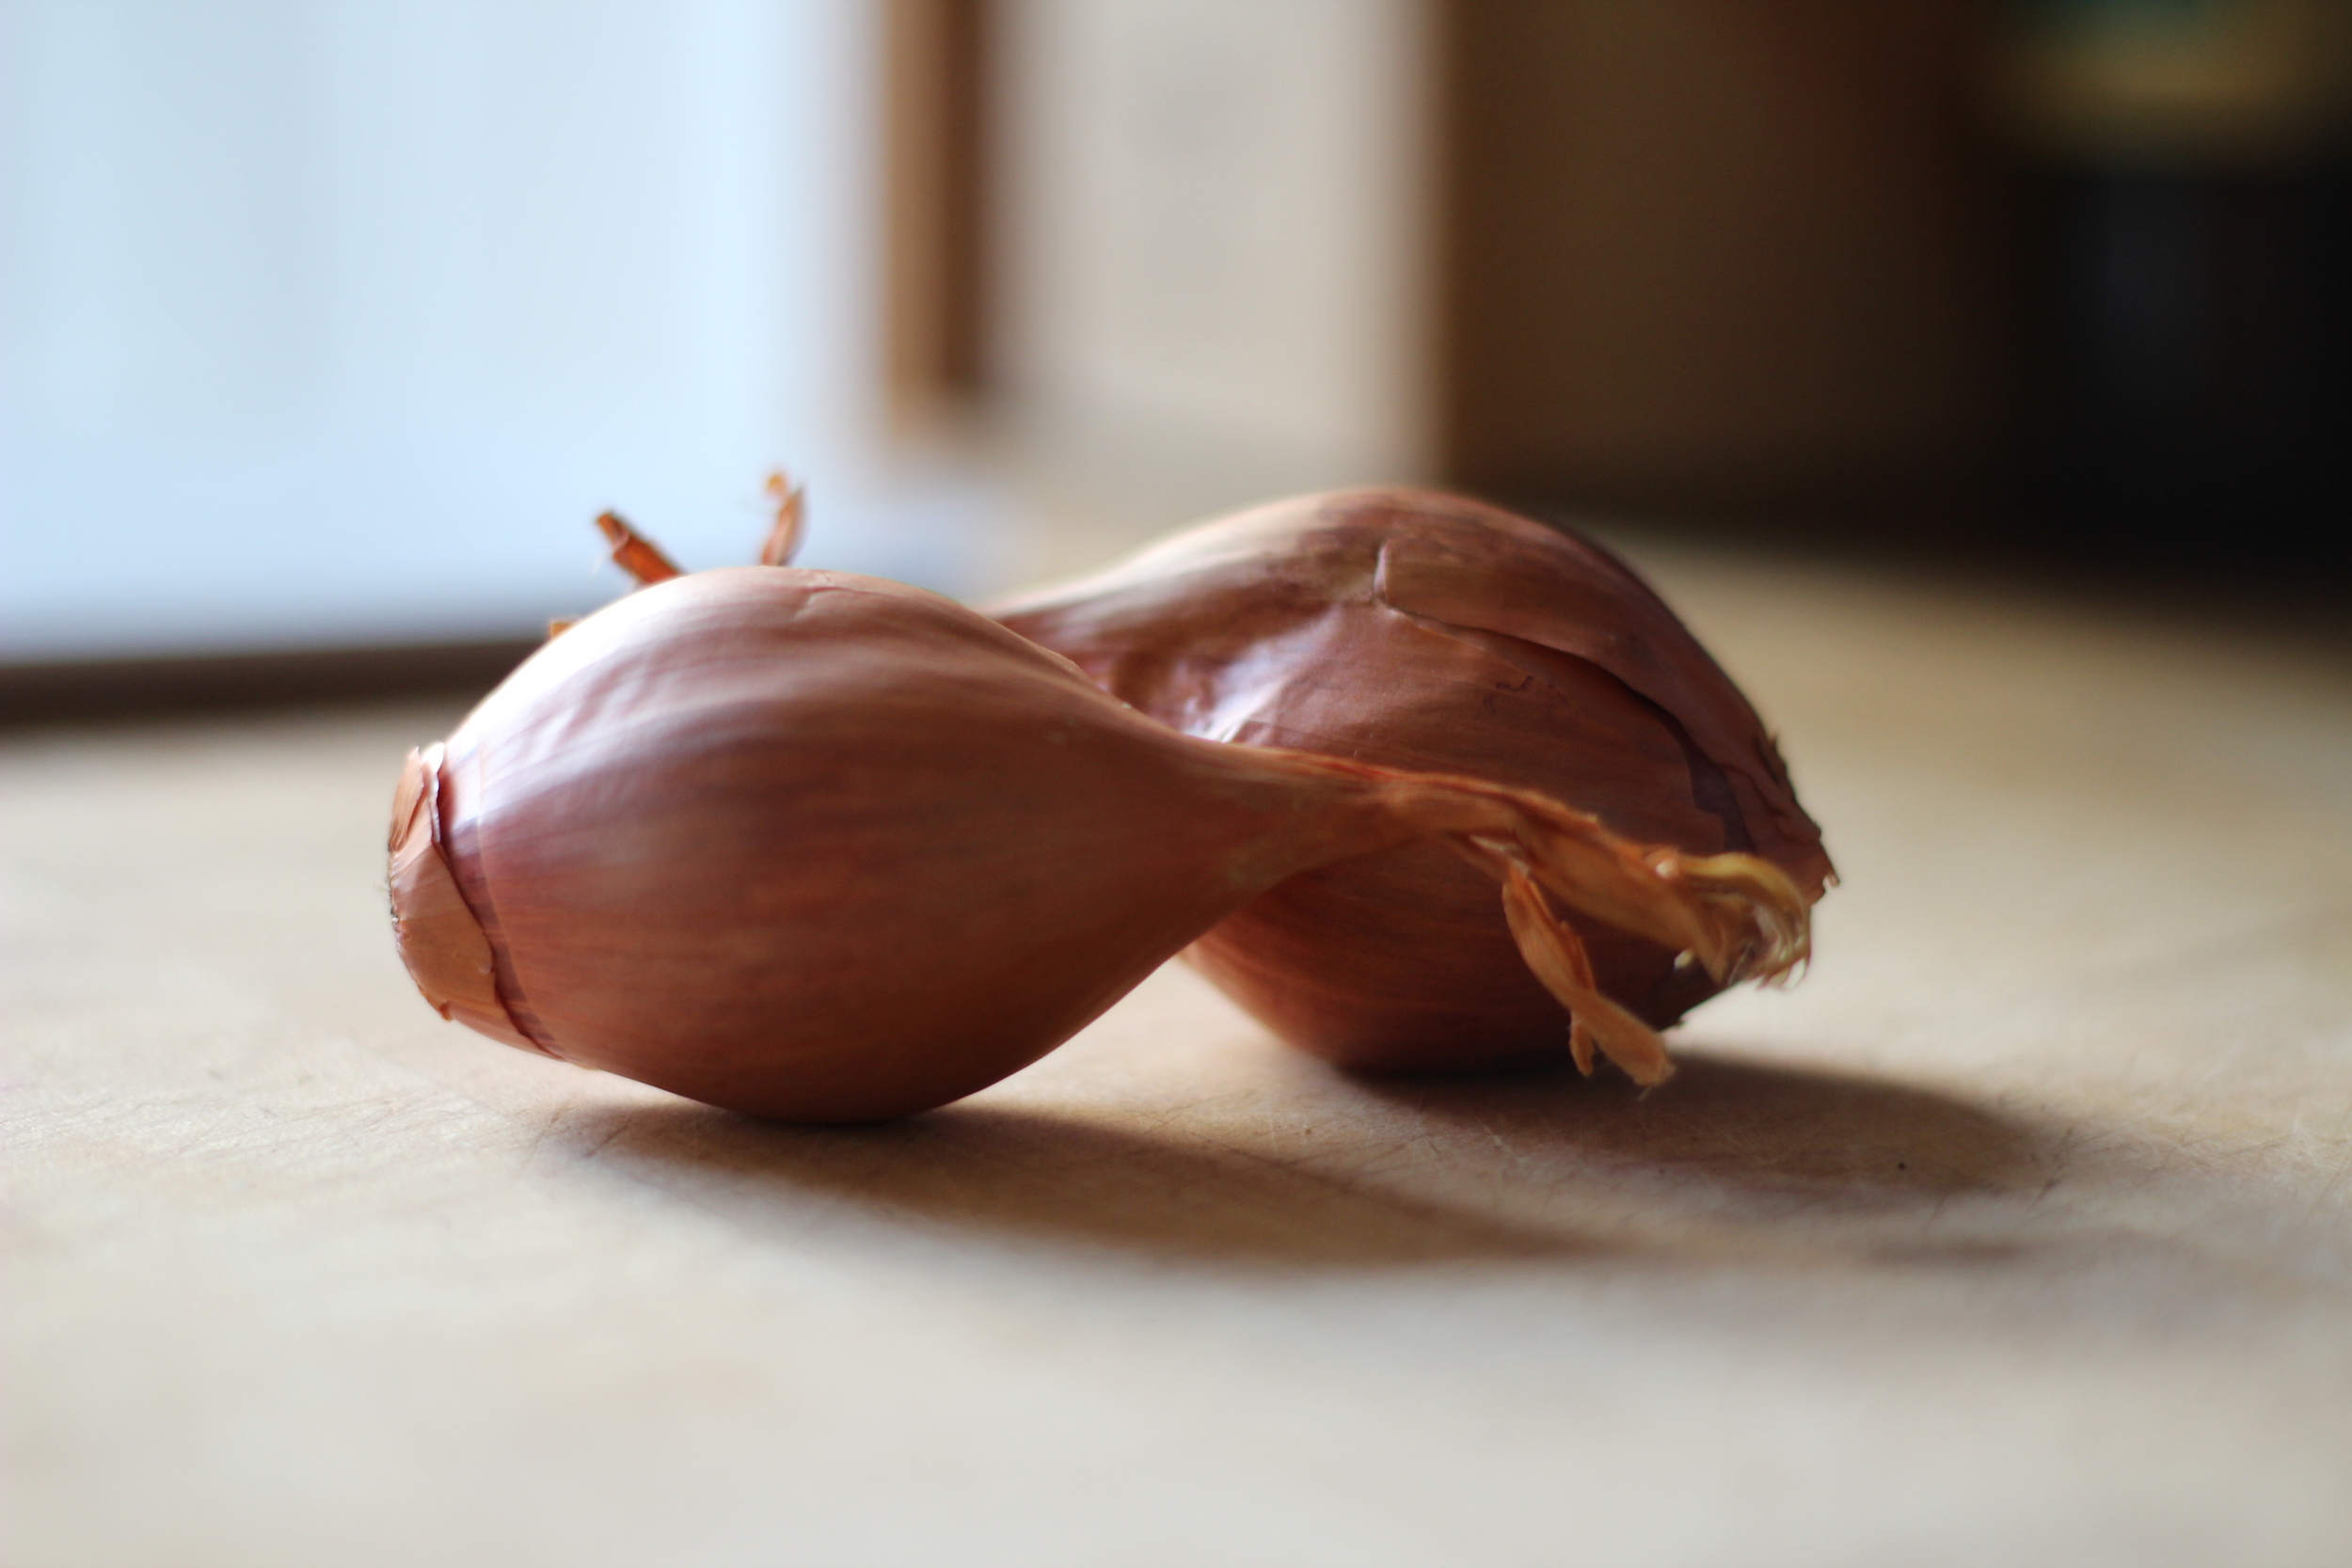
2. Choose the biggest lemon that will fit in your jar without squeezing it in. Cut that lemon in half and set aside one half.
3. Cut the remaining half plus one other lemon into wedges, leaving rind and pith in tact. Remove seeds as you go.

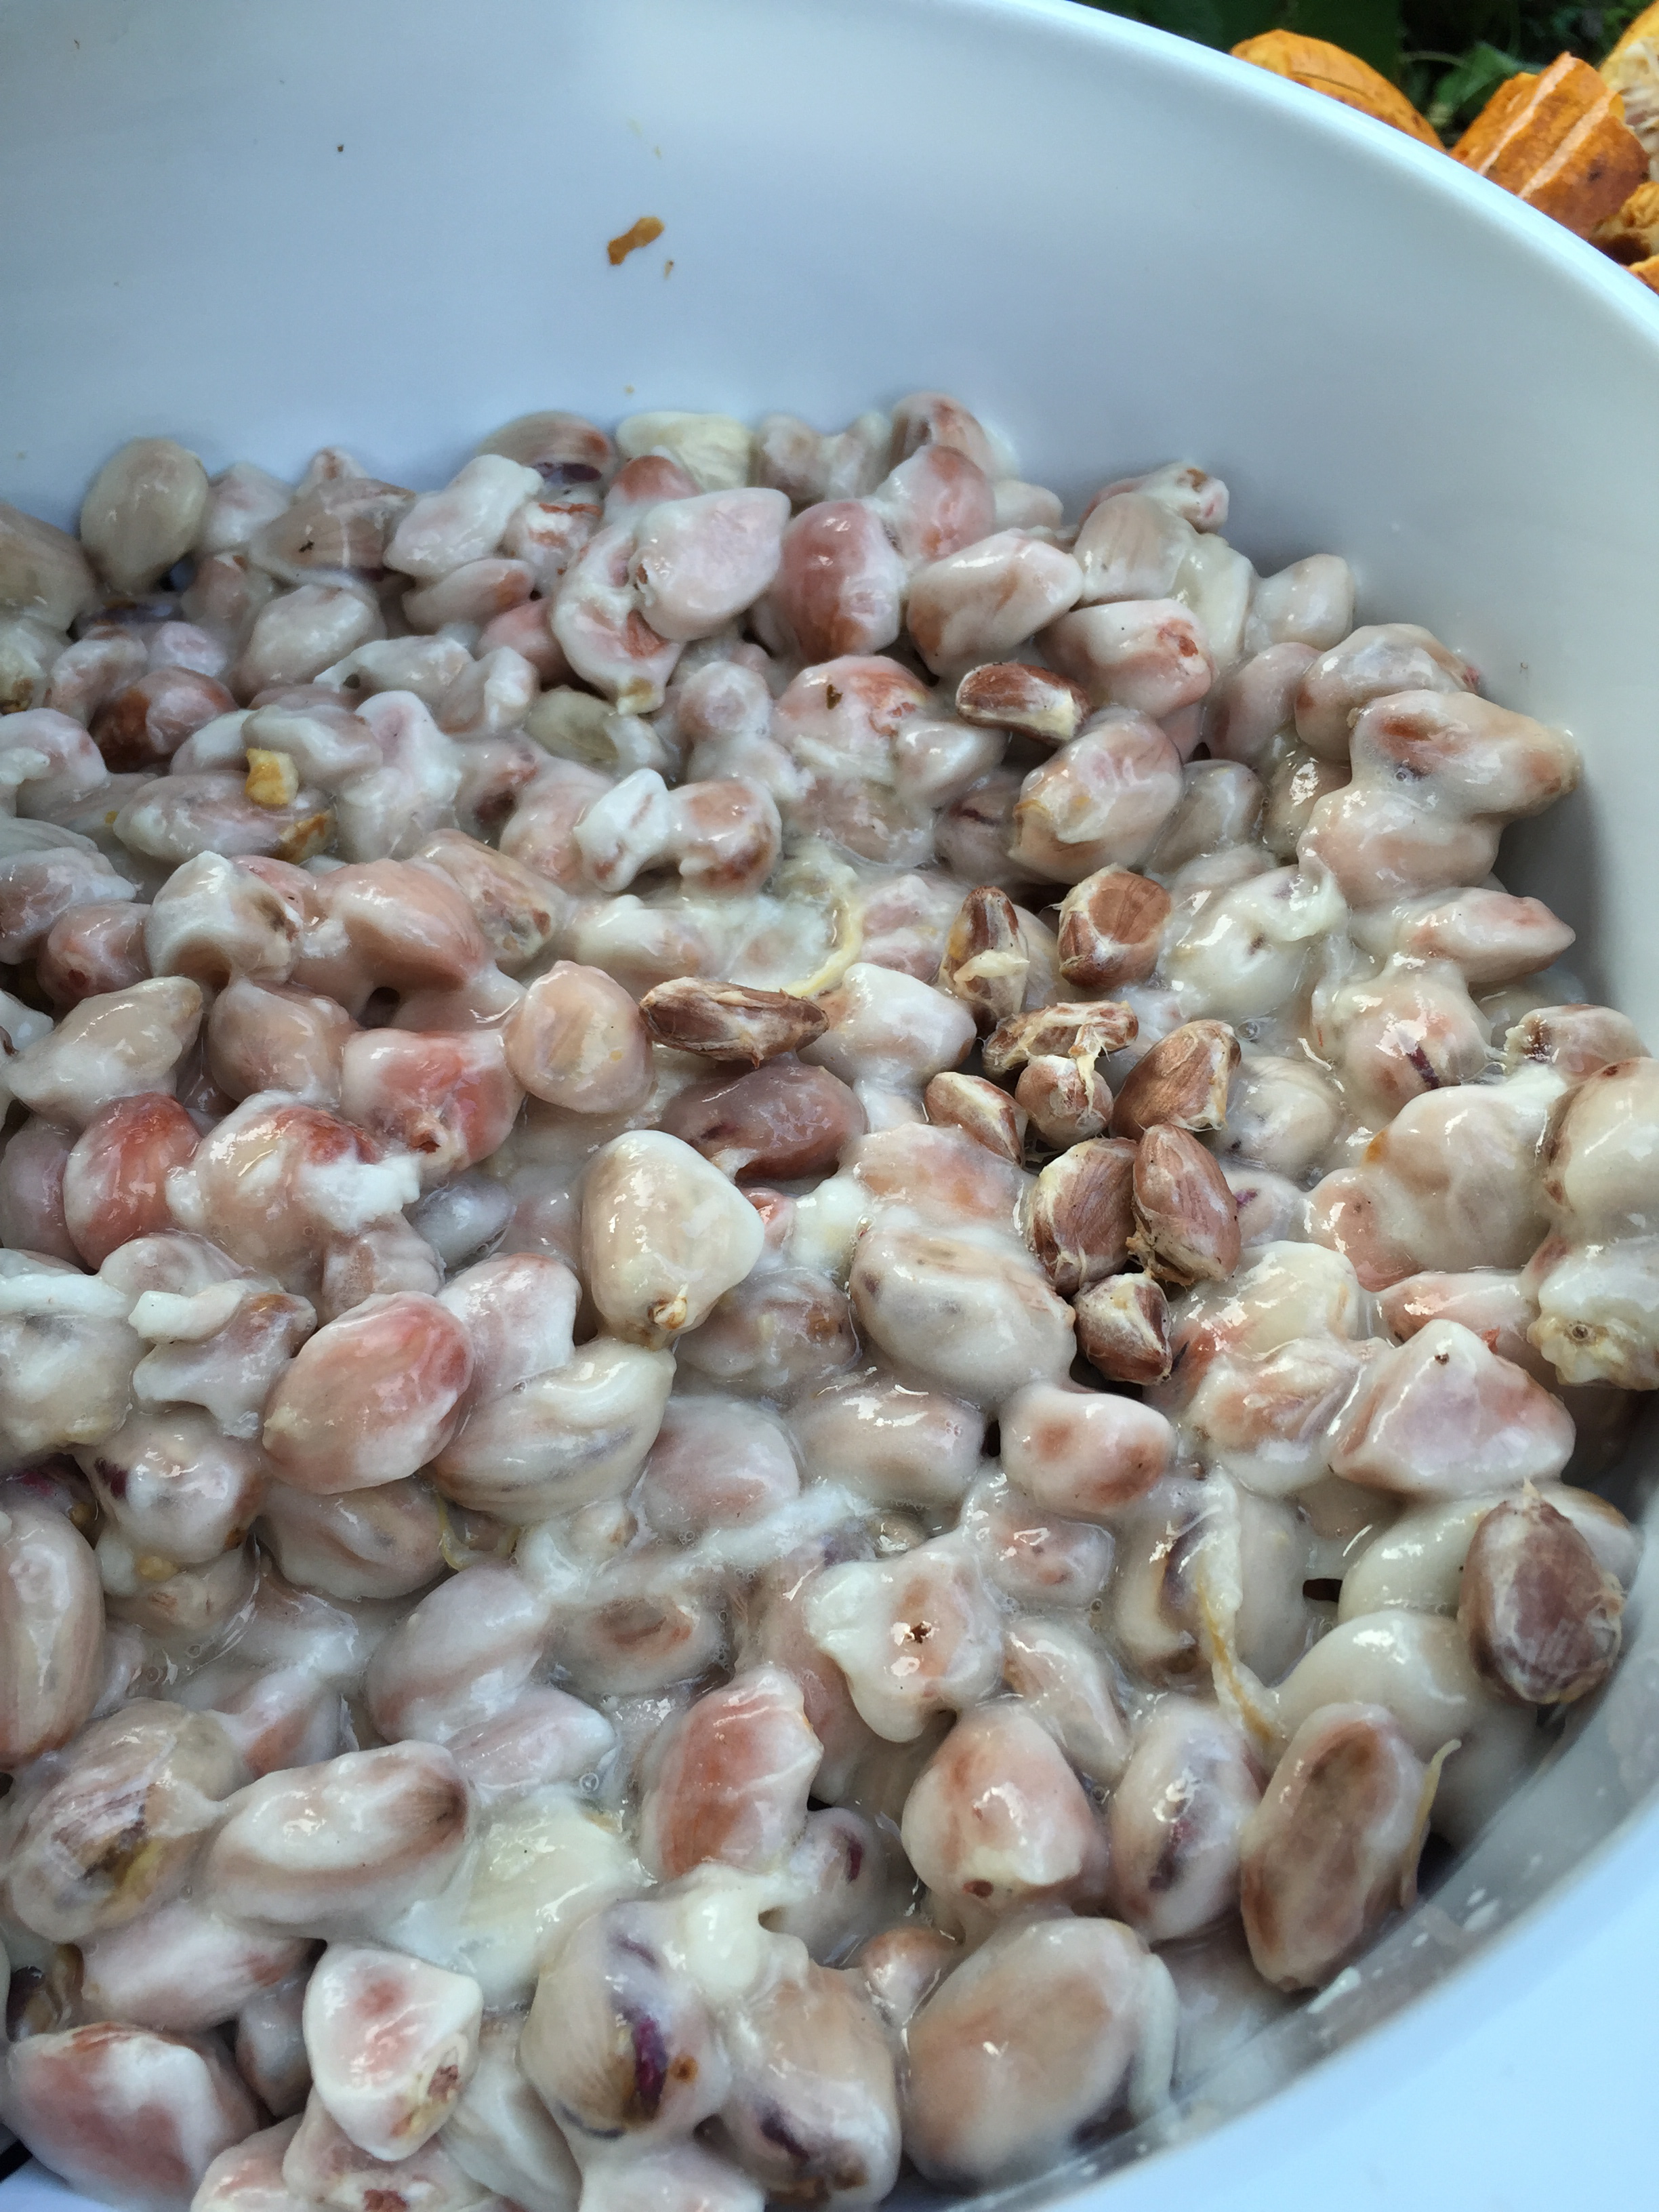
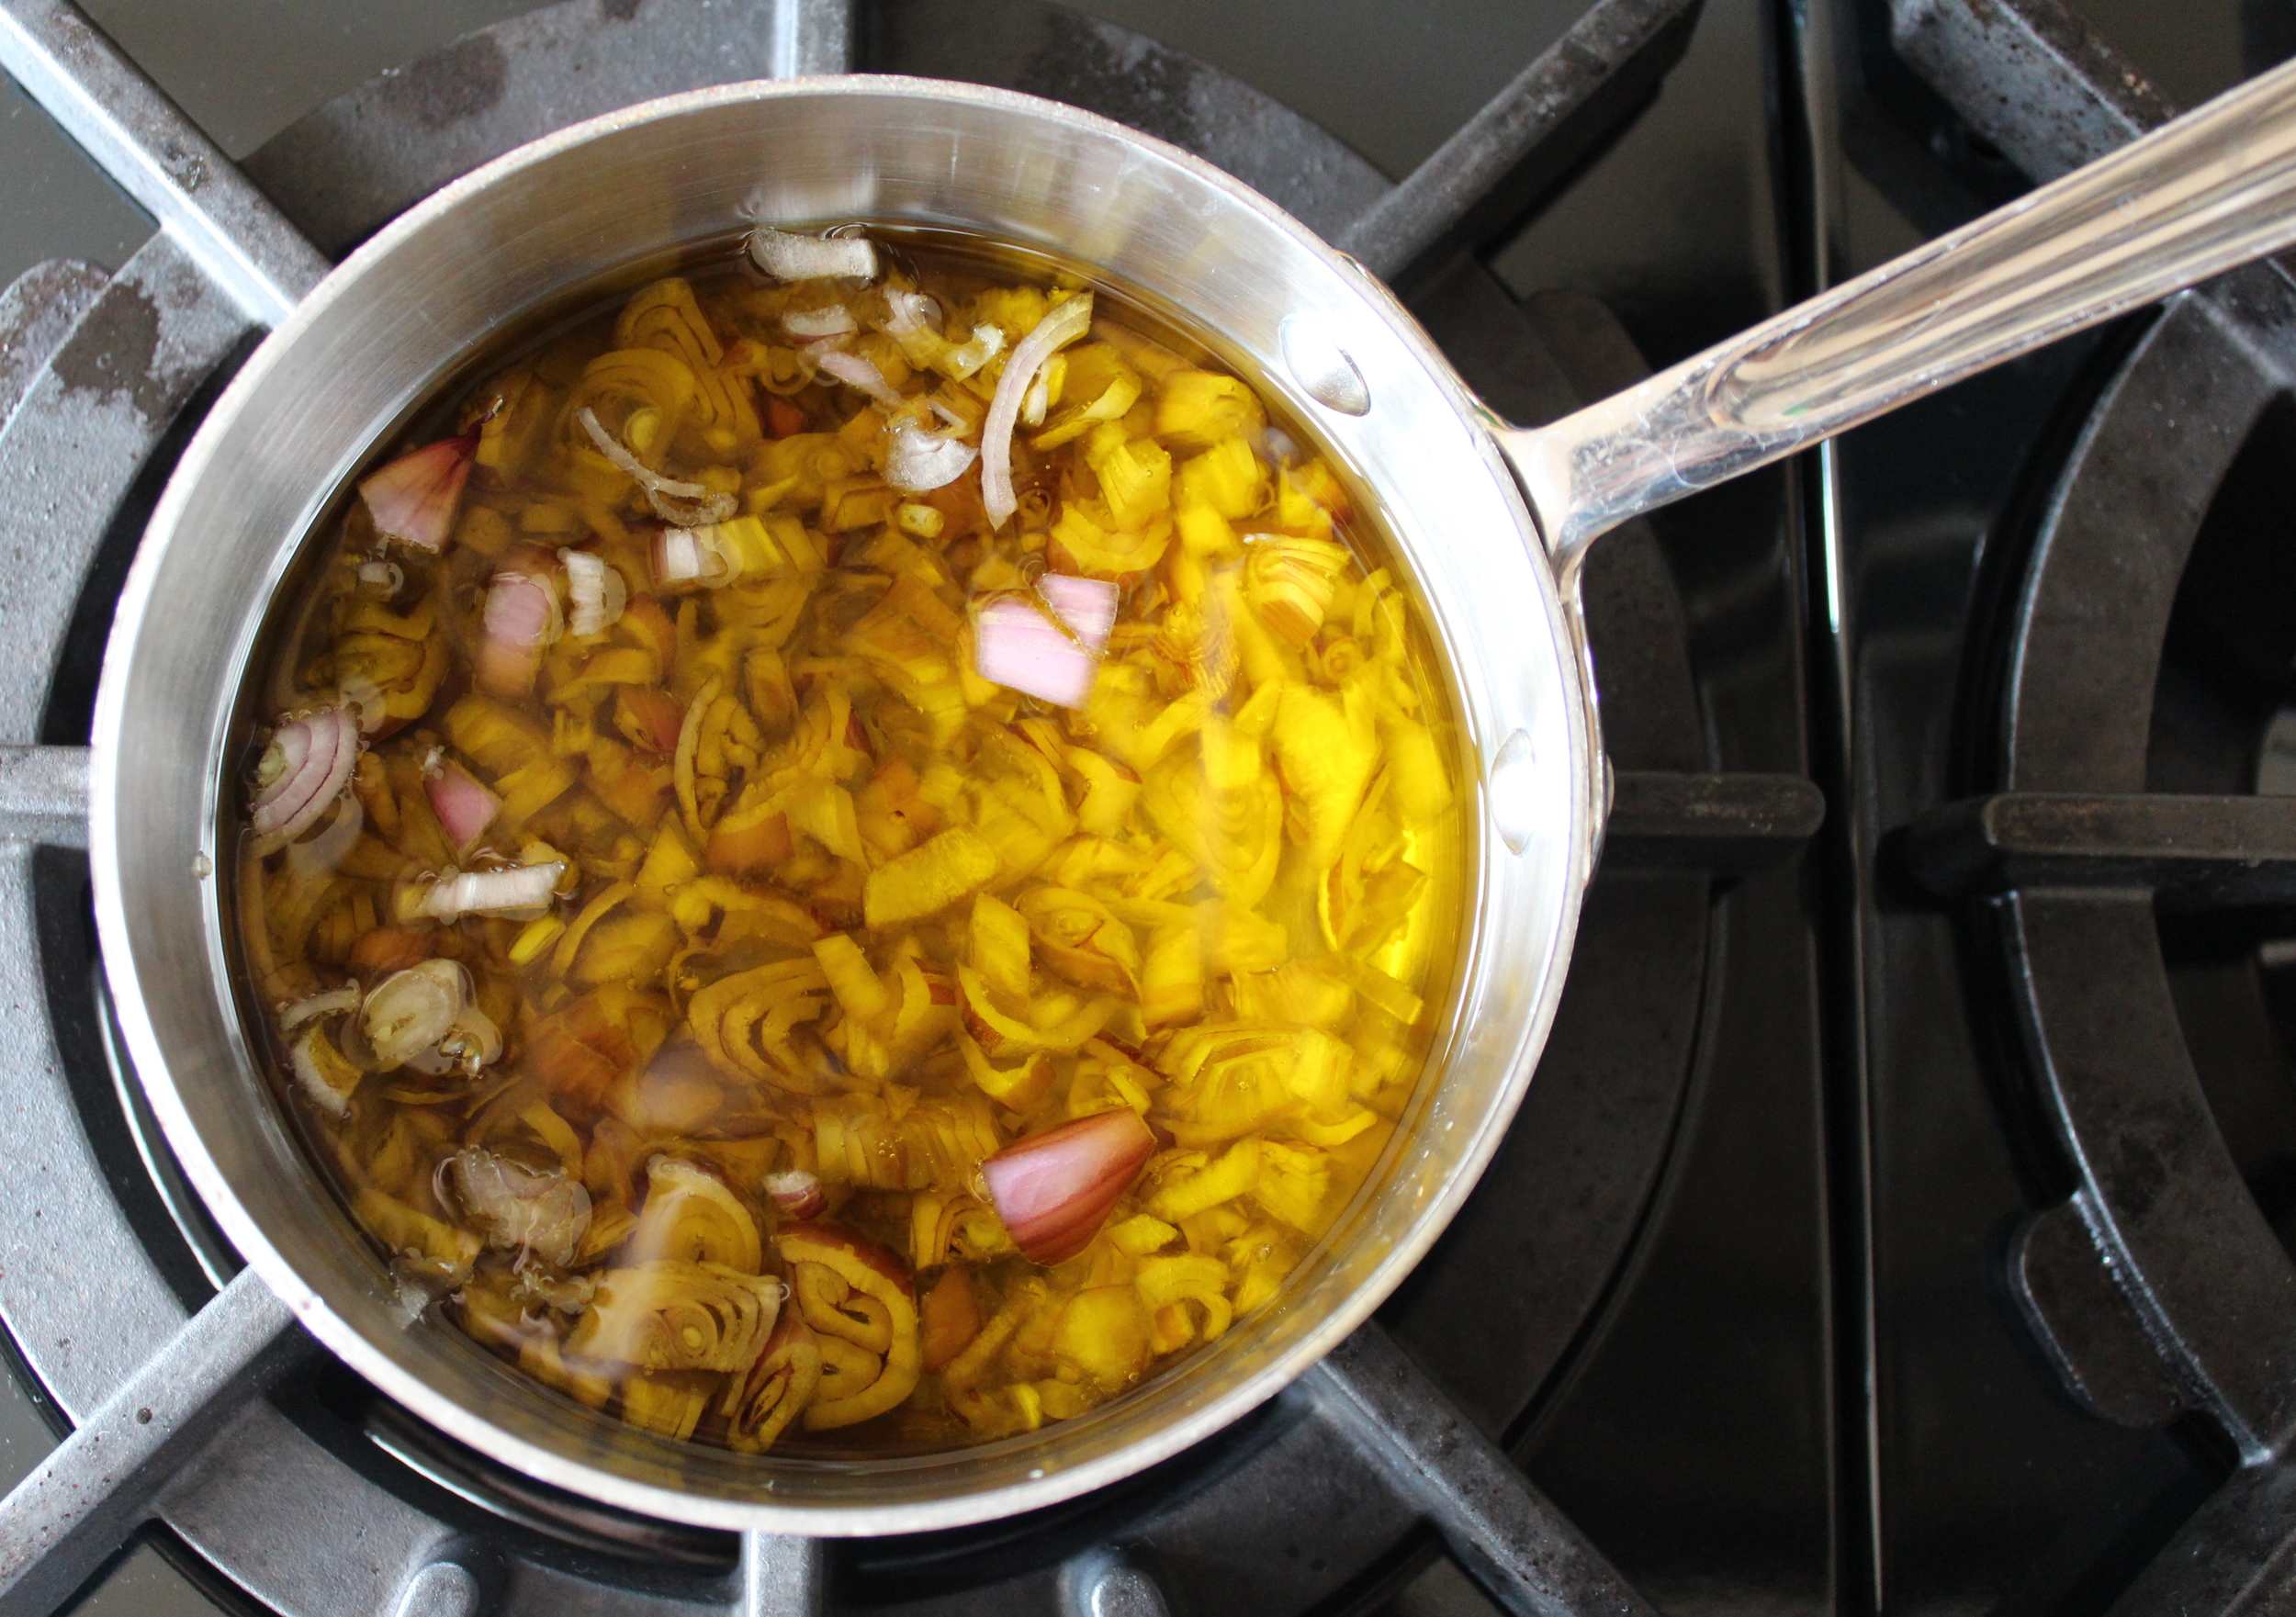
4. Ok - the fun part! Put a loose layer of lemon wedges (probably 5-8?) at the bottom of the jar, sprinkle a layer of salt over top (probably close to two teaspoons but I never measure). Now, with your muddler, pestle, smaller jar, or whatever you're using, gently crush down the wedges to start releasing the juice. Top with another layer of lemons, then salt, then muddle.
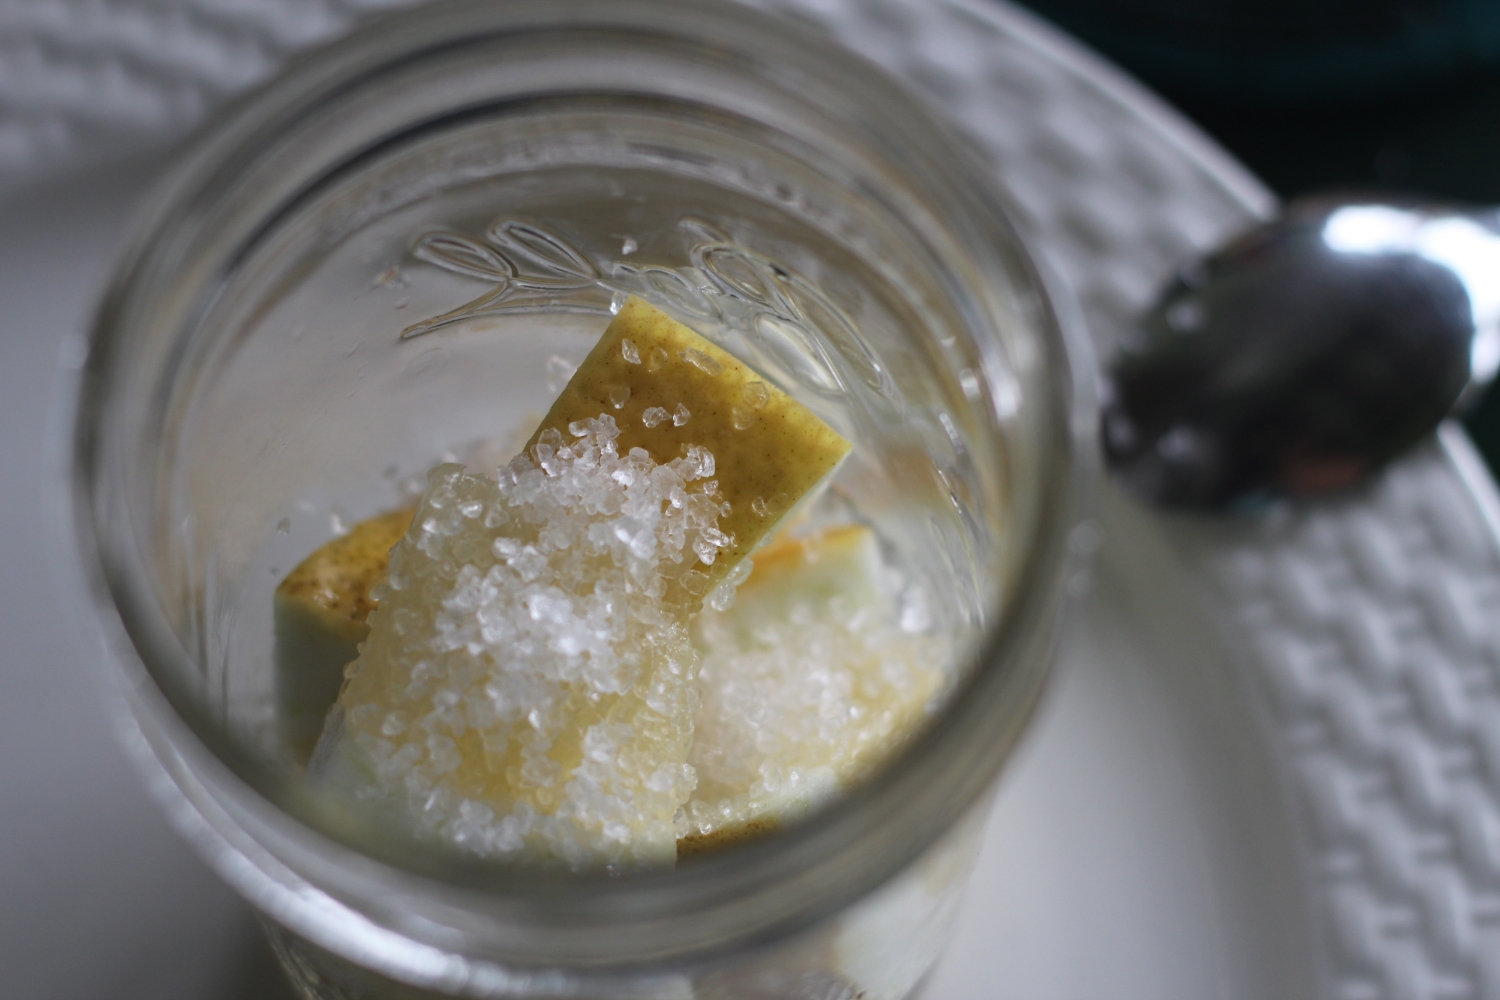
5. Repeat this until the jar is about 3/4 of the way full. Cut more lemon wedges if you run out. At this point it should be really juicy at the top. If not, muddle harder :) If that doesn't work, juice one of your remaining lemons and add some juice to the jar to get to about 3/4 full.
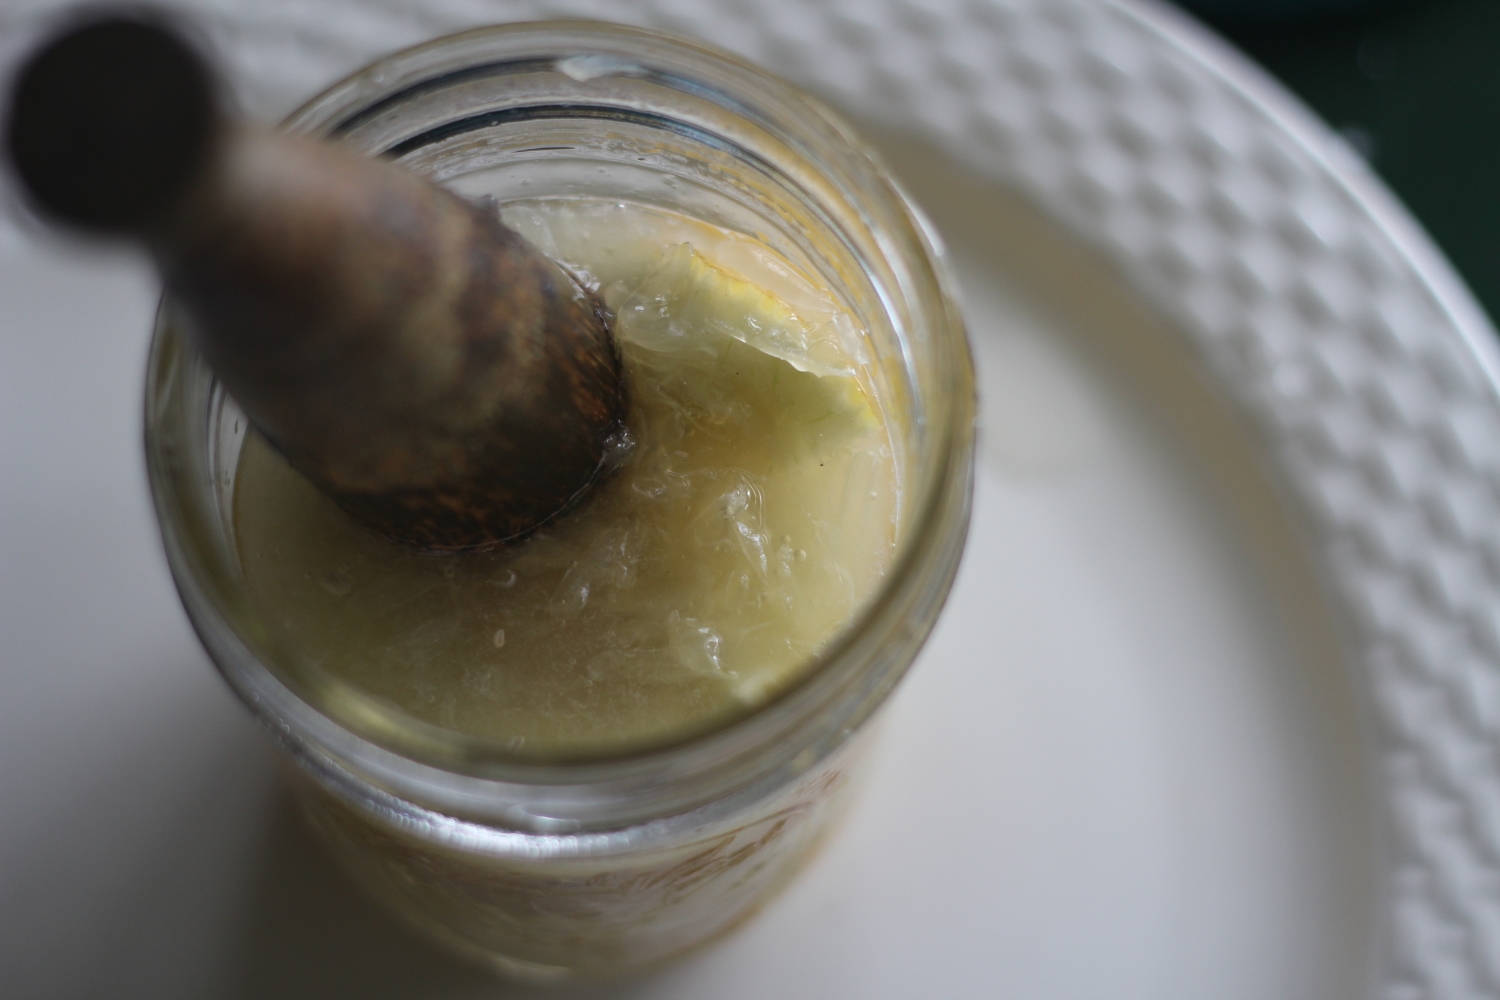
6. Take the half lemon we set aside at the beginning. Place it flesh side down into the jar and press down slowly so the juice rises up around it. Ideally, at this point you should be able to push the lemon in until the top of it is just a little bit above the top of the jar with juice all around it. If your spacing worked out perfectly like this, put the lid on and you're done! The goal here is that when you put the lid on, the slight pressure from the lid will push down on the lemon-half to keep a layer of liquid at the top of the jar. If you can easily push down the lemon too low, take out the half and add some more wedges/salt/muddle until you get the right height (or see my lazy-strategy in below photo). If there's too much liquid, you can pour a little out (I'd recommend reserving it until you're done with the recipe, just in case). If there's too much lemon-half sticking out the top, you can cut a little off the top or remove a few wedges to make more room underneath.

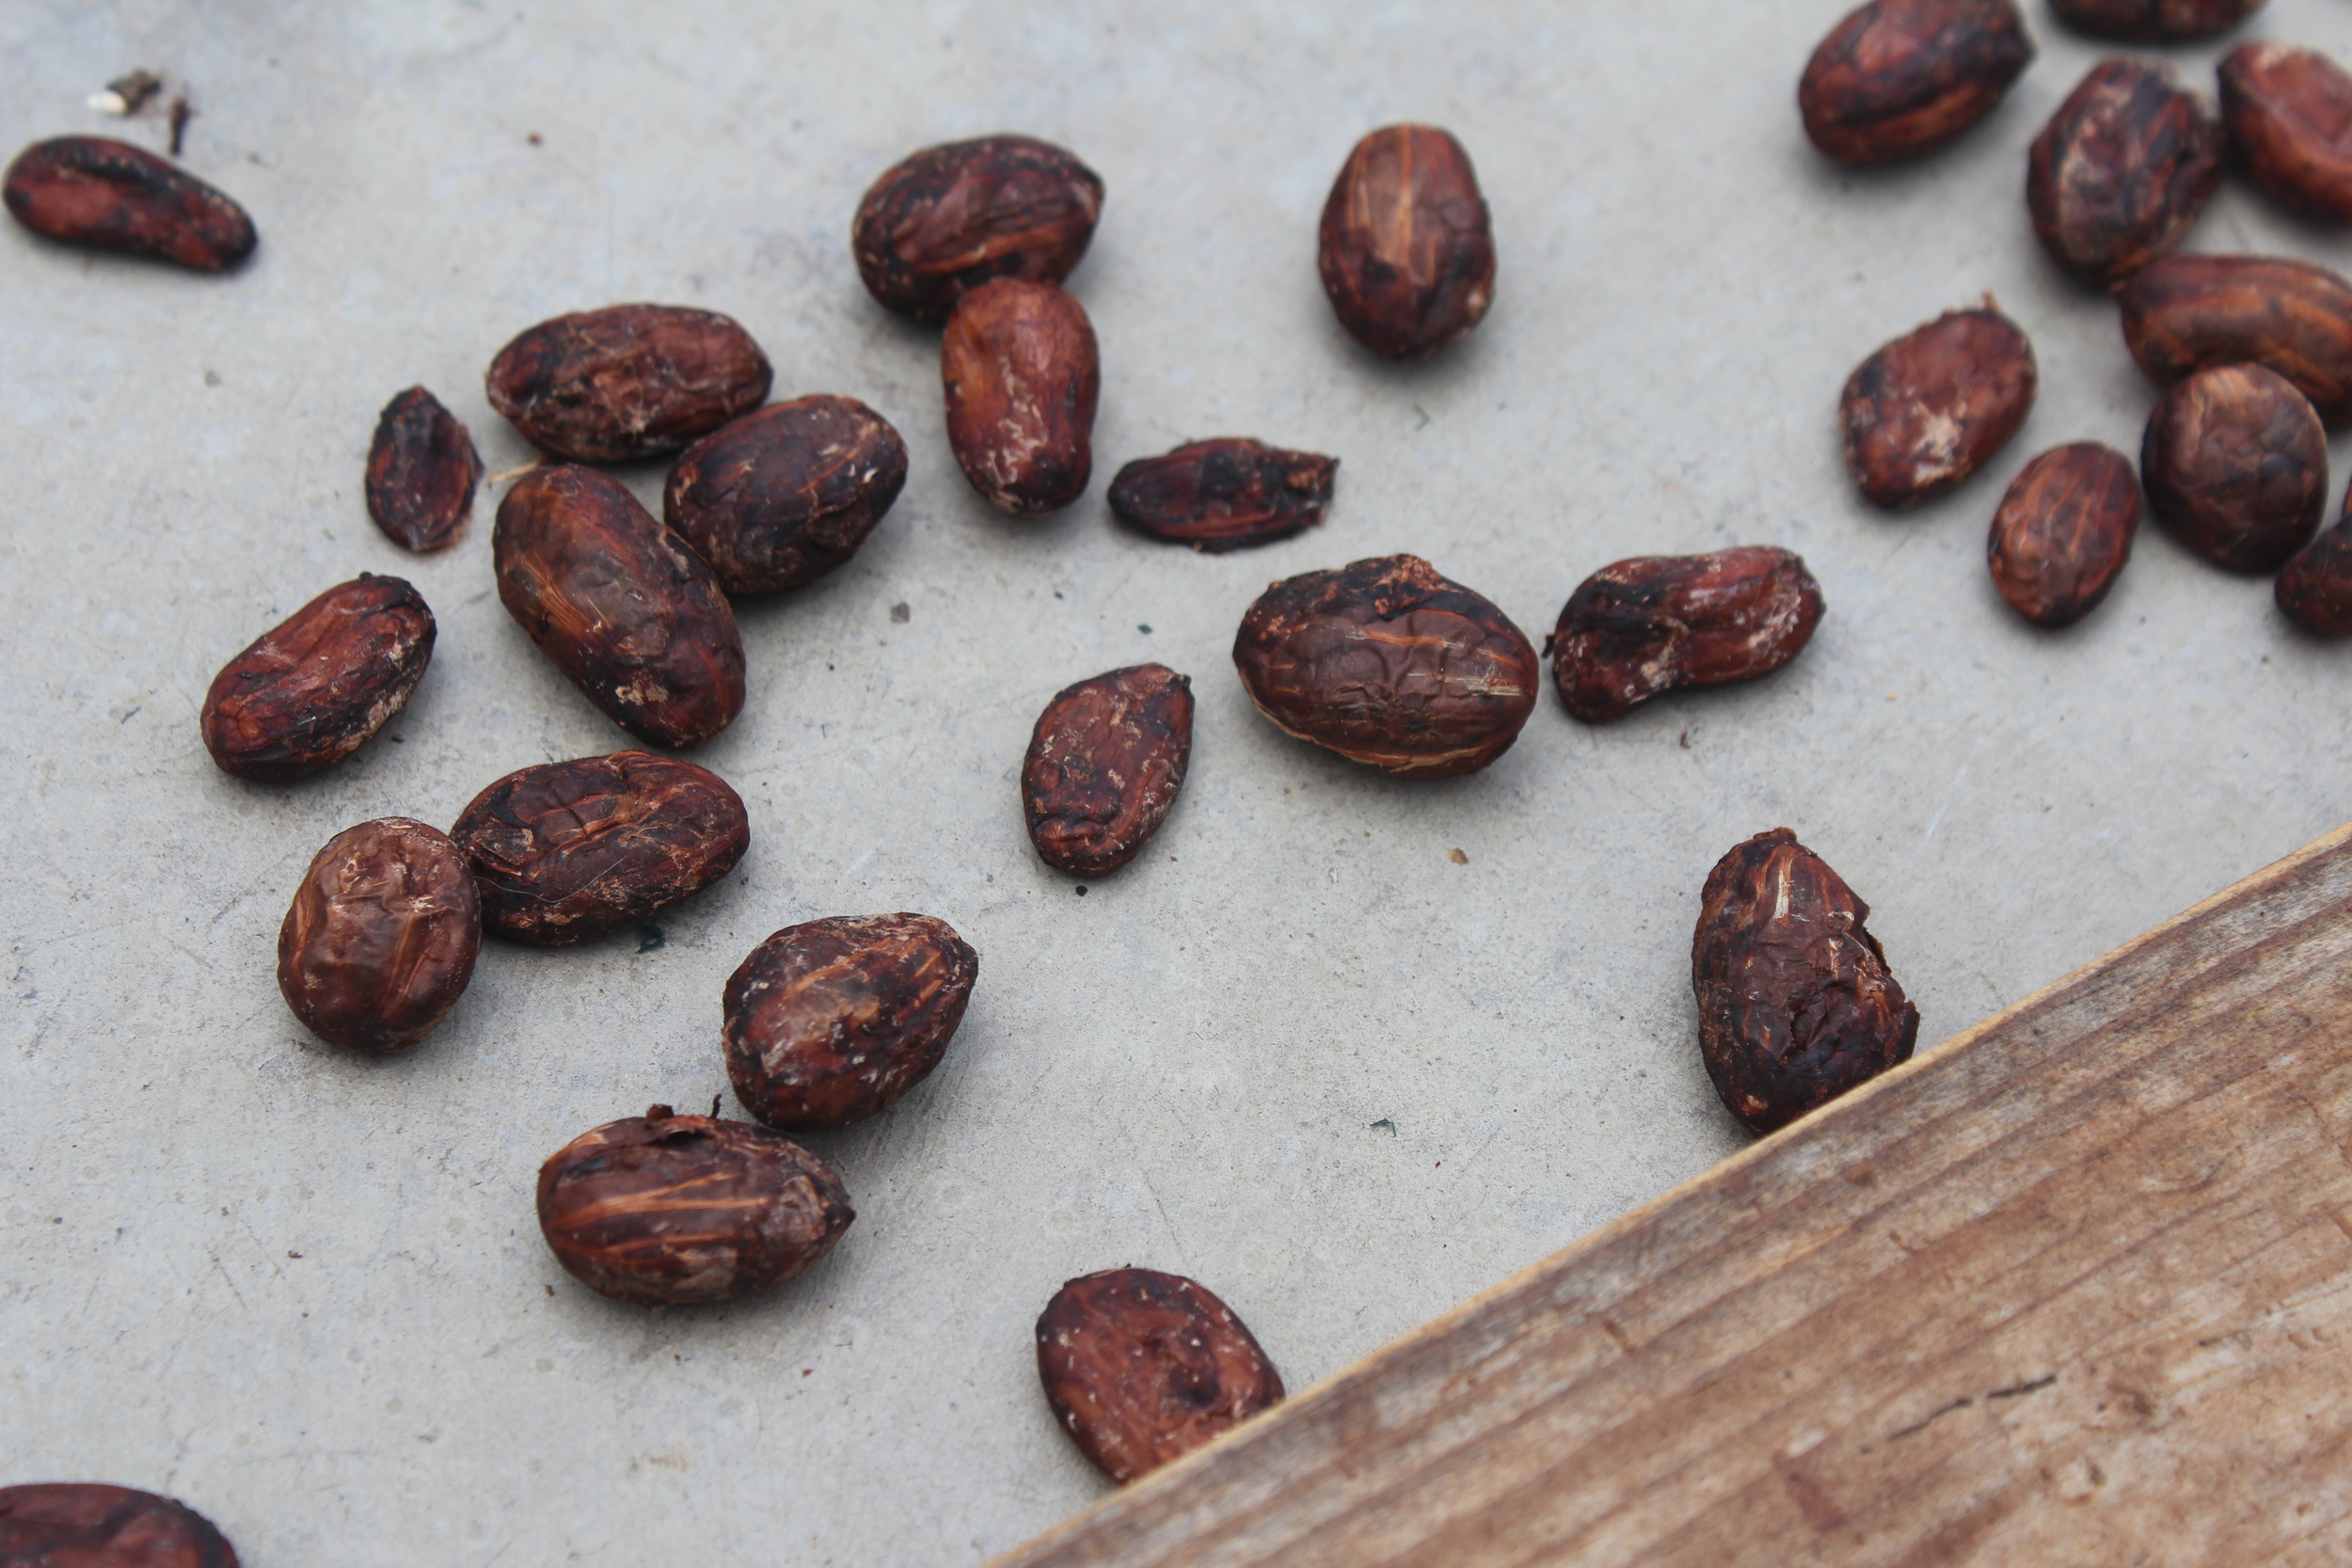
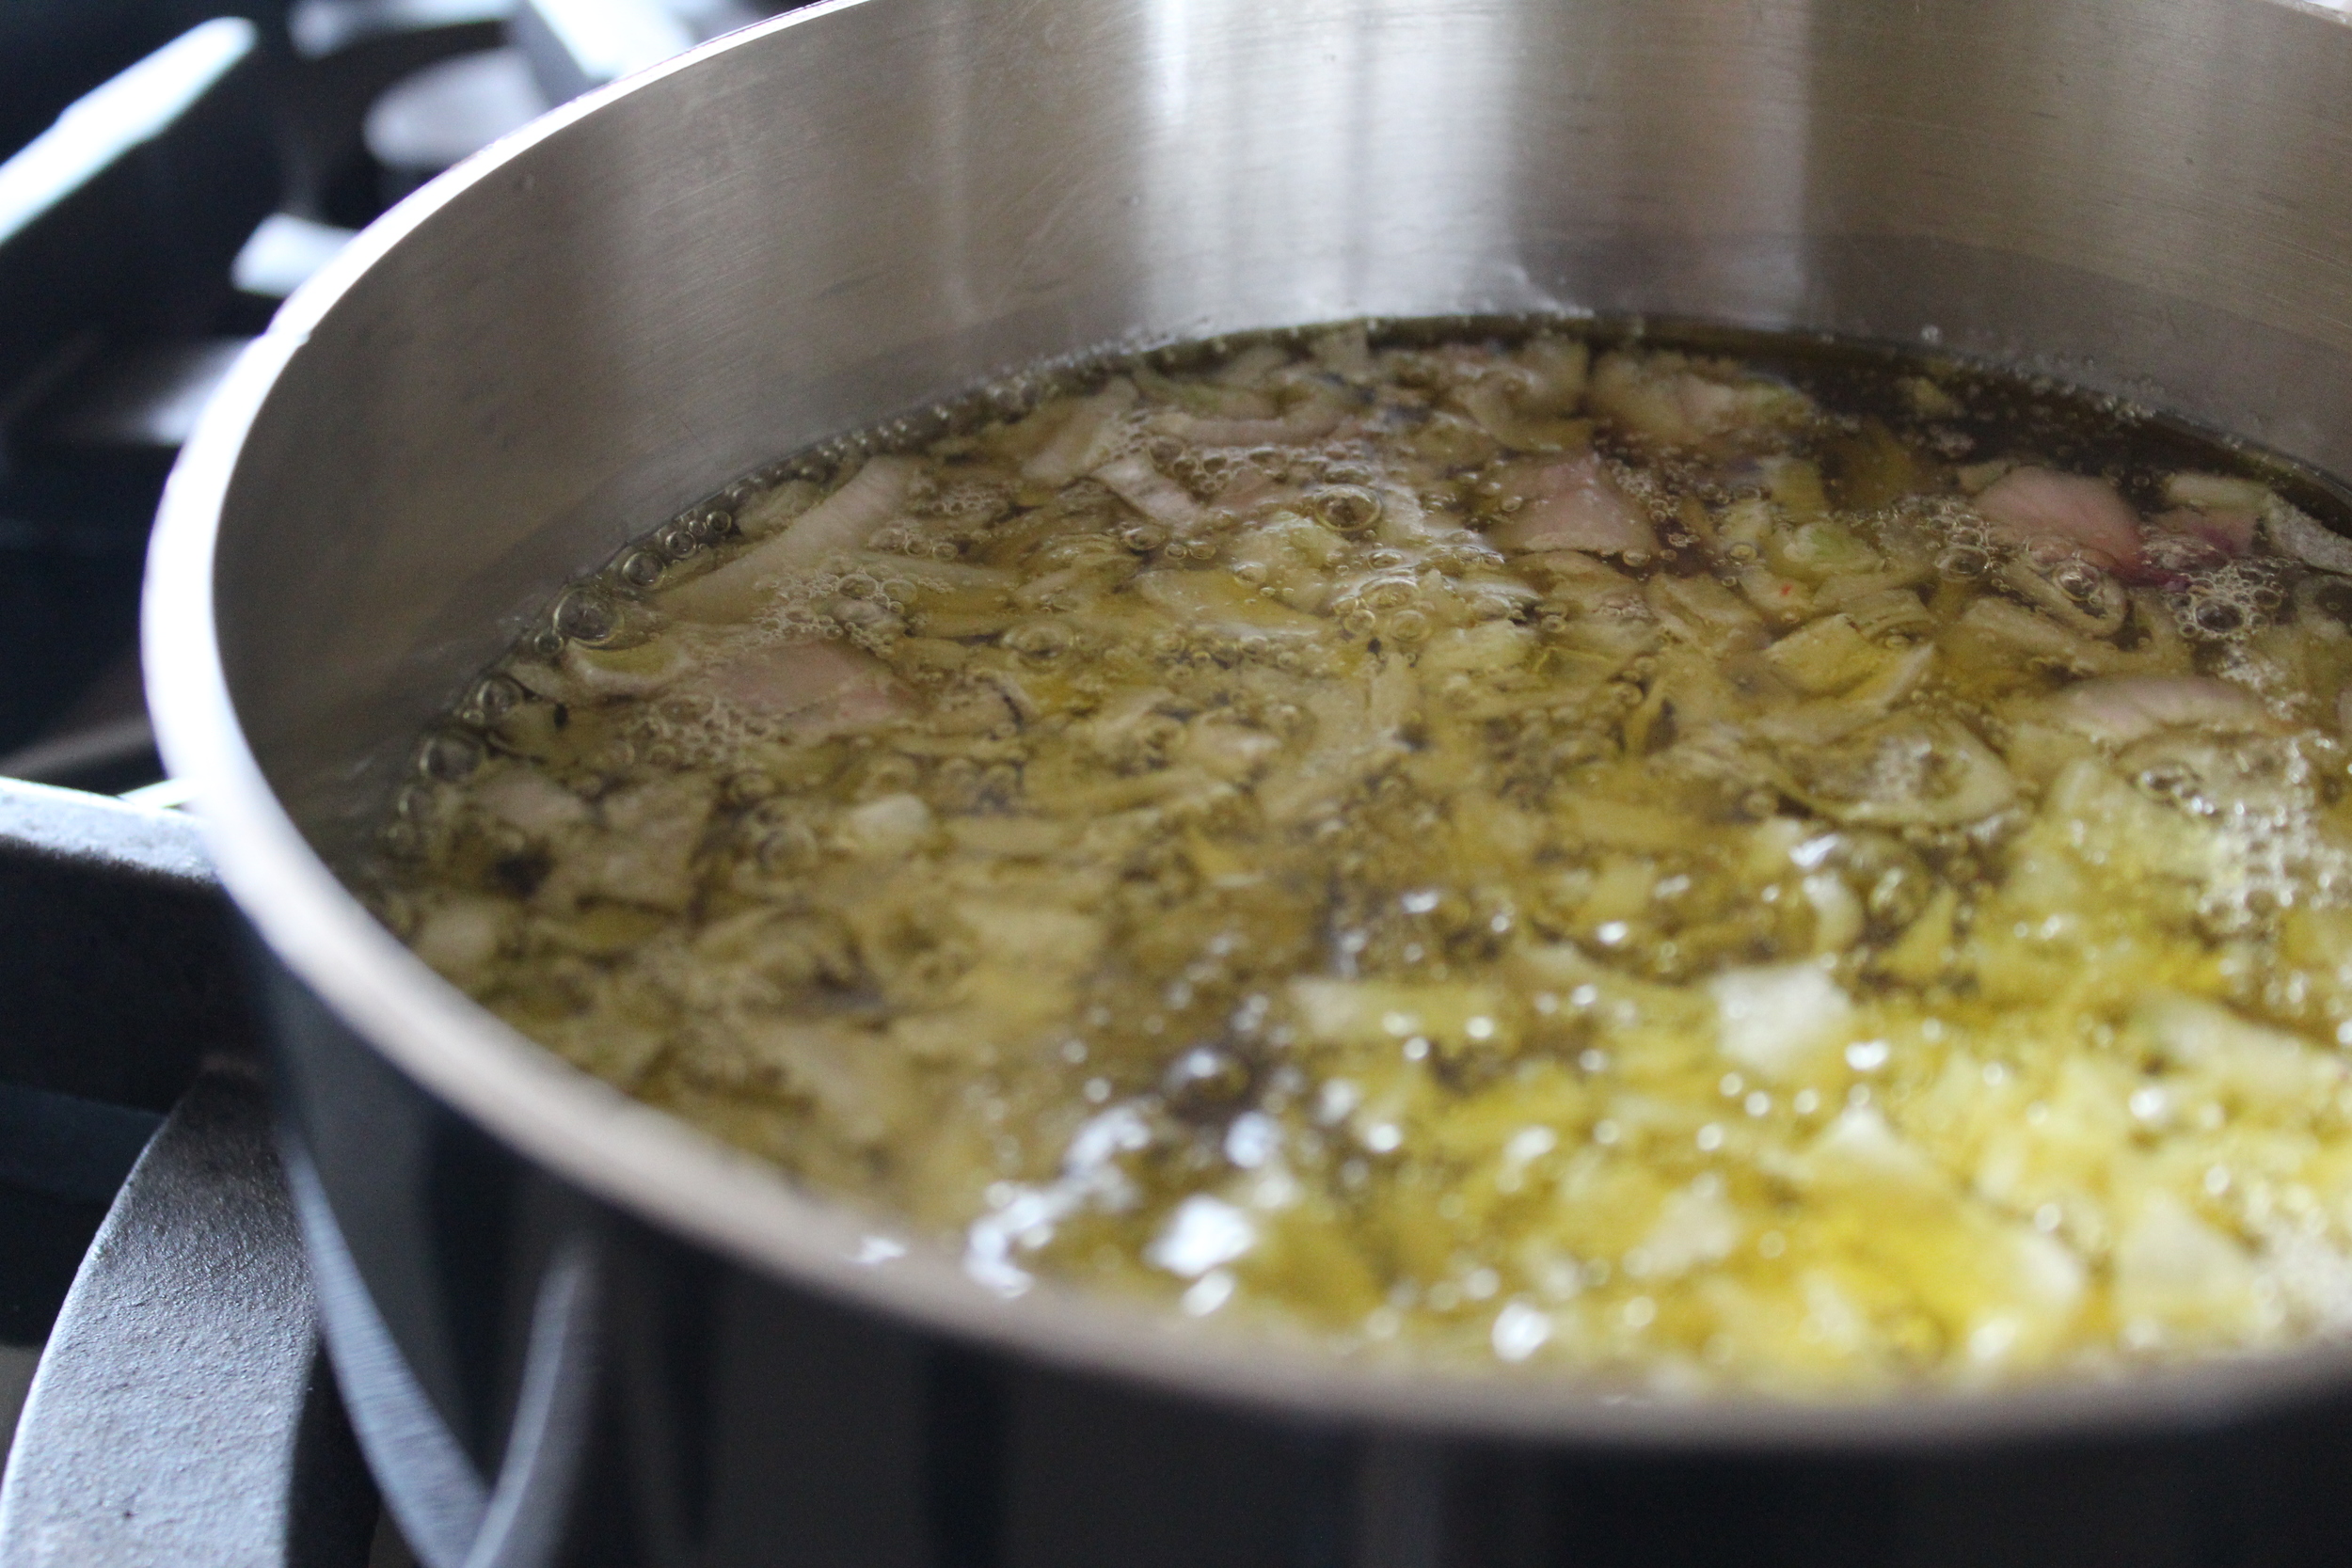
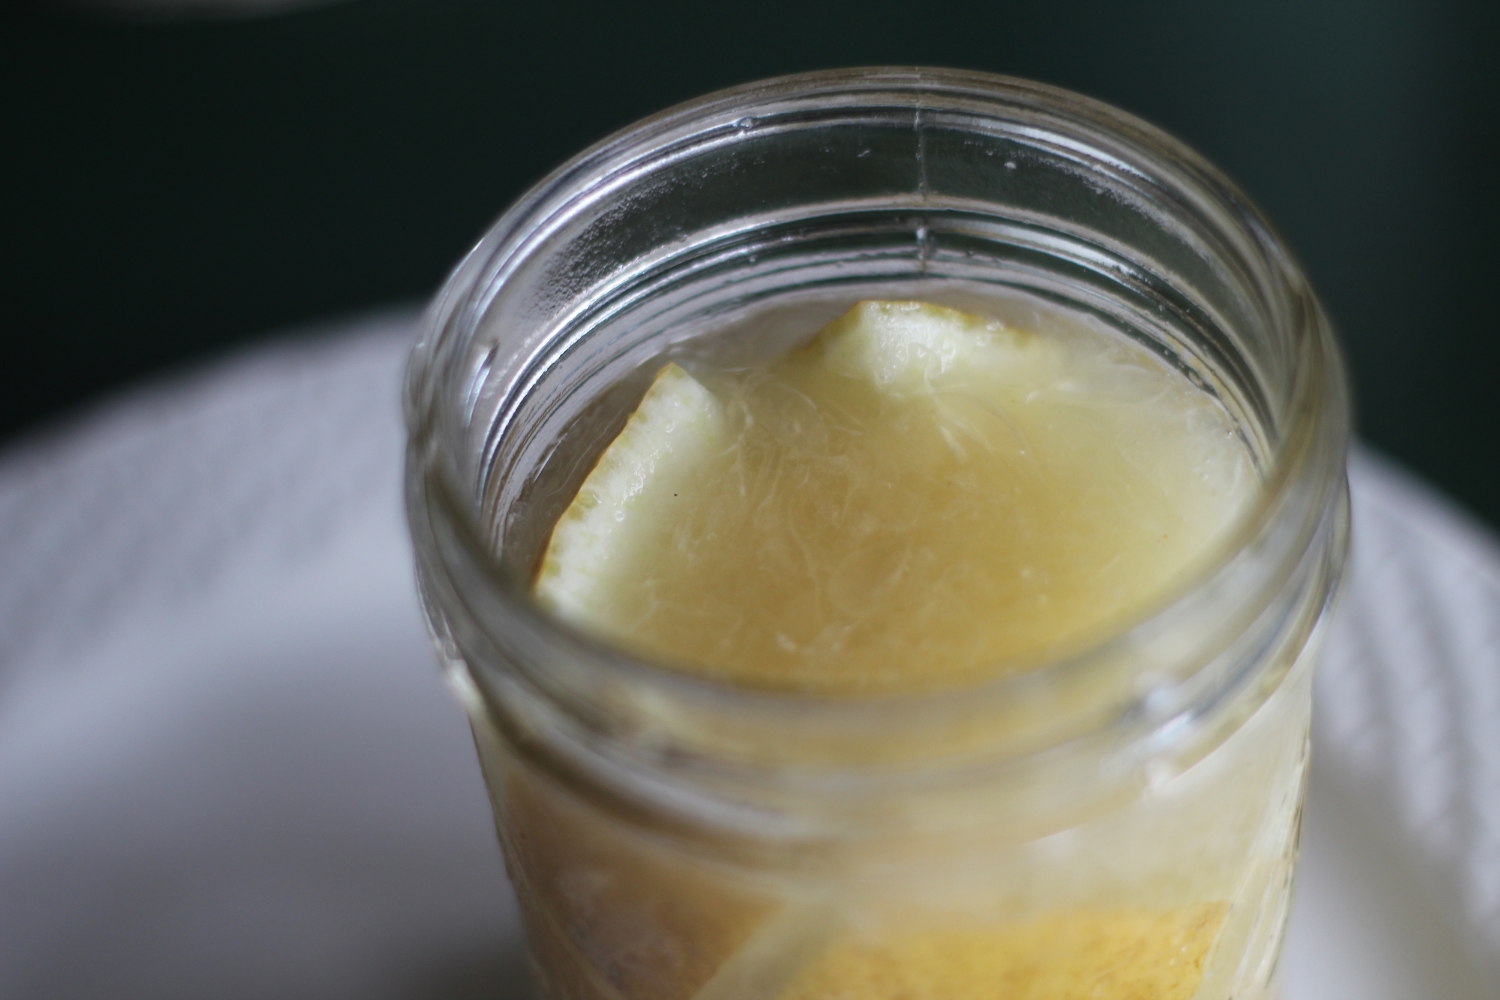
7. Once you get the right height, seal the jar very lightly - we WANT air to get in - and place it on a small plate on your counter. (The plate is just in case some liquid comes bubbling out and spills over.) If you live in a cold place, try to put the jar in the warmest spot in your kitchen. Once a day or every other day, if you think of it, take off the lid and check it. (This is not necessary, just good for learning). You want to keep a layer of liquid surrounding the lemon-half at all times. As it ferments, it should start to smell a little more sour, and the lemon rinds will start to get softer. If all seems to be going well, after a week, take off the top lemon-half and fork out a wedge from below. The liquid will be much thicker, almost like a jam. It should be soft, not quite mushy but getting close, and easy to mince. And it should smell good - different from the smell of a fresh lemon but still a nice scent. If all these traits present themselves, seal tightly and put the jar in your fridge. It will last indefinitely although I'd try to eat it in within 6-9 months.
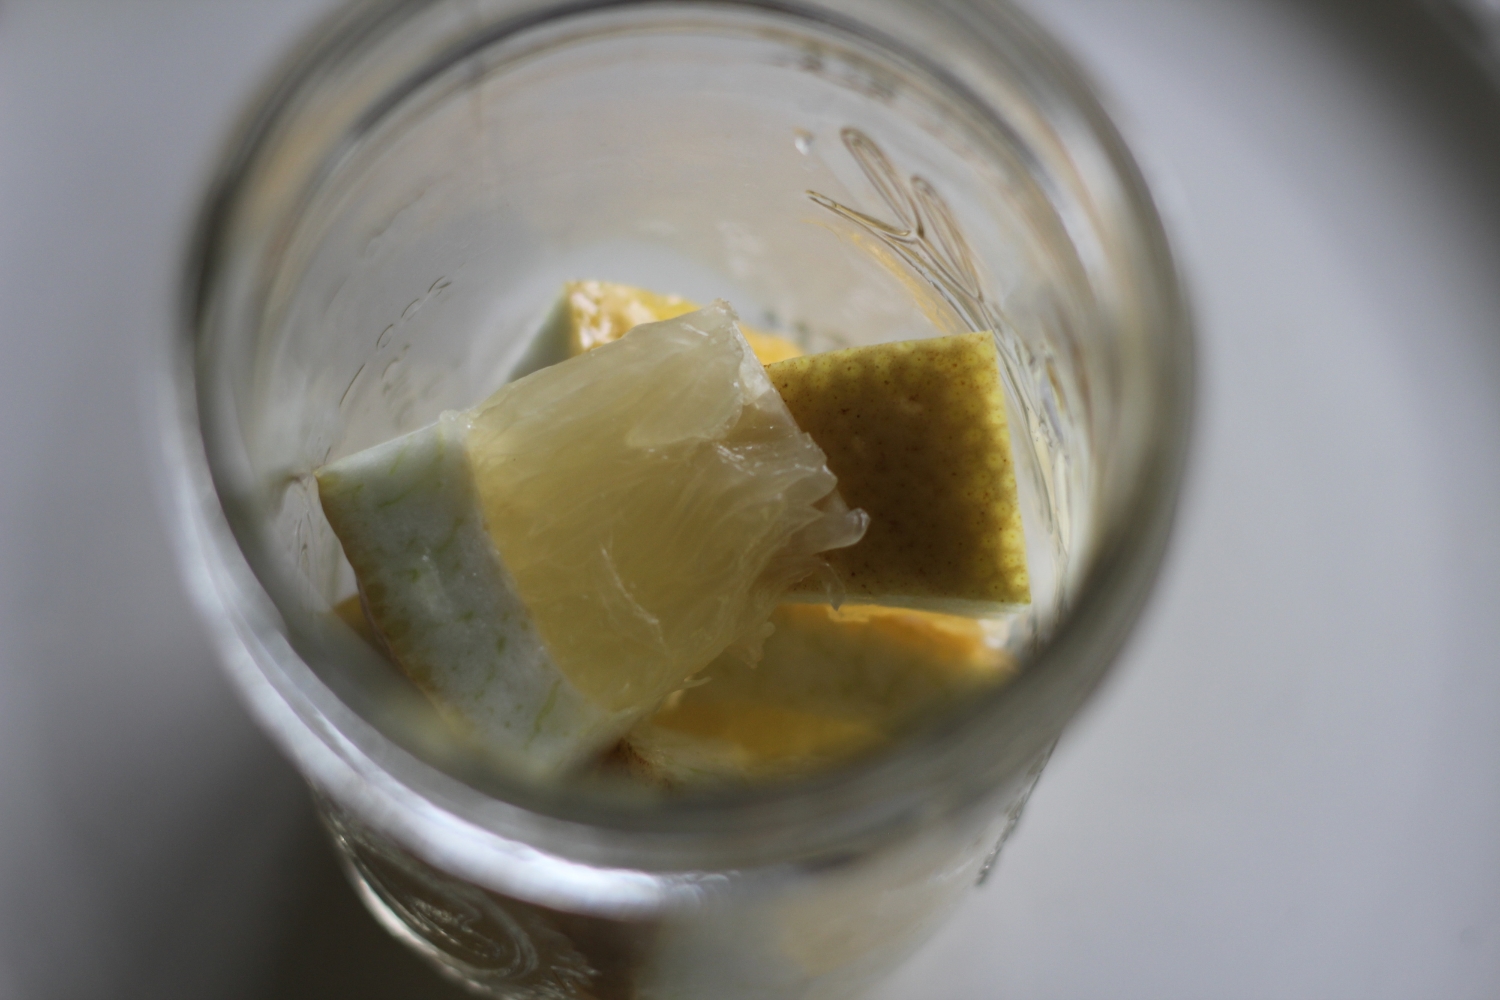
When using: mince/eat/cook the entire wedge - rind, pith, and all!
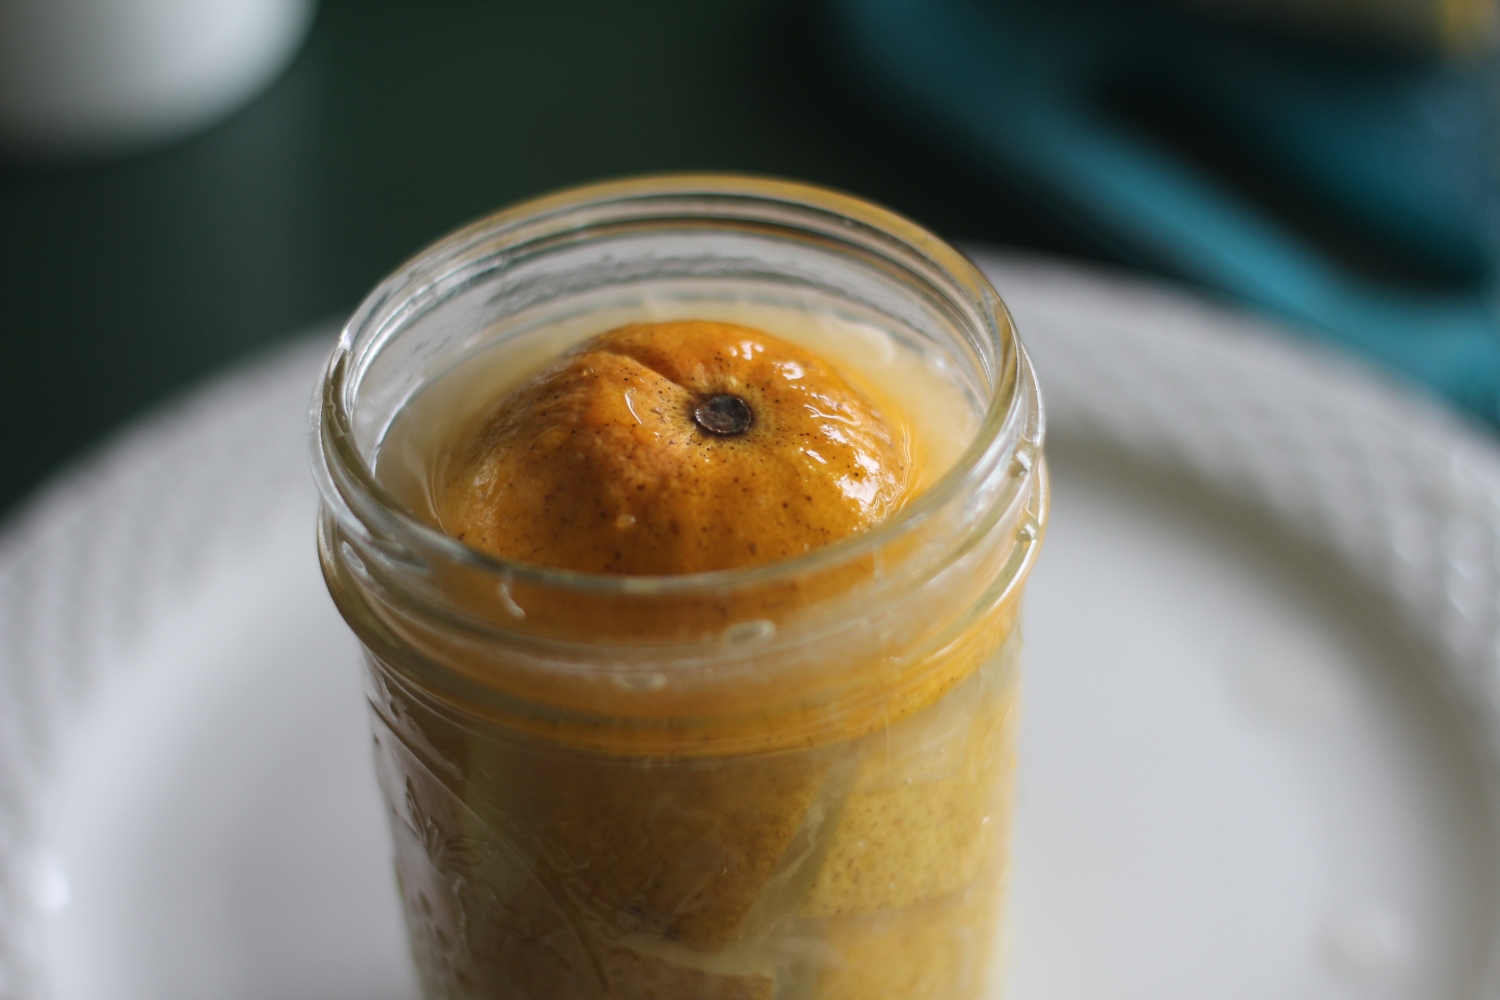
Finished product - soft & salty preserved lemons
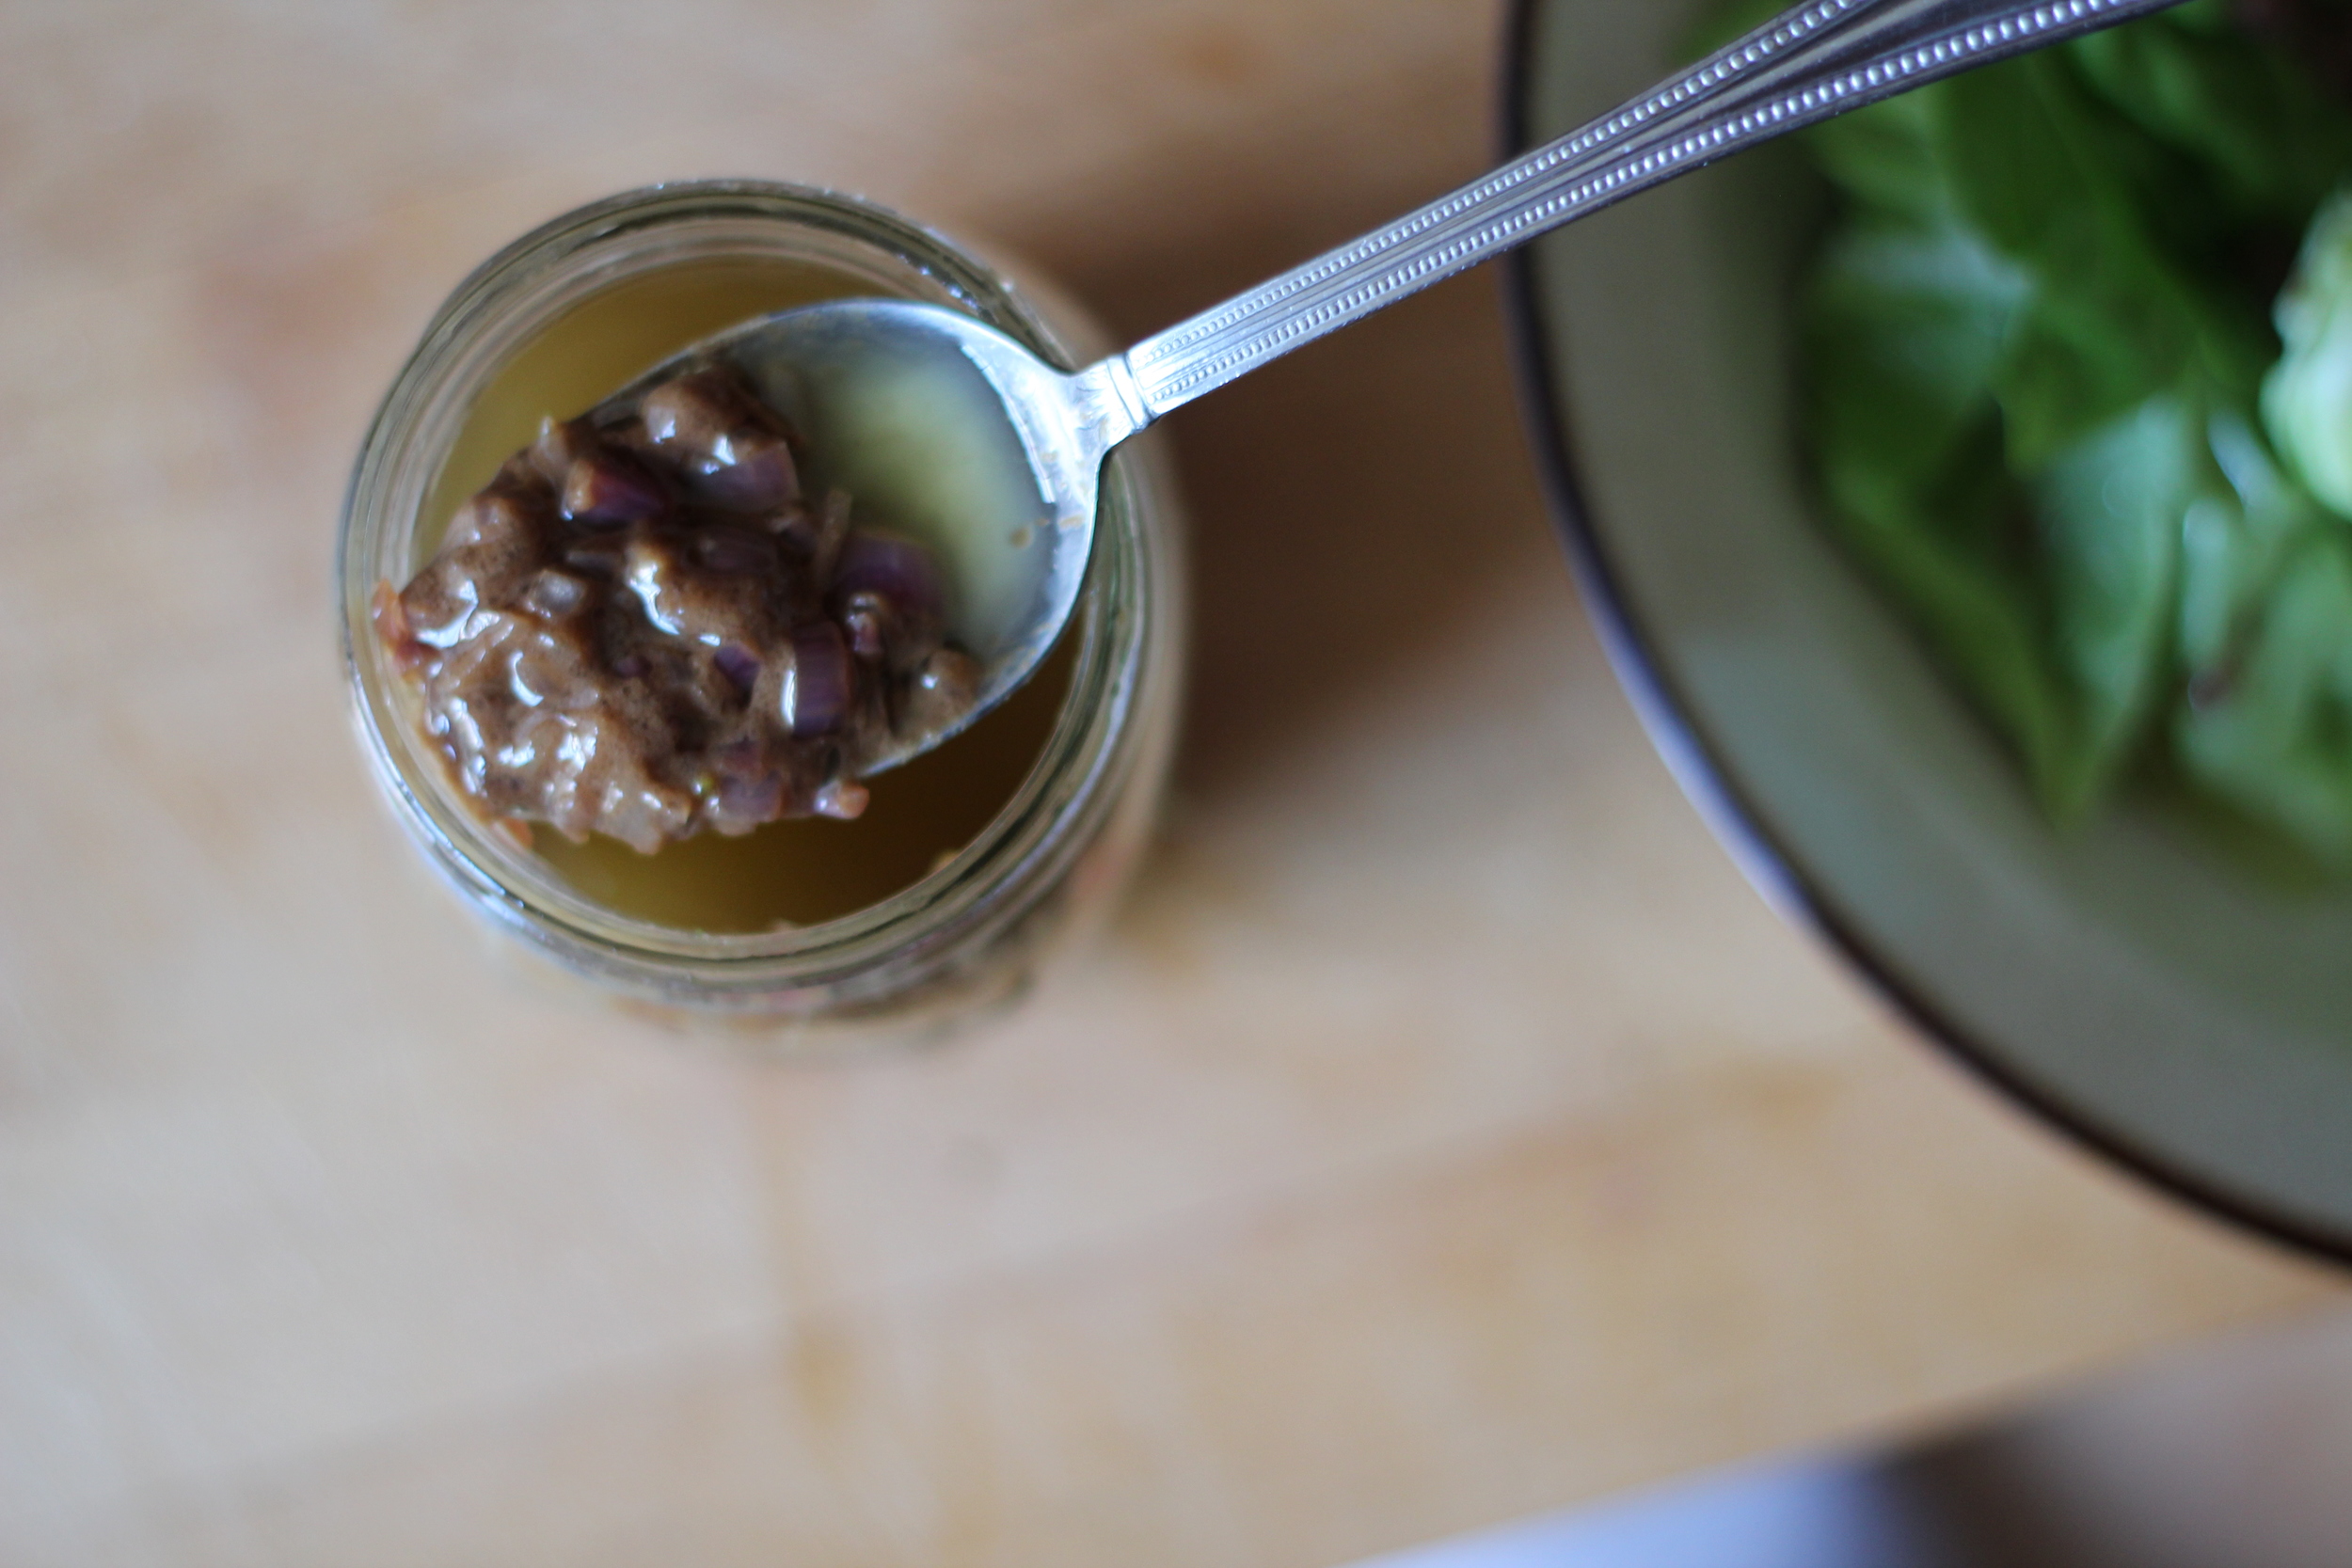
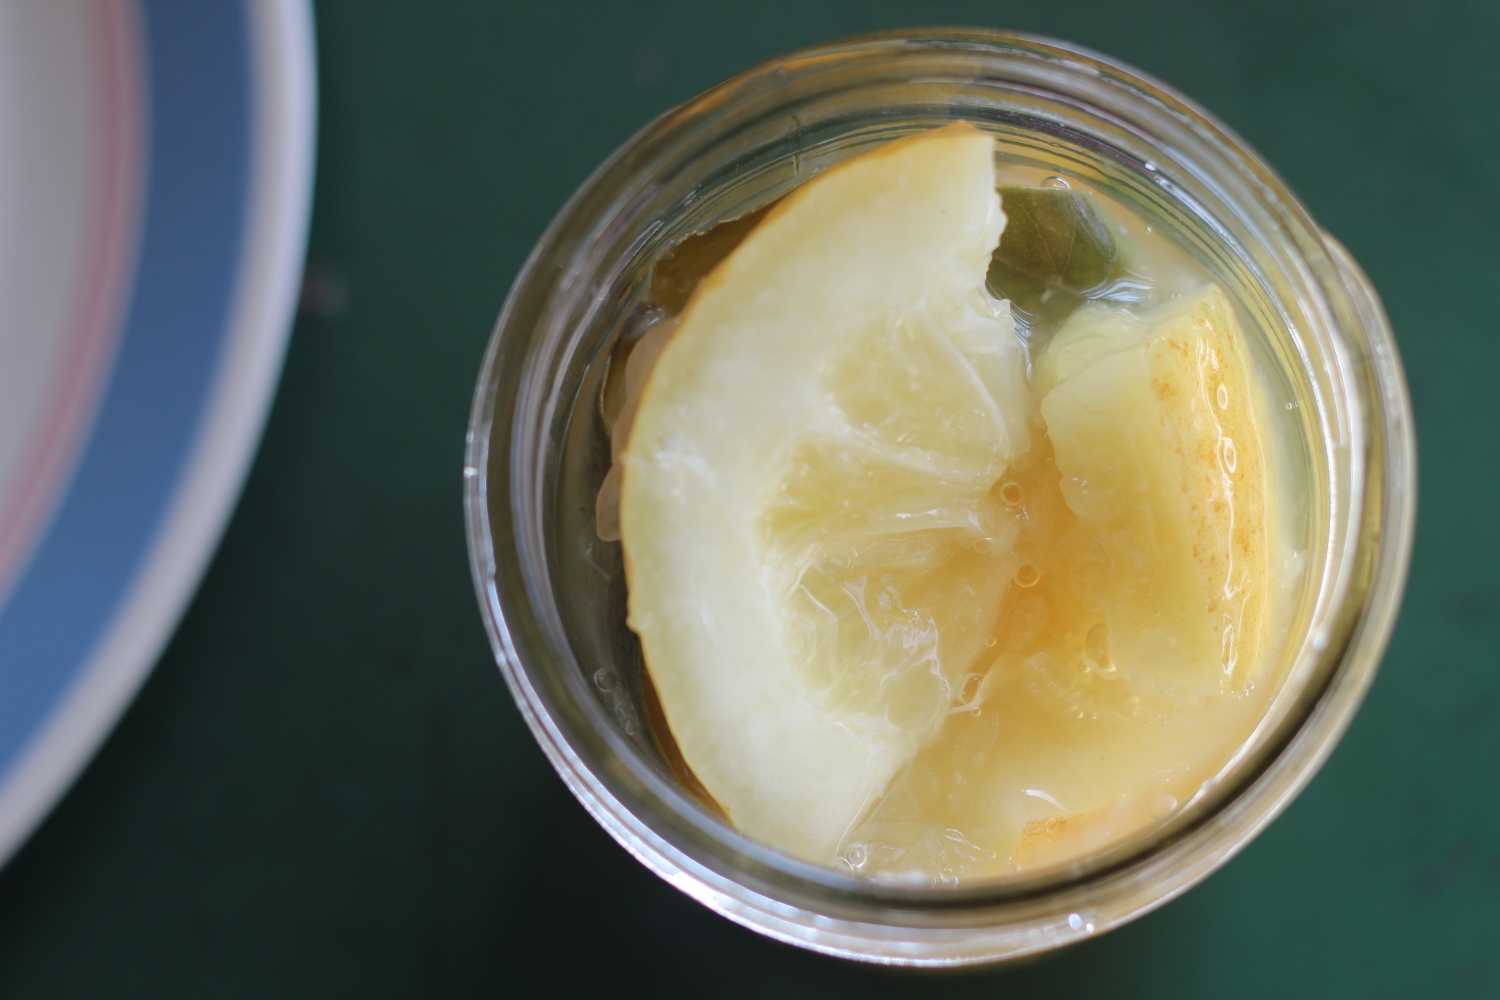
Bonus: Flavorings!
I'd recommend doing a plain one for your first try, but later/if you're feeling adventurous, you can add flavorings! I love adding cinnamon sticks for a warm & sweet effect. Bay leaves and rosemary (or really any hearty herbs) are great additions for earthy/savory concoctions. You can also make smaller jars to play with the flavors (without having preserved lemon coming out your ears). Just do your best to keep the flavorings submerged under the liquid to help prevent mold.

I added some allspice leaves to mine because we have those here!

This is preserved meyer lemon with cinnamon - a delicious combo that I had in my fridge in SF.
Questions/things to look for:
Mold - if mold starts to form at the top, it's totally fine to pour out some juice, remove the moldy parts (and a healthy layer of the good stuff underneath the mold just to be safe) and stick a new lemon/more juice and salt in there and keep going. If this freaks you out, you can also just toss the whole thing and try again. But really - a little mold just means it's alive! It's fine to remove it and keep going.
Doesn't seem ready after a week - give it a little more time until it reaches the description above - try a warmer place if you can find one in your kitchen.
Where/how to use:
If you haven't heard of preserved lemon before, you're probably wondering what the heck you're going to do with this. Well - you can use it anywhere you'd want lemon and salt. As someone who cooks mostly Mediterranean-inspired foods, that "anywhere" seems more like an "everywhere" to me! I love to mince preserved lemon and toss it into grain salads for an extra kick - it adds a pop of bright, salty citrus. It's also great in Asian sauces and marinades. I have a ton of other uses up my sleeve, but I'll save them for later recipes!
Ask away if you have any questions and I hope you'll try it and tell me how it turns out!