• HOME
  • KITCHEN SHOP
  • Recipes
  • Blog
  • About
Menu

GARLIC PRESS JESS

  • HOME
  • KITCHEN SHOP
  • Recipes
  • Blog
  • About

showstopper stuffed squash

January 9, 2020

The original version of this was posted back in 2016. I updated the recipe below to be more accurate to the way I currently make it!


Original head note from Jan 25, 2016:

I know, I know - I've been MIA from the blog for quite some time. I'm back on the mainland and have been traveling around over the last month seeing family and friends, but now I'm finally back in San Francisco and not going anywhere for a while! I've been cooking up a storm for friends over the last few weeks, so it's about time I got to posting some recipes! (I definitely have some Hawaii-wrap-up blogging to do. I figure I'll sprinkle it in over the next few months as I get back to posting regularly, so stay tuned!)


I don't remember how I came up with this dish but I can tell you that it's my go-to "impress people" meal for the winter time. It's pretty easy to make, incredibly adaptable, and wonderfully satisfying! I've made it for many different groups of friends and everyone raves. Can't wait to hear what you think!

showstopper stuffed squash

Cooking time: about 1 hour, 30 mins
Serves 6 (or make this much and have lots of leftovers!)

Ingredients: 

  • 3 whole acorn squashes (one squash serves two people)

  • 2 cups plain yogurt (greek or whole milk yogurt recommended - you could also use a non-dairy yogurt like coconut or almond yogurt, just make sure it’s plain and not sweetened)

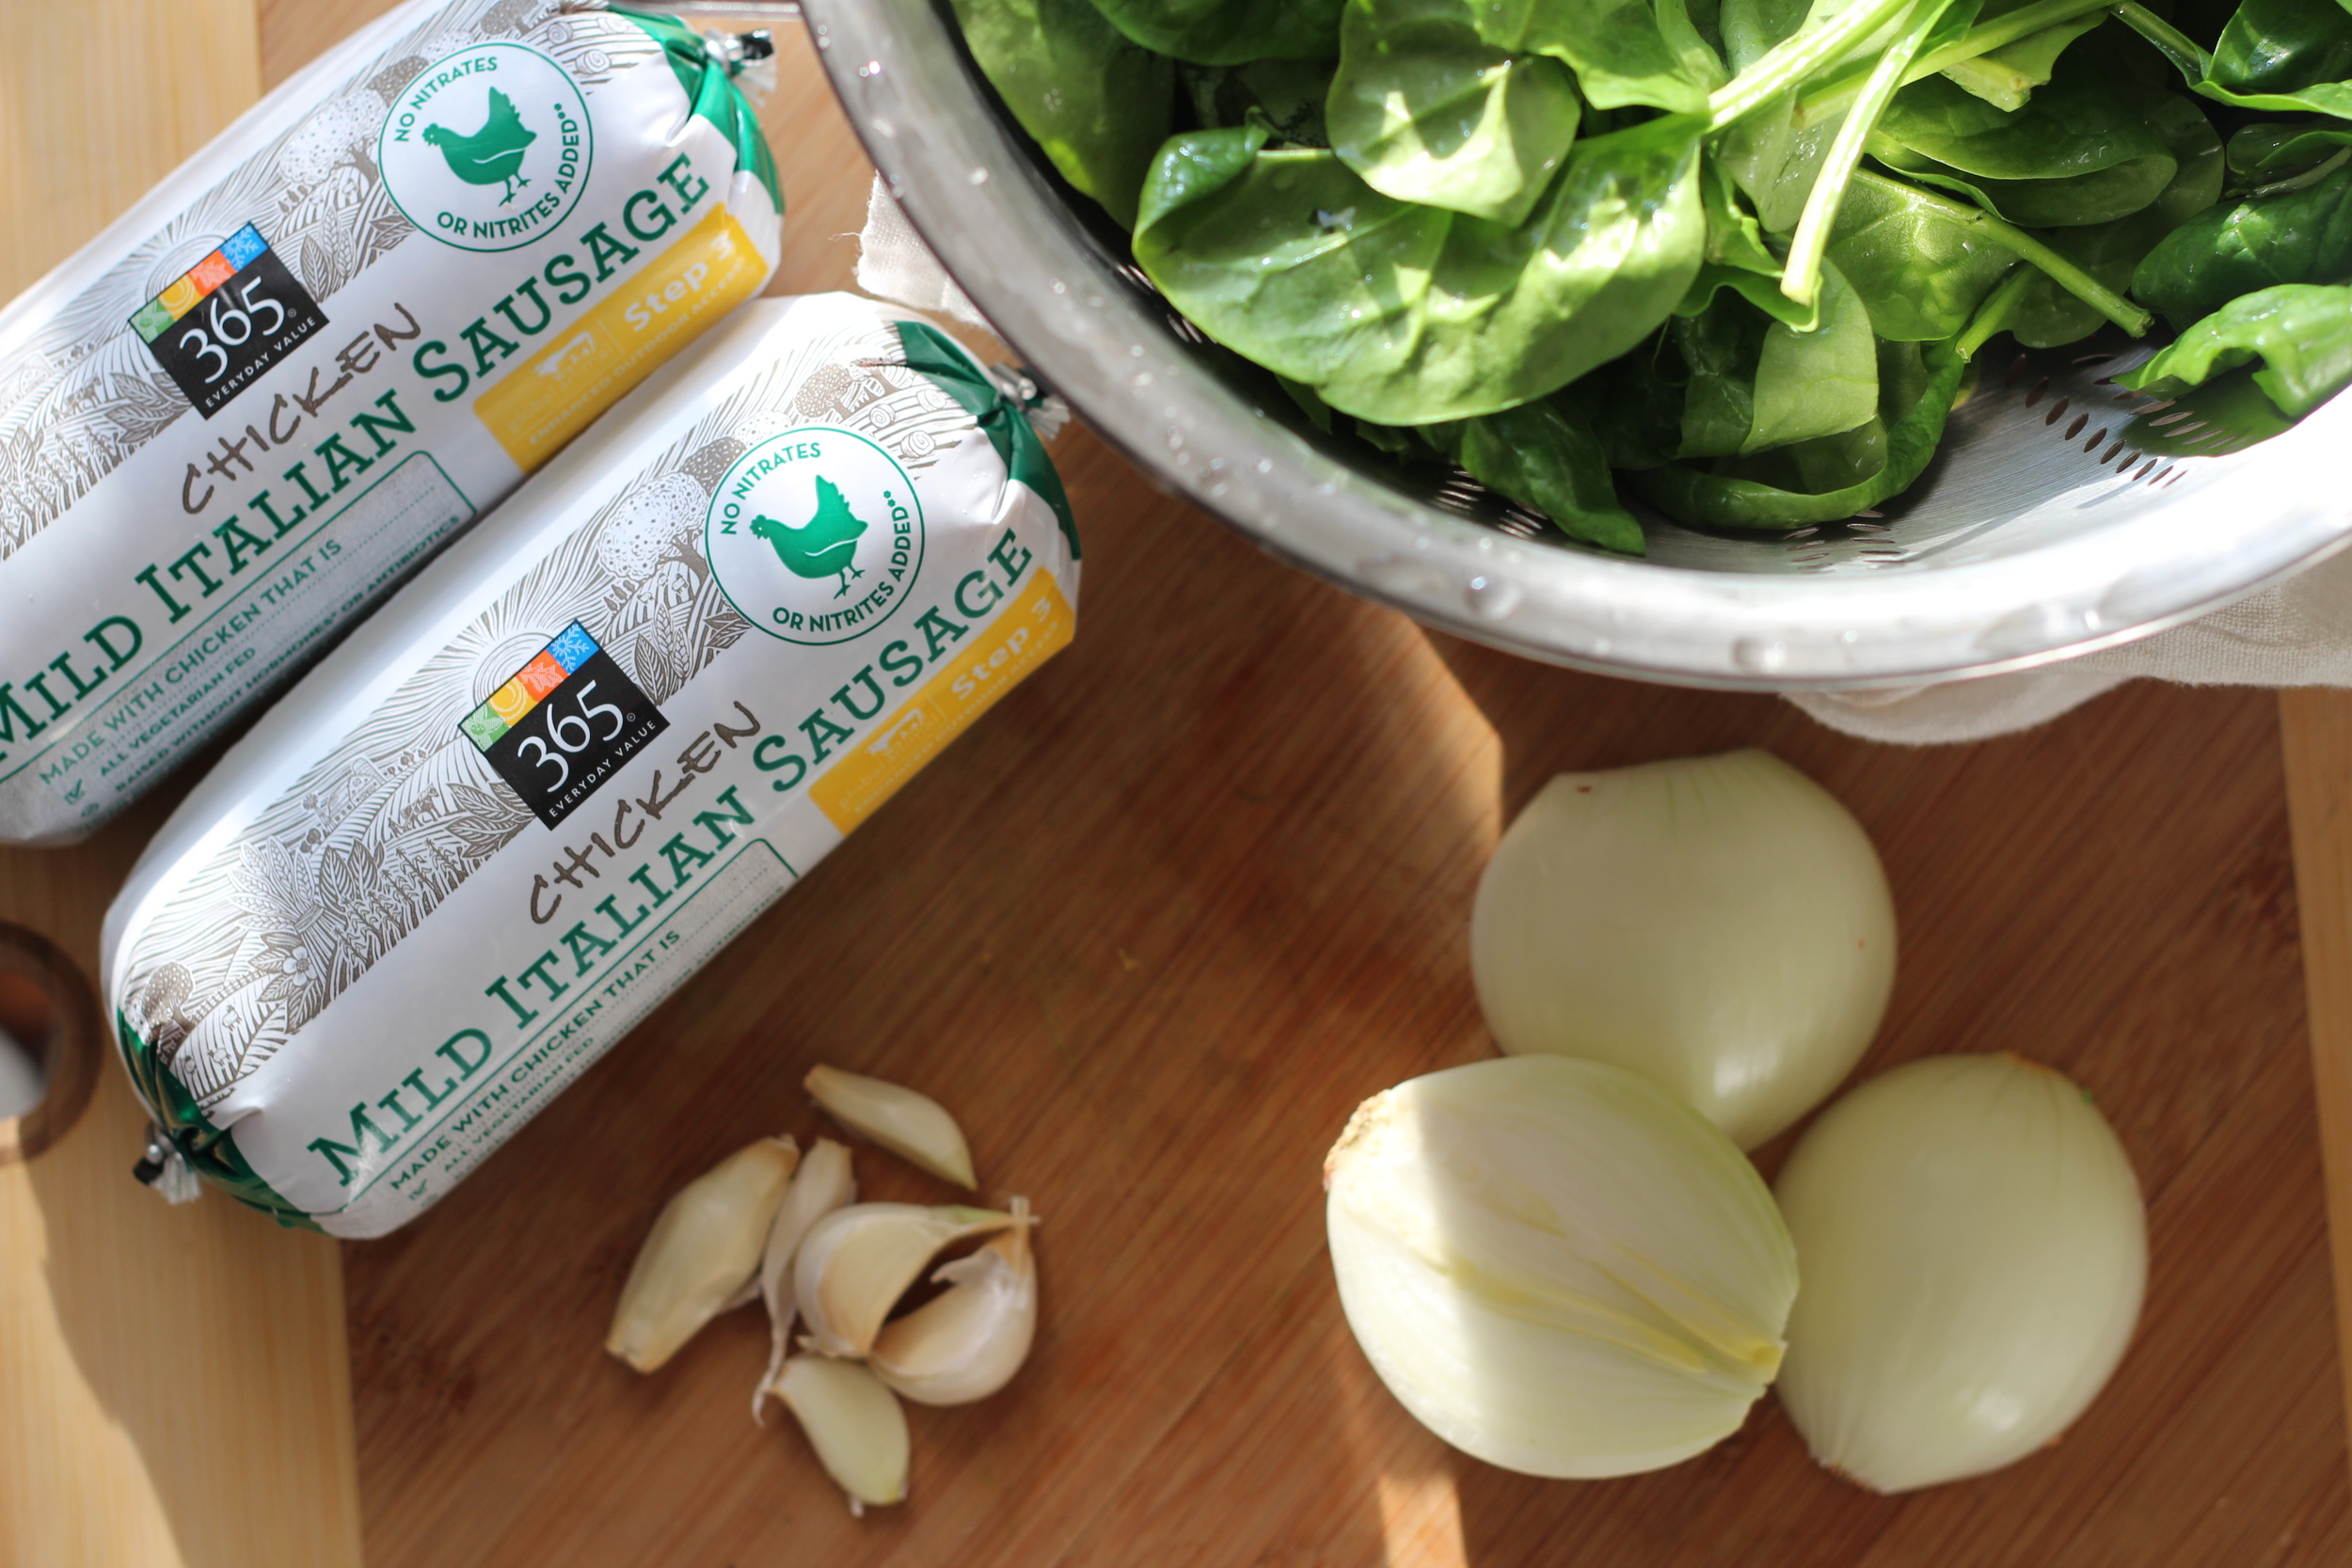
  • ~28oz bulk/raw sausage or ground meat of your choice* (I used to like the mild Italian Chicken sausage from Whole Foods, but it seems to be discontinued. This bulk pork sausage or something like it would work well.)

  • 1 lemon

  • a few cloves of garlic

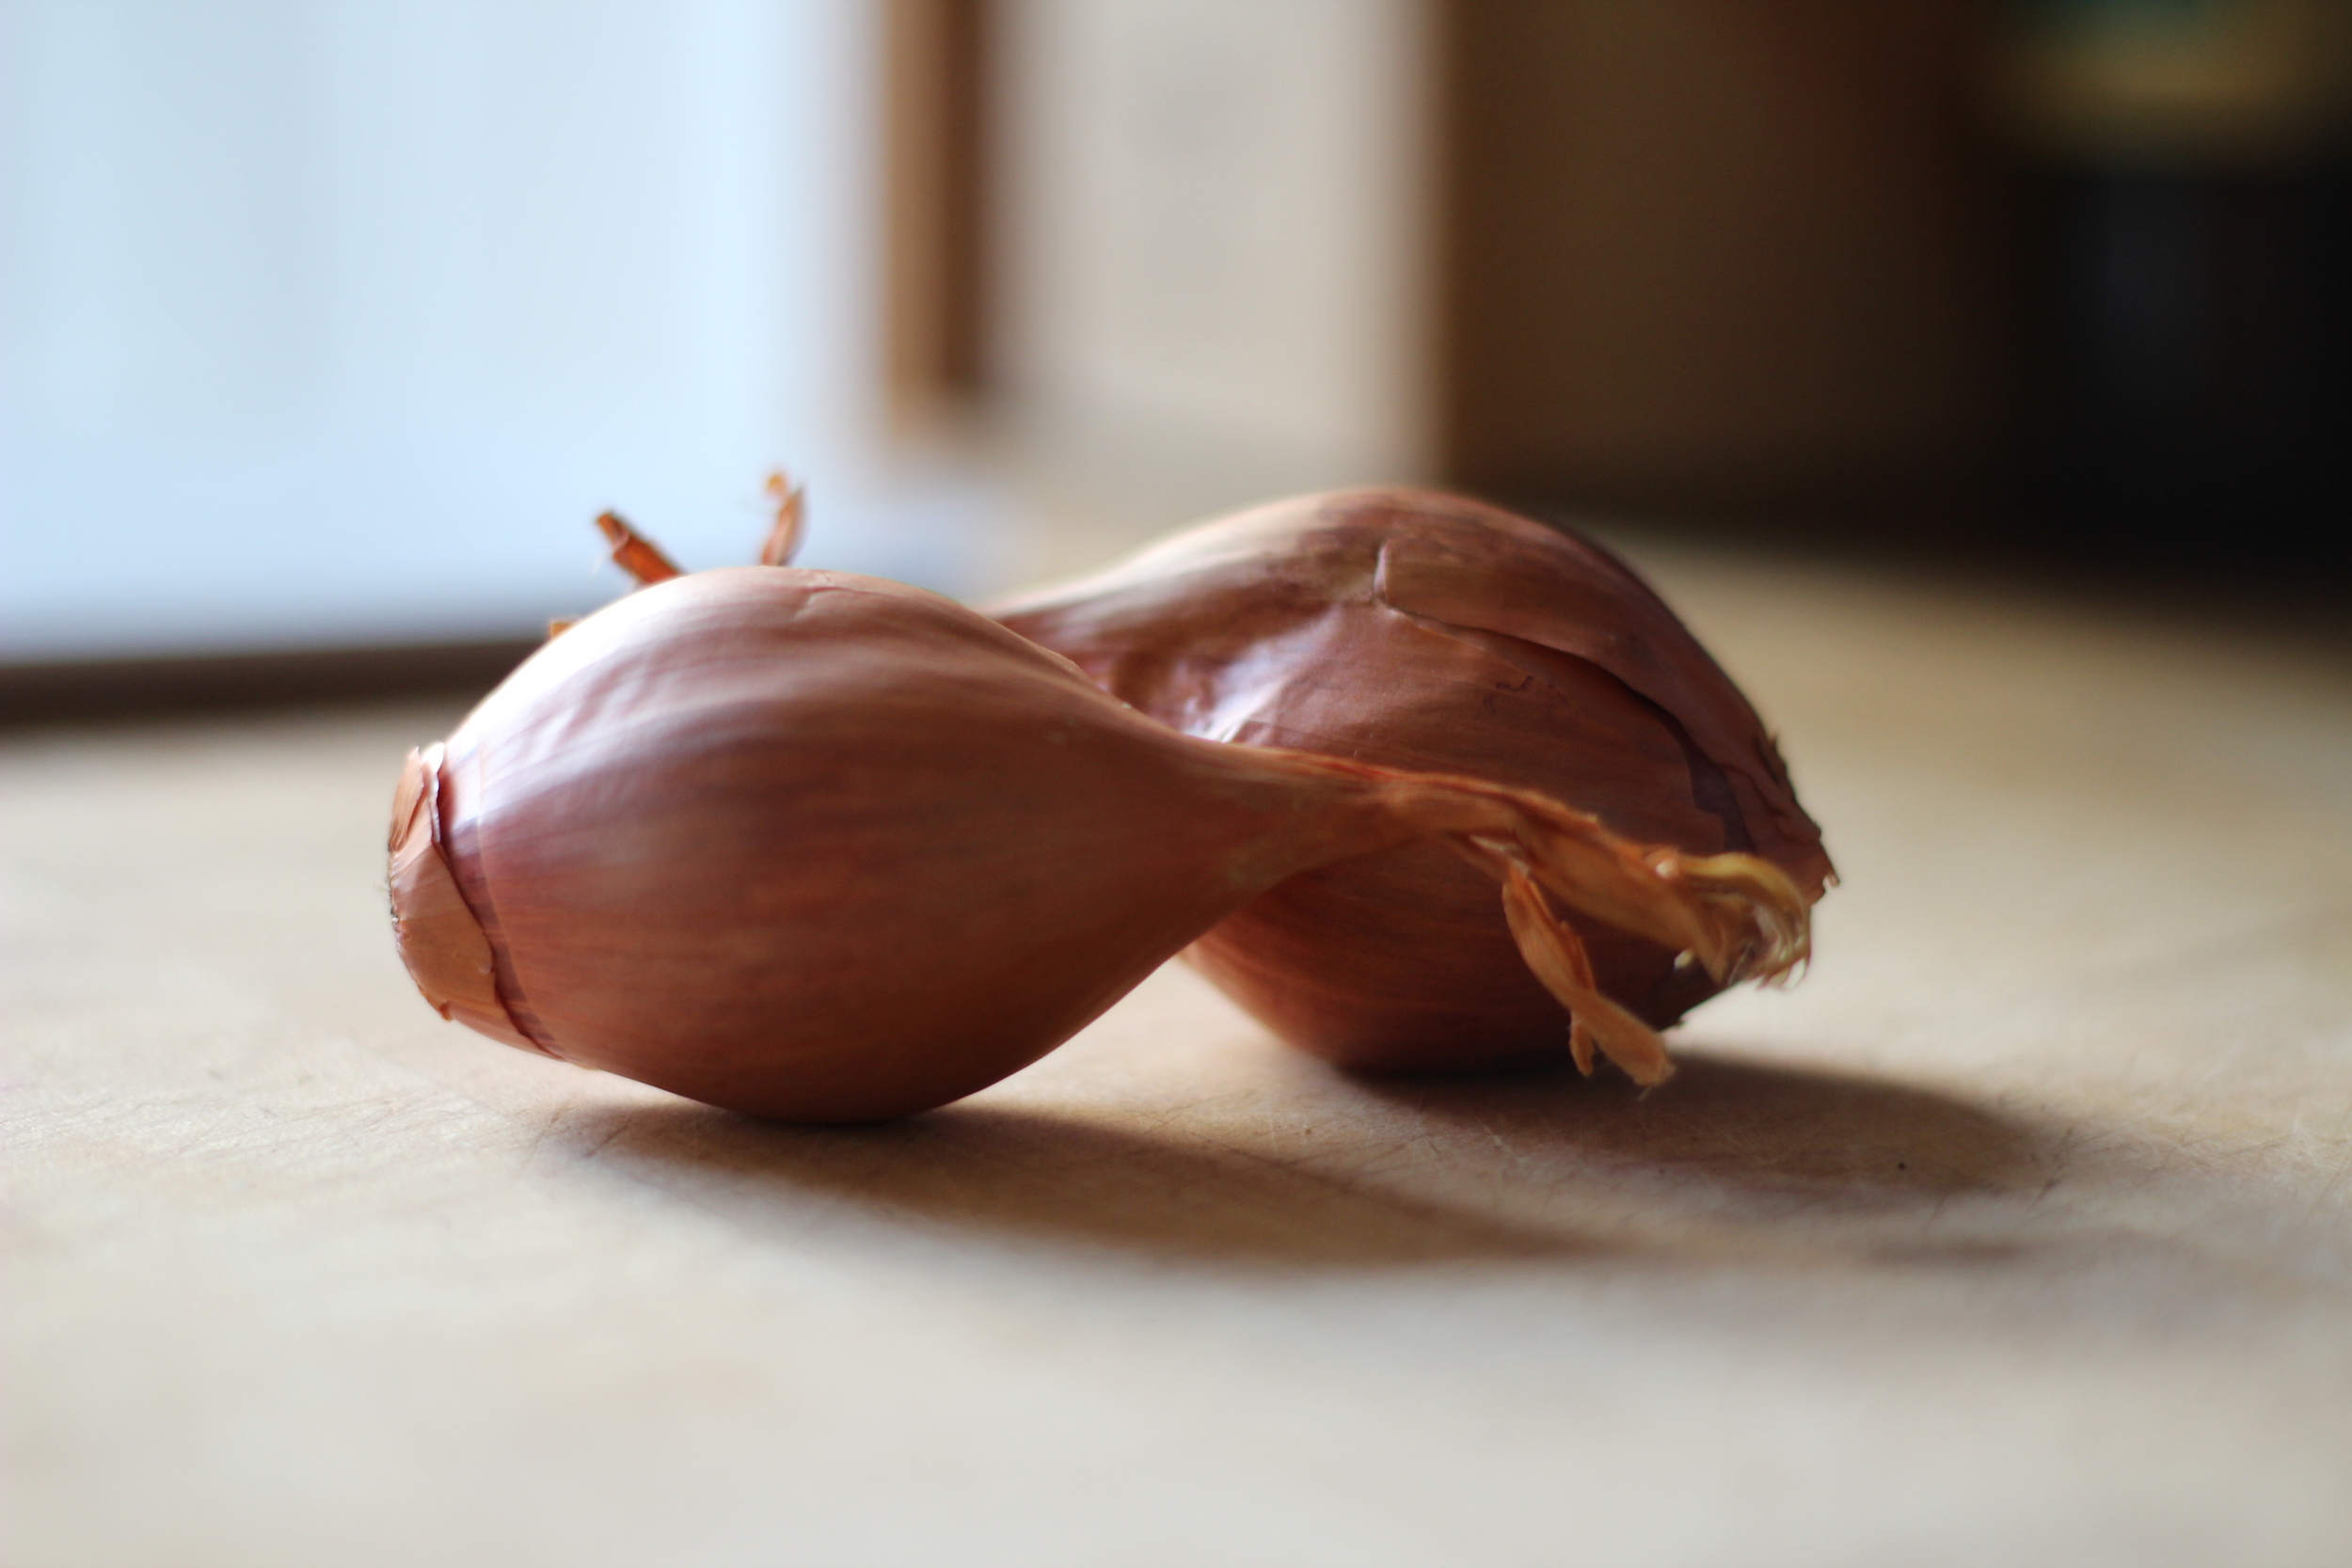
  • 1 onion (or more/less - whatever you like/want to use up)

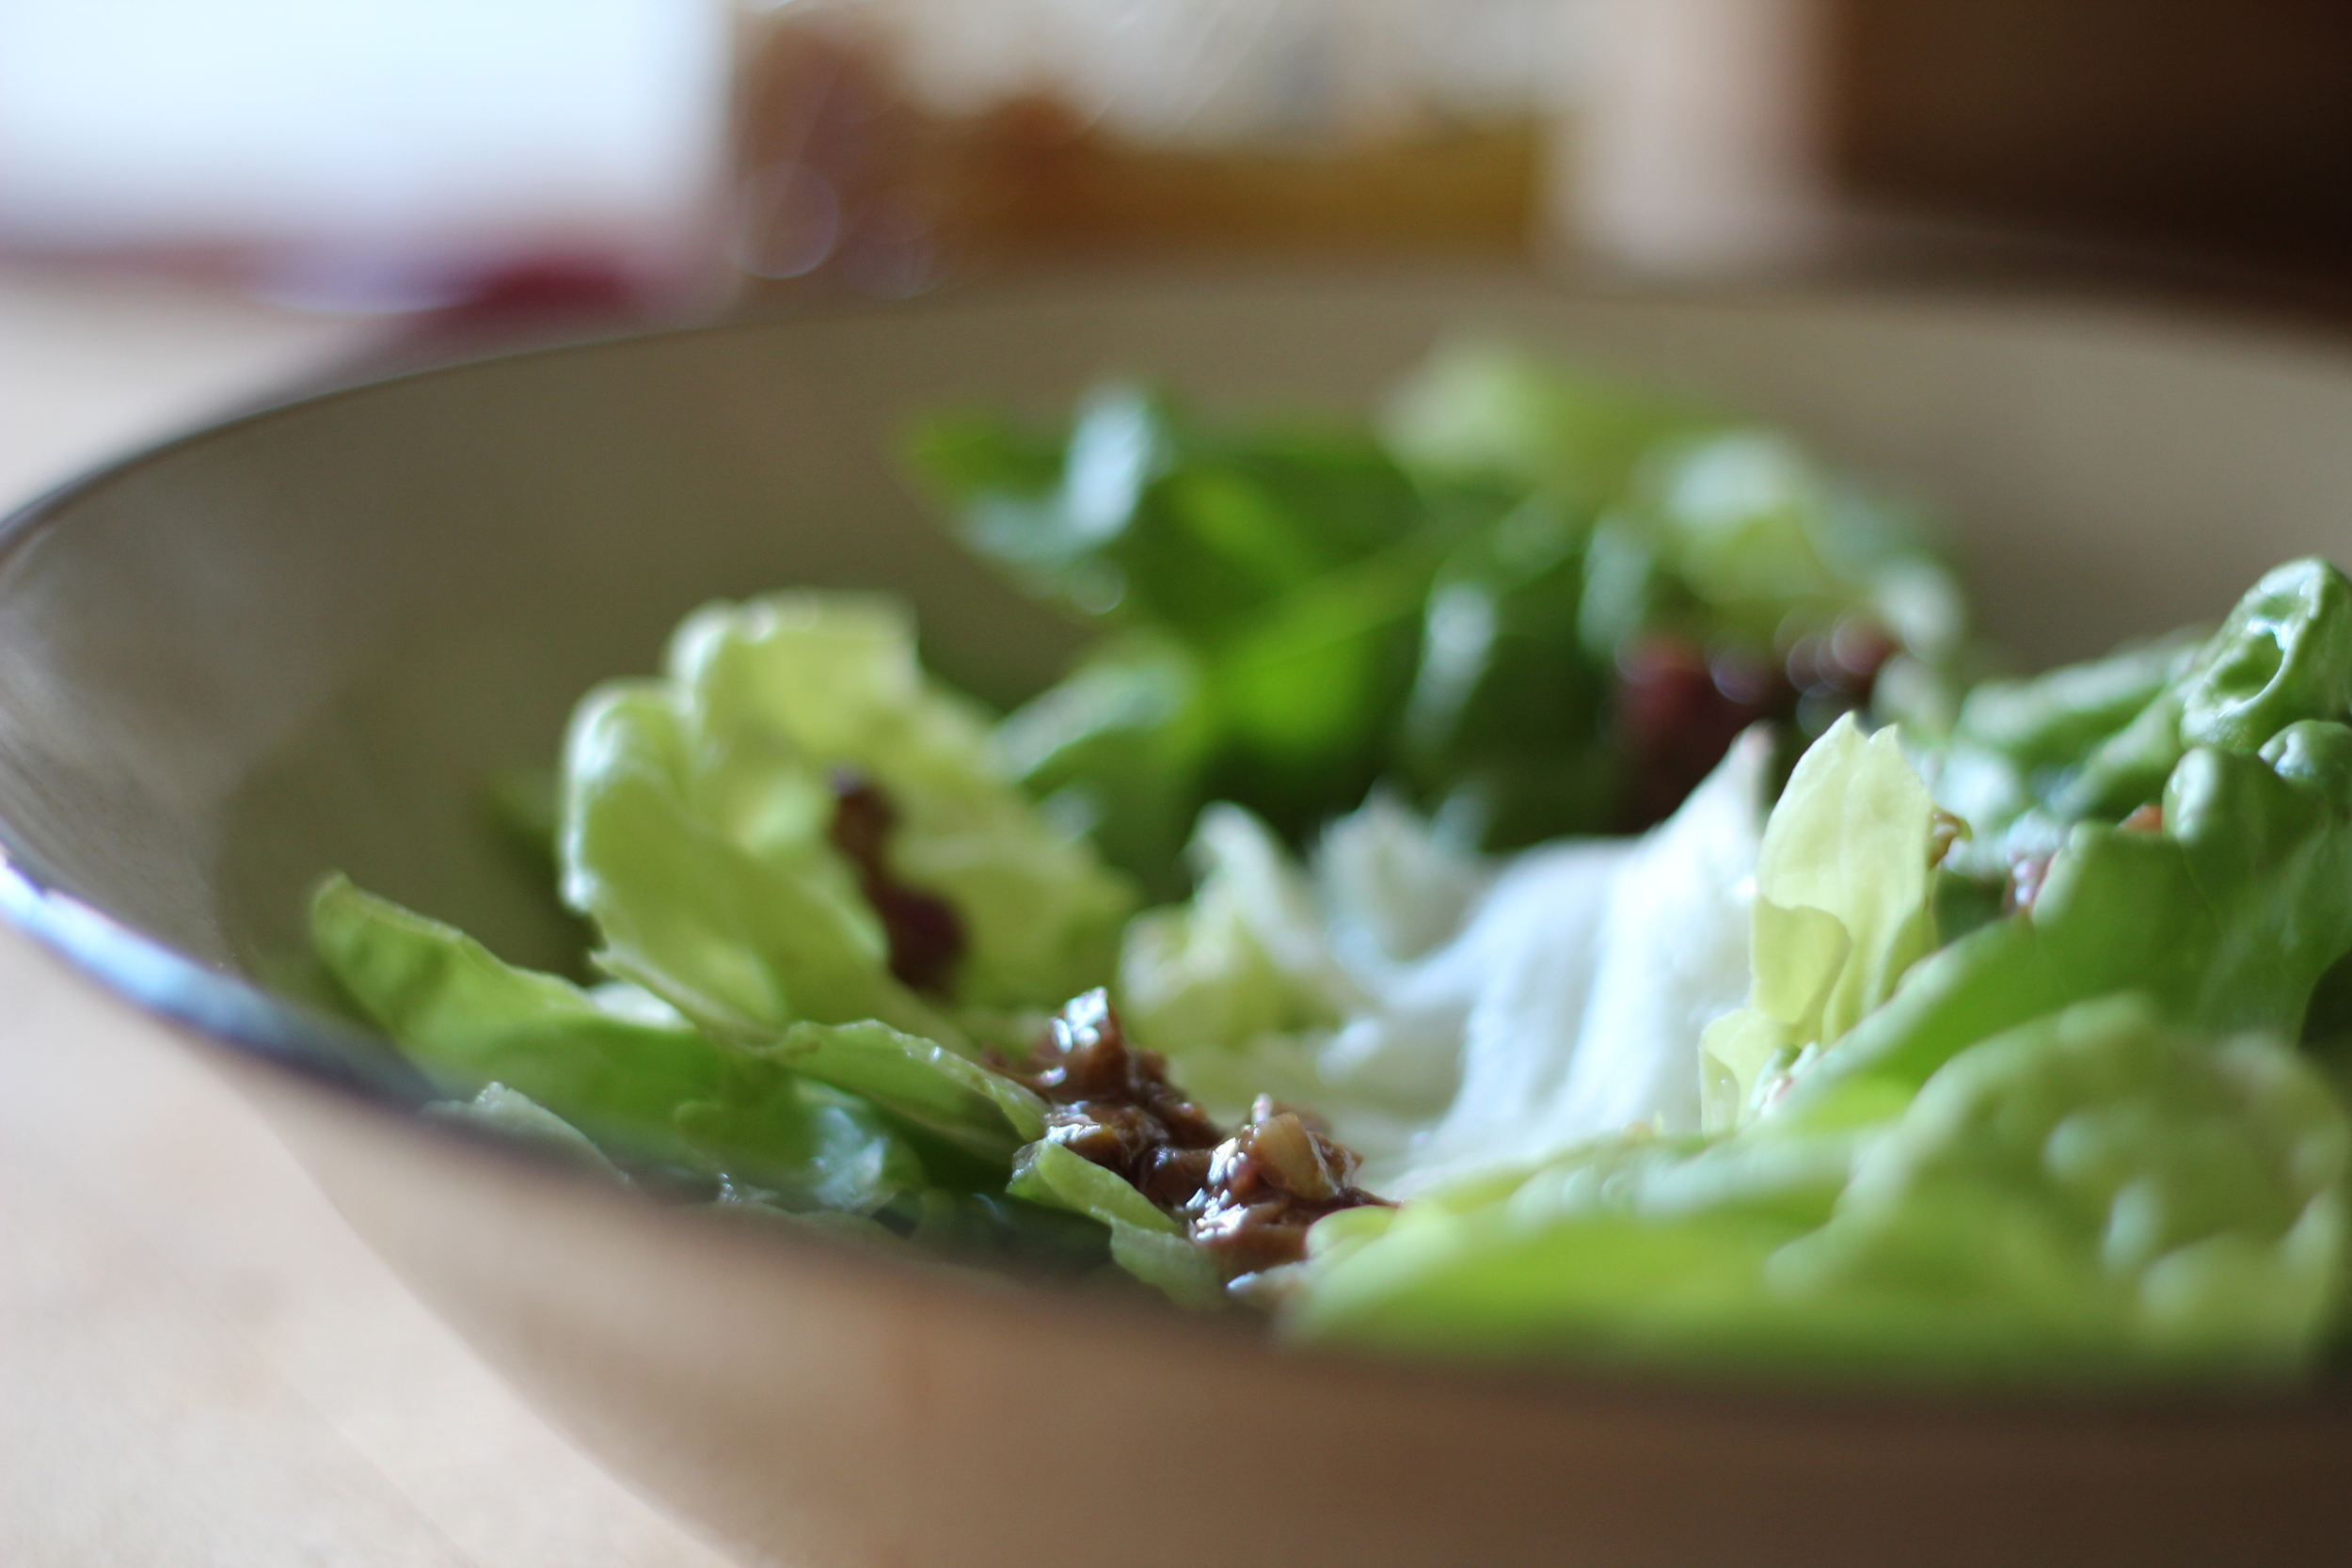
  • large handful or two of roughly chopped kale, chard, spinach, or any other hearty green

  • small handful of fresh parsley, cilantro, basil, or scallions - whichever you prefer or have on hand

  • any additional vegetables of your choosing that you might want to use up - bell peppers, leeks, carrots, celery, etc - roughly diced

  • a few glugs of cooking oil, I prefer grapeseed or olive oil

  • salt and pepper

Tools and stuff:
- baking sheet(s) for roasting, preferably with a rim
- large sauté pan (wide and shallow pan) with lid that fits
- large chef's knife and cutting board
- microplane or other zester
- spoon, fork, and small bowl
- grapefruit spoon, if you have it, for scooping out squash (nice to have, not required!)

Ingredient + Make Ahead Notes:

  • *Instead of bulk sausage, you could also use any ground meat of your choosing. If you do plain ground meat, I'd recommend adding dried herbs and/or spices to your sauté for additional flavor.

  • VEGETARIANS: You can also easily substitute tofu or extra veg (like broccoli, cauliflower, peppers, etc) for meat here. If using tofu I'd recommend throwing in a bit of soy sauce, fish sauce, rice wine vinegar, or any other flavorings you like!

  • To bulk up your veg or meat mixture, consider adding a cooked grain like quinoa, rice, or farro.

  • If cooking for a crowd, you could do both a veg and non-veg option, simply scale back the sausage to one or two packs and add one or two packs of tofu, prep all ingredients, and when it comes time to cook the sausage mixture, use two smaller sauté pans and follow the recipe as-is, just do one pan of sausage and one for tofu.

  • Squash can be roasted ahead. Yogurt sauce can be made ahead - it will last about a week in the fridge. If you end up with extra sautéed veg/sausage, it will be great as leftovers, but I recommend making it right before serving as sautéed food is best when freshly sautéed :).

Instructions:
1. OPTIONAL STEP for THE NIGHT BEFORE you want to eat this: removing squash seeds to dry out and make TOASTED SQUASH SEEDS to sprinkle on top of the dish. Wipe/clean the outsides of your squashes. Cut them in half, sticking your knife in at the top, going through or right next to the stem. Using your fingers, pick out the seeds from each squash and place directly on a baking sheet, trying to get as few stringy-parts as you can (a few are ok). Once you've pulled out all the seeds, spread them evenly on the sheet and place in oven (turned off) overnight or for several hours to allow them to dry out. If you are doing this the night before, at this point I recommend scooping out the stringy insides of the squash with a spoon or grapefruit spoon if you have it. Discard stringy flesh (OR save to make veggie/chicken stock later in the week). You can then put the squash halves back together, using a rubber band to keep them in place, and put in the fridge until the next day.

place seeds directly on roasting pans. a few strings are inevitable and A-OK! The secret to crispy seeds is letting them dry out before toasting them.

place seeds directly on roasting pans. a few strings are inevitable and A-OK! The secret to crispy seeds is letting them dry out before toasting them.

When you check the seeds (the next morning or after a few hours), they should be noticeably dry and slightly stuck to the sheet, but will come off easily when scraped with a spatula or your fingers. Loosen them up and spread evenly again, if you like - add a tiny bit of oil/toss, and then roast at 350 degrees for about 10-20 minutes until golden. Be careful - these are VERY easy to burn. I recommend continuously setting a timer for 5-min intervals and checking that often. Seeds are done when they are crispy to the bite. When finished, toss with salt/pepper/spices of your choice.

2. If you skipped step one, wipe/clean the outsides of your squashes. Cut them in half, sticking your knife in at the top, going through or right next to the stem. Scoop out the stringy insides of the squash with a spoon or grapefruit spoon if you have it. If you did not do step one, you can save the insides to pick out the seeds later, or just discard/compost. 

3. Place squash halves on a roasting pan with the skin side touching the pan. Sprinkle each one with a little oil, using your fingers to spread the oil around each half, then sprinkle each with salt and pepper. Roast for about 35-50 minutes at 400 degrees, until they are golden and a fork goes in easily. When done, turn the oven off but keep squash inside to stay warm.

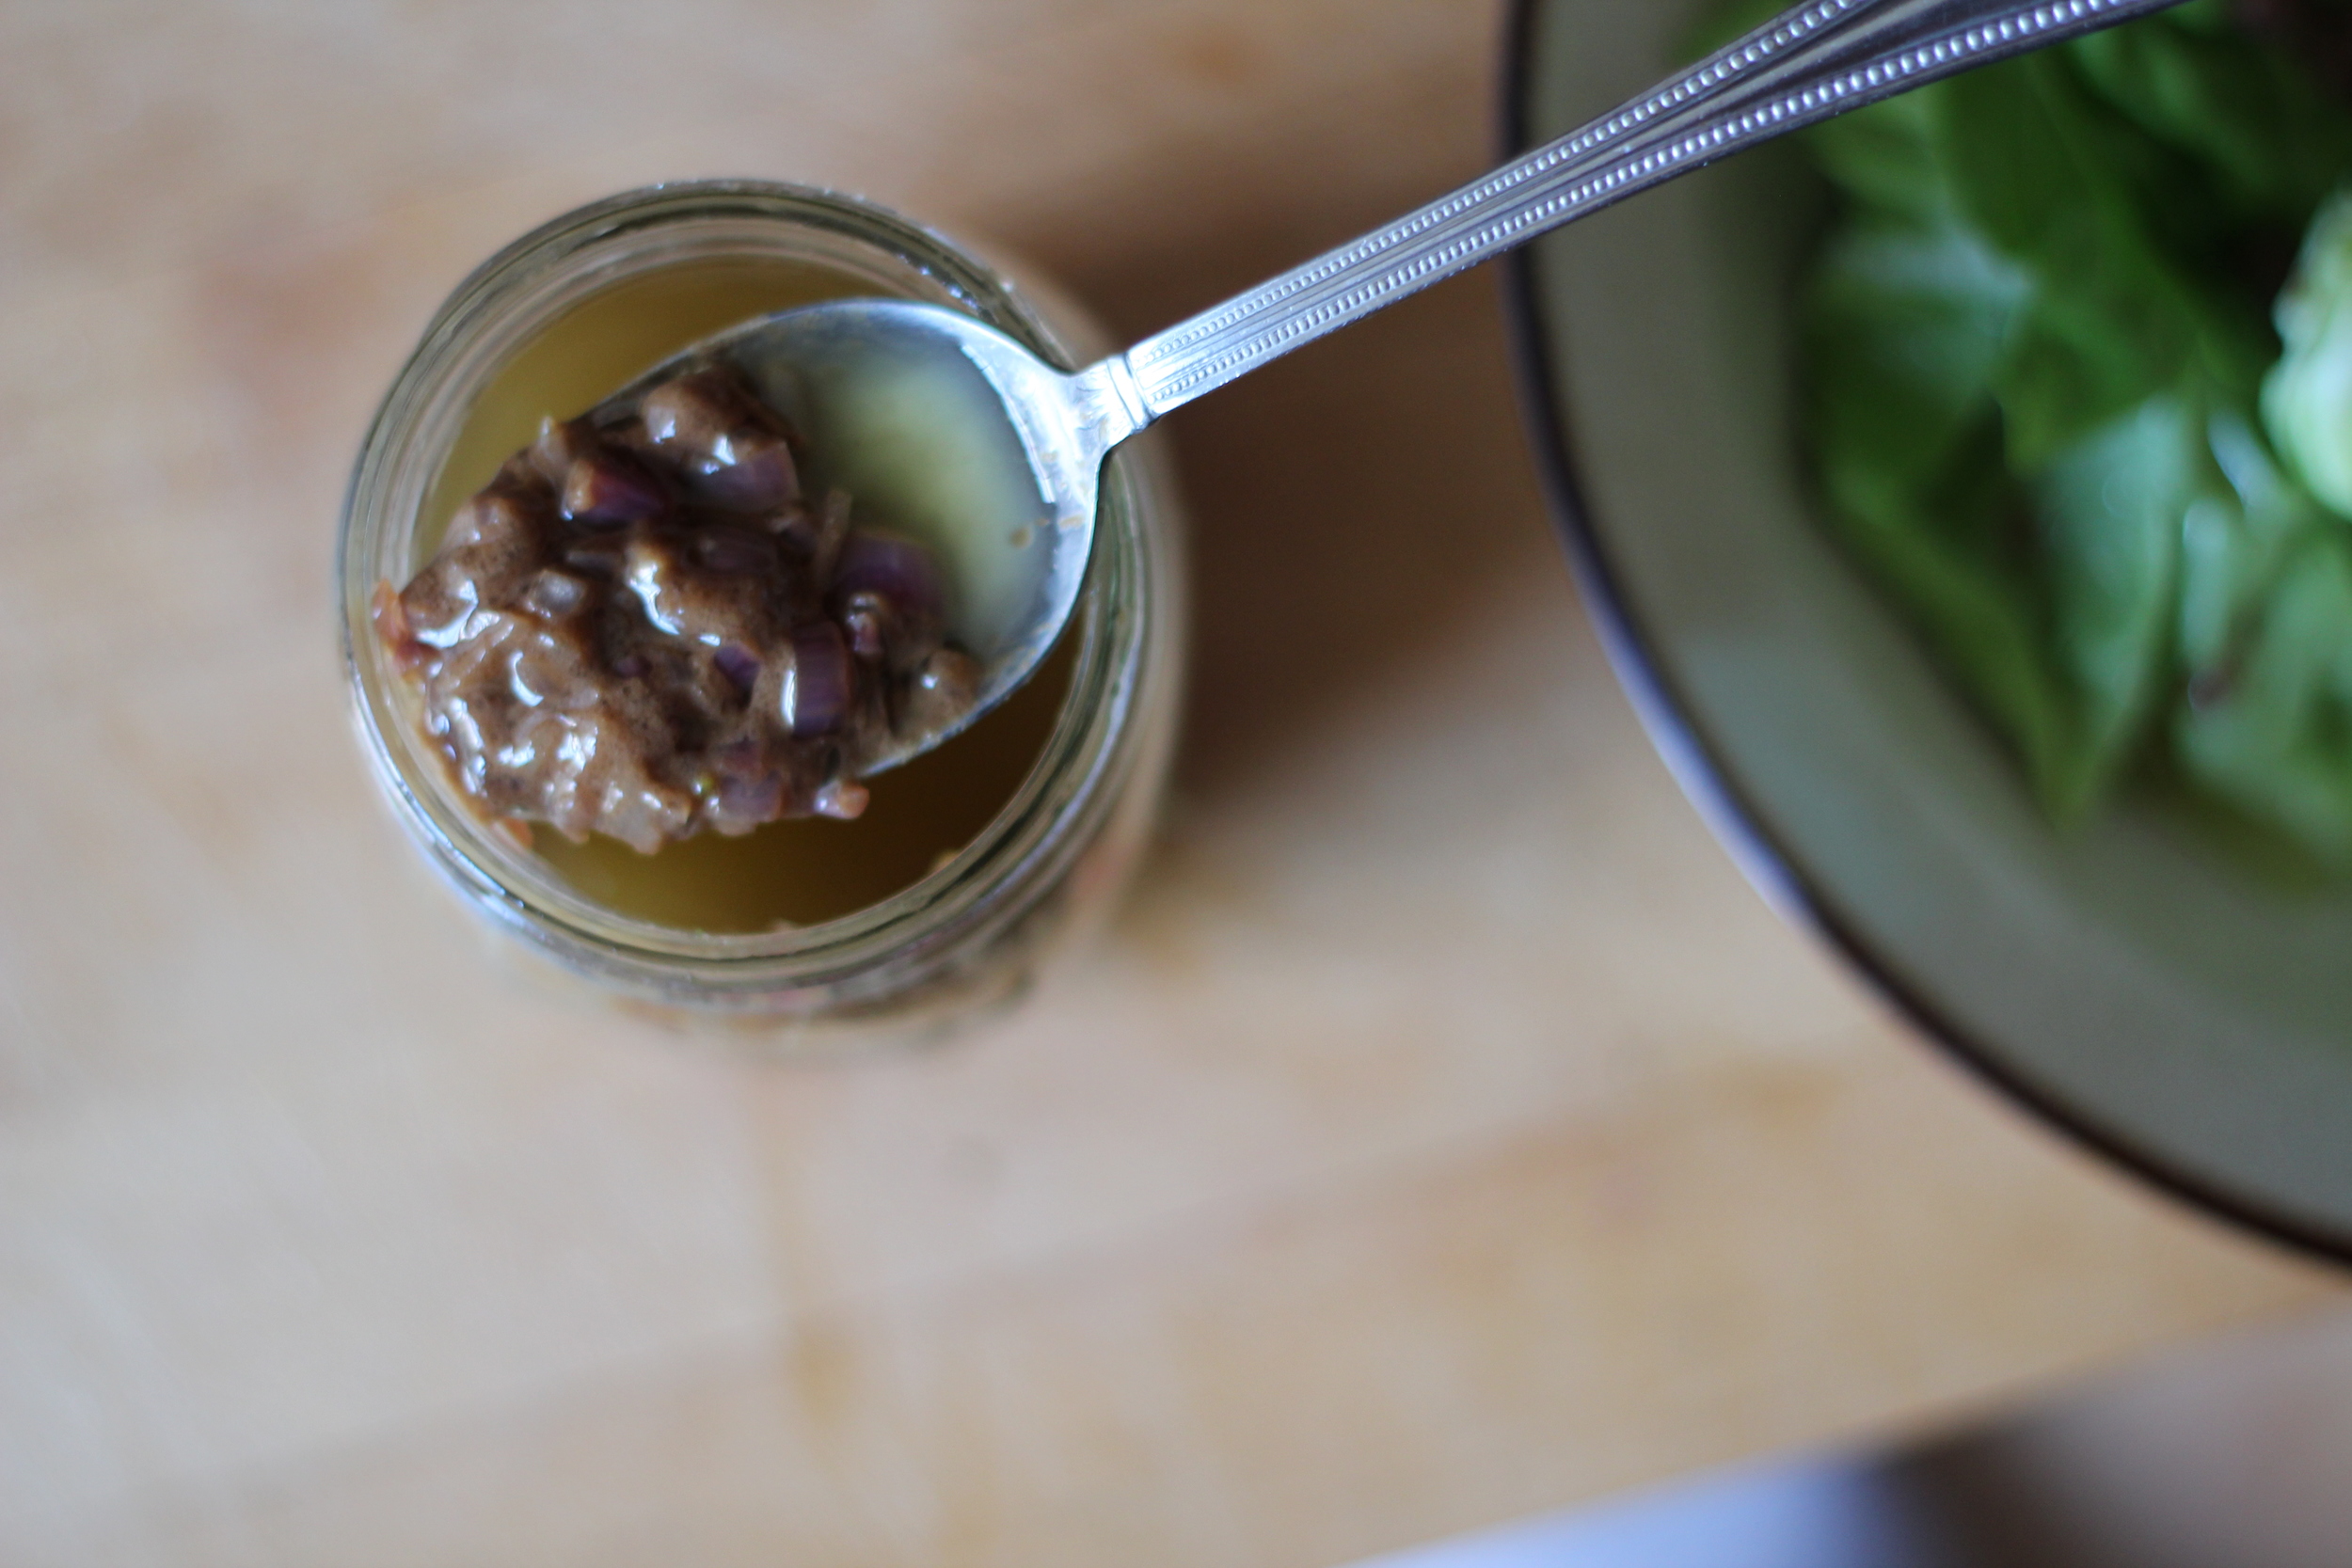
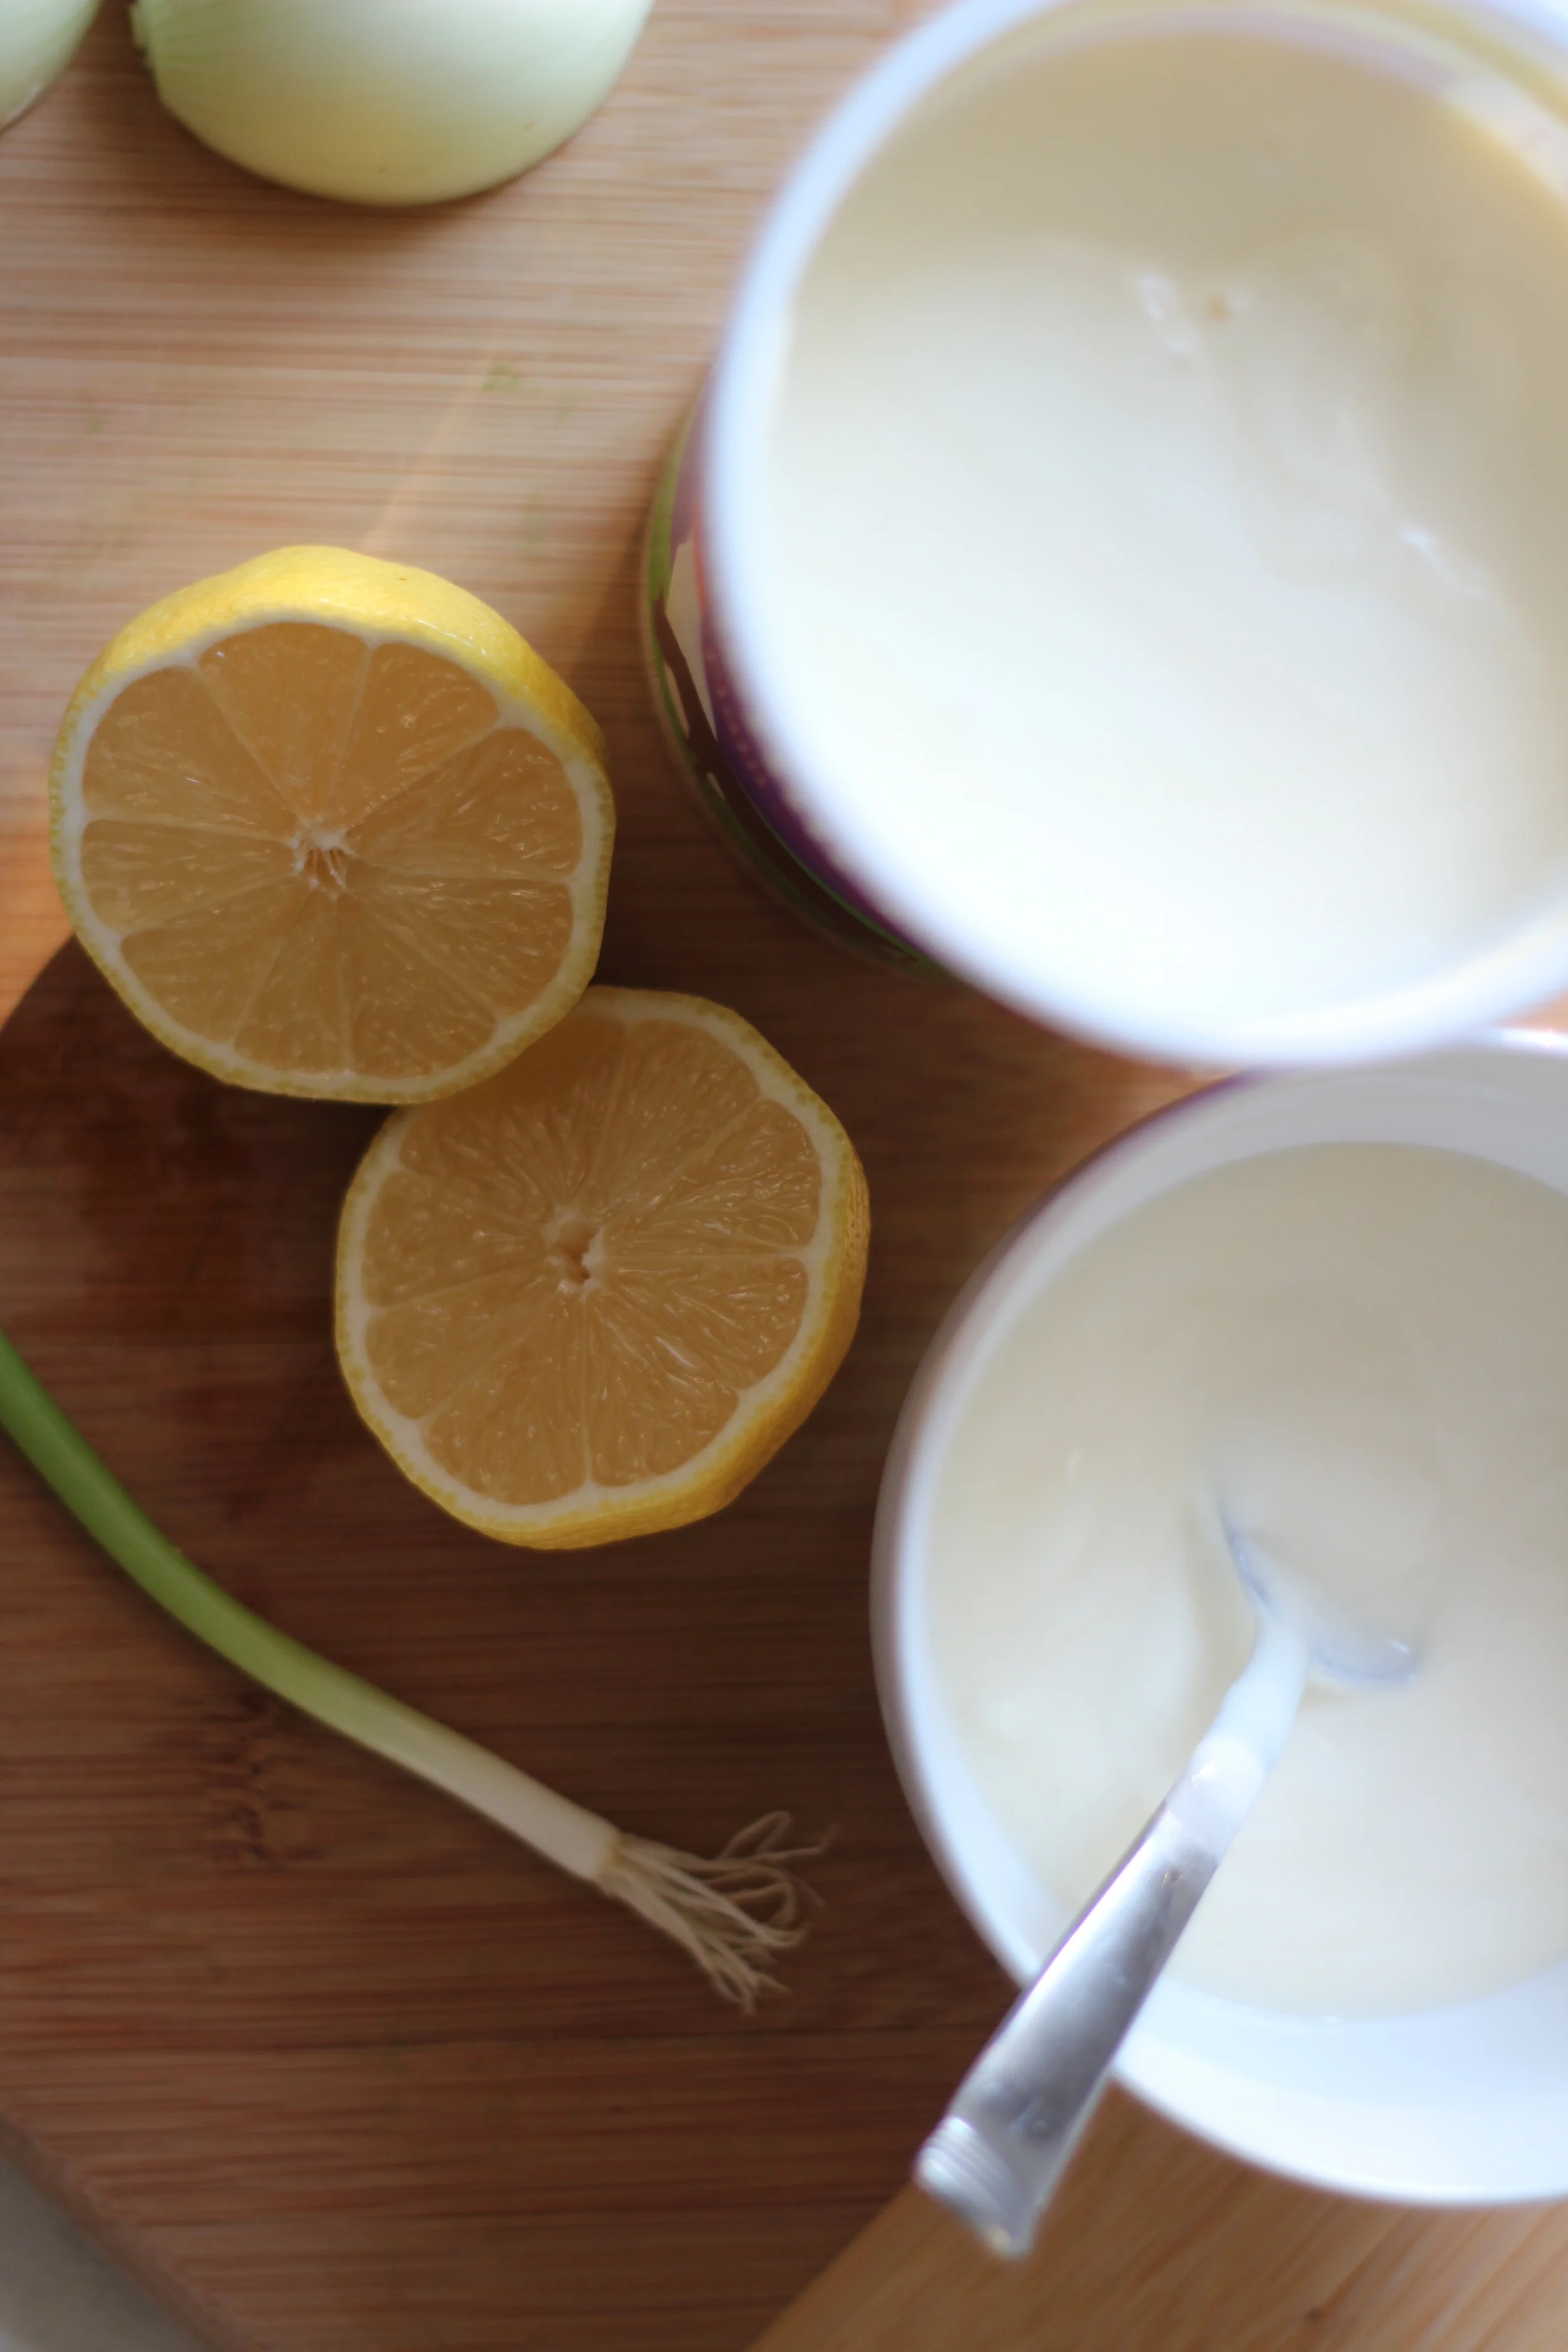
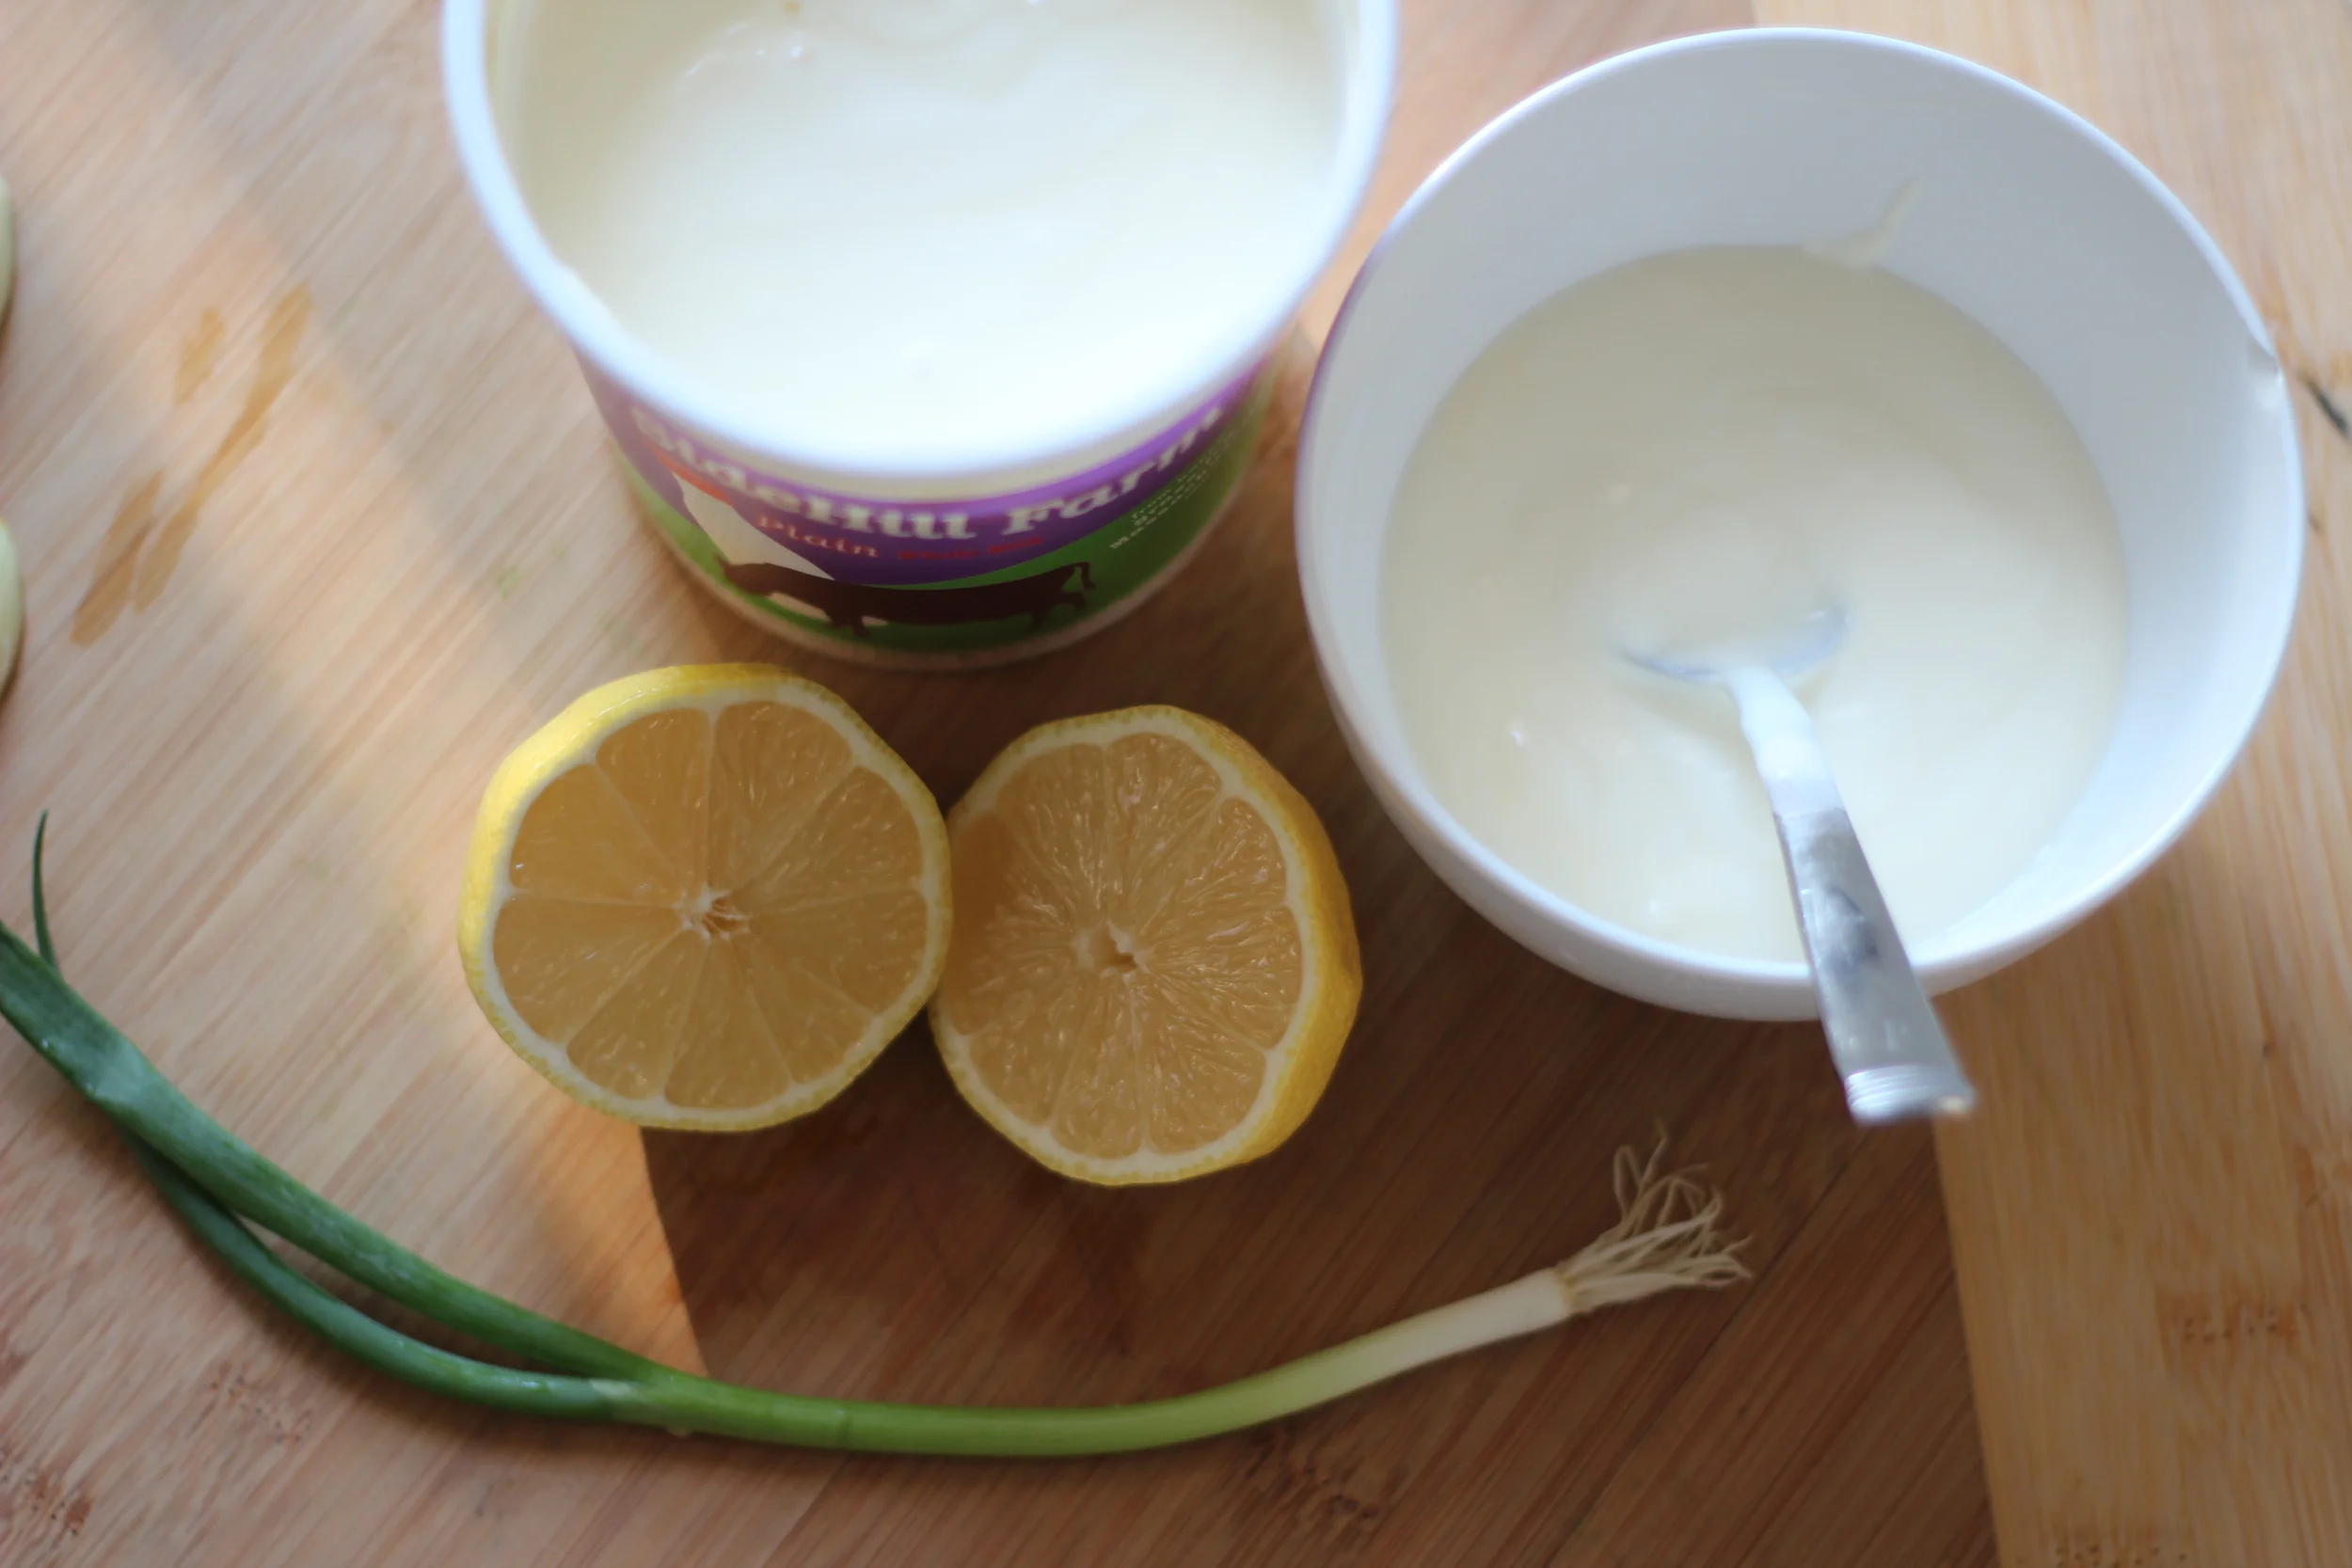
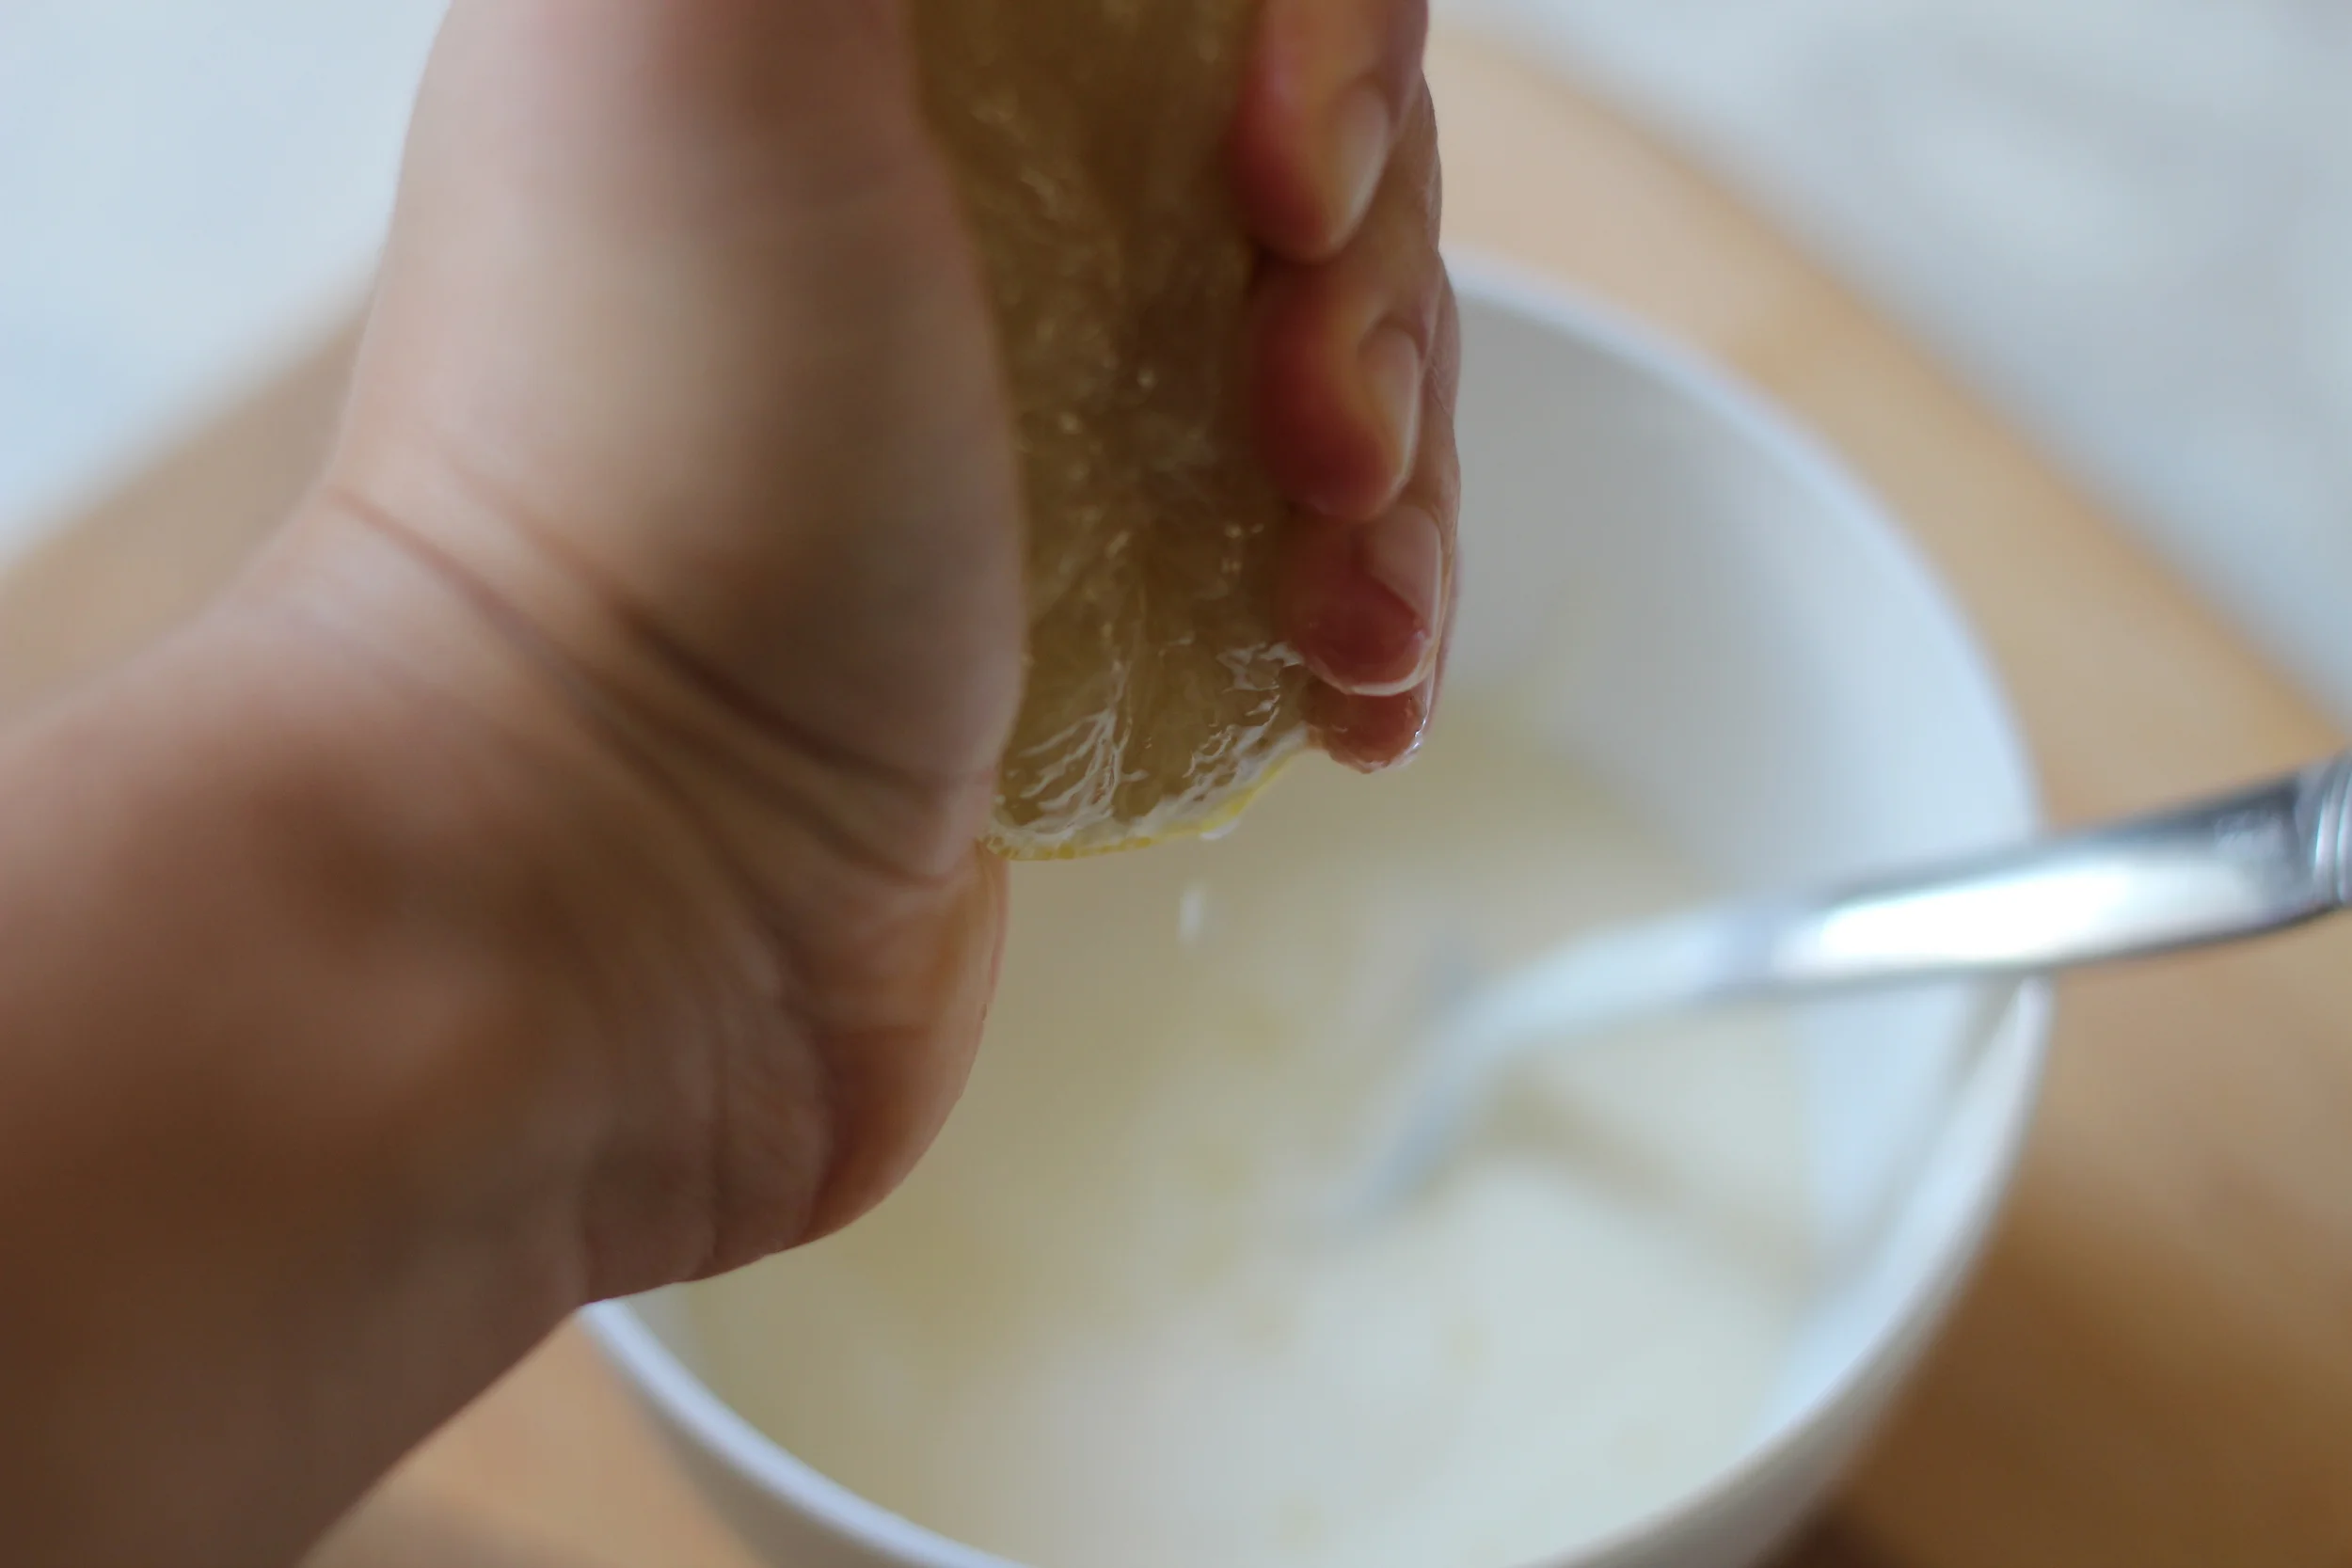
4. While squash are roasting, place about 2 cups of yogurt into a pretty serving bowl. Wash, dry, and finely chop your handful of herbs (or scallions), then stir into the yogurt. Wash your lemon and zest it directly into the bowl. Cut lemon and squeeze half of it into the bowl, catching seeds with a small sieve. Stir and taste. Add more lemon juice if you like. Put yogurt sauce in the fridge until serving time.

IMG_9424.JPG
IMG_9425.JPG
IMG_9427.JPG
IMG_9431.JPG
IMG_9434.JPG
IMG_9436.JPG
IMG_9437.JPG
IMG_9439.JPG
IMG_9447.JPG
IMG_9450.JPG
IMG_9424.JPG IMG_9425.JPG IMG_9427.JPG IMG_9431.JPG IMG_9434.JPG IMG_9436.JPG IMG_9437.JPG IMG_9439.JPG IMG_9447.JPG IMG_9450.JPG

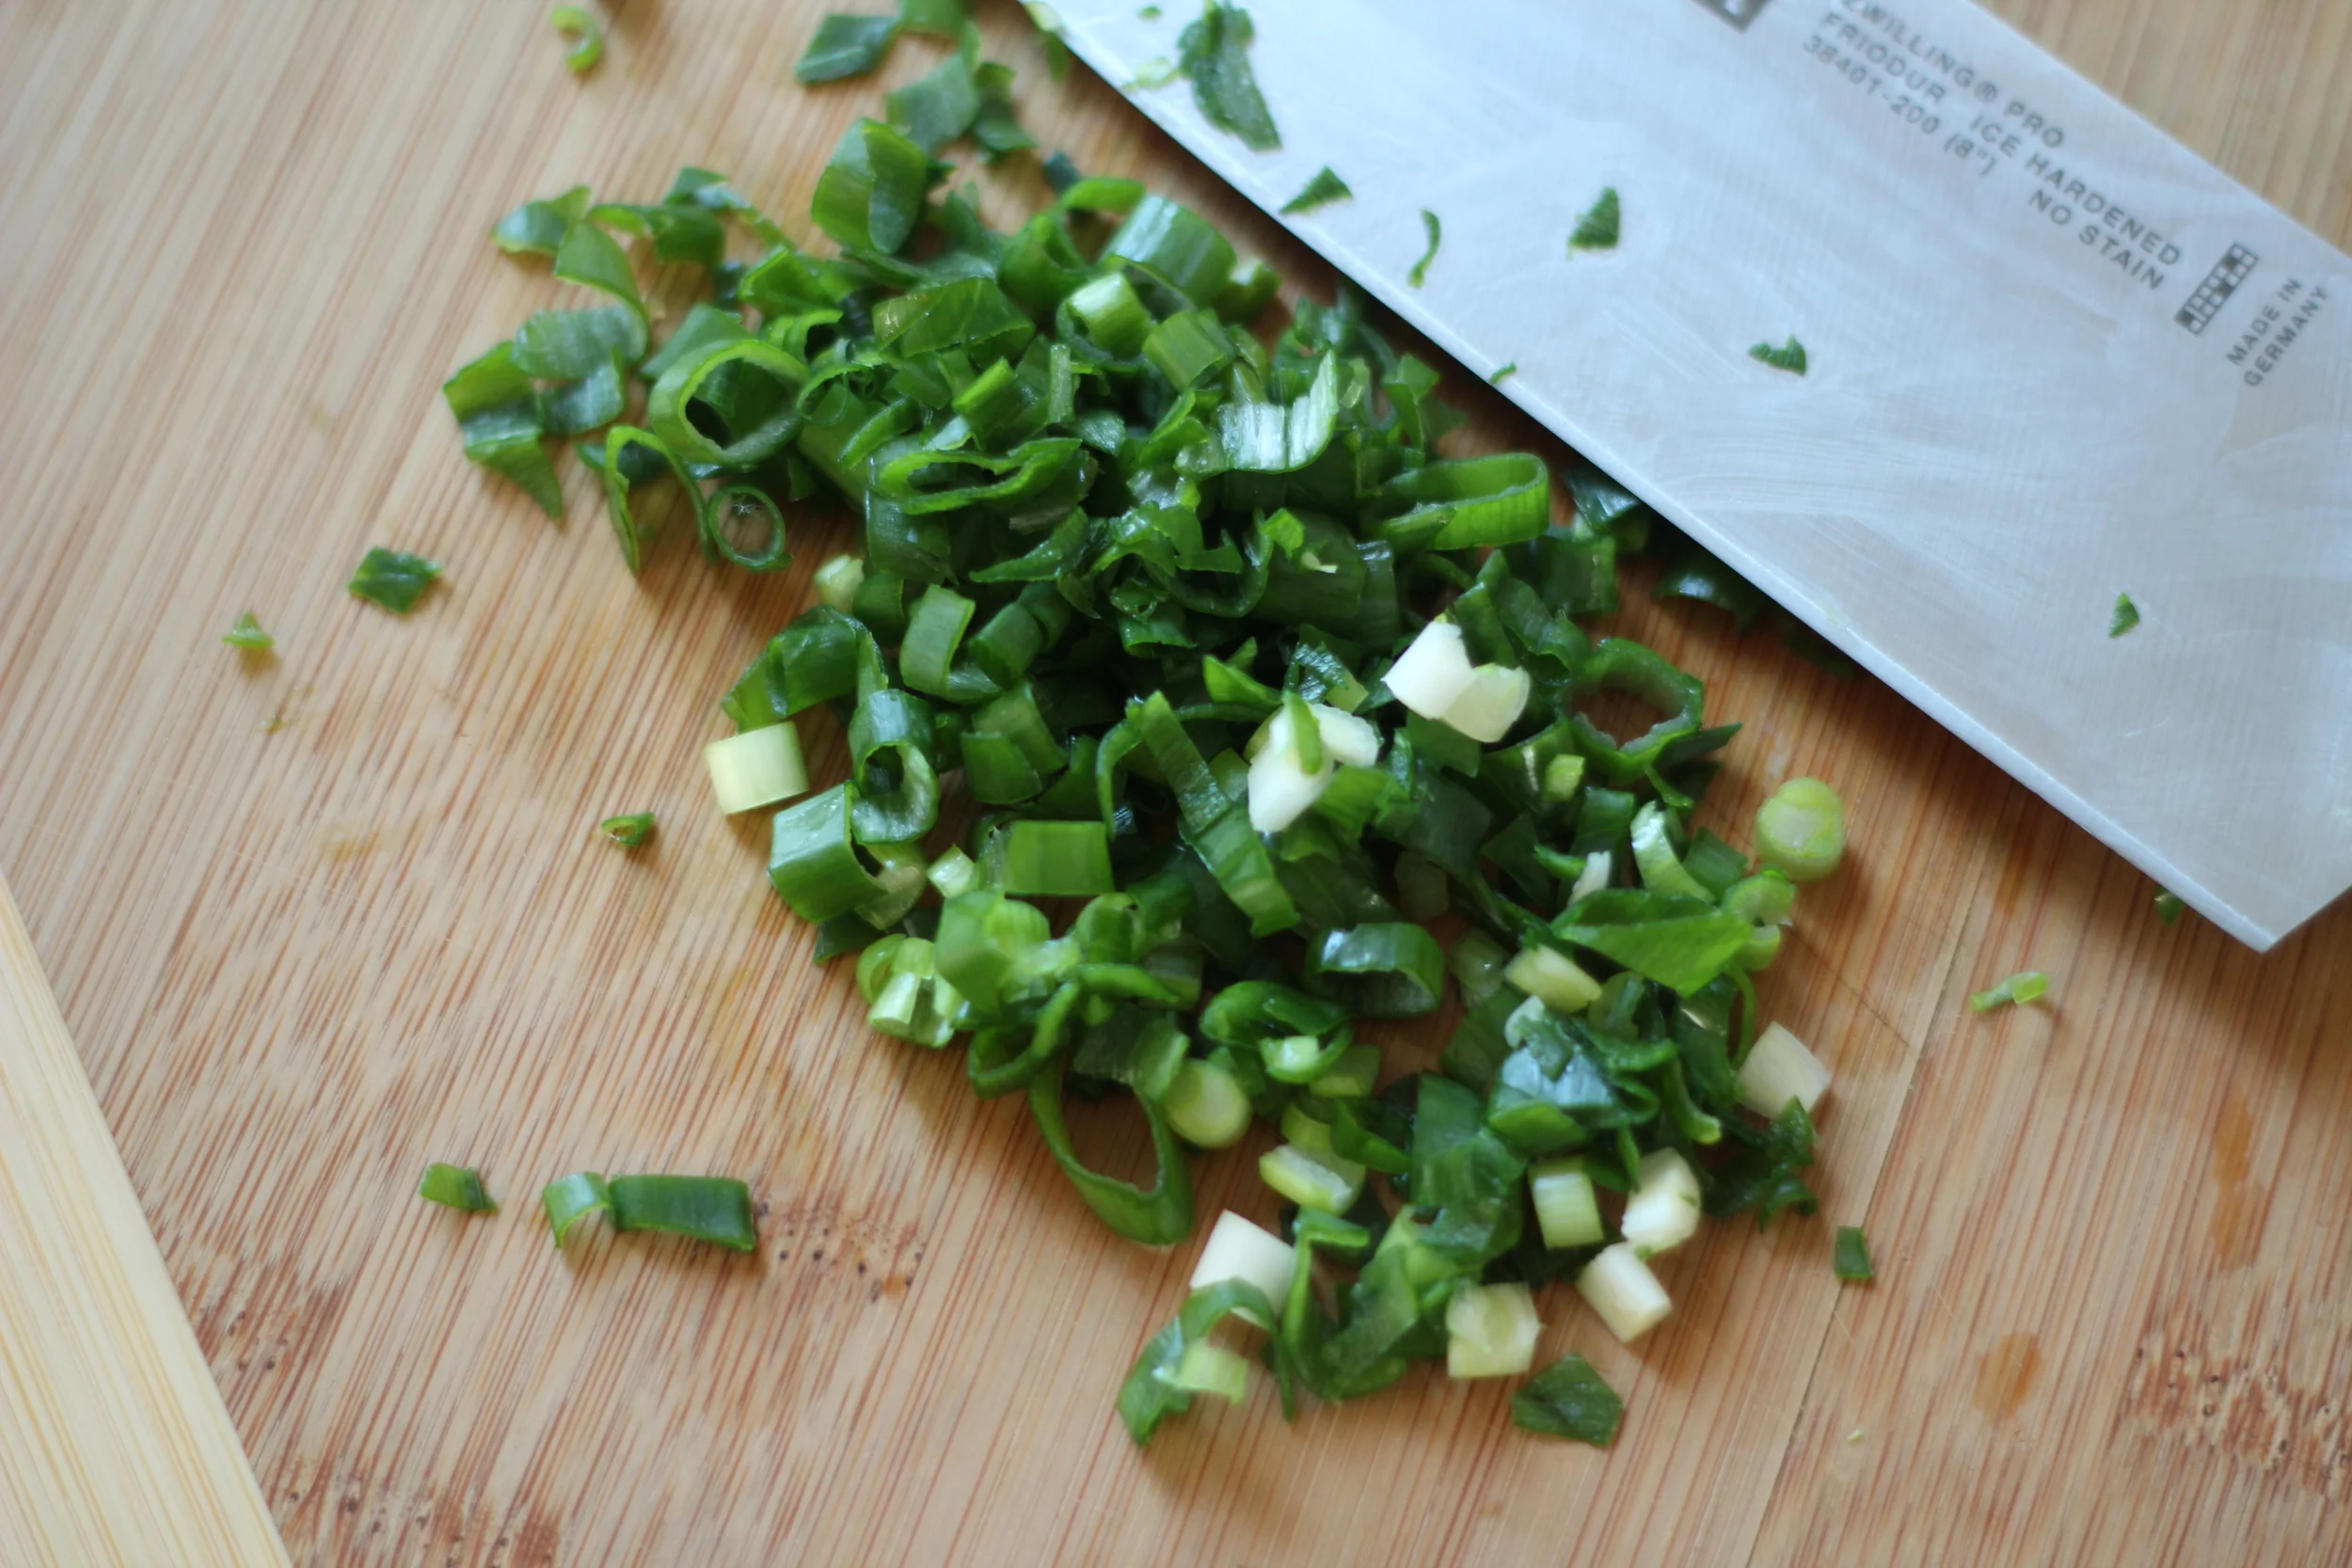
5. Wash and cut your kale or other greens into roughly bite-size pieces. If using greens with a thick stalk (like kale), I remove the stalks and chop them into small pieces to add to the stir-fry as well. Chop/dice your onion and any other veggies your adding. Crush garlic, peel it and then roughly mince.

6. Heat your sauté pan on medium heat. Add a good glug of oil and your garlic, onions, chopped kale stalks, and any other hearty veggies (save greens for the end). Sauté until fragrant and mostly softened. Turn heat down if it's going too fast. Cut open your sausage packages and add directly to the pan. Using a spatula or wooden spoon, break up the sausage into bite size pieces. Allow to brown and cook thoroughly, flipping and mixing after a few minutes on each side. When you're pretty sure the sausage is cooked, place all the kale on top. Add about a quarter cup of water, then cover with a lid to let the kale steam. After about a minute or two, remove the lid. Kale should be bright green. Mix in thoroughly and turn off the heat. 

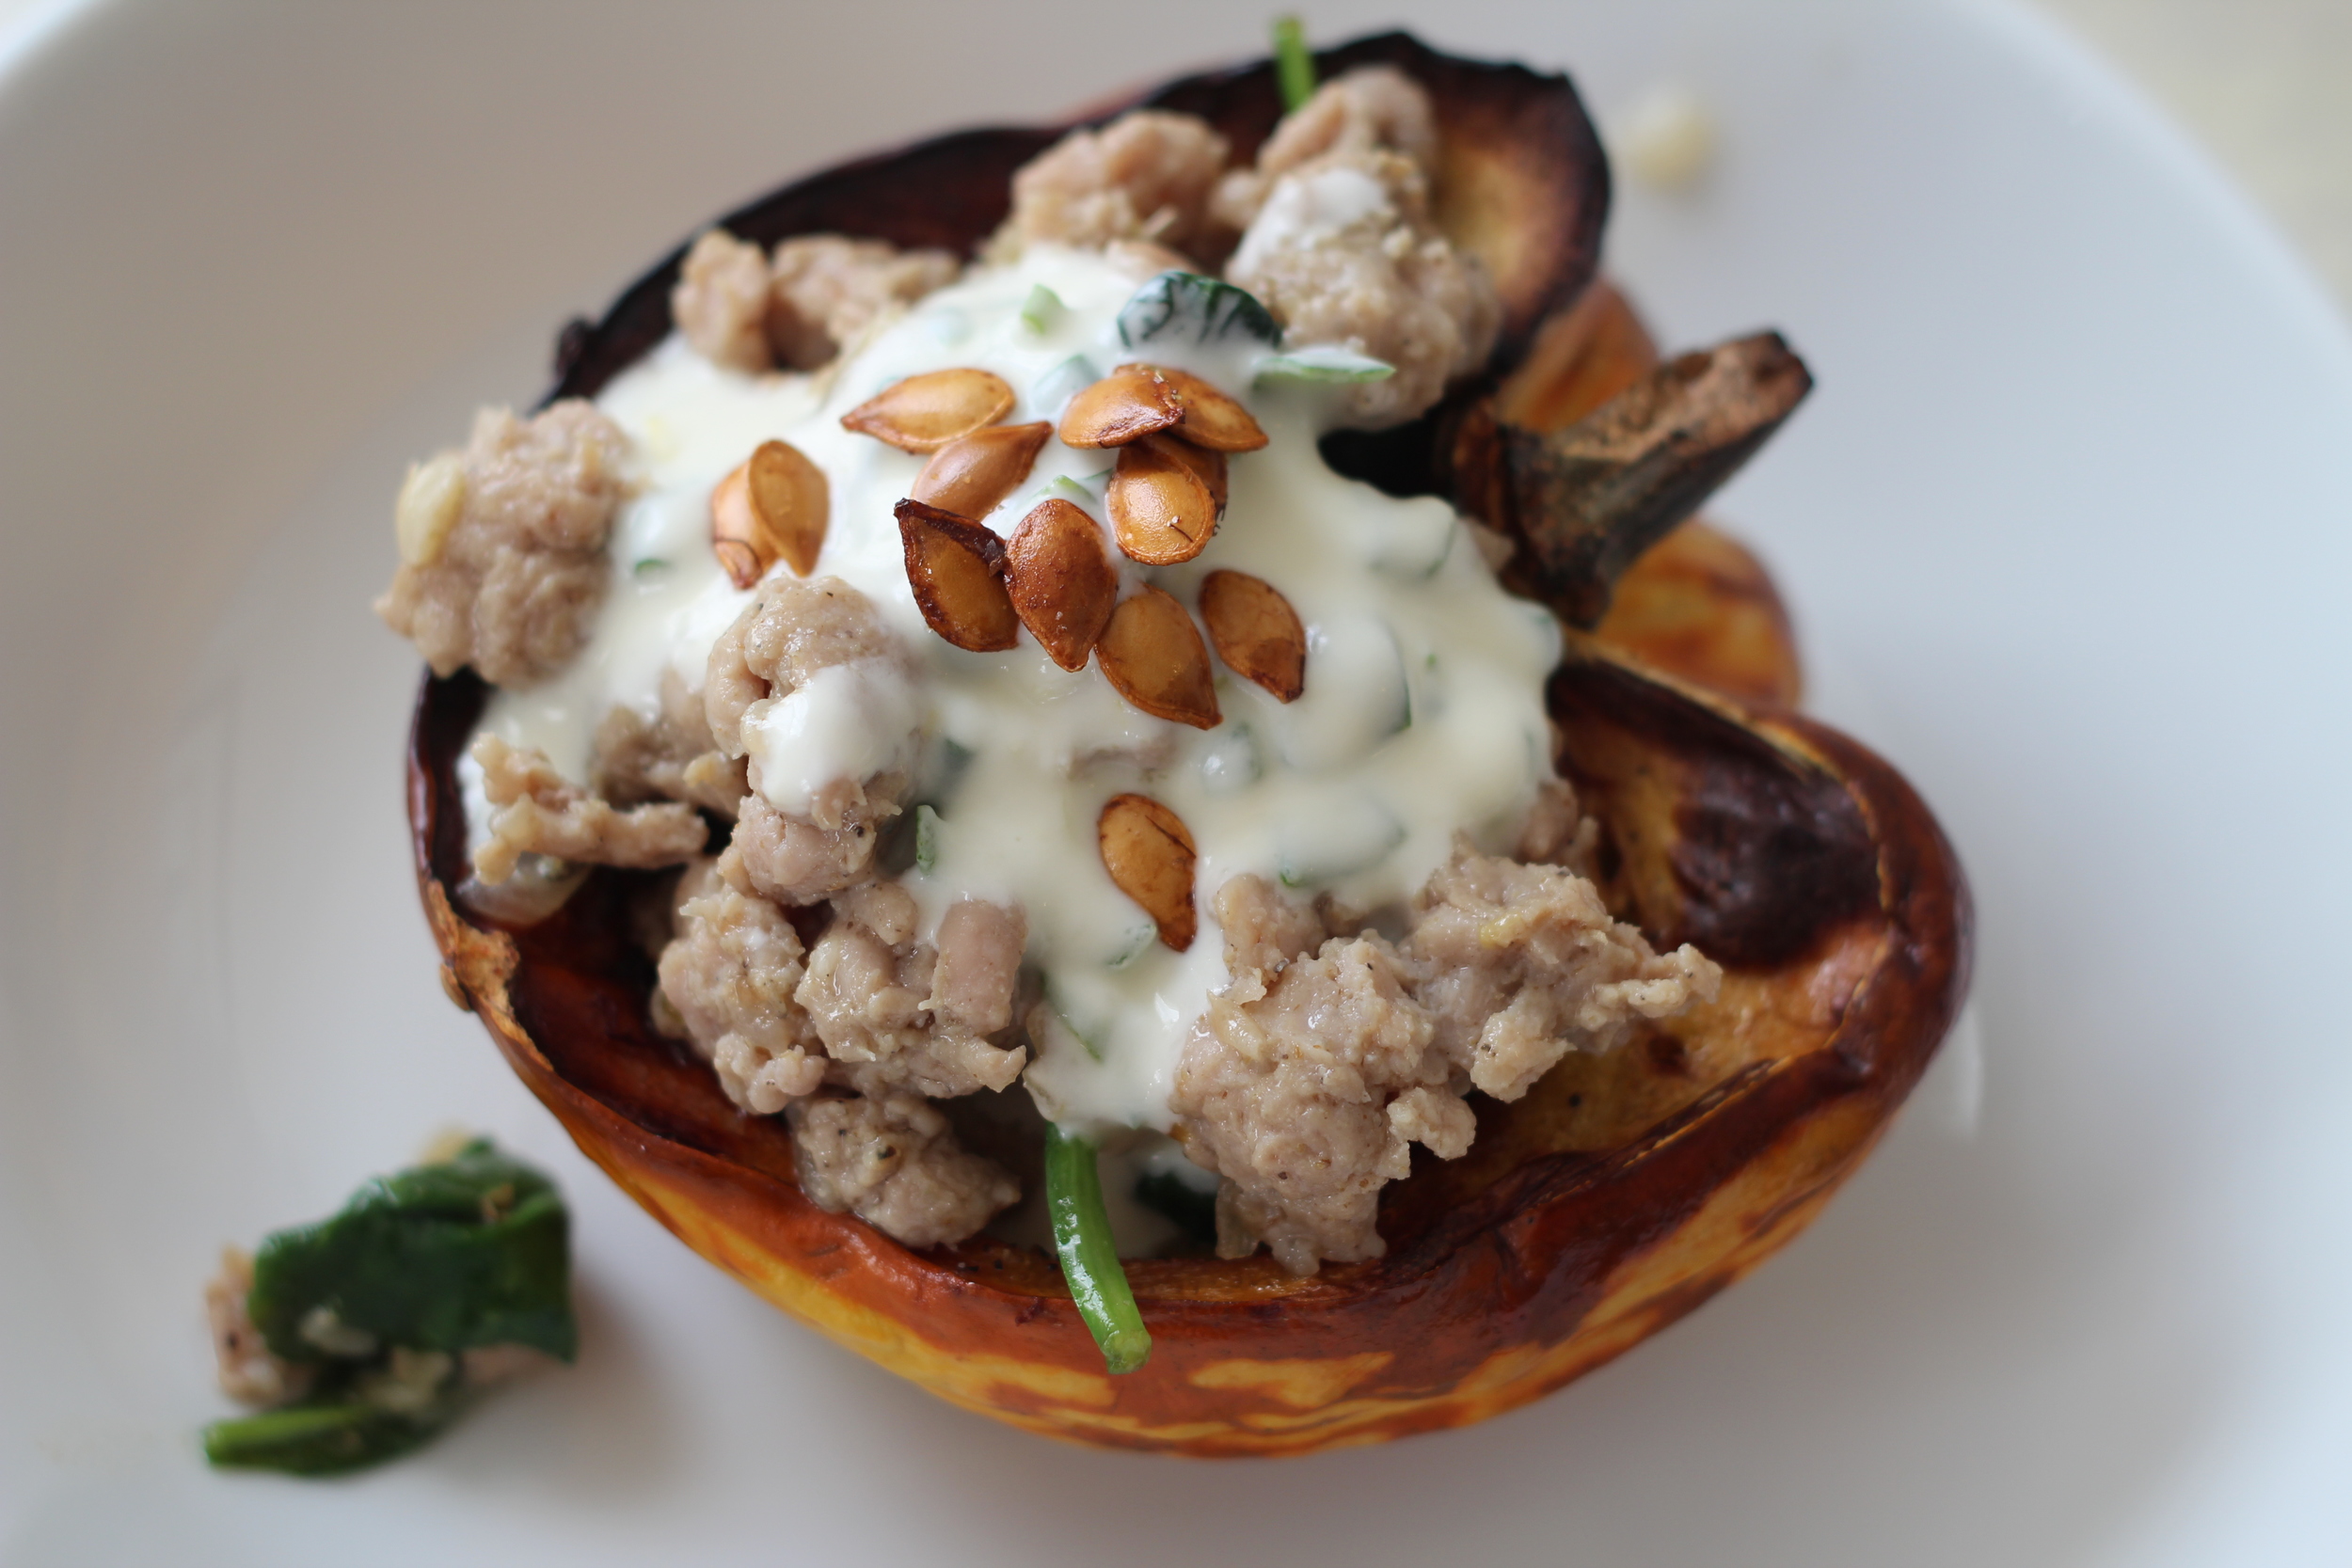
7. At this point your squash should be ready. Place squash halves on plates, one half per person. Carefully spoon sausage mixture into each squash to make a heaping portion. Top with a few spoons of yogurt sauce, and (optionally) some toasted squash seeds. (If you did not make the seeds, you could also top with a few nuts, breadcrumbs, or other crunchy topper of your choice. OR it's also perfectly delicious without a topper!) Serve with spoons and remind guests to scoop bites of squash along with bites of sausage mixture! Keep yogurt sauce on the table in case folks want extra.

Voila!!

Voila!!


In dinner party, my go-to recipes Tags dinner, entertaining, gluten free
1 Comment
IMG_3633shallot_spoon_yes.JPG

the most magical salad dressing - sizzled shallot vinaigrette

September 23, 2015

I dedicate this first recipe post (FINALLY!!!) to my wonderful mom. 

Once upon a time, I was that nerdy girl who still had a lunchbox in 8th grade, when everyone had long converted to the much cooler brown bags. I still remember that lunchbox – it was pale blue from GapKids with an elastic-bungie-water-bottle-holder on the front. Despite my extreme embarrassment to be carrying a lunchbox at 13, I continued to do so because of A) my convictions for the environment and resulting hatred of daily throw-away paper bags, and B) pure function. I needed that lunchbox because the deliciousness toted inside required multiple Tupperwares and sometimes even a thermos. 

I have zero doubts that for the duration of my school-age life, I had the absolute best lunches in the cafeteria. I’m talking homemade wedding soup, chicken & pesto wraps on lavash, mixed green salads with roasted tomatoes and homemade dressing in those tiny medicine-cup-sized Tupperwares that my brothers always seemed to lose. There was always real, metal silverware to eat with. And oftentimes a love note too. 

The mastermind behind my daily made-from-scratch lunch creations was my one-of-a-kind mom. I know that any writing I do about food will always be infused with references to my mom and her cooking. Every time I sit down to write something for this blog, I’m amazed at the way food memories about my family just come oozing out. 

This is my mom’s recipe, which she created/replicated on her own after we had enjoyed it many times at one of our favorite restaurants in Wilmington, North Carolina where we’d vacation every summer. It sounds oh-so-glamorous, but it is very easy to make and SO INCREDIBLY DELICIOUS, you might even be tempted to drink it (only half kidding). Its hearty texture lends it permission to act as a sauce as well, and it's great on just about anything - roasted veggies, spooned over eggs, as a dipping oil for bread, you name it. I haven't met anyone who didn't think it was magical, and I love it so much that I make it almost every other week. I'm confident you will too!

IMG_3641_shallot_maybe jar.JPG

 
Sizzled Shallot Vinaigrette

Makes roughly 1.5 cups of dressing
Total time: about 45 minutes
Active time: about 15 minutes

Ingredients:
- olive oil and/or grapeseed oil
- dijon mustard
- 1 to 3 shallots
- balsamic vinegar
- salt and pepper to taste (optional)

Tools & stuff:
- small shallow pan (a small saucepan works fine too)
- a pint-size jar with a lid  
- a knife for chopping, a fork, spoon, and a soft spatula
- your stovetop

Things to know:
- I find it most efficient to make this recipe when I am already doing other cooking. There is a good amount of down time and it’s ideal to be in the kitchen to keep an eye on your shallots while they’re heating up. 
- If you like warm dressings on a salad, it's completely fine to make this just before serving. Otherwise, I recommend making it a day ahead (that’s what I usually do). It will last a week or two in the fridge - if you can keep it around that long! Oils often solidify in the fridge, so if making ahead - make sure to bring to room temp before using.

Instructions:

1. Peel and chop the shallots to somewhere in between a rough and fine chop. I usually use two or three shallots, but you can get away with one. The more shallots, the more “chunky” your dressing will be, and the more dressing you can make. I like it chunky, but to each her own.

2. Place the chopped shallots in a shallow pan on the stove, and spread them out to make an even layer. Pour olive oil and/or grapeseed oil* into the pan - enough to just cover the shallots. This will vary depending on the size of your pan, but should be close to a cup of oil. 

*Note about the oils: I am trained (thanks to my dad) to use grapeseed oil for cooking, as it has a higher smoke point than olive oil (more info here). Grapeseed oil’s mild flavor is good for dressings, and I usually throw in some olive oil for flavor at the end. But if I don't have grapeseed oil, I make this recipe using only olive oil and it works perfectly well. 

3. Using your smallest burner, turn the heat on low or simmer. You’ll keep it this way for 10-20 minutes, depending on the power of your stove. Usually around 10-15 minutes, the oil will start to lightly bubble. The goal is for the shallots to be translucent but not at all brown or crispy. Once the shallots are soft and translucent (usually when it starts bubbling or a couple minutes after), turn off the heat and move the pan to a cool burner. The mixture should smell warmly fragrant and a little sweet. If the shallots do get a tad brown or crispy, it will still be ok, just turn off the heat as soon as you see this happening. 

4. Allow the oil & shallot mixture to cool for about 10-15 minutes. Then, use your spatula/spoon to carefully scoop the oil and shallots into the jar.

5. Add about a tablespoon of Dijon mustard and about two tablespoons of balsamic vinegar (or about ¼ the amount of oil in your jar). Using the fork, whisk it up in the jar so that the mustard, vinegar and oil emulsify. It should be a creamy brown color. It won’t blend perfectly due to the shallot chunks, so once it starts coming together (or if you're having trouble getting it to come together), put the lid on the jar and shake well. If the oil is still warm, be careful when you're shaking it - warm liquids shaken tend to make a bit of a mess.

6. Take off the lid and spoon* a little dressing onto a piece of lettuce to taste it. Add more mustard/vinegar to taste, a little at a time. If needed (or if you used grapeseed oil), add a little olive oil as well (If you accidentally add too much mustard or vinegar, add a little more oil to round it out.) If you’d like, add salt and pepper to taste.

Voila! Magic in a jar.

*Note that some of the oil will always stay at the top and won’t mix in fully. This is totally normal and fine. Just use a spoon instead of pouring out the dressing to make sure you get equal parts shallot-mixture and oil. And when you're doing your taste-tests while making, be sure to get through the oil on top and down into the shallot-y goodness!
 

PS. Author’s note: I never measure when I make this recipe because I do it all to taste, so that’s why the amounts are pretty rough. Making your own salad dressings is the perfect way to start learning to cook by using your senses more than measuring. If you add too much vinegar, you can just add more oil to balance it back out. If it’s not creamy enough, add another squirt of mustard. I promise you can’t mess this up (other than completely burning the shallots), but I’m new at this recipe writing so please share your feedback!!!


In my go-to recipes, dinner party
3 Comments
Featured
IMG_7074.JPG
Cauli-faux-caccia: the recipe that came to me in a dream!
the tinder message I'm still thinking about 1 year later 🔥
IMG_5175.jpeg
Magic Cold Elixir / how I stop the sniffles before they start
the "diet" I live by
91DD3A77-66D3-446C-9BA1-792E415598A0.jpeg
CAESAR SALAD DRESSING, TWO WAYS
7569A20C-08EC-4201-B5B7-871CA173D477.jpeg
Beginner's Guide to Kombucha
showstopper stuffed squash
GIFT GUIDE 2019: for the kitchen and beyond
IMG_5428.JPG
The 2-Minute Habit that Saves Time, $, and Energy in the Kitchen
fullsizeoutput_223b.jpeg
Lemon Bars, a Homeless Guy, and the Big Questions (An Essay)
IMG_6146.JPG
Five Minute Red Curry Sauce, hello old friend!
IMG_5390.JPG
Resourcefulness to Preserve my Reggiano (Parmigiano-Reggiano, that is)
Brandless Dinner-24.jpg
Getting back to blogging
IMG_6720.JPG
WHEN RECIPES GO WRONG: SALT, TASTE, QUESTION!

BLOG ARCHIVE


© Garlic Press Ventures  •  privacy policy  • terms of use •  follow on Instagram