• HOME
  • KITCHEN SHOP
  • Recipes
  • Blog
  • About
Menu

GARLIC PRESS JESS

  • HOME
  • KITCHEN SHOP
  • Recipes
  • Blog
  • About

showstopper stuffed squash

January 9, 2020

The original version of this was posted back in 2016. I updated the recipe below to be more accurate to the way I currently make it!


Original head note from Jan 25, 2016:

I know, I know - I've been MIA from the blog for quite some time. I'm back on the mainland and have been traveling around over the last month seeing family and friends, but now I'm finally back in San Francisco and not going anywhere for a while! I've been cooking up a storm for friends over the last few weeks, so it's about time I got to posting some recipes! (I definitely have some Hawaii-wrap-up blogging to do. I figure I'll sprinkle it in over the next few months as I get back to posting regularly, so stay tuned!)


I don't remember how I came up with this dish but I can tell you that it's my go-to "impress people" meal for the winter time. It's pretty easy to make, incredibly adaptable, and wonderfully satisfying! I've made it for many different groups of friends and everyone raves. Can't wait to hear what you think!

showstopper stuffed squash

Cooking time: about 1 hour, 30 mins
Serves 6 (or make this much and have lots of leftovers!)

Ingredients: 

  • 3 whole acorn squashes (one squash serves two people)

  • 2 cups plain yogurt (greek or whole milk yogurt recommended - you could also use a non-dairy yogurt like coconut or almond yogurt, just make sure it’s plain and not sweetened)

  • ~28oz bulk/raw sausage or ground meat of your choice* (I used to like the mild Italian Chicken sausage from Whole Foods, but it seems to be discontinued. This bulk pork sausage or something like it would work well.)

  • 1 lemon

  • a few cloves of garlic

  • 1 onion (or more/less - whatever you like/want to use up)

  • large handful or two of roughly chopped kale, chard, spinach, or any other hearty green

  • small handful of fresh parsley, cilantro, basil, or scallions - whichever you prefer or have on hand

  • any additional vegetables of your choosing that you might want to use up - bell peppers, leeks, carrots, celery, etc - roughly diced

  • a few glugs of cooking oil, I prefer grapeseed or olive oil

  • salt and pepper

Tools and stuff:
- baking sheet(s) for roasting, preferably with a rim
- large sauté pan (wide and shallow pan) with lid that fits
- large chef's knife and cutting board
- microplane or other zester
- spoon, fork, and small bowl
- grapefruit spoon, if you have it, for scooping out squash (nice to have, not required!)

Ingredient + Make Ahead Notes:

  • *Instead of bulk sausage, you could also use any ground meat of your choosing. If you do plain ground meat, I'd recommend adding dried herbs and/or spices to your sauté for additional flavor.

  • VEGETARIANS: You can also easily substitute tofu or extra veg (like broccoli, cauliflower, peppers, etc) for meat here. If using tofu I'd recommend throwing in a bit of soy sauce, fish sauce, rice wine vinegar, or any other flavorings you like!

  • To bulk up your veg or meat mixture, consider adding a cooked grain like quinoa, rice, or farro.

  • If cooking for a crowd, you could do both a veg and non-veg option, simply scale back the sausage to one or two packs and add one or two packs of tofu, prep all ingredients, and when it comes time to cook the sausage mixture, use two smaller sauté pans and follow the recipe as-is, just do one pan of sausage and one for tofu.

  • Squash can be roasted ahead. Yogurt sauce can be made ahead - it will last about a week in the fridge. If you end up with extra sautéed veg/sausage, it will be great as leftovers, but I recommend making it right before serving as sautéed food is best when freshly sautéed :).

Instructions:
1. OPTIONAL STEP for THE NIGHT BEFORE you want to eat this: removing squash seeds to dry out and make TOASTED SQUASH SEEDS to sprinkle on top of the dish. Wipe/clean the outsides of your squashes. Cut them in half, sticking your knife in at the top, going through or right next to the stem. Using your fingers, pick out the seeds from each squash and place directly on a baking sheet, trying to get as few stringy-parts as you can (a few are ok). Once you've pulled out all the seeds, spread them evenly on the sheet and place in oven (turned off) overnight or for several hours to allow them to dry out. If you are doing this the night before, at this point I recommend scooping out the stringy insides of the squash with a spoon or grapefruit spoon if you have it. Discard stringy flesh (OR save to make veggie/chicken stock later in the week). You can then put the squash halves back together, using a rubber band to keep them in place, and put in the fridge until the next day.

place seeds directly on roasting pans. a few strings are inevitable and A-OK! The secret to crispy seeds is letting them dry out before toasting them.

place seeds directly on roasting pans. a few strings are inevitable and A-OK! The secret to crispy seeds is letting them dry out before toasting them.

When you check the seeds (the next morning or after a few hours), they should be noticeably dry and slightly stuck to the sheet, but will come off easily when scraped with a spatula or your fingers. Loosen them up and spread evenly again, if you like - add a tiny bit of oil/toss, and then roast at 350 degrees for about 10-20 minutes until golden. Be careful - these are VERY easy to burn. I recommend continuously setting a timer for 5-min intervals and checking that often. Seeds are done when they are crispy to the bite. When finished, toss with salt/pepper/spices of your choice.

2. If you skipped step one, wipe/clean the outsides of your squashes. Cut them in half, sticking your knife in at the top, going through or right next to the stem. Scoop out the stringy insides of the squash with a spoon or grapefruit spoon if you have it. If you did not do step one, you can save the insides to pick out the seeds later, or just discard/compost. 

3. Place squash halves on a roasting pan with the skin side touching the pan. Sprinkle each one with a little oil, using your fingers to spread the oil around each half, then sprinkle each with salt and pepper. Roast for about 35-50 minutes at 400 degrees, until they are golden and a fork goes in easily. When done, turn the oven off but keep squash inside to stay warm.

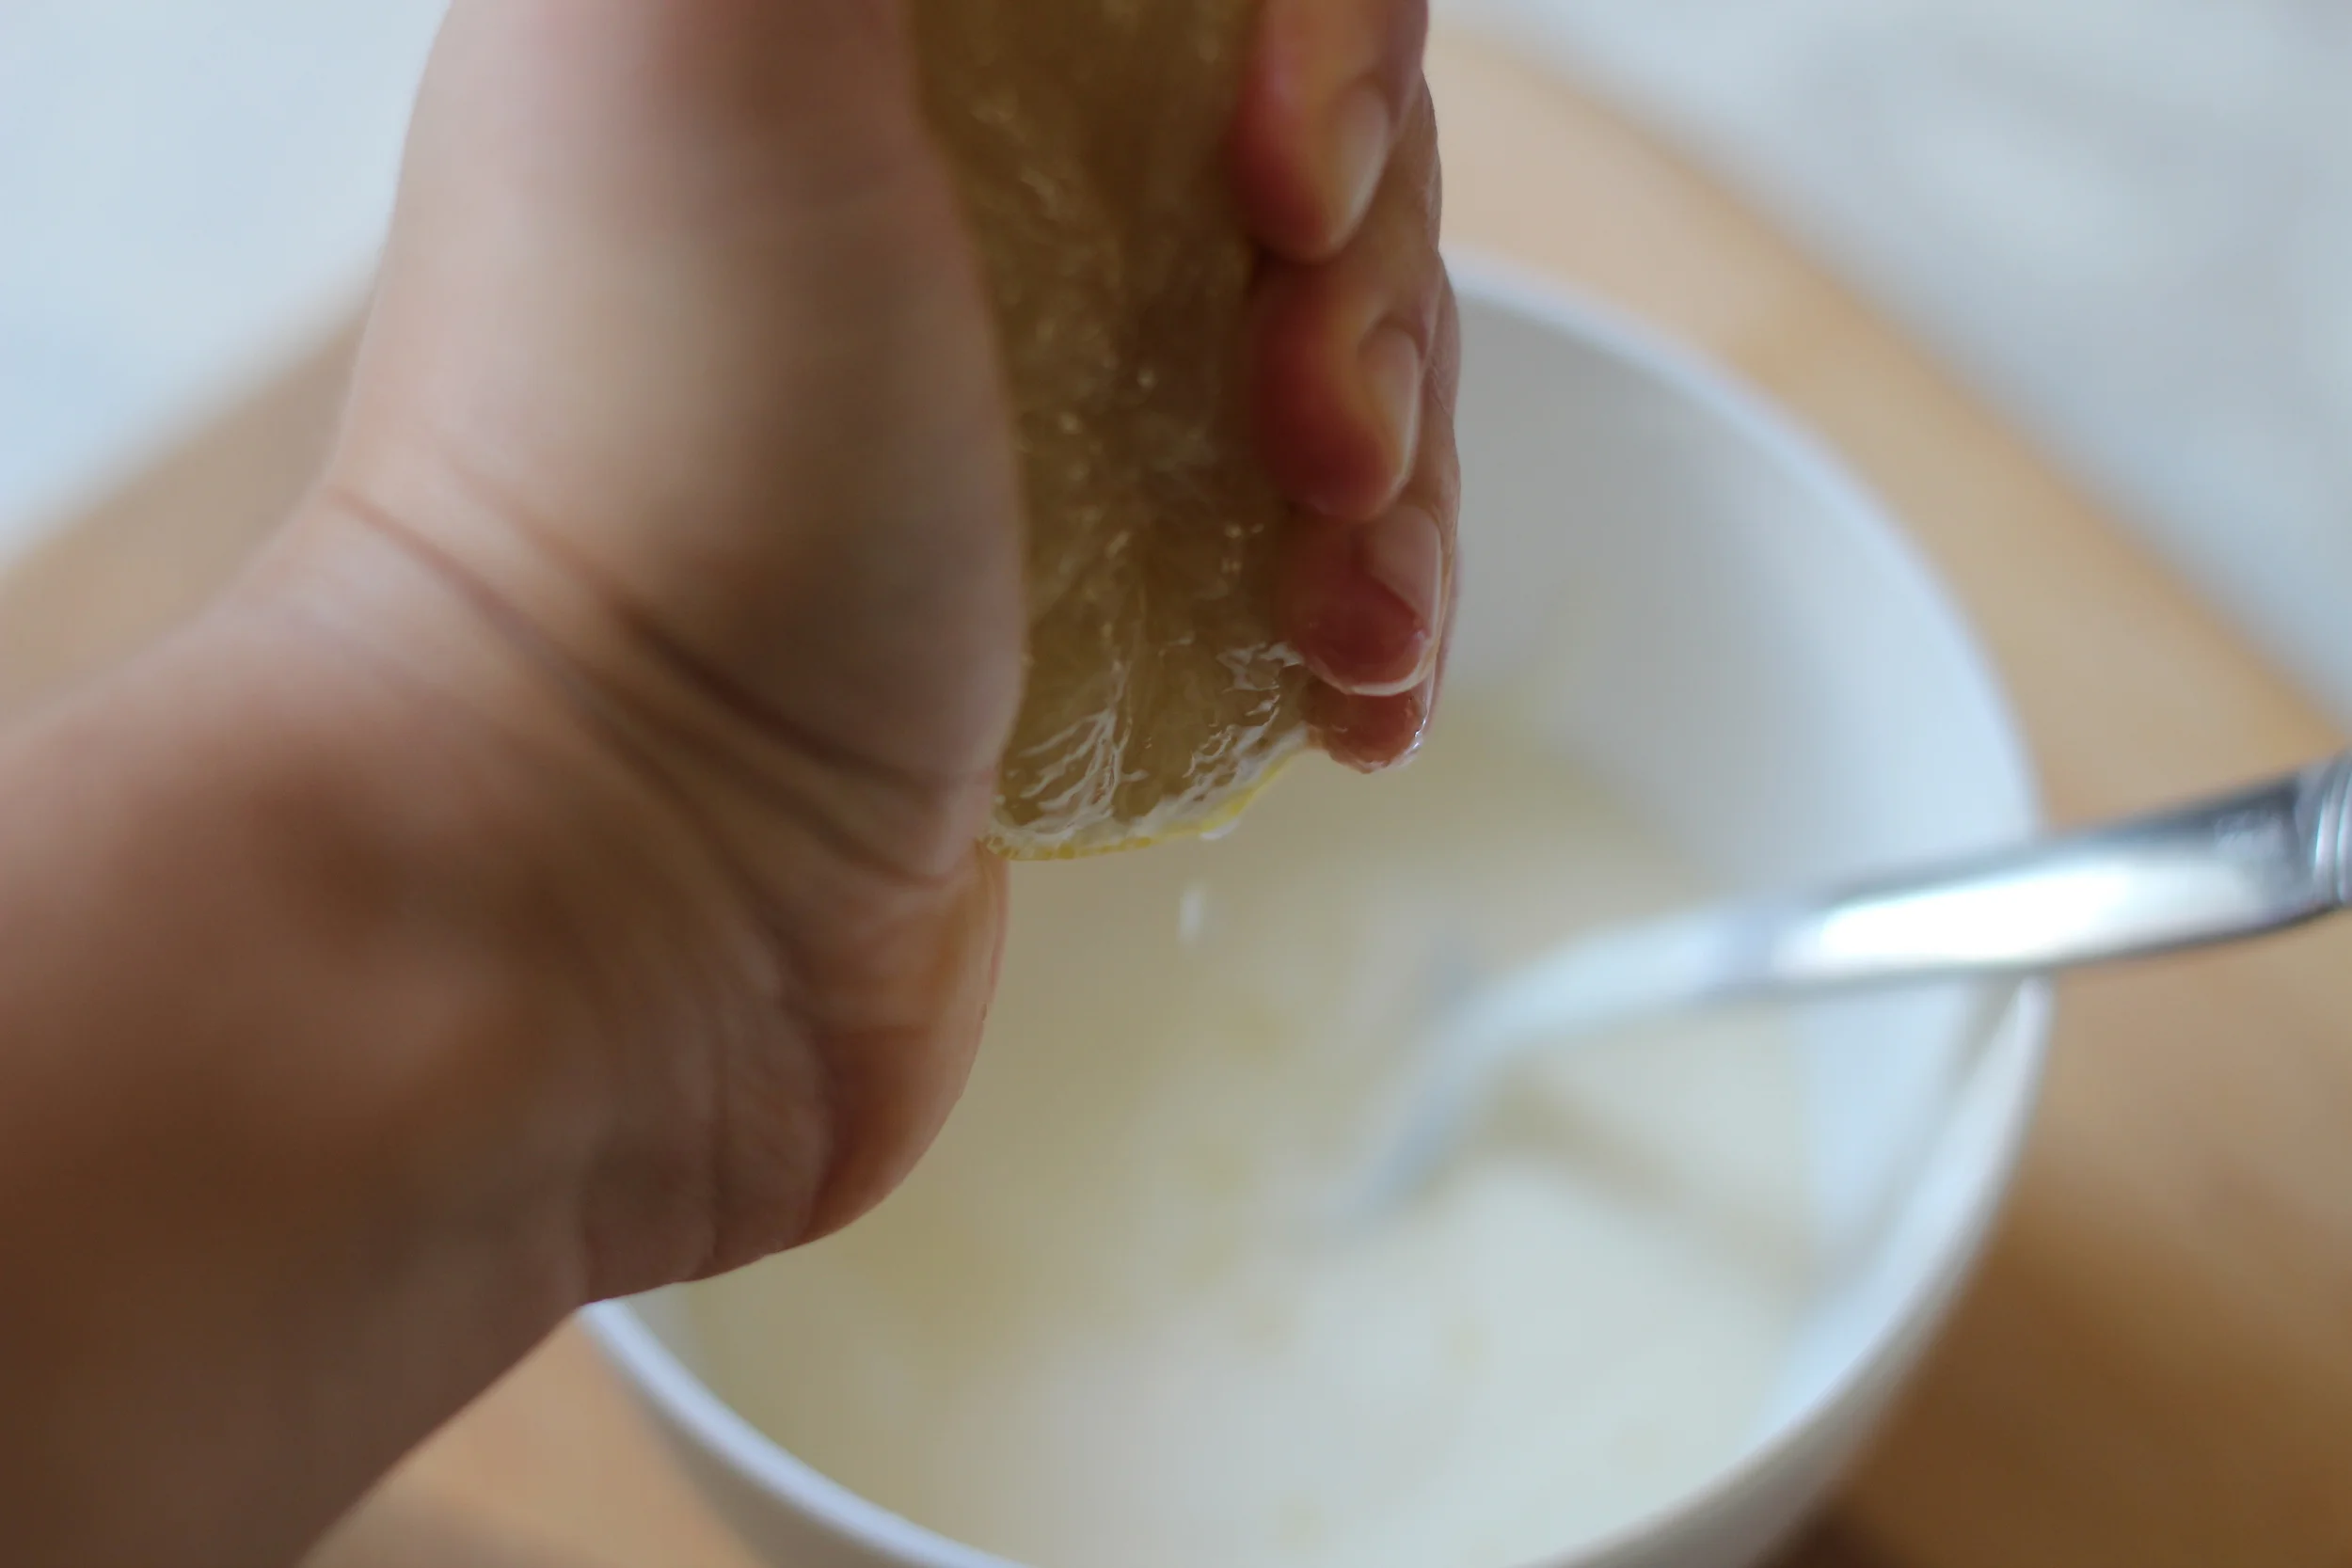
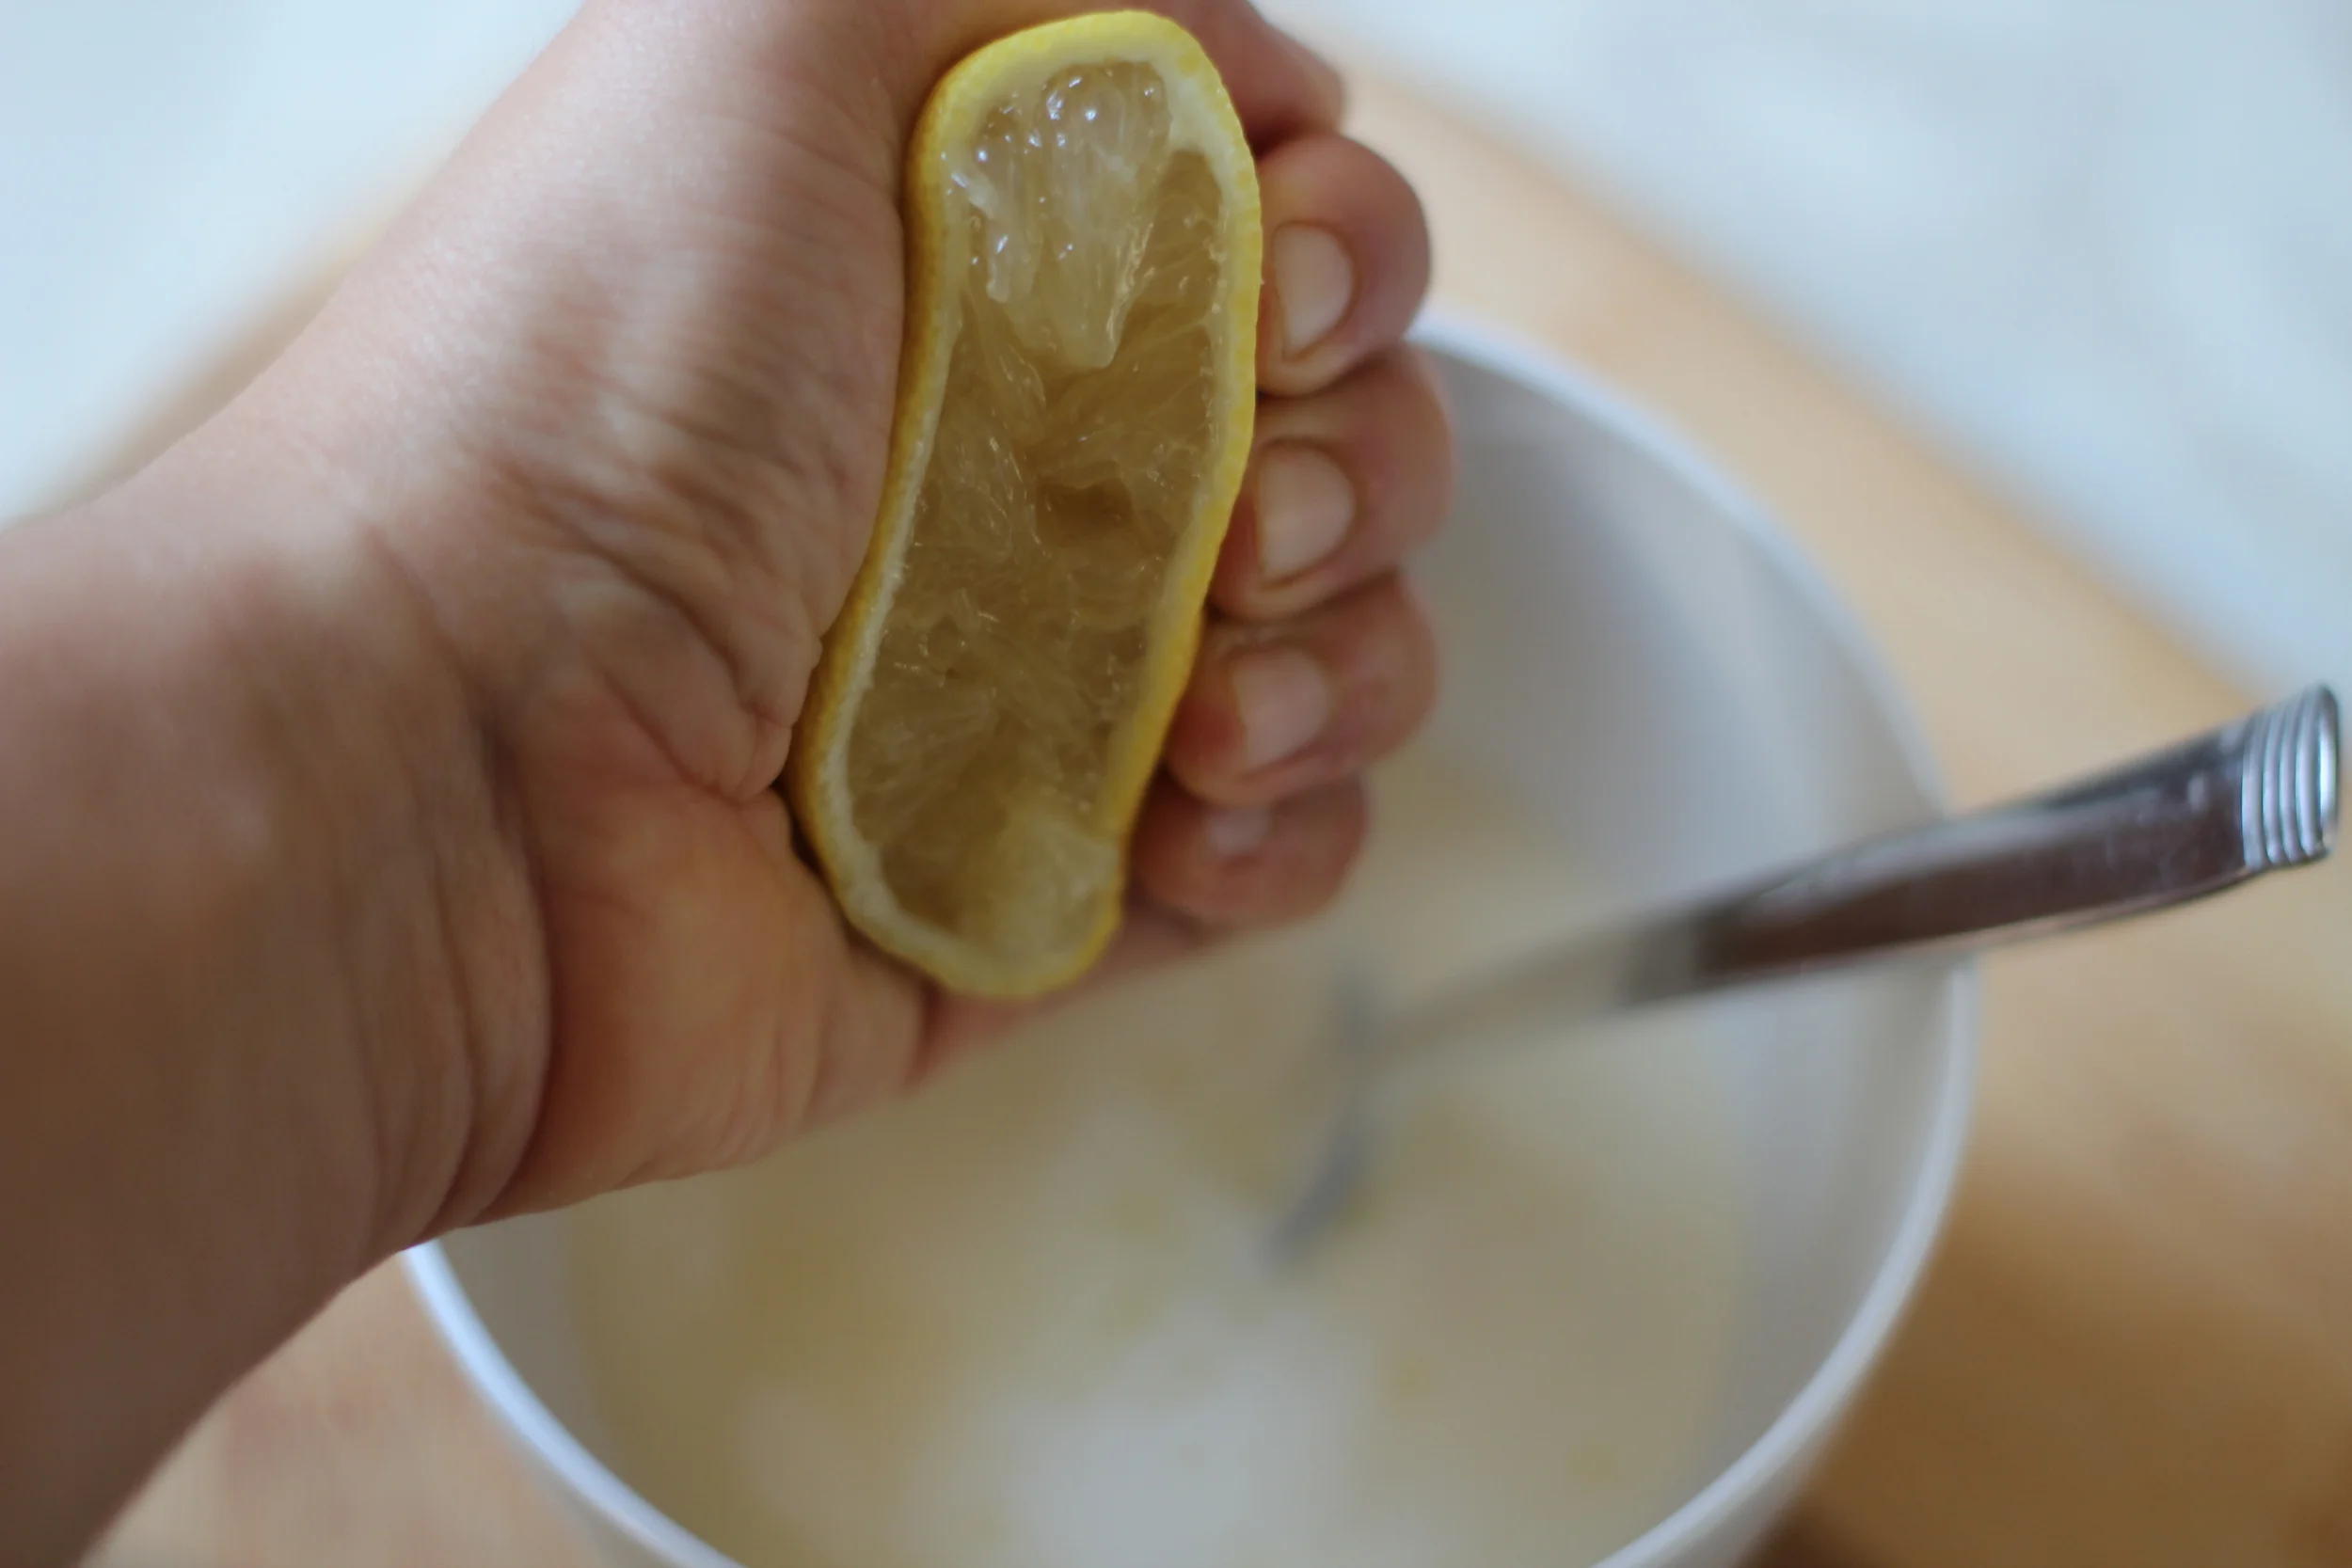
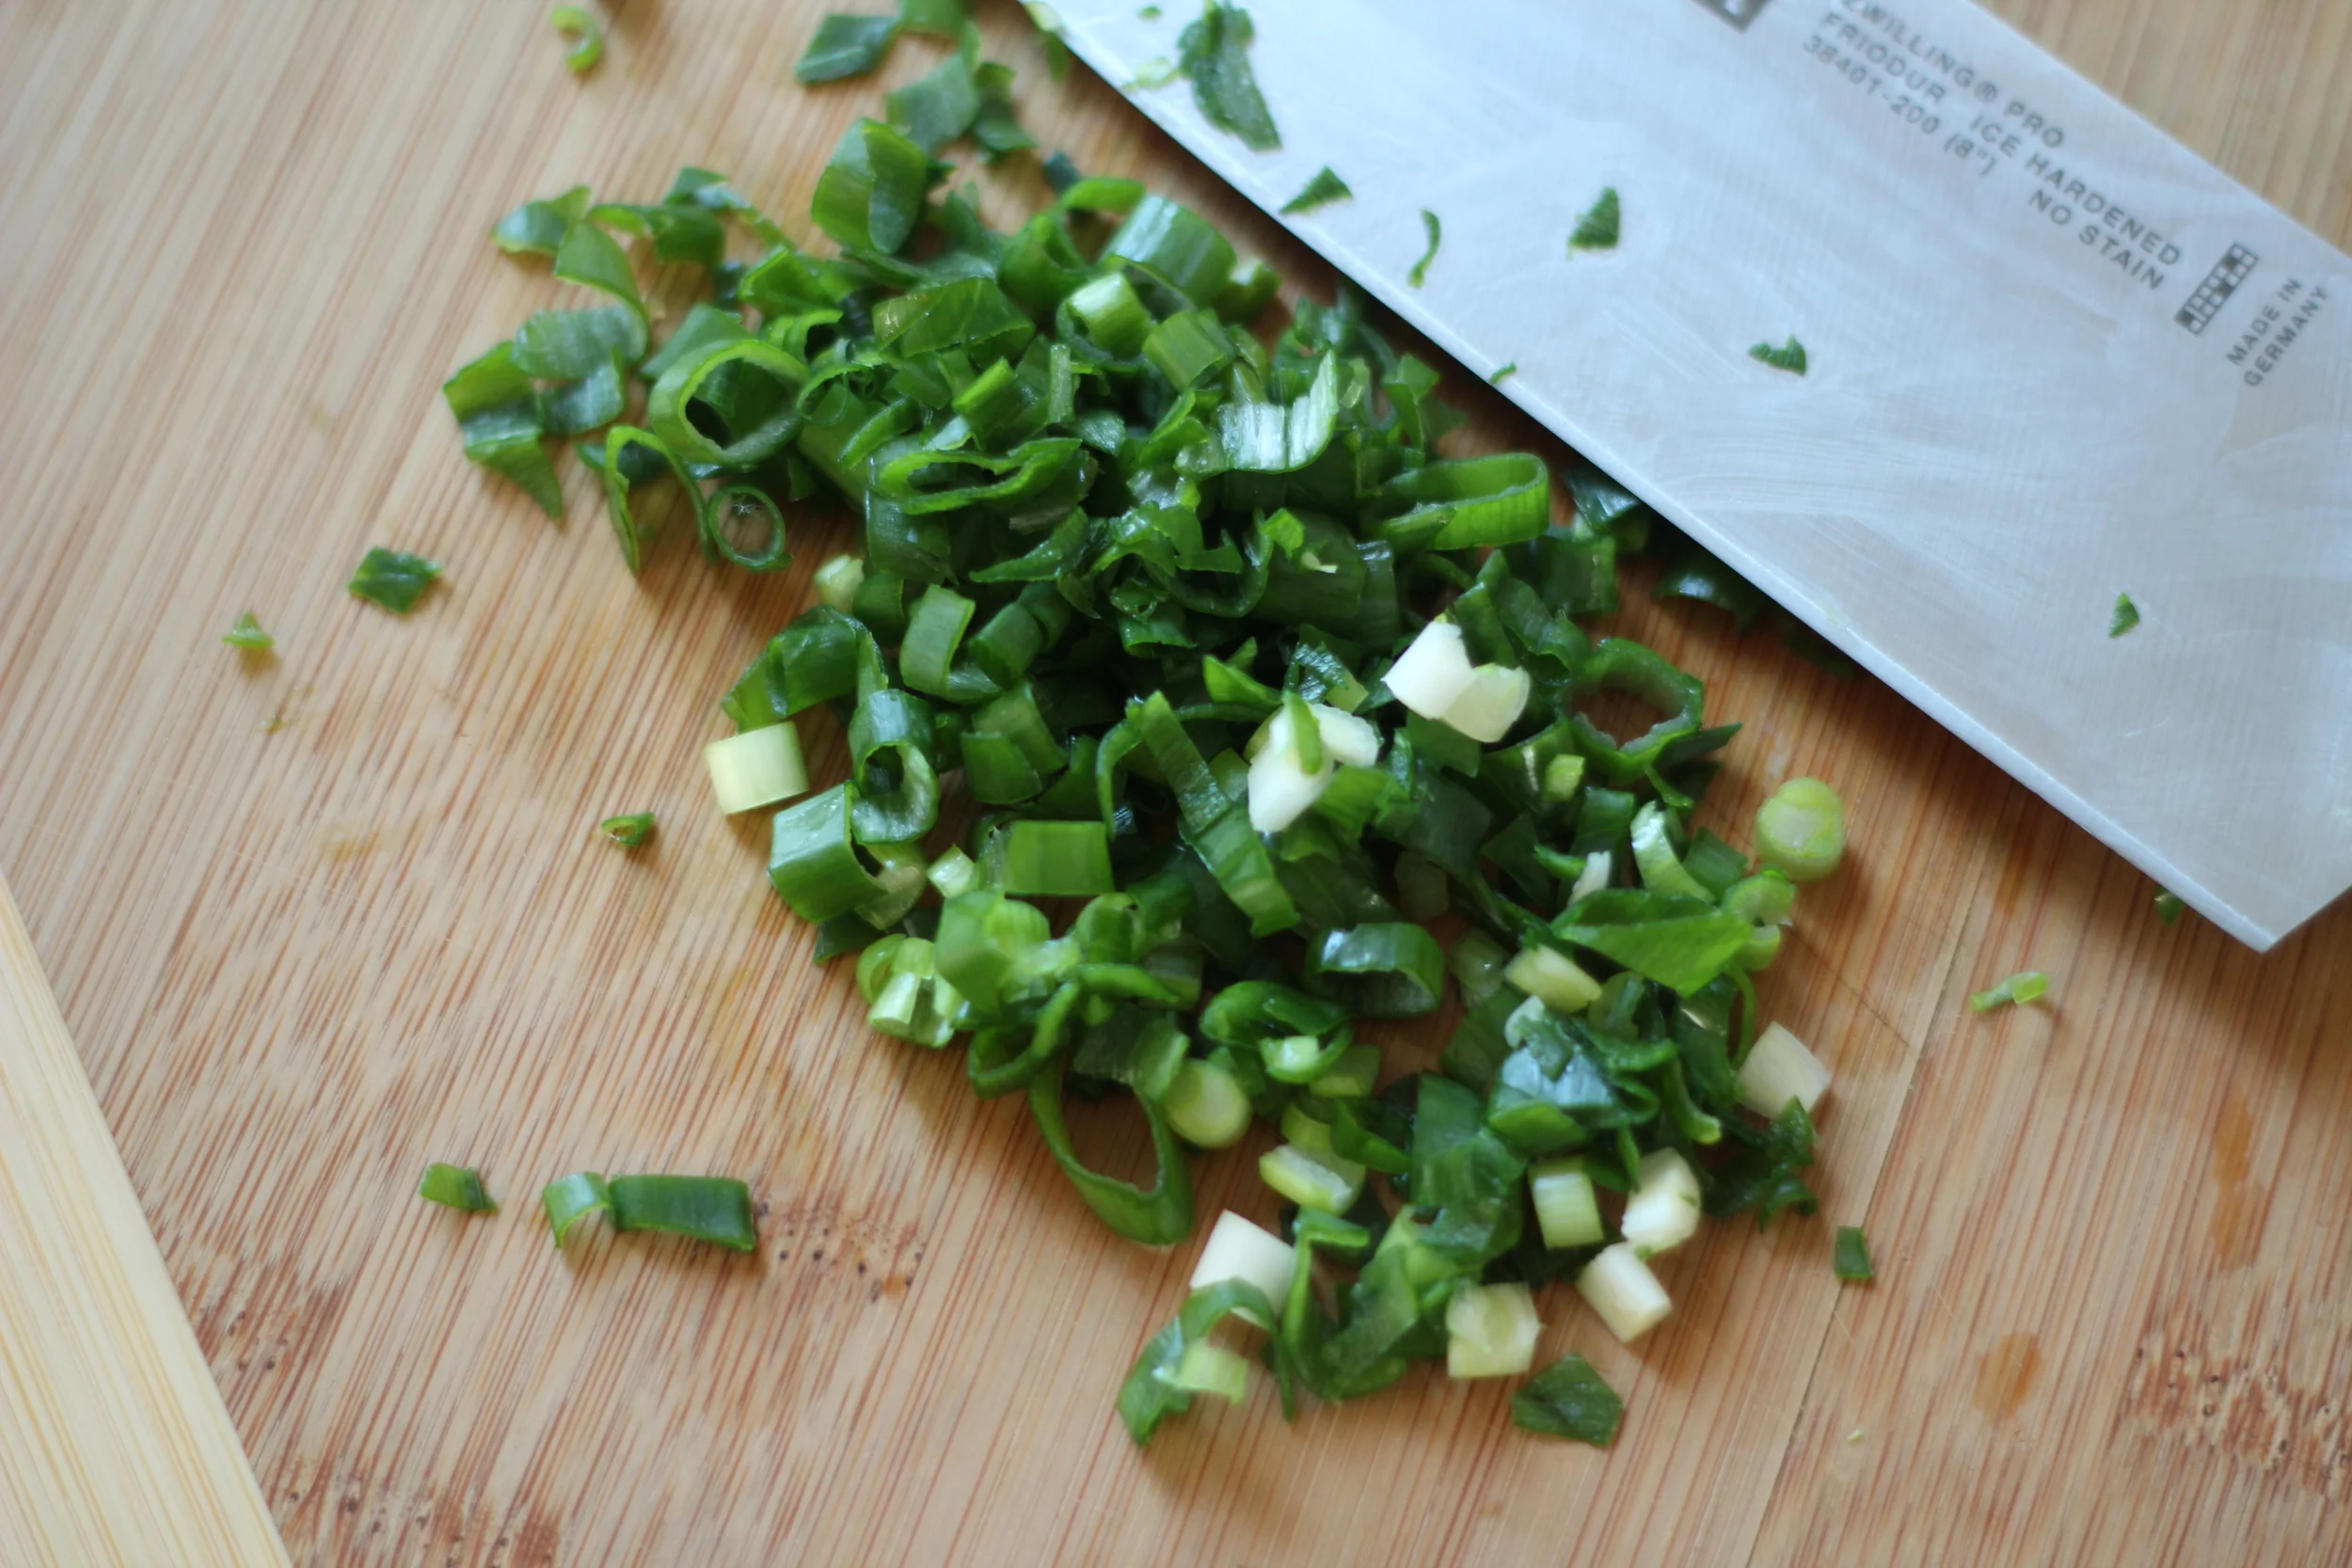
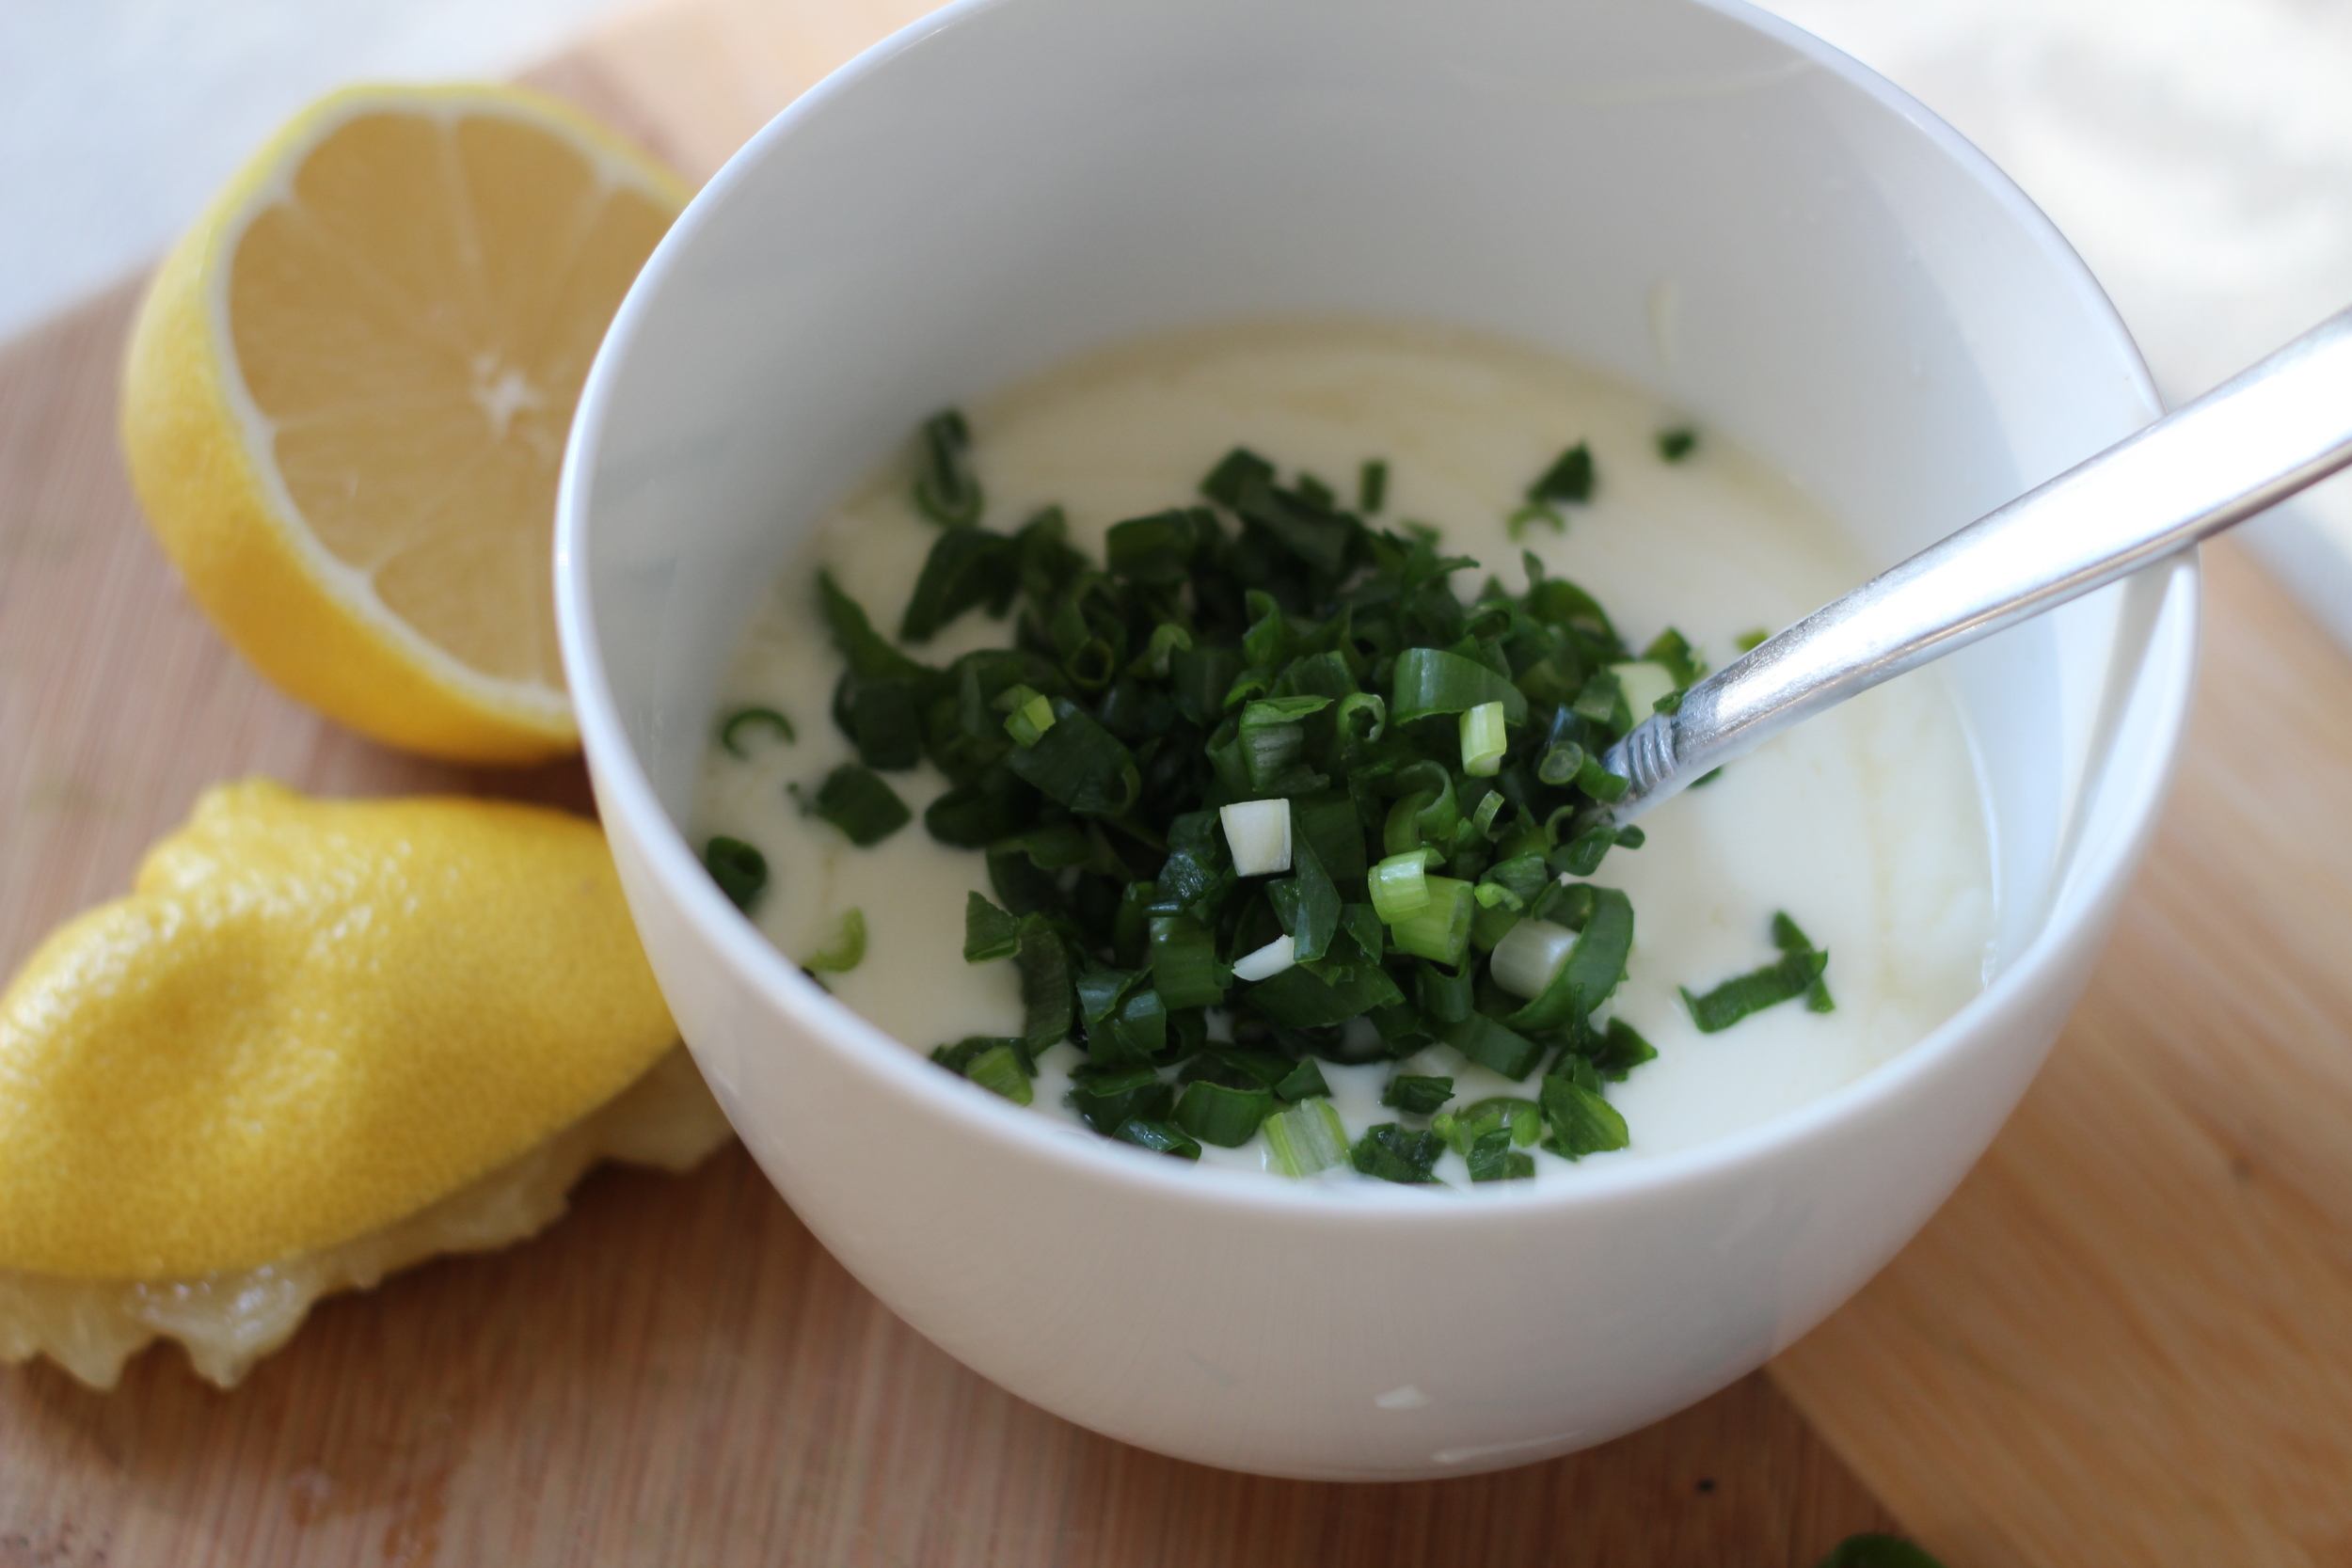
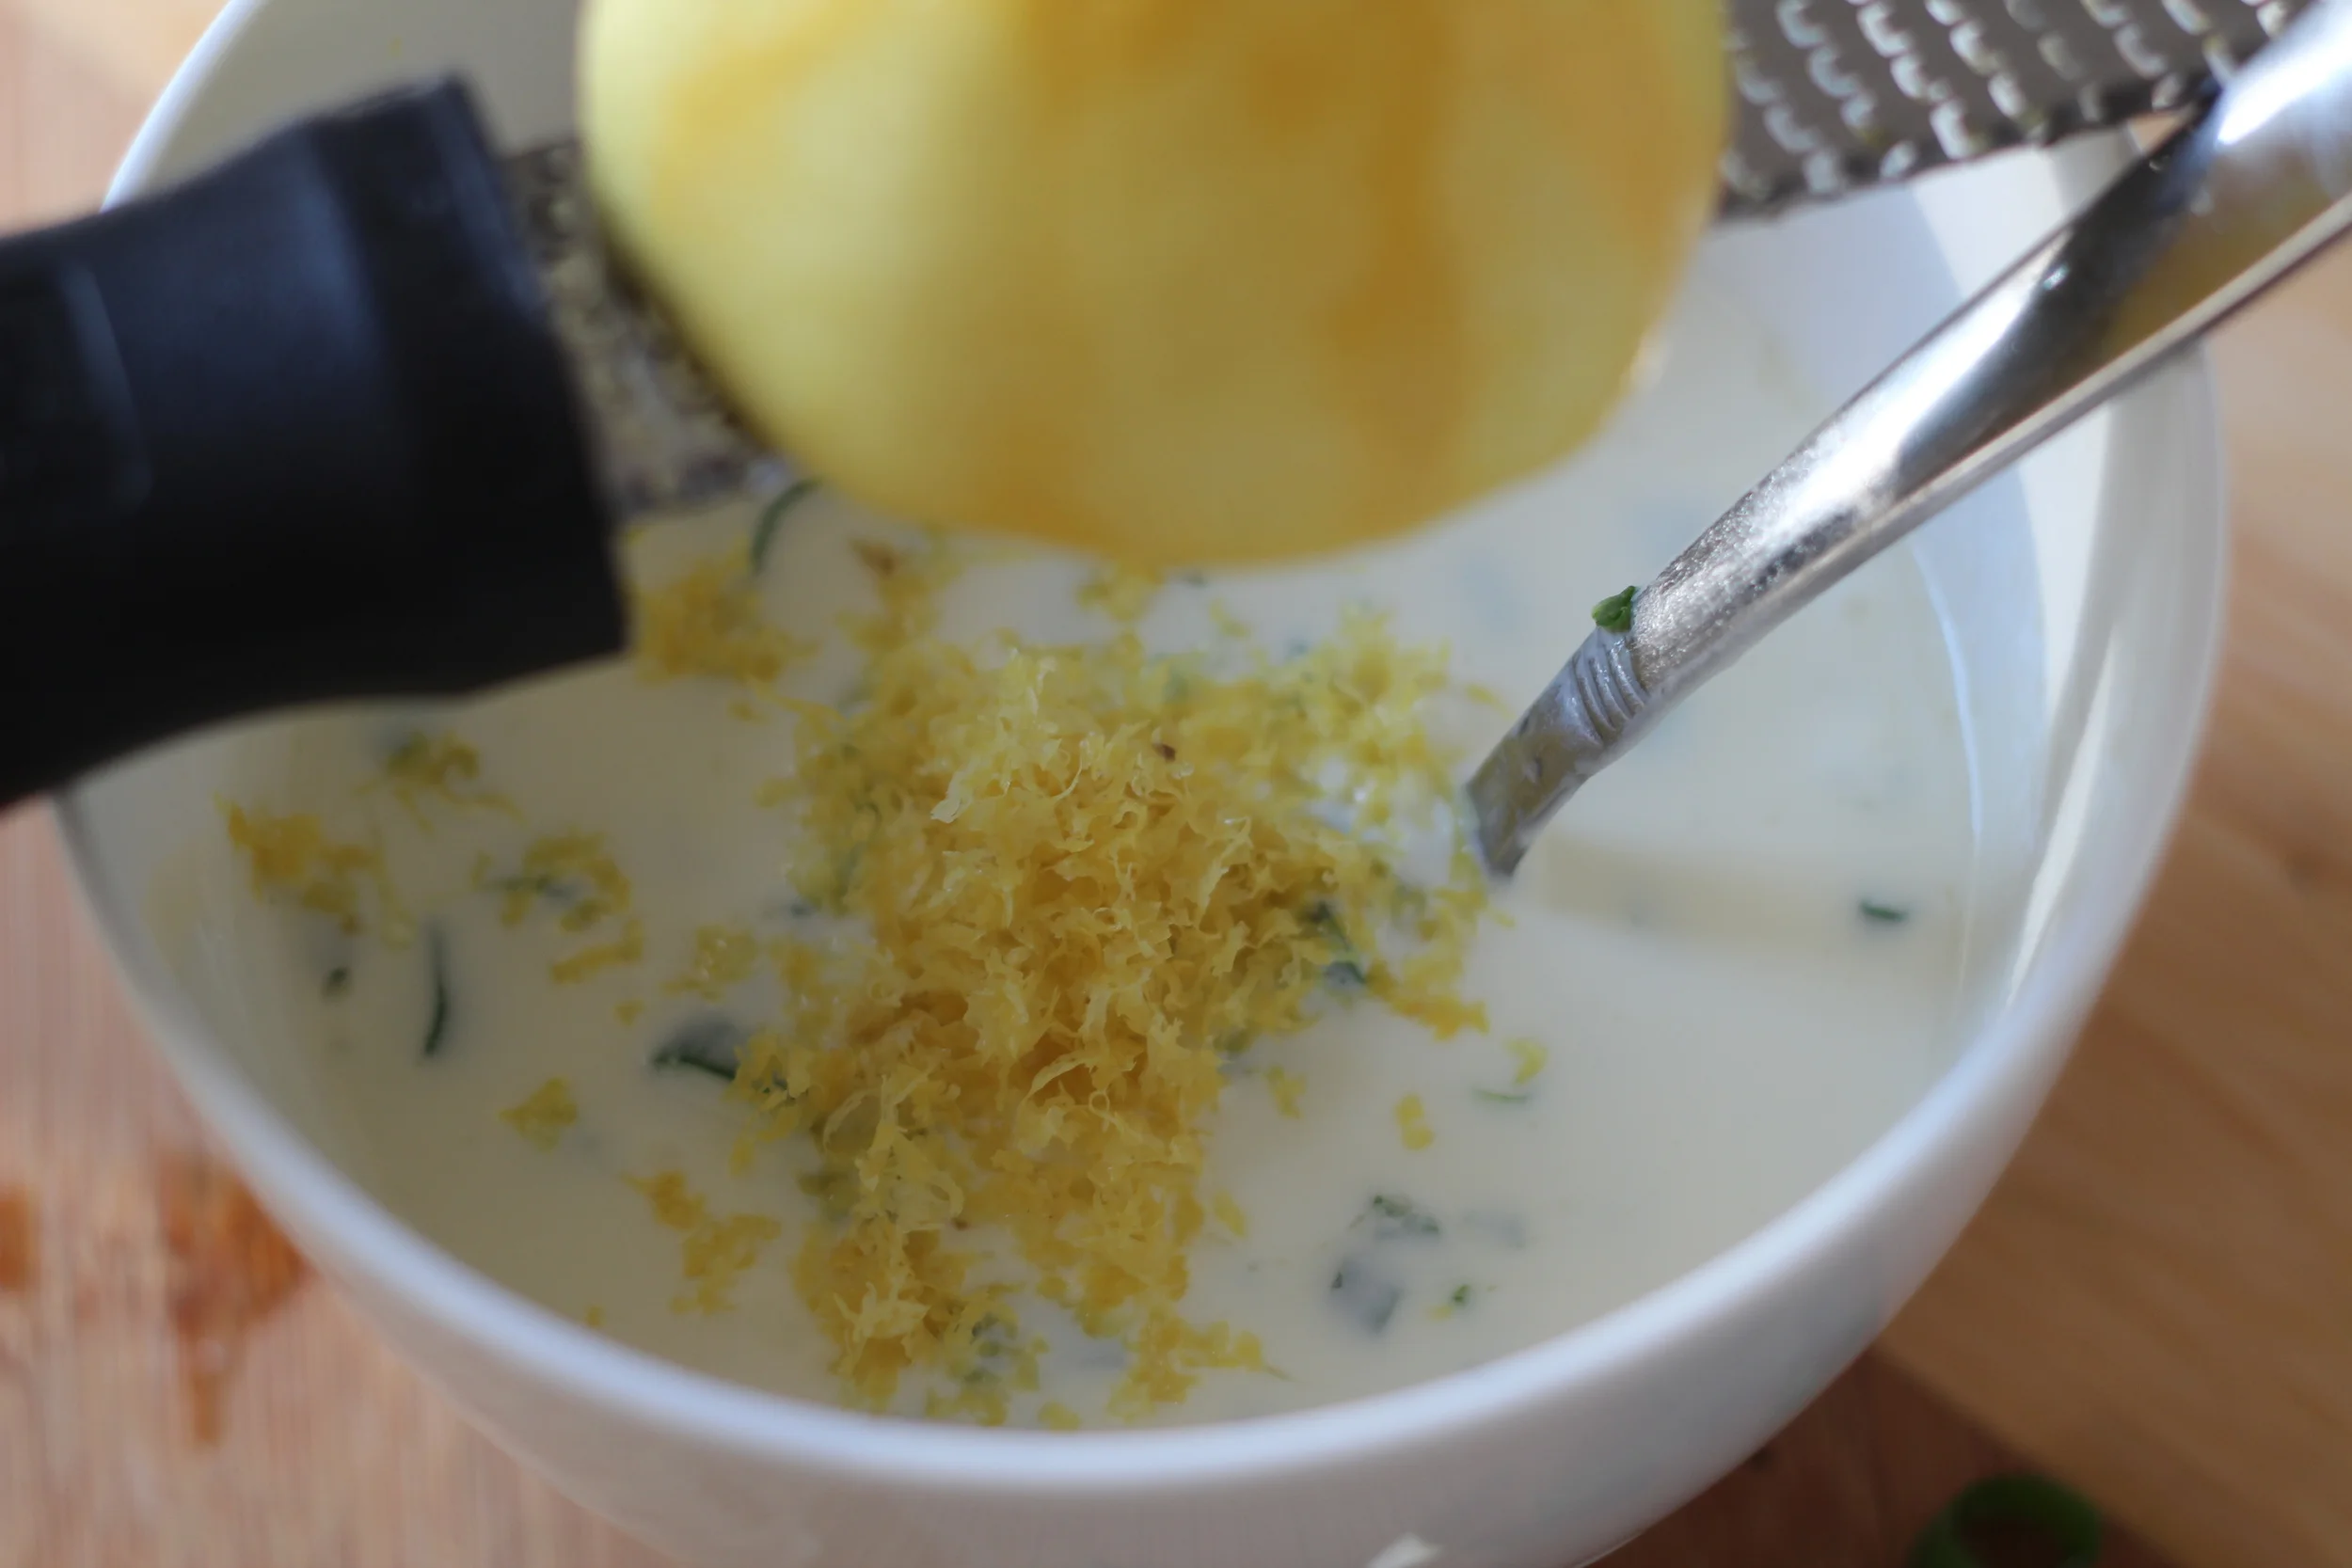
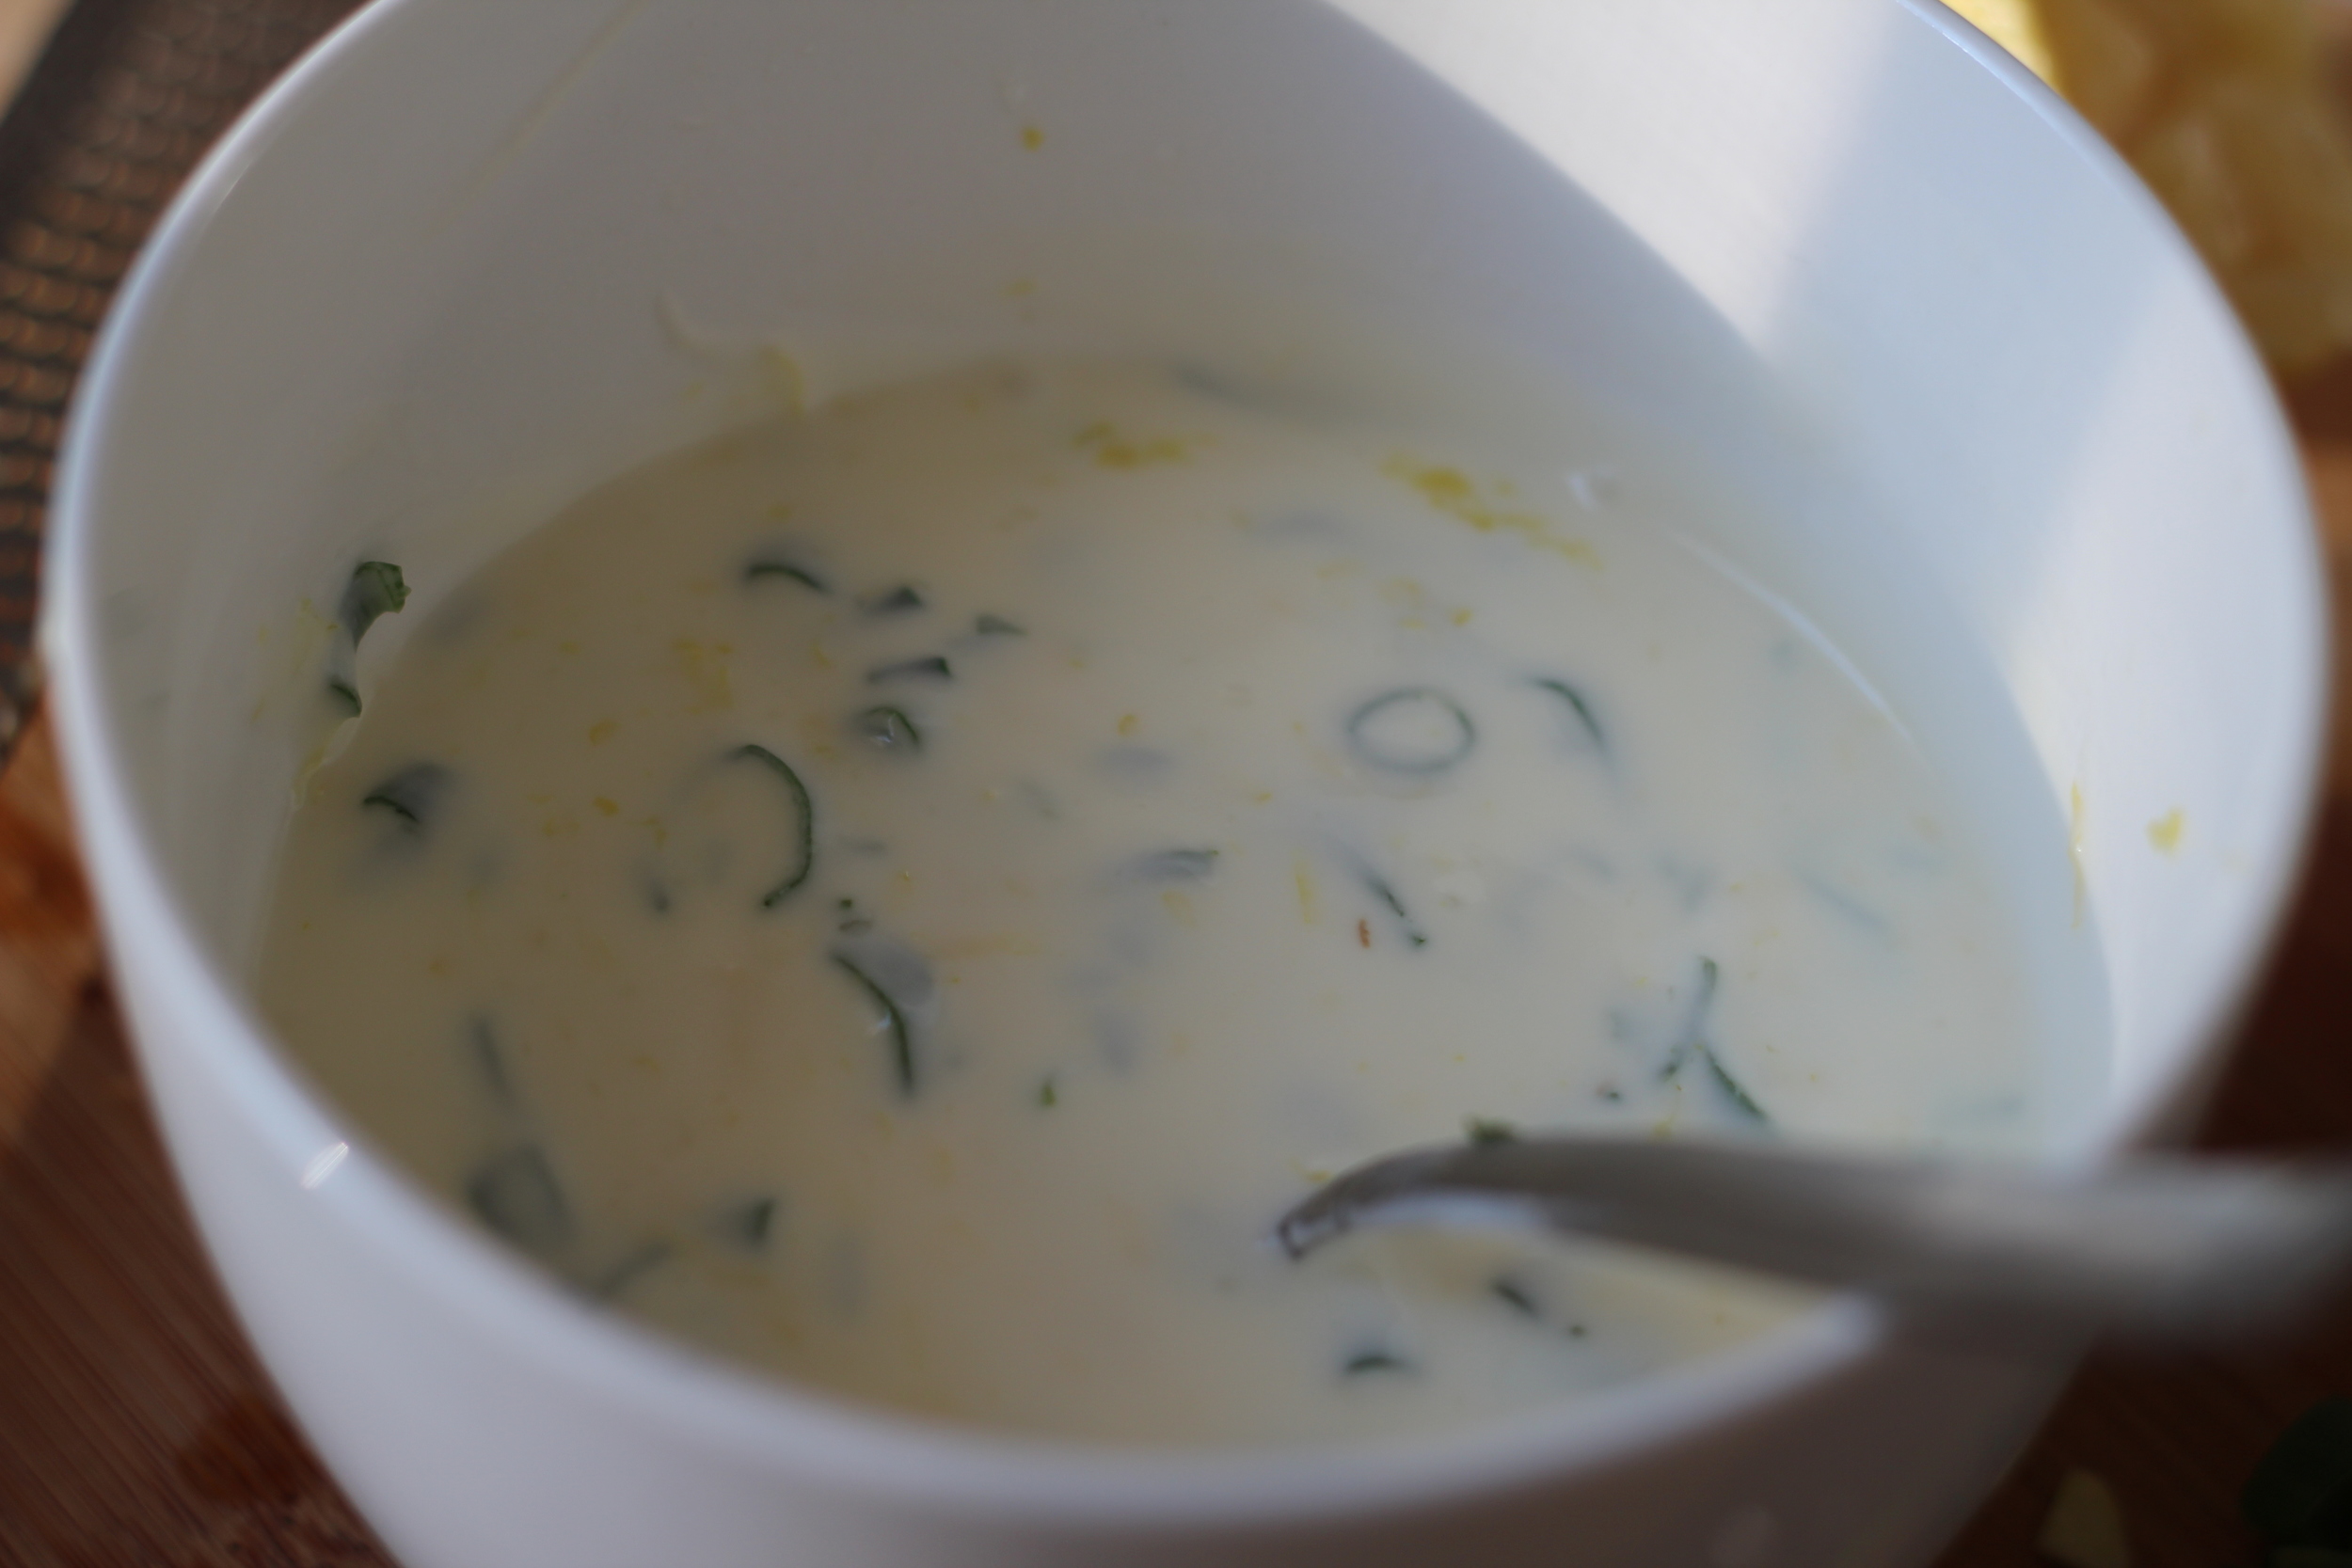
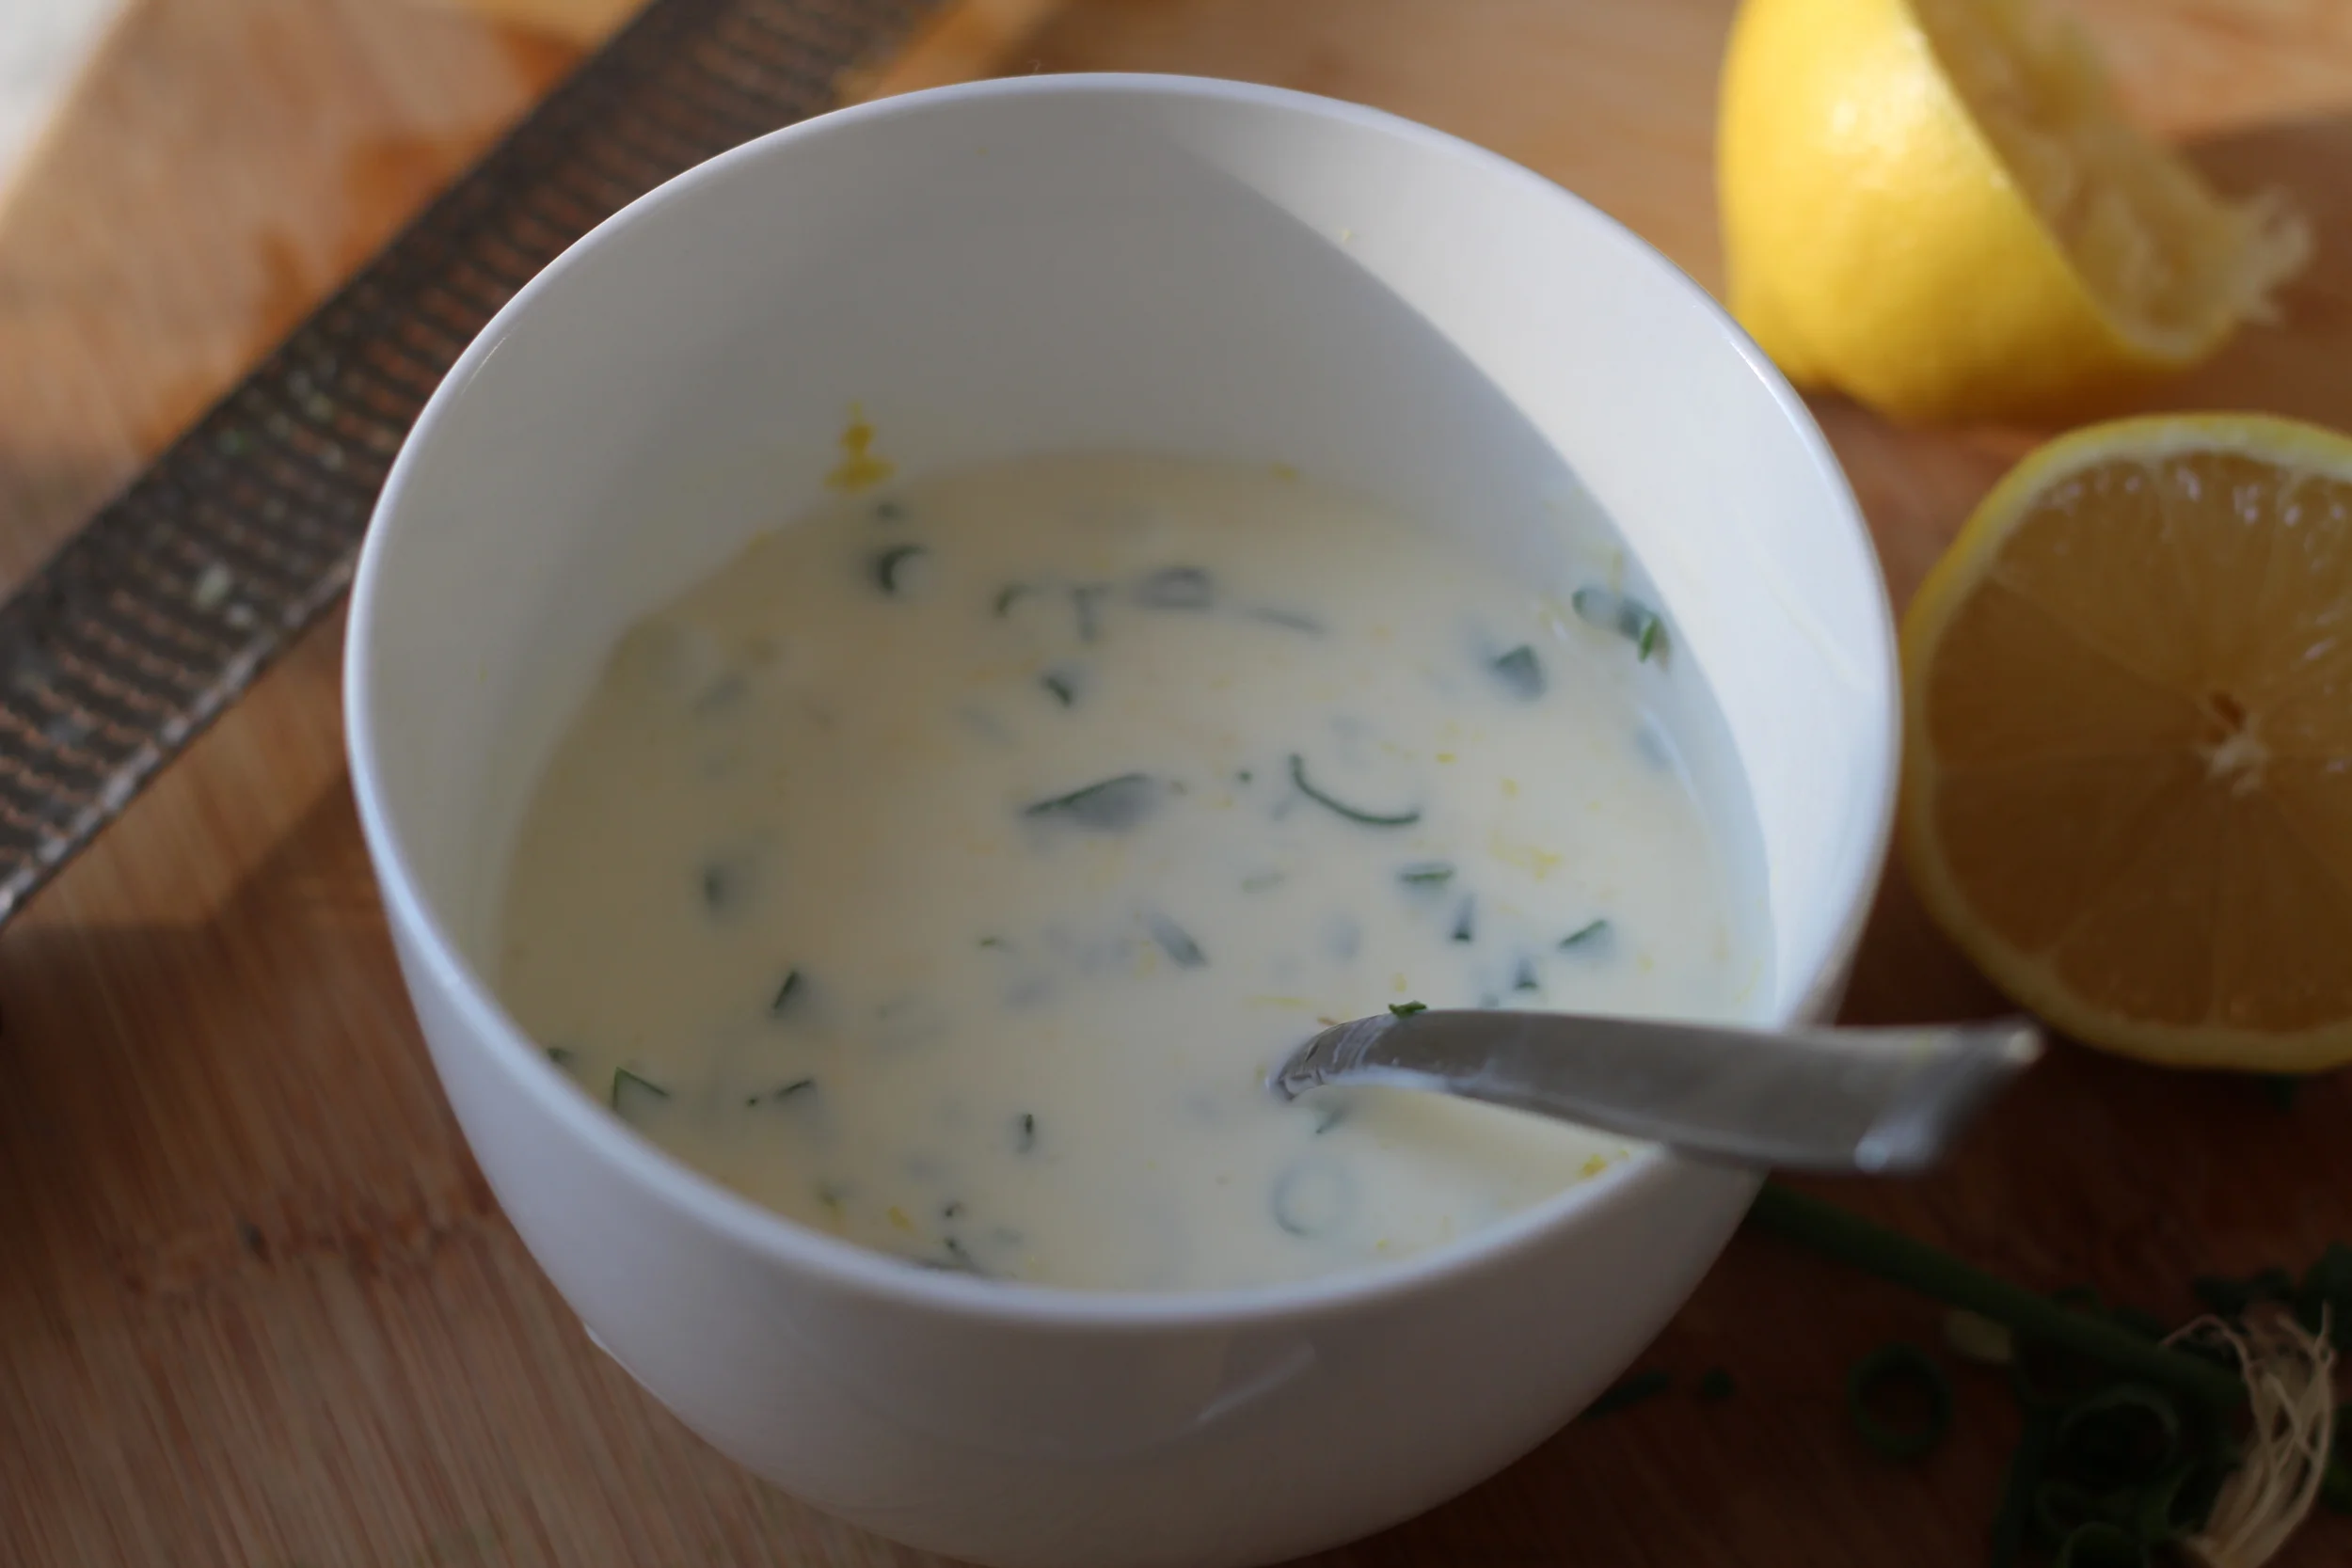
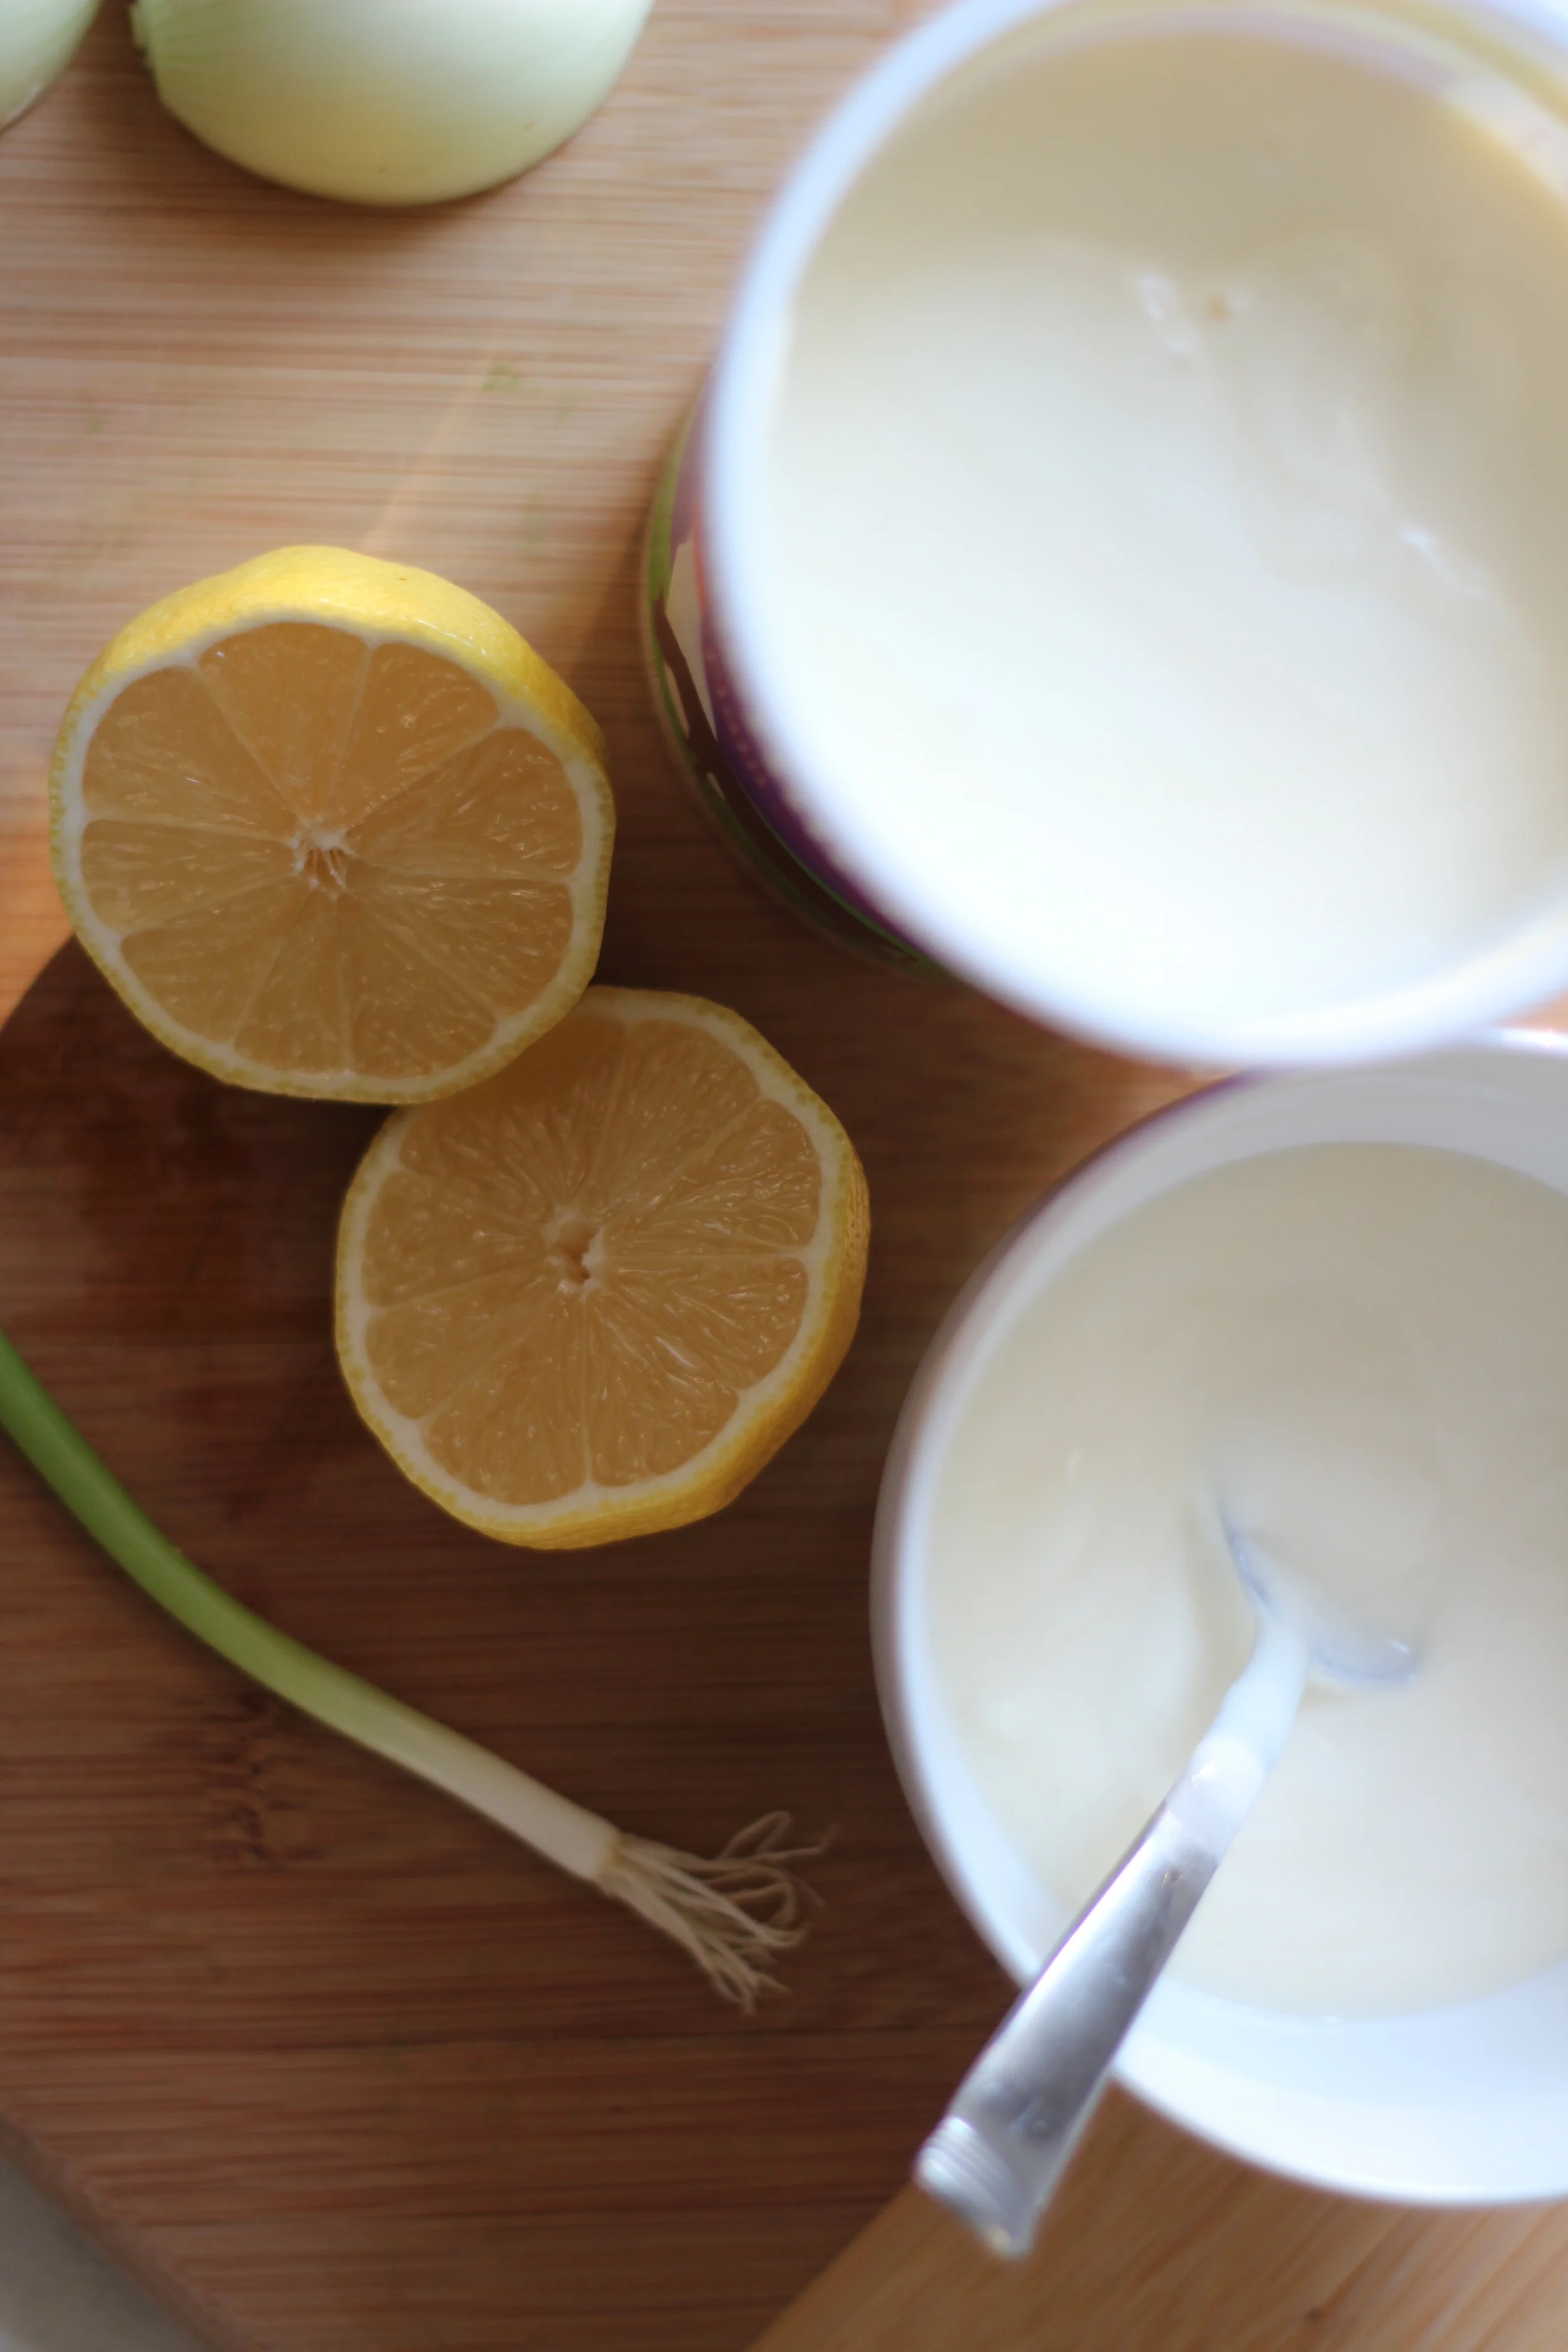
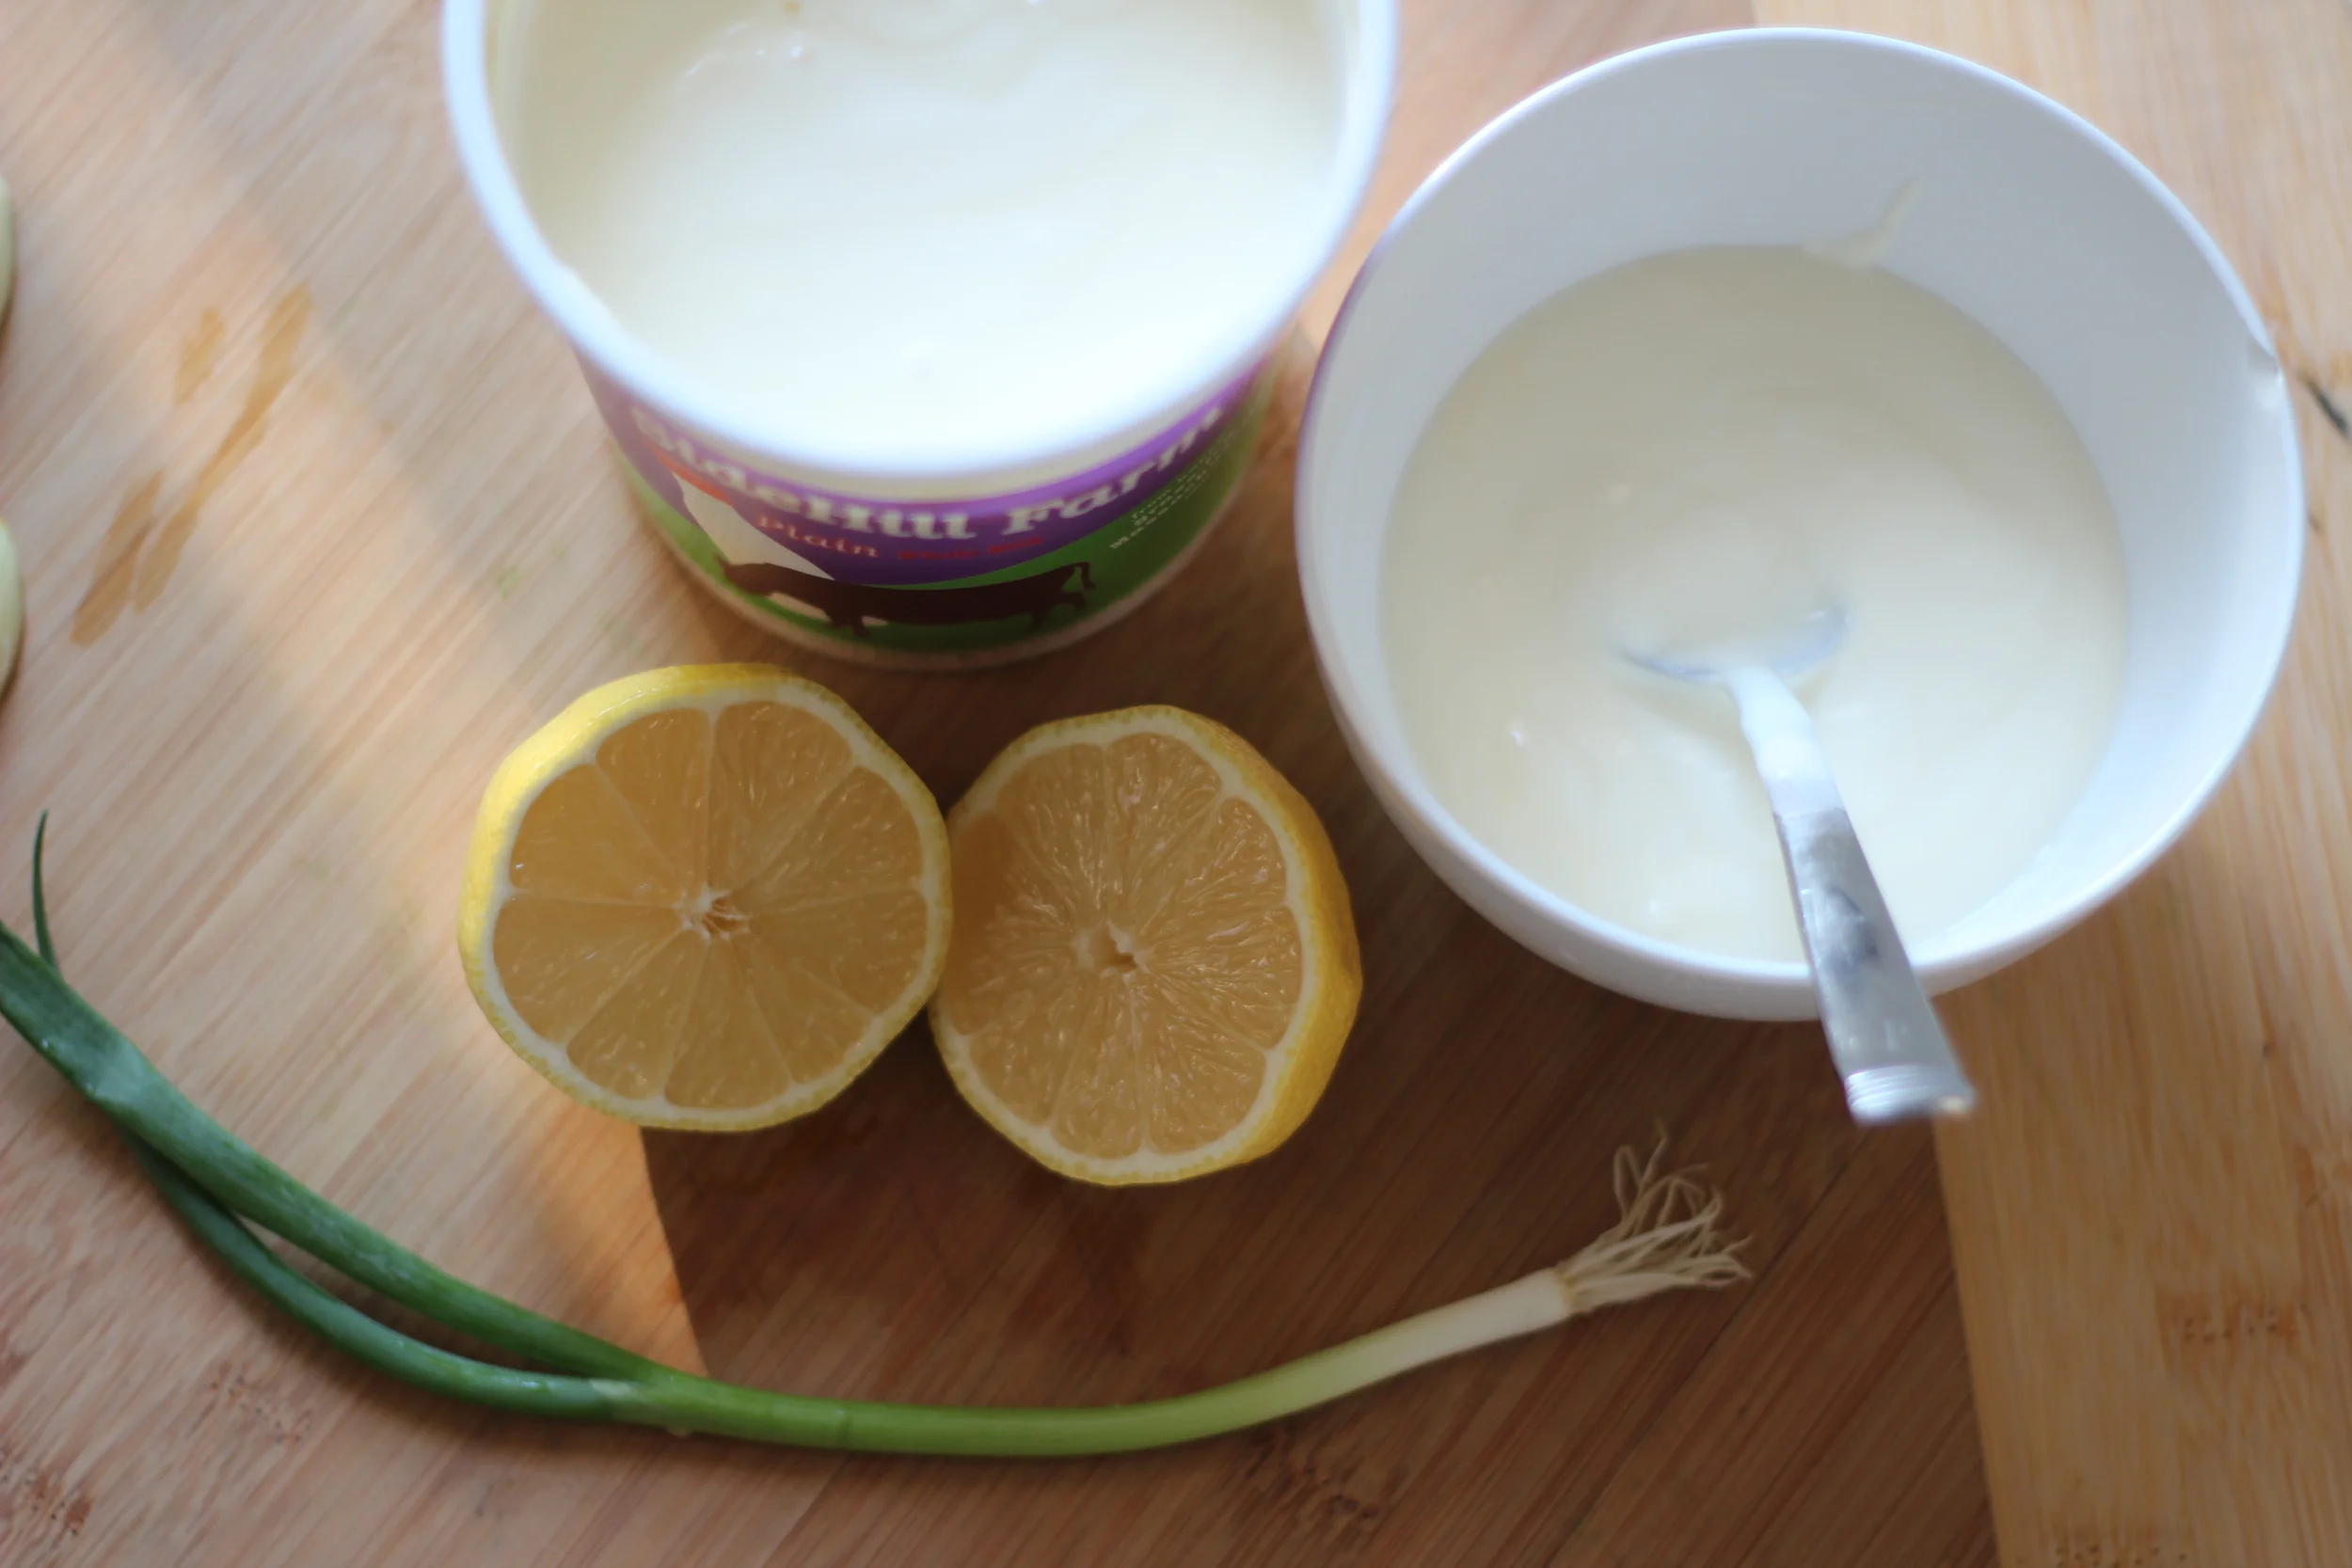
4. While squash are roasting, place about 2 cups of yogurt into a pretty serving bowl. Wash, dry, and finely chop your handful of herbs (or scallions), then stir into the yogurt. Wash your lemon and zest it directly into the bowl. Cut lemon and squeeze half of it into the bowl, catching seeds with a small sieve. Stir and taste. Add more lemon juice if you like. Put yogurt sauce in the fridge until serving time.

IMG_9424.JPG
IMG_9425.JPG
IMG_9427.JPG
IMG_9431.JPG
IMG_9434.JPG
IMG_9436.JPG
IMG_9437.JPG
IMG_9439.JPG
IMG_9447.JPG
IMG_9450.JPG
IMG_9424.JPG IMG_9425.JPG IMG_9427.JPG IMG_9431.JPG IMG_9434.JPG IMG_9436.JPG IMG_9437.JPG IMG_9439.JPG IMG_9447.JPG IMG_9450.JPG

5. Wash and cut your kale or other greens into roughly bite-size pieces. If using greens with a thick stalk (like kale), I remove the stalks and chop them into small pieces to add to the stir-fry as well. Chop/dice your onion and any other veggies your adding. Crush garlic, peel it and then roughly mince.

6. Heat your sauté pan on medium heat. Add a good glug of oil and your garlic, onions, chopped kale stalks, and any other hearty veggies (save greens for the end). Sauté until fragrant and mostly softened. Turn heat down if it's going too fast. Cut open your sausage packages and add directly to the pan. Using a spatula or wooden spoon, break up the sausage into bite size pieces. Allow to brown and cook thoroughly, flipping and mixing after a few minutes on each side. When you're pretty sure the sausage is cooked, place all the kale on top. Add about a quarter cup of water, then cover with a lid to let the kale steam. After about a minute or two, remove the lid. Kale should be bright green. Mix in thoroughly and turn off the heat. 

7. At this point your squash should be ready. Place squash halves on plates, one half per person. Carefully spoon sausage mixture into each squash to make a heaping portion. Top with a few spoons of yogurt sauce, and (optionally) some toasted squash seeds. (If you did not make the seeds, you could also top with a few nuts, breadcrumbs, or other crunchy topper of your choice. OR it's also perfectly delicious without a topper!) Serve with spoons and remind guests to scoop bites of squash along with bites of sausage mixture! Keep yogurt sauce on the table in case folks want extra.

Voila!!

Voila!!


In dinner party, my go-to recipes Tags dinner, entertaining, gluten free
1 Comment

breakfast obsession: three ingredient banana power pancakes

May 6, 2016

Making pancakes will forever hold a special place in my heart. For the few short years that I was an only child, my dad and I would make pancakes every Saturday morning. As a kid, I remember the magic of watching the soupy batter transform into a fluffy stack of deliciousness, the sizzle of the butter as batter hit griddle, and the excitement of "the flip" to find those crispy golden edges on the pancake underbelly. My favorite part of pancake making was the little dribbles of batter that would hit the hot griddle and become tiny bites of crispiness. I liked these so much that I my dad and I named them “dingle-hoppers,” and I requested we make as many of these baby pancakes as possible.

The sizzling sound of batter hitting griddle never fails to take me back to those happy Saturday morning memories with my dad… and that's probably one of the reasons I’ve been making these pancakes at least once a week since I discovered them a few months ago. Besides an excuse to reminisce, the simplicity of the ingredients, lack of measuring, and satisfying nature of these babies keeps me coming back week after week. Sure - some would argue they’re not comparable to real pancakes, but I think they’re just as good, especially because you can eat a full stack without feeling like you need a nap afterwards! Note that they do taste like banana, so if you don’t like bananas, they might be a no-go for you (but I say you should still try them!).

THREE INGREDIENT BANANA POWER PANCAKES
Recipe based on this guide from The Kitchn (although the olive oil + salt topping was my idea... I know it might sound weird but it's SO GOOD - give it a try!)

Ingredients:
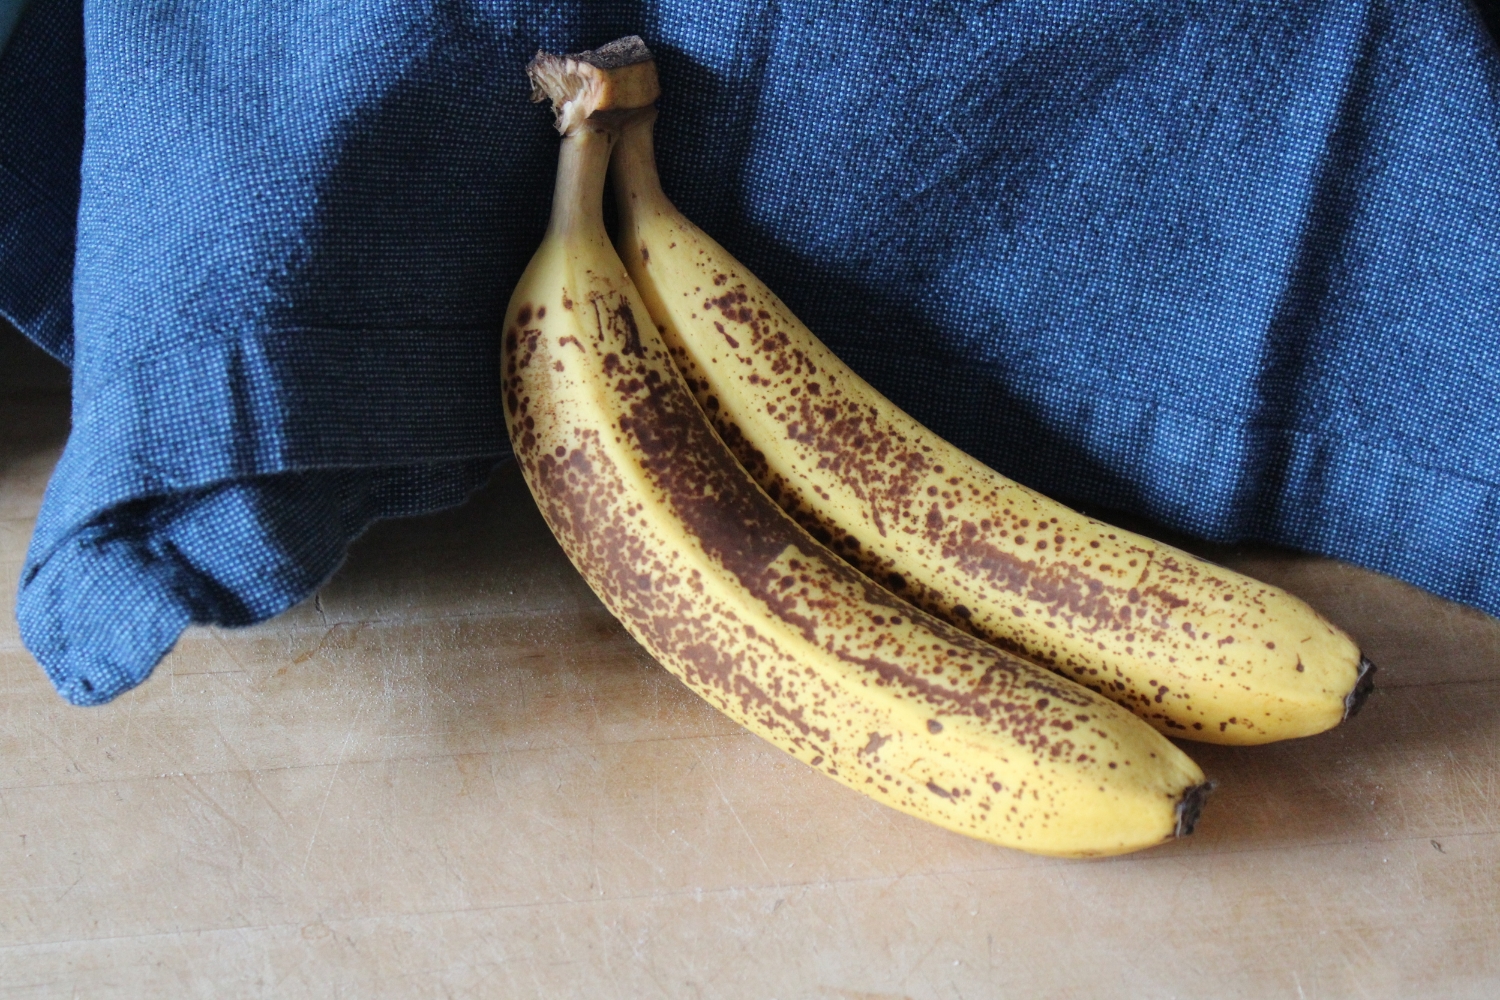
- 1 banana, at least ripe enough to eat, but a brown one is fine too
- 2 eggs
- dash of cinnamon (I consider this an essential ingredient, but if you don't like cinnamon, you could certainly leave it out)
^I usually double this and make extra to eat the next day or for a snack

+ butter or neutral oil for cooking

To top it off, I recommend:
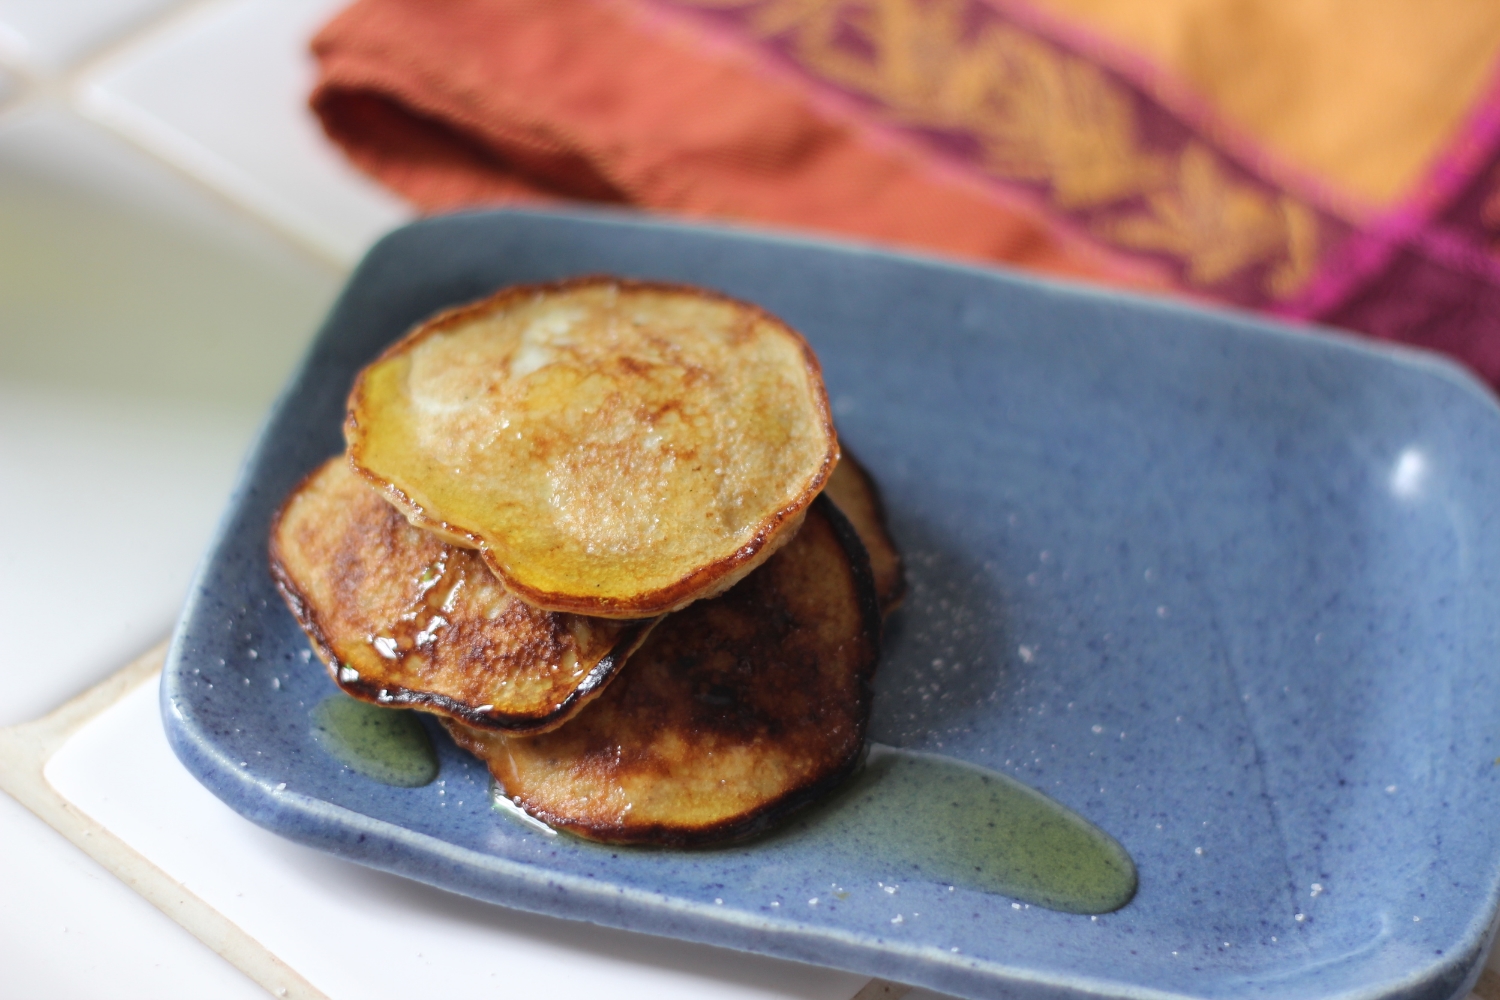
- olive oil + salt
... but you could also do nuts, yogurt, maple syrup, berries, or whatever you like!

Tools and stuff:
- medium bowl
- fork and spoon
- thin spatula for flipping
- griddle, cast iron pan(s), or other wide non-stick pans

IMG_0636.JPG
IMG_0653.JPG
IMG_0652.JPG
IMG_0657.JPG
IMG_0663.JPG
IMG_0665.JPG
IMG_2211.JPG
IMG_0636.JPG IMG_0653.JPG IMG_0652.JPG IMG_0657.JPG IMG_0663.JPG IMG_0665.JPG IMG_2211.JPG

Instructions:

  1. Place banana(s) in a medium bowl and mash with a fork until it’s as liquified as possible. 
  2. Add cinnamon and mix in.
  3. Crack eggs into the bowl, right on top of the banana mixture. Using the fork, break the yolks and gently scramble the eggs until combined, trying not to dip down into the banana (but don’t worry if you do). Sometimes I add a pinch of salt here to help break up the eggs. Once the eggs are mostly scrambled, mix down into the banana and stir until fully combined. There might be some egg whites that don’t blend completely - don’t worry about it.
  4. Heat up your griddle or cast iron/other nonstick pan on medium high. Lightly coat the griddle/pan with butter or cooking oil of your choice. 
  5. Spoon batter onto the griddle using a normal size spoon. The batter will spread pretty thin so it’s best to keep the pancakes small. Allow the pancakes to cook for a minute or two (you can gently check the edges for done-ness), then carefully flip them. They are much more delicate than normal pancakes but as long as the first side is golden, they should flip just fine. 
  6. Cook for another minute or so until done, then stack on a plate. Continue cooking pancakes, adding more butter/oil as needed to keep the pan lightly coated - this is what gives you the crispy edges! Note that because these pancakes are so thin, they cool pretty fast, so when you’re done with all the pancakes, you may need to rewarm them really quick on the hot griddle before eating.
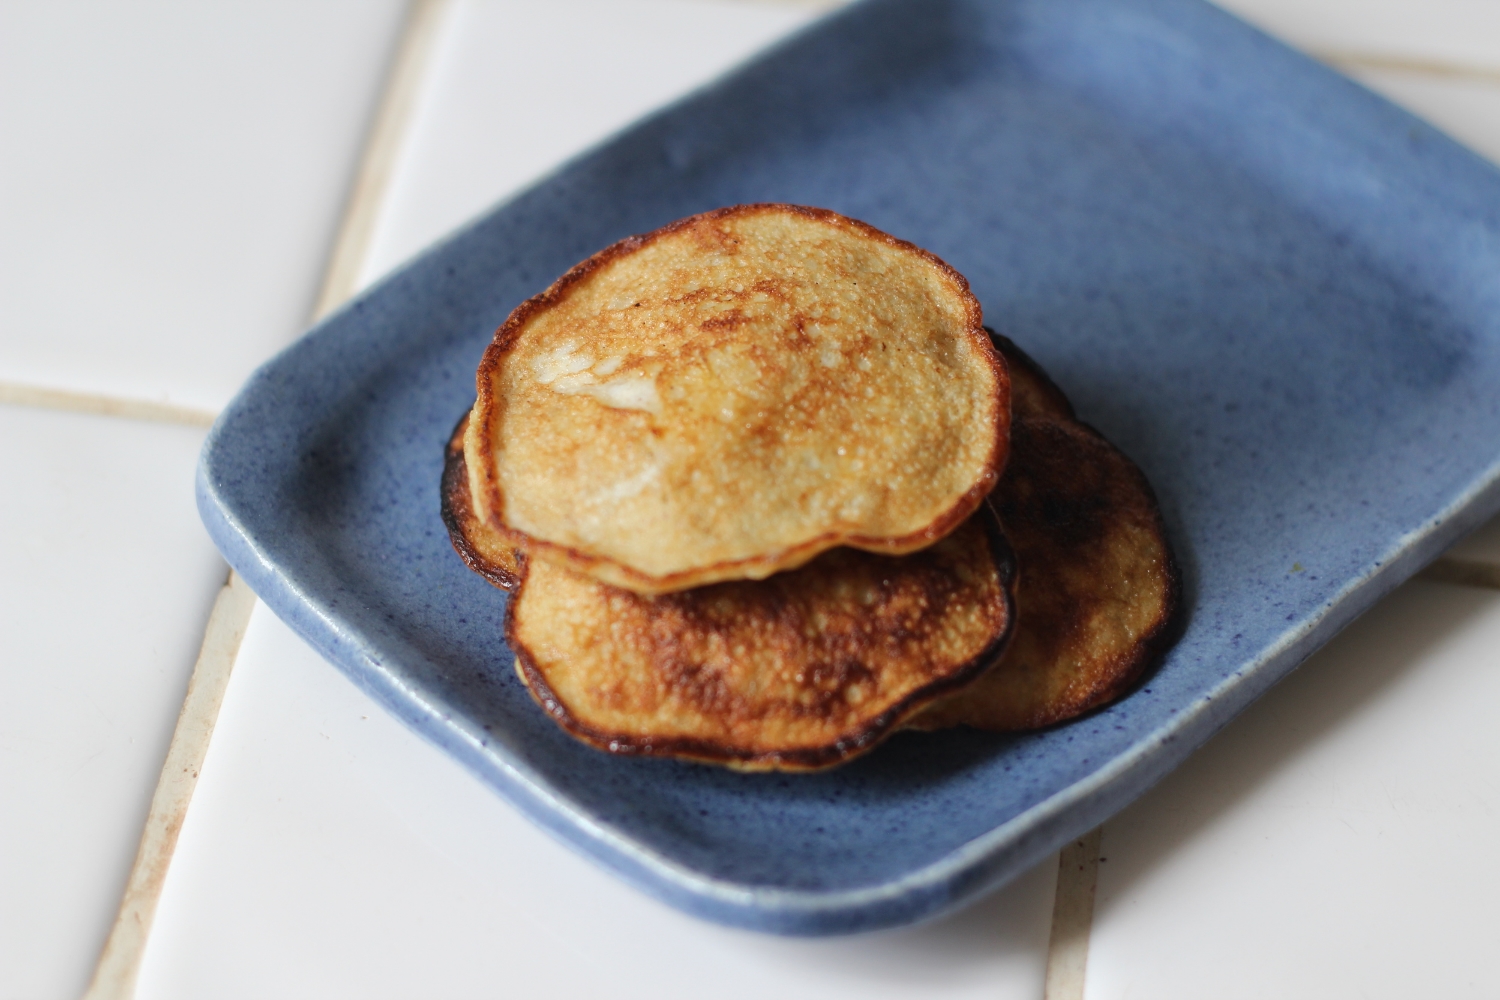
  7. When you’re ready to eat, arrange in a pile or stack, drizzle with olive oil and a pinch or two of salt. The pancakes are already a little sweet from the banana, so I love this savory topping, but you can definitely top with whatever you like!

Additional notes: 

  1. I find that for one person, a double batch usually makes enough for two breakfasts plus a few “snack” pancakes, so adjust your quantities as needed depending who you're cooking for. The ratio is 2 eggs for every 1 banana - pretty easy! Store in an airtight container in the fridge and the next morning you can warm up in the toaster oven or pan in a few minutes.
  2. I’ve experimented with adding a bit of baking powder at the same time as the cinnamon - it makes the pancakes rise nicely while cooking, but they lose the fluffiness as soon as you take them off the heat, so I left that out of this recipe, but feel free to try on your own (plenty of other ideas/suggestions in the Kitchn guide)! If you want to add other spices, make sure you add them to the banana BEFORE you add the eggs, otherwise you’ll get little clumps of powders, which are really annoying to break apart.
  3. If you have a griddle, this will help make the pancake-making process quicker! If you’re like me and don’t have a griddle, I’d recommend using at least two pans going at once to speed the process. If you’re using cast iron, the good news is that the pan stays pretty clean, I just let it cool down, wipe excess oil with a paper towel, and call it a day!
In my go-to recipes Tags gluten free, dairy free, breakfast
1 Comment
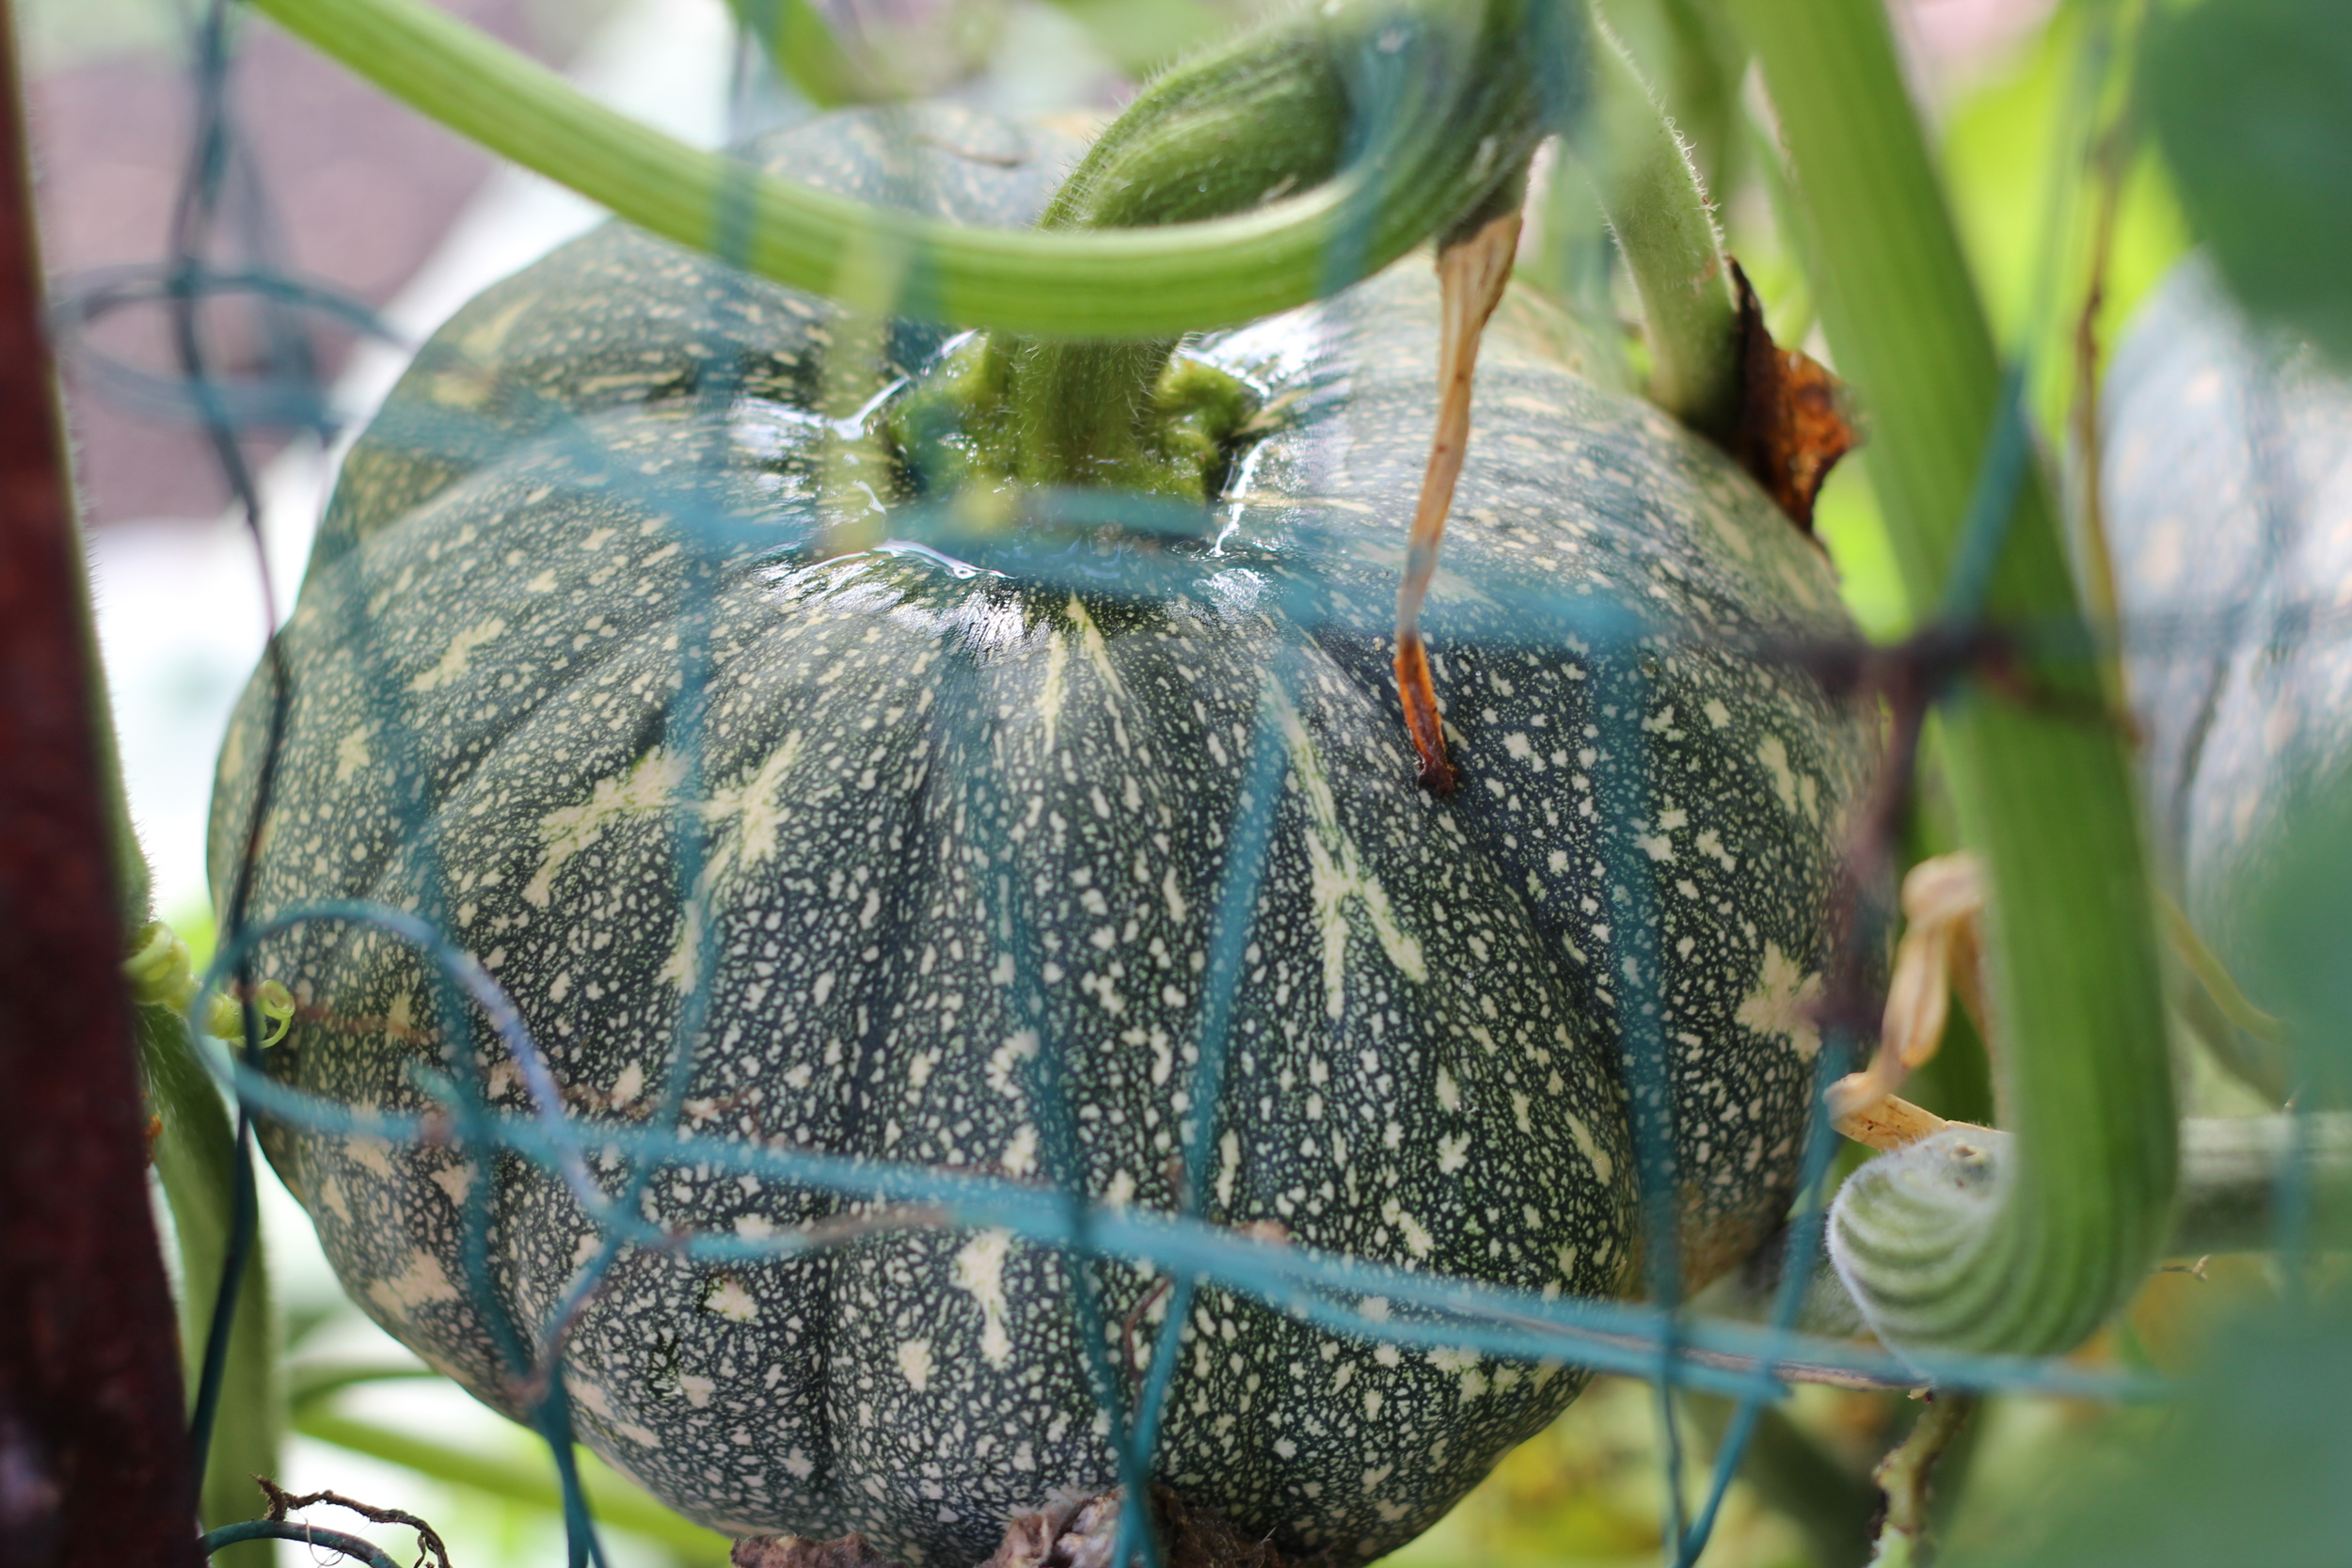
kabocha squash - not quite ripe
the squash grows on the garden wall
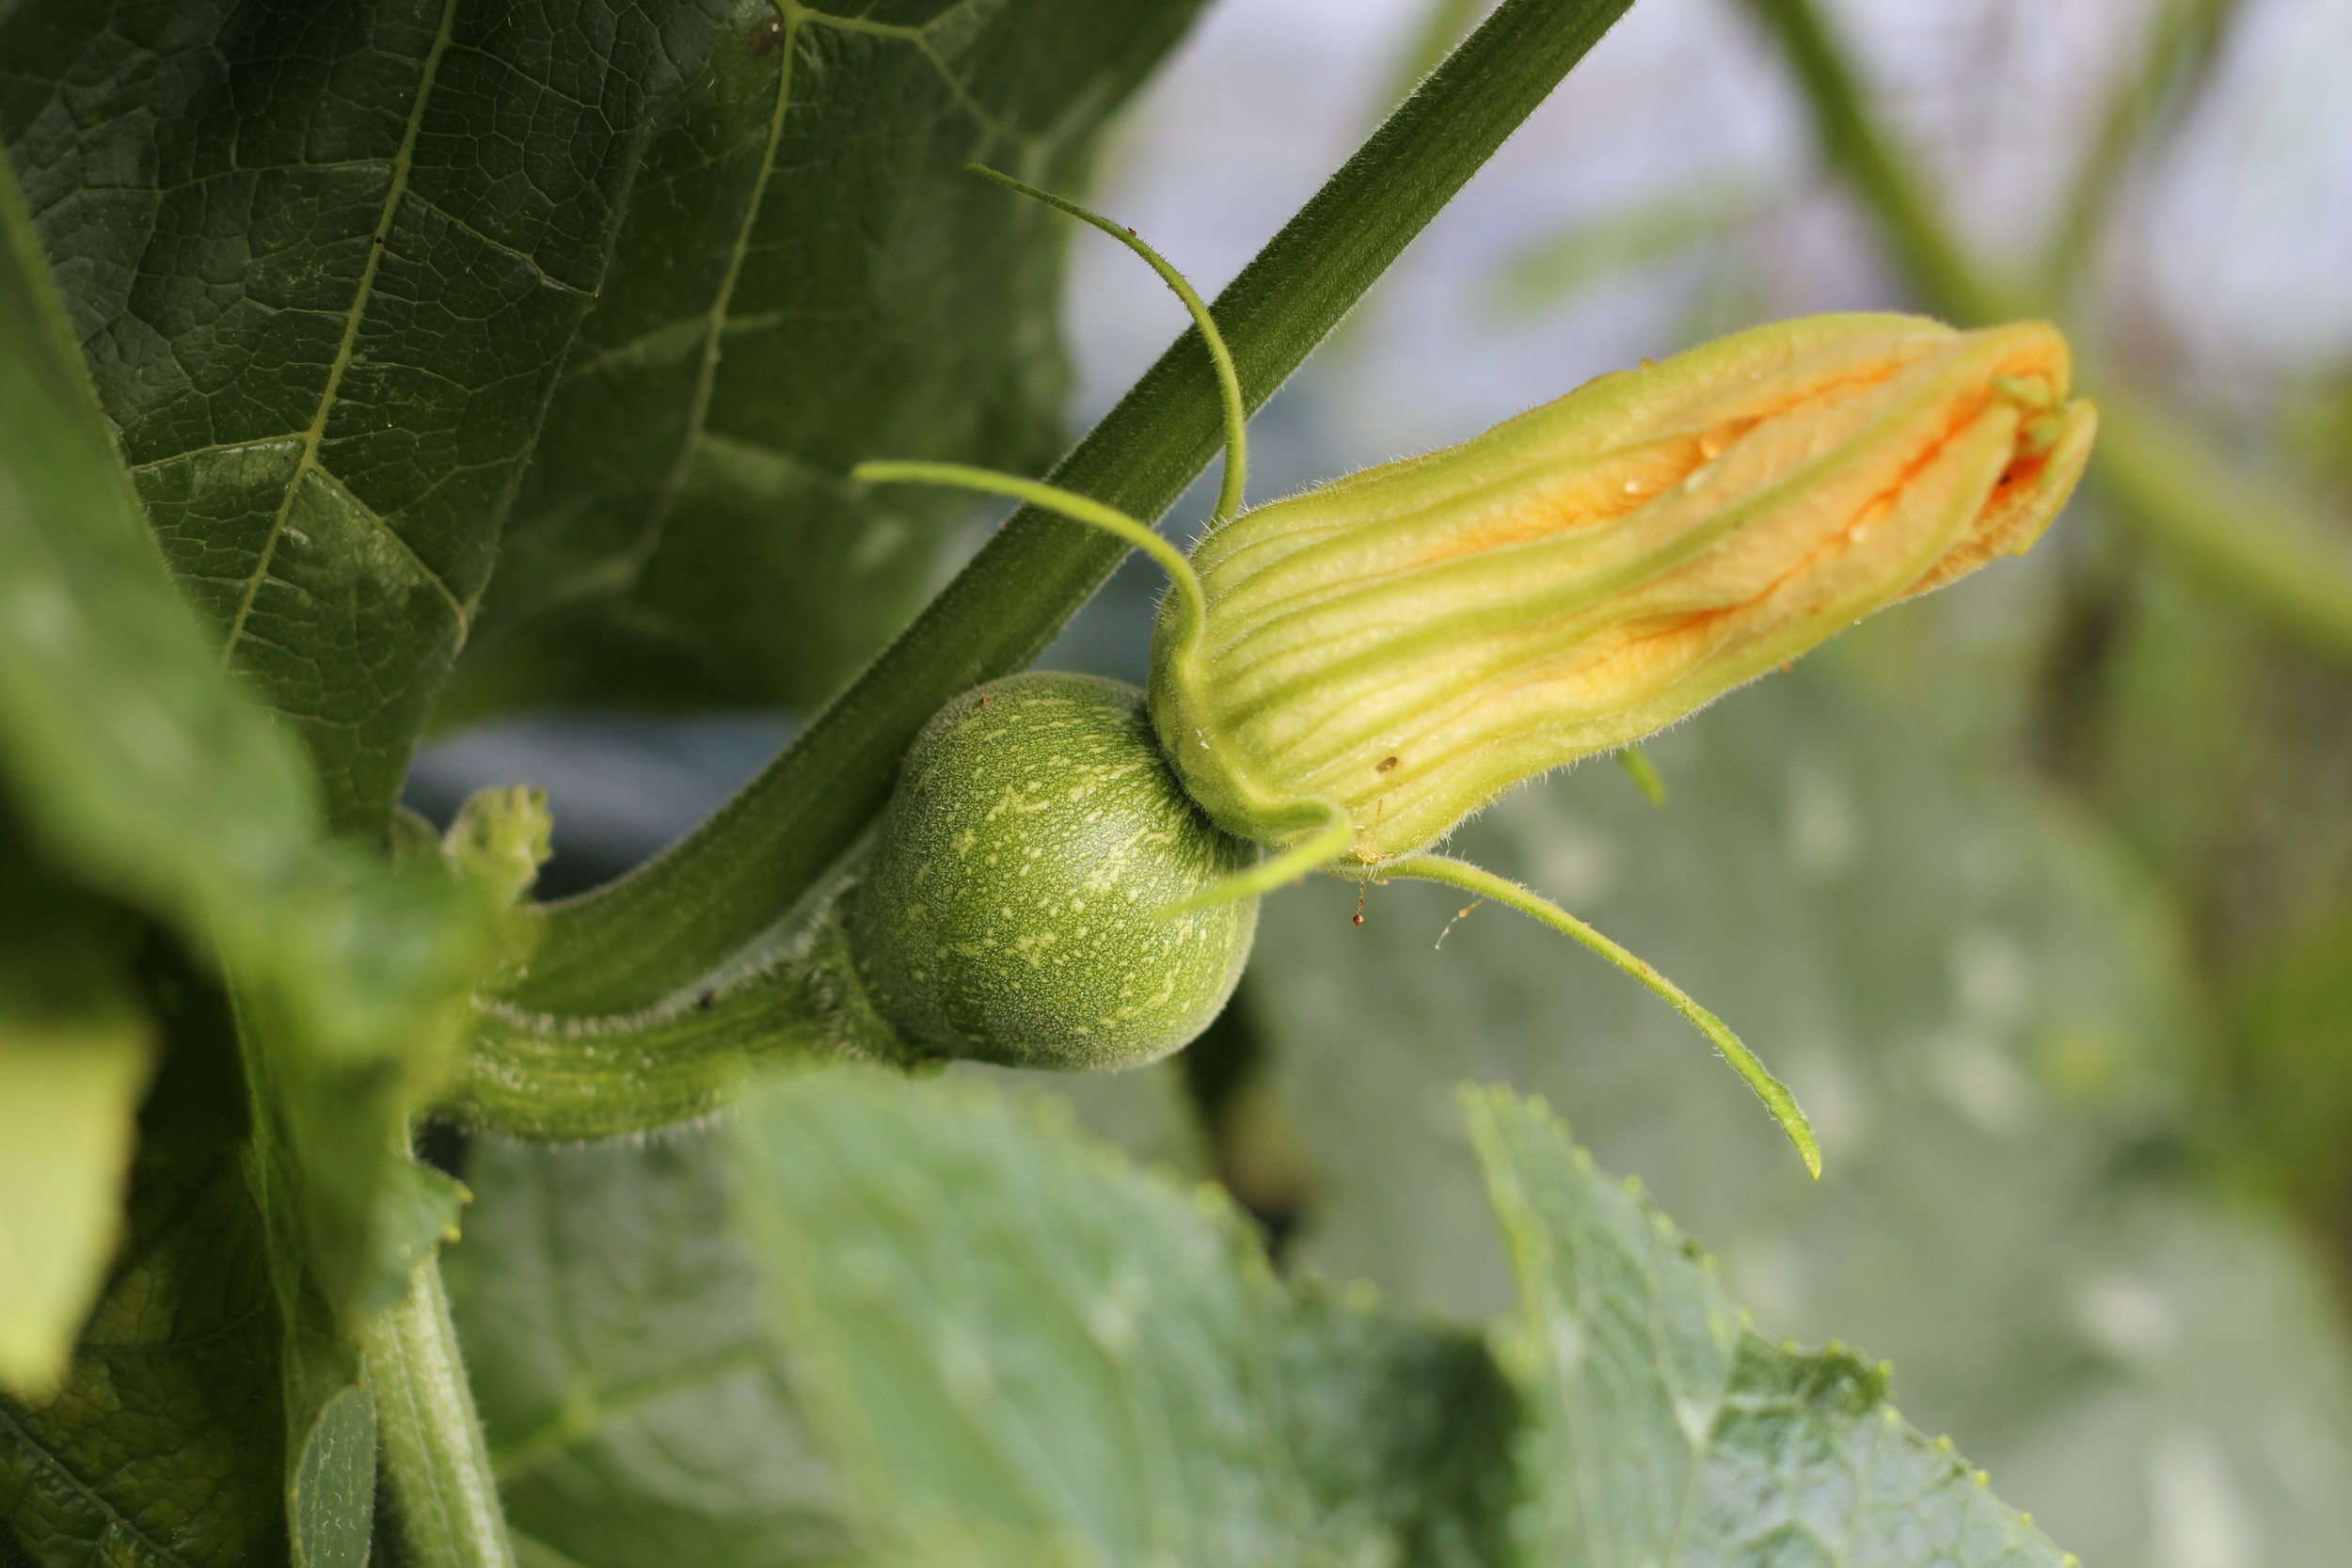
baby squash
baby squash

where there are flowers, a squash will grow!

ripe squash - ready to eat
kabocha squash - not quite ripe the squash grows on the garden wall baby squash ripe squash - ready to eat

double duty kabocha squash soup

October 16, 2015

A cool morning breeze swept by as I enjoyed my coffee on the lanai a few mornings ago. This was the closest thing to "fall" I've felt this October here in Hawaii. Instead of picking apples this year, I'm harvesting squash. We have a TON of it. It's a variety called kabocha squash, which is one of my favorite kinds because it cooks so quickly. Most of you should be able to find it at your local farmers market (preferably) or grocery store. It looks like a pumpkin and can be green, orange, or multicolored. 

This is a super easy recipe that I came up with while here in Hawaii. I'm so lucky that (for now) I'm able to pick the lemongrass, ginger, kale and herbs straight from the farm! It really is amazing to go to the garden instead of the fridge for my ingredients!

Note: I know that fresh lemongrass is a rather obscure ingredient. I've found it at Asian markets and the Asian stands at farmers markets (in San Francisco), and at Whole Foods on the east coast. If you can find it - I'd recommend trying it just for fun! If not, you can use preserved lemon, or just go without either.

Double Duty Kabocha Squash Soup

Active time: about 35 minutes
Total time: about 50 minutes

Ingredients:
- one large kabocha squash
- coconut oil or butter, whatever you prefer
- fresh garlic, 3-6 cloves (depending how much you like garlic)
- fresh ginger, about 1 tablespoon grated or minced
- about half a bunch of kale (roughly two handfuls chopped)
- half a (13.5 oz) can of coconut milk (full fat for creamier soup, light is fine if you're going lighter) OR you can use 3/4 a container of one of these kinds of coconut milk
- a few sprigs of fresh rosemary and/or sage (ideally two of each)
- 2-3 stalks of fresh lemongrass OR 3 wedges of preserved lemon (optional but recommended)
- water

Tools and stuff:
- large pot for soup
- chef's knife and large cutting board
- large spoon
- can opener if using canned coconut milk

Instructions: 
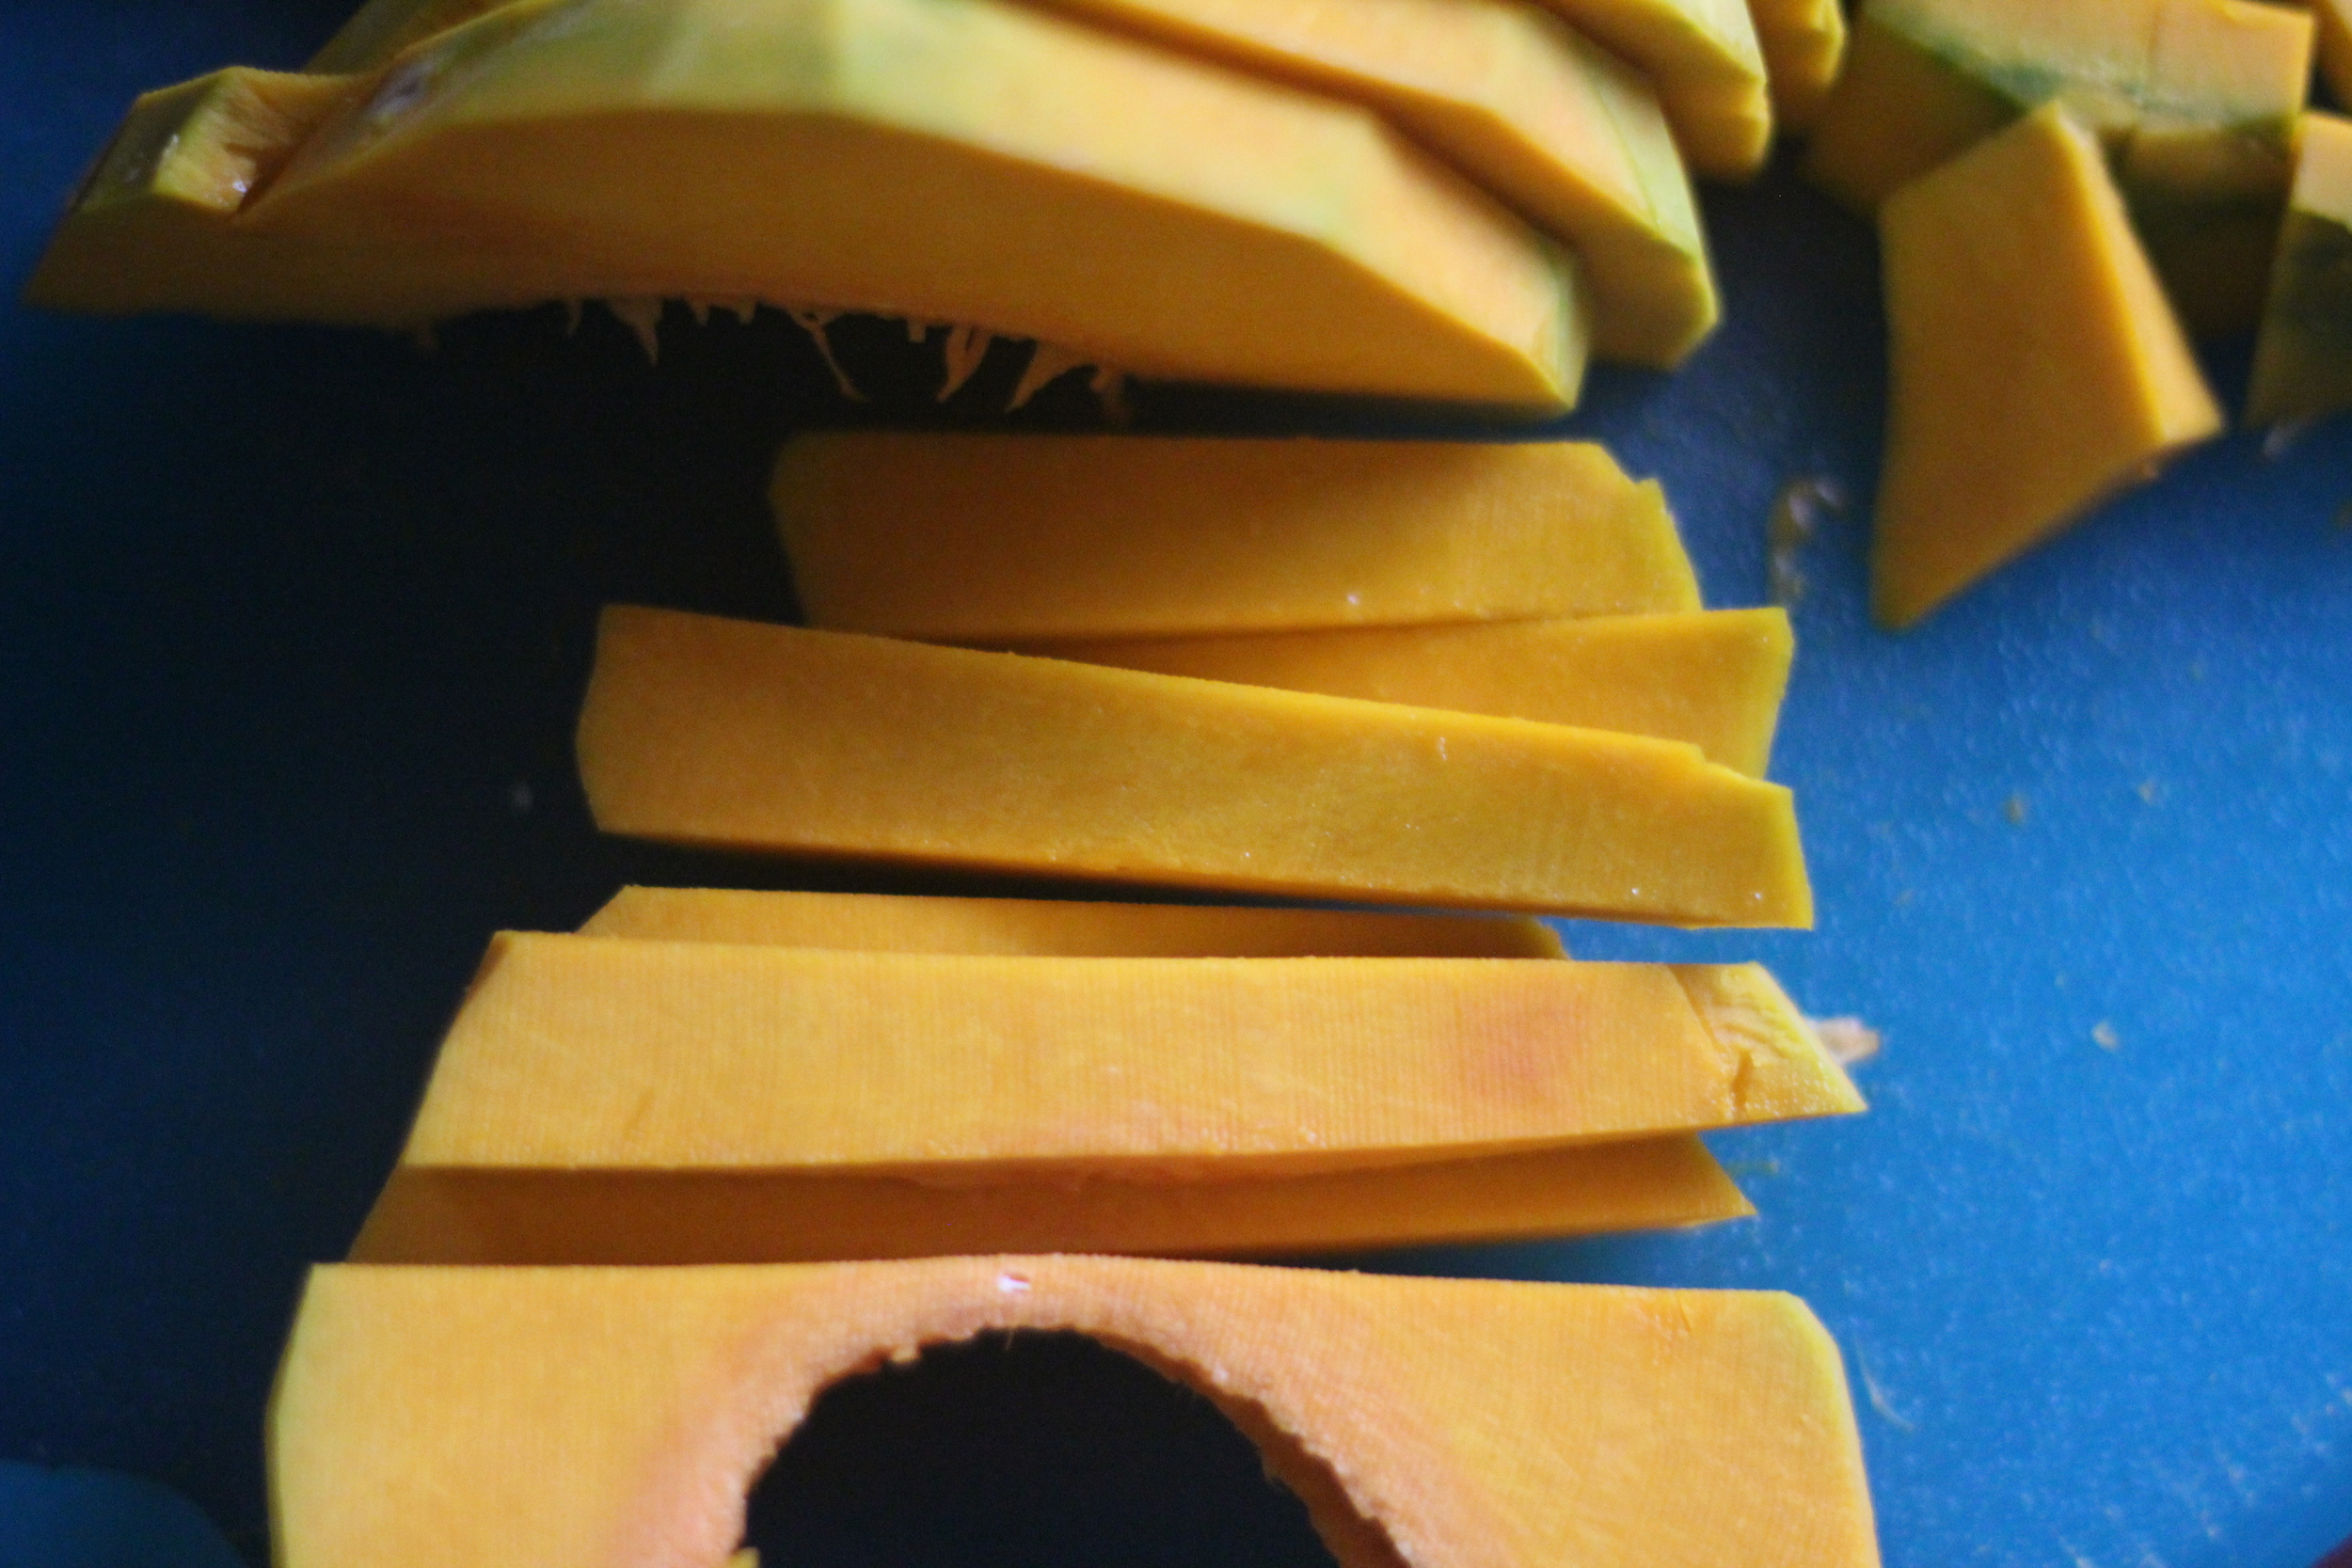
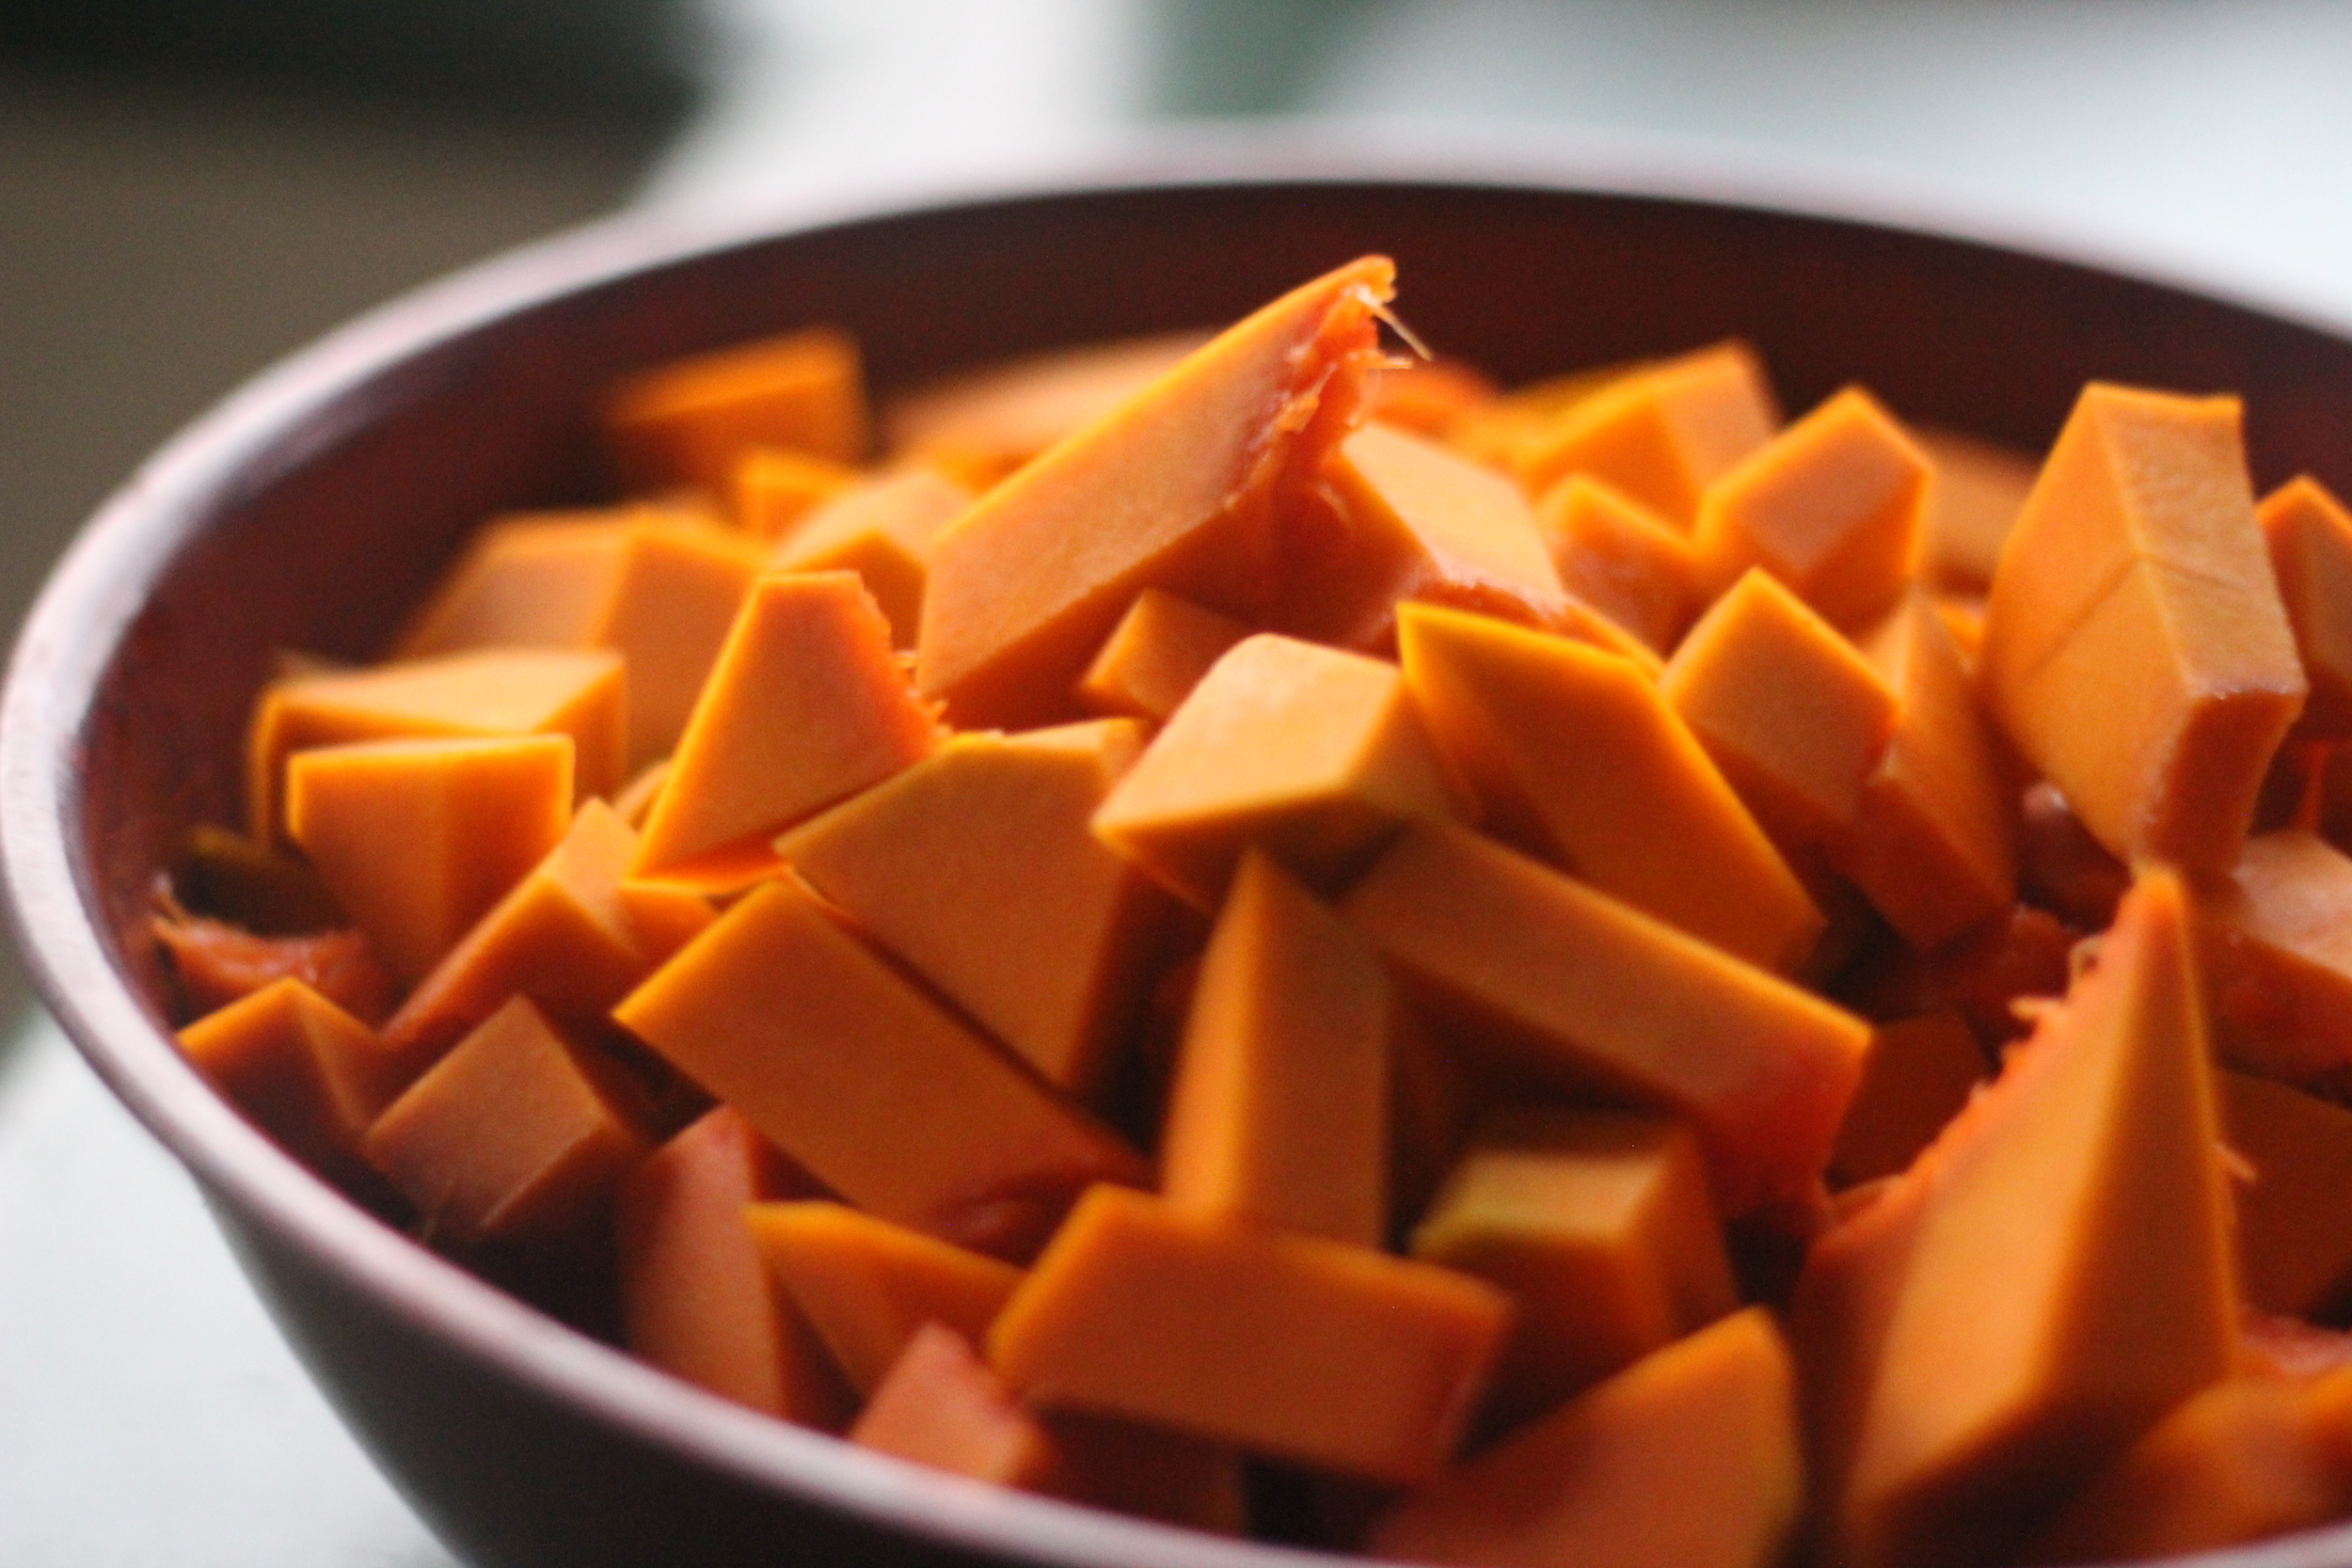
1. Chop your squash into roughly bite-size chunks. Chopping the squash is the most annoying/time-consuming part of this recipe so it's great that we'll get it over with first. One of the great things about kabocha is that you can actually leave the skin on if you want to save time & effort. You'll want to cut off any barnacle-looking growths and/or spots, but otherwise, I usually just cut off the extra-thick areas of skin and leave the rest on. Sometimes I do cut it all off - experiment and see what you prefer. Below you'll find an instructional photo series of how I chop my squash. 

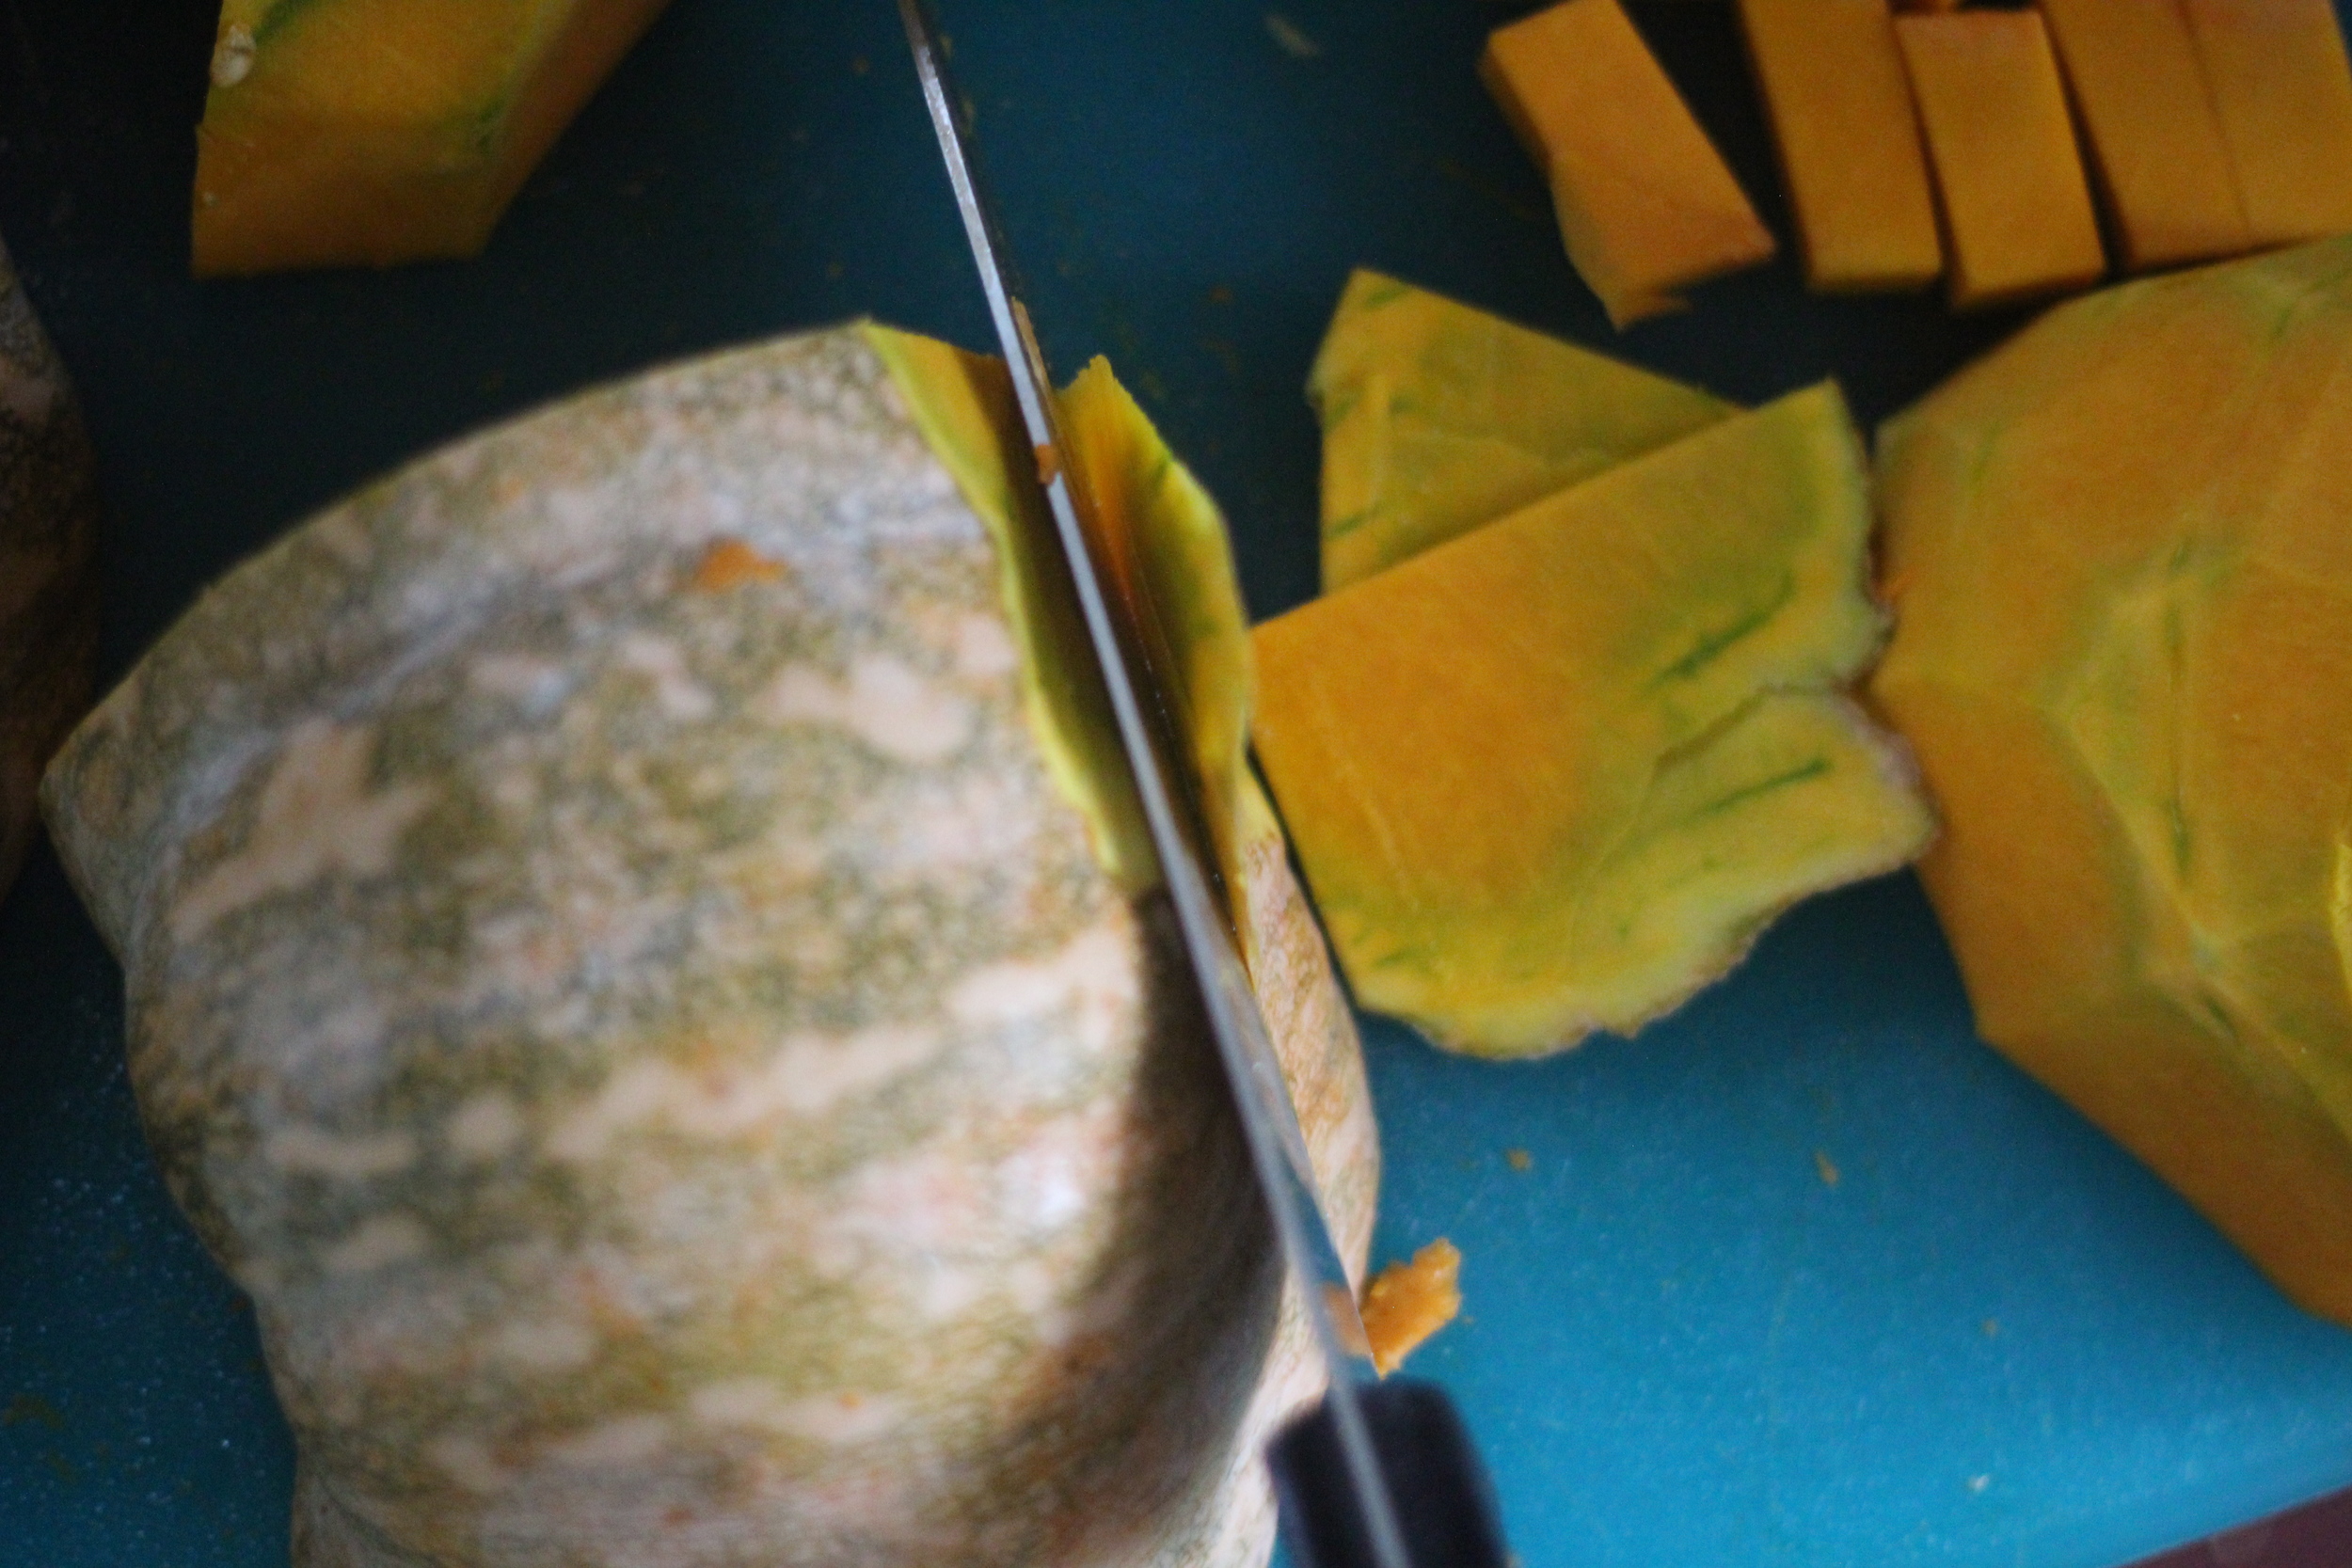
 dig pointy end of knife in next to the stem and cut off the end

dig pointy end of knife in next to the stem and cut off the end

 continue cutting off chunks, working around the stem

continue cutting off chunks, working around the stem

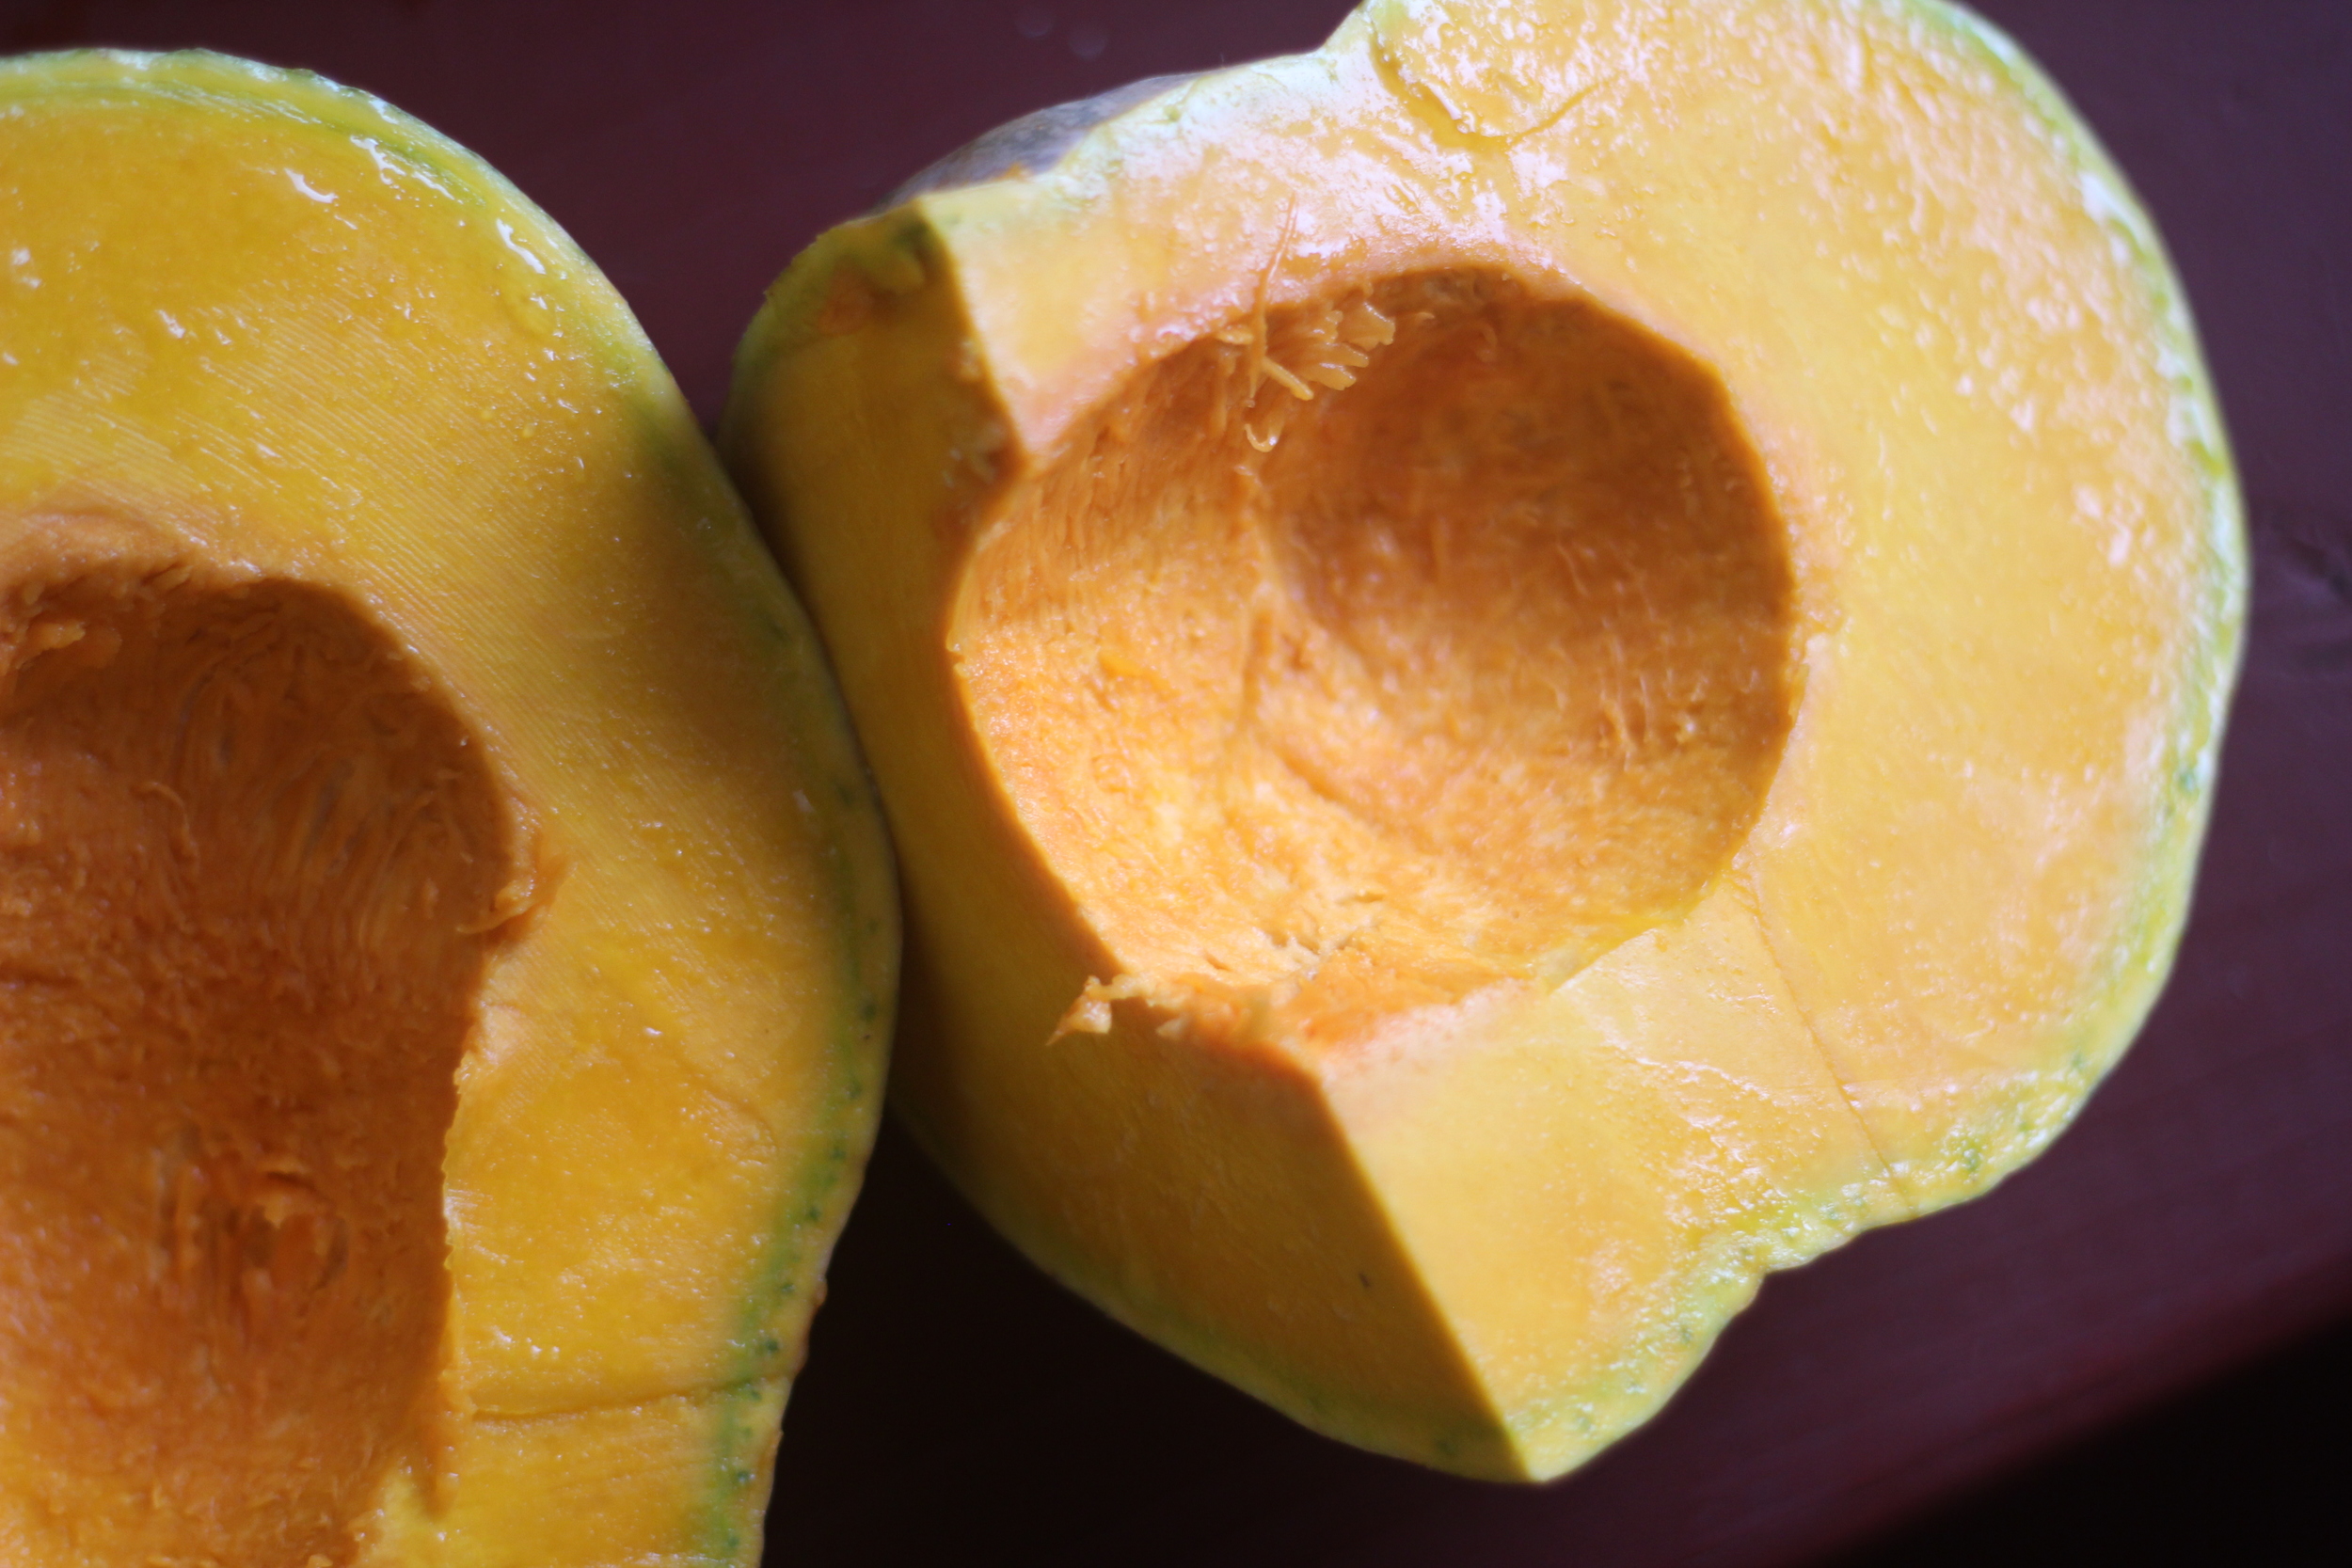
 scoop out seeds and strings. reserve these insides so you can wash, dry, and toast up the seeds later!

scoop out seeds and strings. reserve these insides so you can wash, dry, and toast up the seeds later!

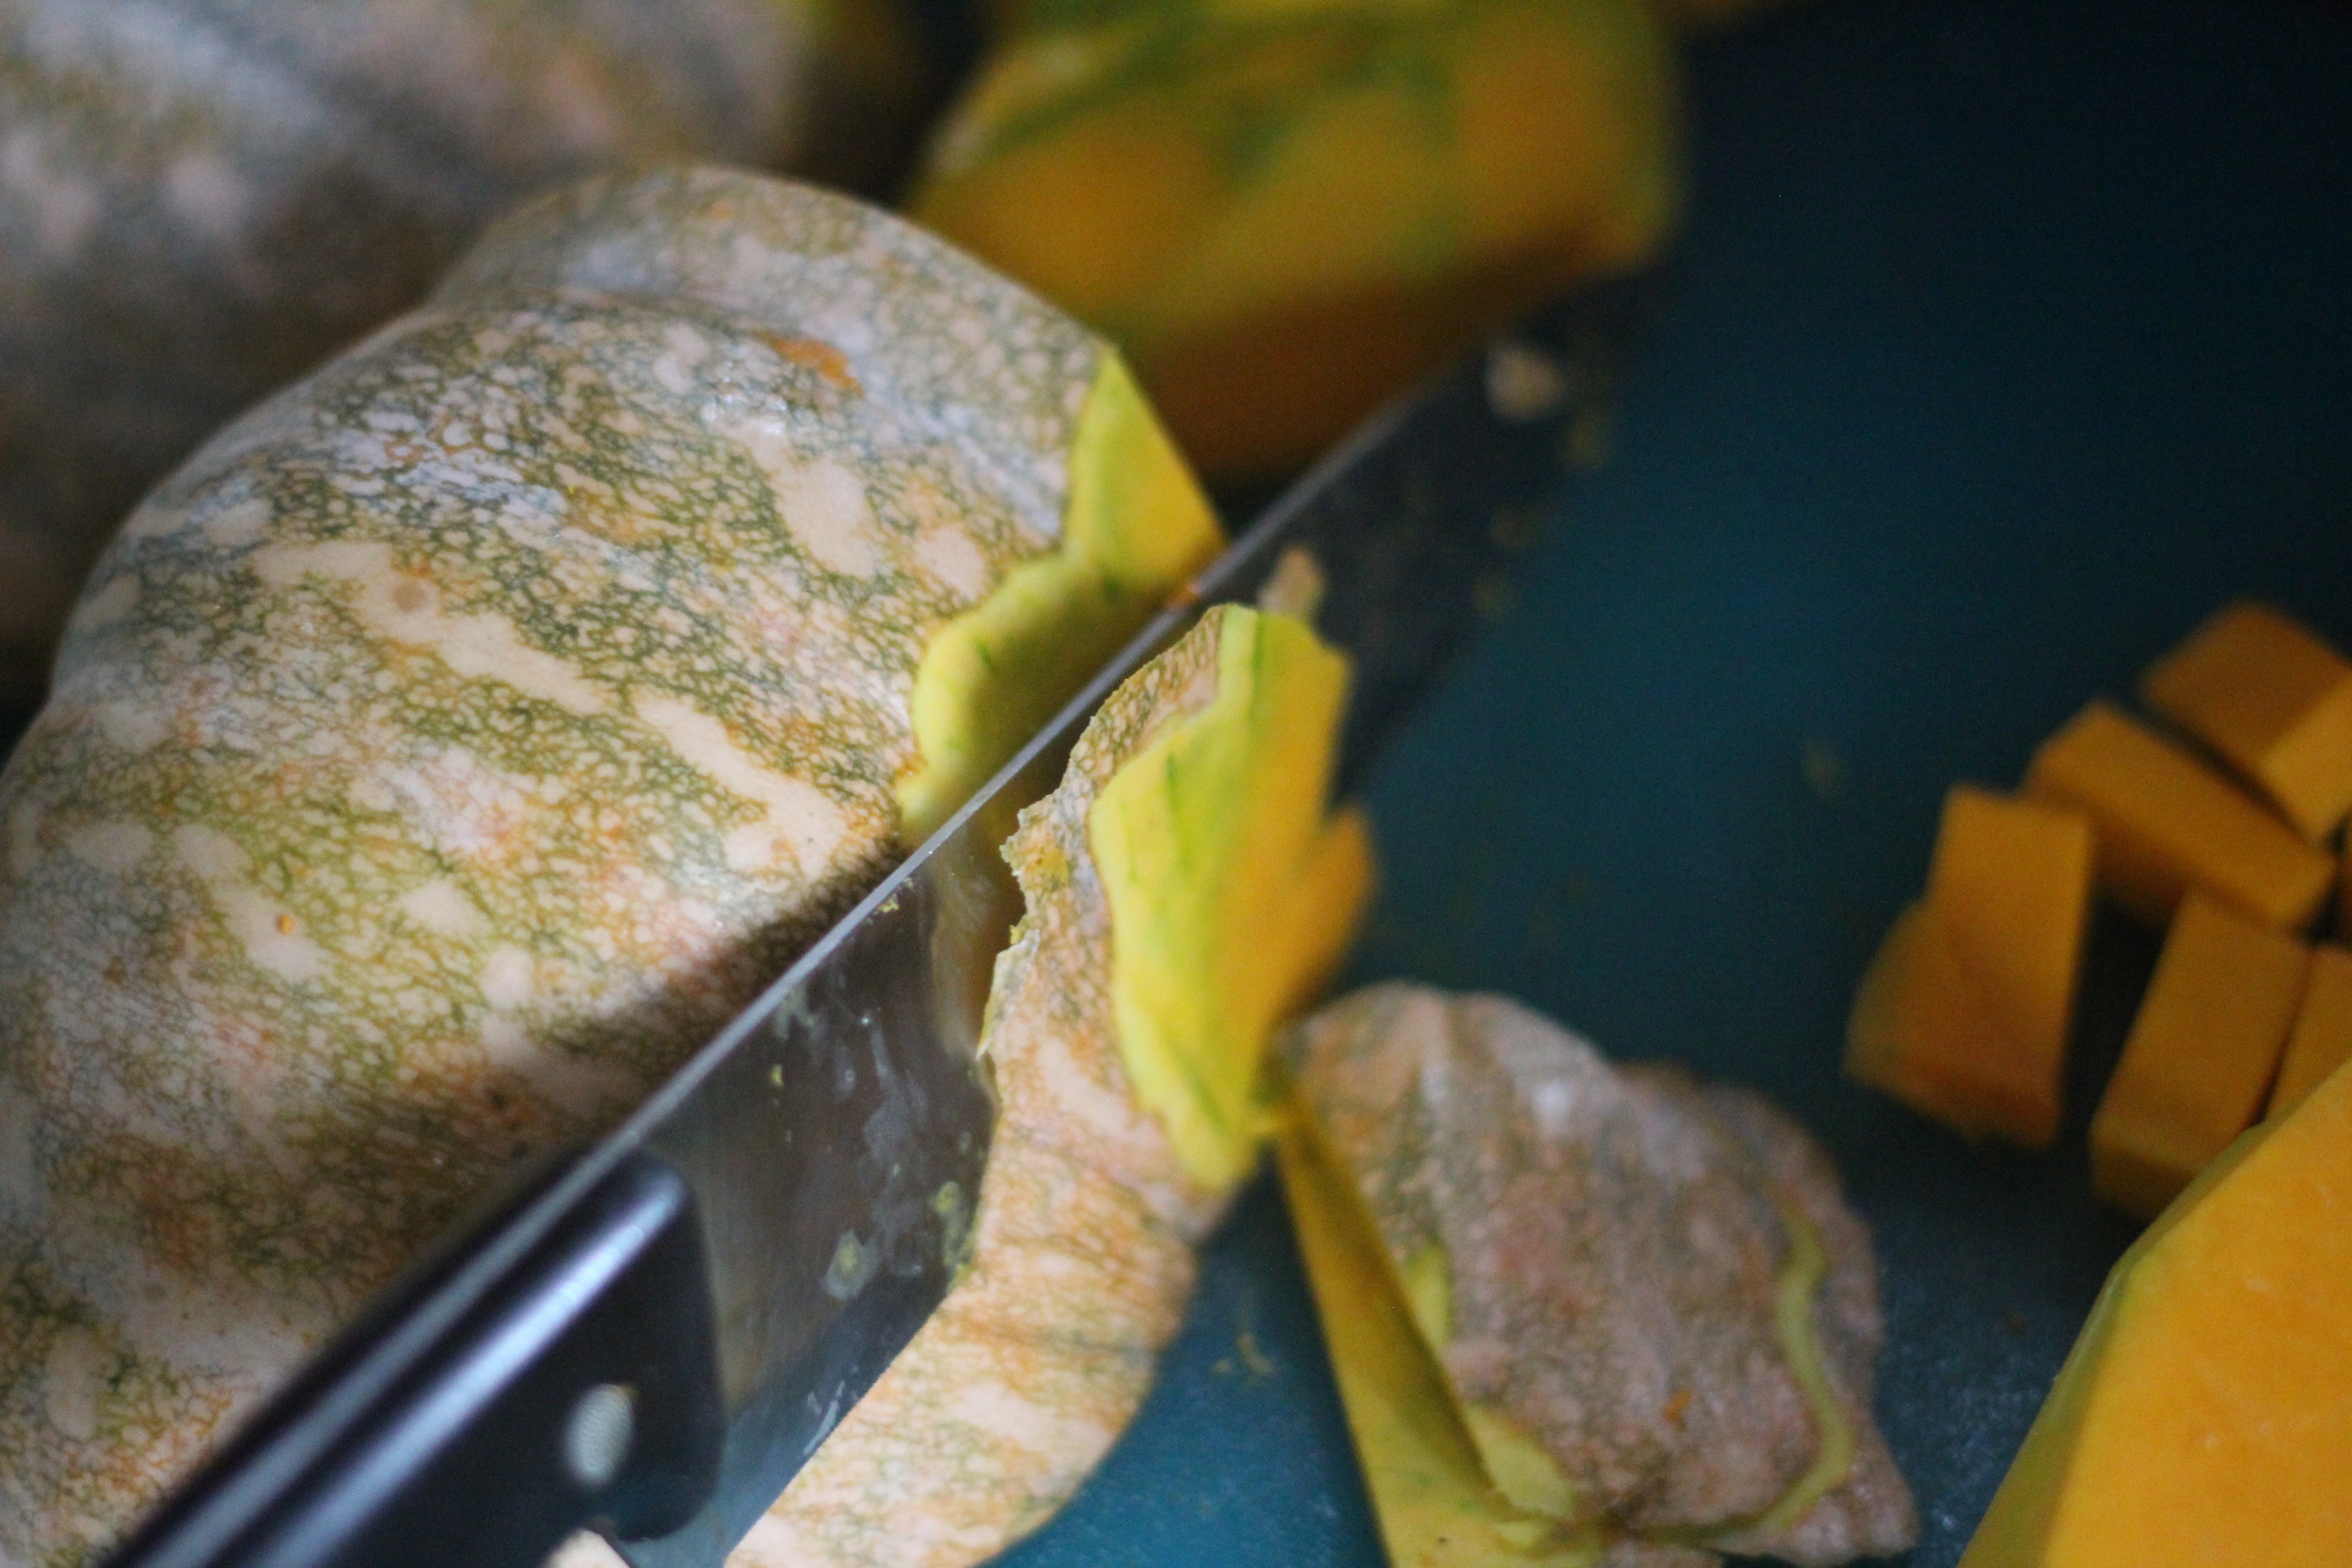
 remove any bruises/bad spots/barnacles, and/or all the skin if you wish

remove any bruises/bad spots/barnacles, and/or all the skin if you wish

 note that if you're removing the skin, you'll need a knife. a peeler will NOT do the job here

note that if you're removing the skin, you'll need a knife. a peeler will NOT do the job here

 next, I slice each section into long slices like this 

next, I slice each section into long slices like this 

 from there, cut your stack into sticks, and then chunks

from there, cut your stack into sticks, and then chunks

 the final product - by no means are they uniform sizes, but it's totally fine for this soup!

the final product - by no means are they uniform sizes, but it's totally fine for this soup!

 dig pointy end of knife in next to the stem and cut off the end  continue cutting off chunks, working around the stem  scoop out seeds and strings. reserve these insides so you can wash, dry, and toast up the seeds later!  remove any bruises/bad spots/barnacles, and/or all the skin if you wish  note that if you're removing the skin, you'll need a knife. a peeler will NOT do the job here  next, I slice each section into long slices like this   from there, cut your stack into sticks, and then chunks  the final product - by no means are they uniform sizes, but it's totally fine for this soup!

2. Crush and mince your garlic and ginger; chop kale into ribbons.
- If you're using lemongrass, rinse and dry it, then trim the ends and remove any dry outer layers until you have more tender, pale yellow/green stalks. Make sure to include the most tender part - usually the bottom of the bulb, and cut into pieces that are about four inches long (this does NOT need to be exact). Then pound the stalks with the back of your knife to release the oils and flavor. 
- If you're using preserved lemon, pick out about 3 wedges and mince.

minced ginger

minced ginger

fresh lemongrass!

fresh lemongrass!

minced preserved lemon (great option if you can't find lemongrass)

minced preserved lemon (great option if you can't find lemongrass)

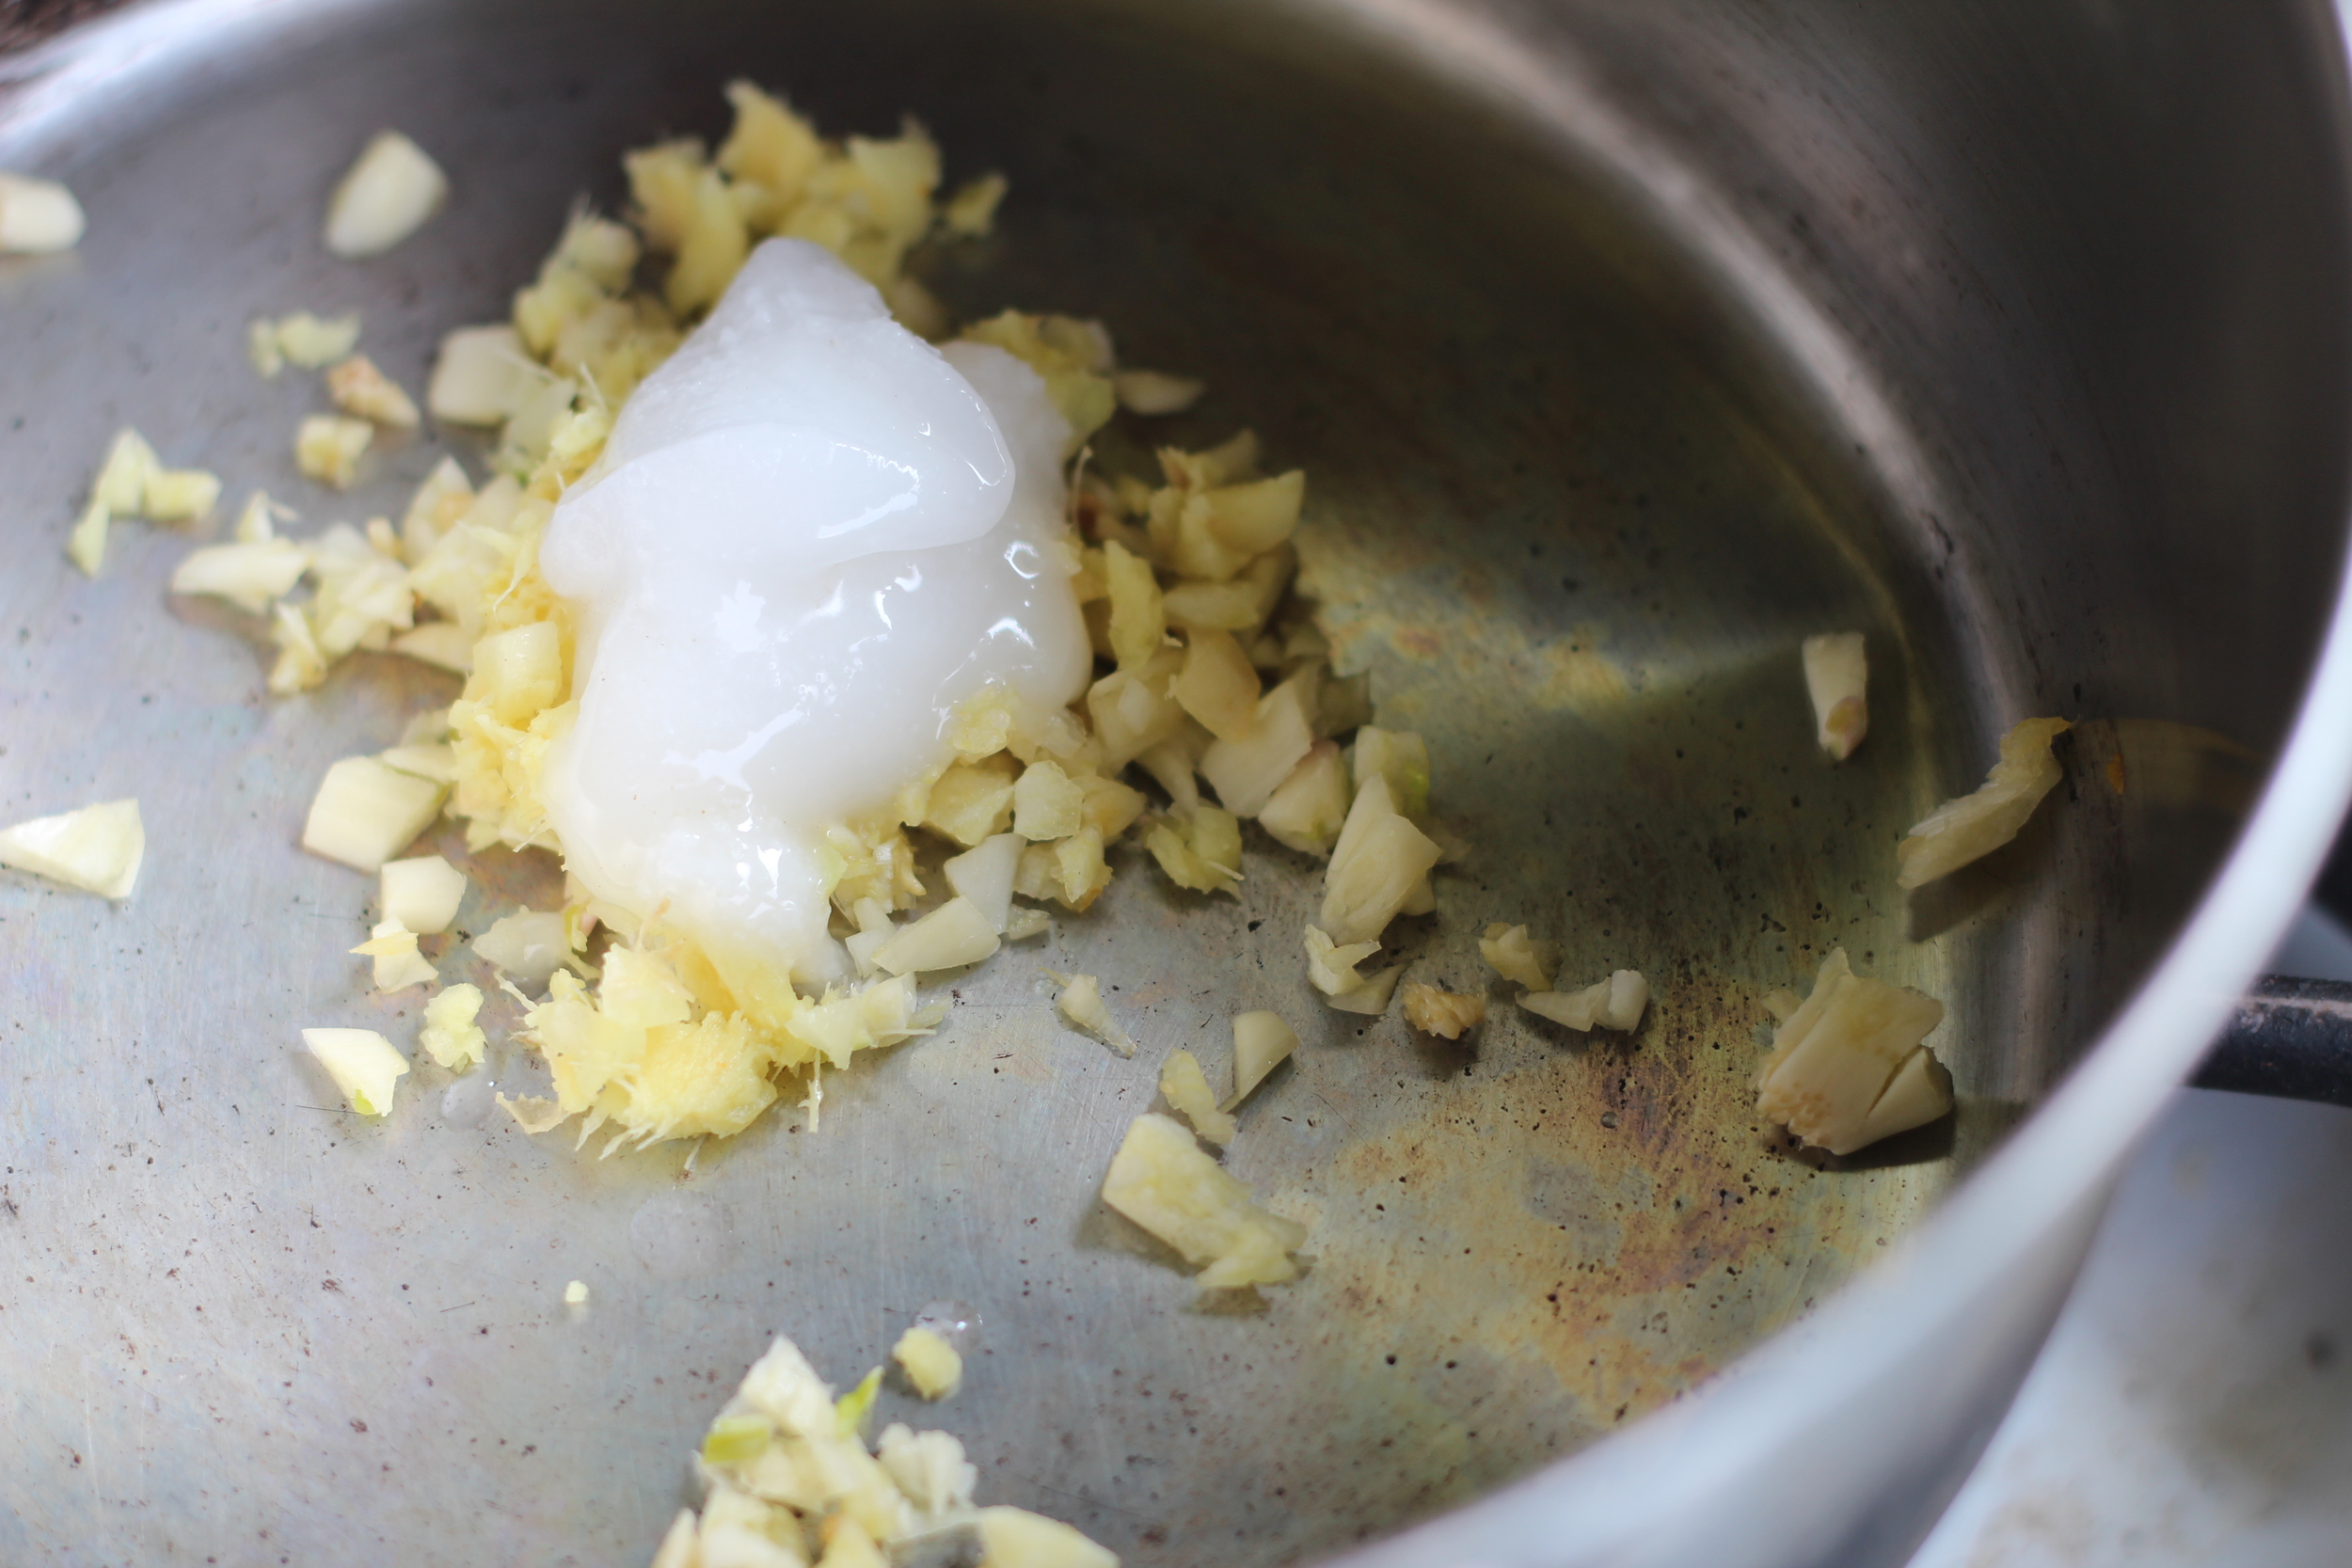
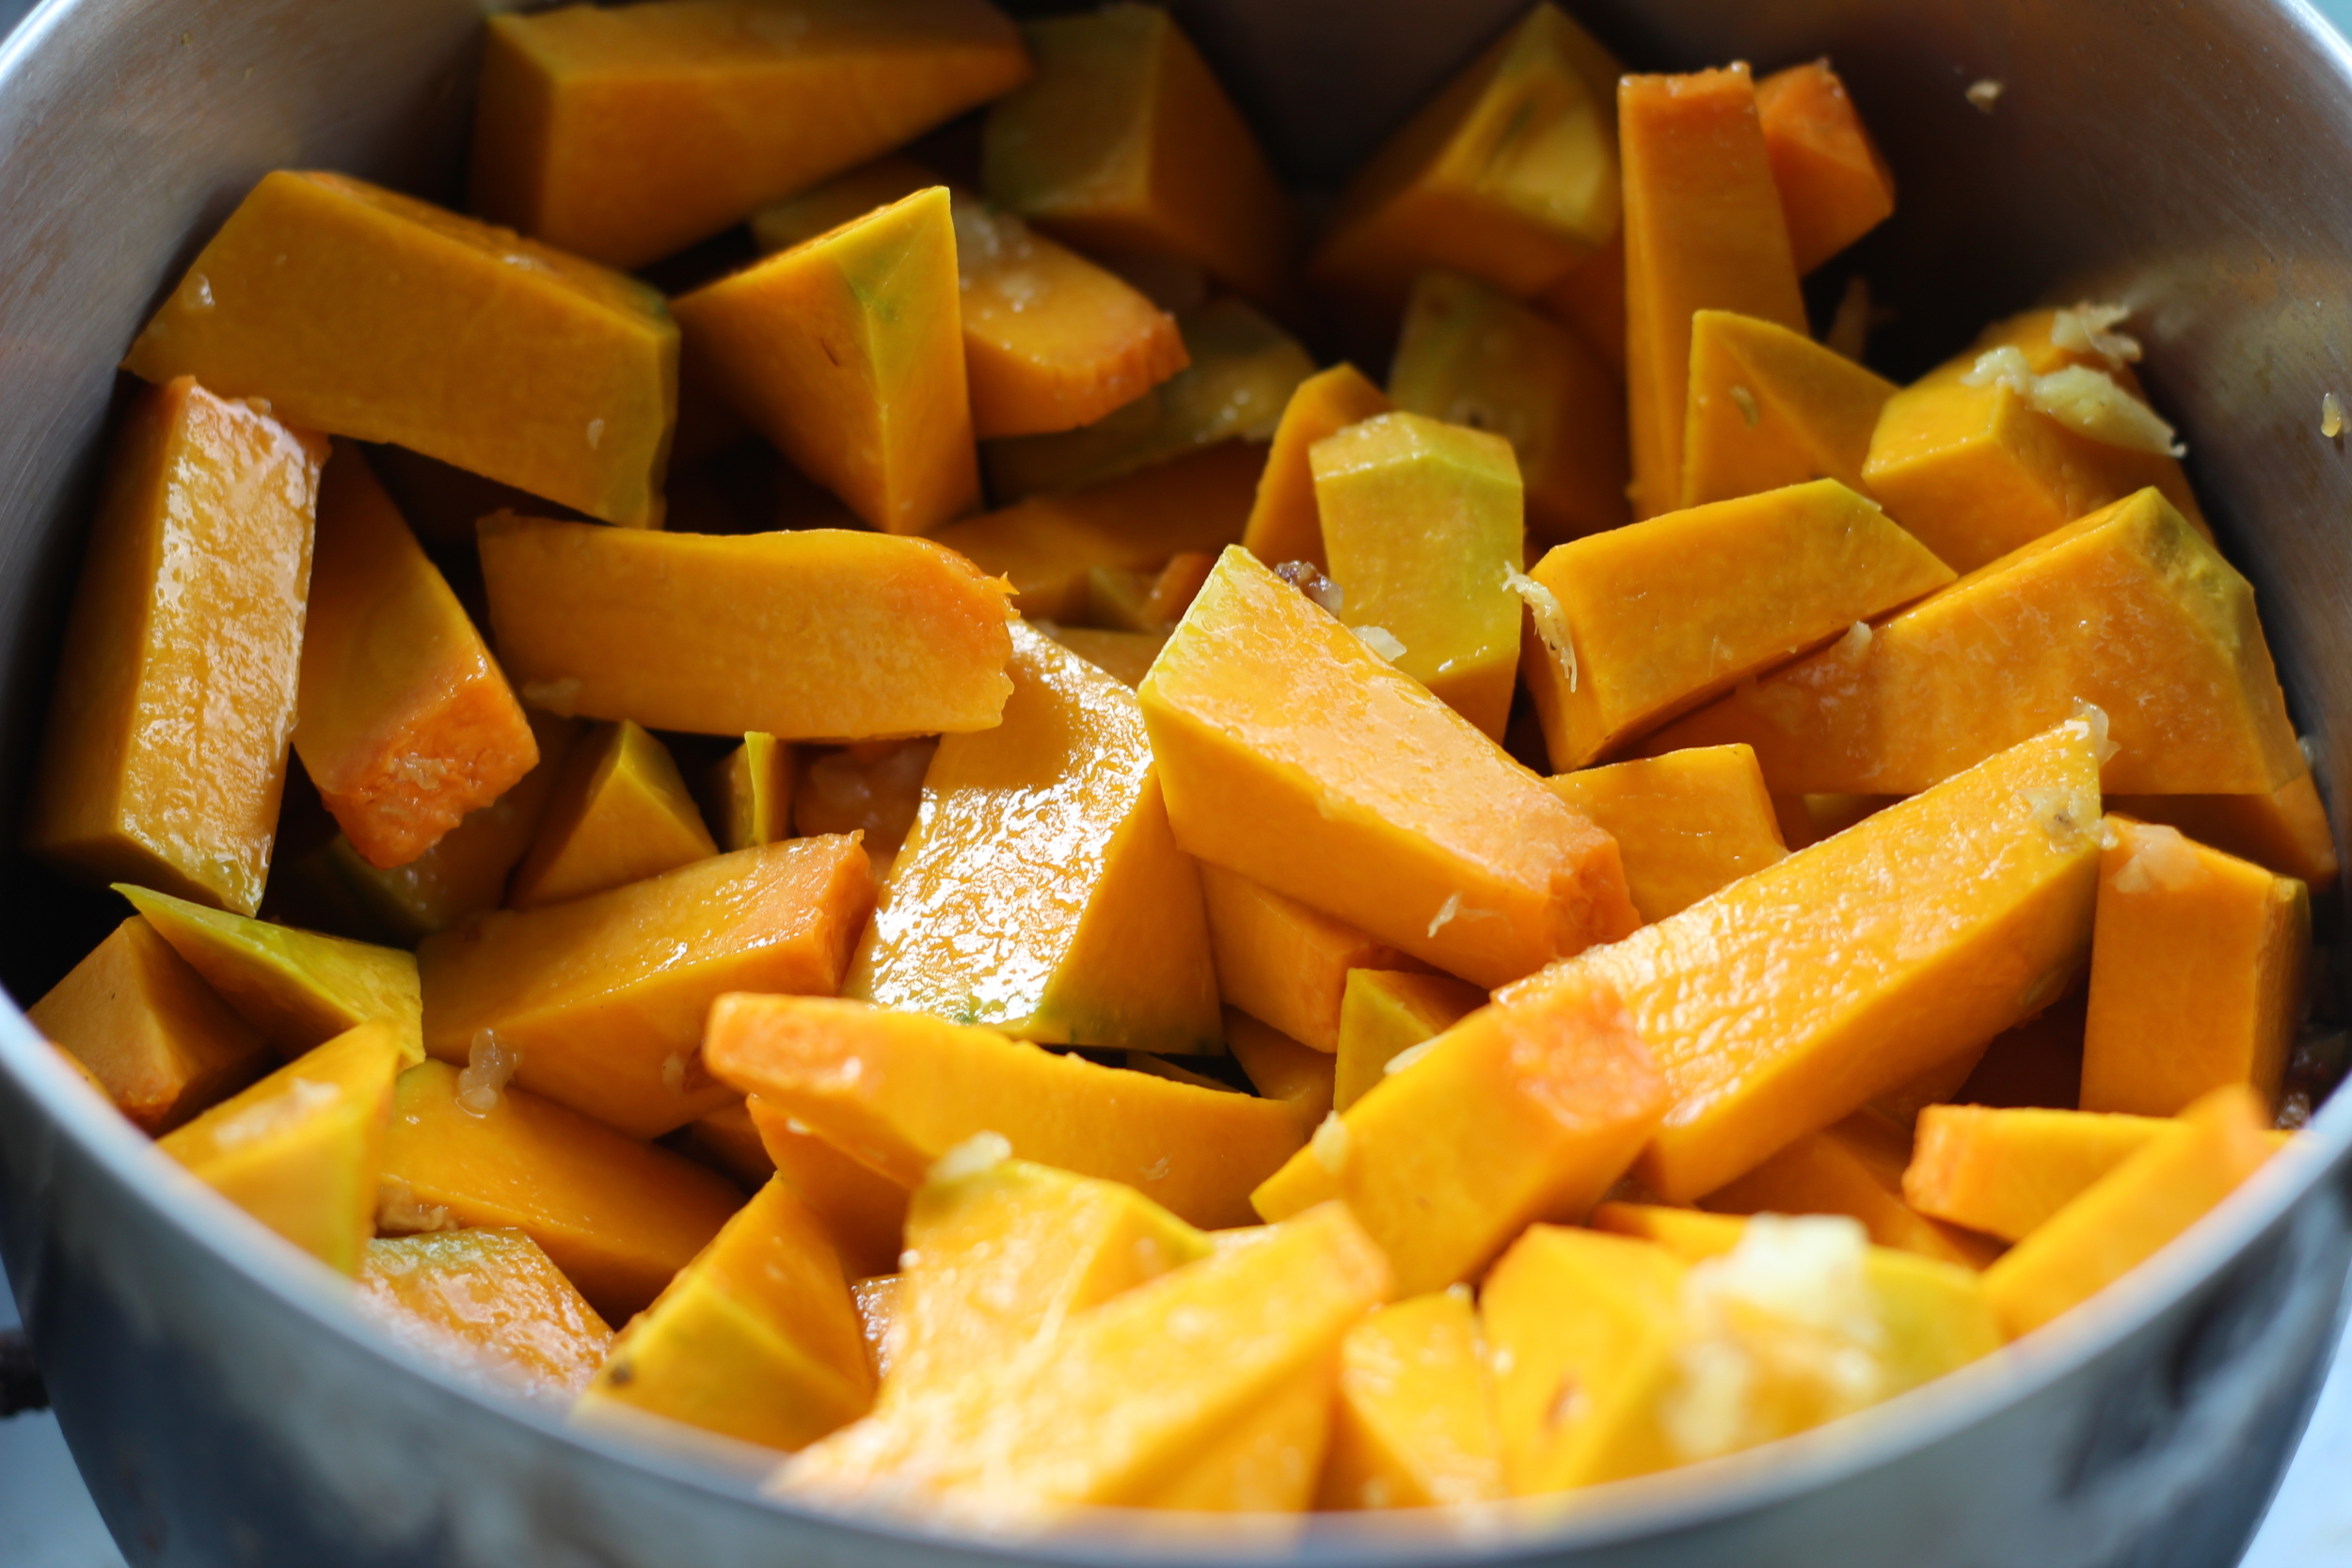
3. Get out your big soup pot. Heat the oil on medium and add your garlic and ginger. When they start to become fragrant, add your preserved lemon (if using). After another minute, add the squash and stir to coat.

 garlic + ginger + coconut oil

garlic + ginger + coconut oil

 once fragrant, stir with squash to coat

once fragrant, stir with squash to coat

4. Now add your half can of coconut milk. (If you want a more decadent soup, feel free to add the whole can, but I usually save it for something else like a coconut key lime pie - recipe coming soon!) Then fill up the pot with water so that you almost cover the squash. You want a couple of inches of room at the top of the pot.

5. Stir well to mix the coconut milk and water together. Now add your sage, rosemary, and lemongrass (if using). Gently push them under the liquid so they're submerged, but don't stir. (This makes it easier to remove them at the end.)

herbssssss

herbssssss

6. Turn up the heat to high and bring to a boil - should take a little under 10 minutes. Once at a boil, turn down to simmer (small bubbles should be coming up). Cook for another 10 minutes, then check the squash with a fork. The goal is for the top-most squash to be tender but not totally falling apart. If needed, give it another five minutes. When it's ready, use your spoon to gently skim out some of the top-most squash into a heat-proof tupperware (or bowl). This is the "double duty" part of the recipe - you're reserving these chunks of squash for other uses - throw them in salads, eat with eggs, season with spices and make a side dish, whatever you like! I usually take about a cup and a half but take as much or as little as you want!

7. Now, carefully remove the rosemary and sage. (If you'd like, you can let the sage cool a bit and then chop and add leaves back to the soup.) Then, with your spoon, start to gently mash the squash towards the bottom of the pot - the lemongrass helps with this too. The squash should easily mash and the soup will become even creamier and brighter orange.

8. Finally, add your chopped kale. Again, use the spoon to submerge the kale and cook soup for another minute or two until kale is bright green. Turn off the stove and you're done! Now - you don't want to serve or eat the lemongrass, but I recommend keeping it in the soup when you store it so that it has a chance to impart even more delicious lemongrassy flavor! 

finished product!

finished product!

FInal tips: You likely have a pretty big pot of soup at this point, and it will keep for a solid week in the fridge. I've been making and eating large pots of this all by myself so I've come up with a few flavor changers/enhancers to keep this interesting throughout the week: 
a) For easy protein - when reheating, add some chopped tofu and cook for an extra 5 minutes to make sure it's heated through
b) Just before eating, add a few dollops of pesto or green sauce/salsa verde or a handful of fresh basil and stir in slowly
c) Top with a fried egg (or poach an egg in the soup while reheating) and serve over quinoa
d) Add kalamata olives and chunks of avocado on top - sounds weird but really good! (especially the olives!)

with fresh basil added - so flavorful!

with fresh basil added - so flavorful!

In my go-to recipes Tags gluten free, soup, dinner, entertaining
1 Comment
Older Posts →
Featured
IMG_7074.JPG
Cauli-faux-caccia: the recipe that came to me in a dream!
the tinder message I'm still thinking about 1 year later 🔥
IMG_5175.jpeg
Magic Cold Elixir / how I stop the sniffles before they start
the "diet" I live by
91DD3A77-66D3-446C-9BA1-792E415598A0.jpeg
CAESAR SALAD DRESSING, TWO WAYS
7569A20C-08EC-4201-B5B7-871CA173D477.jpeg
Beginner's Guide to Kombucha
showstopper stuffed squash
GIFT GUIDE 2019: for the kitchen and beyond
IMG_5428.JPG
The 2-Minute Habit that Saves Time, $, and Energy in the Kitchen
fullsizeoutput_223b.jpeg
Lemon Bars, a Homeless Guy, and the Big Questions (An Essay)
IMG_6146.JPG
Five Minute Red Curry Sauce, hello old friend!
IMG_5390.JPG
Resourcefulness to Preserve my Reggiano (Parmigiano-Reggiano, that is)
Brandless Dinner-24.jpg
Getting back to blogging
IMG_6720.JPG
WHEN RECIPES GO WRONG: SALT, TASTE, QUESTION!

BLOG ARCHIVE


© Garlic Press Ventures  •  privacy policy  • terms of use •  follow on Instagram