• HOME
  • KITCHEN SHOP
  • Recipes
  • Blog
  • About
Menu

GARLIC PRESS JESS

  • HOME
  • KITCHEN SHOP
  • Recipes
  • Blog
  • About
beautiful cacao beans

beautiful cacao beans

the making of chocolate, part two: from beans to bars

October 23, 2015

It’s about time I told you about part two of chocolate making, also known as THE FUN PART! Warning: you will very likely feel compelled to go out and buy a chocolate bar after reading this post... SORRY!

We'll start where we left off - you may remember the final step of part one was drying the beans. Once the beans are dried, they are then stored until we decide to make chocolate. (At this point, I am pretty sure you could also sell them as “raw cacao” if desired.) Here at the farm, they store the beans for up to a year, so when we made the chocolate in these photos, we were actually using beans from last year’s harvest.

Making chocolate from the raw cacao beans takes two days, and at the end of each day there is a special “treat” that happily involves some waste-reducing cleanup of the chocolate :)

DAY ONE

step 1: roasting & cracking

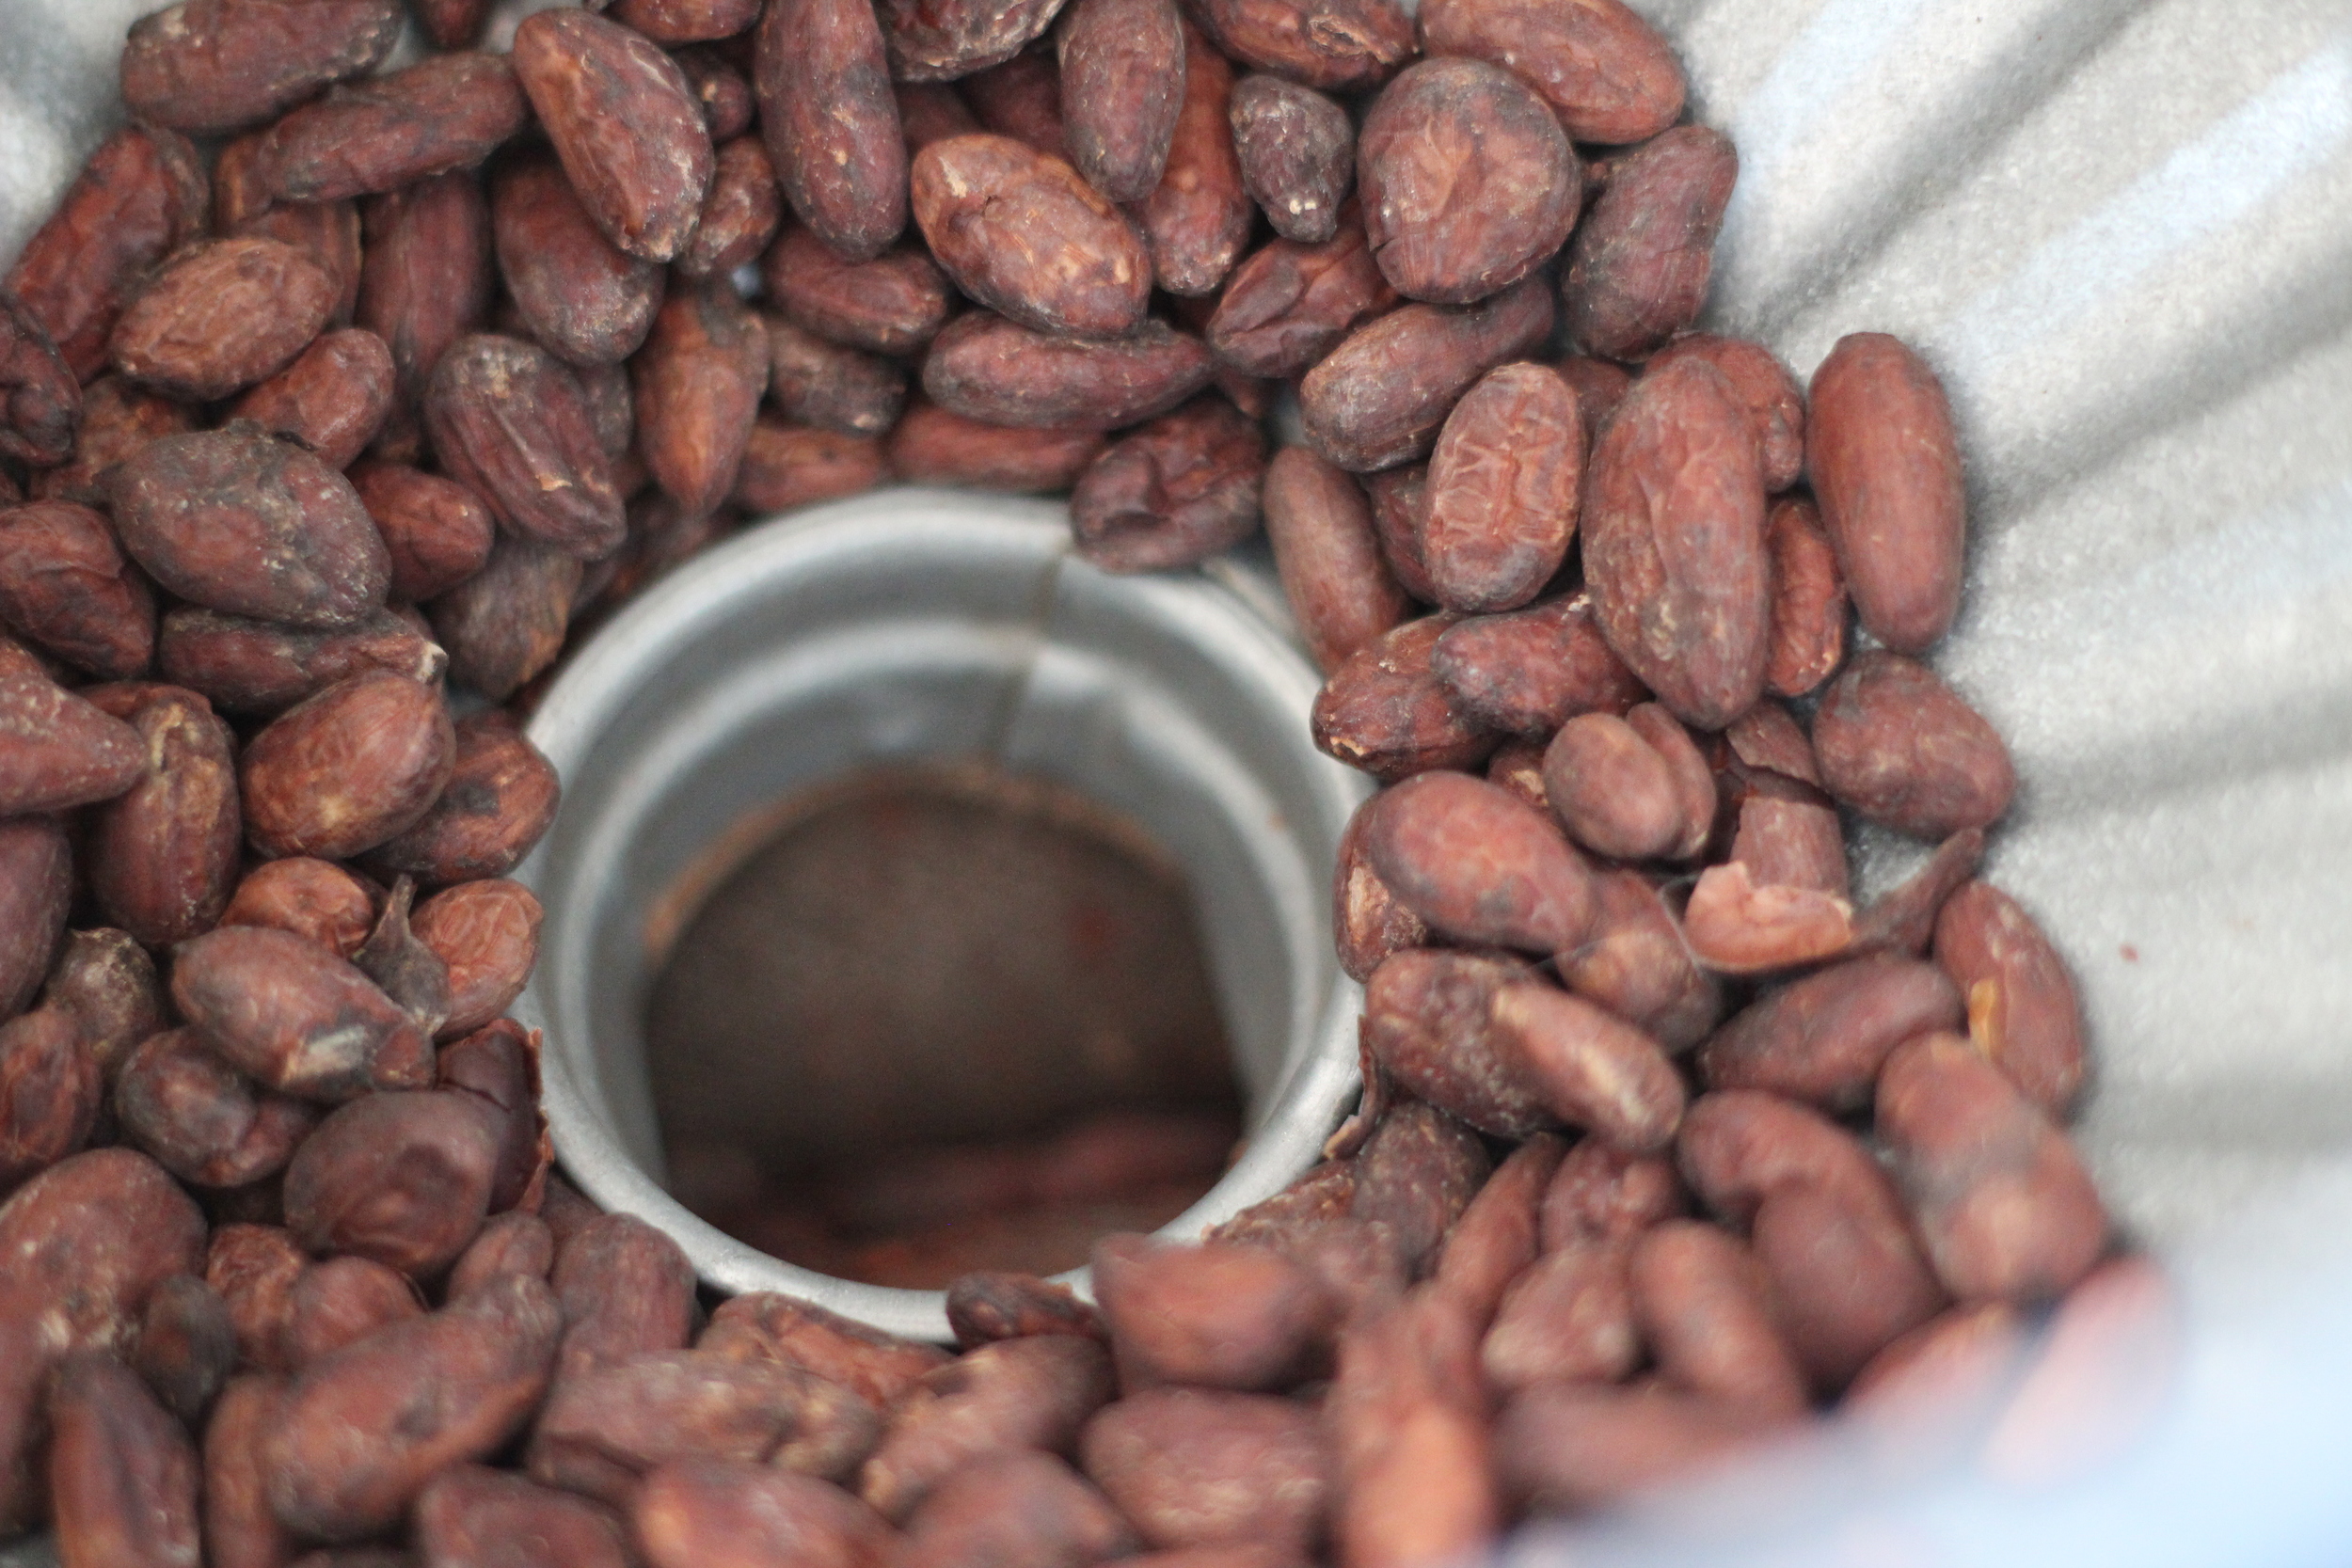
First, we roast the beans to bring out their rich, delicious flavor. Here at the farm we have a very small roaster (about the size of a toaster oven) that holds only 2.5 pounds of beans, so for one batch of chocolate we have to do two rounds of roasting, each of which takes about 30 minutes. So, one batch of chocolate around here requires about 5 pounds of raw cacao beans.

After the beans are roasted, we let them cool slightly, and then crack them to remove the shells. Each cacao bean has a thin shell that coats the "meat" of the bean - referred to as the nib. You can crack the roasted cacao beans easily just by rolling them in your hands. The shell is very thin and both shell and nib break easily into small pieces.

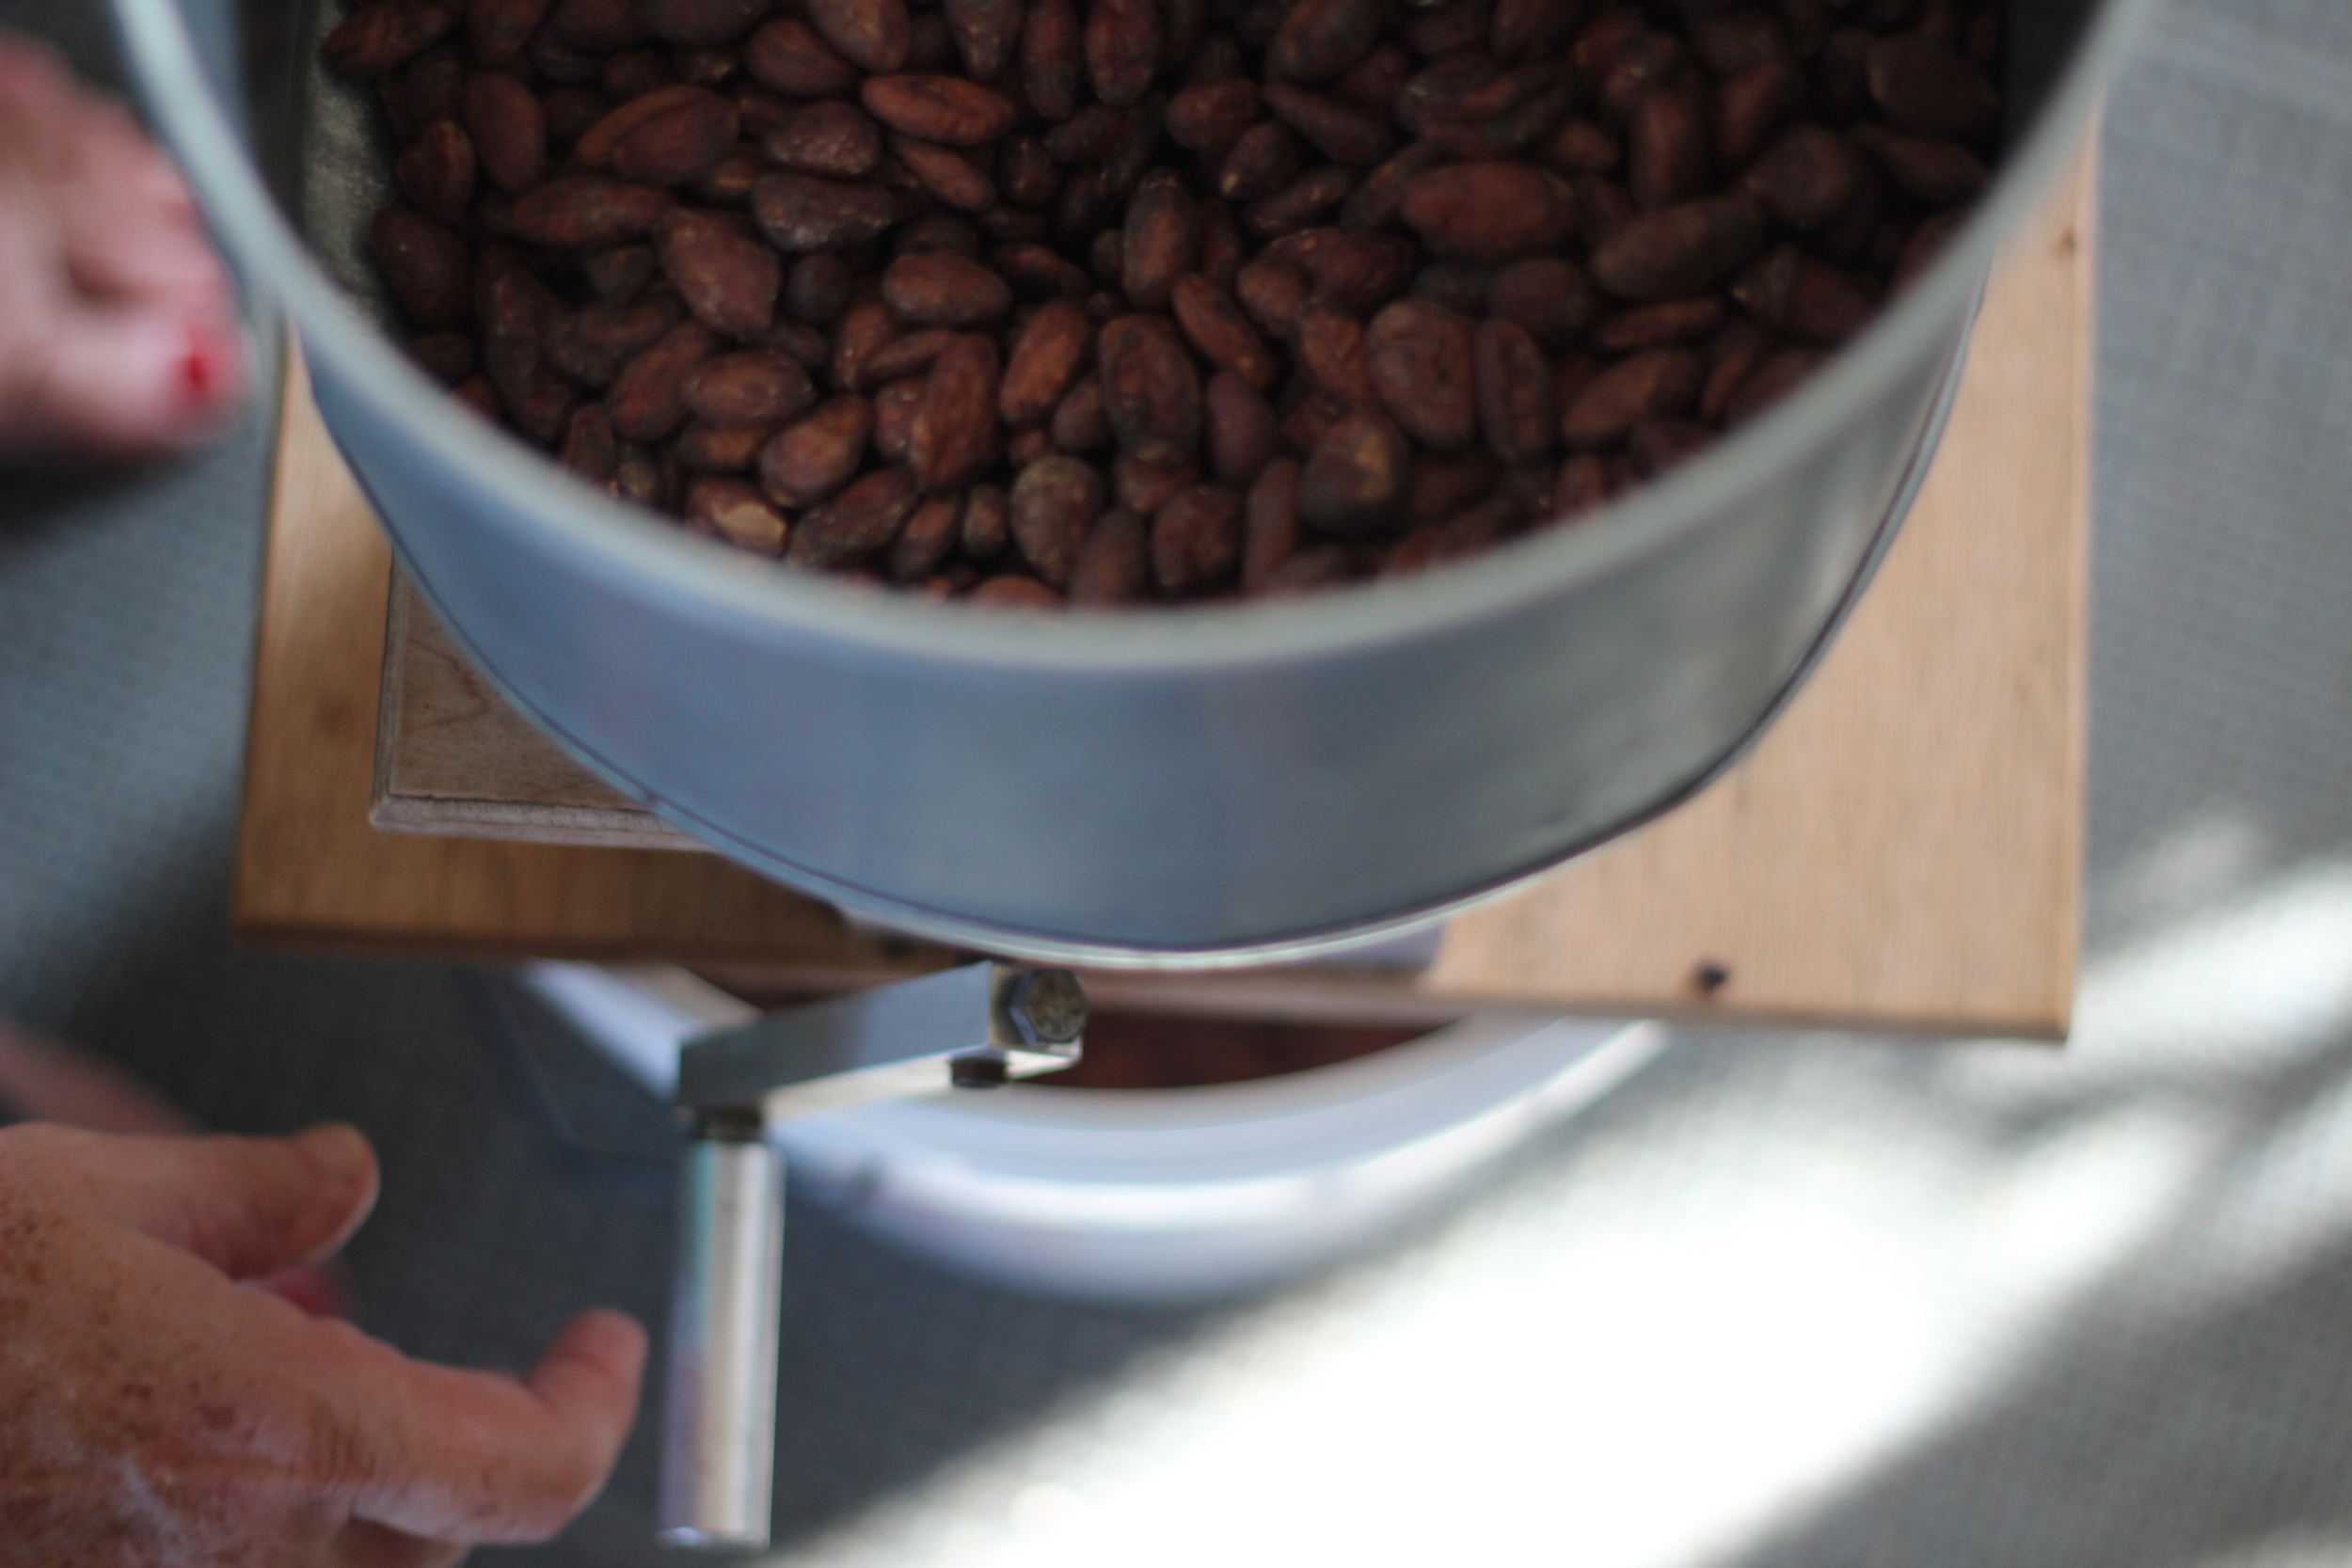
Rather than cracking by hand, we have a cool gadget called a "CRANKANDSTEIN" that helps us quickly crack the beans. It's essentially a funnel that feeds into rollers powered by a hand crank. 

View fullsize IMG_4080.JPG
View fullsize IMG_4084.JPG
View fullsize IMG_4085.jpg
View fullsize IMG_4089.JPG
View fullsize IMG_4091.JPG
View fullsize IMG_4094.JPG
shells and nibs out of the CRACKANDSTEIN

shells and nibs out of the CRACKANDSTEIN

step 2: winnowing

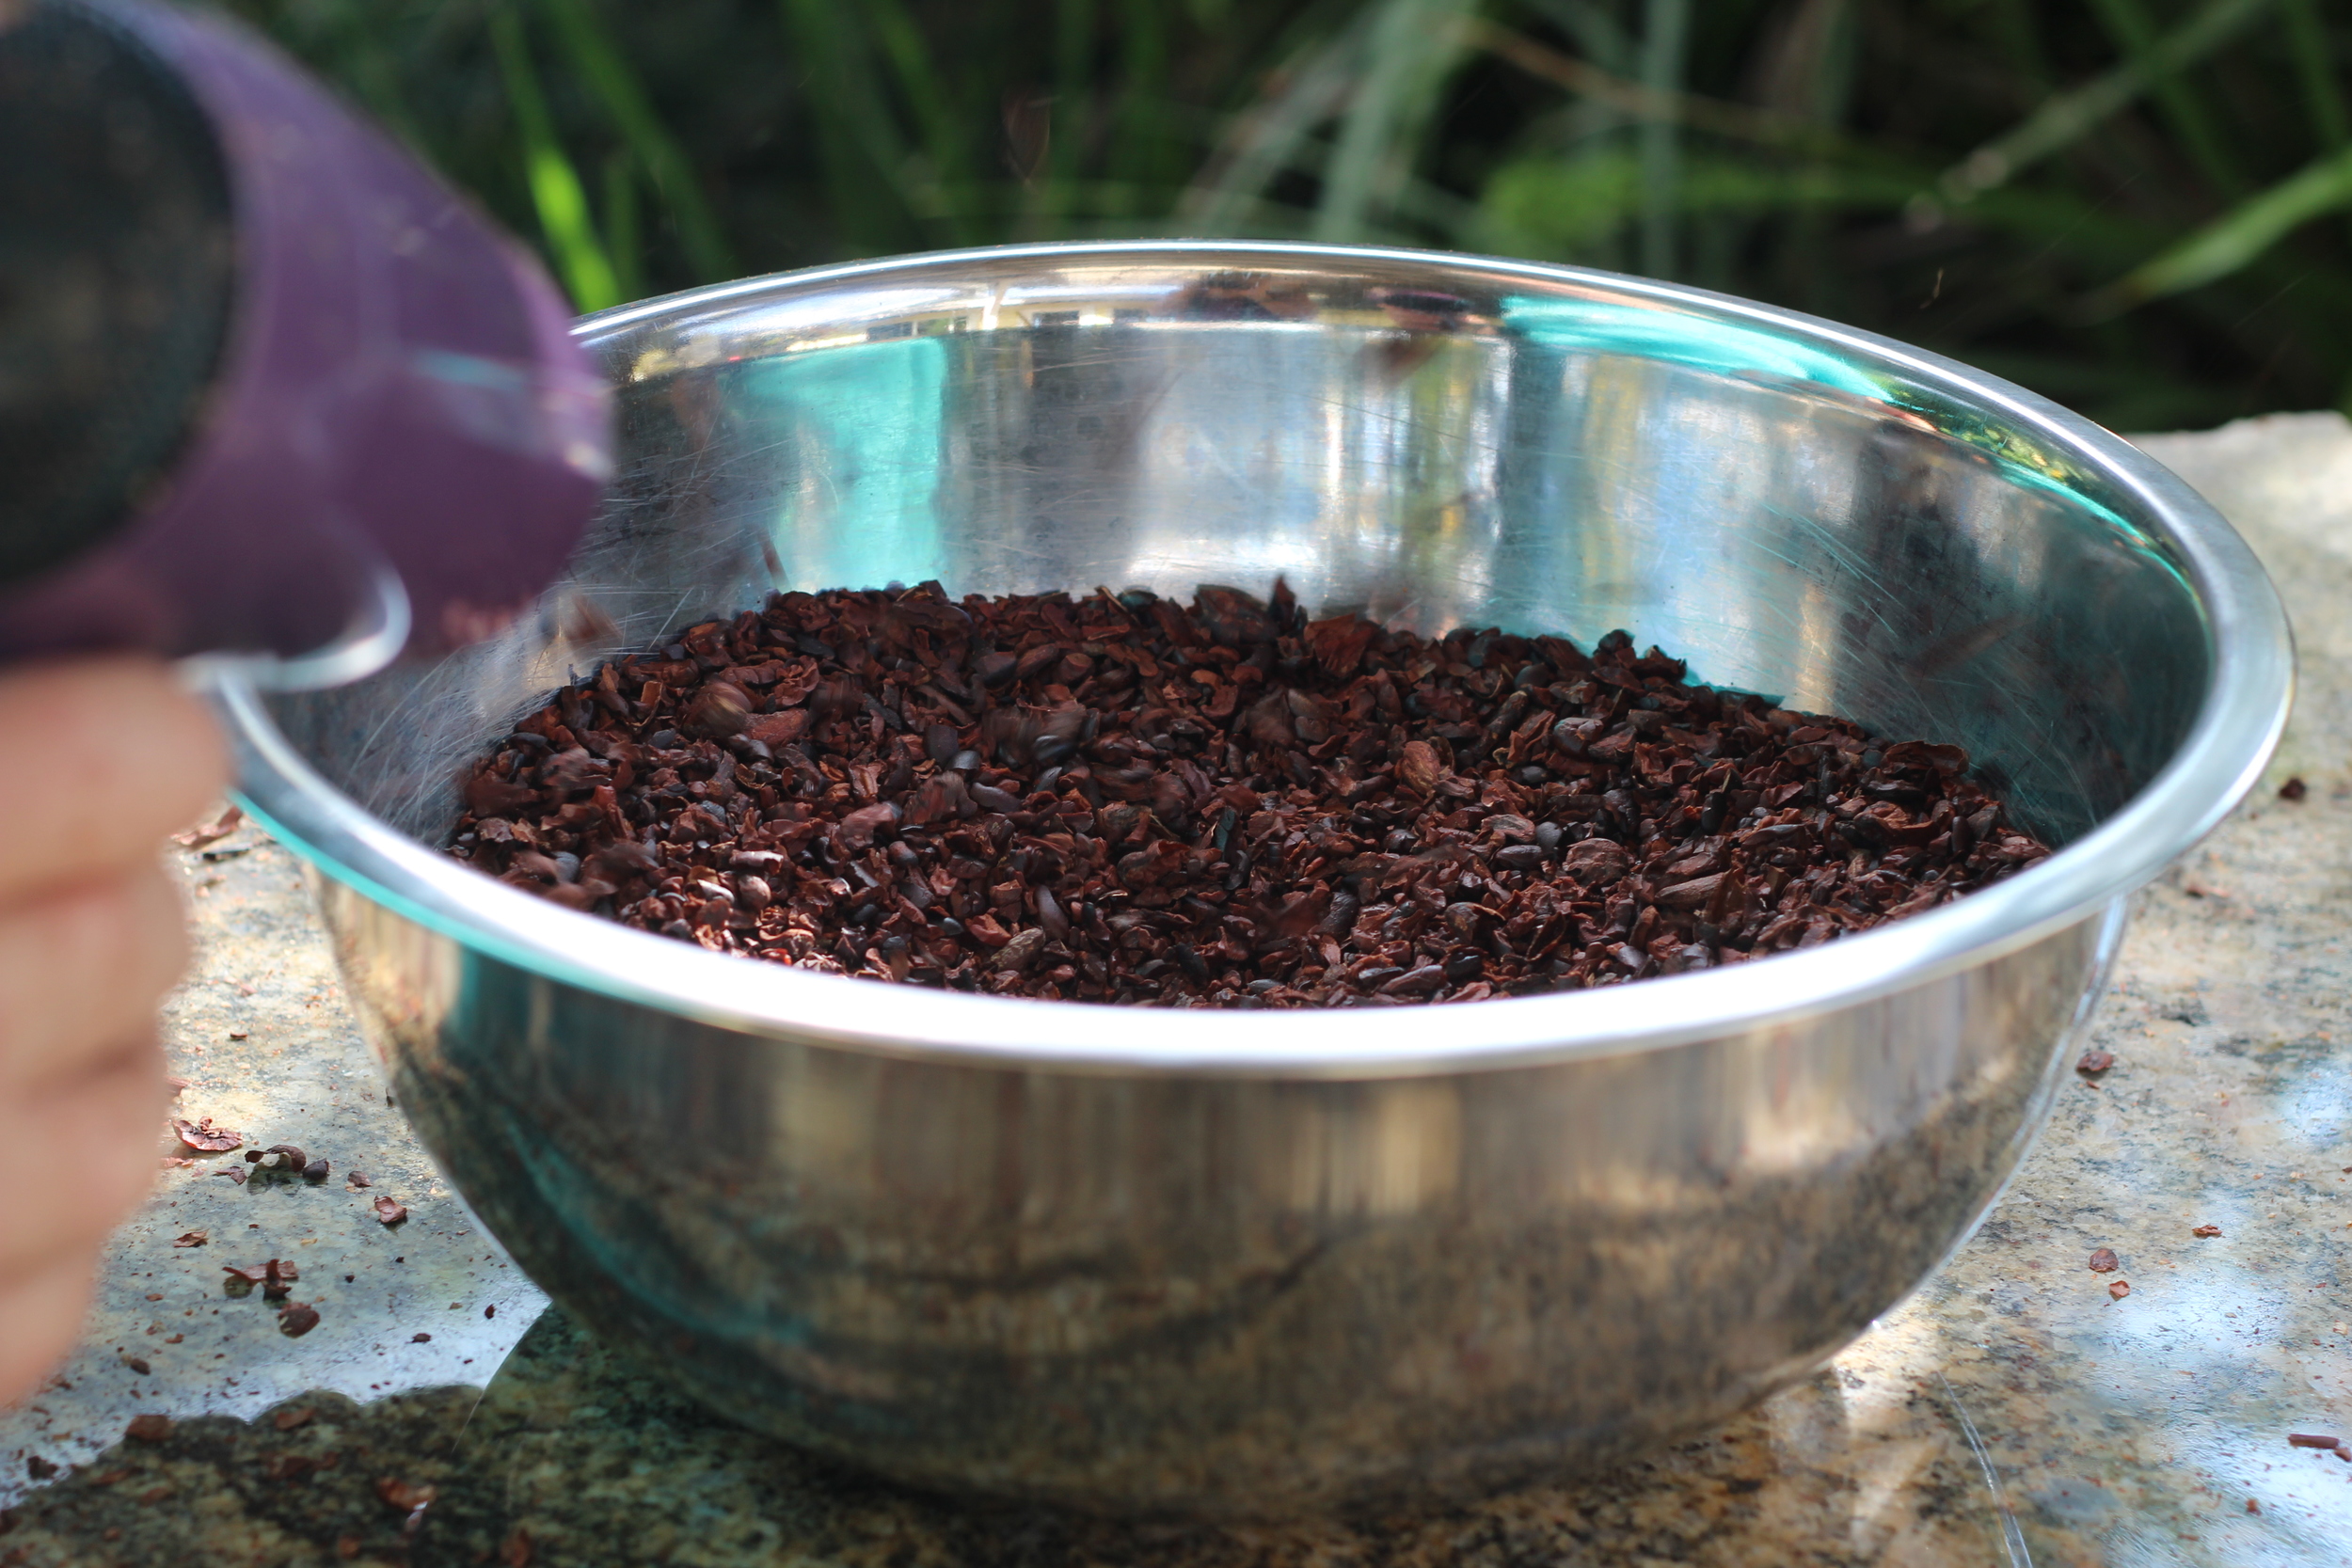
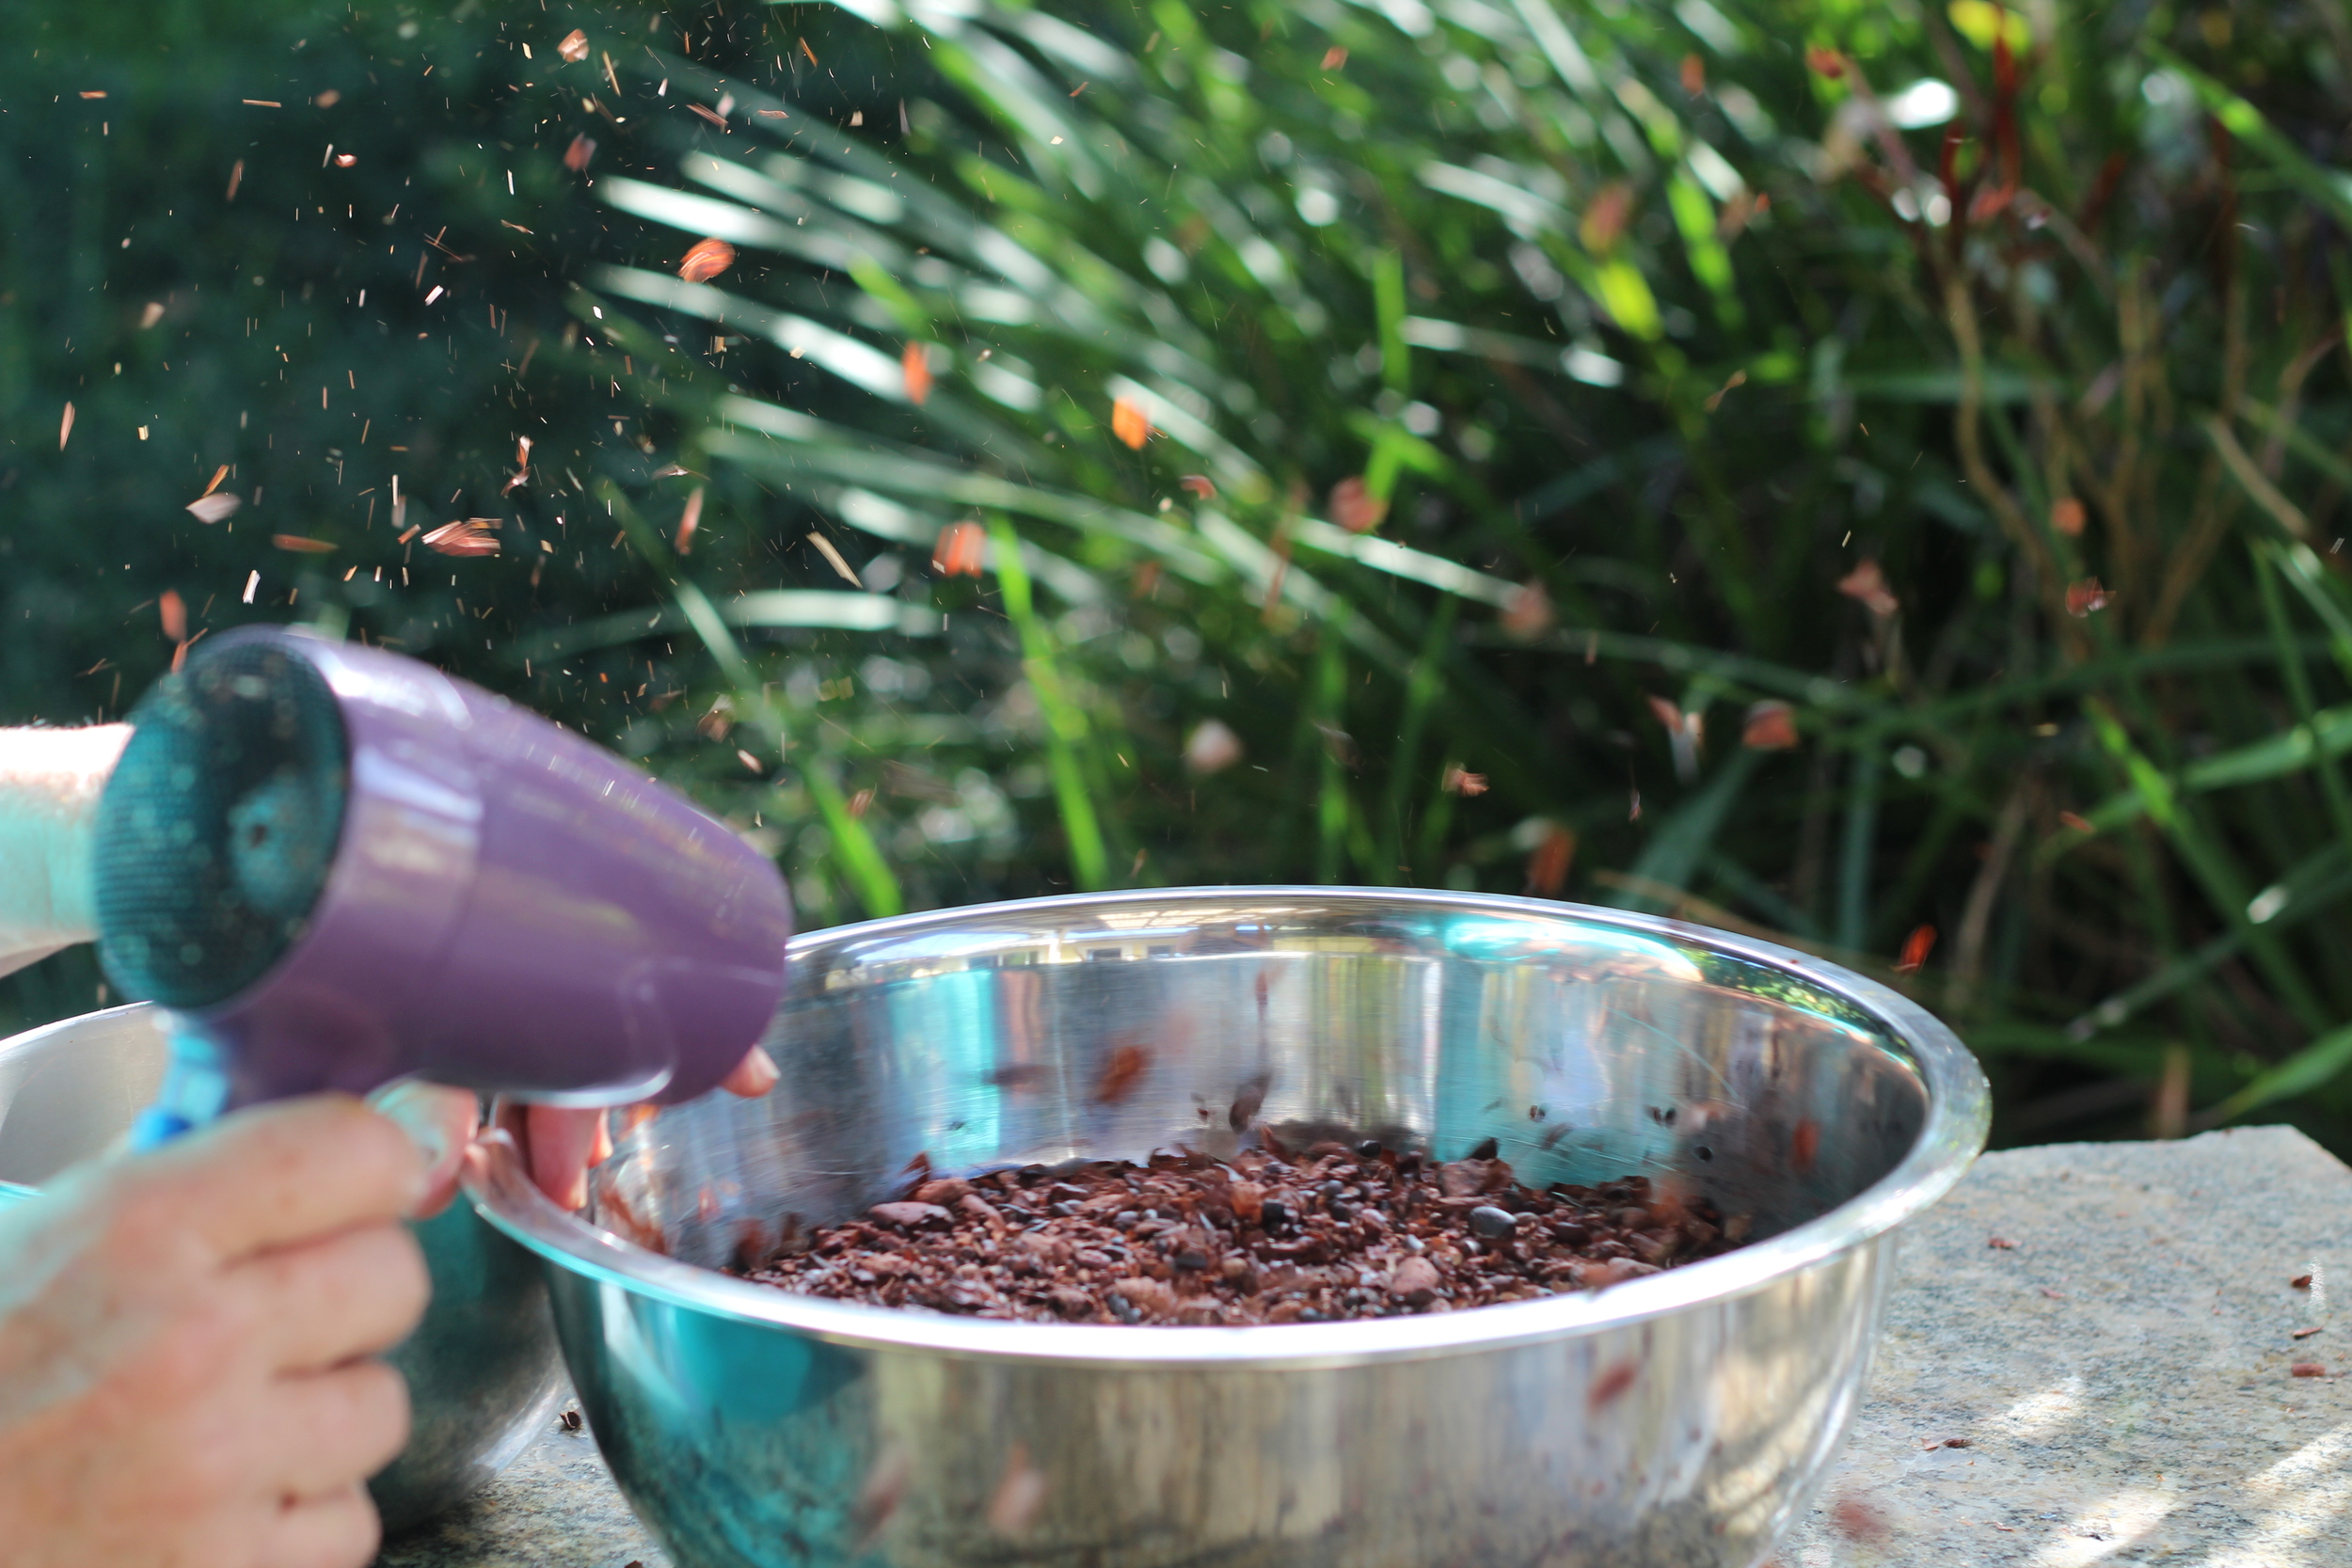
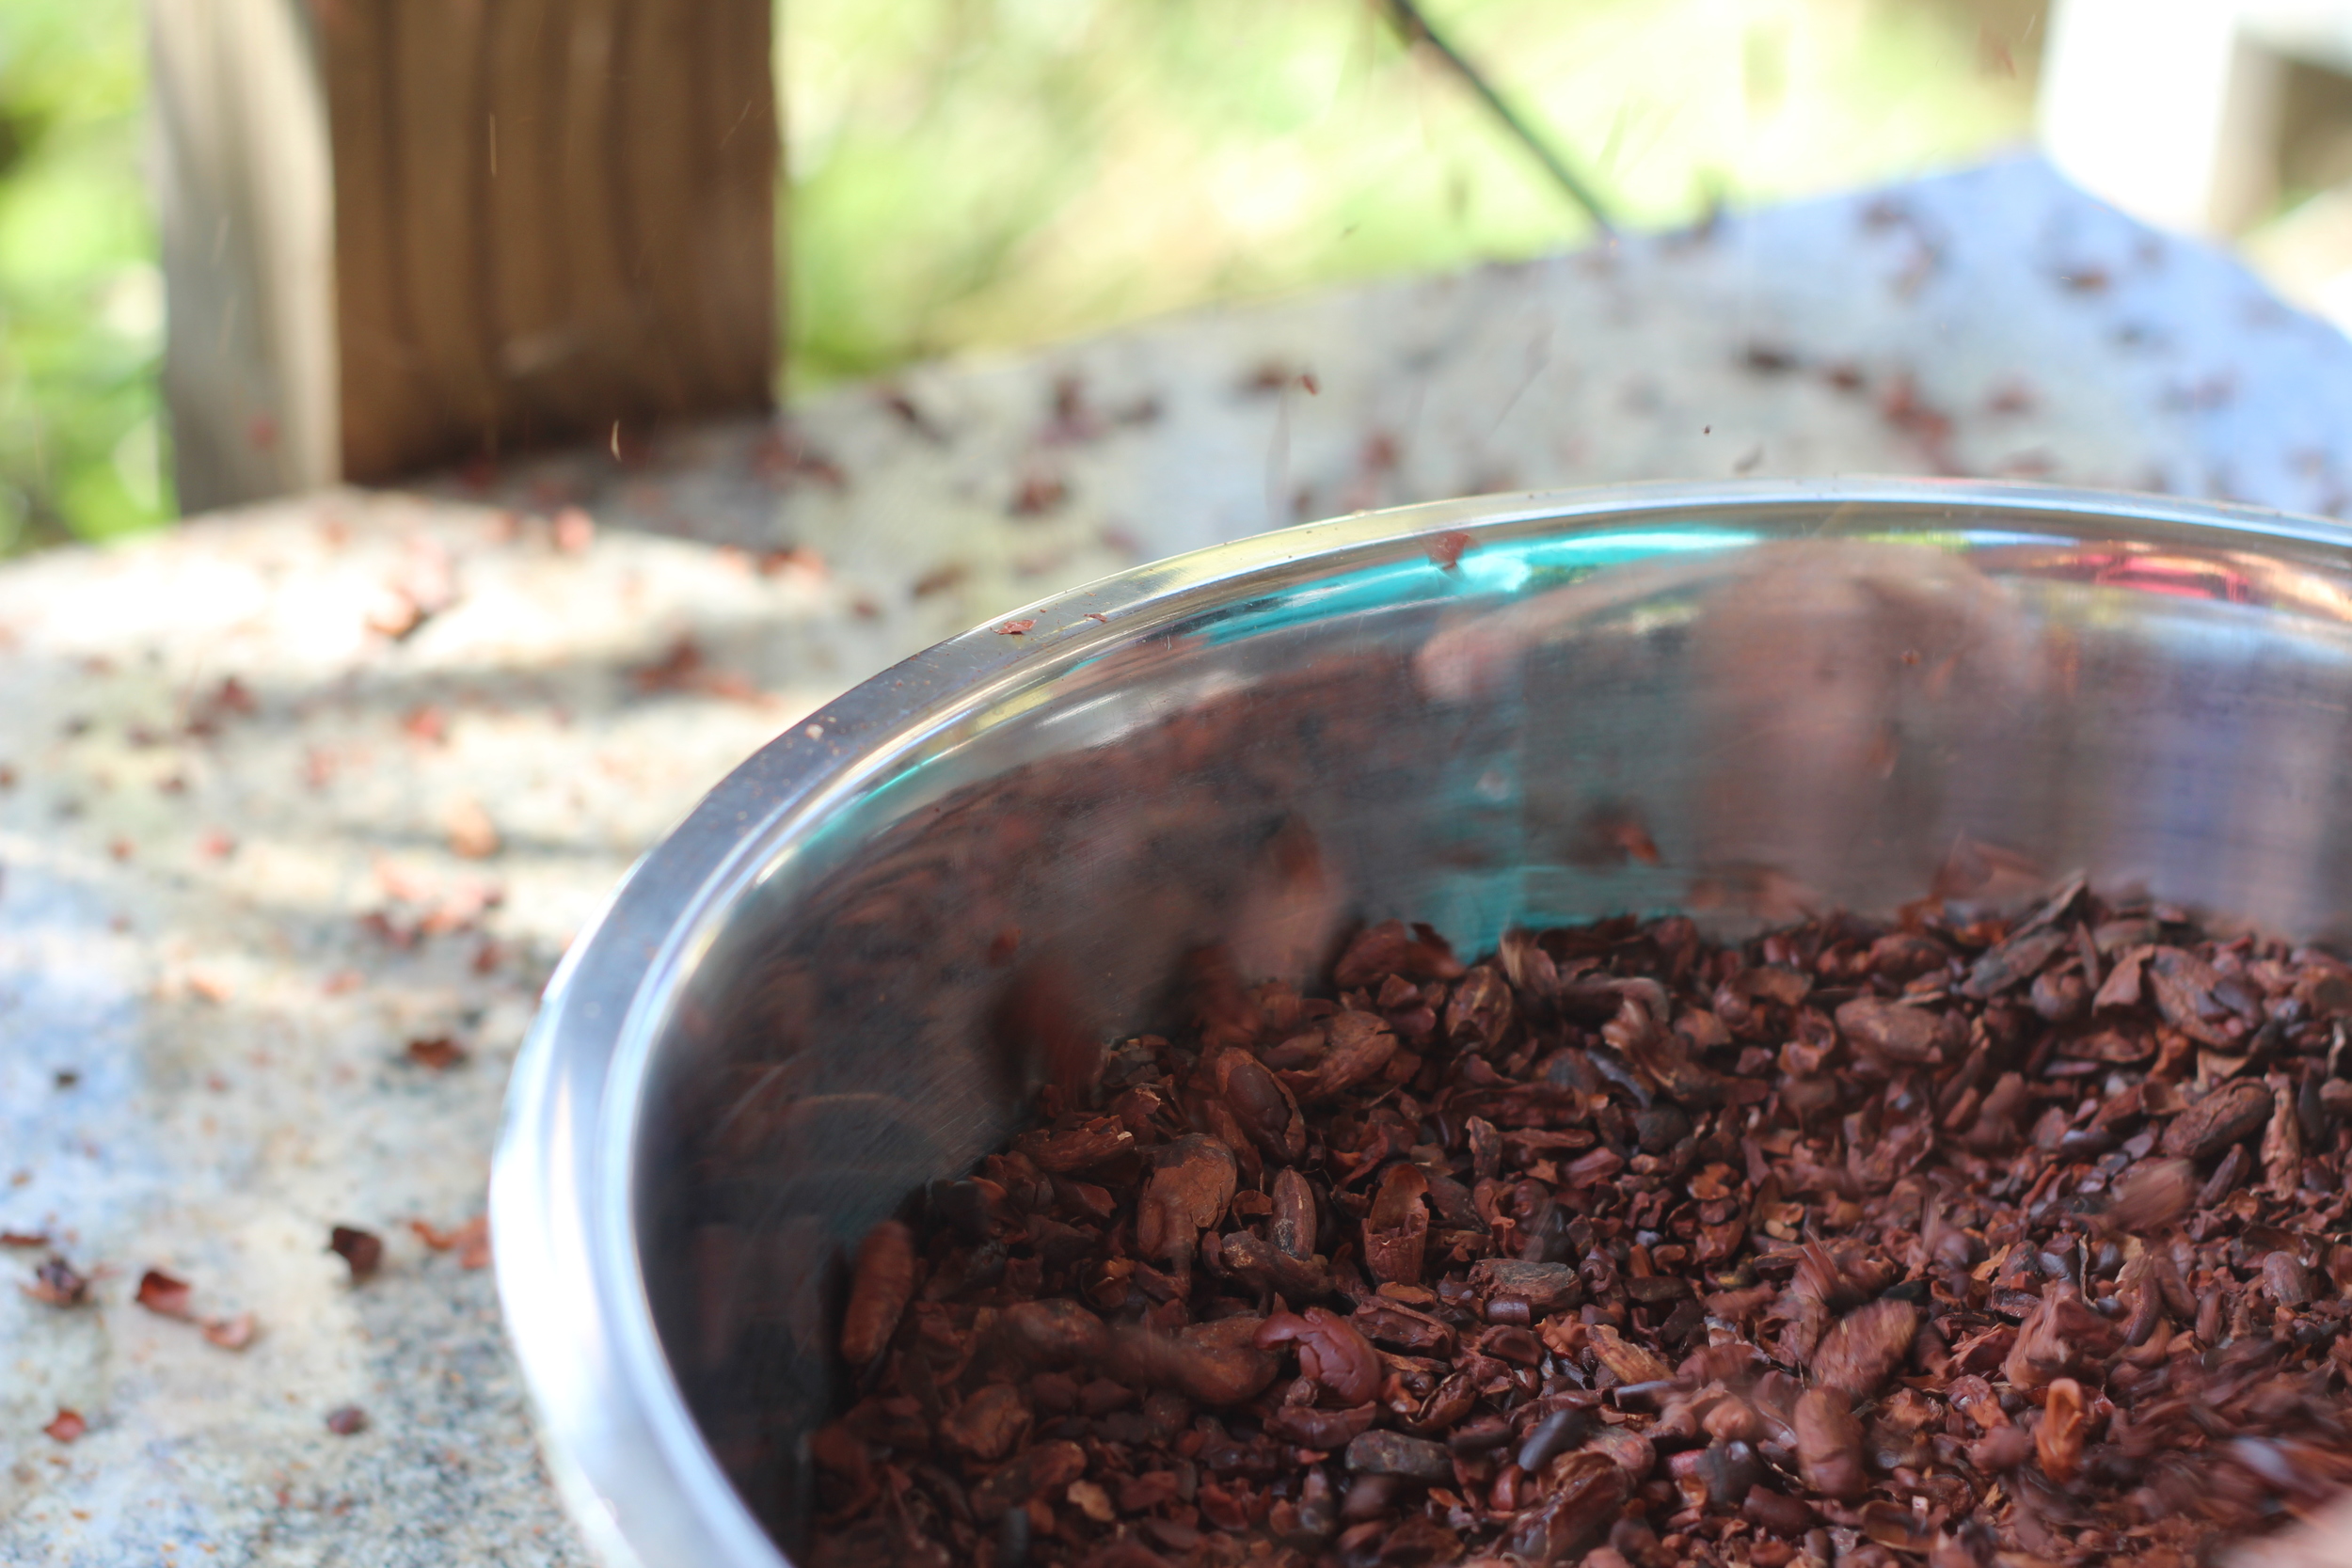
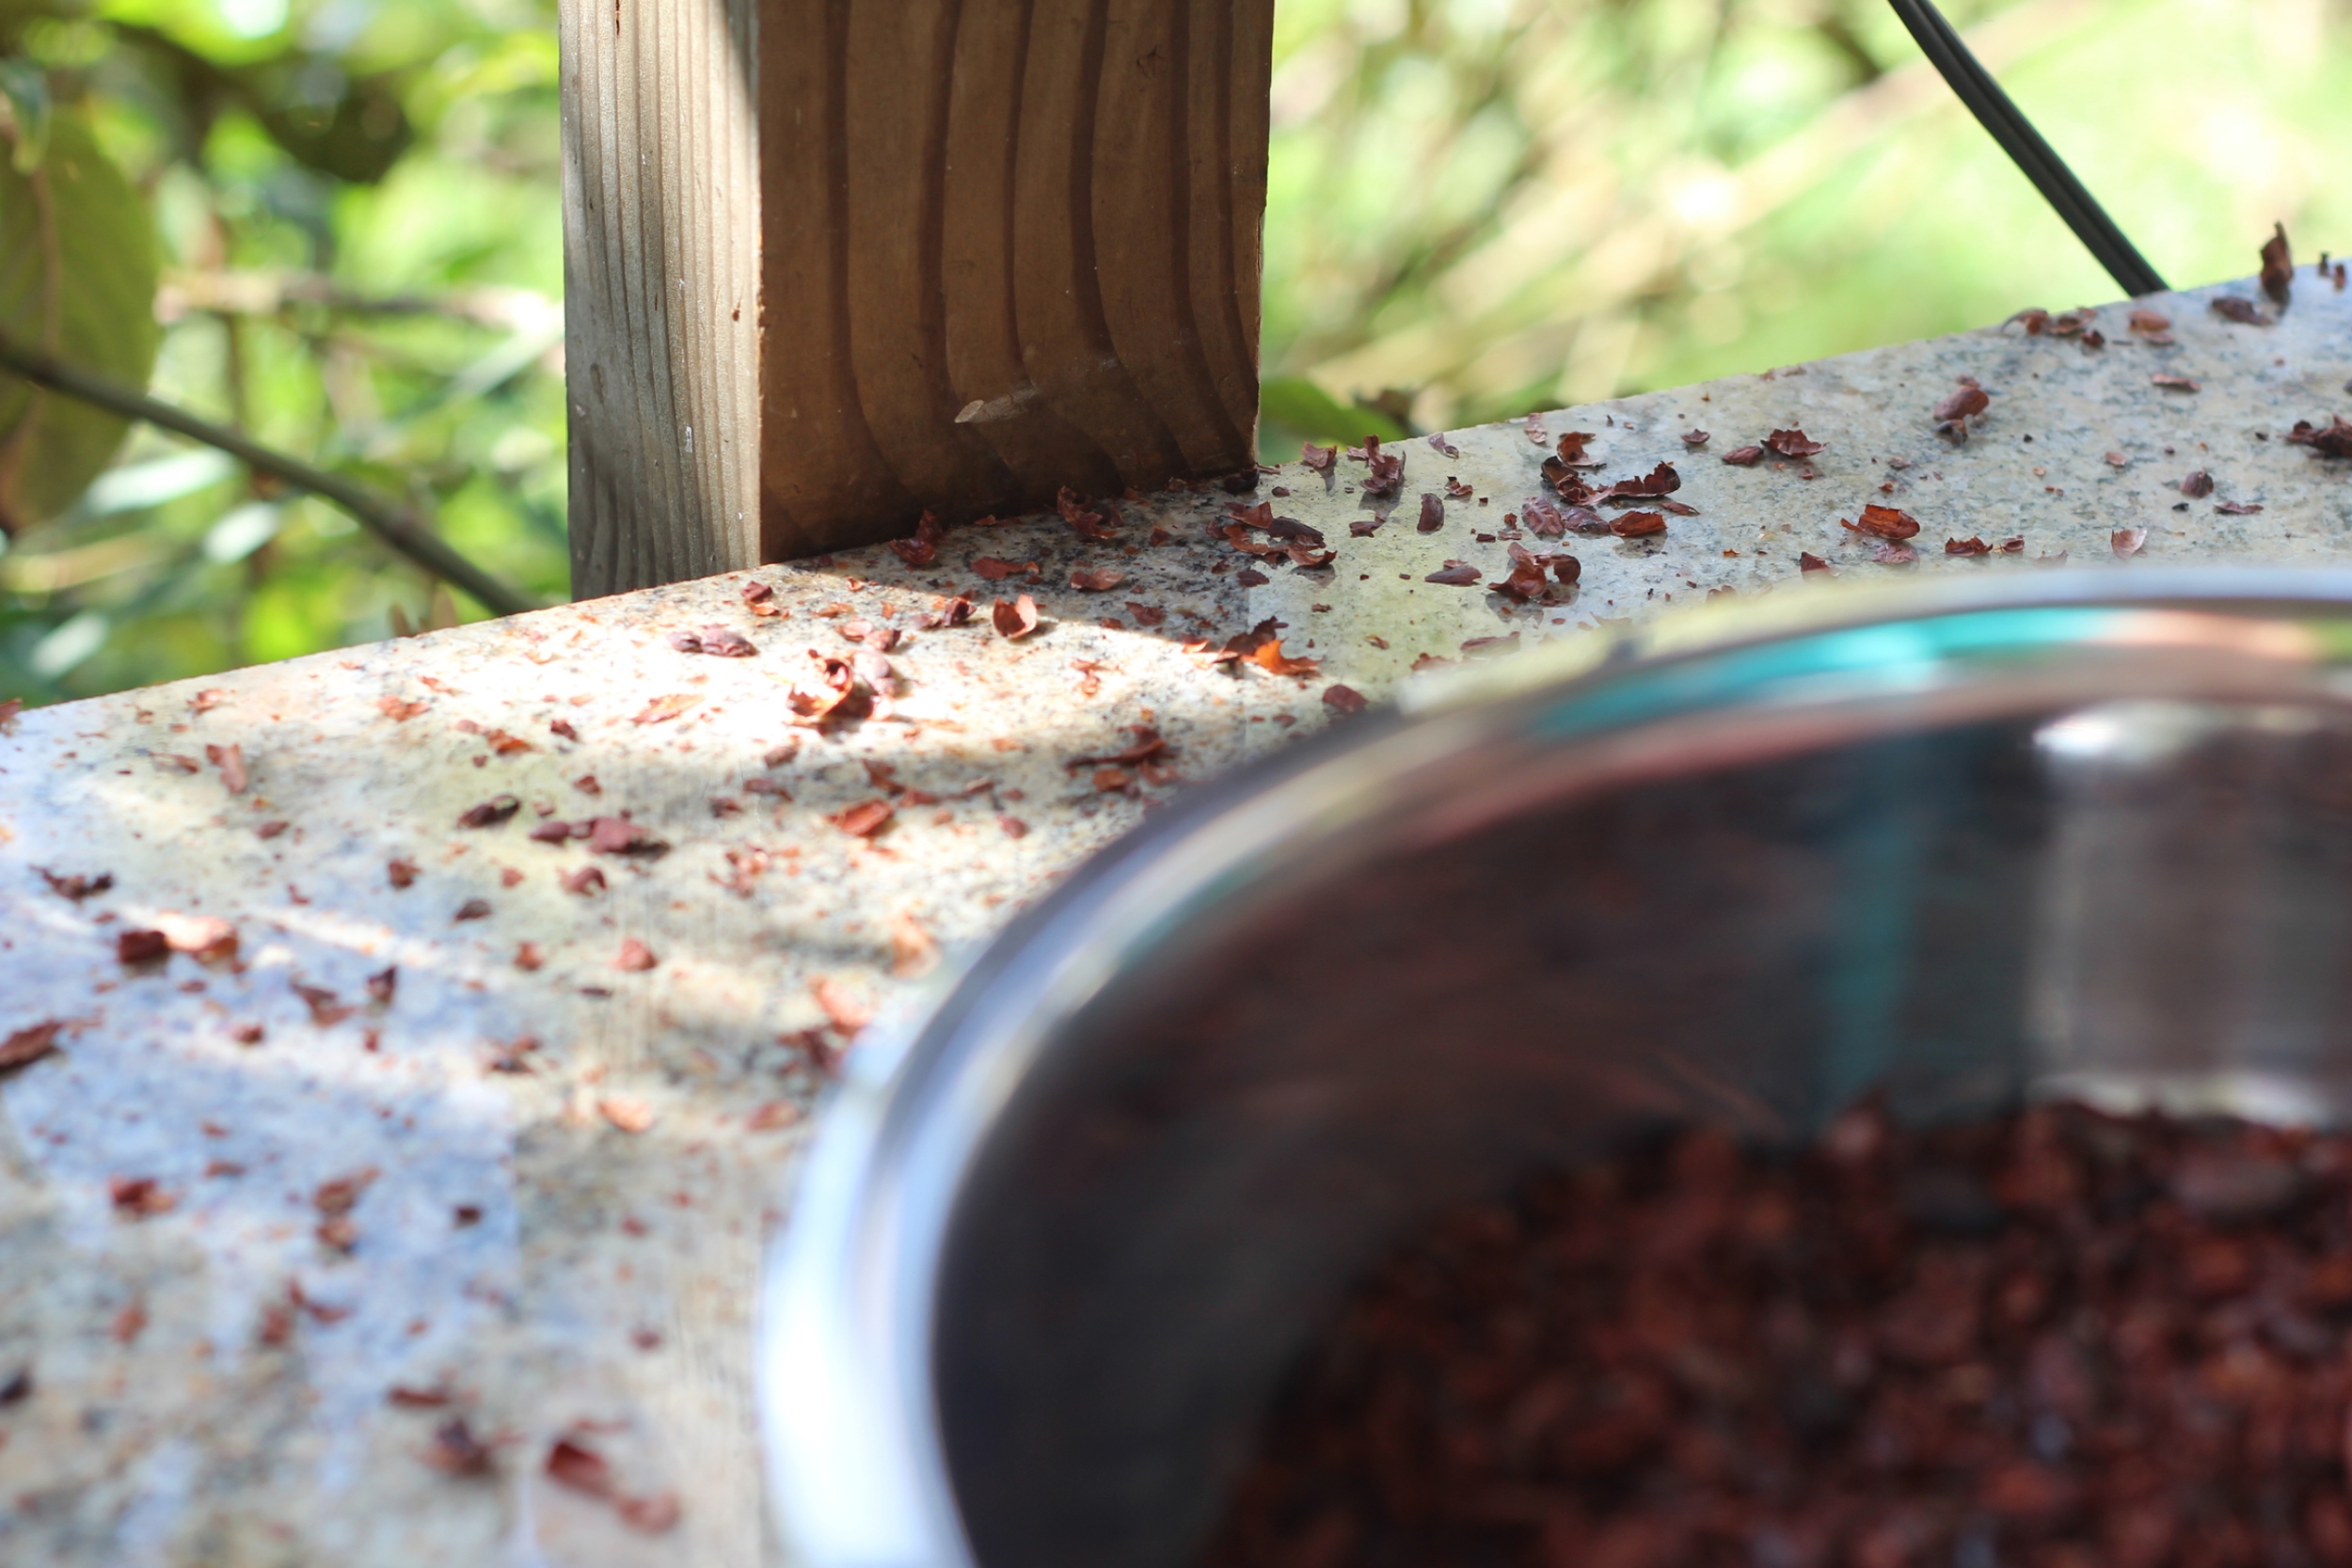
So now we have cracked shells and nibs in a large bowl. Though you can eat the shells if you want to, all the flavor is in the nibs, so we need to separate the two. In chocolate shops, they have machines to do this, but here we use a hairdryer! We take the bowl outside on a clean counter and spin the bowl while gently agitating the nibs with the hairdryer blowing on the surface. The feather-light shells fly out onto the counter and the heavier nibs remain. 

IMG_4103.JPG
IMG_4115.JPG
IMG_4125.JPG
IMG_4128.JPG

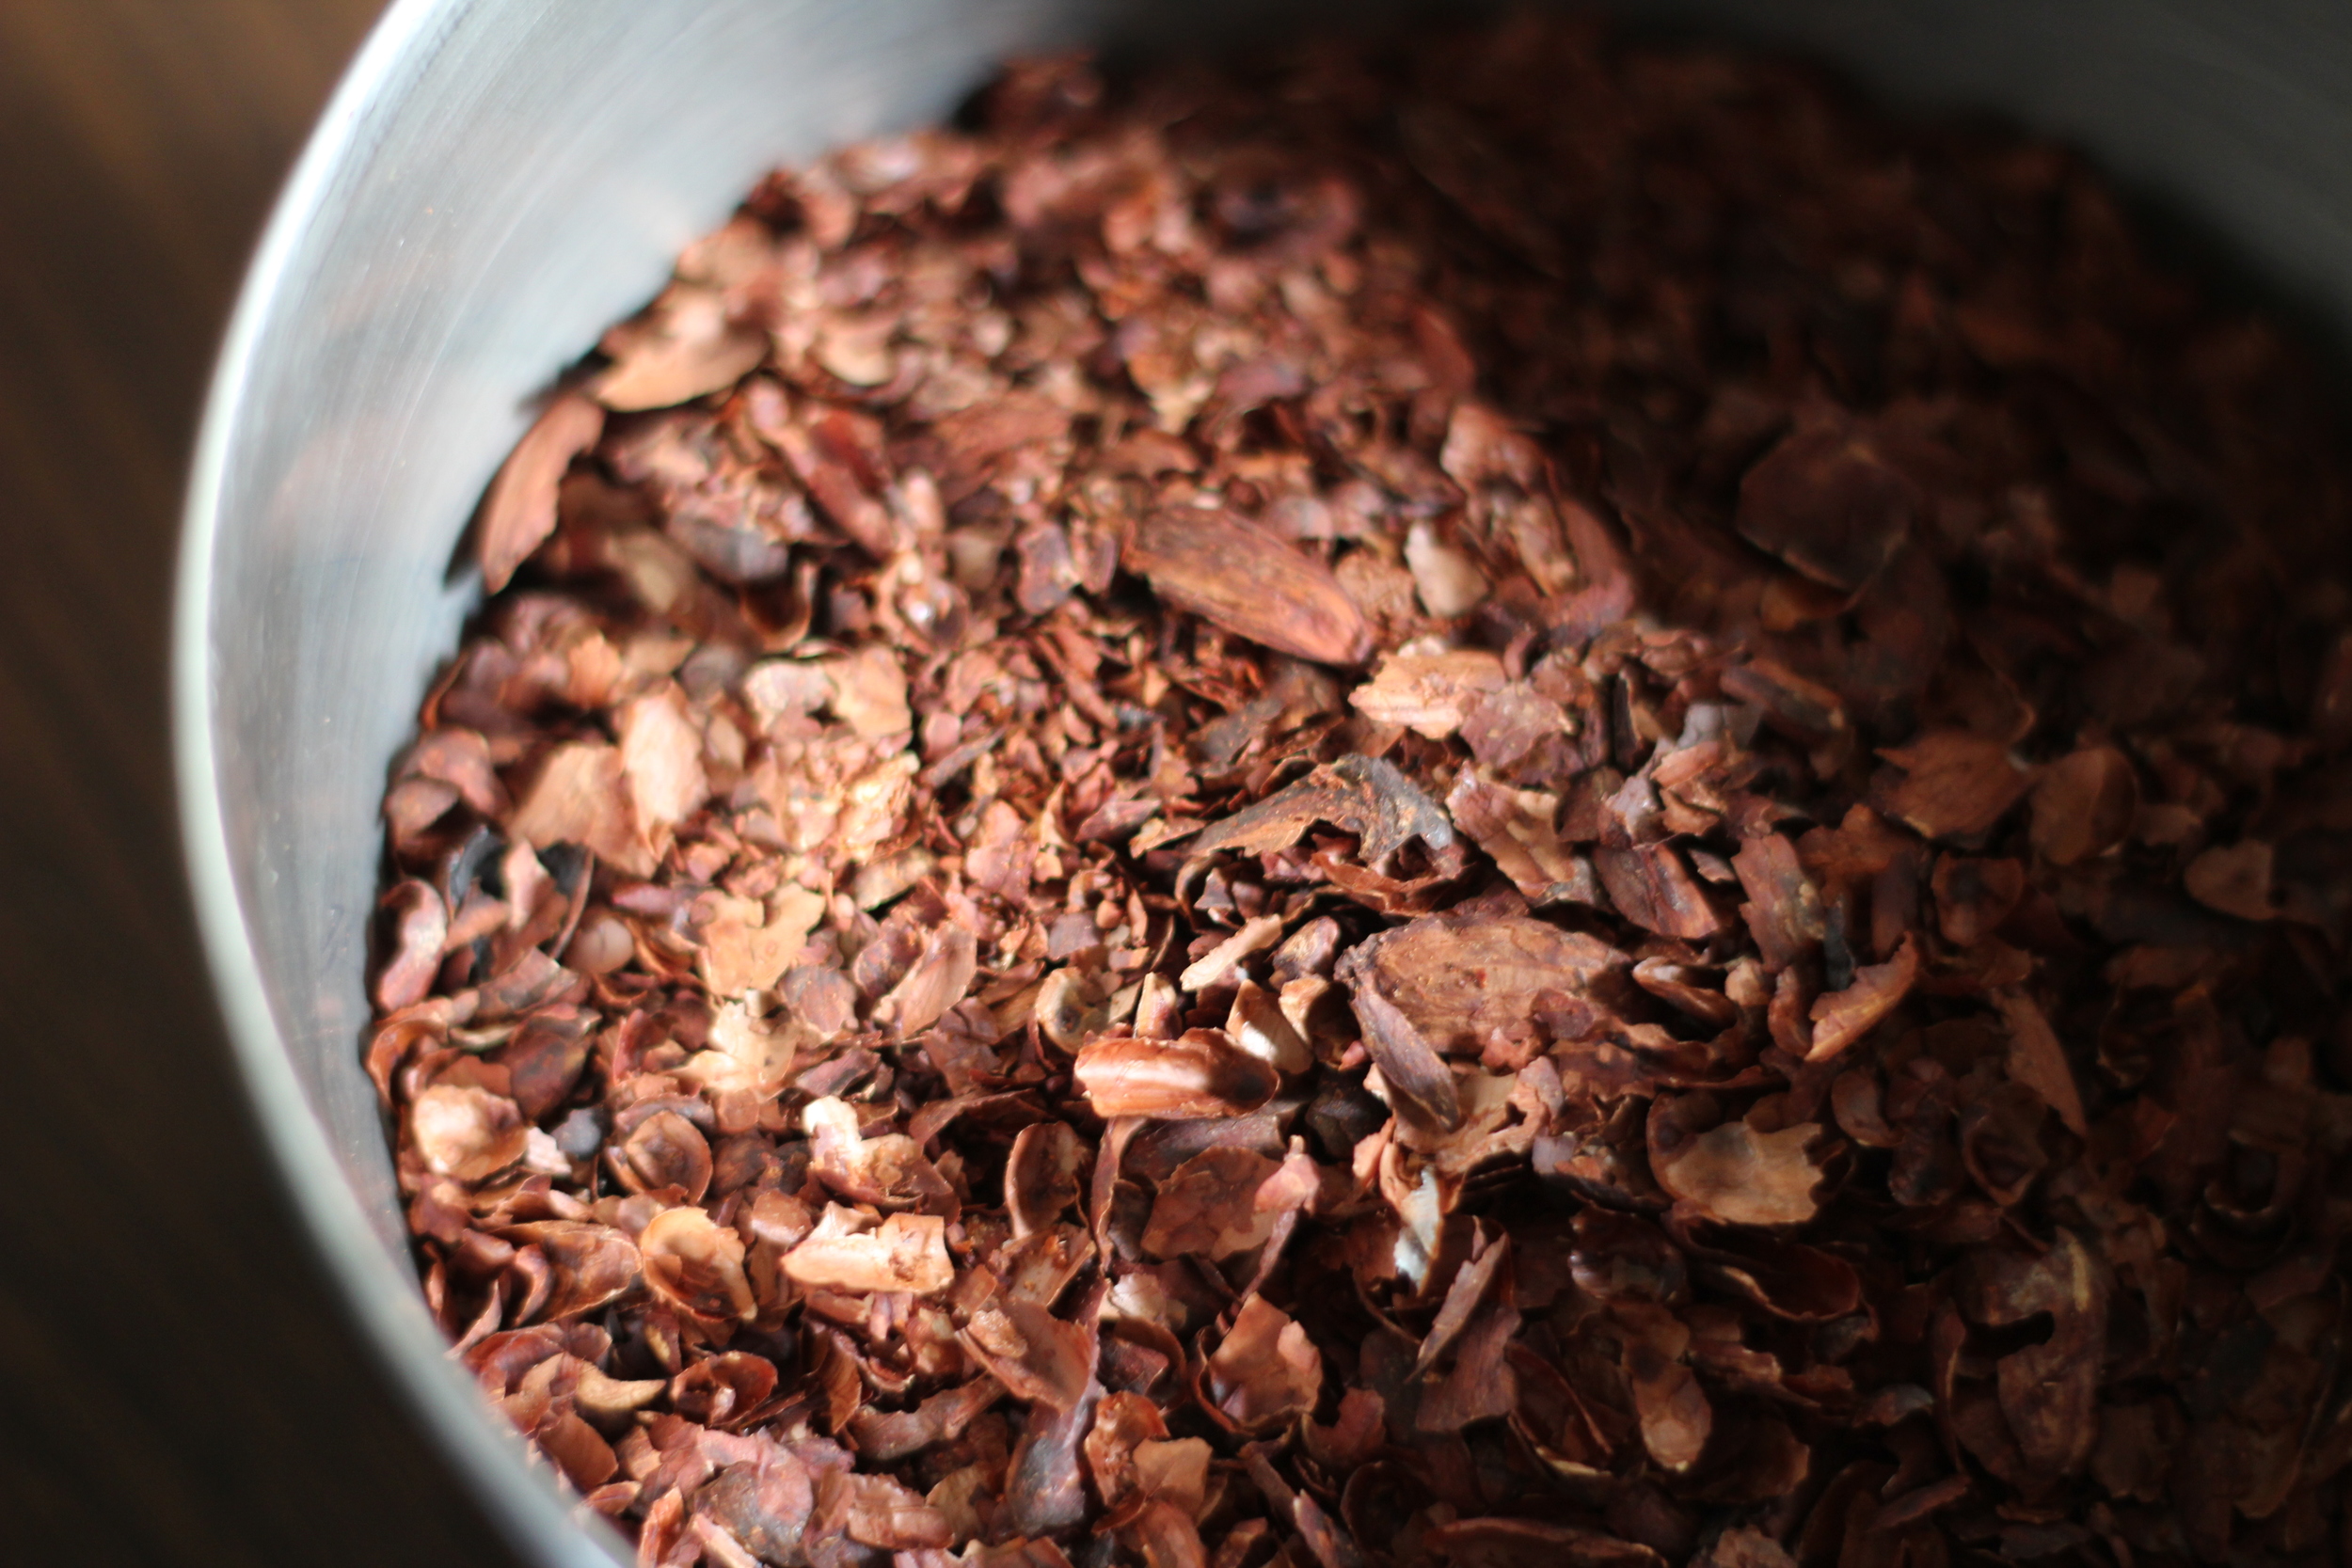
Periodically, we stop and swipe up the shells on the counter to save them. You can brew delicious tea out of these! It is lightly chocolatey and delicious as a faux-dessert! Lately I've been making iced tea with it and throwing in an orange slice - so good!

View fullsize mostly nibs
View fullsize shells

step 3: grinding

Now that we have mostly nibs (a few shells inevitably remain, but that's ok), it's time to grind the beans. Una and Leon (the farmers extraordinaire who I'm working for) use a Champion Juicer that they reserve solely for chocolate making, and it works amazingly well! The result is called "chocolate liquor," a technical term in the chocolate world for "ground cocoa mass" - it has nothing to do with alcohol. Start reading your chocolate bar ingredient labels and you'll likely see this listed.

ground nibs, aka chocolate liquor, fresh out of the grinder-juicer

our 5-pound batch of raw beans resulted in about 8 cups of chocolate liquor

our 5-pound batch of raw beans resulted in about 8 cups of chocolate liquor

step 4: ingredient prep

Next it's time to quickly prep the other ingredients. Una's recipe for chocolate involves three ingredients - this chocolate liquor that we just made from our organic cacao, organic cocoa butter that she buys from another a small chocolate company, and organic sugar. 

Cocoa butter is what you would get if you took the ground nibs and separated out the fat (this requires special equipment). As soon as I saw it, I realized why white chocolate is white and still allowed to be called chocolate!

This is cocoa butter in its solid form. Looks kinda like white chocolate, right?!

To prep our ingredients, we measure them out and melt the cocoa butter. Amazingly, it turns slightly brown when melted - I was fascinated by this stuff!

melted cocoa butter 

melted cocoa butter 

organic sugar

organic sugar

step 5: melanger time

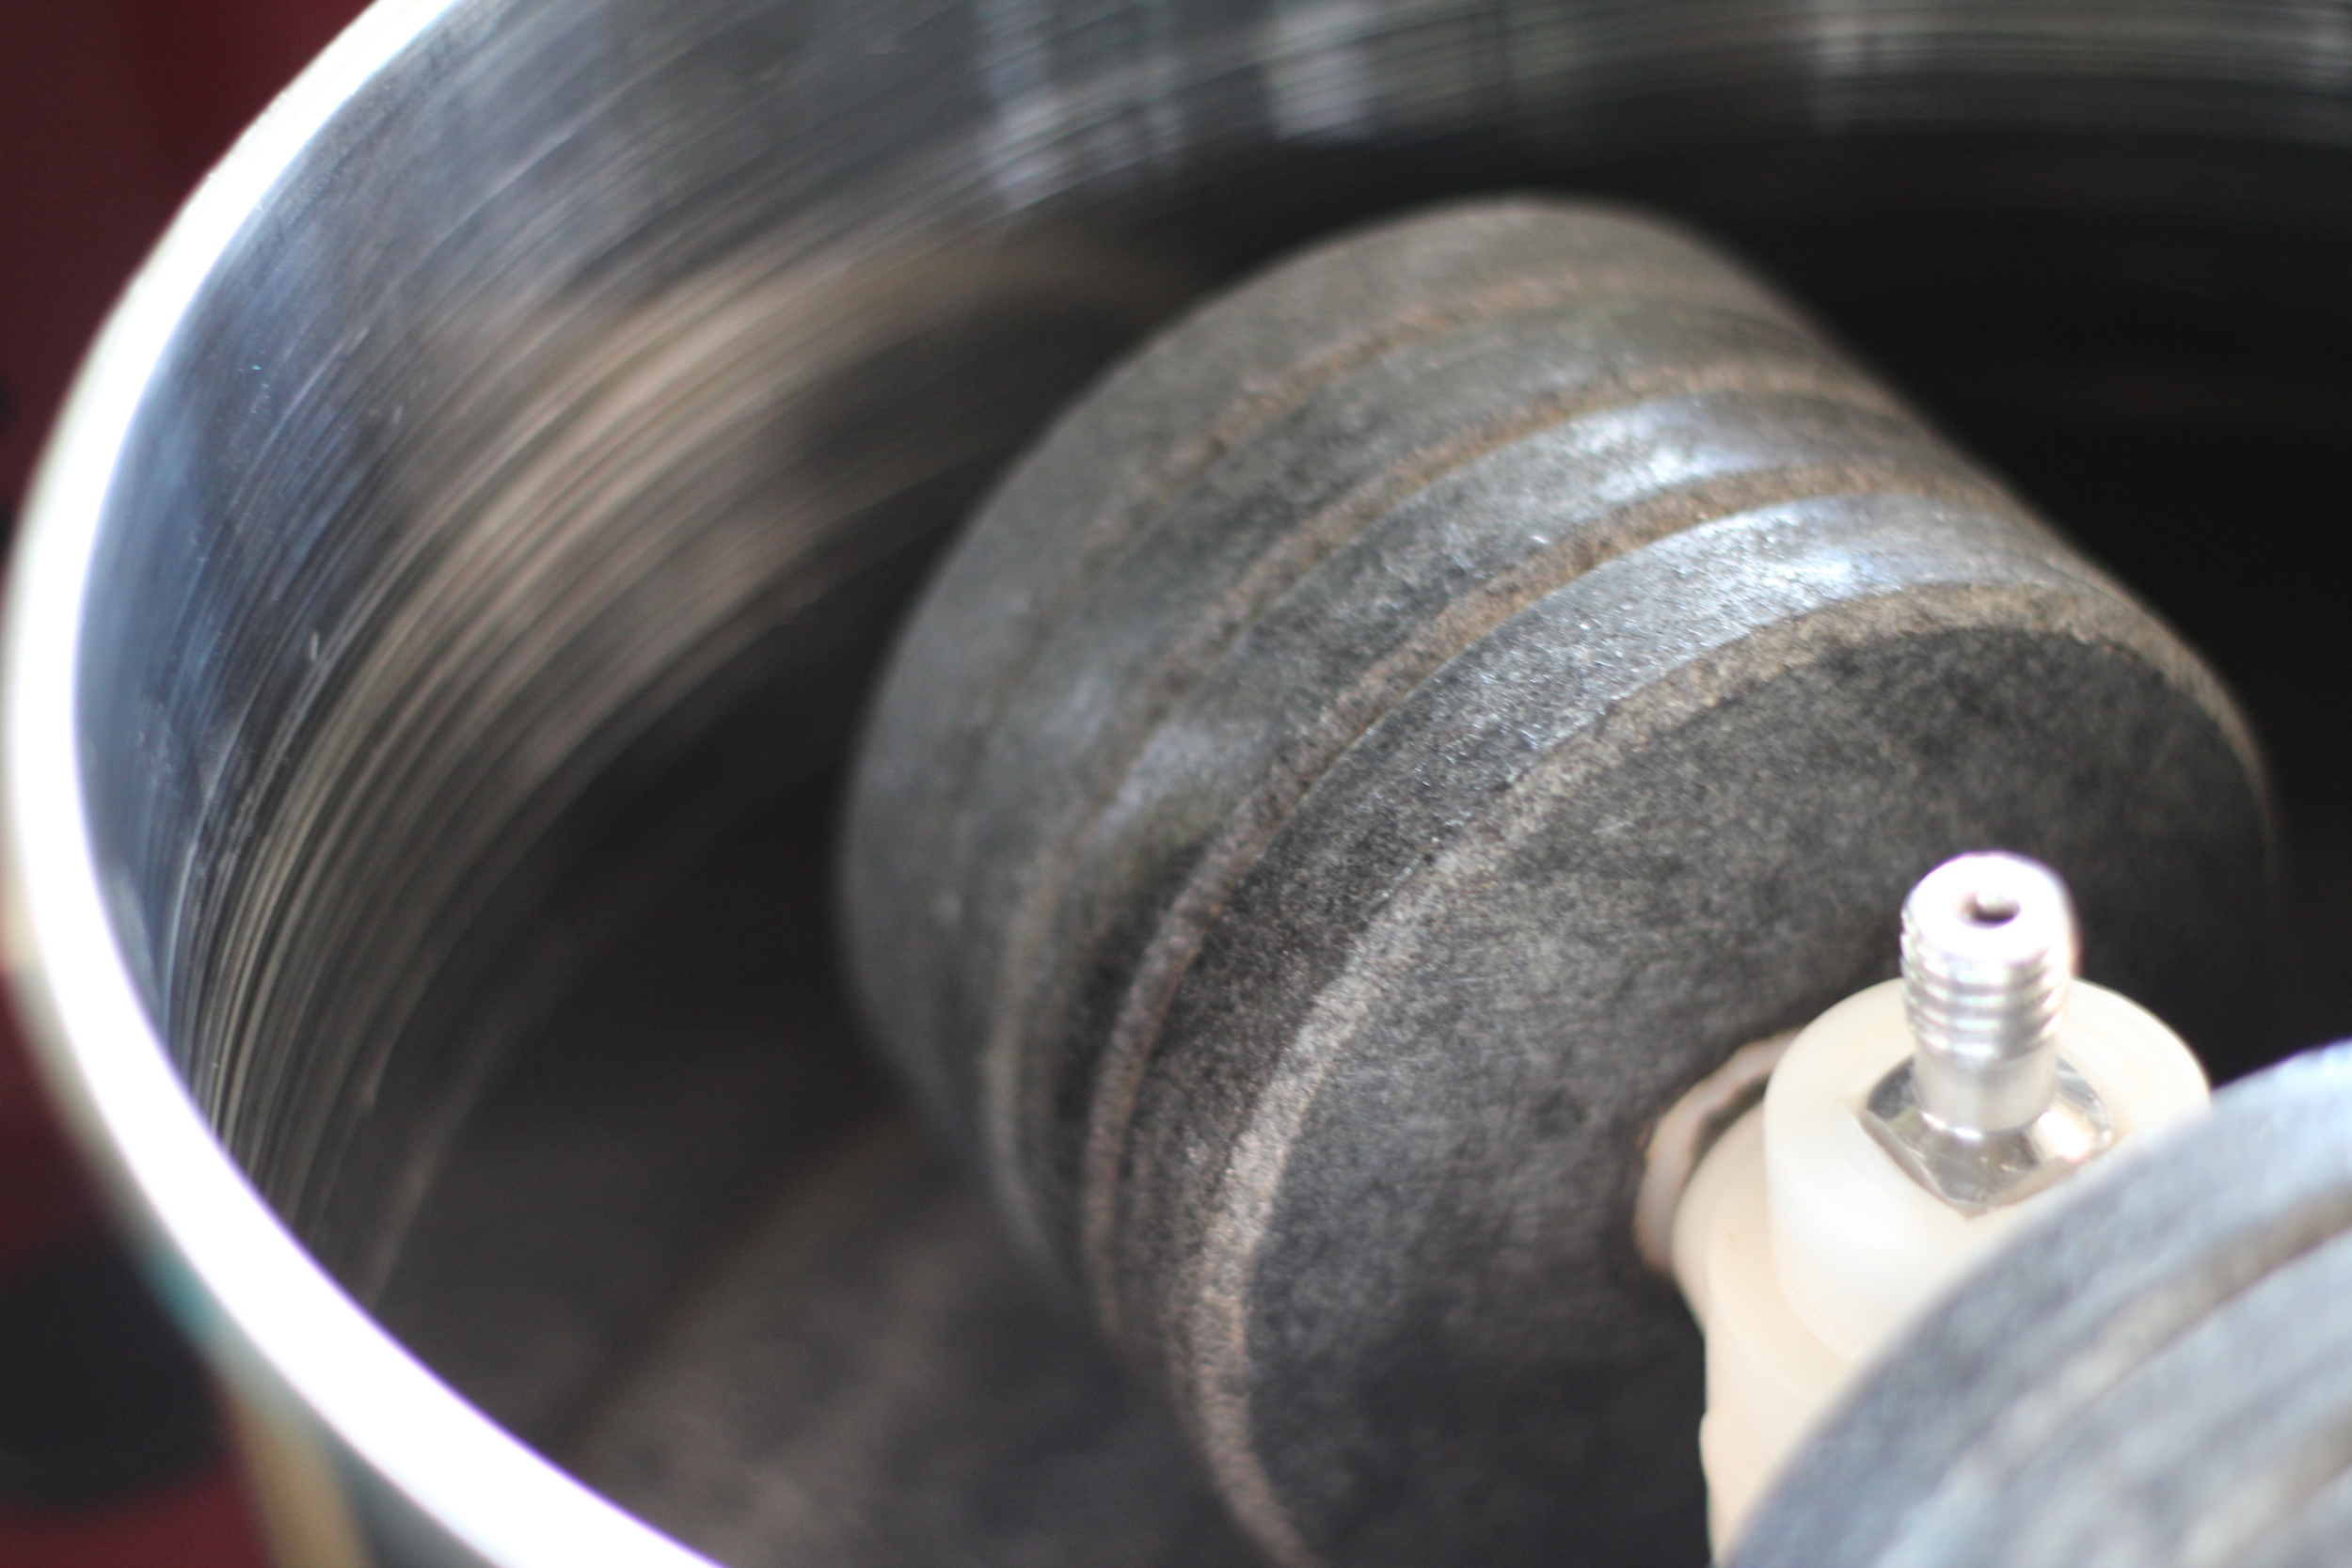
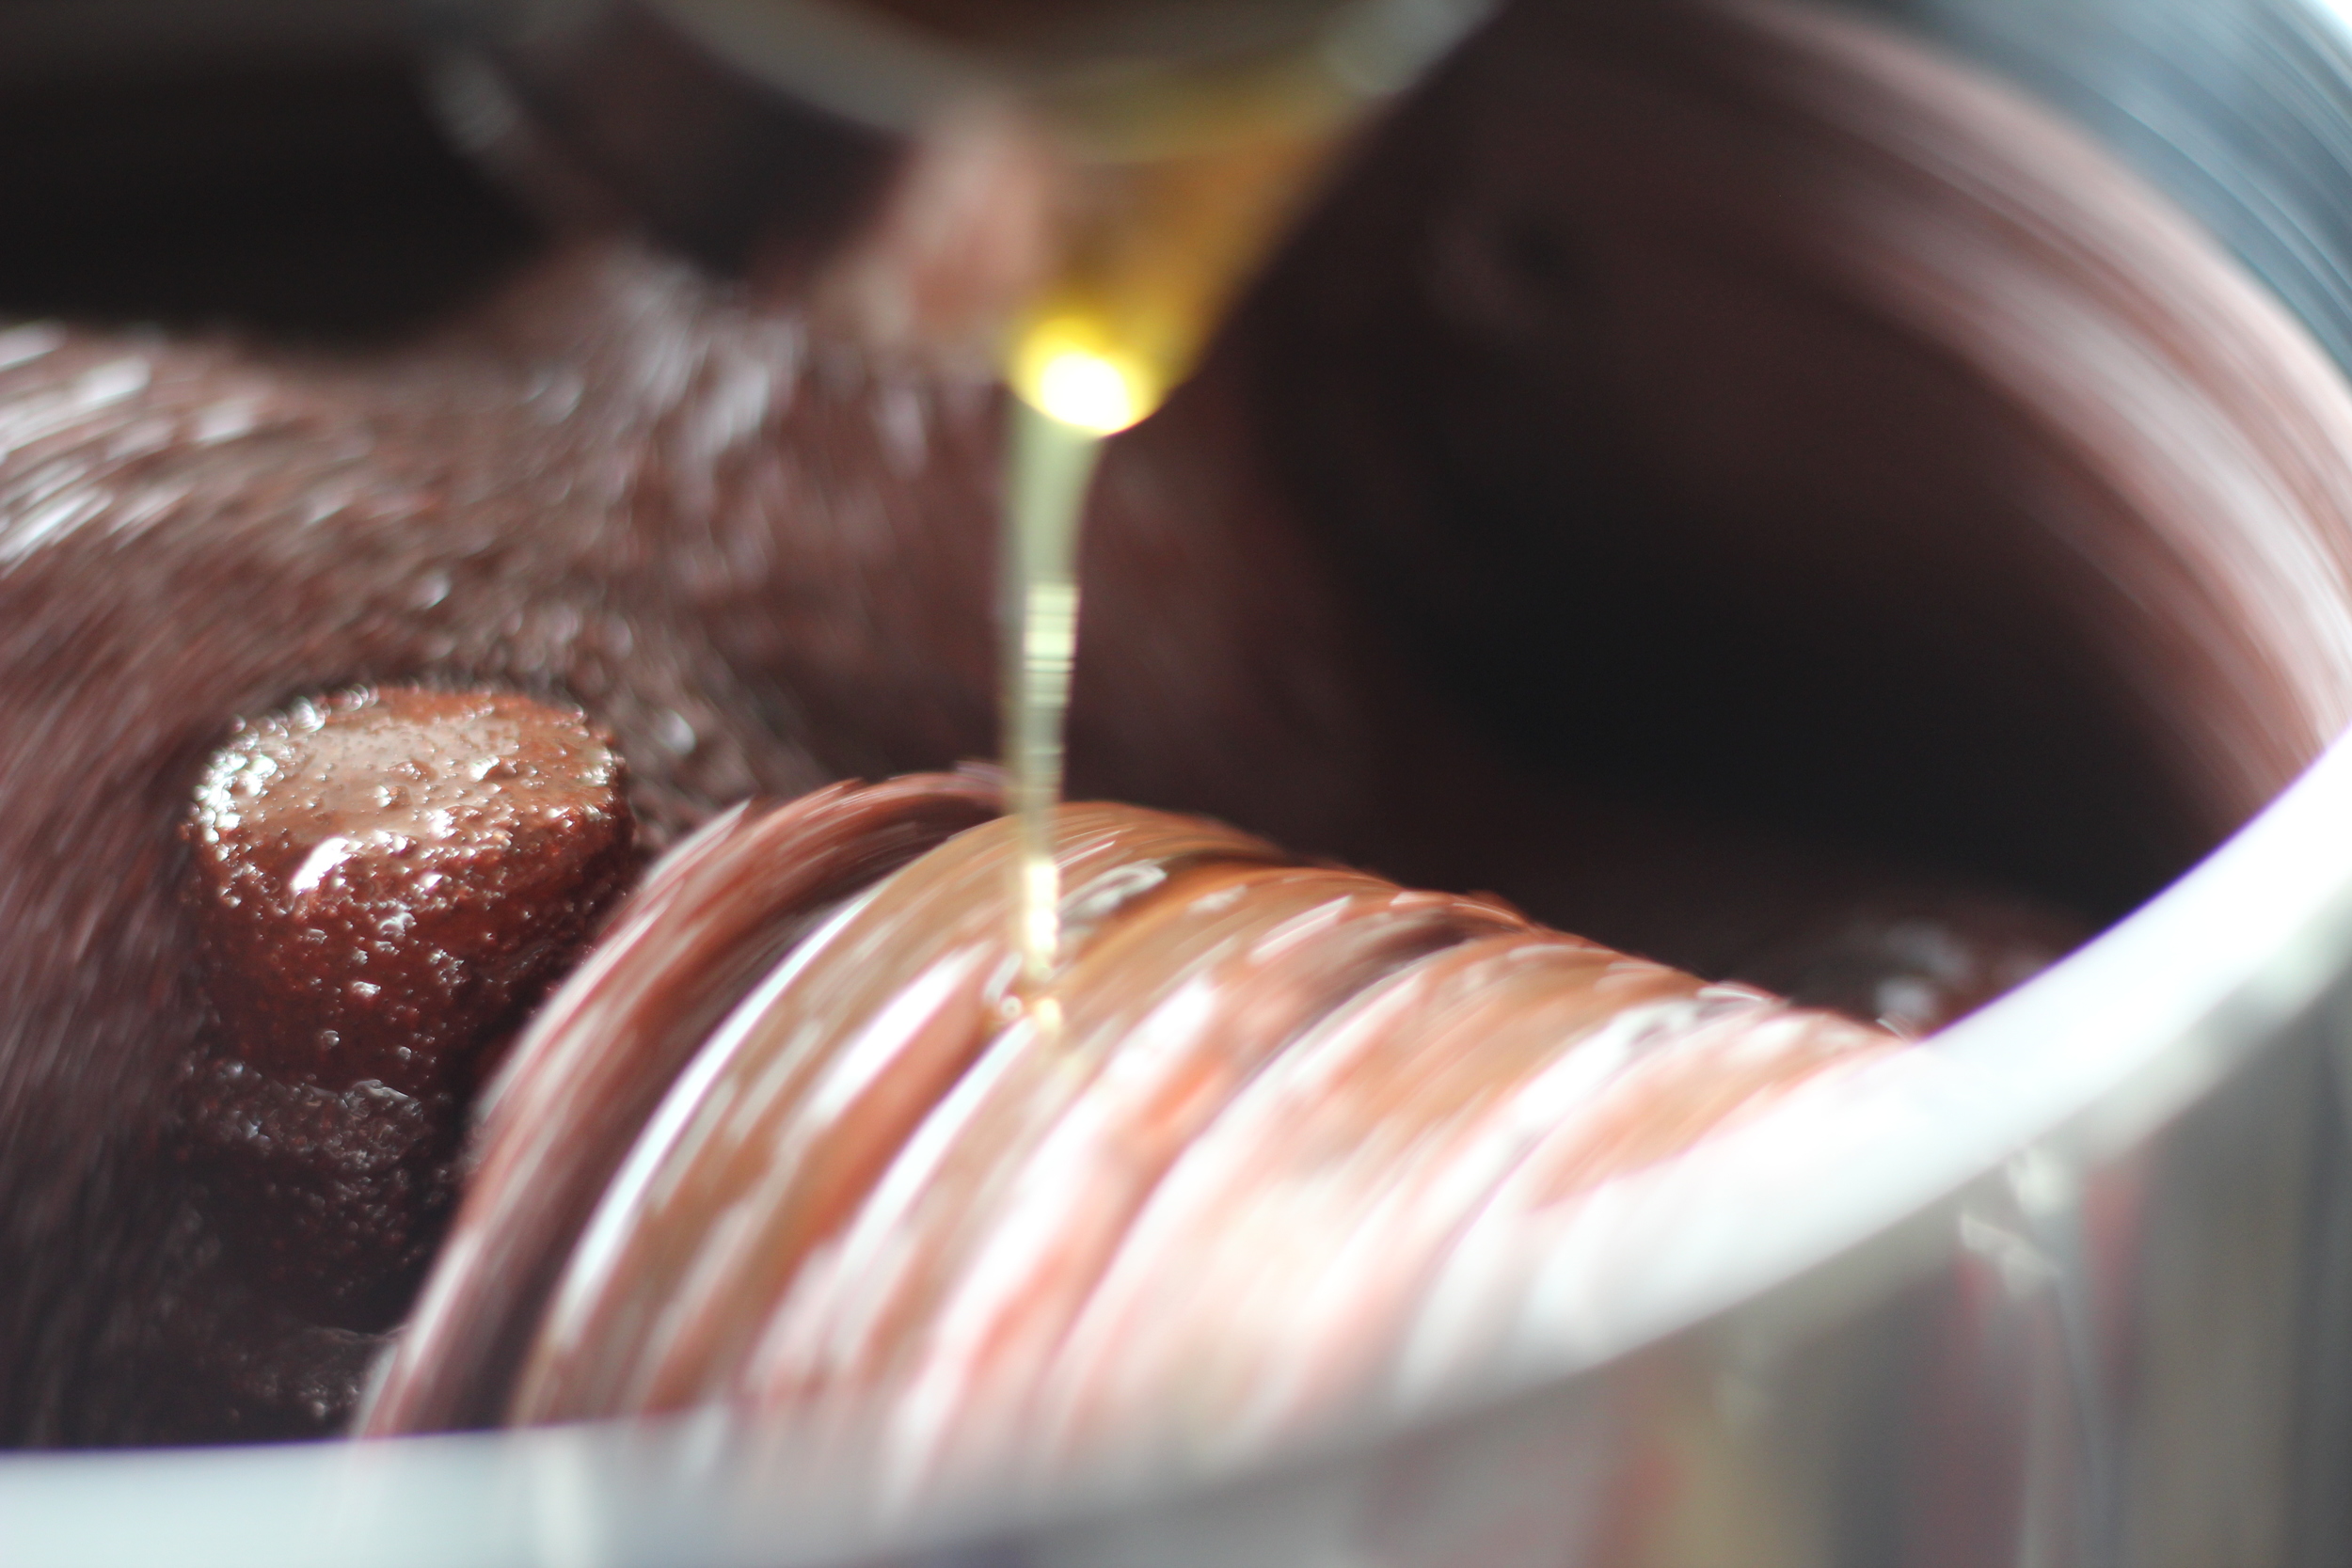
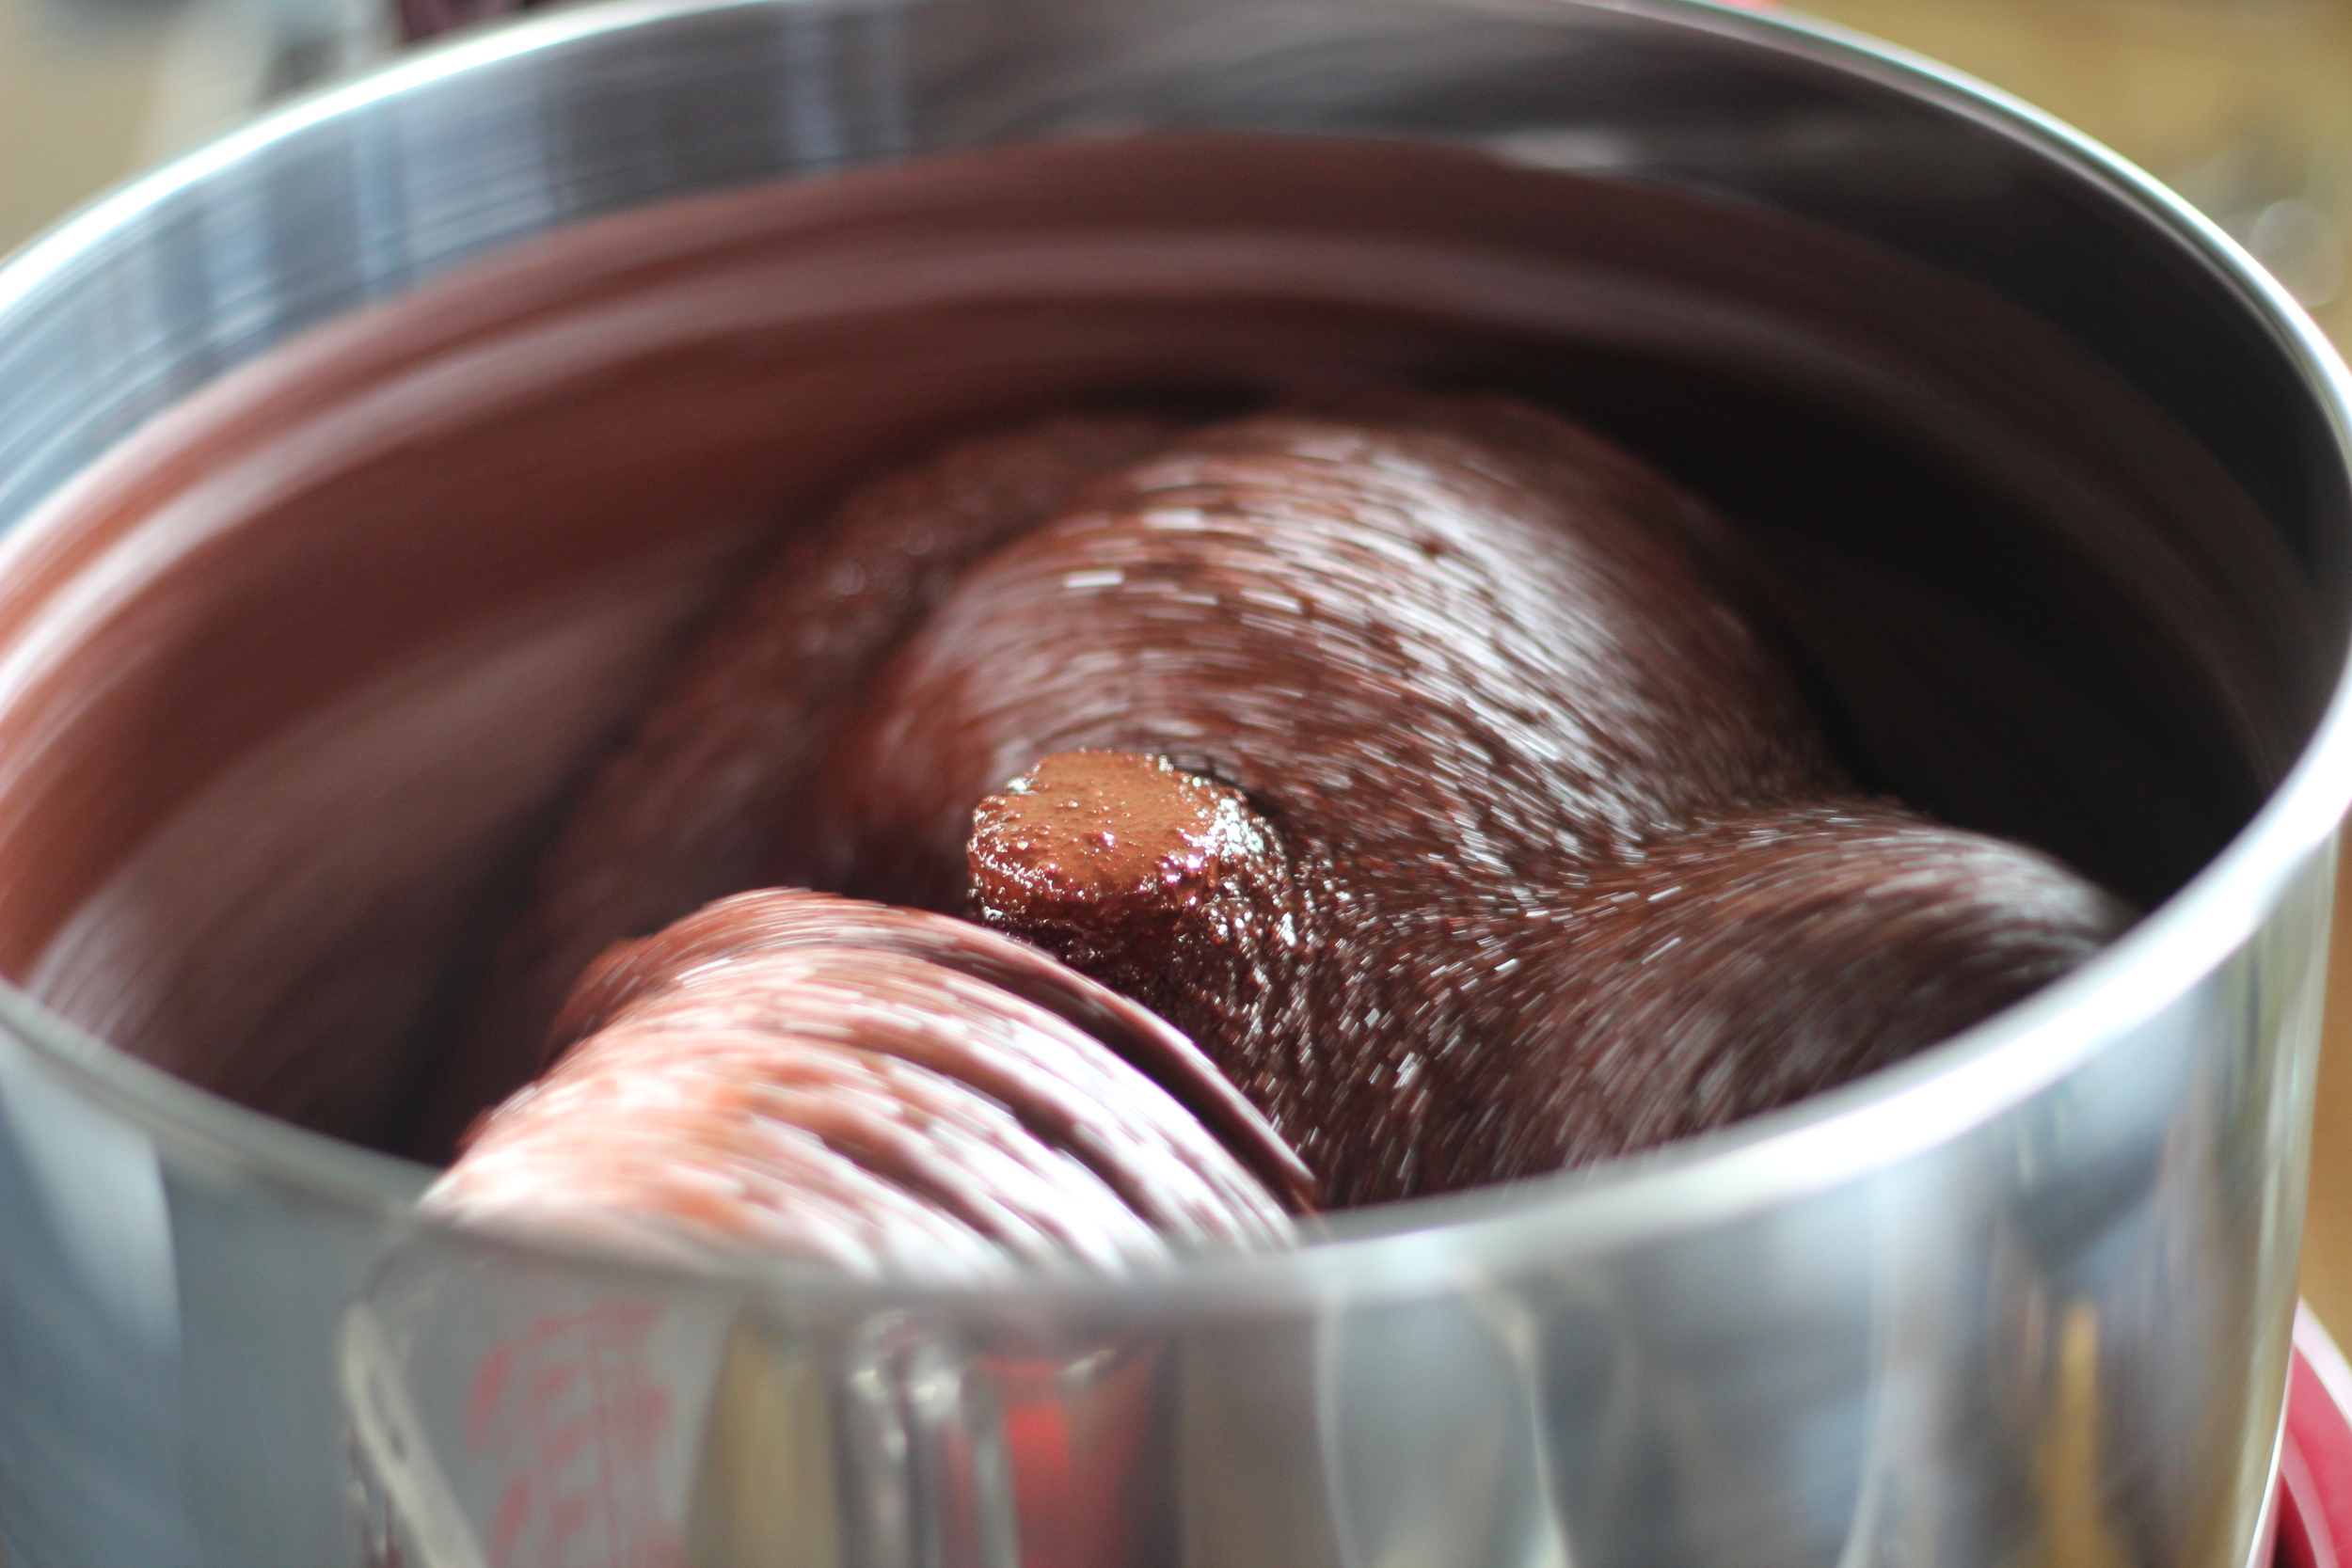
In our final step for day one, it's time to mix everything together! For this, we use a melanger - another special piece of equipment used for chocolate making. It's essentially a spinning bowl with a stone bottom and cylindrical stones inside that slowly grind the chocolate and other ingredients into smaller and smaller particles. Once the machine is up and running, we add the ingredients slowly, a little of each at a time, until everything has been added.

IMG_4140.JPG
IMG_4143.JPG
IMG_4154.JPG
IMG_4158.JPG

We let this machine run for about 24 hours, periodically using a special tool to scrape down the sides of the bowl. By the afternoon, I could see the mixture becoming smoother. 

the top red one is a special scraper - we'd stick this in along the side of the bowl as the machine was running to scrape down the sides

the top red one is a special scraper - we'd stick this in along the side of the bowl as the machine was running to scrape down the sides

it's getting smoother!

Now it's time for the day 1 treat! To "clean" out the juicer-grinder where we first ground the nibs, we put frozen bananas through it to make banana-chocolate soft serve. No sweetener needed, and let me tell you it's AMAZING!

I was SO excited to eat this I didn't take the time to get a great photo...

I was SO excited to eat this I didn't take the time to get a great photo...

DAY TWO

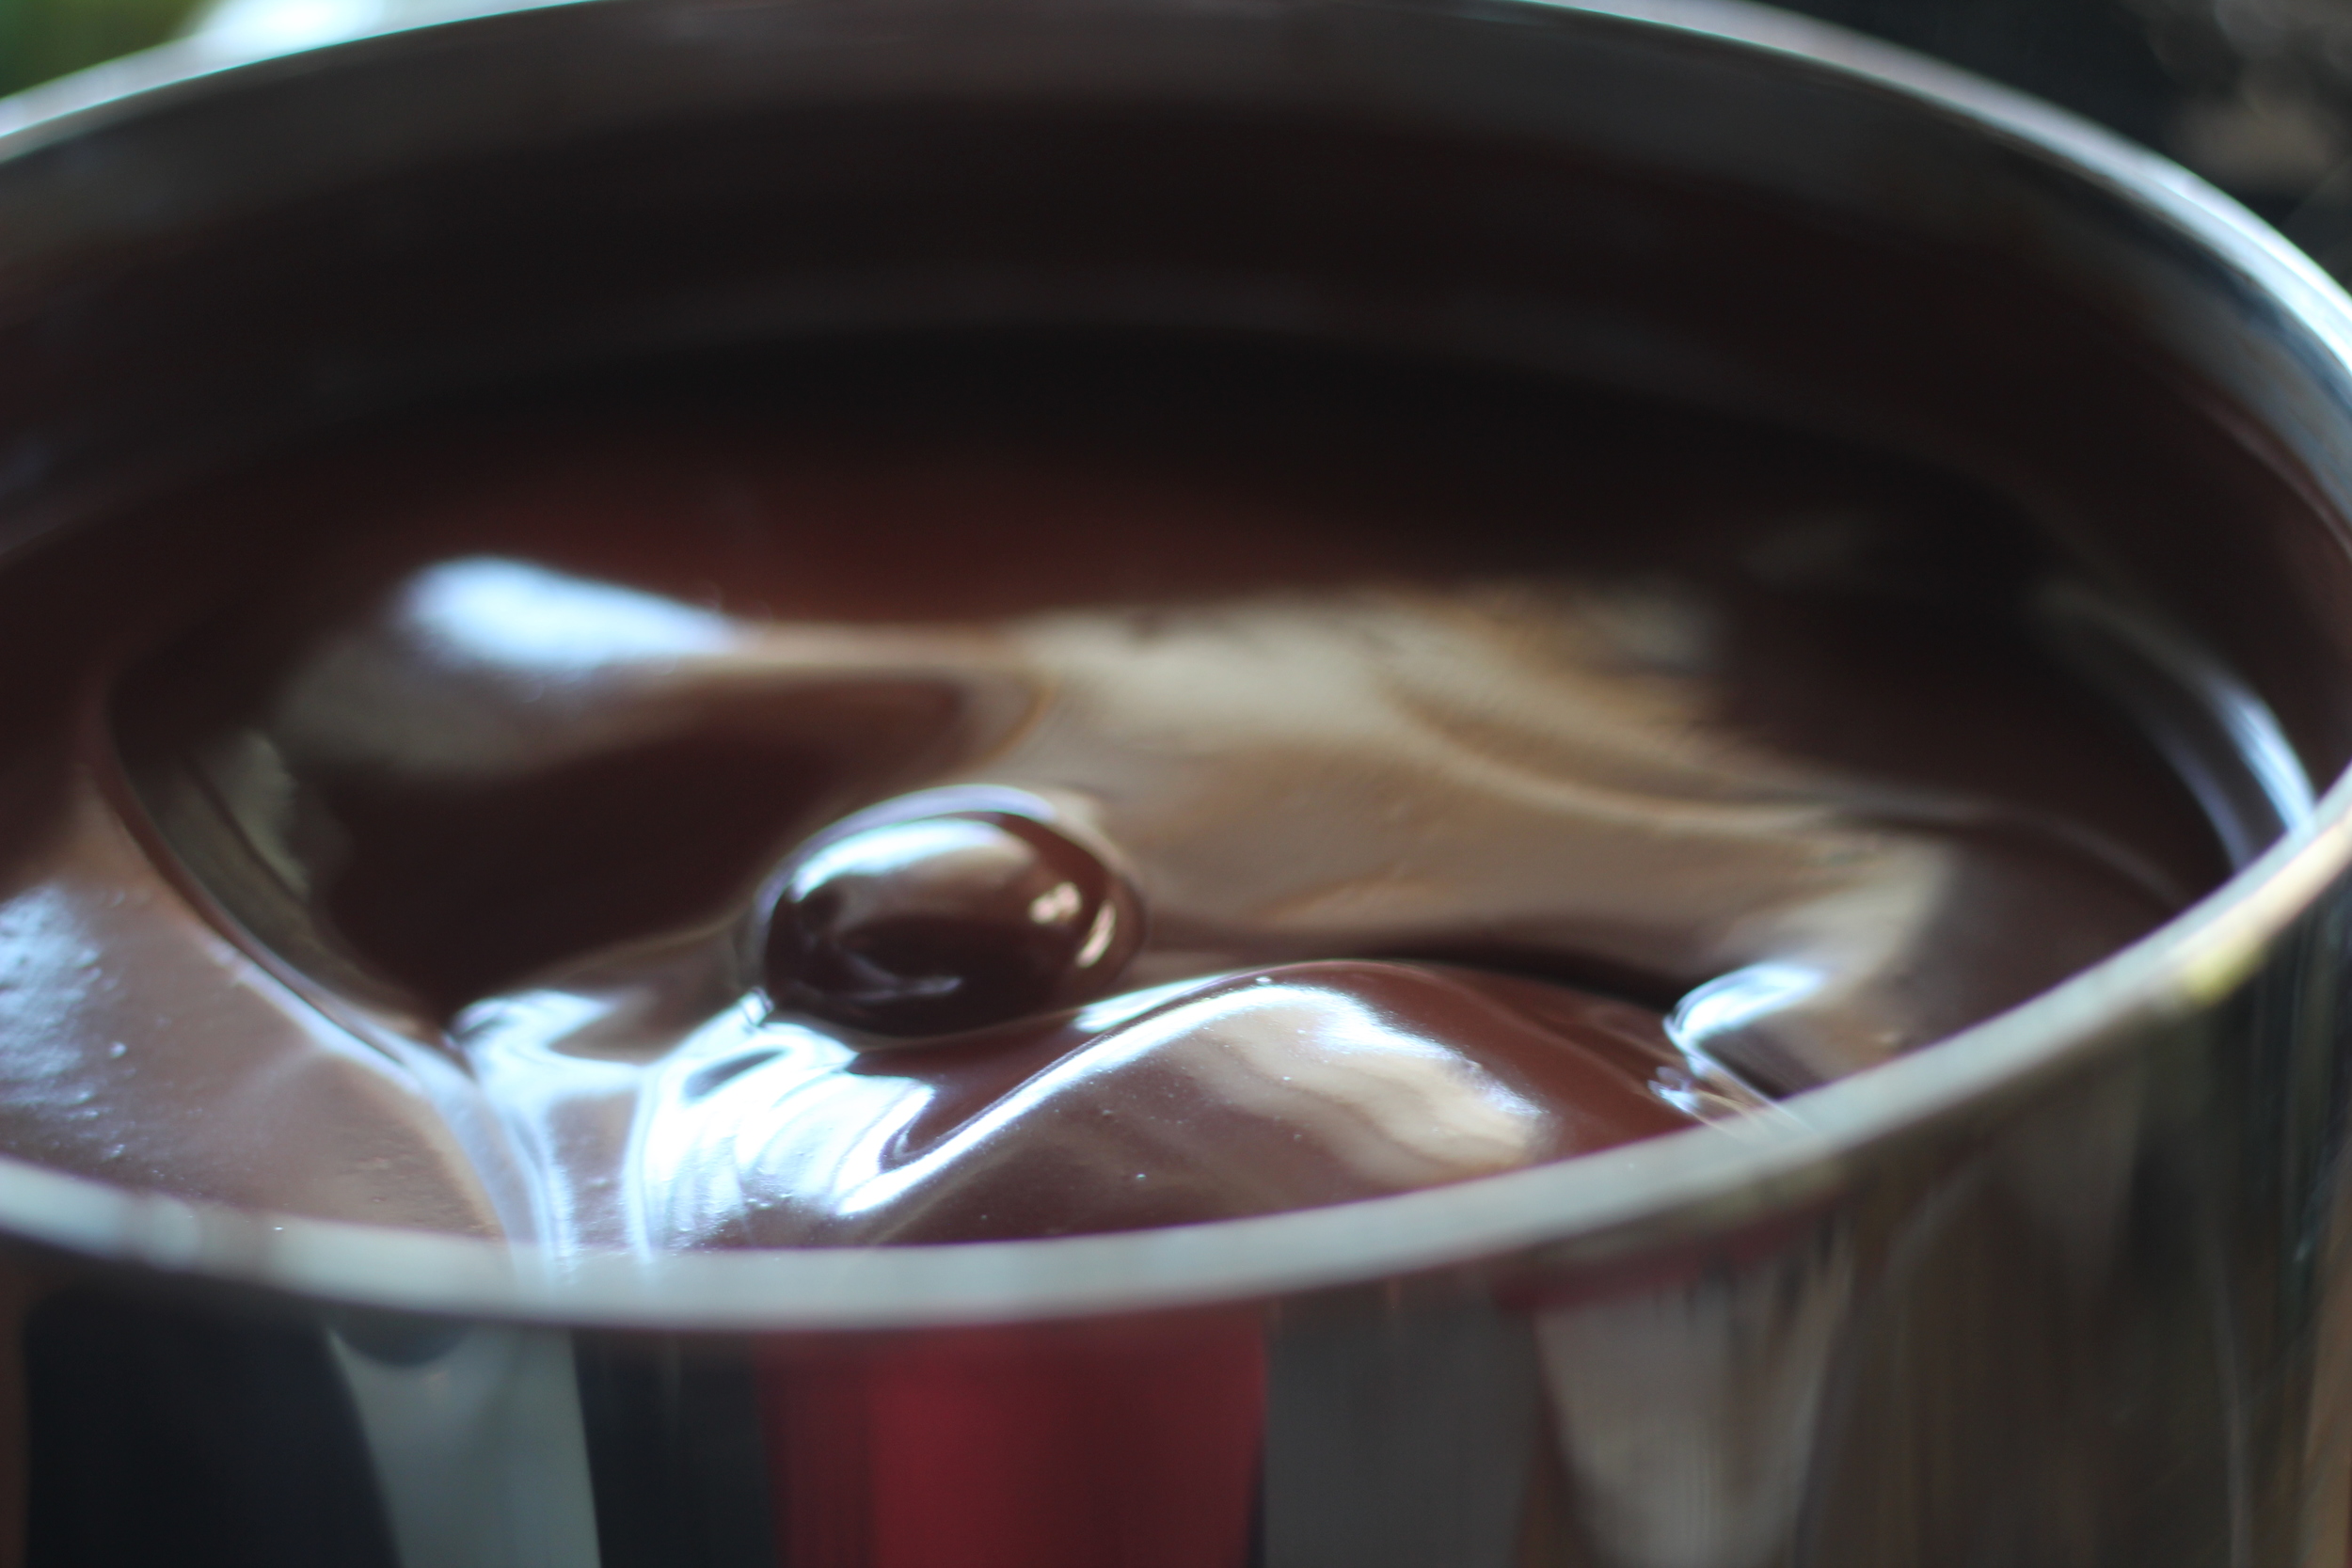
It's been 24 hours and IT'S READY...

IMG_4193.JPG

isn't it just... GORGEOUS?! BREATHTAKING?! Making you want to run to the nearest store for a good bar of dark chocolate?!

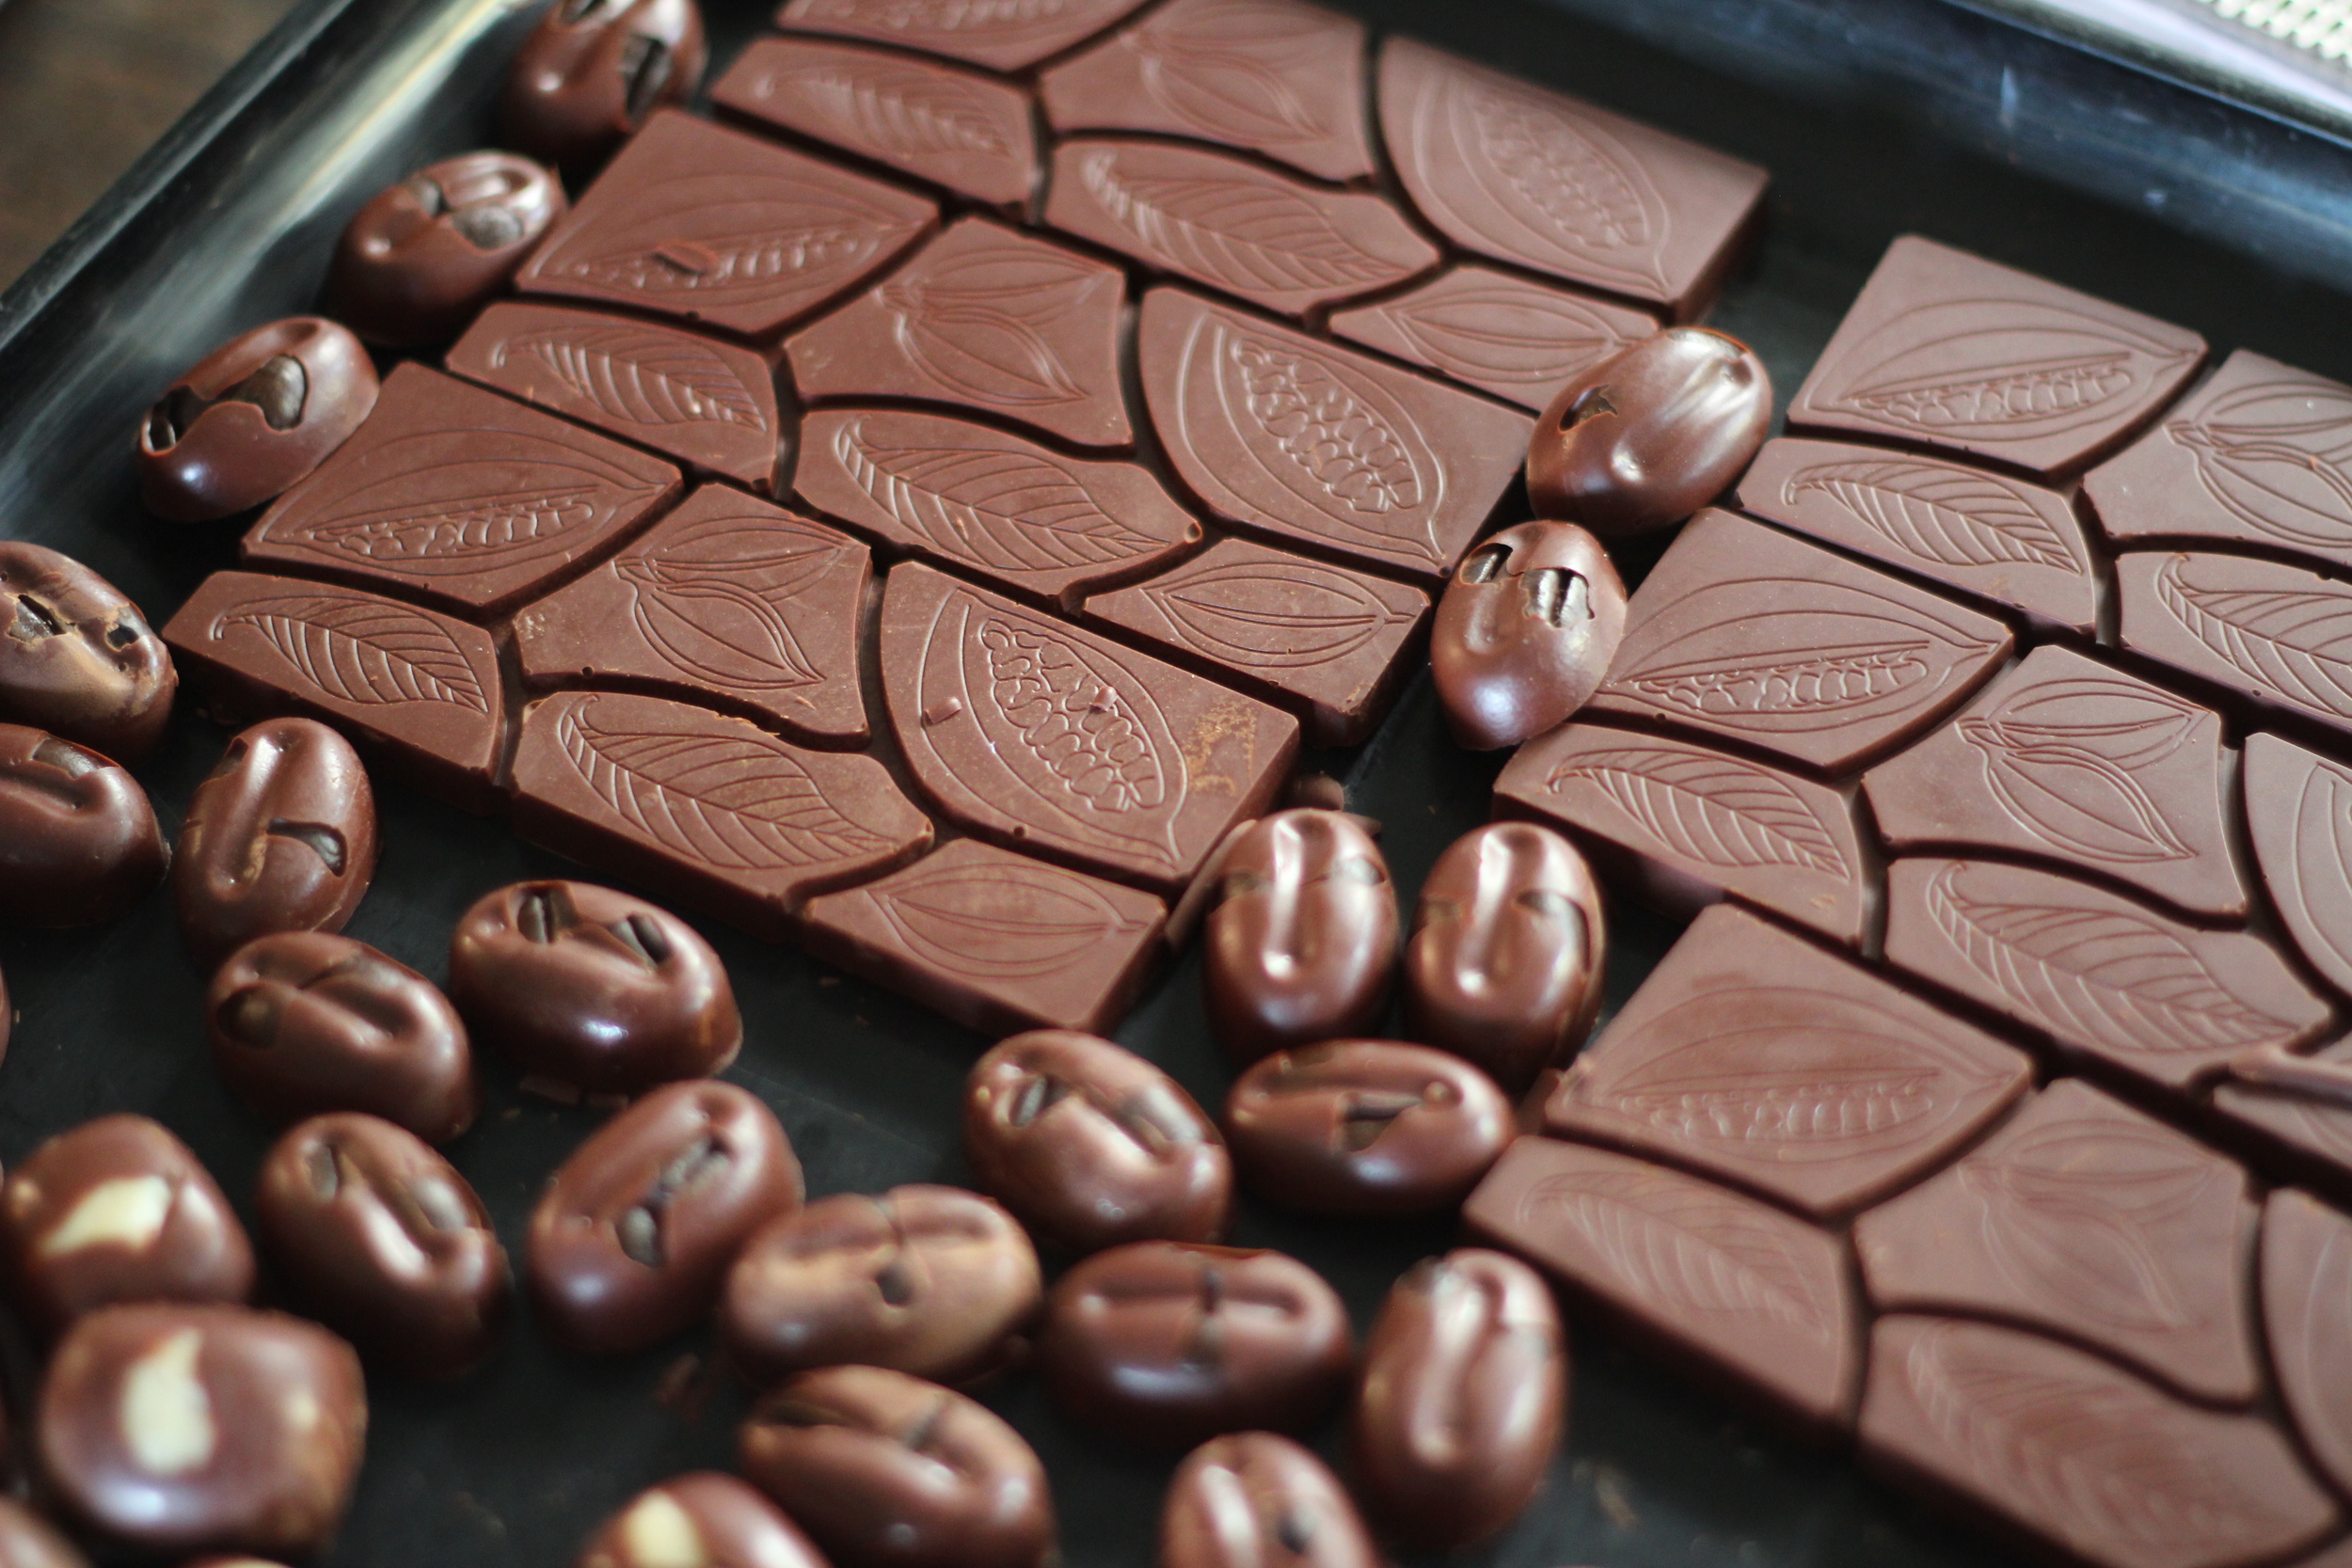
We wipe out the molds and prep some with our macadamia nuts and coffee beans:

View fullsize IMG_4183.jpg
View fullsize IMG_4184.JPG
View fullsize IMG_4190.JPG

step 6: tempering

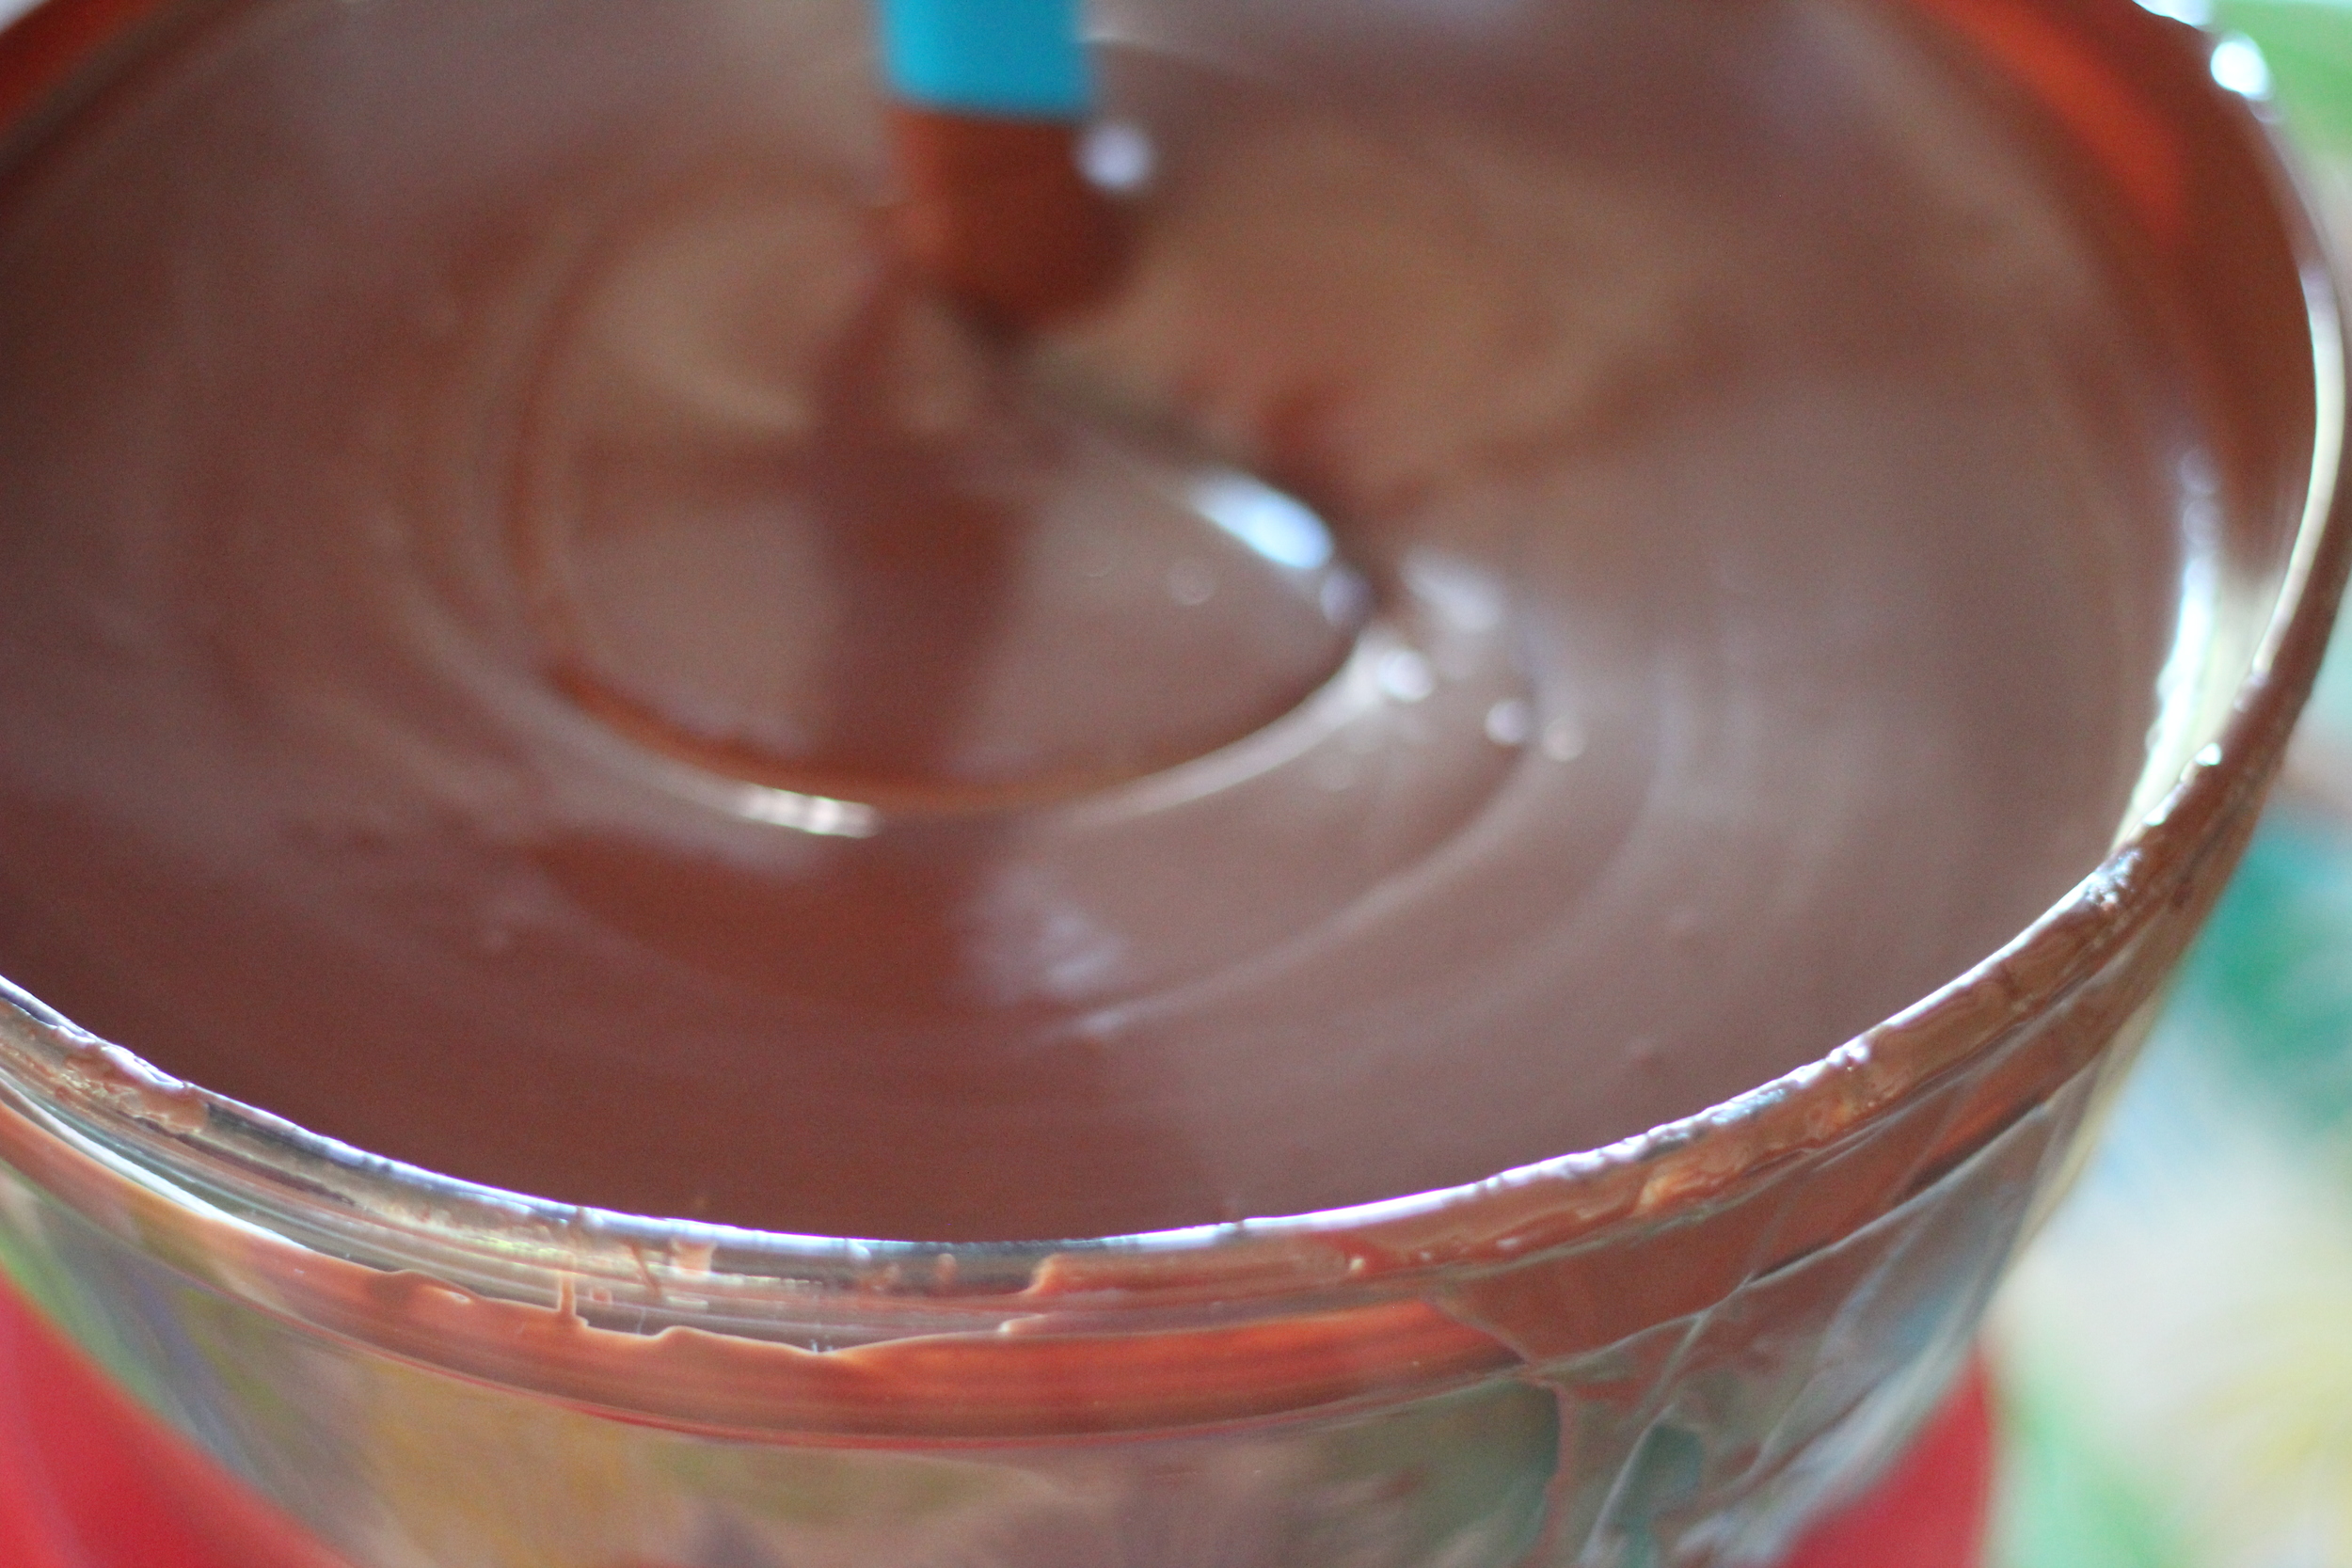
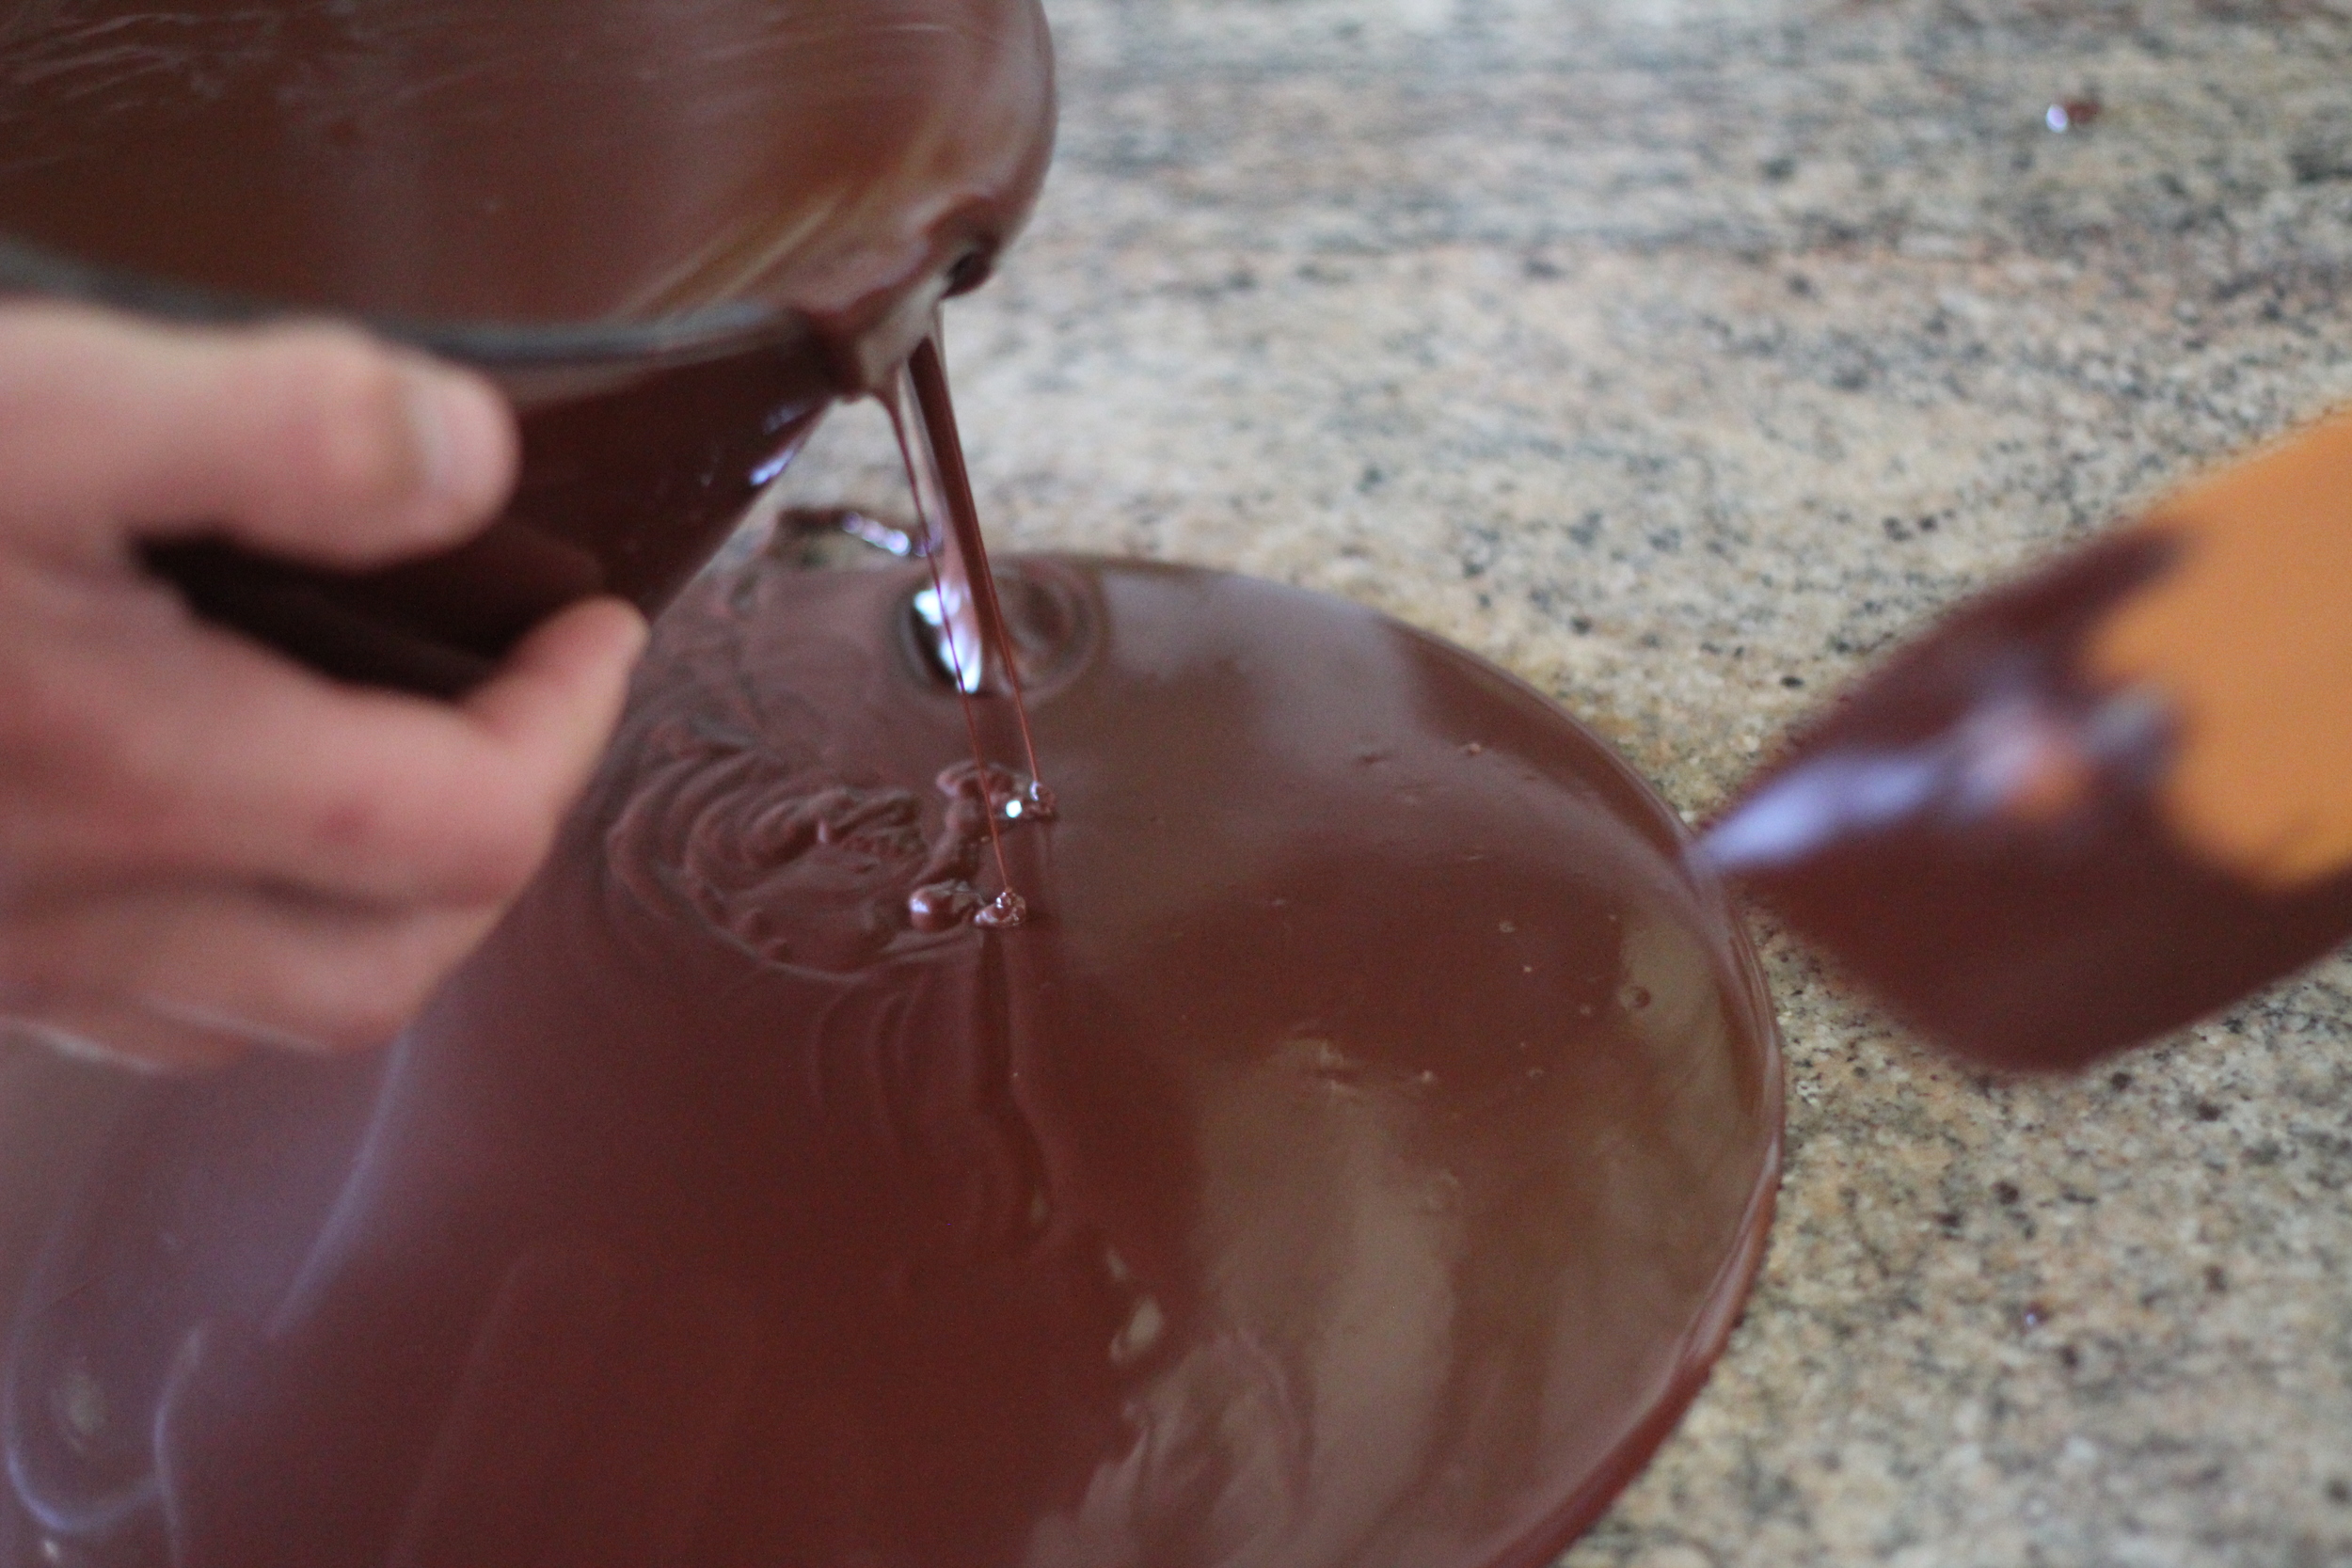
This is the trickiest part of the chocolate-making. We need to cool the chocolate down slowly to just the right temperature before we put it into the molds. If we don't do it correctly, when it hardens the chocolate can "bloom" - making that white, gritty stuff you may have seen on older bars before. You can still eat it that way, but it's not as pretty.

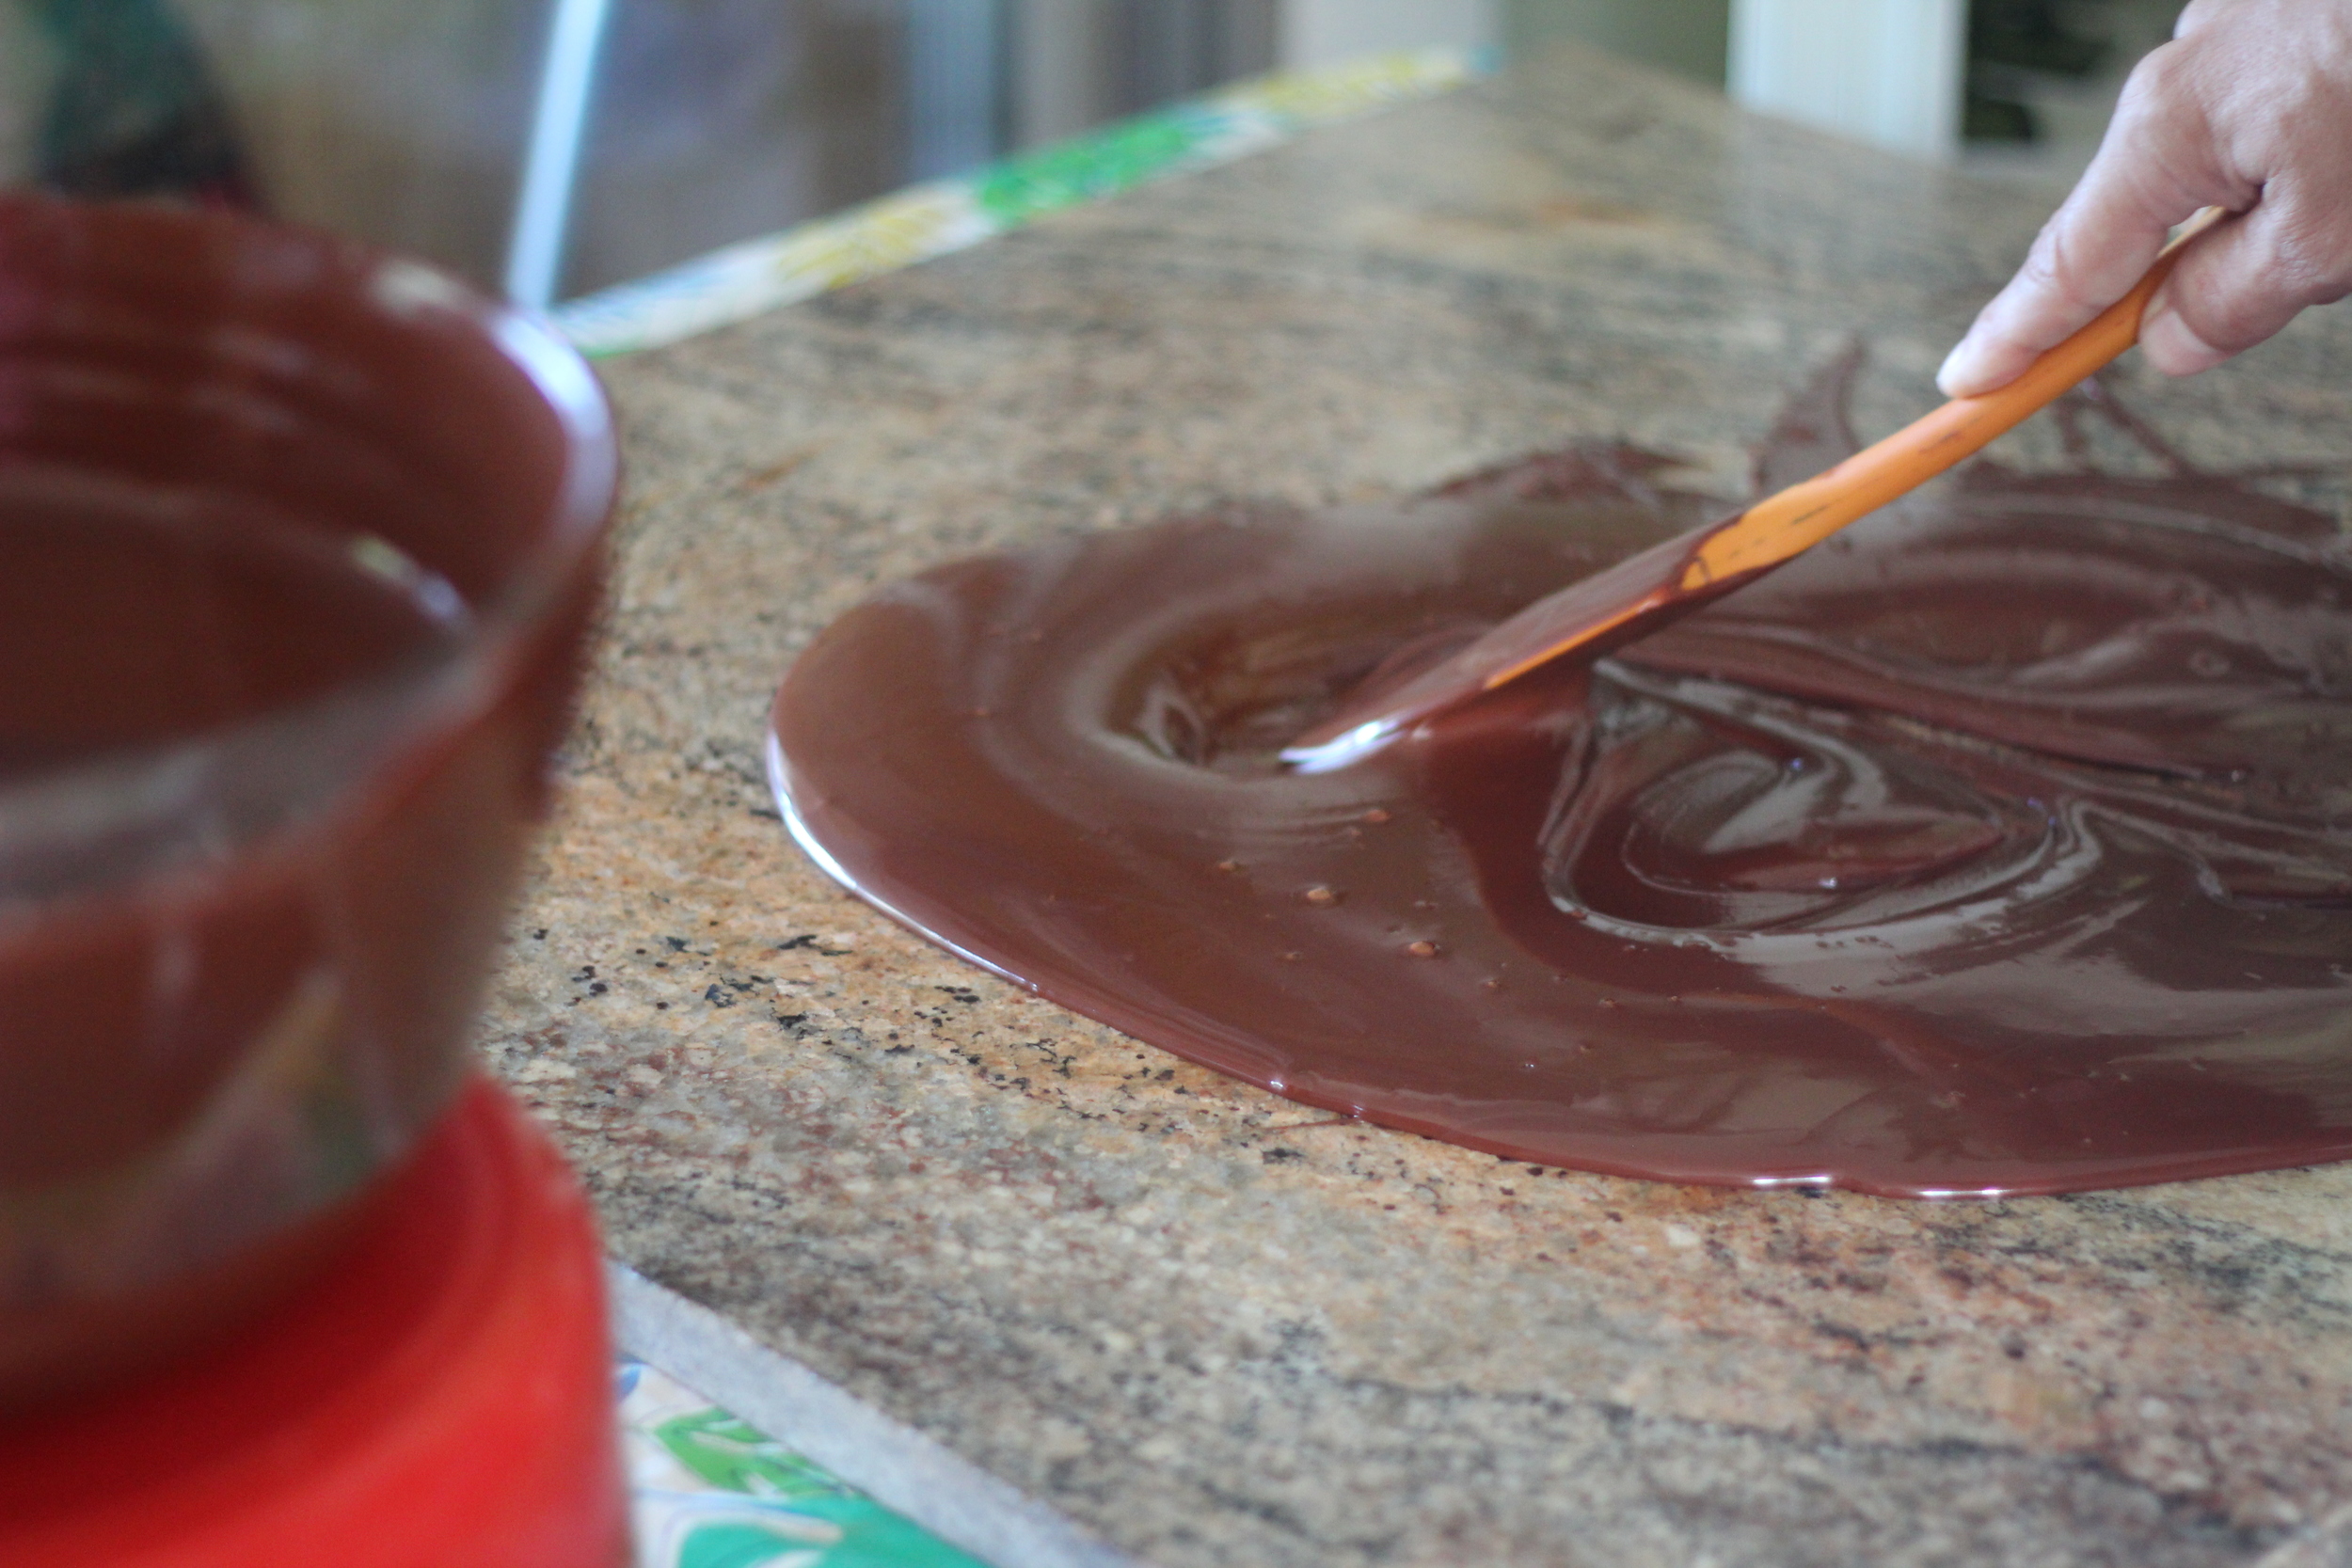
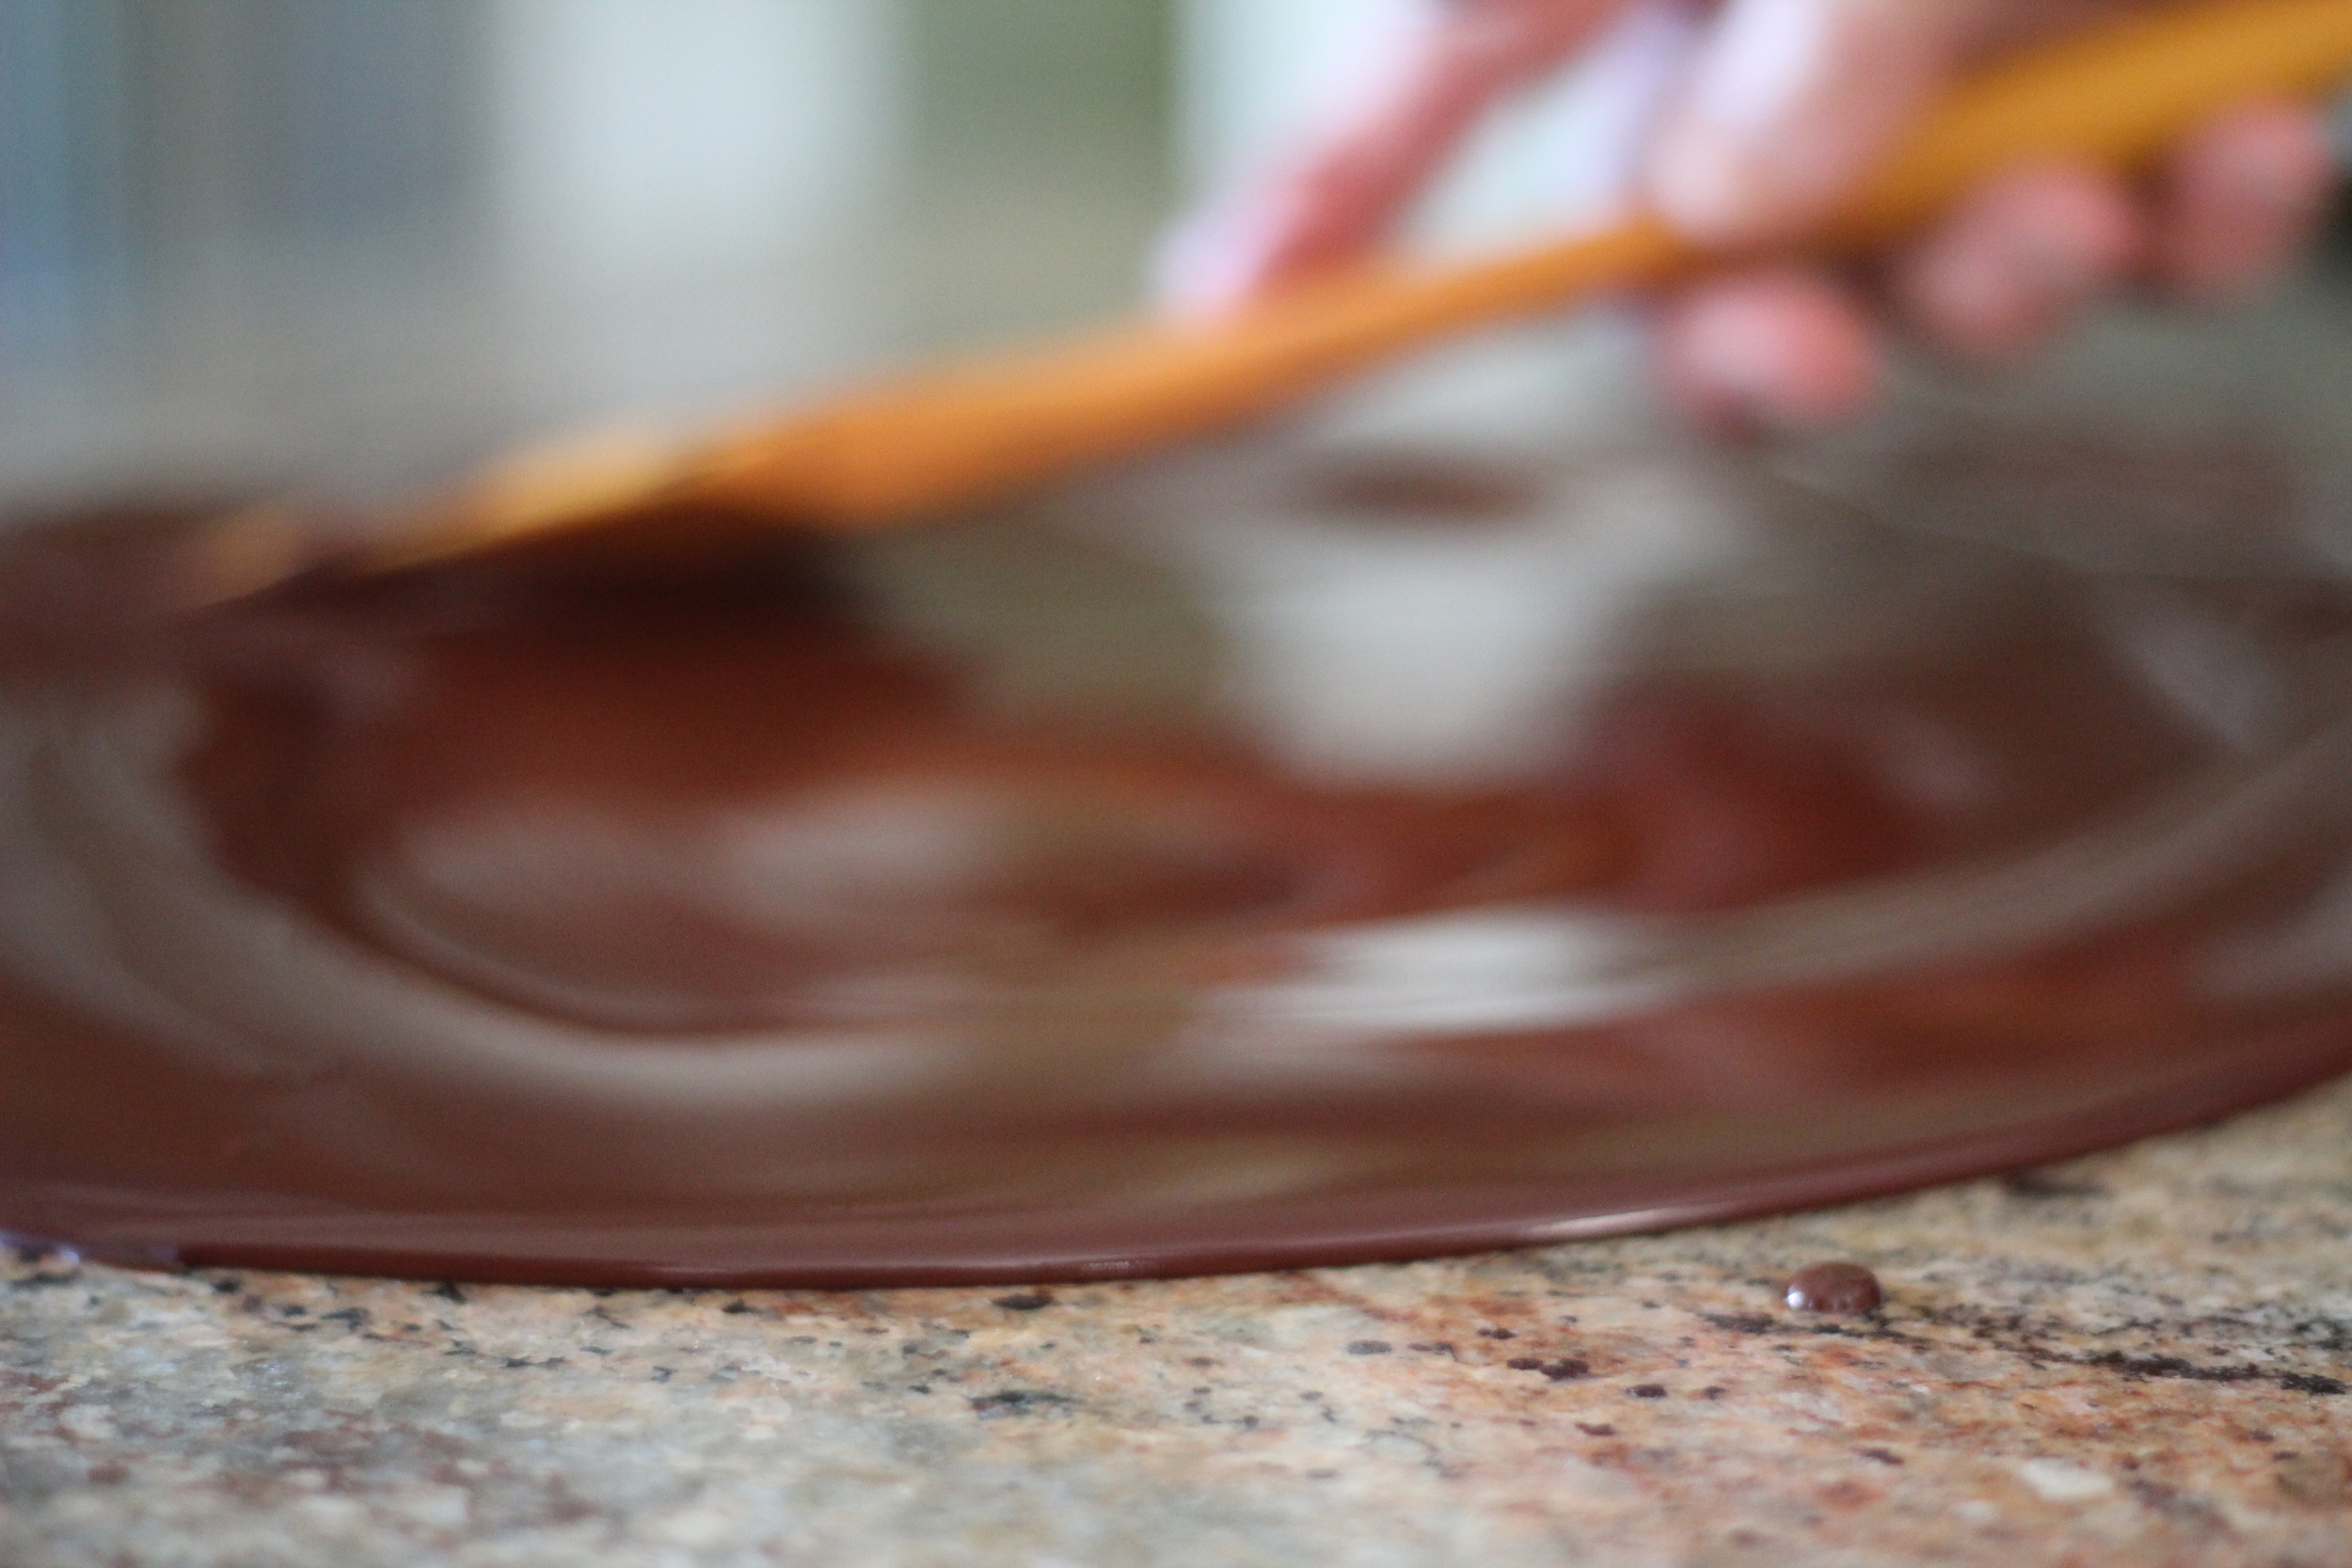
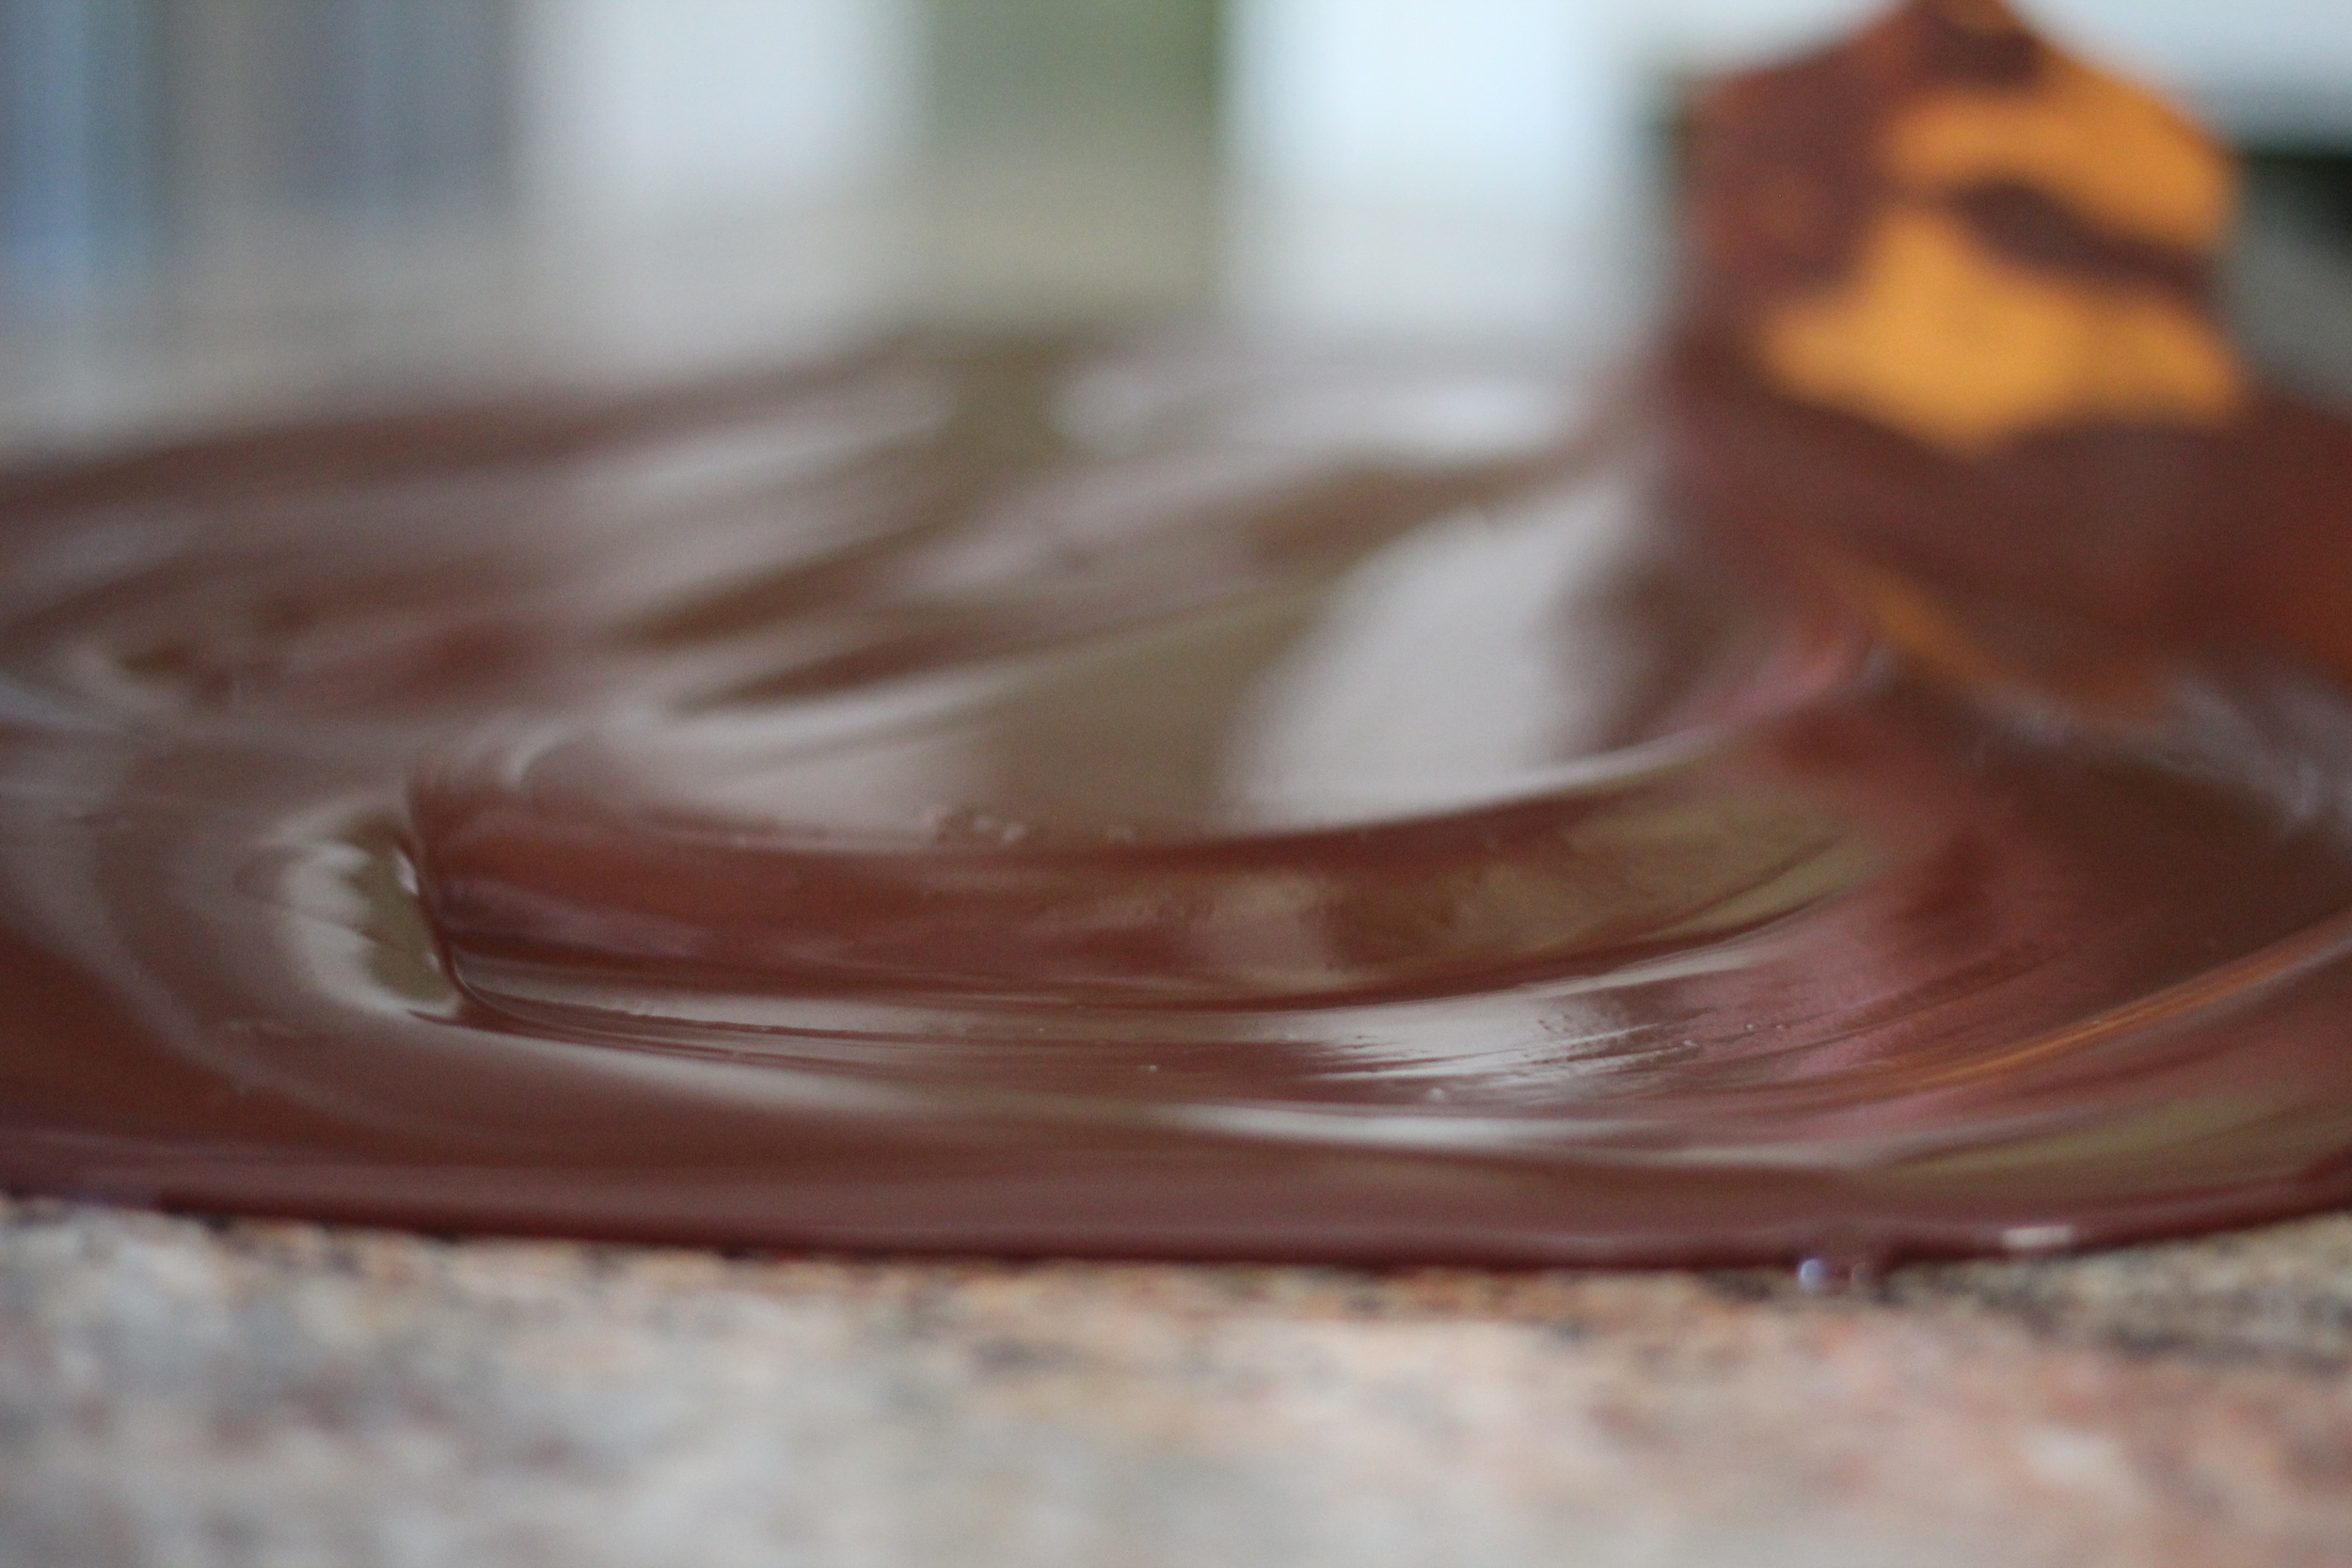
To slowly cool it, we spread about a third of the chocolate mixture on a granite slab and mix it around, agitating it for several minutes. Then we add another third and do this again. Finally we add these back to the remaining third and, again, mix to even out the temperature. 
IMG_4201.JPG
IMG_4212.JPG
IMG_4205.JPG
IMG_4206.JPG
IMG_4218.JPG
IMG_4201.JPG IMG_4212.JPG IMG_4205.JPG IMG_4206.JPG IMG_4218.JPG

step 7: piping into the molds

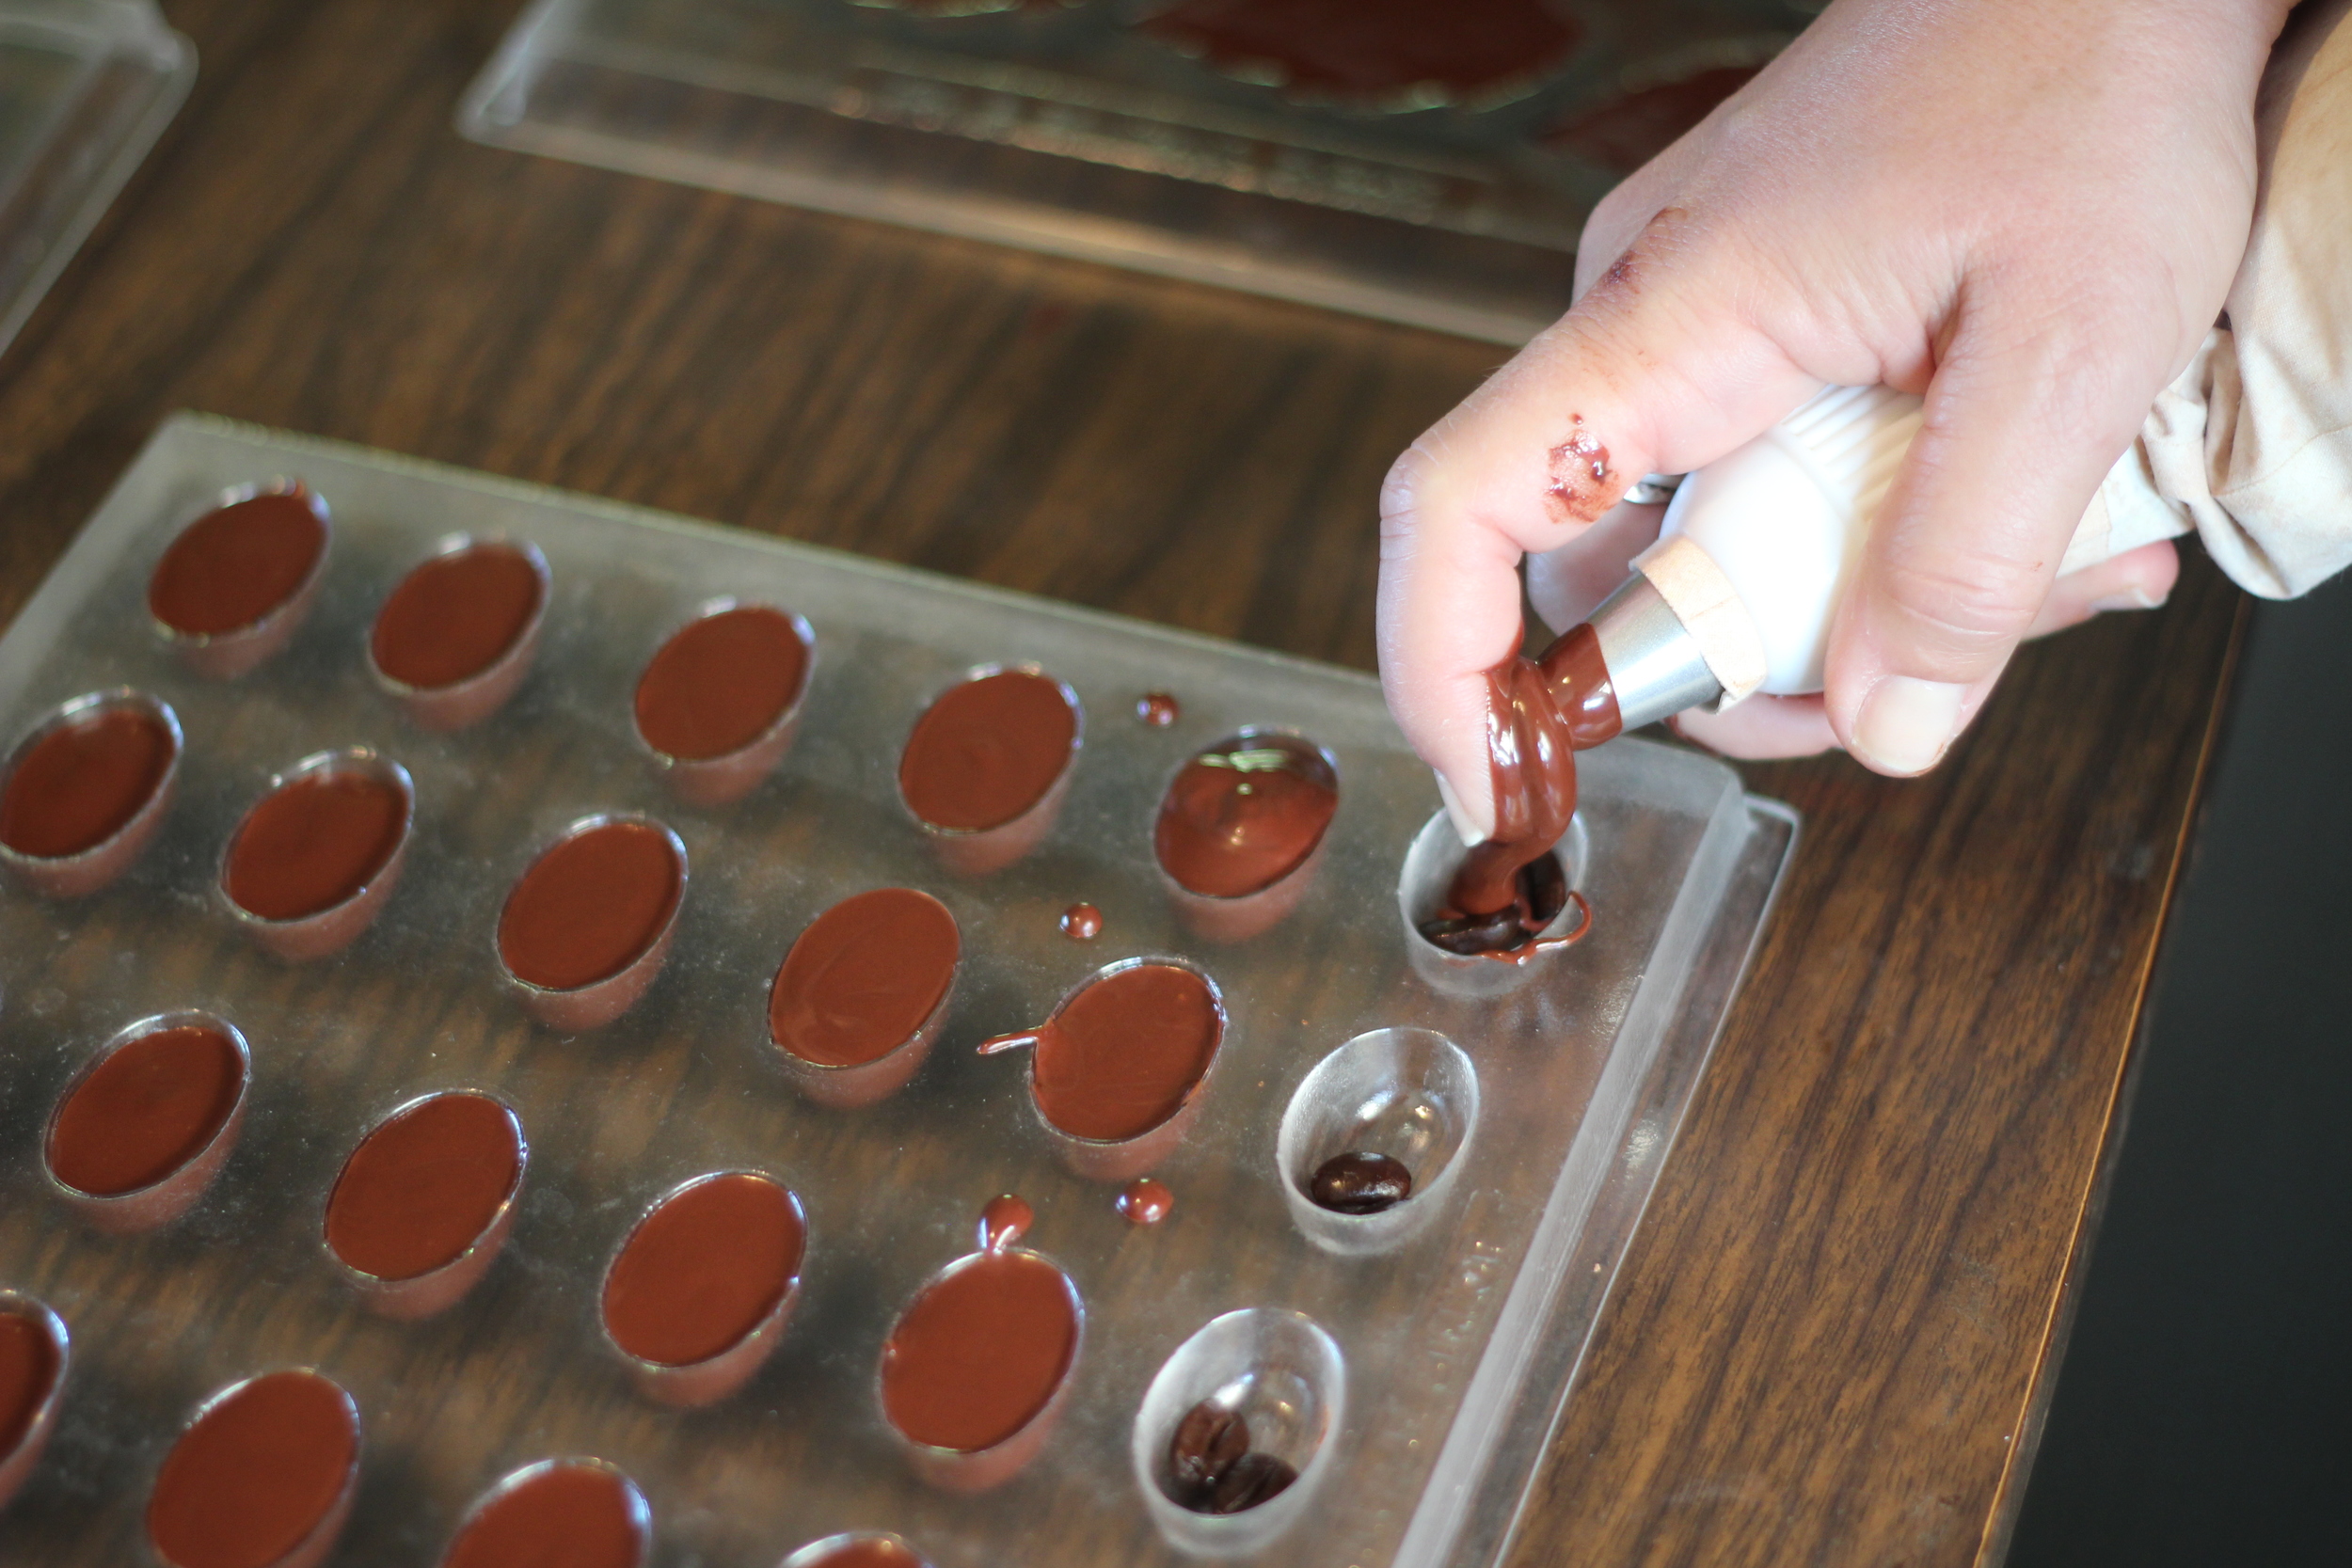
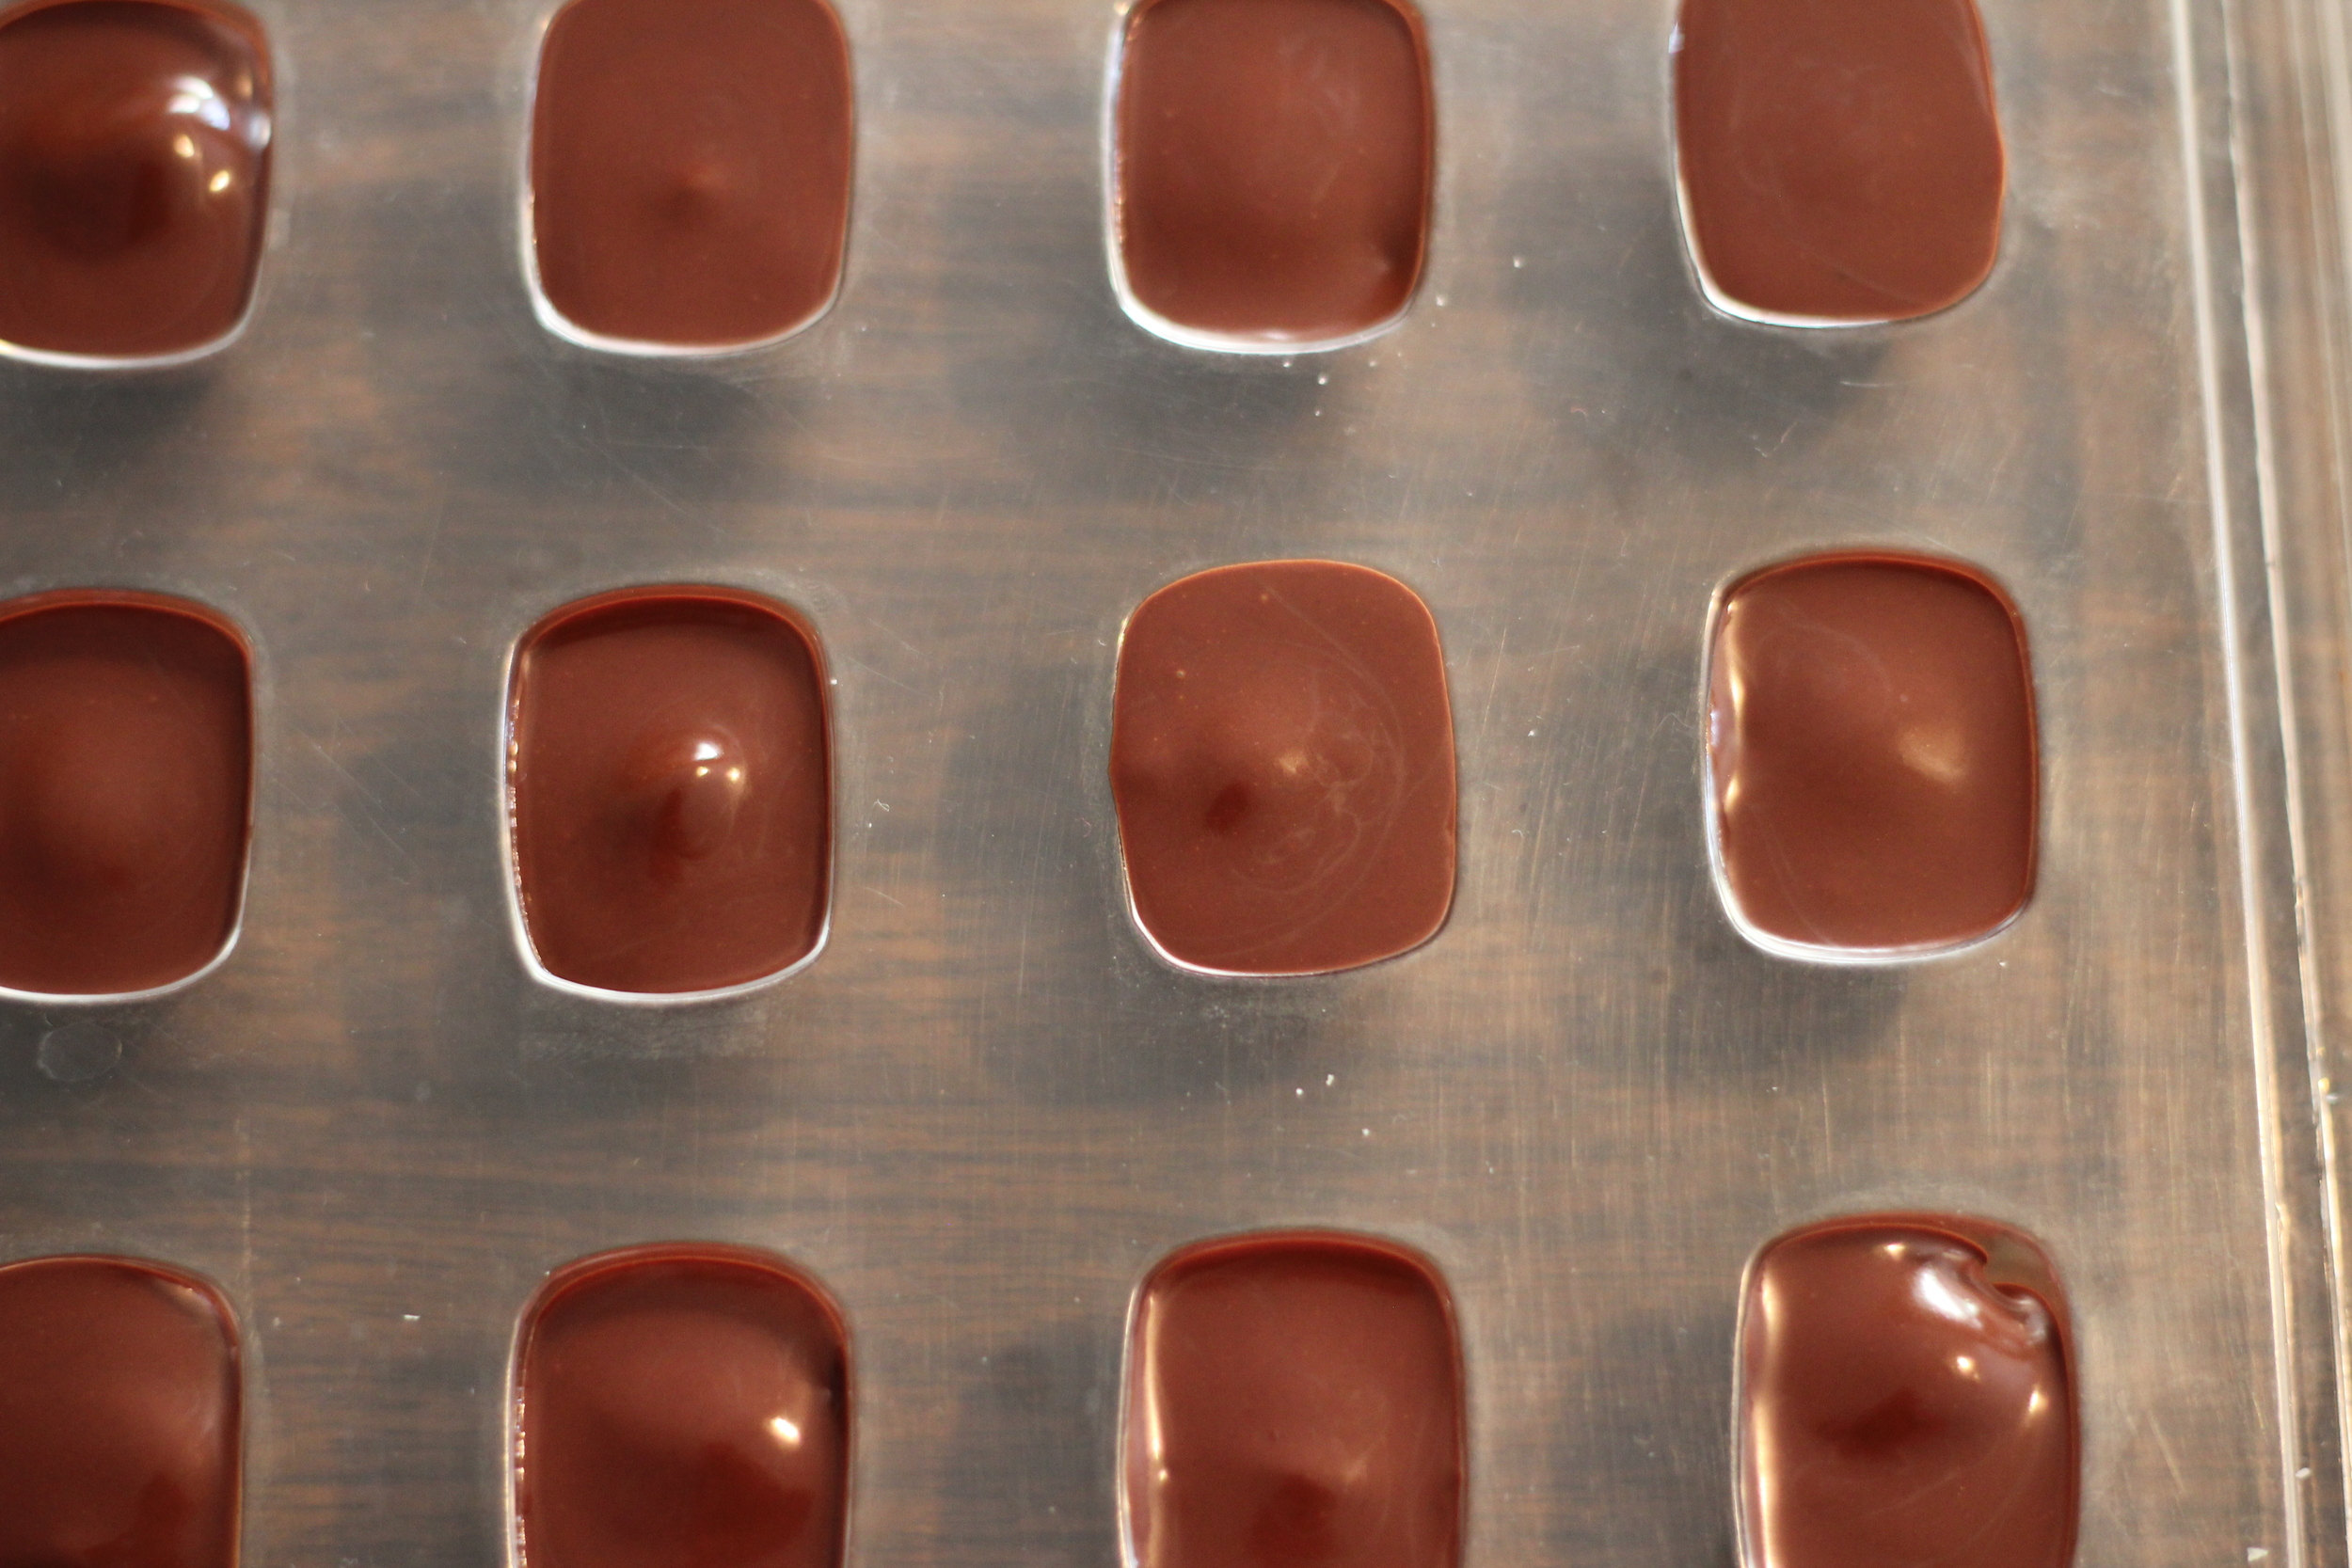
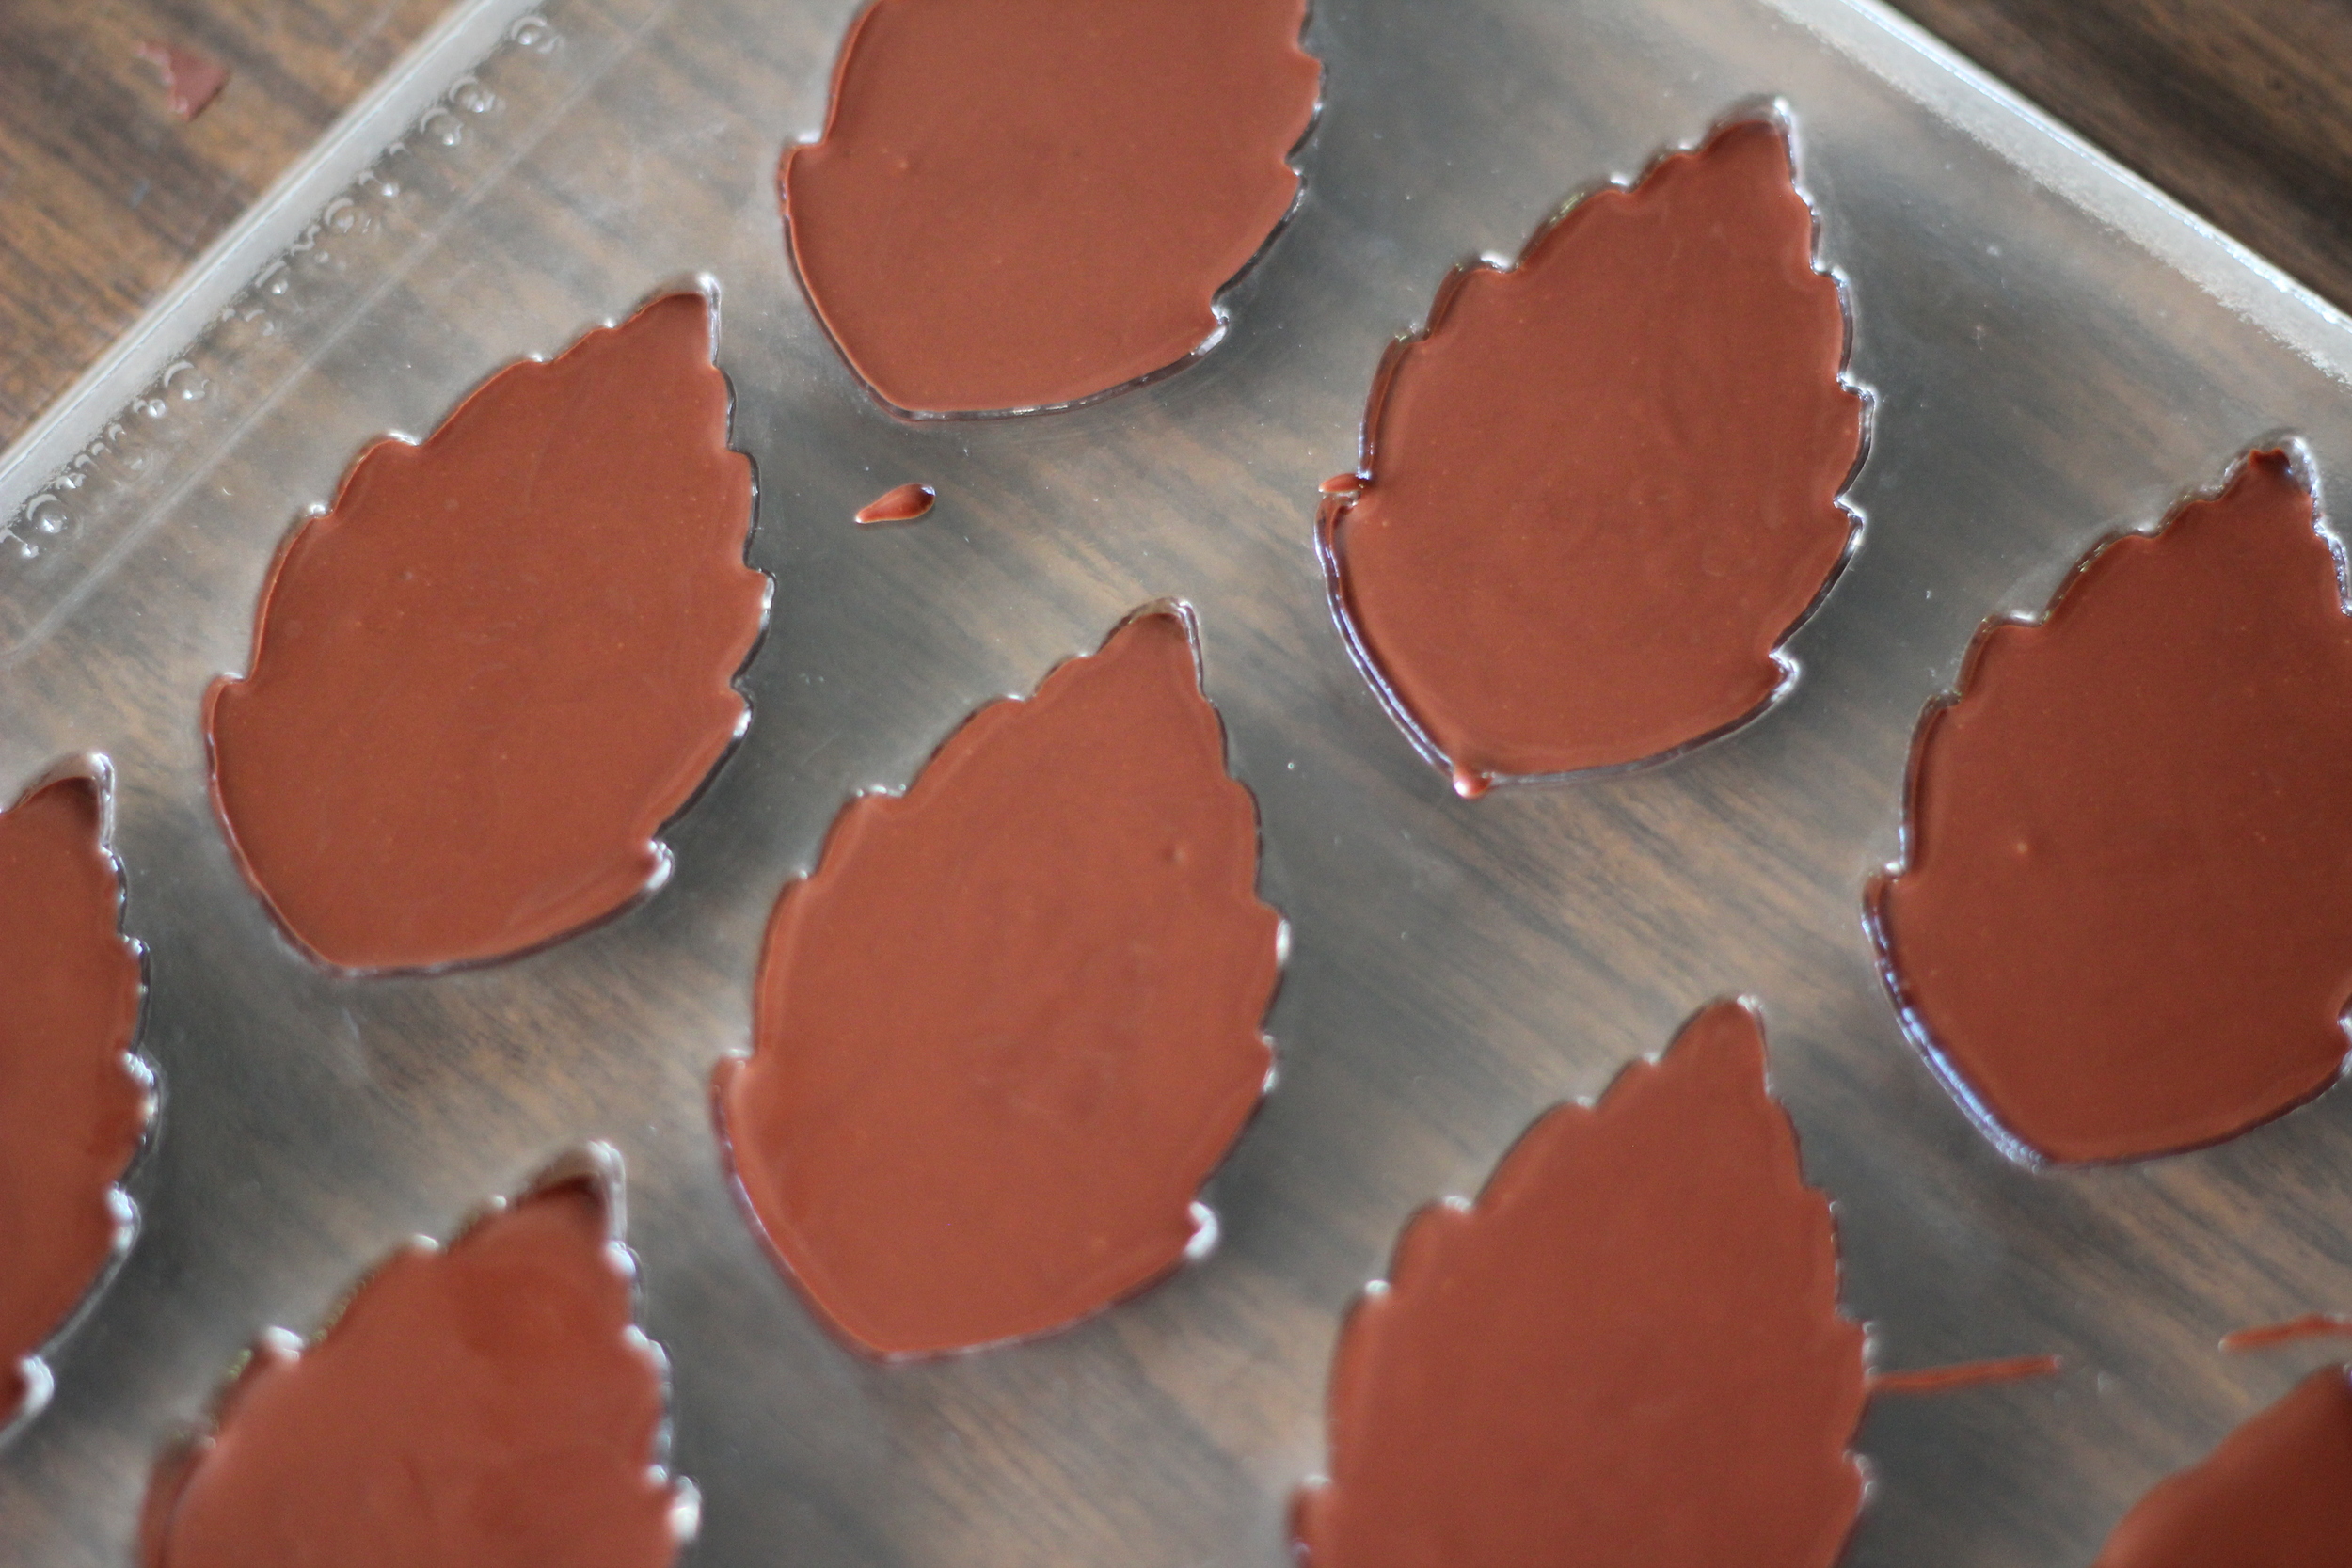
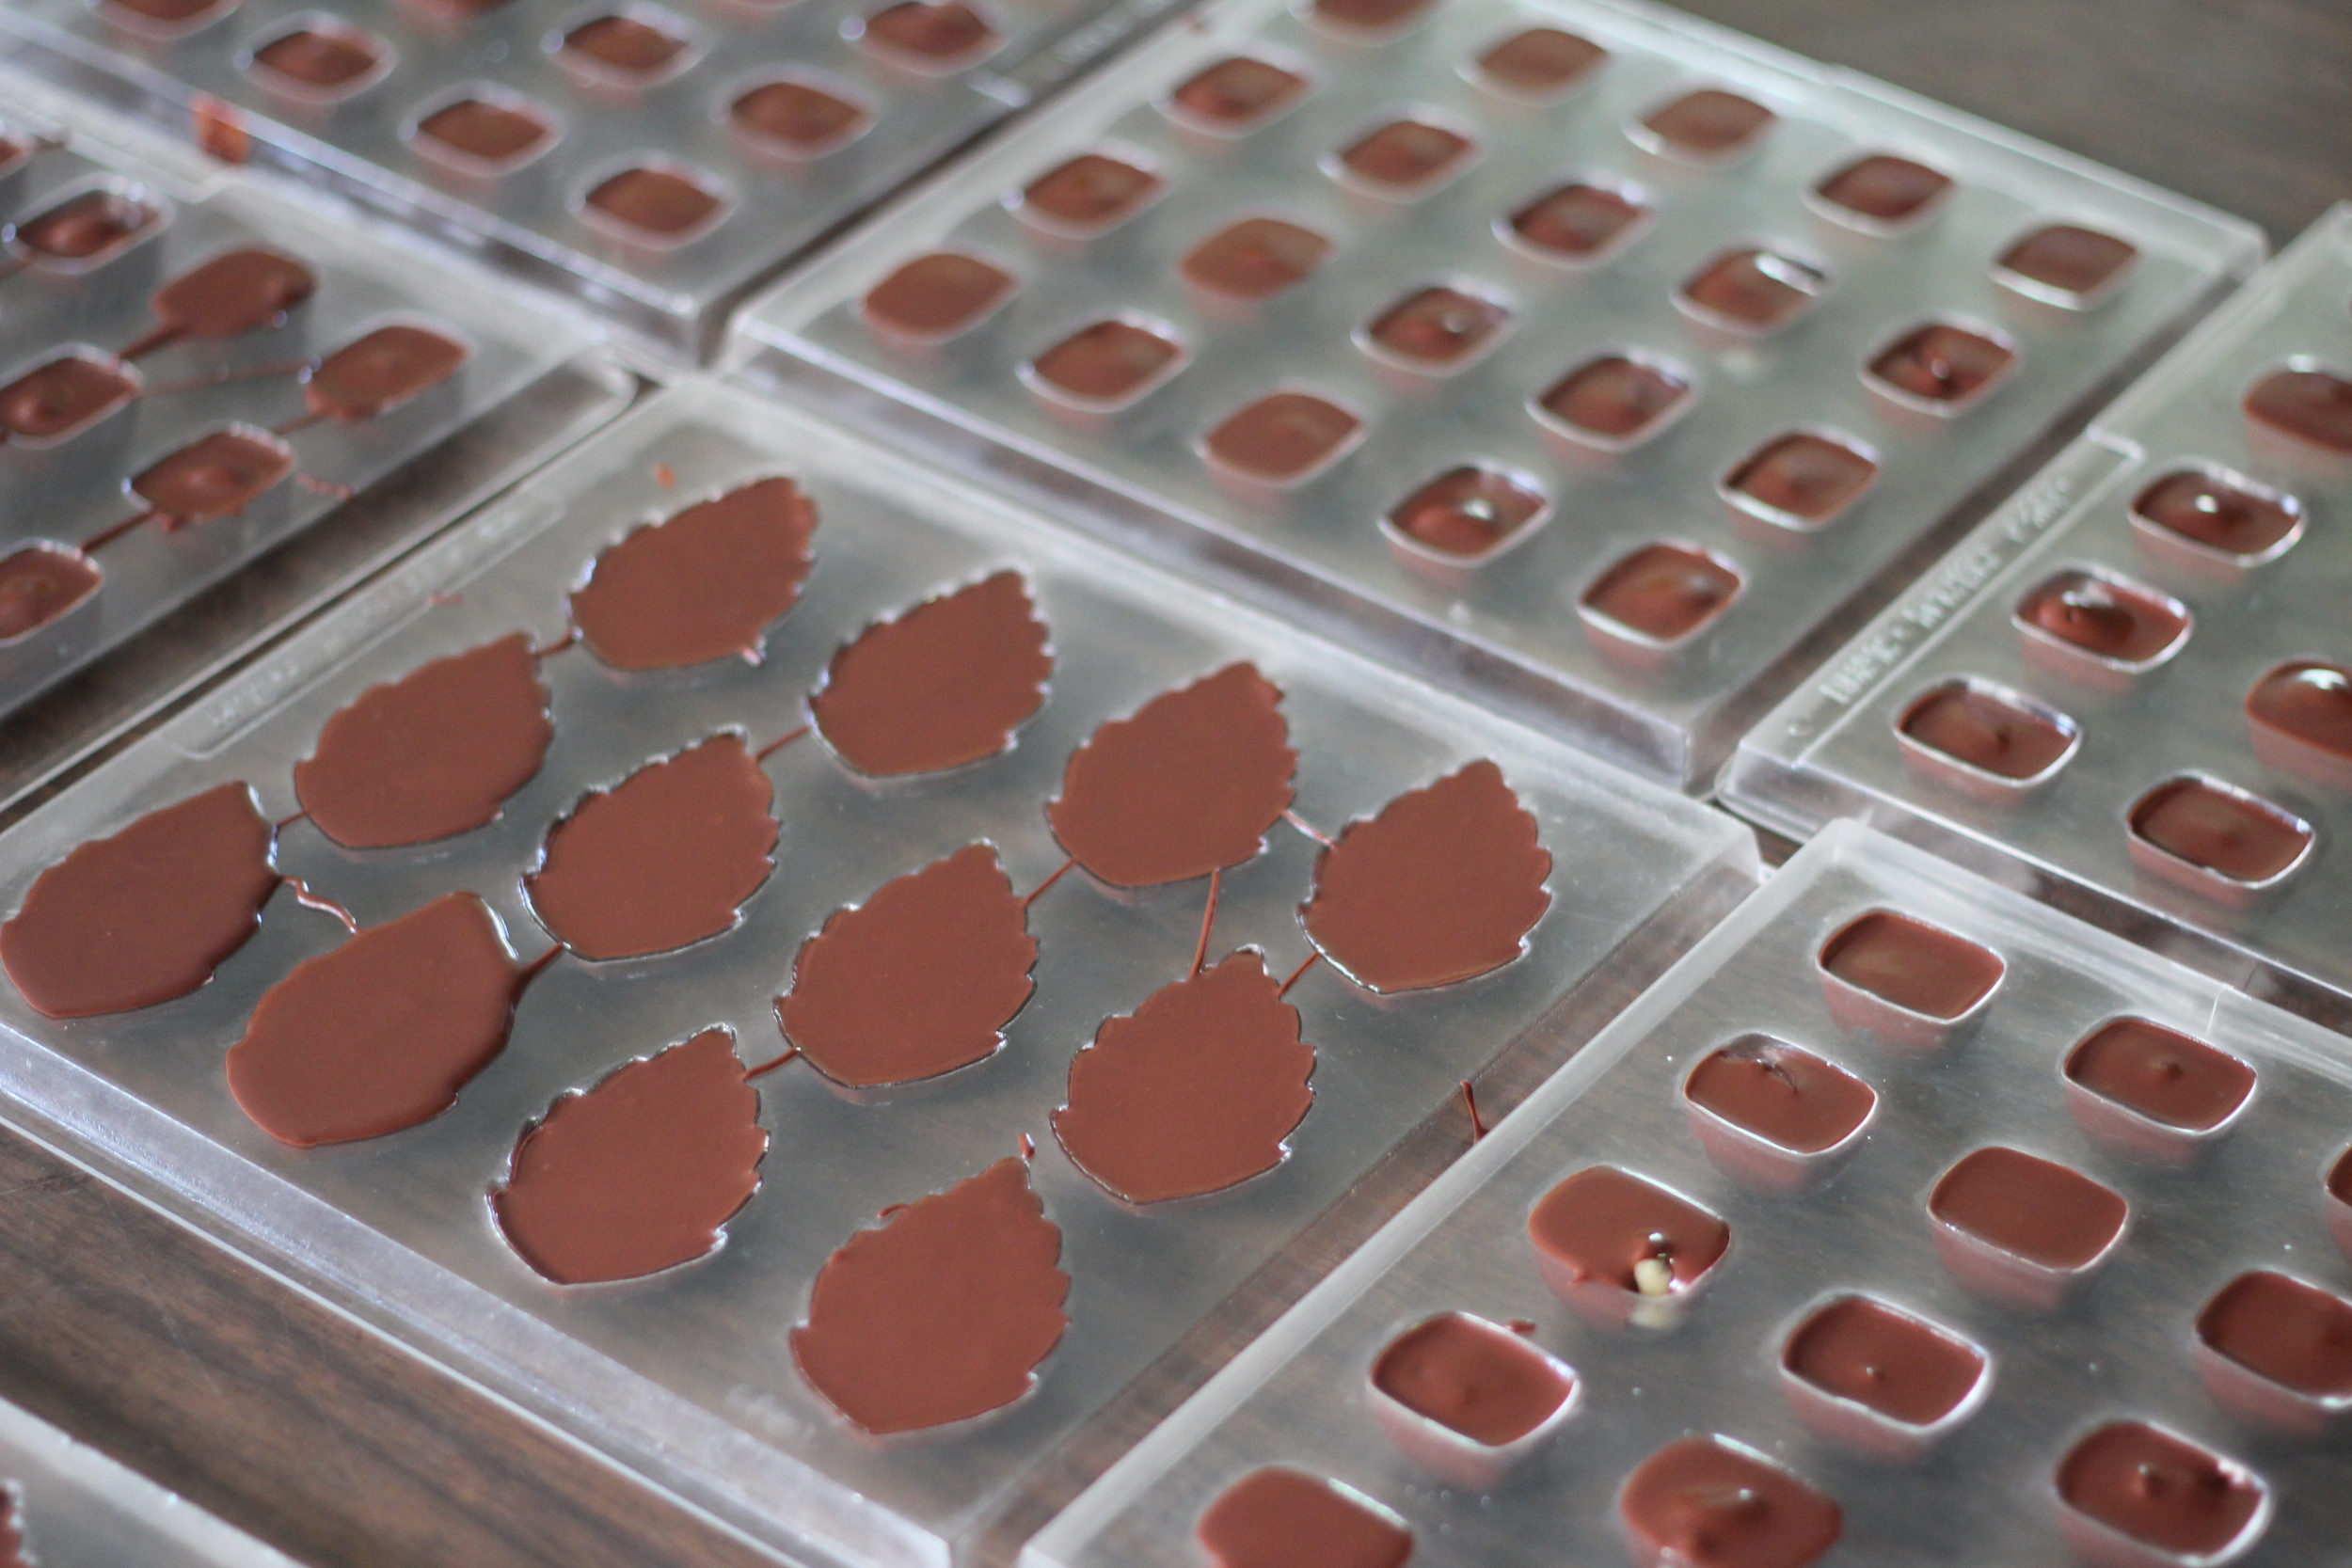
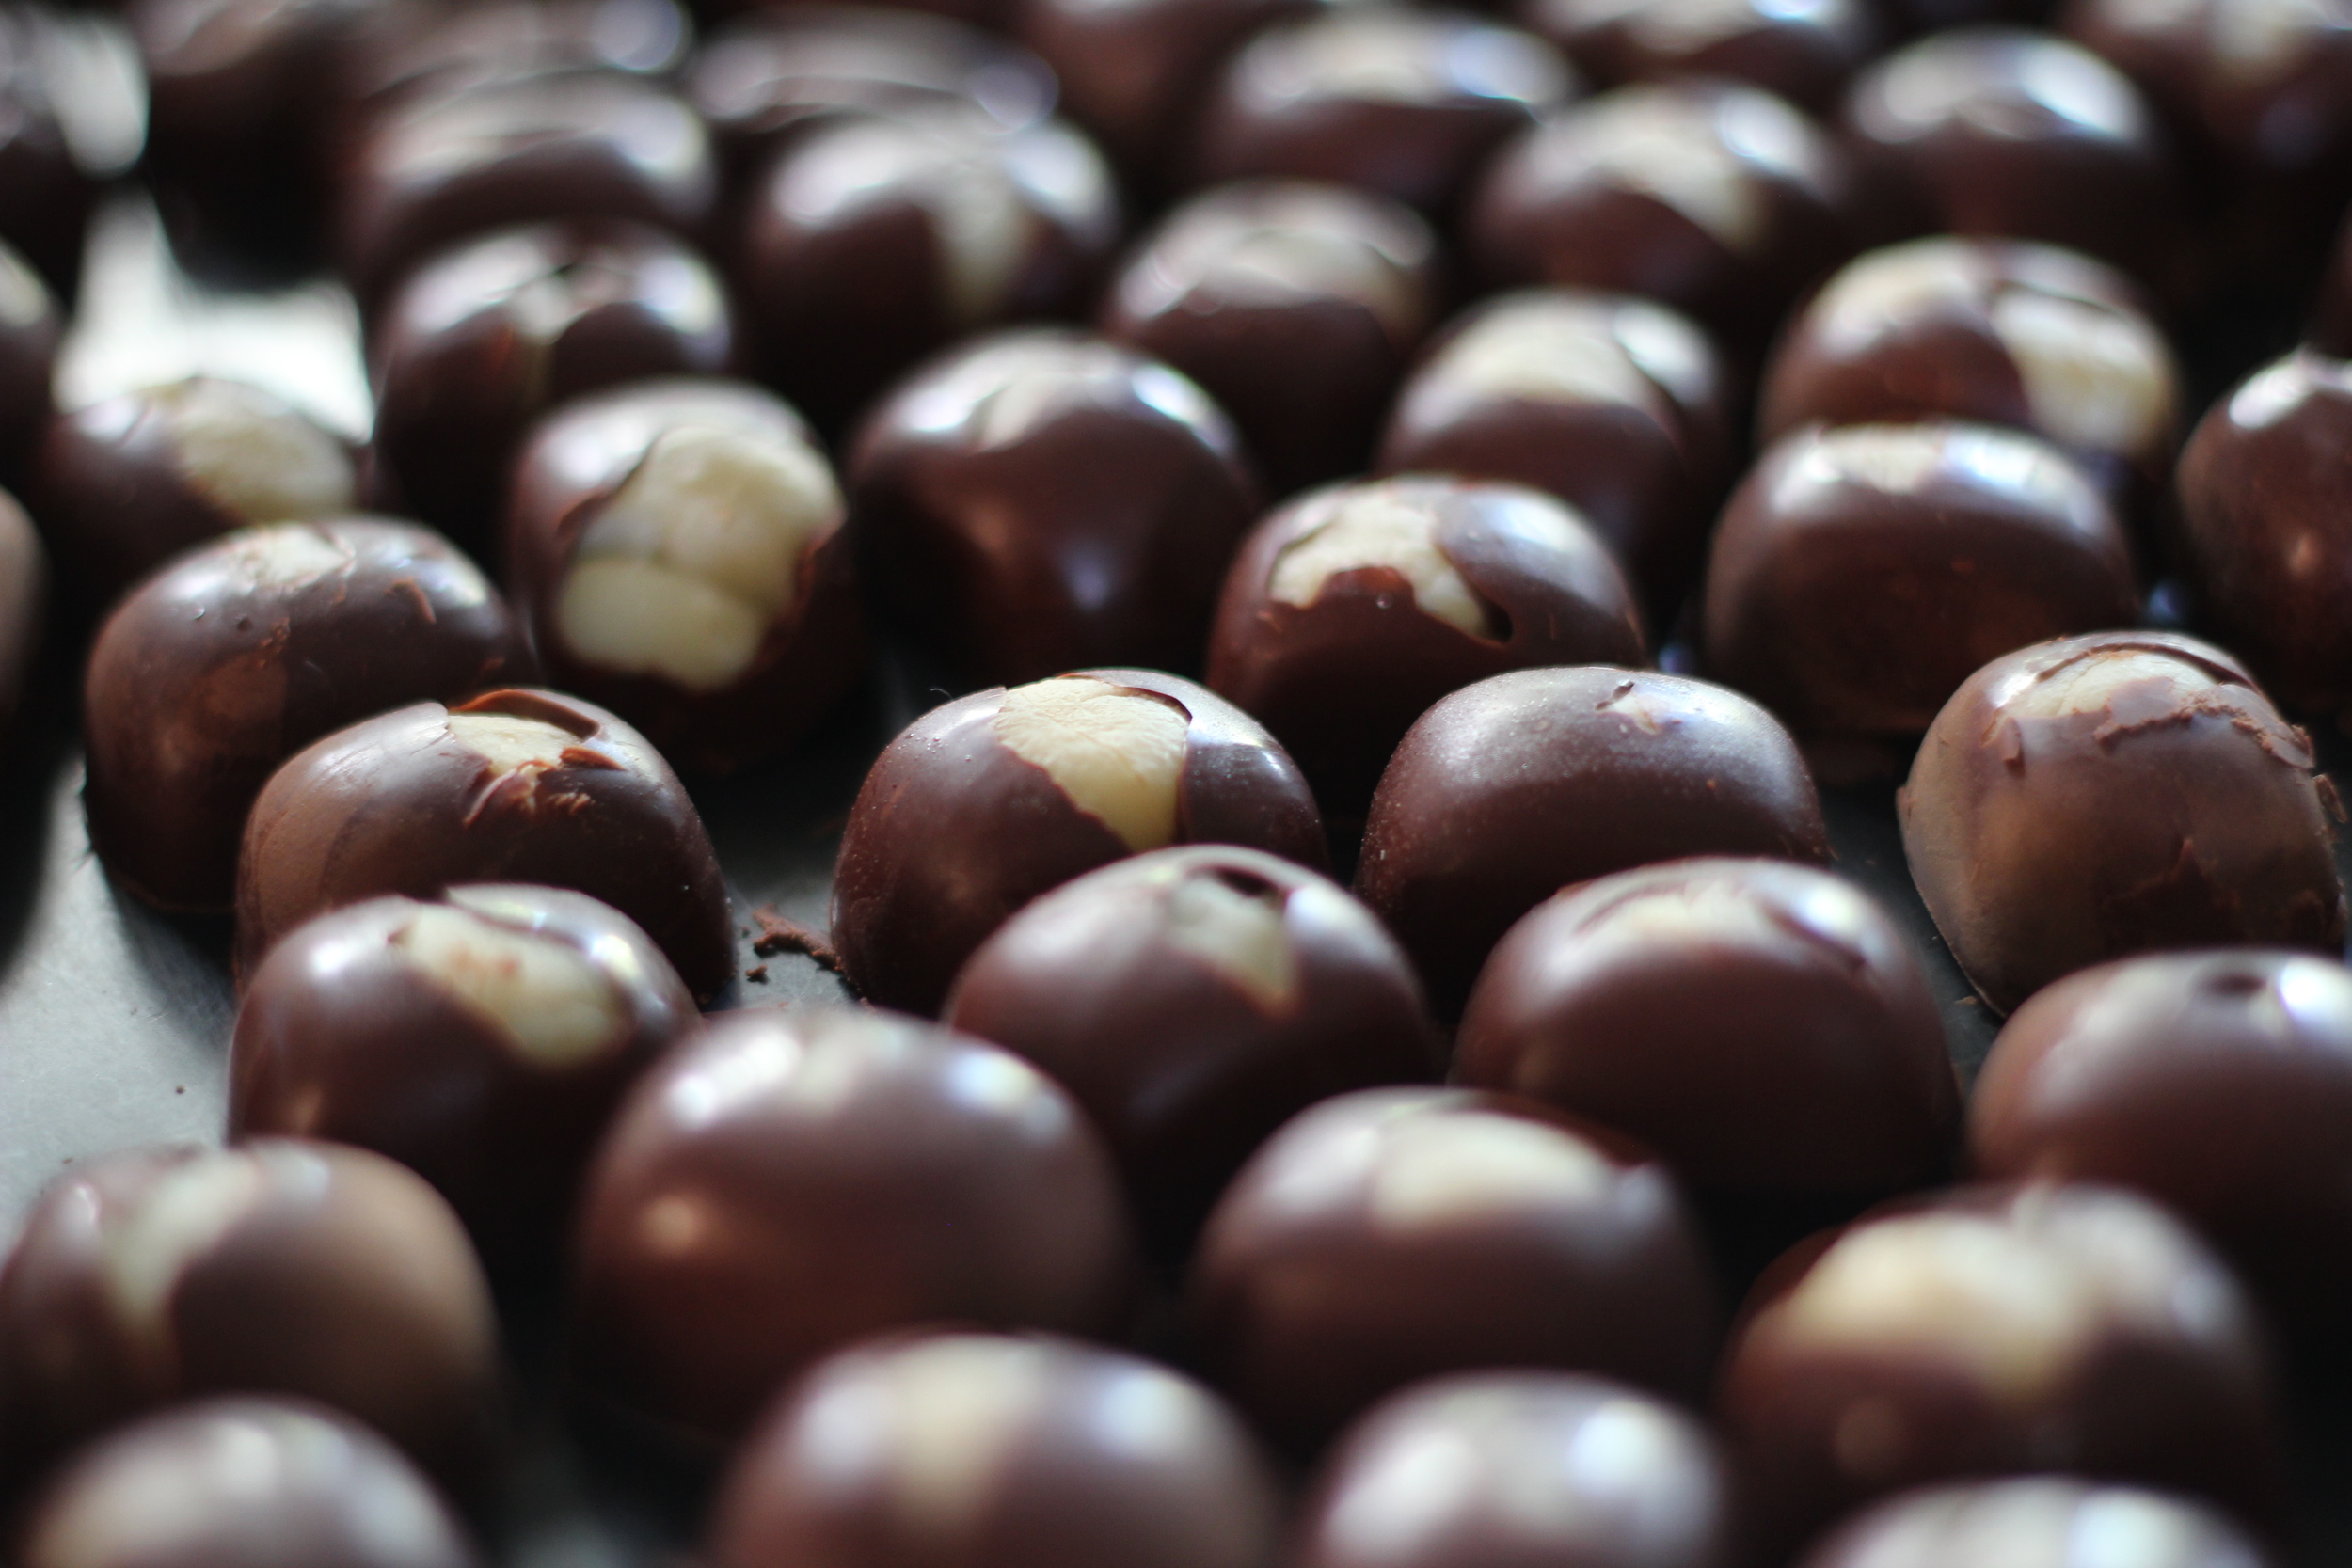
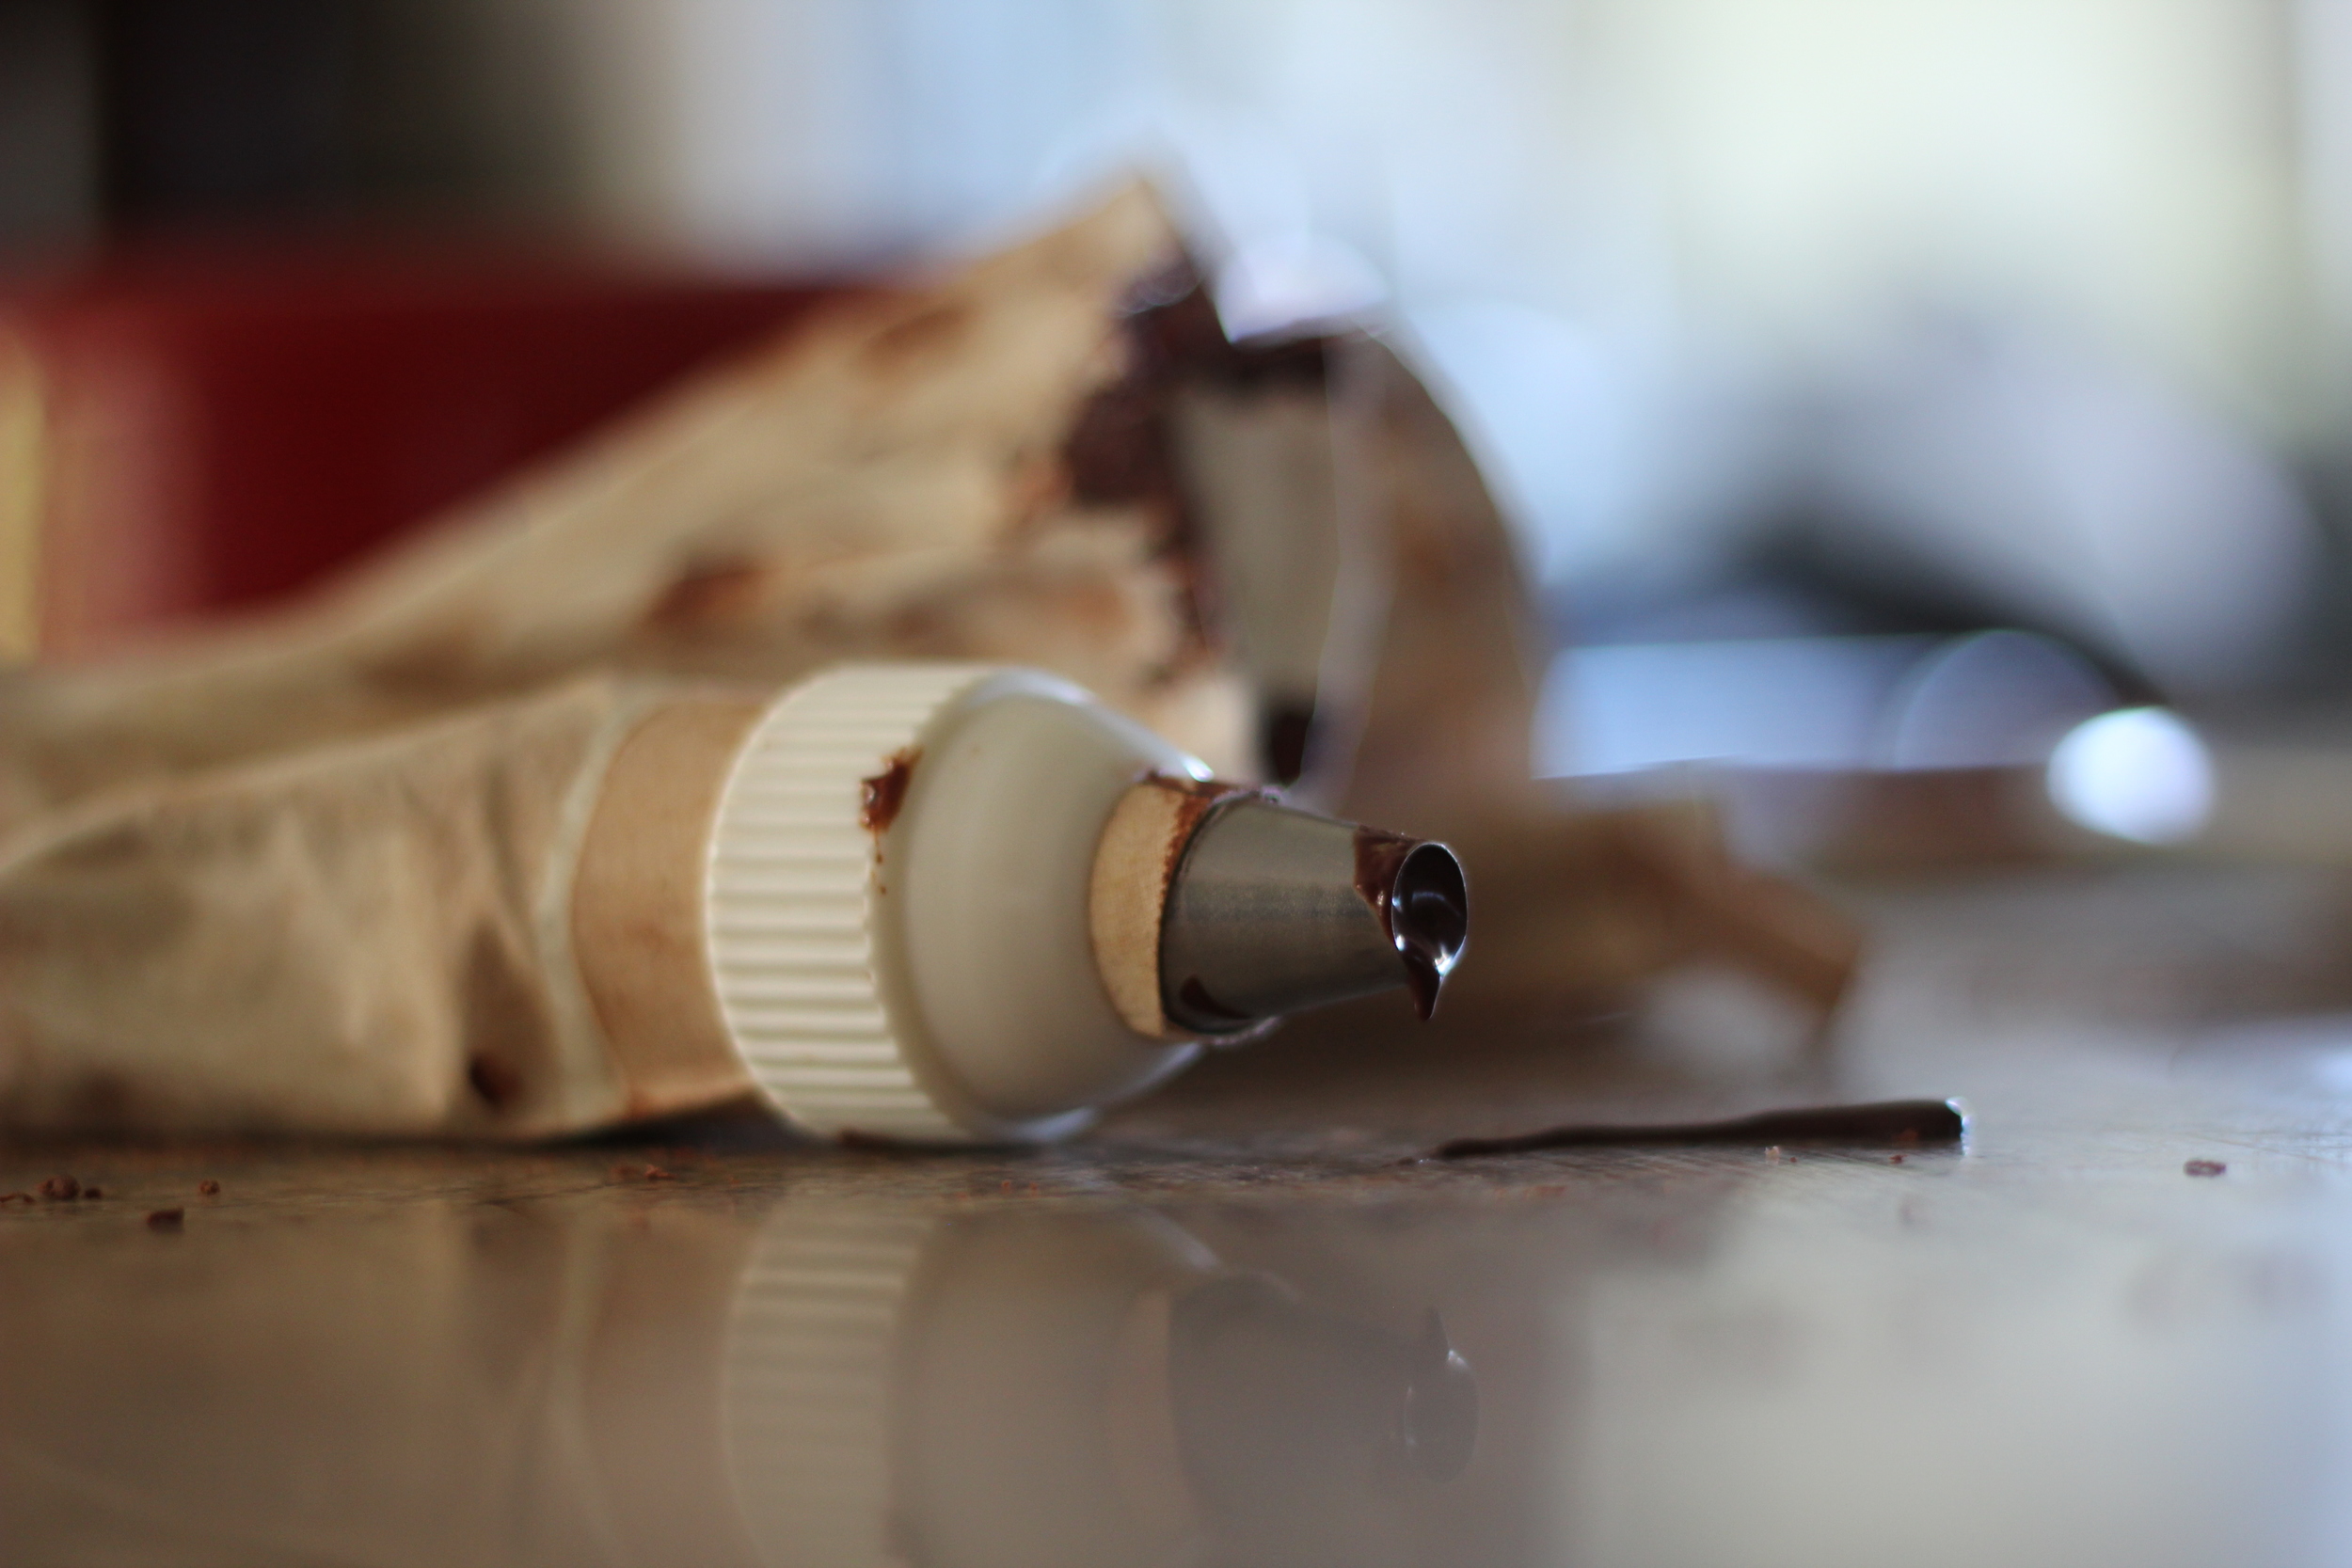
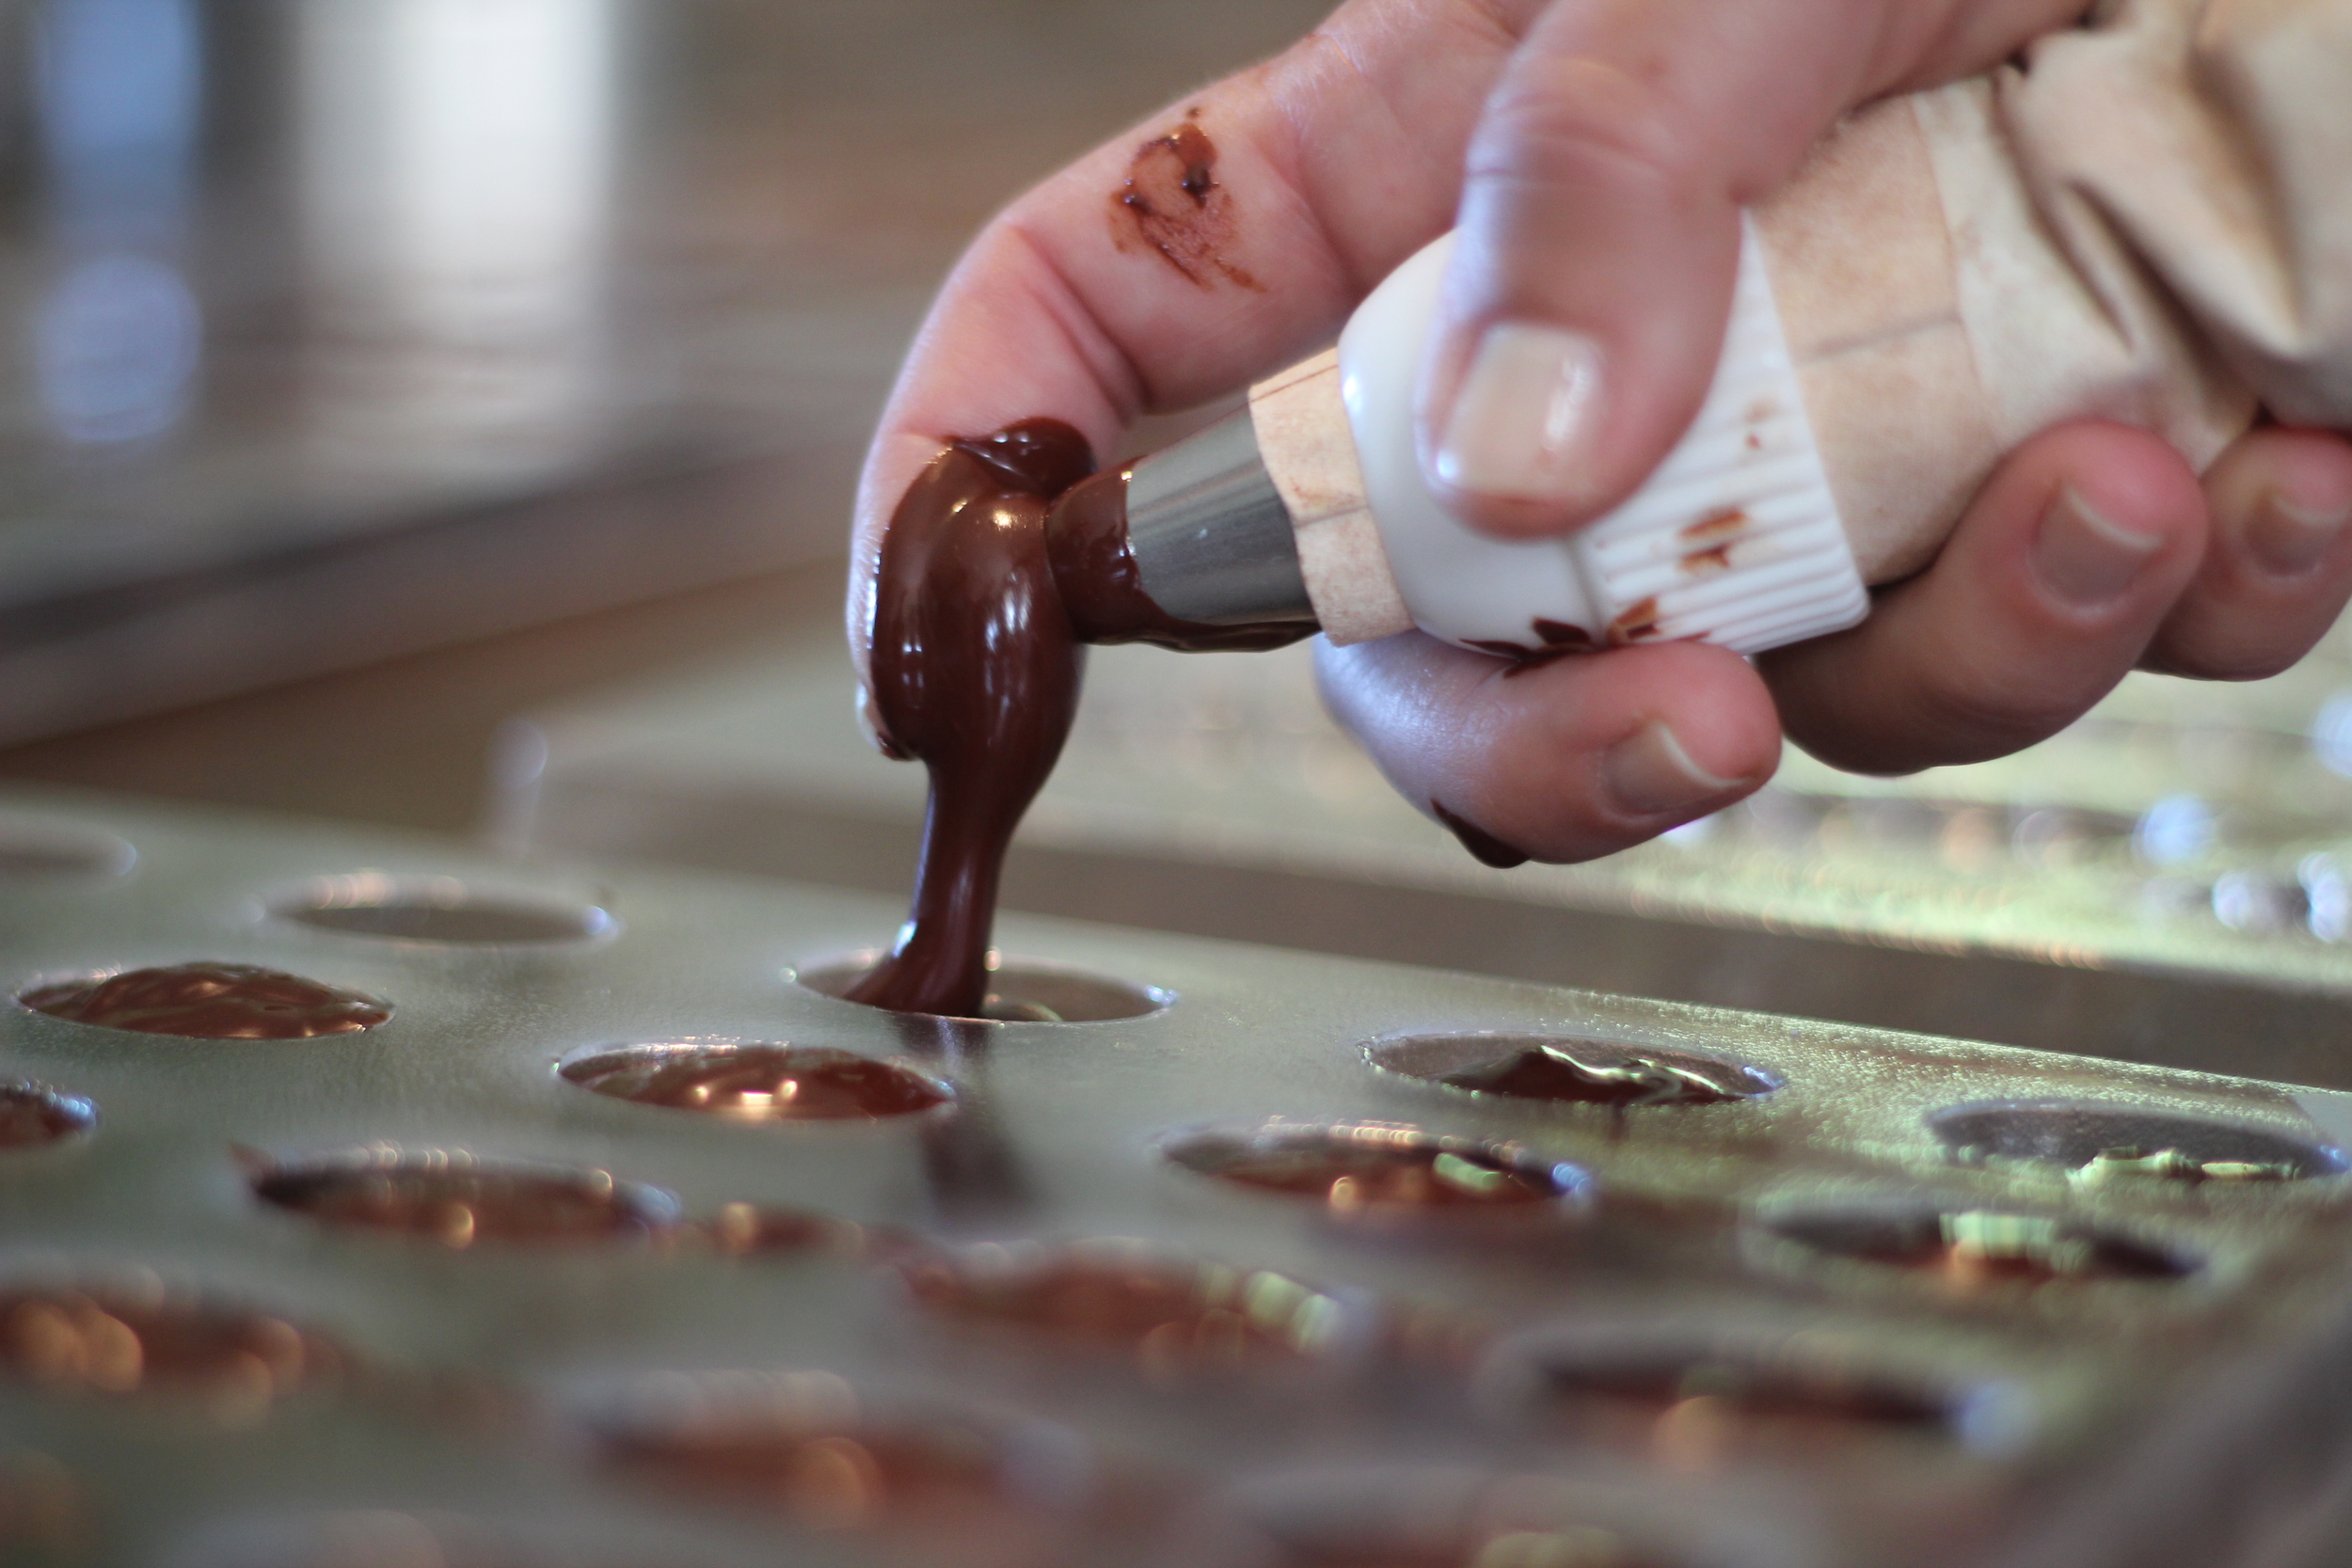
This is the MOST FUN PART! We pour the tempered chocolate into a pastry piping bag (keeping finger tightly on the end!) and then pipe the chocolate into the molds. We had already prepped the molds with our own roasted coffee beans and macadamia nuts. I absolutely love the preciseness required for this task - my perfectionist tendencies found their outlet!
IMG_4247.JPG
IMG_4226.JPG
IMG_4229.JPG
IMG_4223.JPG
IMG_4232.JPG
IMG_4233.JPG
IMG_4236.JPG
IMG_4247.JPG IMG_4226.JPG IMG_4229.JPG IMG_4223.JPG IMG_4232.JPG IMG_4233.JPG IMG_4236.JPG

step 8: pop & package

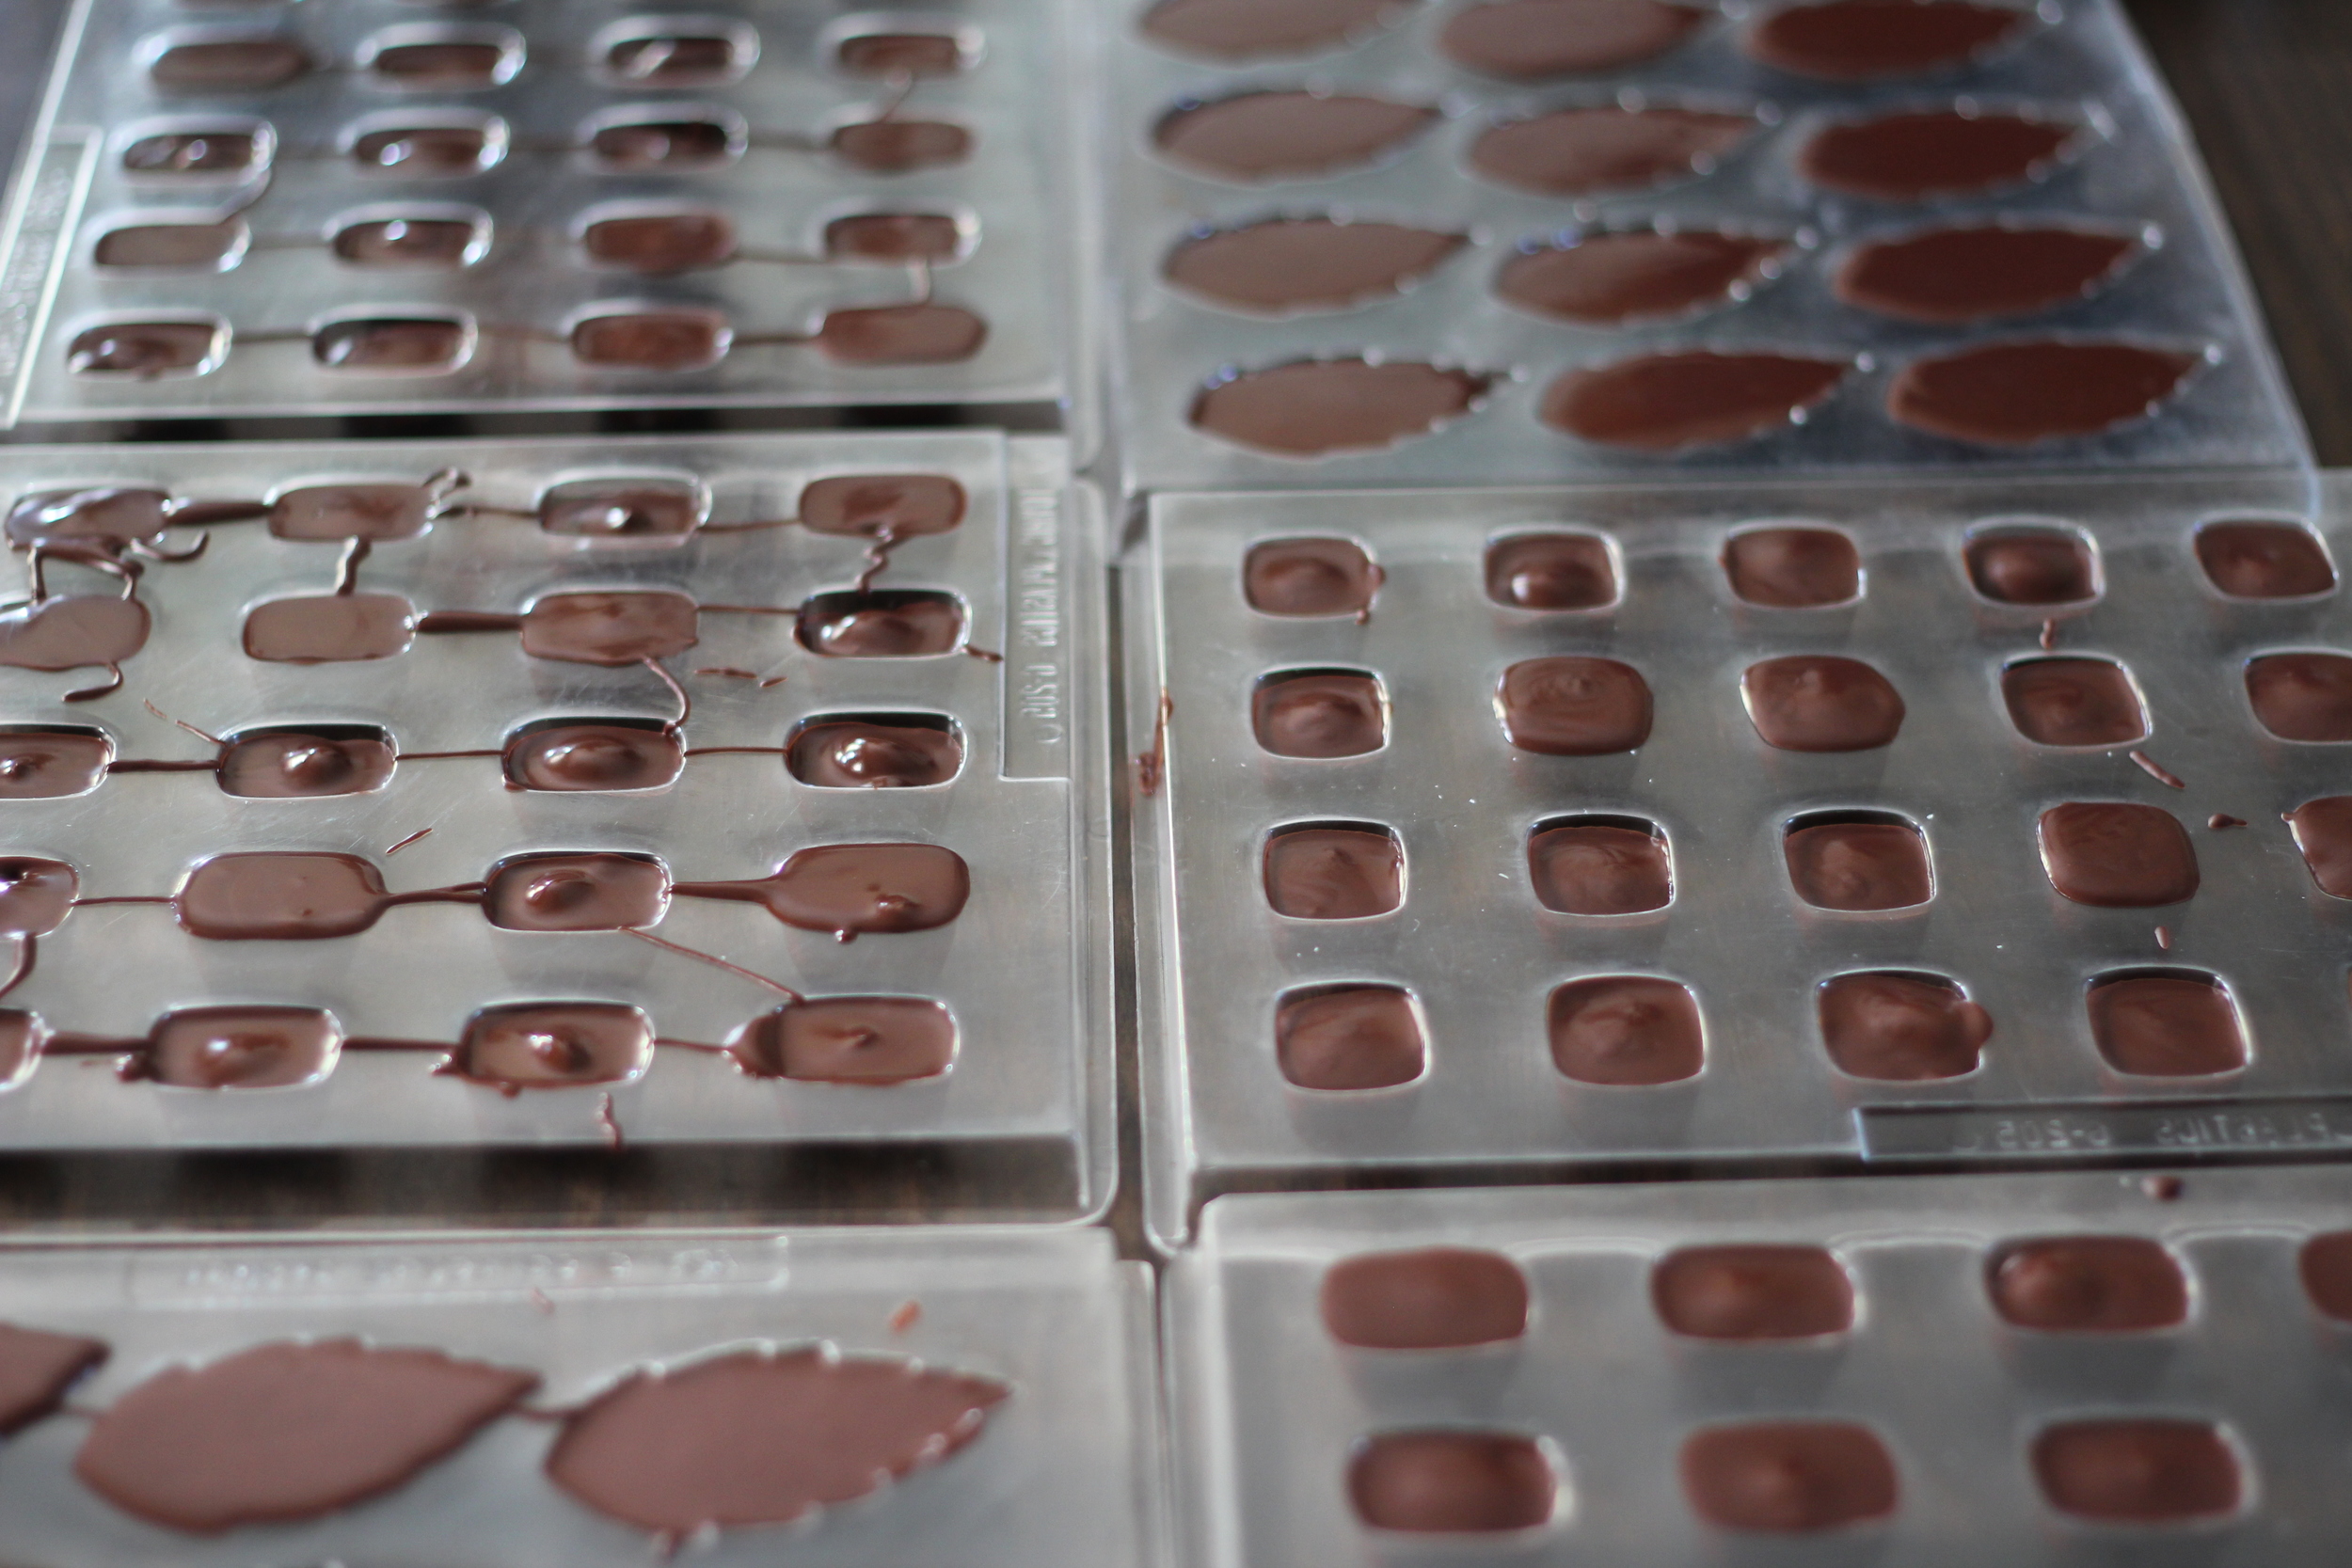
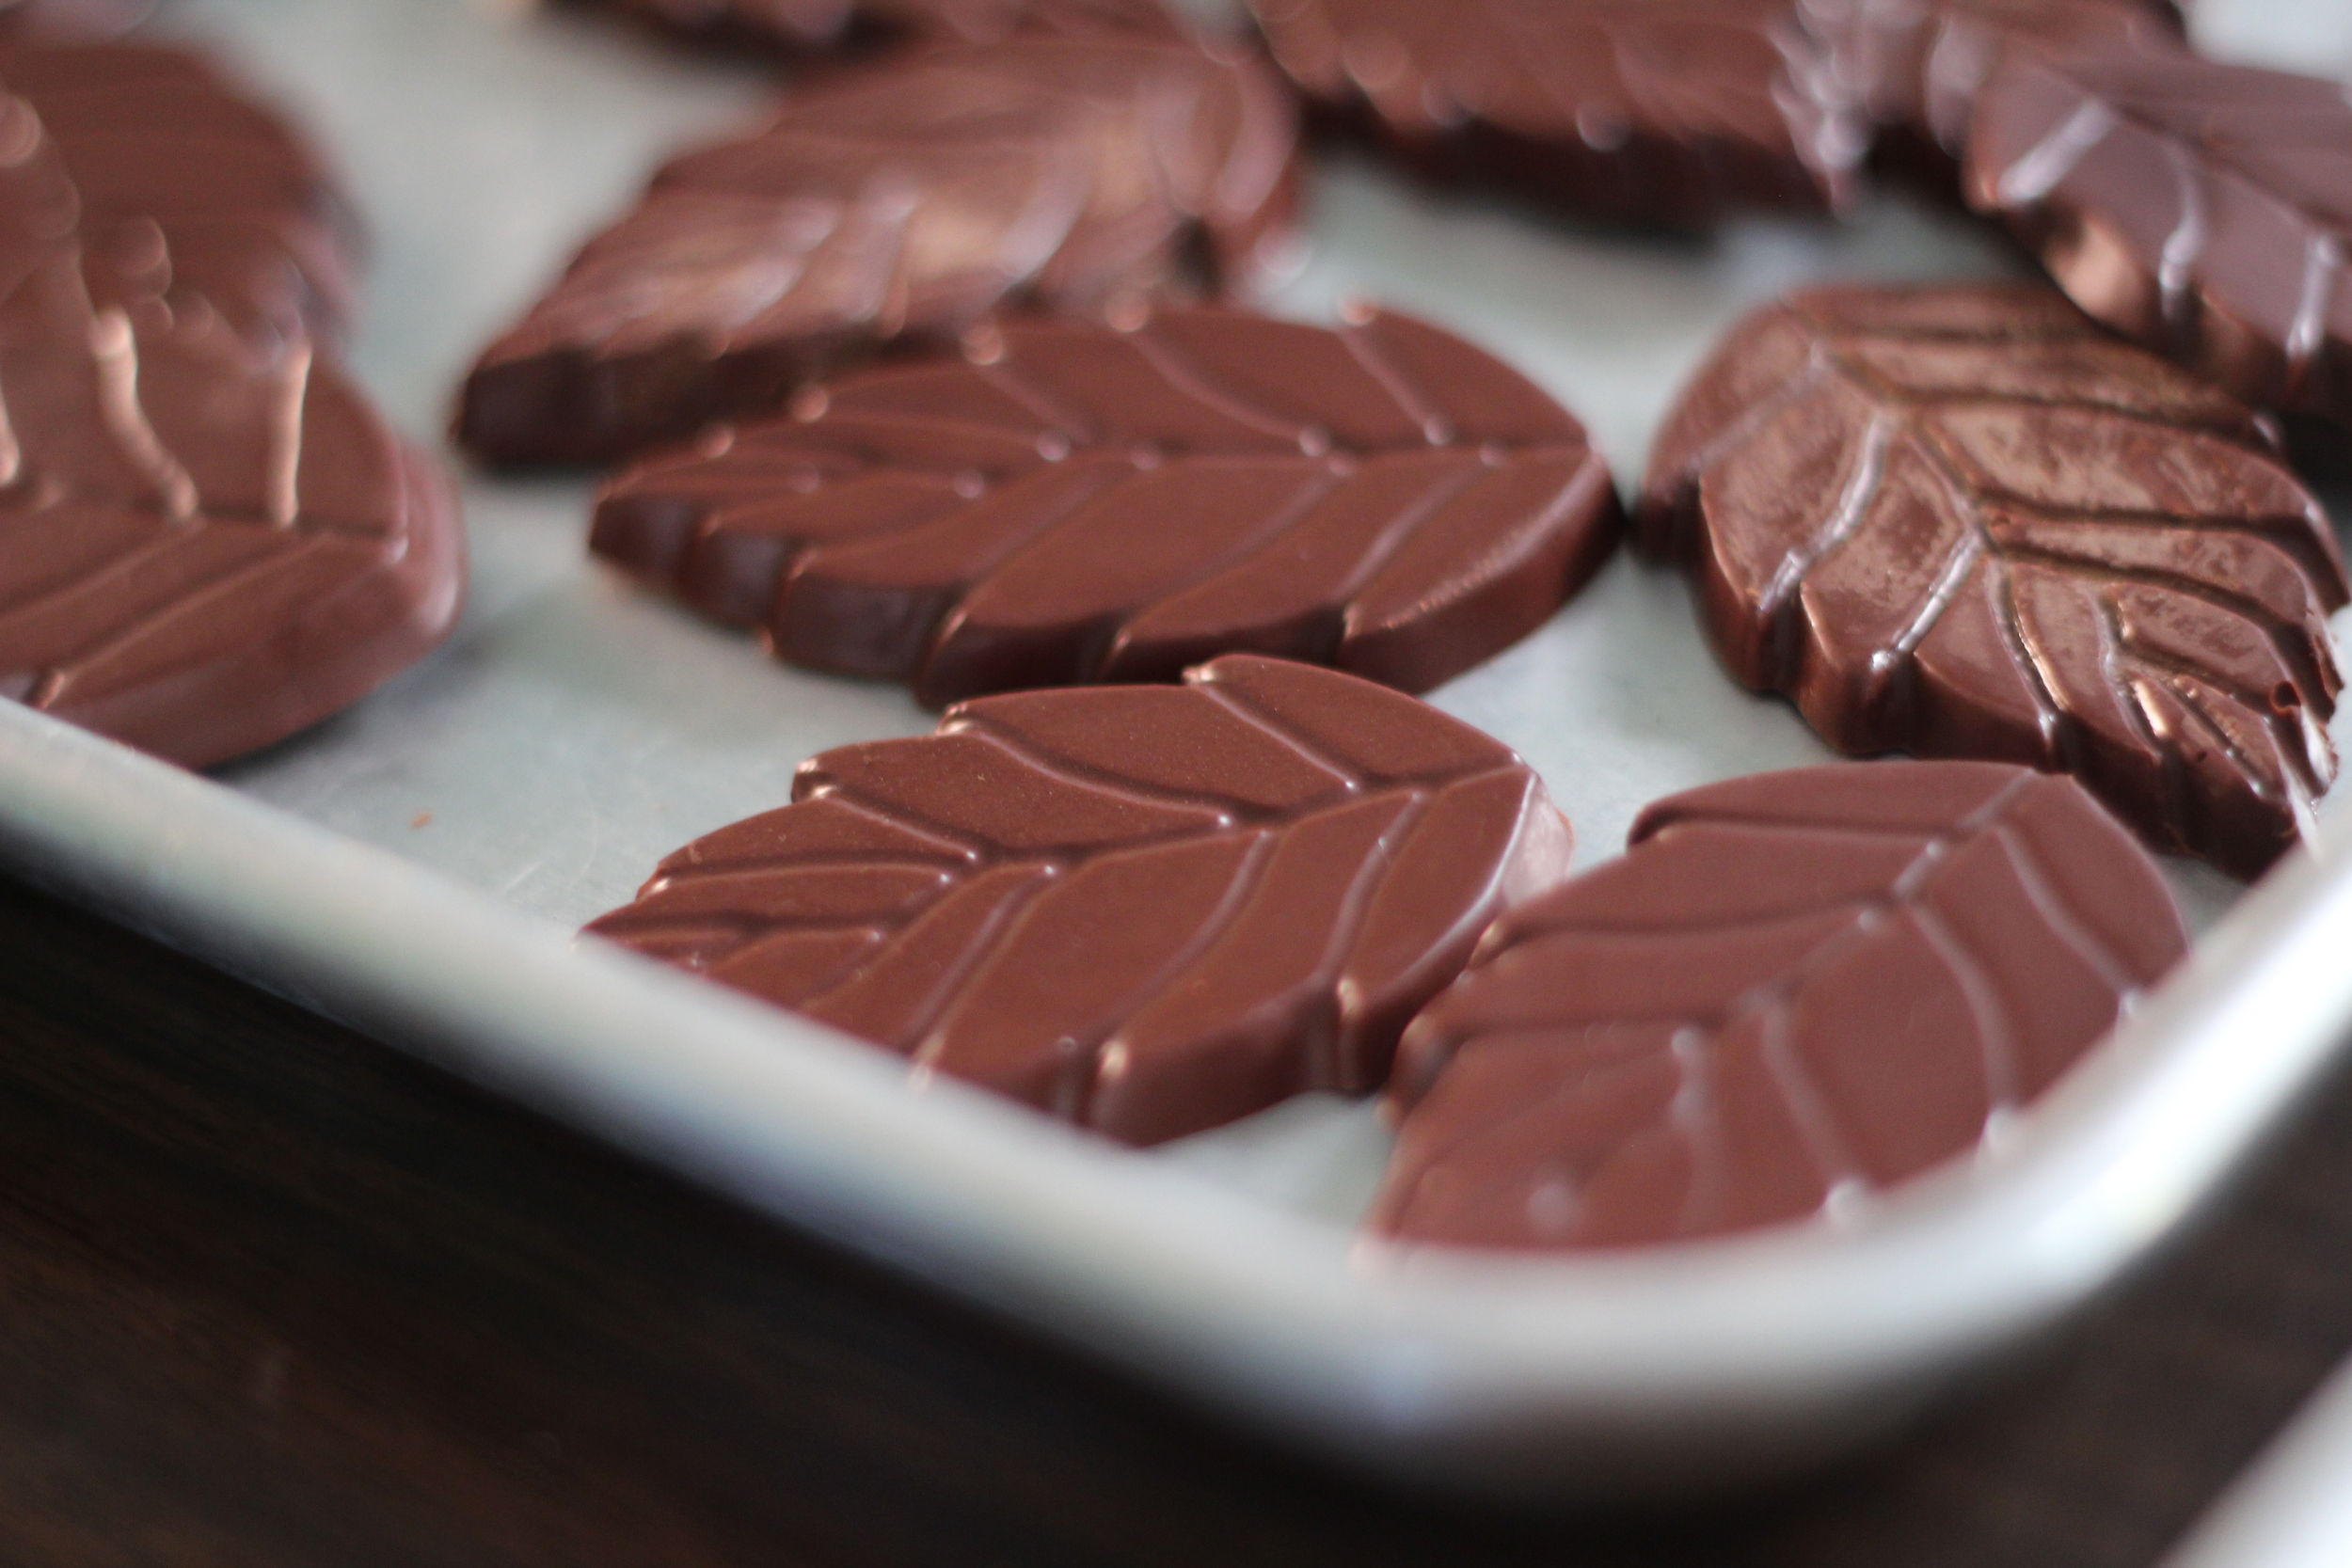
Finally, after a few hours, we pop the chocolates out of the molds, wrap up the bars, pop the specialty ones into bags and call it a day!

IMG_4253.JPG
IMG_4259.JPG
IMG_4258.JPG

And last but not least - our "cleanup" treats for day 2 are...

THE MOST DELICIOUS CHOCOLATE MILK made by cleaning out the piping bag and...

Chocolate covered dried bananas made by swiping the extra chocolate out of all the bowls. YUM.

And now, my chocolate conclusions! Congruent with most of my realizations here on the farm - making chocolate from scratch is HARD WORK! You need special equipment that you would only use for chocolate making, and if one thing goes wrong, you might lose your whole batch (for example - we had an issue with the melanger and ended up spending an hour looking for spare parts from friends and in the hardware store. If we wouldn't have found a solution we would have wasted all that cacao!). 

Despite the work, chocolate is simply MAGICAL and I can see why people become chocolatiers. I could have piped into those molds all day - I couldn't get enough! This is definitely my favorite thing we've done on the farm. The smell alone is enough to make you happy all day long. Hope you enjoyed this, and stay tuned for the next installment in my "educational" type posts: coffee picking and processing!

PS. To my professional and/or pastry friends who may be reading this, I apologize if I got any of the terms wrong and please correct me if I did! Thank you!


In {garlic press} adventures
2 Comments
cacao pods, not yet ripe

cacao pods, not yet ripe

the making of chocolate, part one: cacao harvest and processing

October 8, 2015

In preschool, I thought I didn't like chocolate because my best friend Anna didn't. We only liked it in the form of chocolate covered popcorn and pretzels. Luckily this phase didn't last too long. I don't remember exactly when I realized my taste buds diverged from Anna's, but I do remember when I started to truly appreciate the wonder of high-quality chocolate. It was my junior year of college in my "Anthropology of French Food" class. Yes, the class was as amazing as it sounds. The syllabus was divided into bread, cheese, wine, and chocolate, and we read a book about each. For the chocolate section, my professor conducted a long and involved tasting of different brands of dark chocolate with different cacao percentages. I remember her instructing us to let the chocolate melt on our tongues versus chewing it - to better appreciate the flavor and help us savor it as the French would.

In the further development of my chocolate education, I've since taken a chocolate-making class while on vacation in Peru, and toured the amazing Dandelion Chocolate - a "bean to bar" chocolate factory in San Francisco. So, before coming to Hawaii I knew at least a little bit about chocolate-making, though almost nothing about cacao harvest and processing.  

Here at Kuaiwi Farm where I'm WWOOFing in Hawaii, we grow AND make our own chocolate - cacao seed to mature pod to chocolate bar. The process is lengthy, but has definitely been the most interesting (and rewarding) thing I've done here so far. The surprises and treats along the way are the kind you only get when you're doing the hard work of making this stuff yourself from start to finish. 

Below I'll outline the process from pod to dried beans. (And I'll follow up with the beans-to-bar process in a coming post):

step 1: harvest

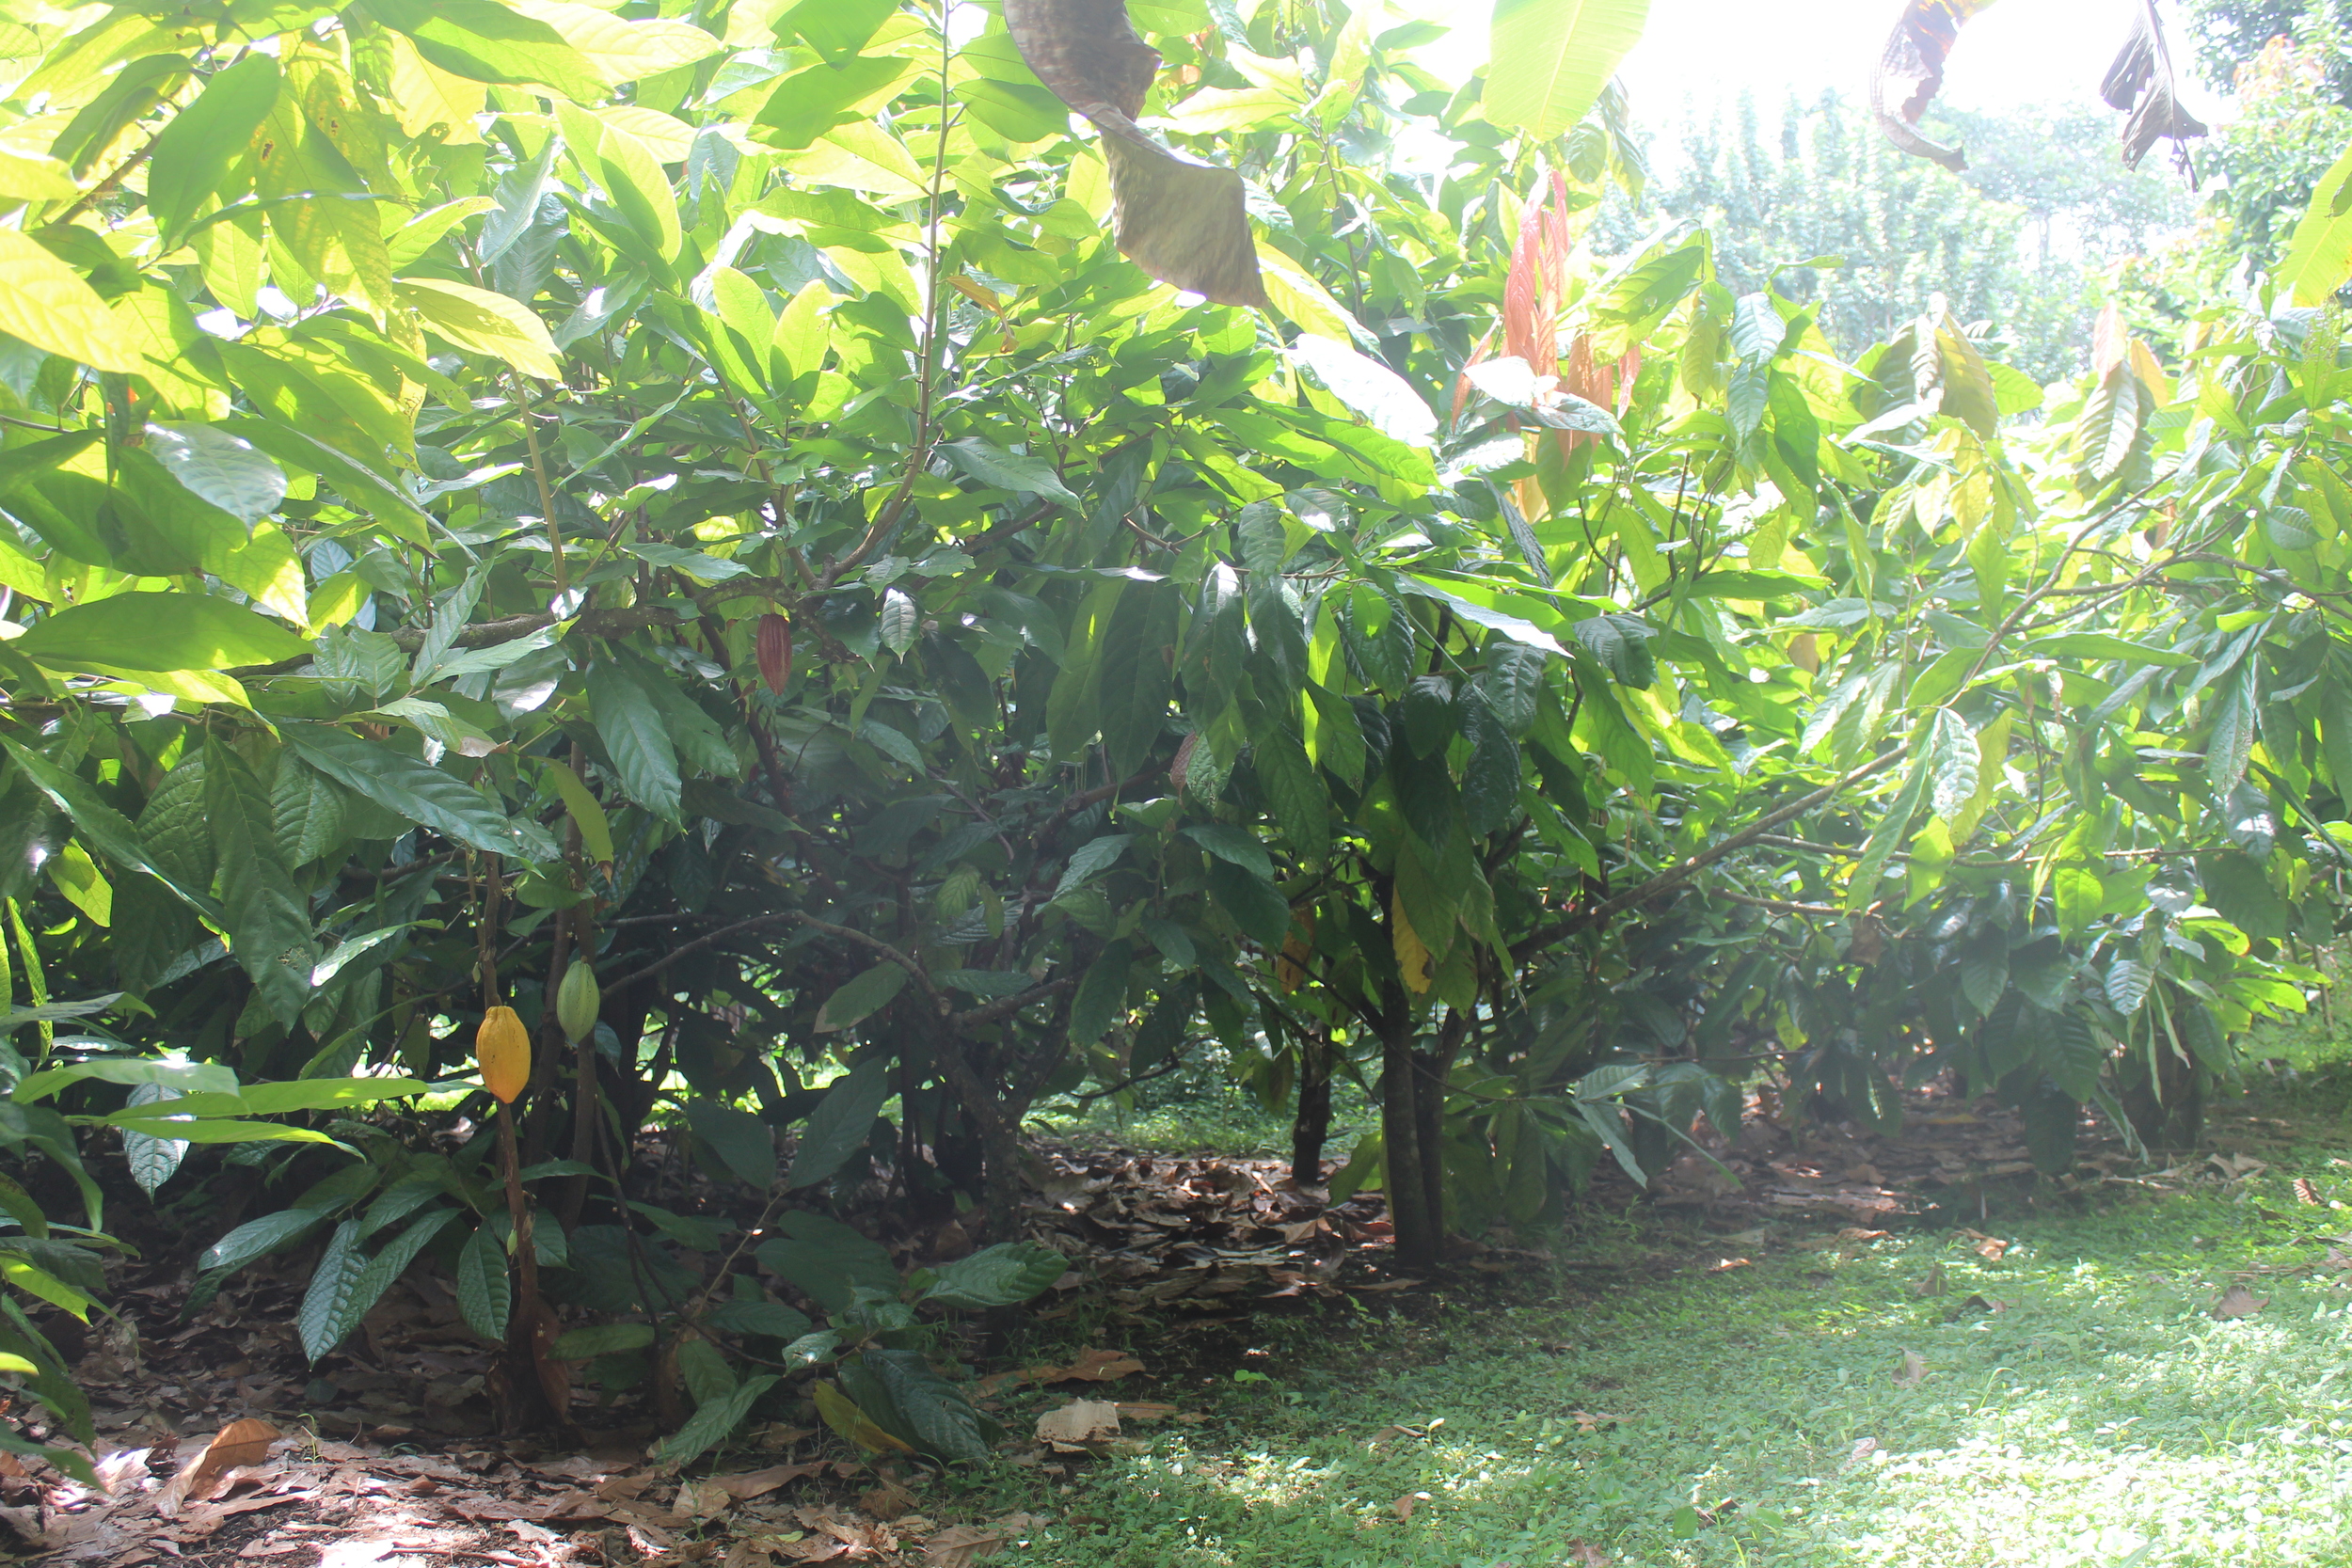
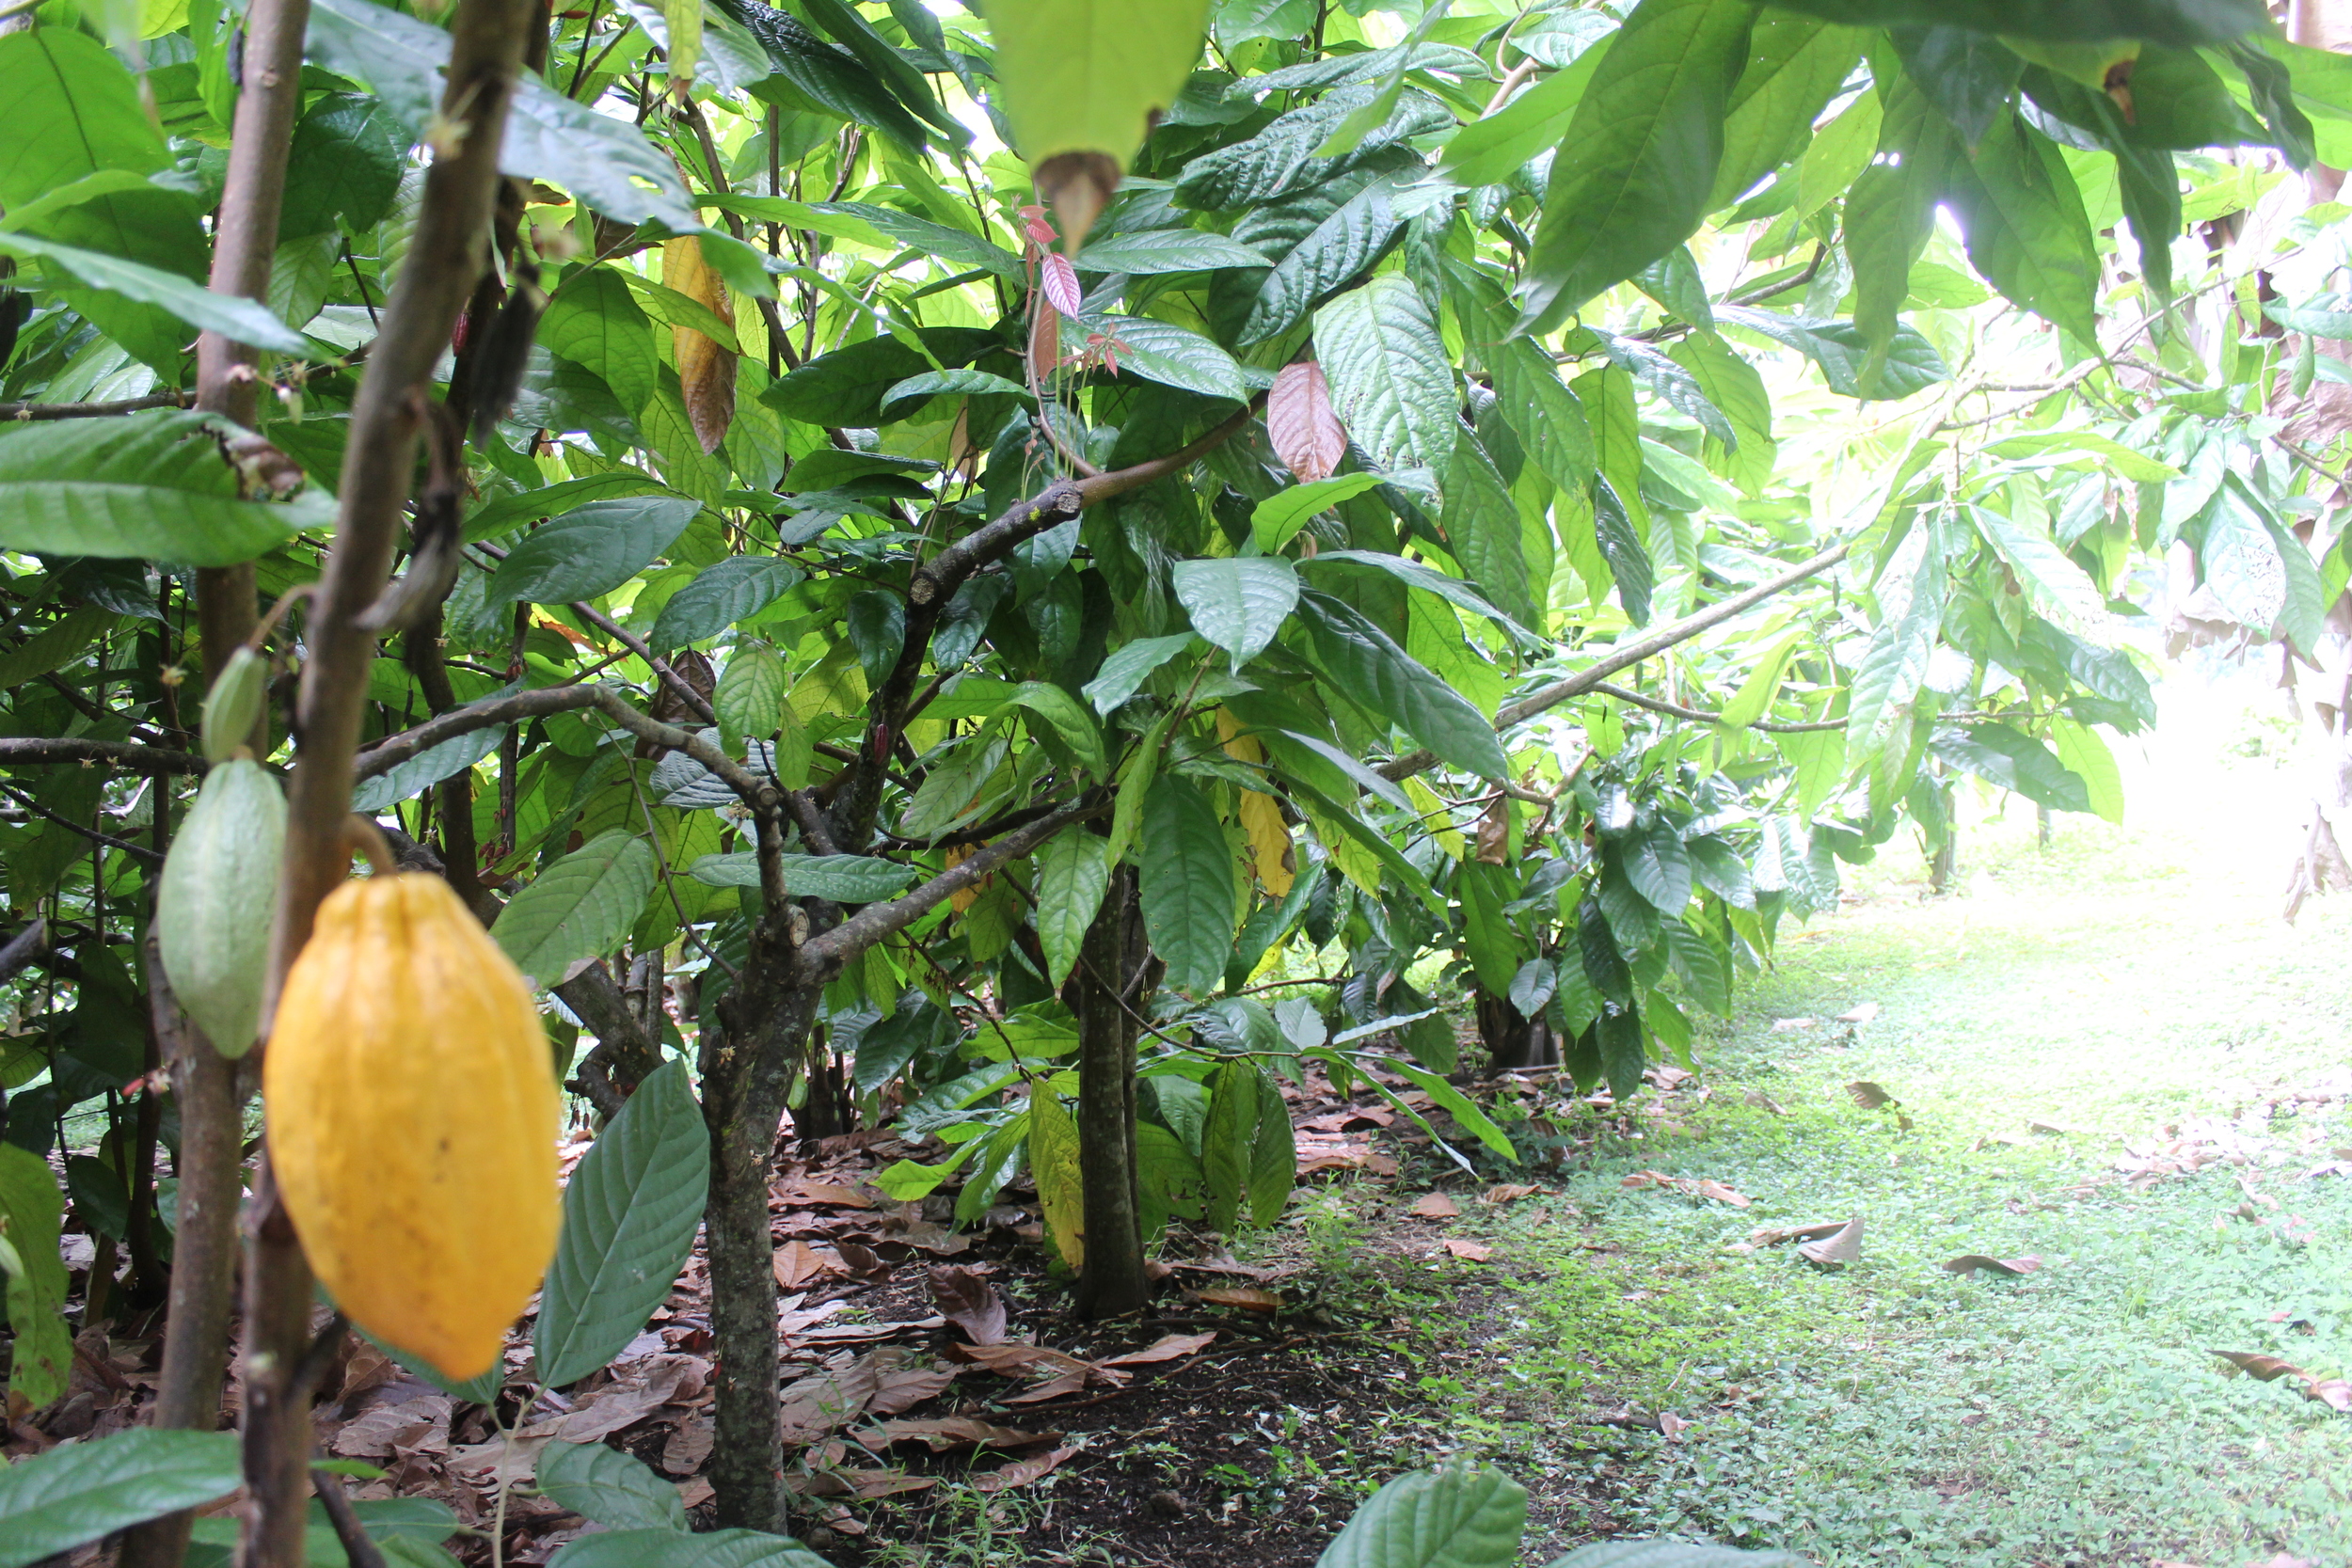
cacao trees
cacao trees

they're relatively small and low to the ground

another view of the cacao grove

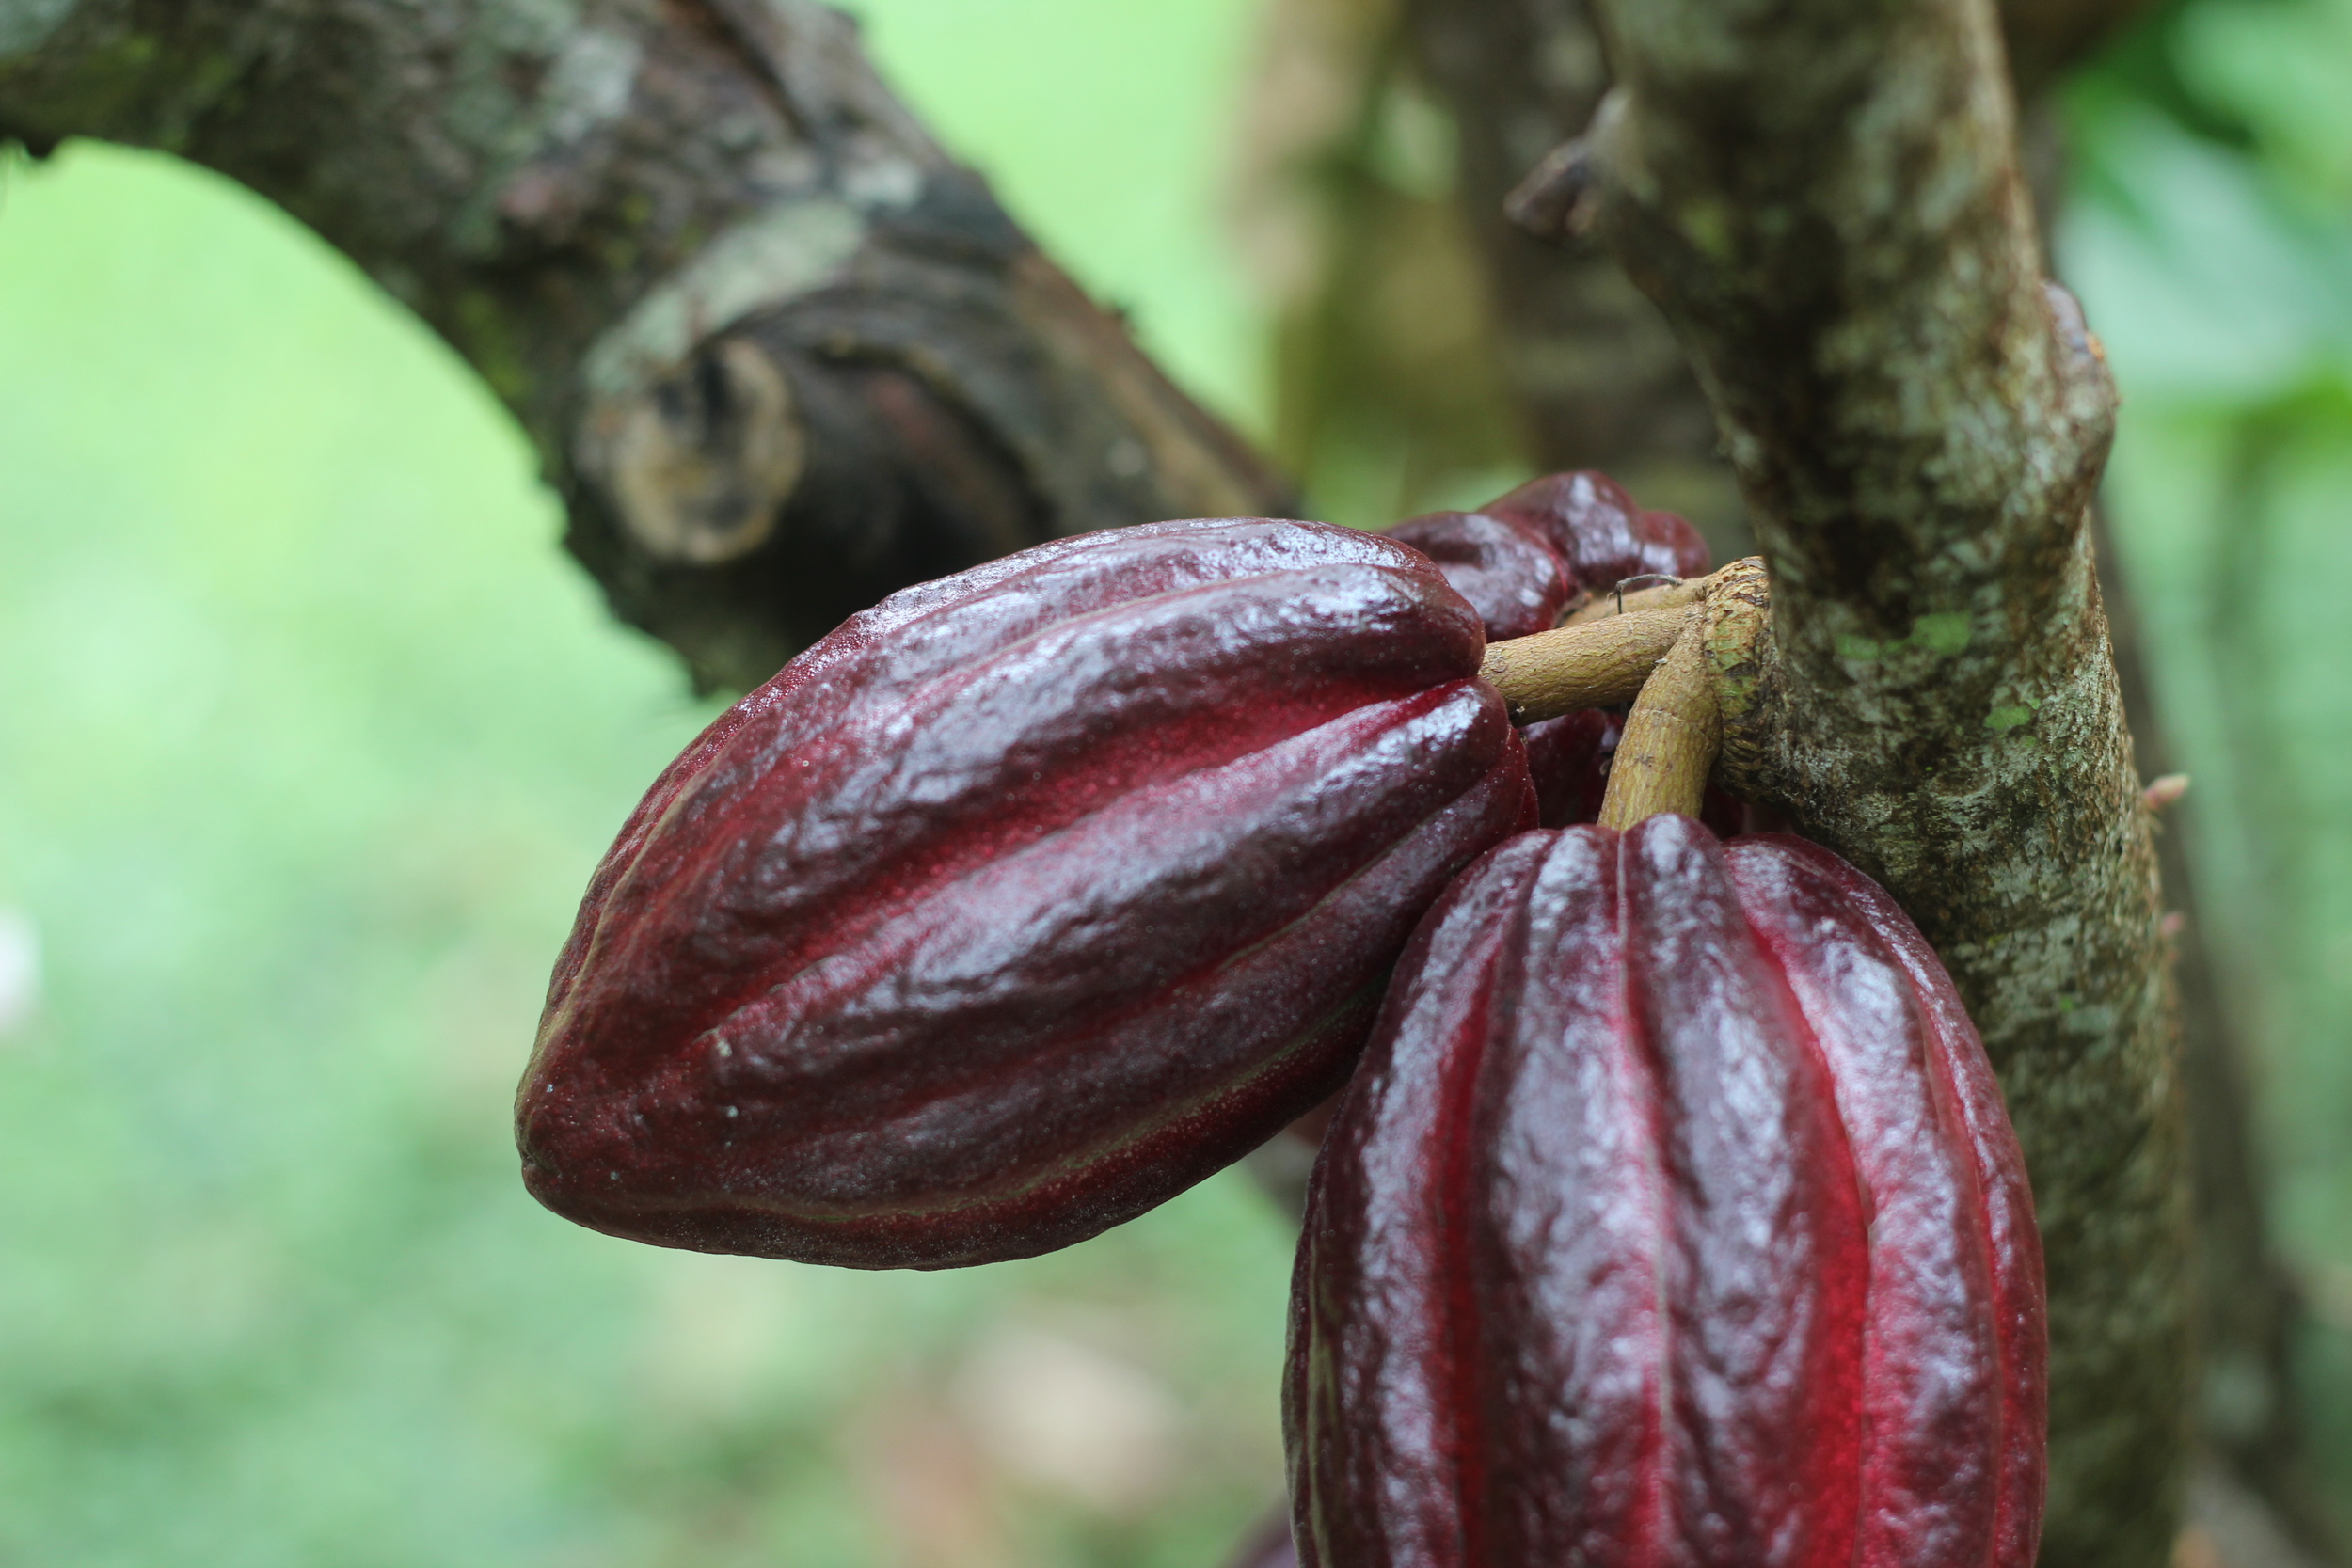
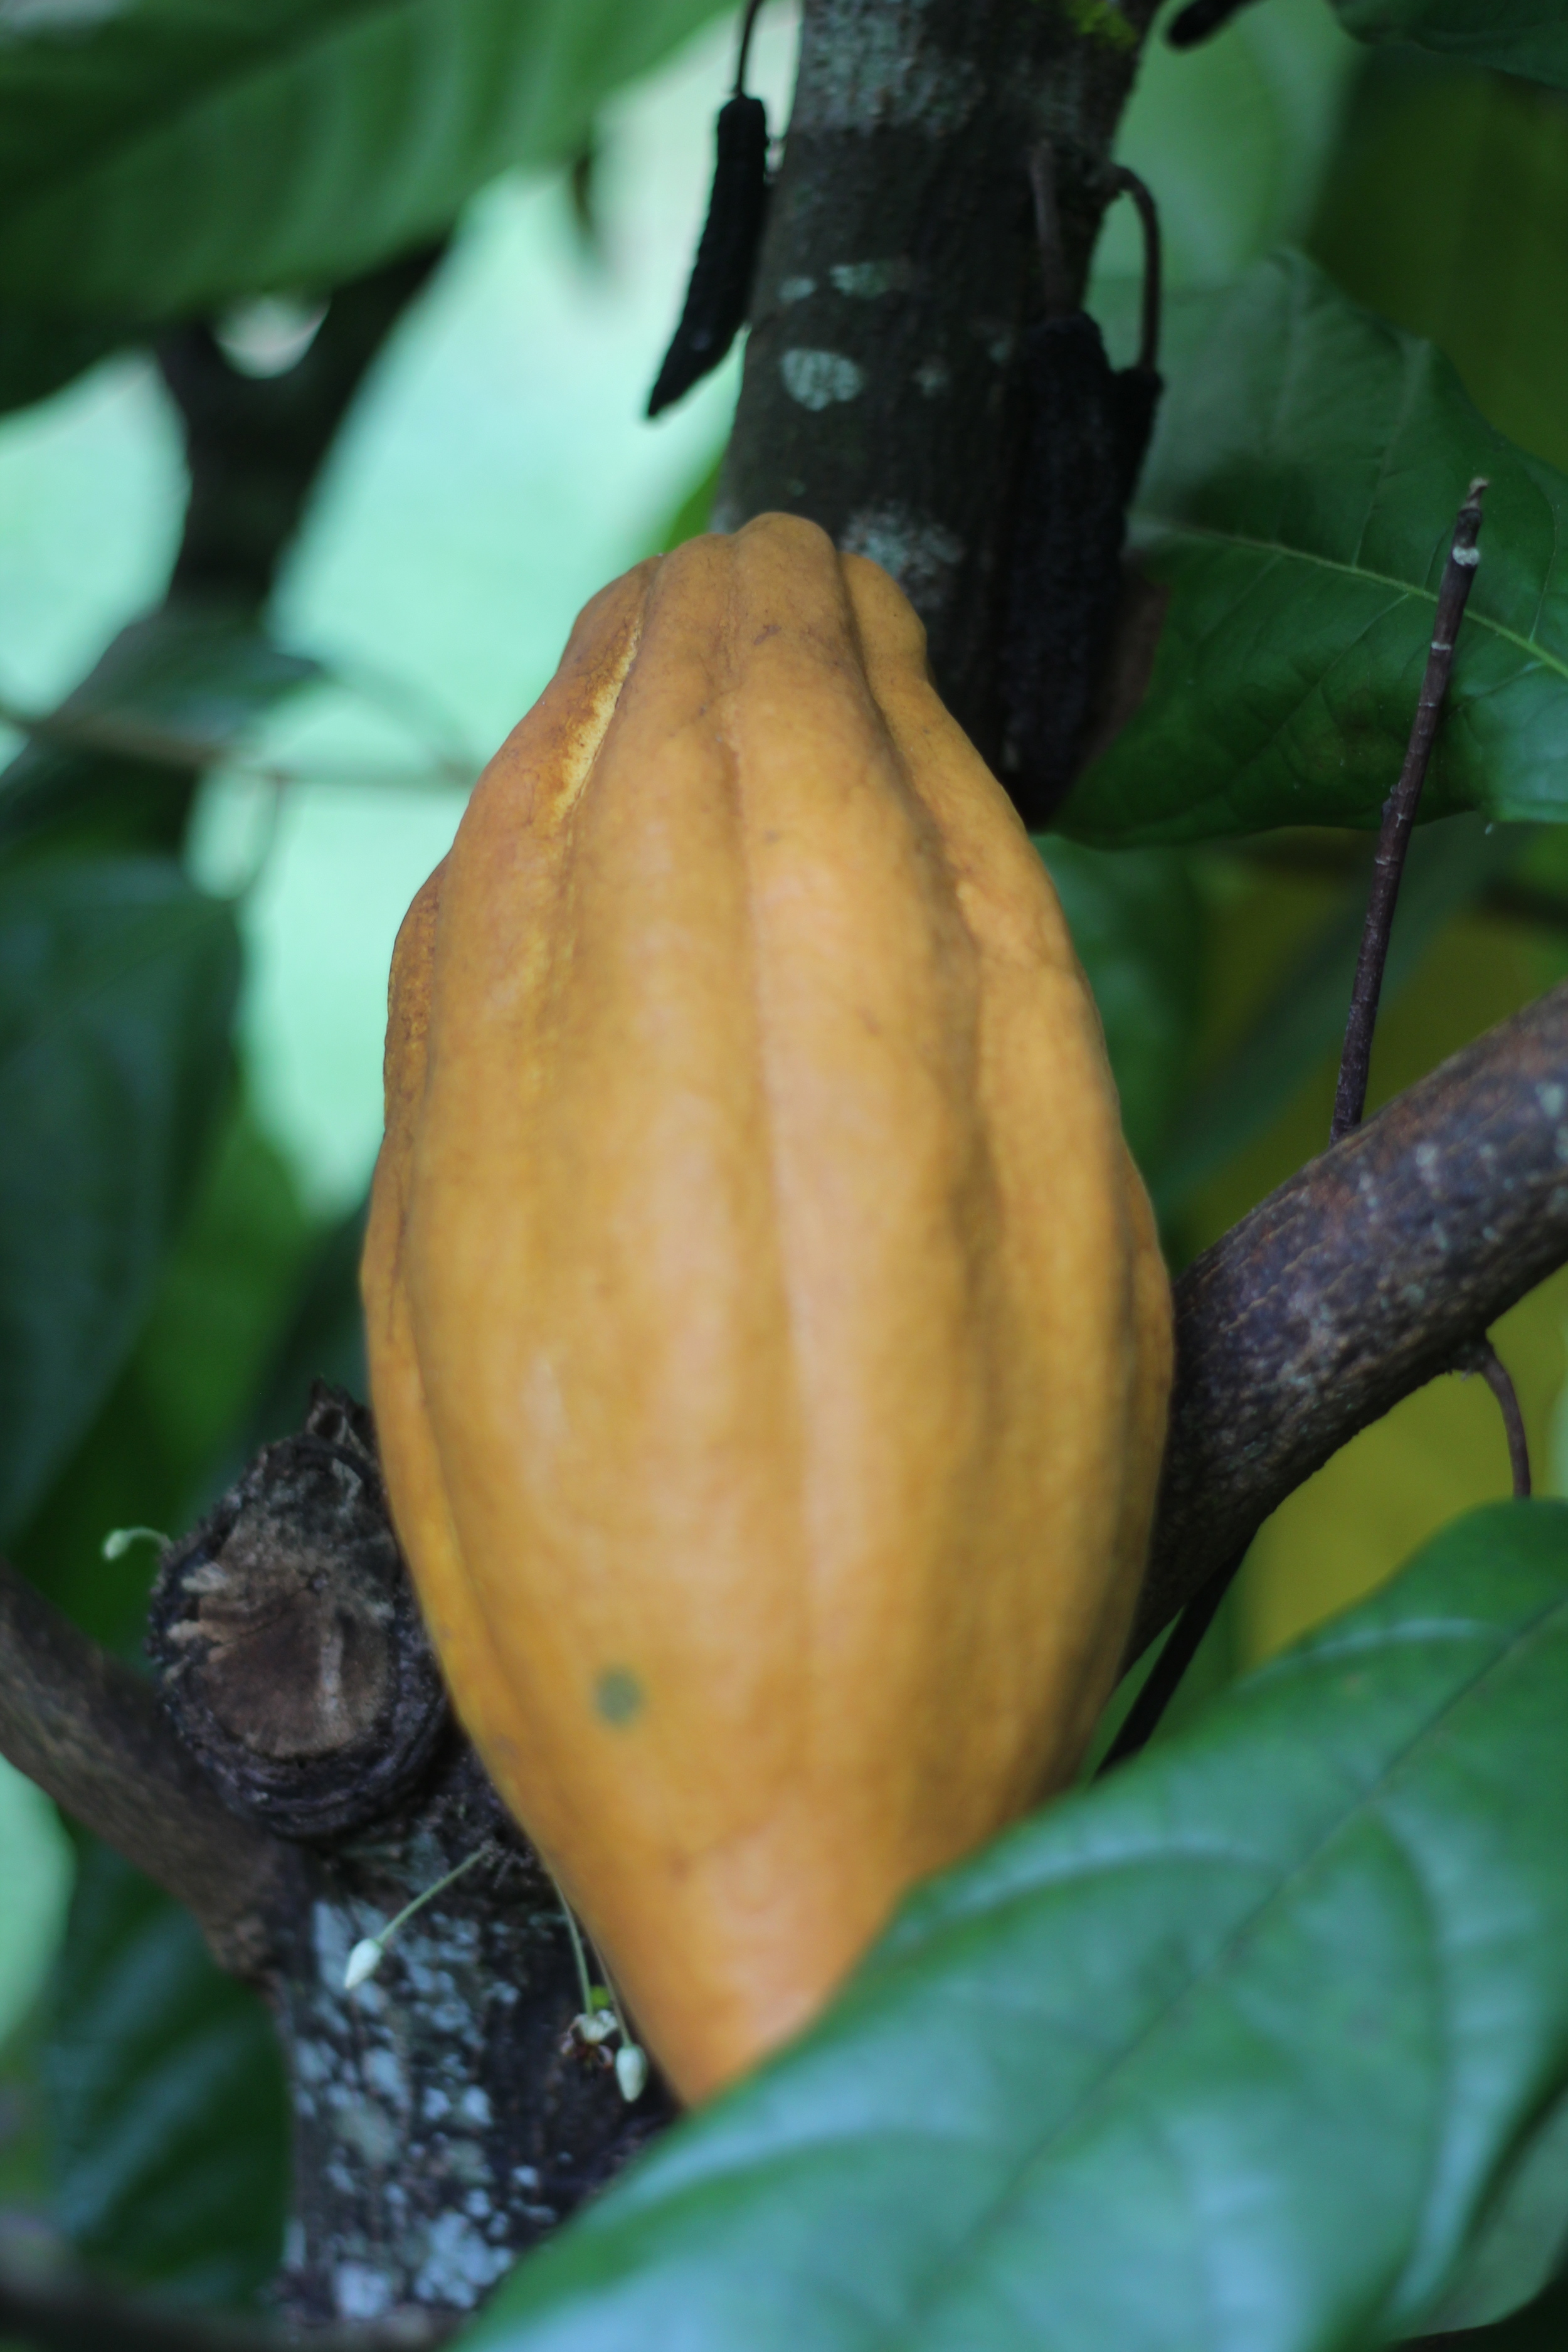
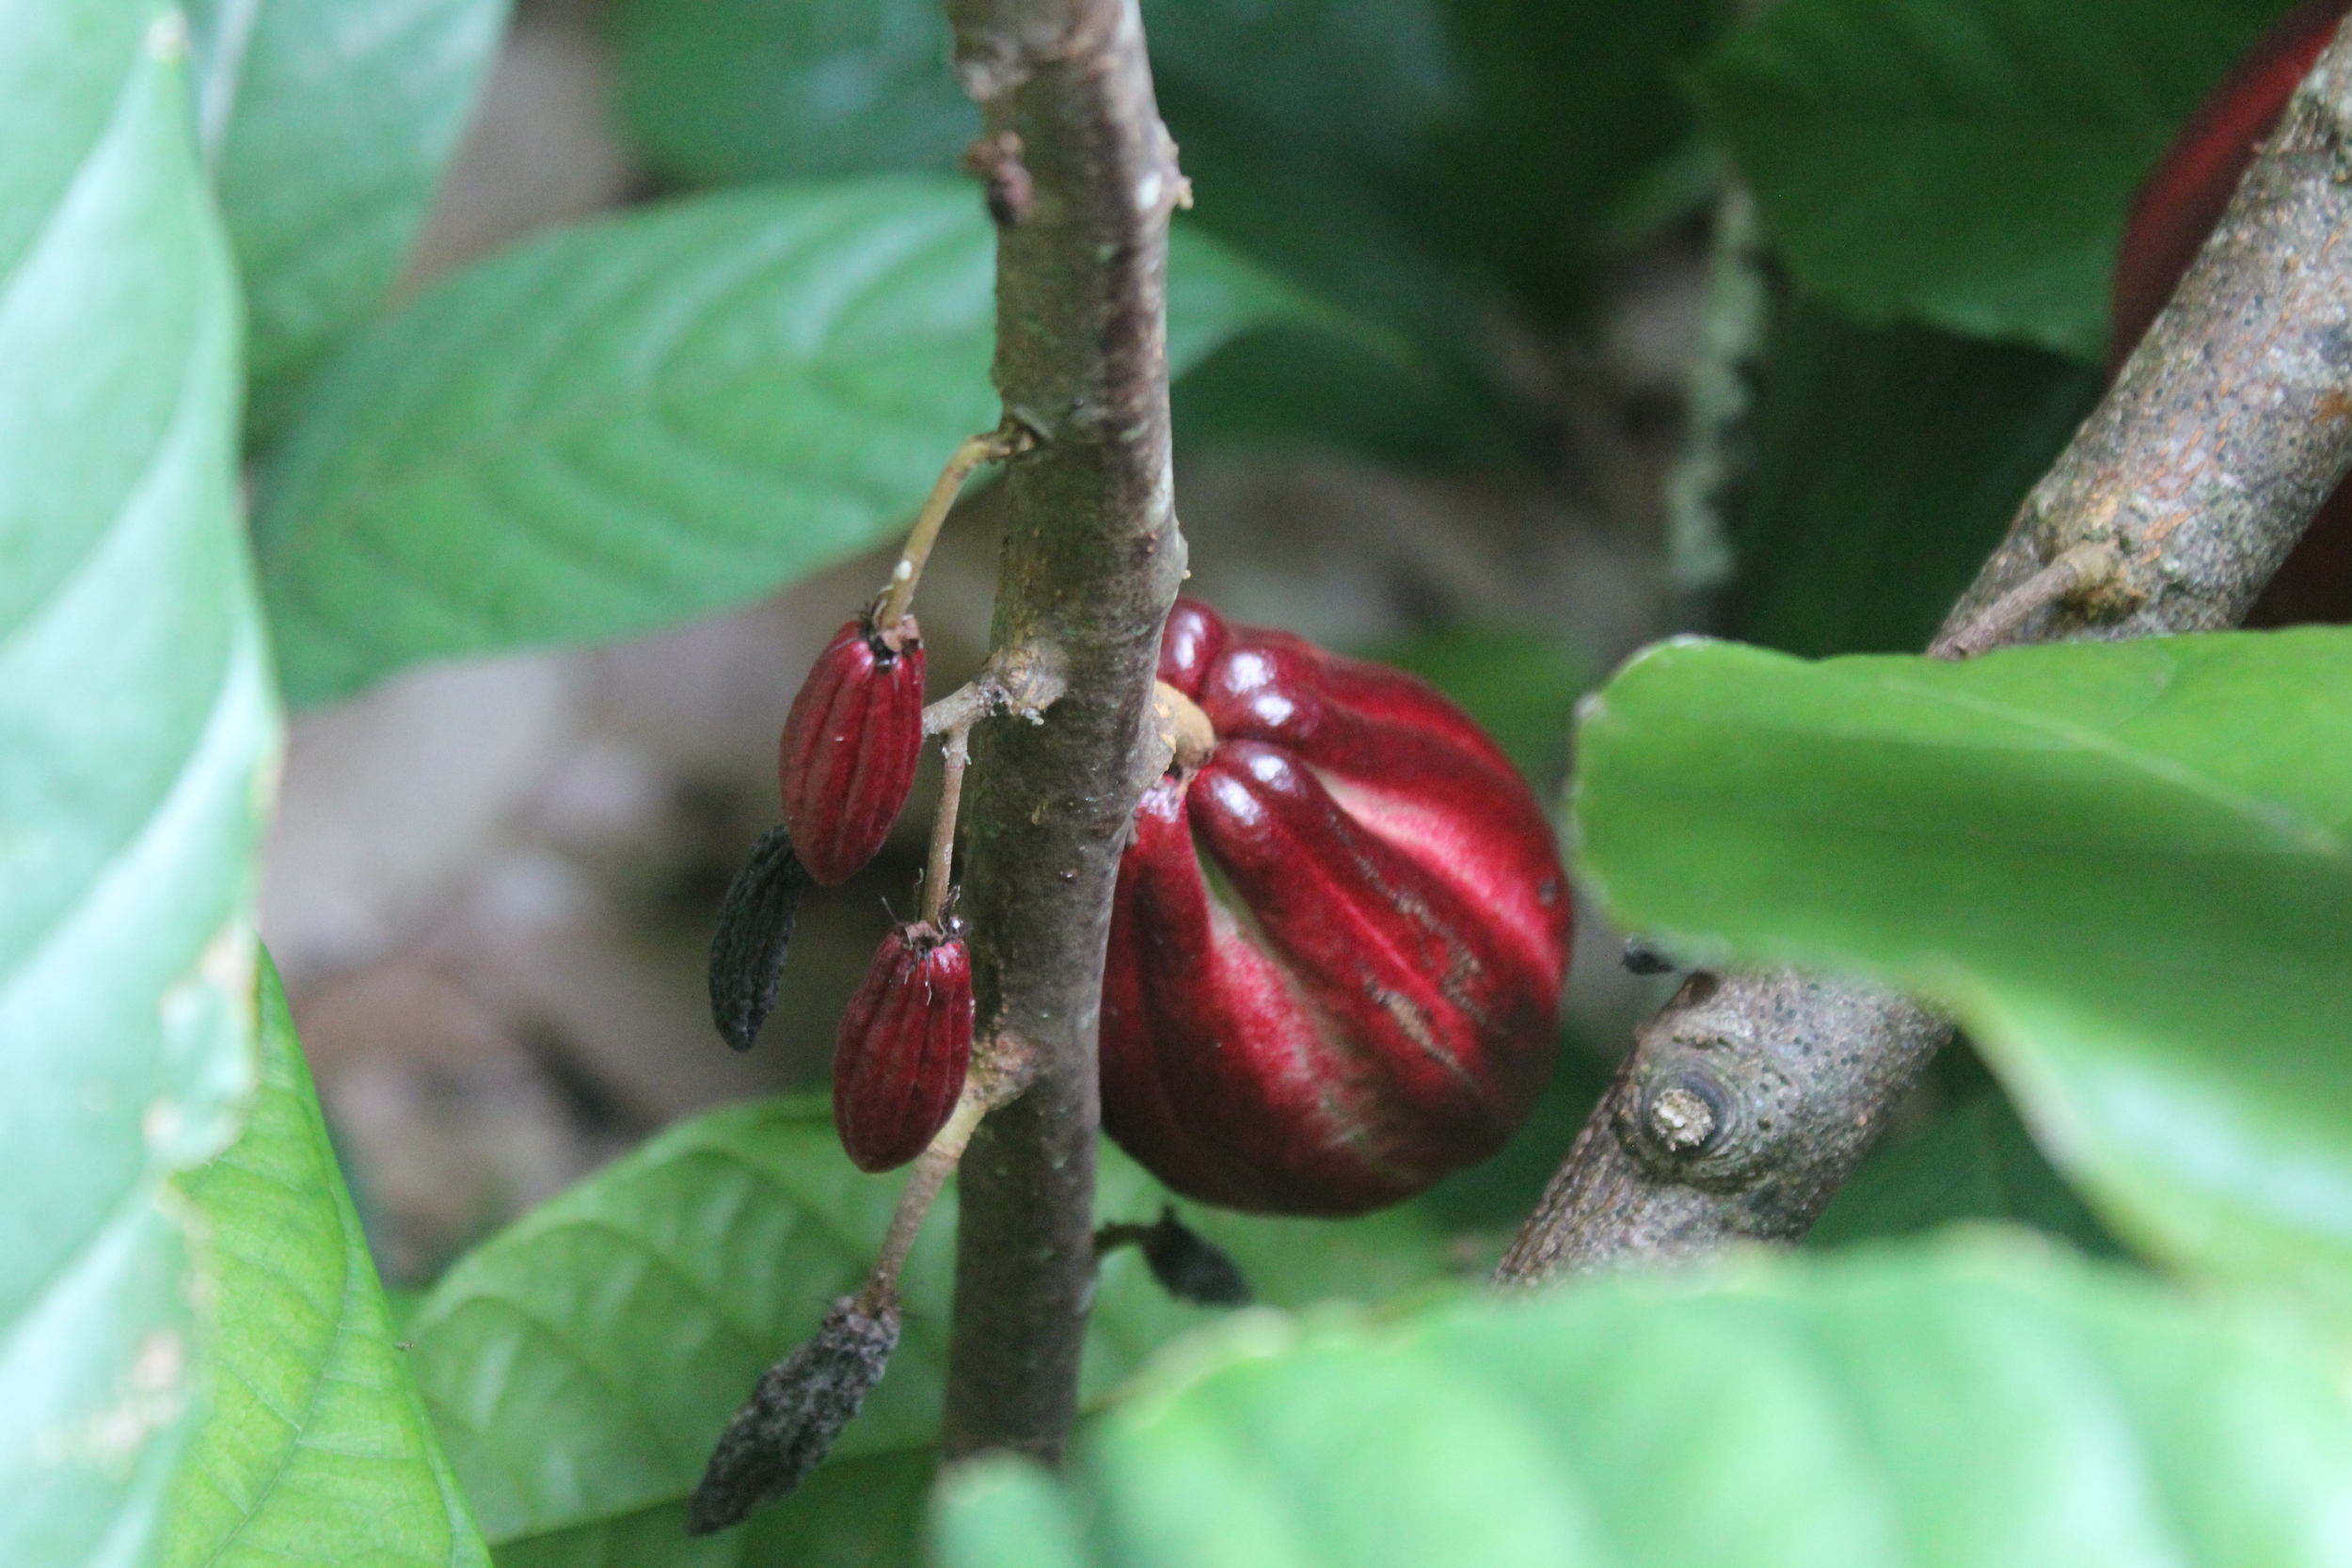
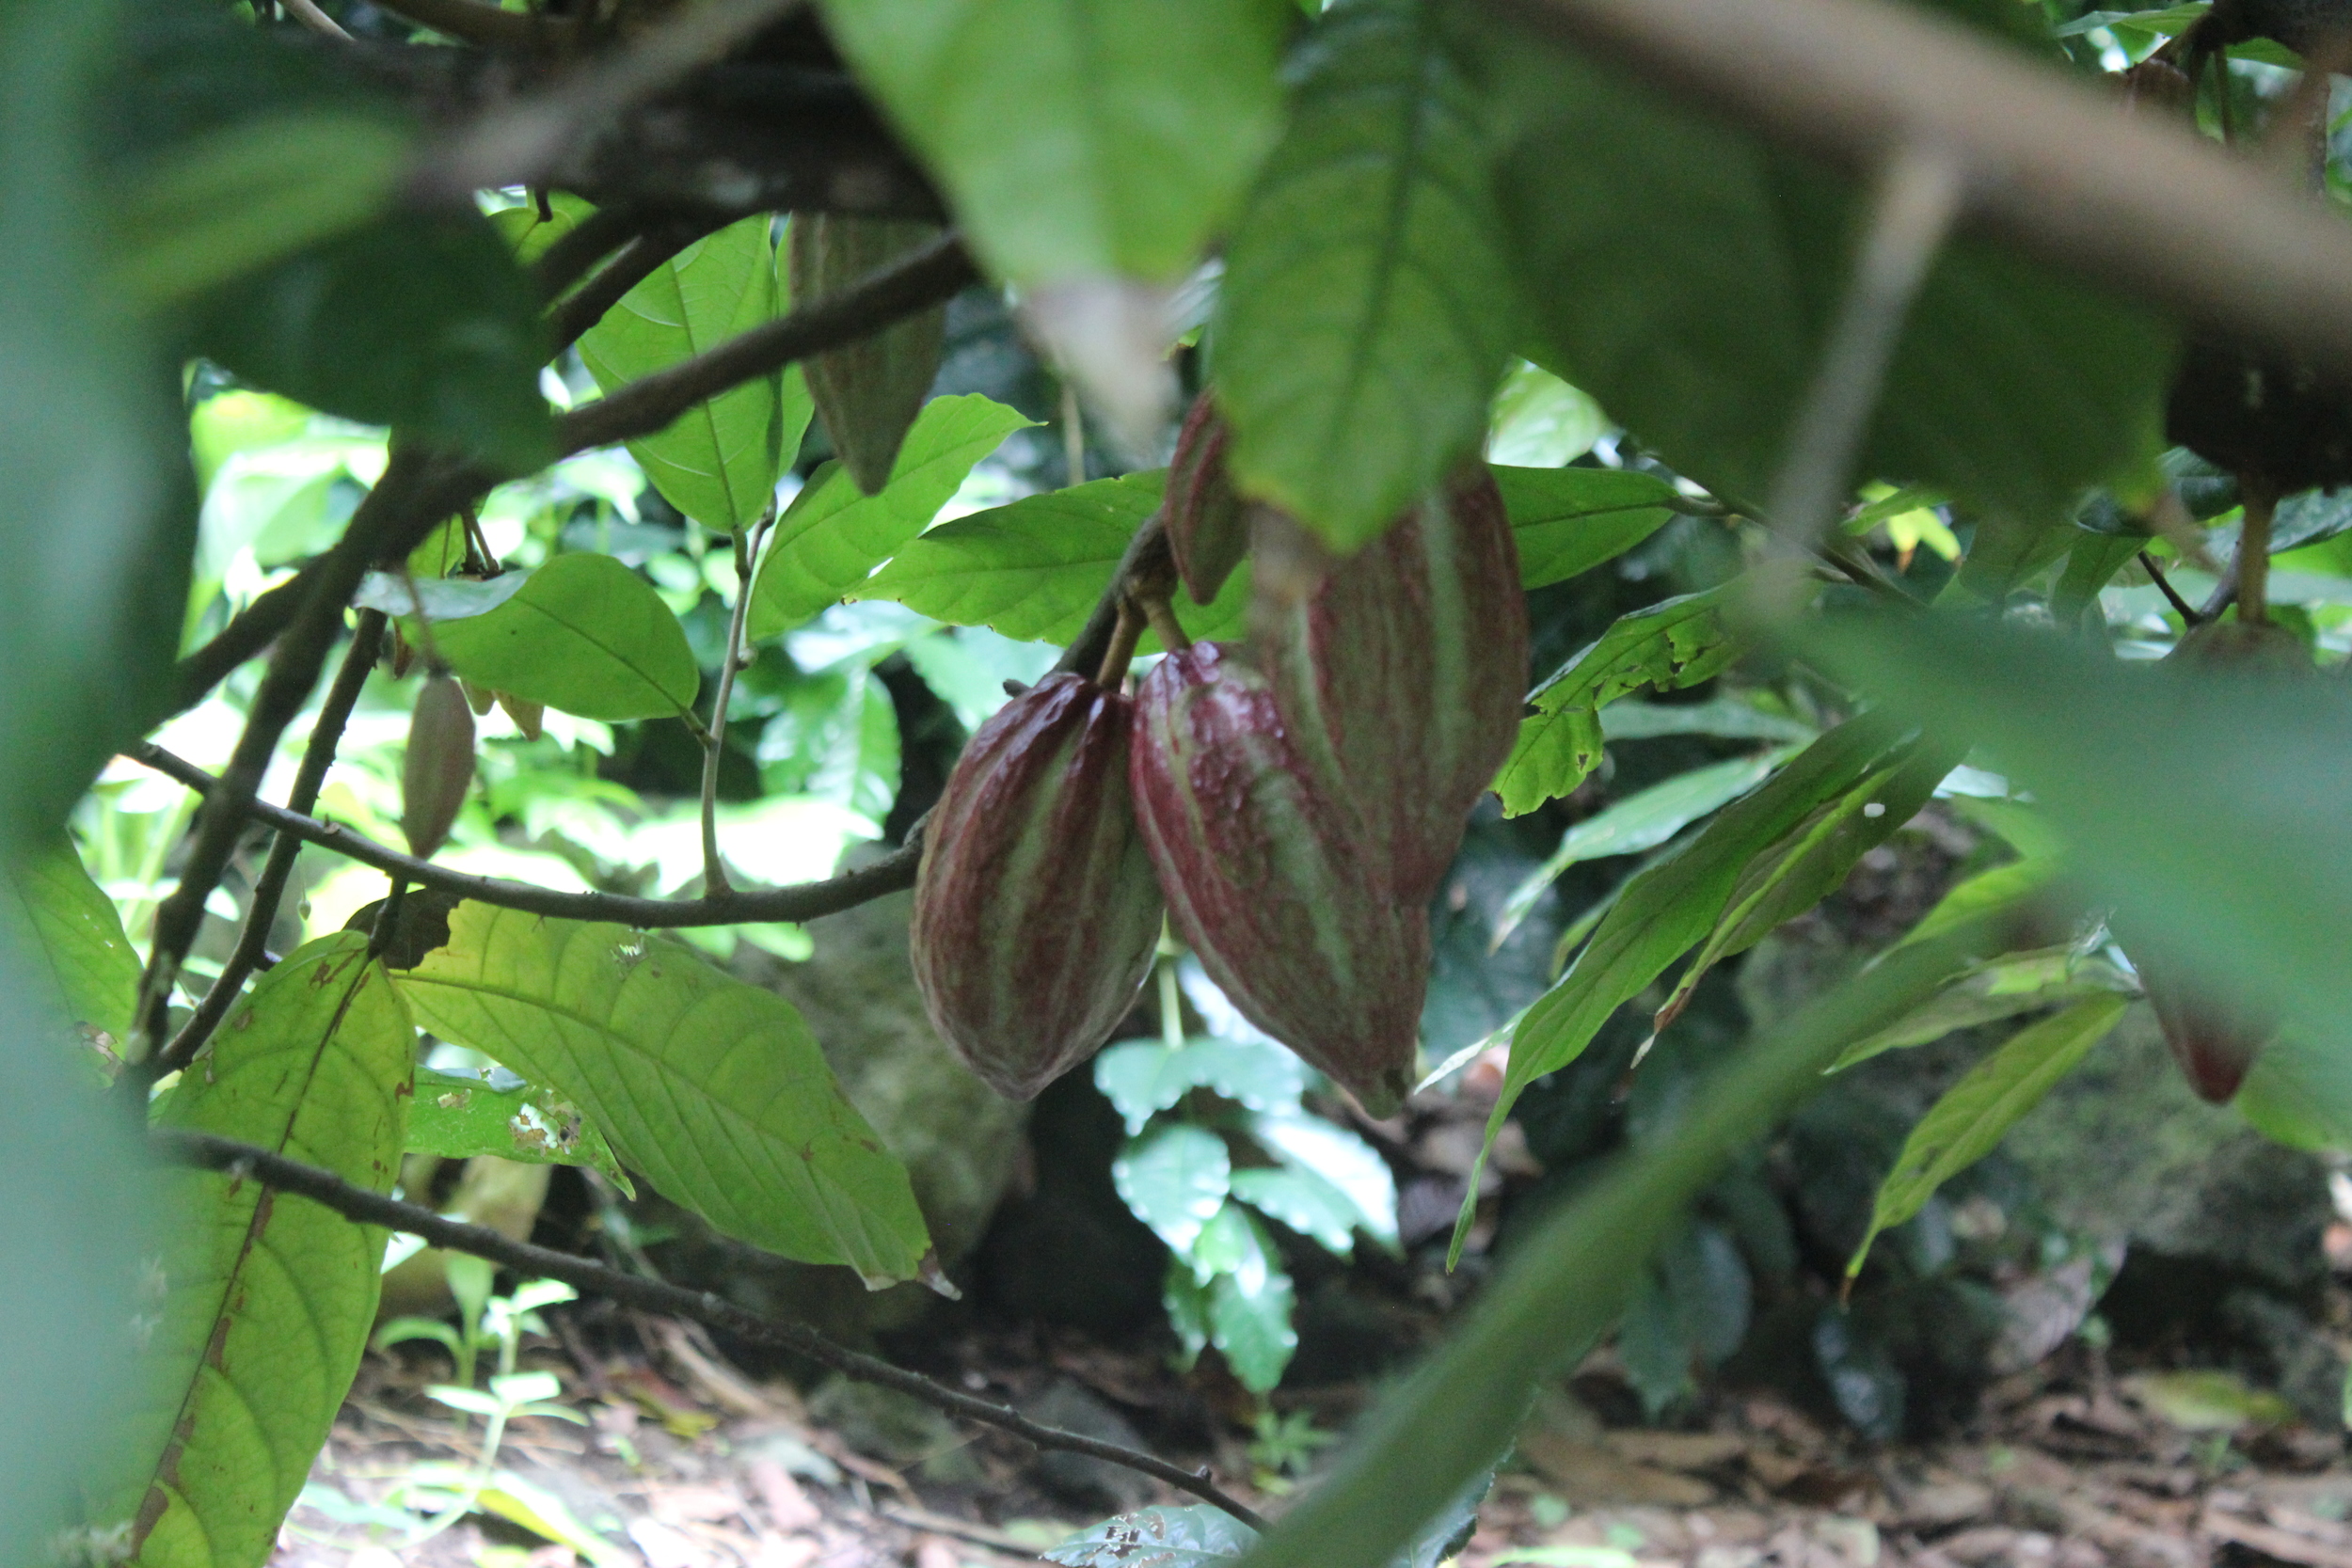
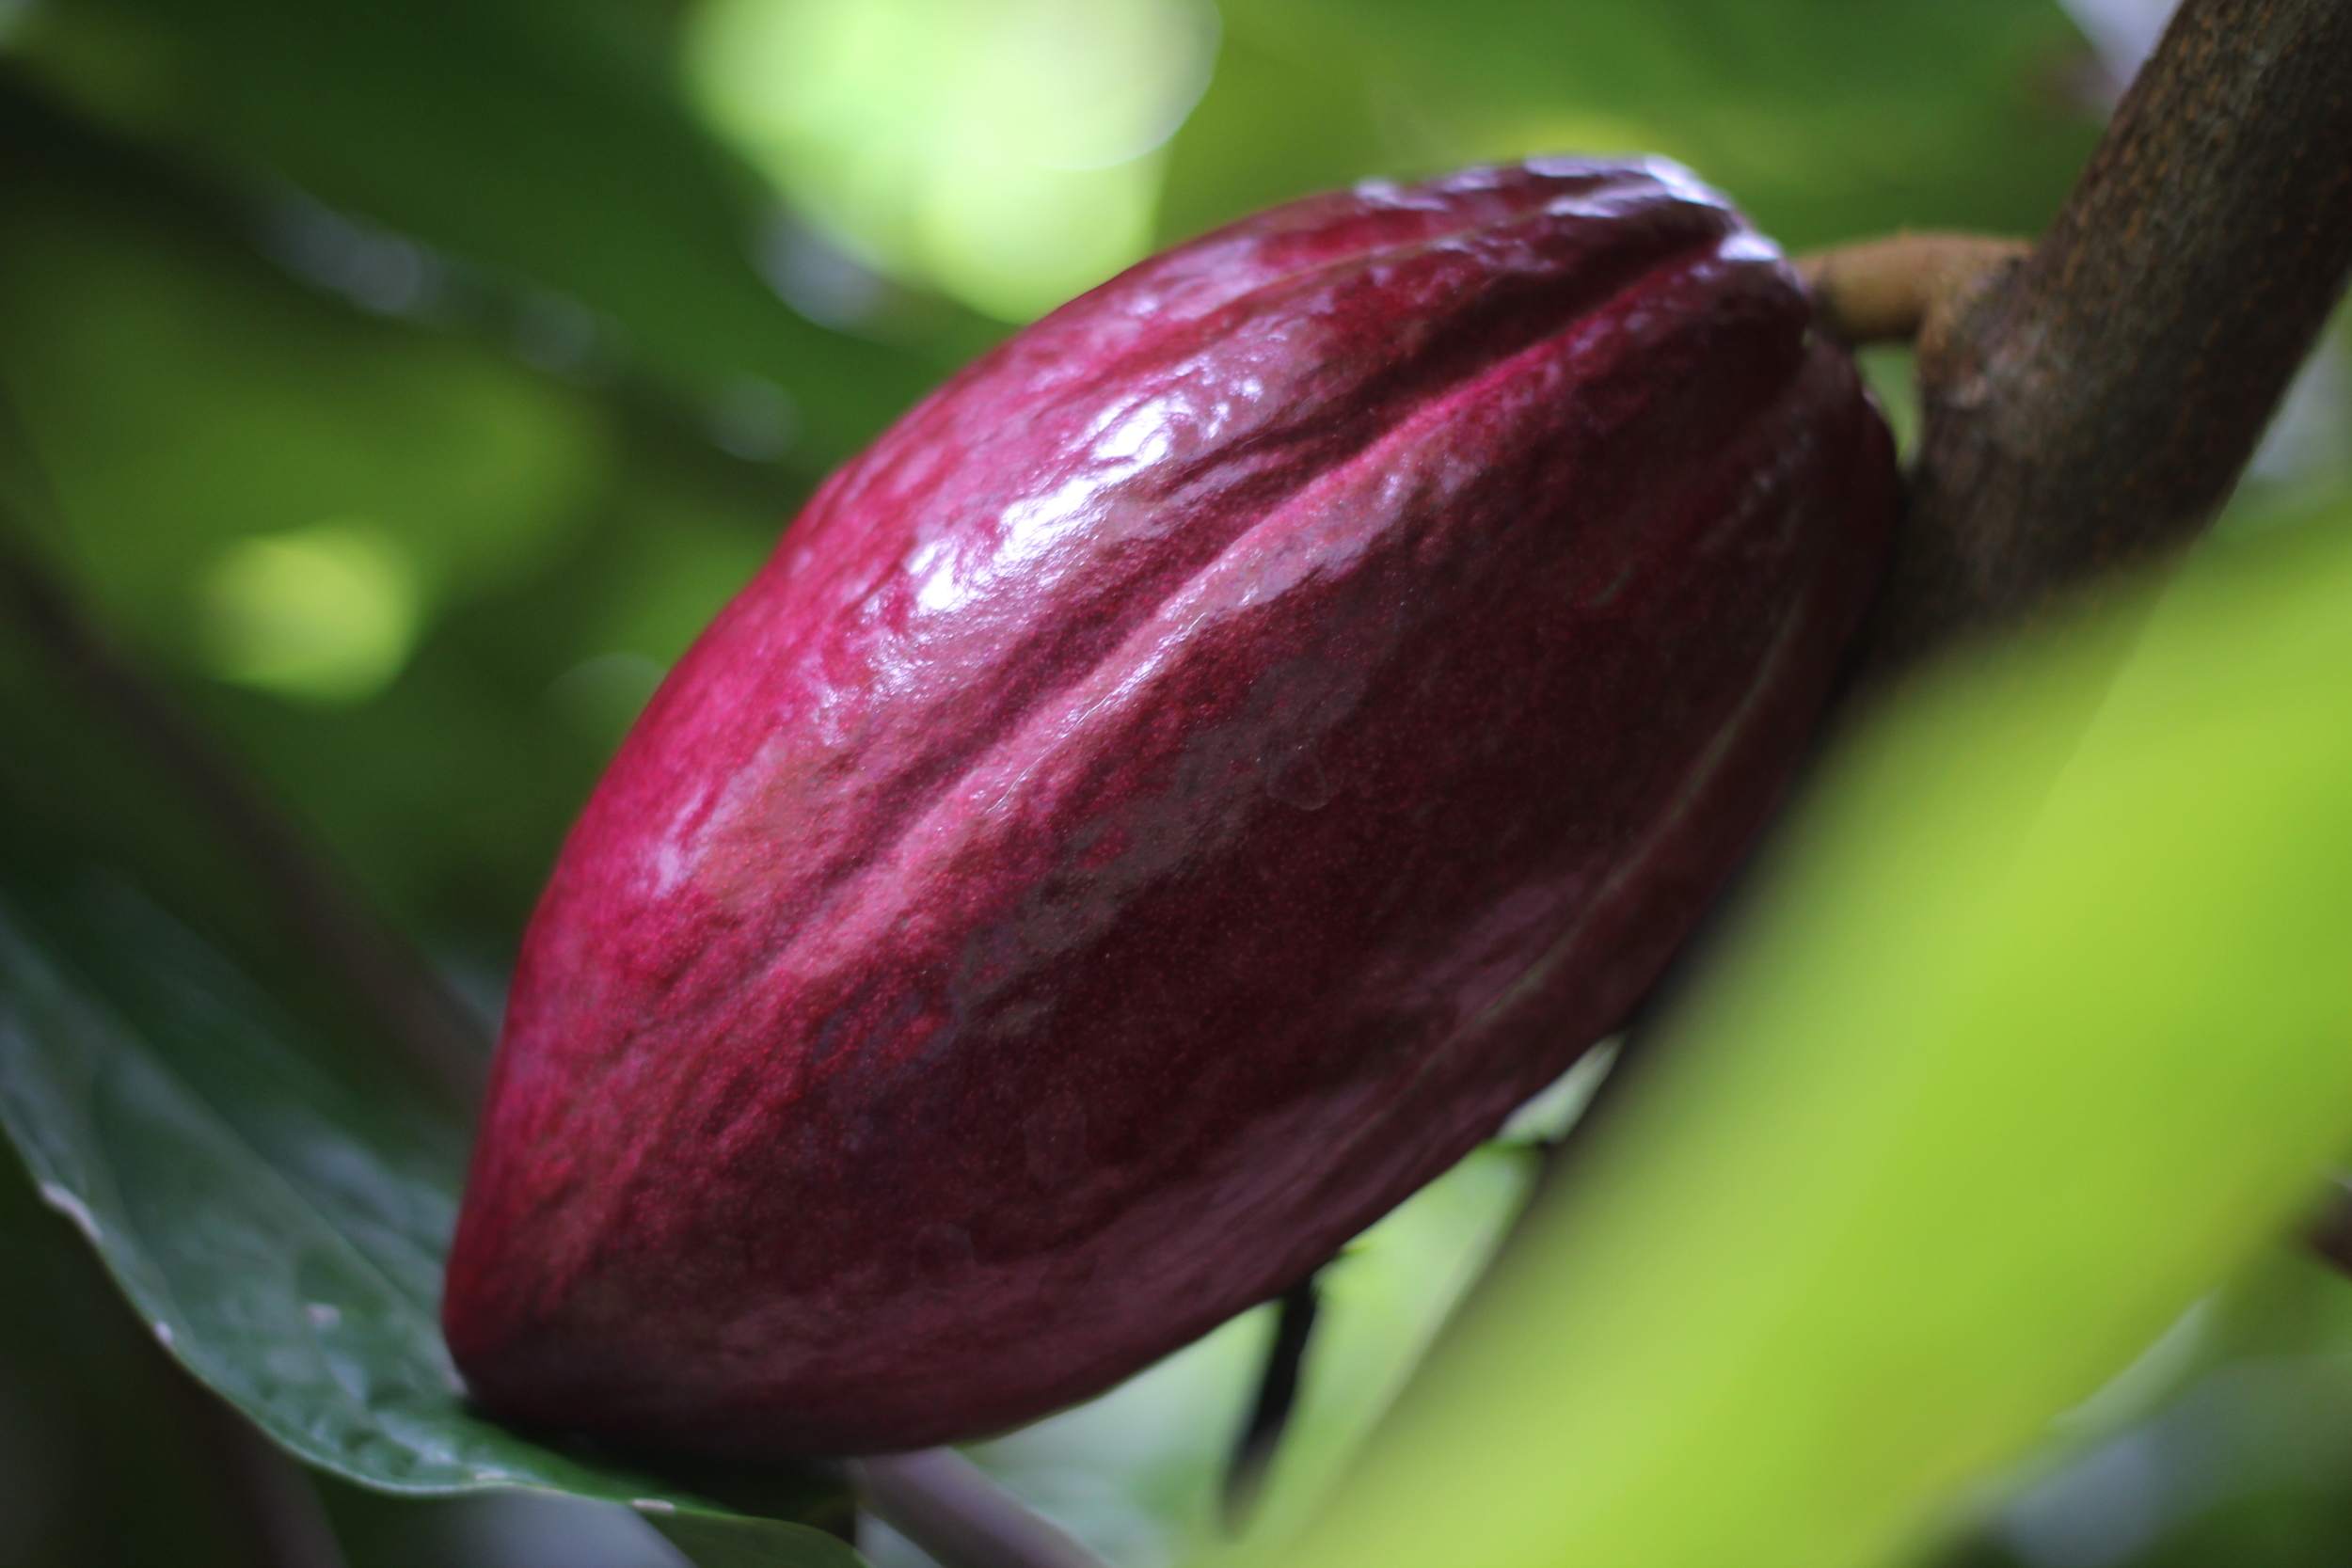
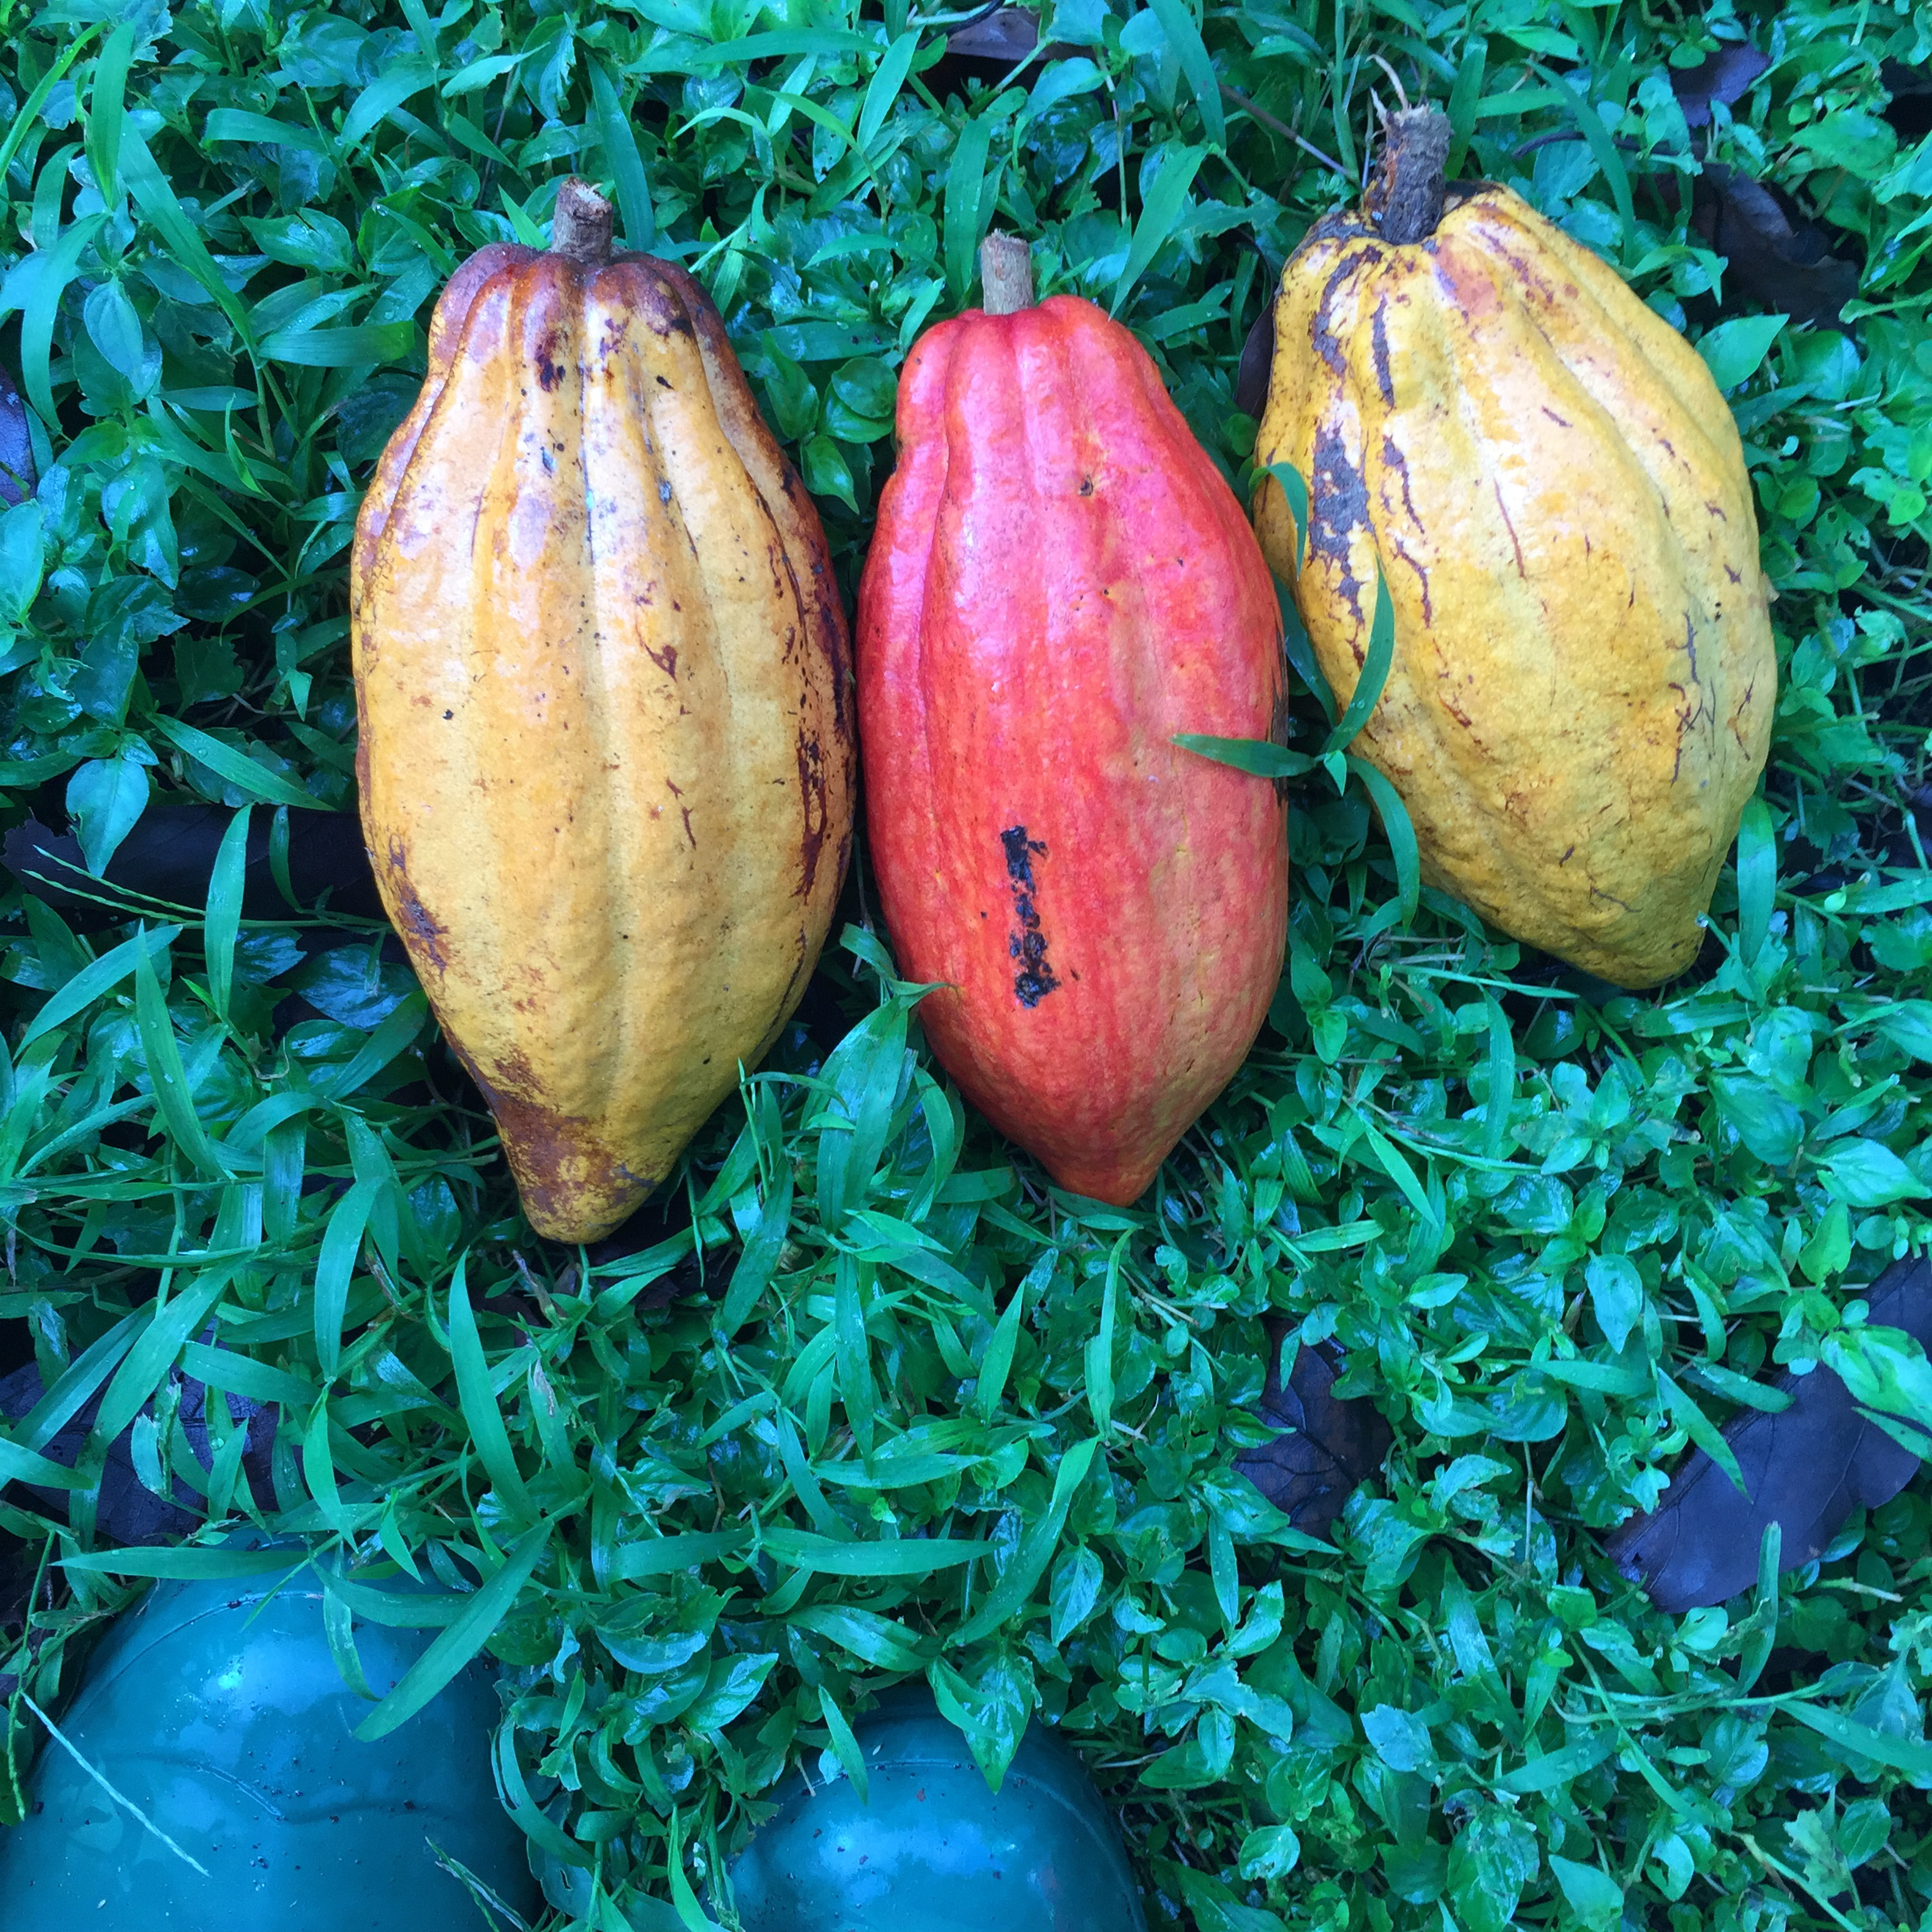
the pods can be yellow, red, or a hybrid sort-of striped variety

cacao pods
cacao pods
IMG_4397.JPG
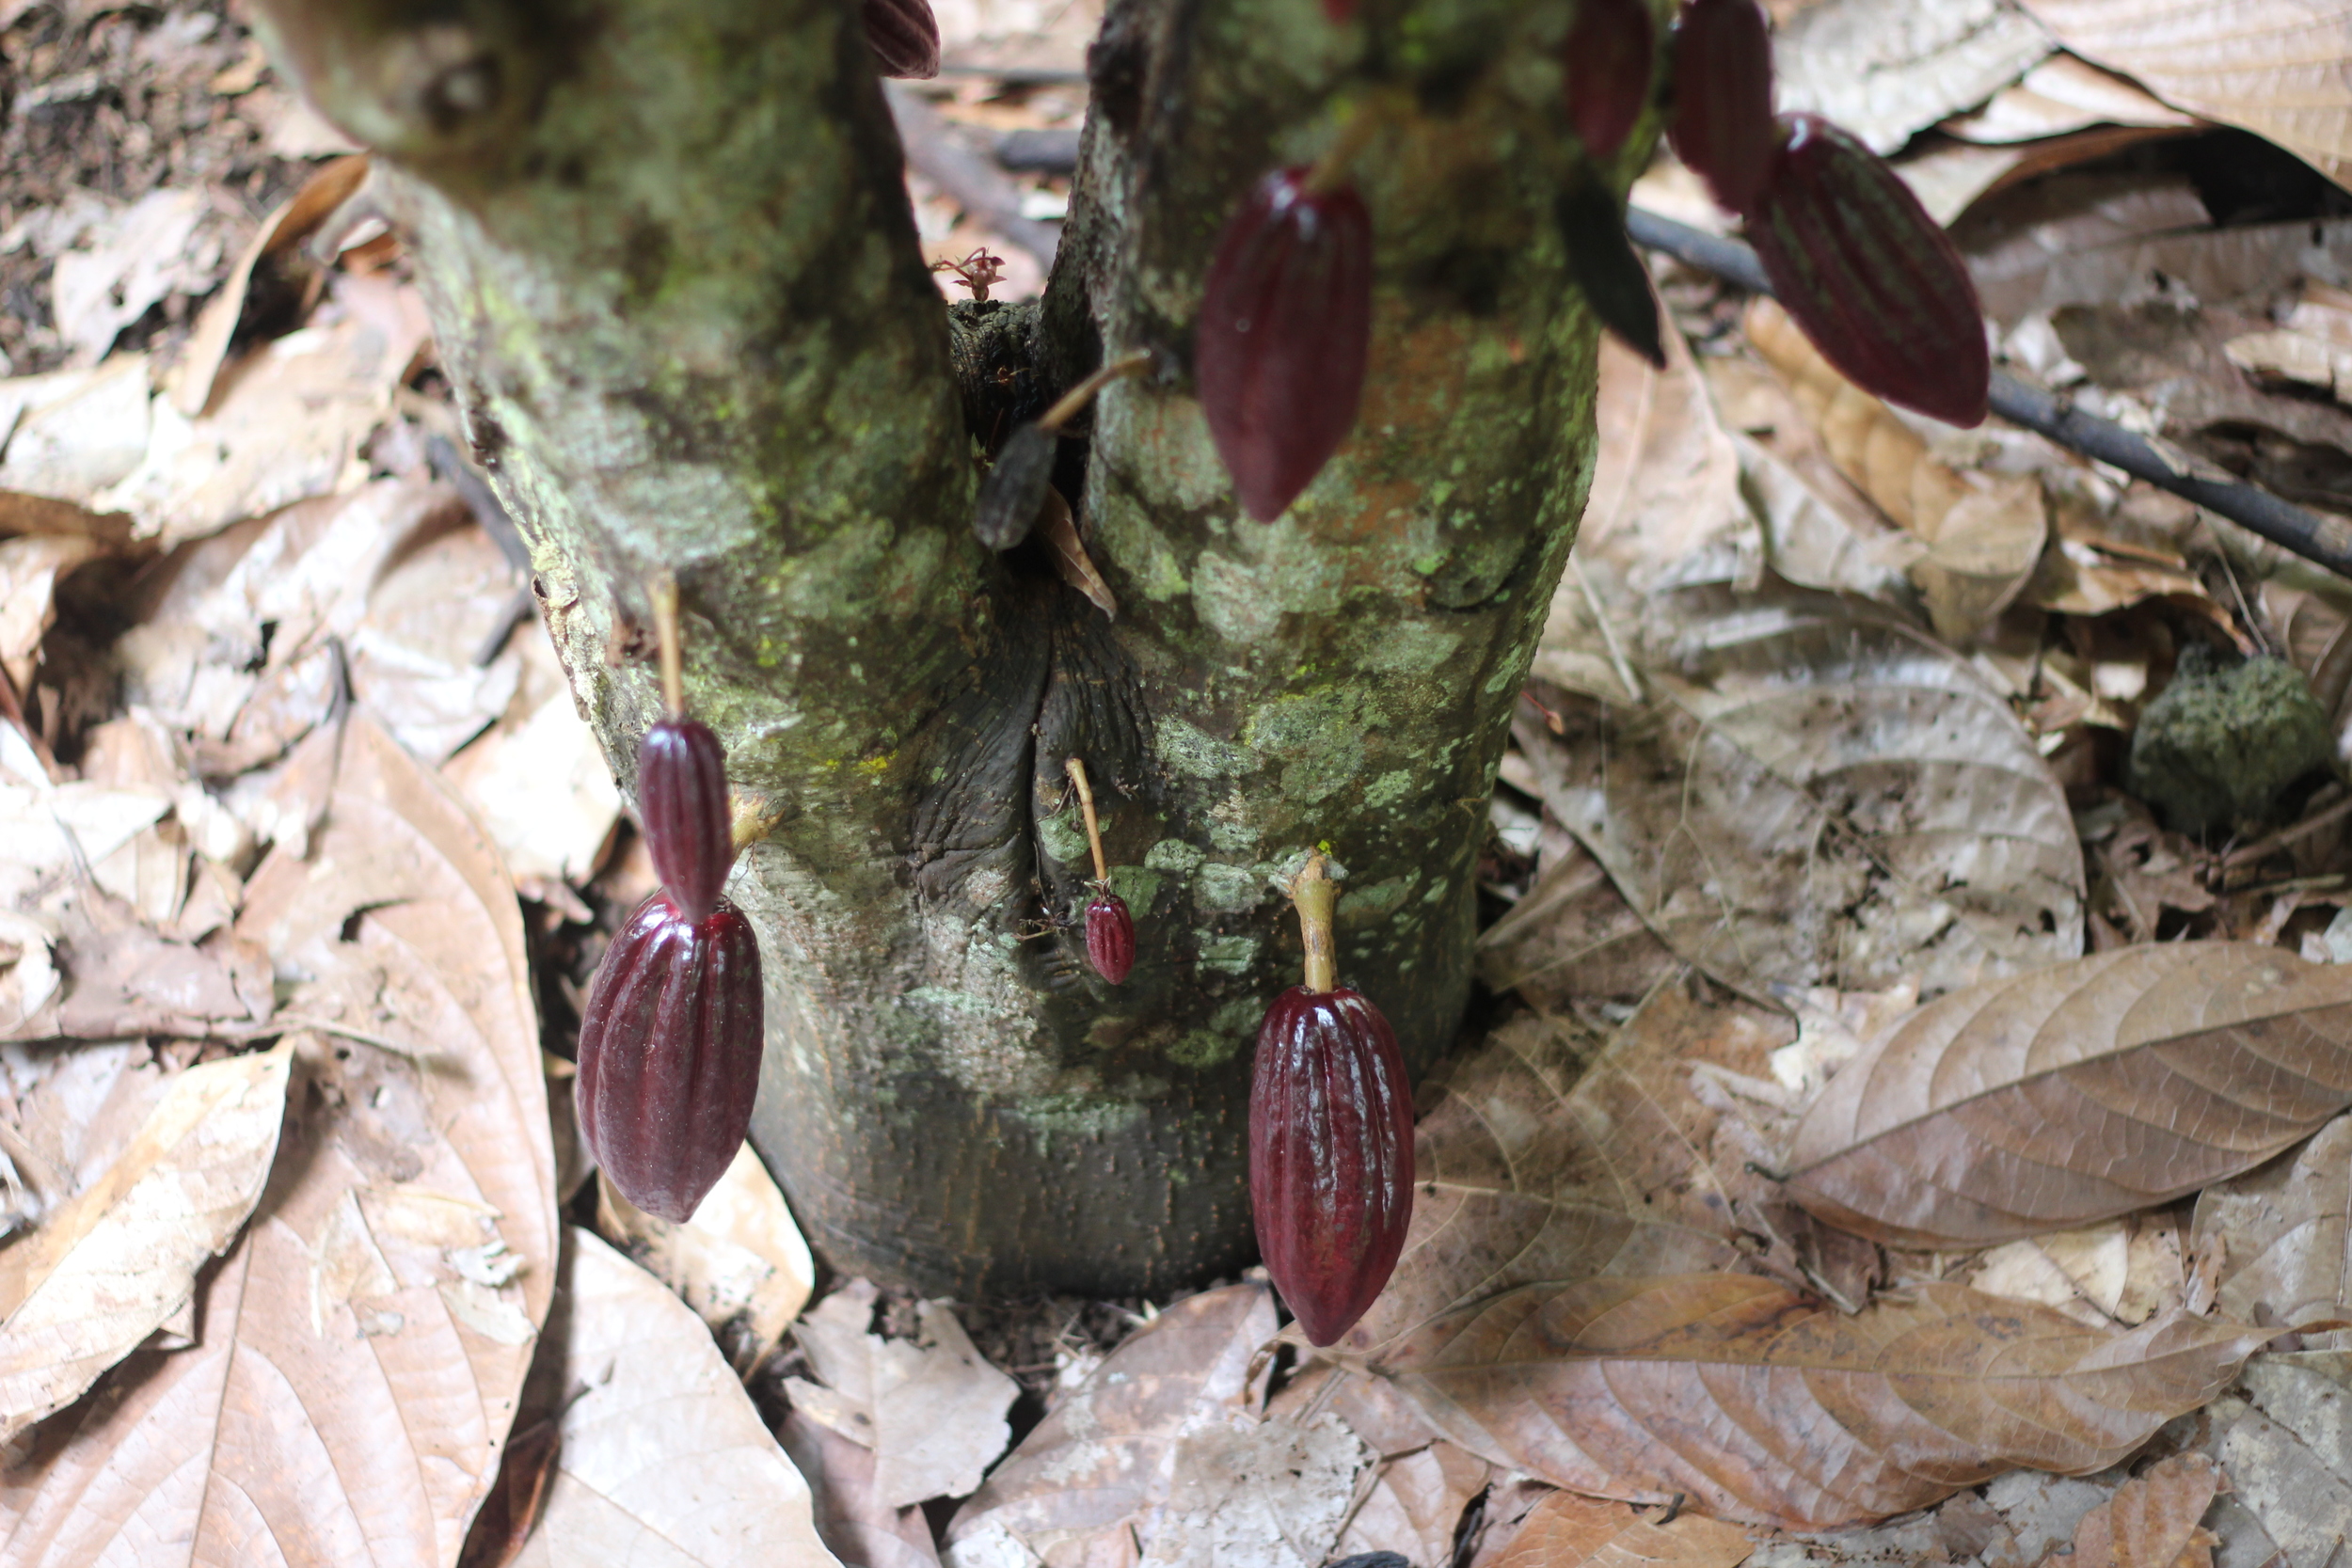
some grow right off the base of the trunk!
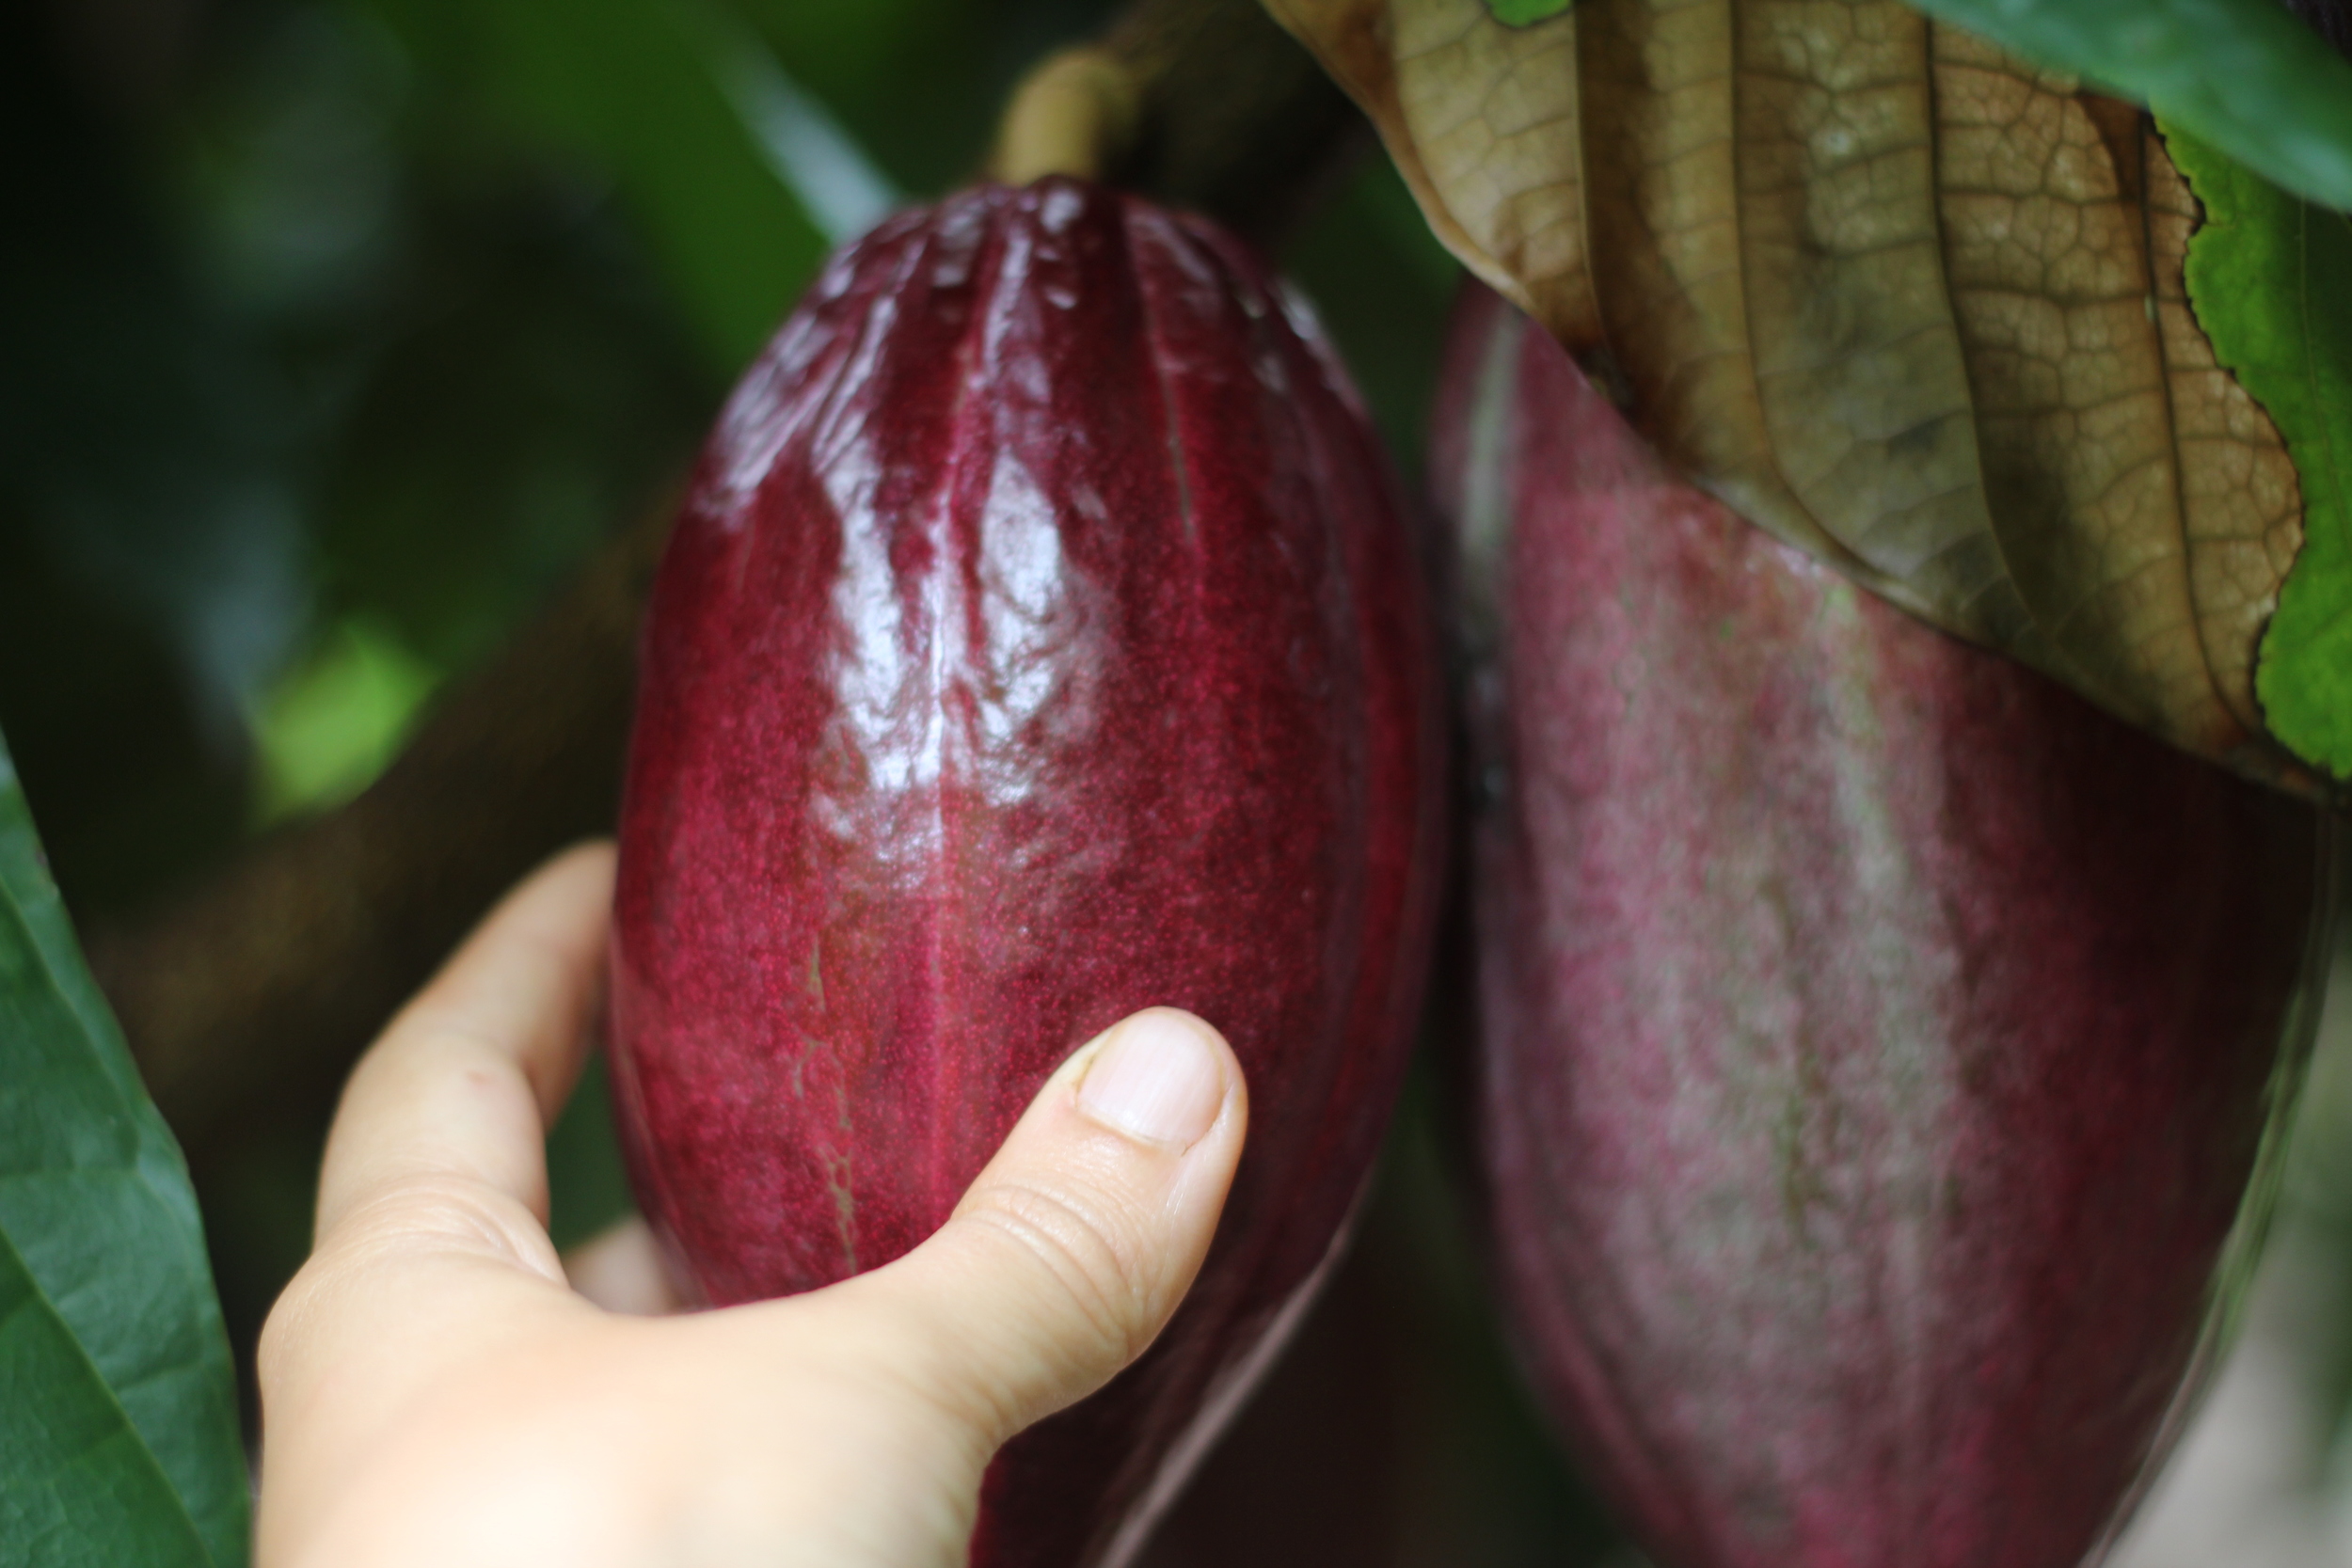
 To check whether they're ready to be harvested, we nick the skin. If it's yellow, they're ready. If it's green, it needs more time. You can see the nick I made in the upper left - this one's ready!

To check whether they're ready to be harvested, we nick the skin. If it's yellow, they're ready. If it's green, it needs more time. You can see the nick I made in the upper left - this one's ready!

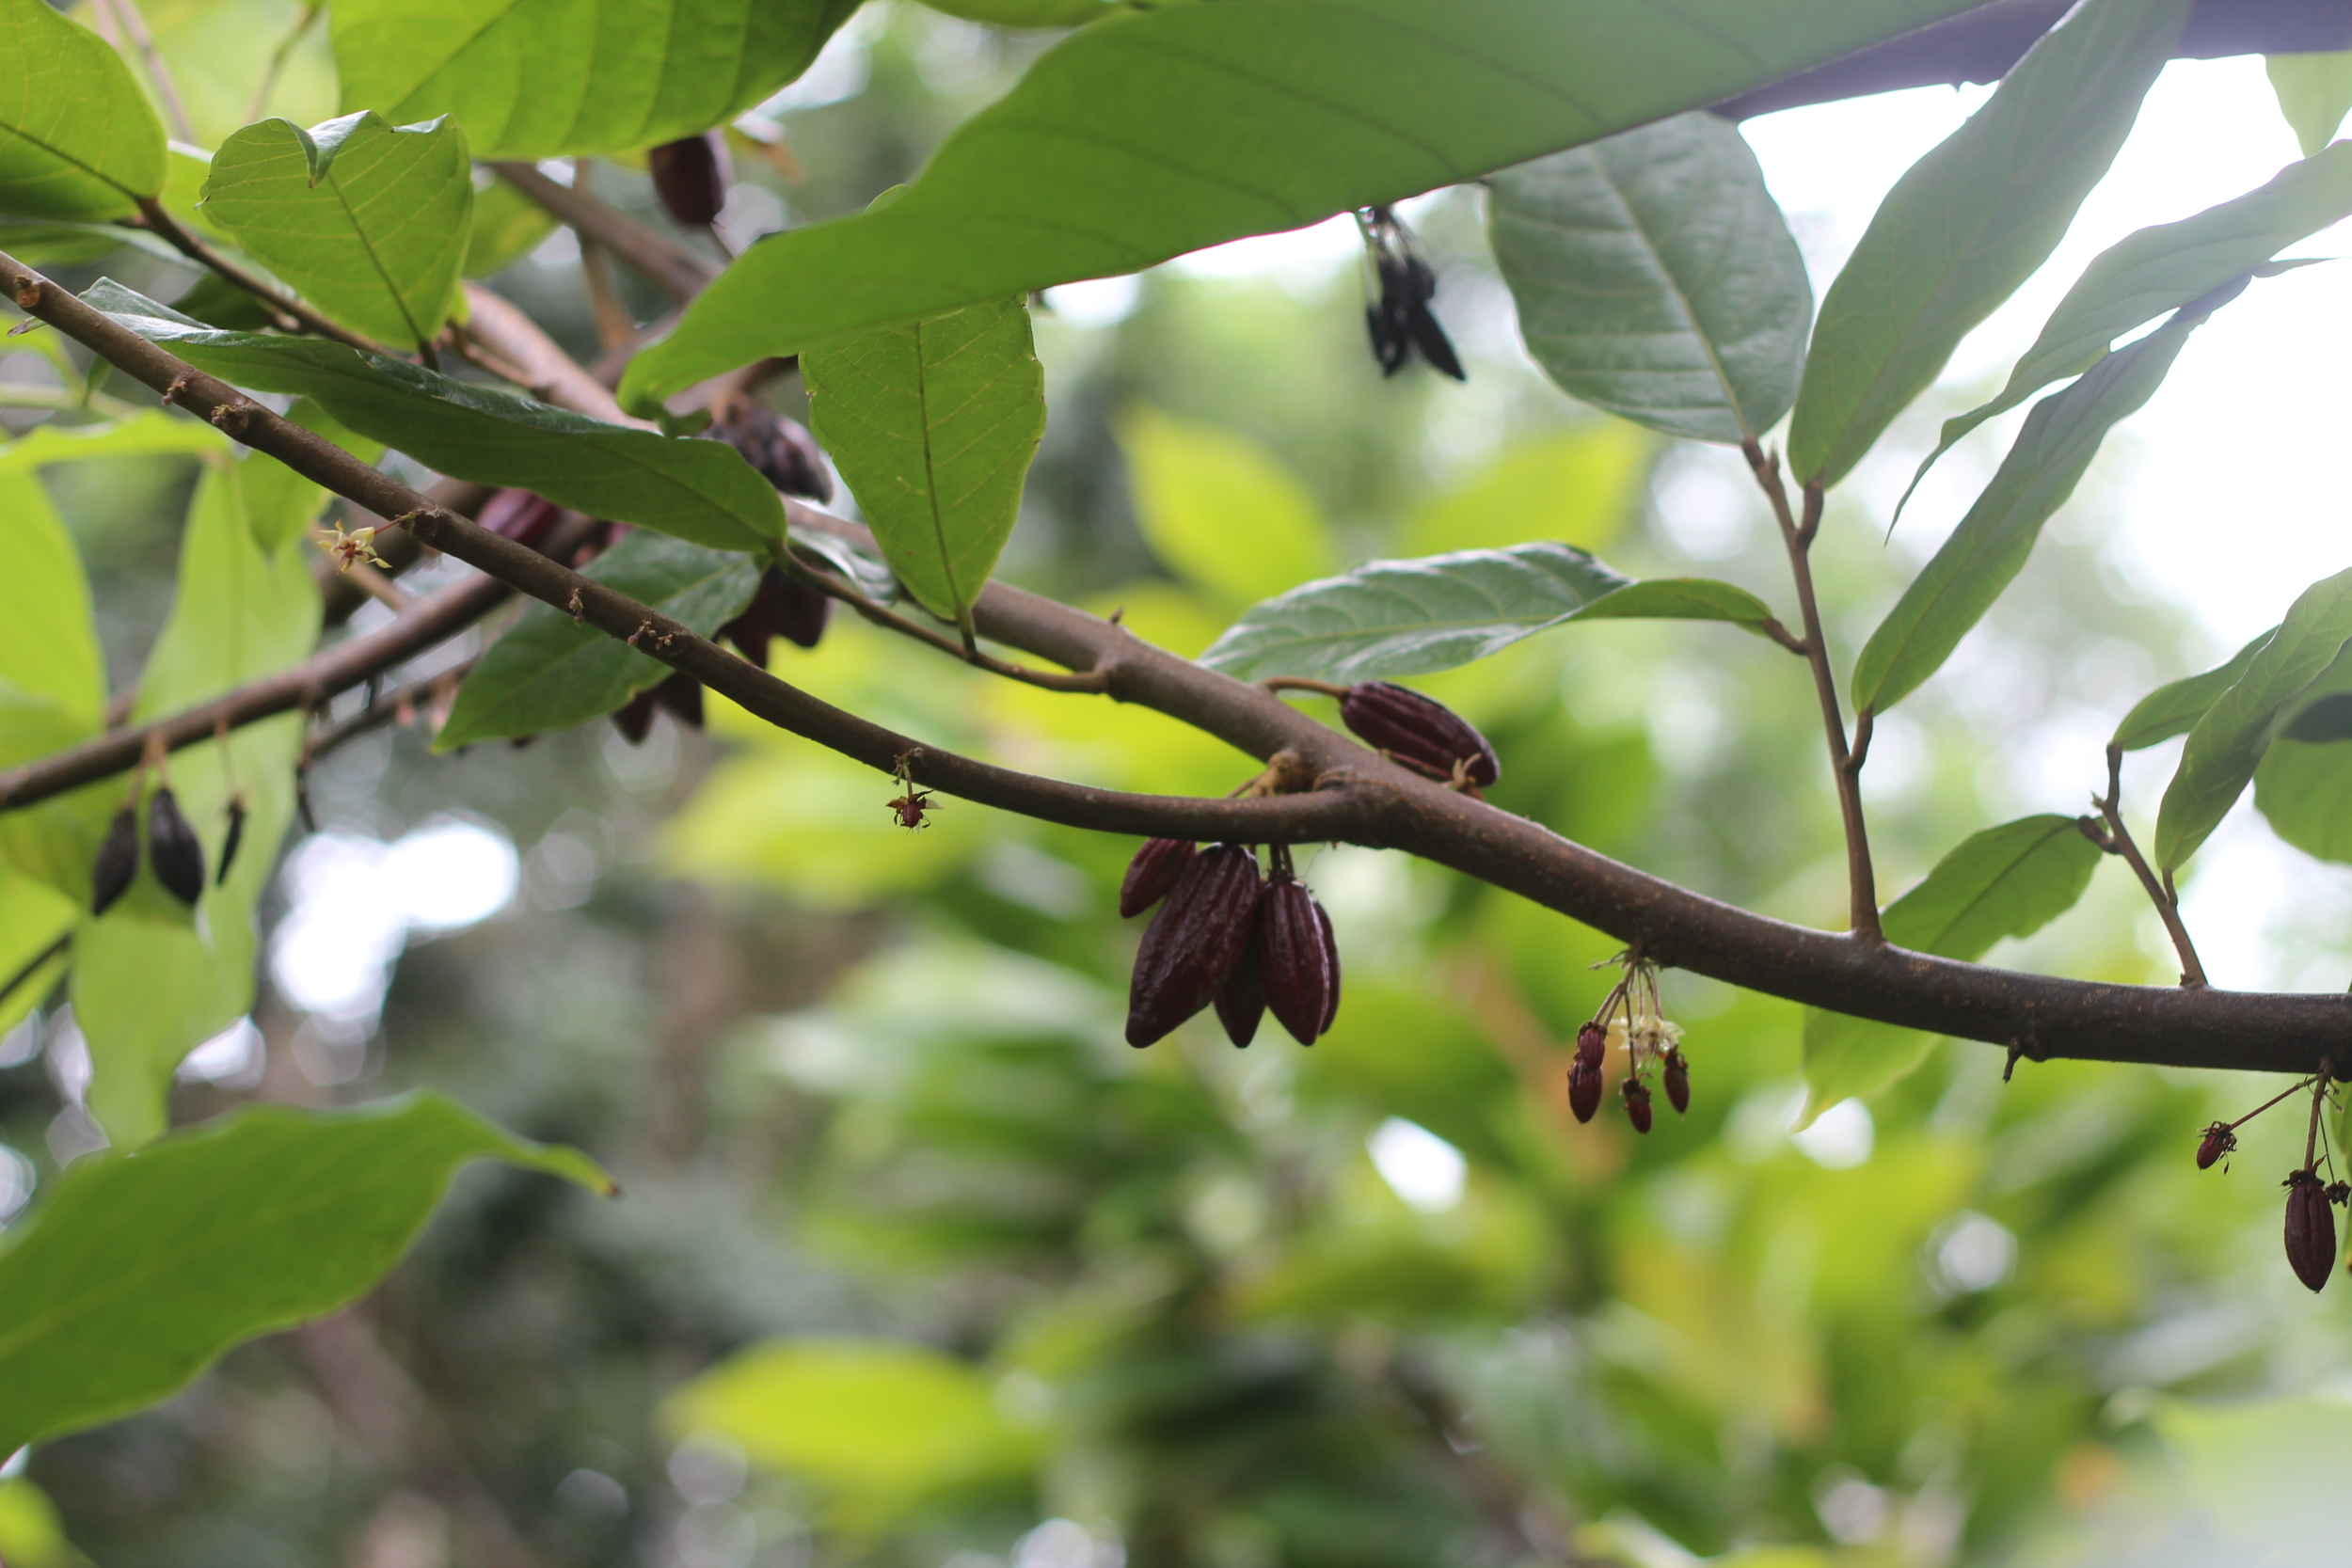
tiny baby pods!
tiny baby pods!
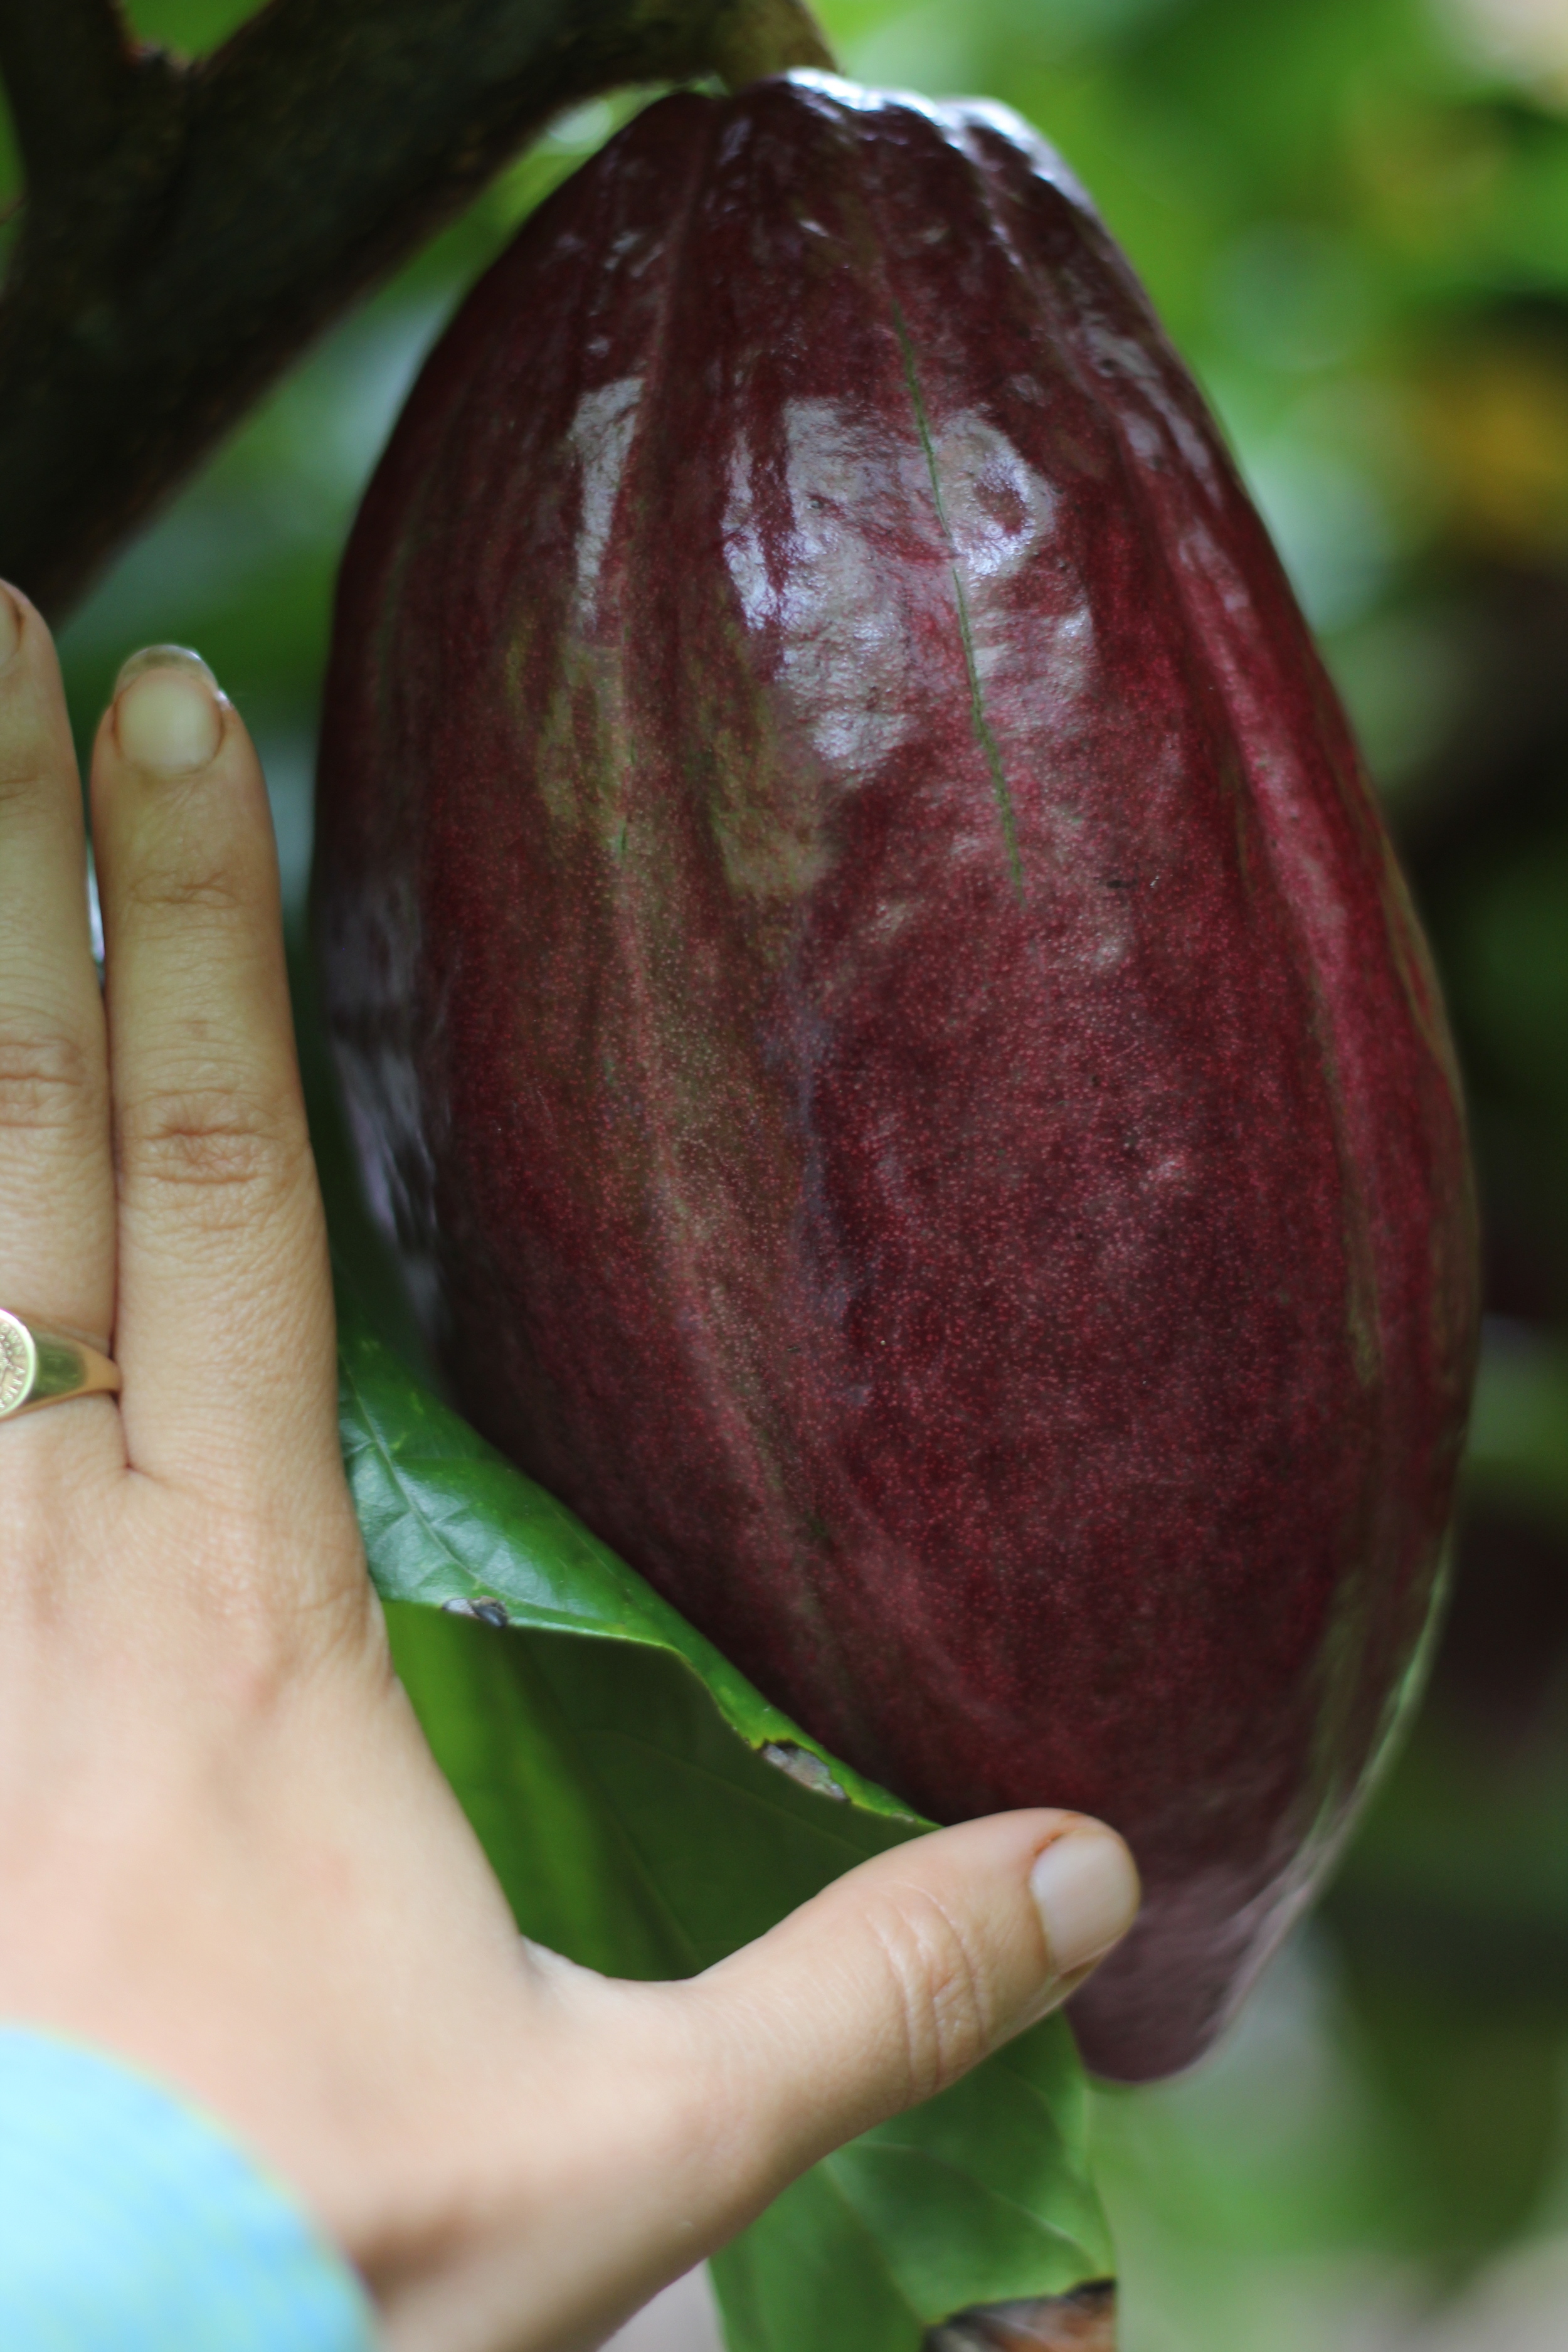
this is a big one!
this is a big one!
they come in a variety of shapes and sizes
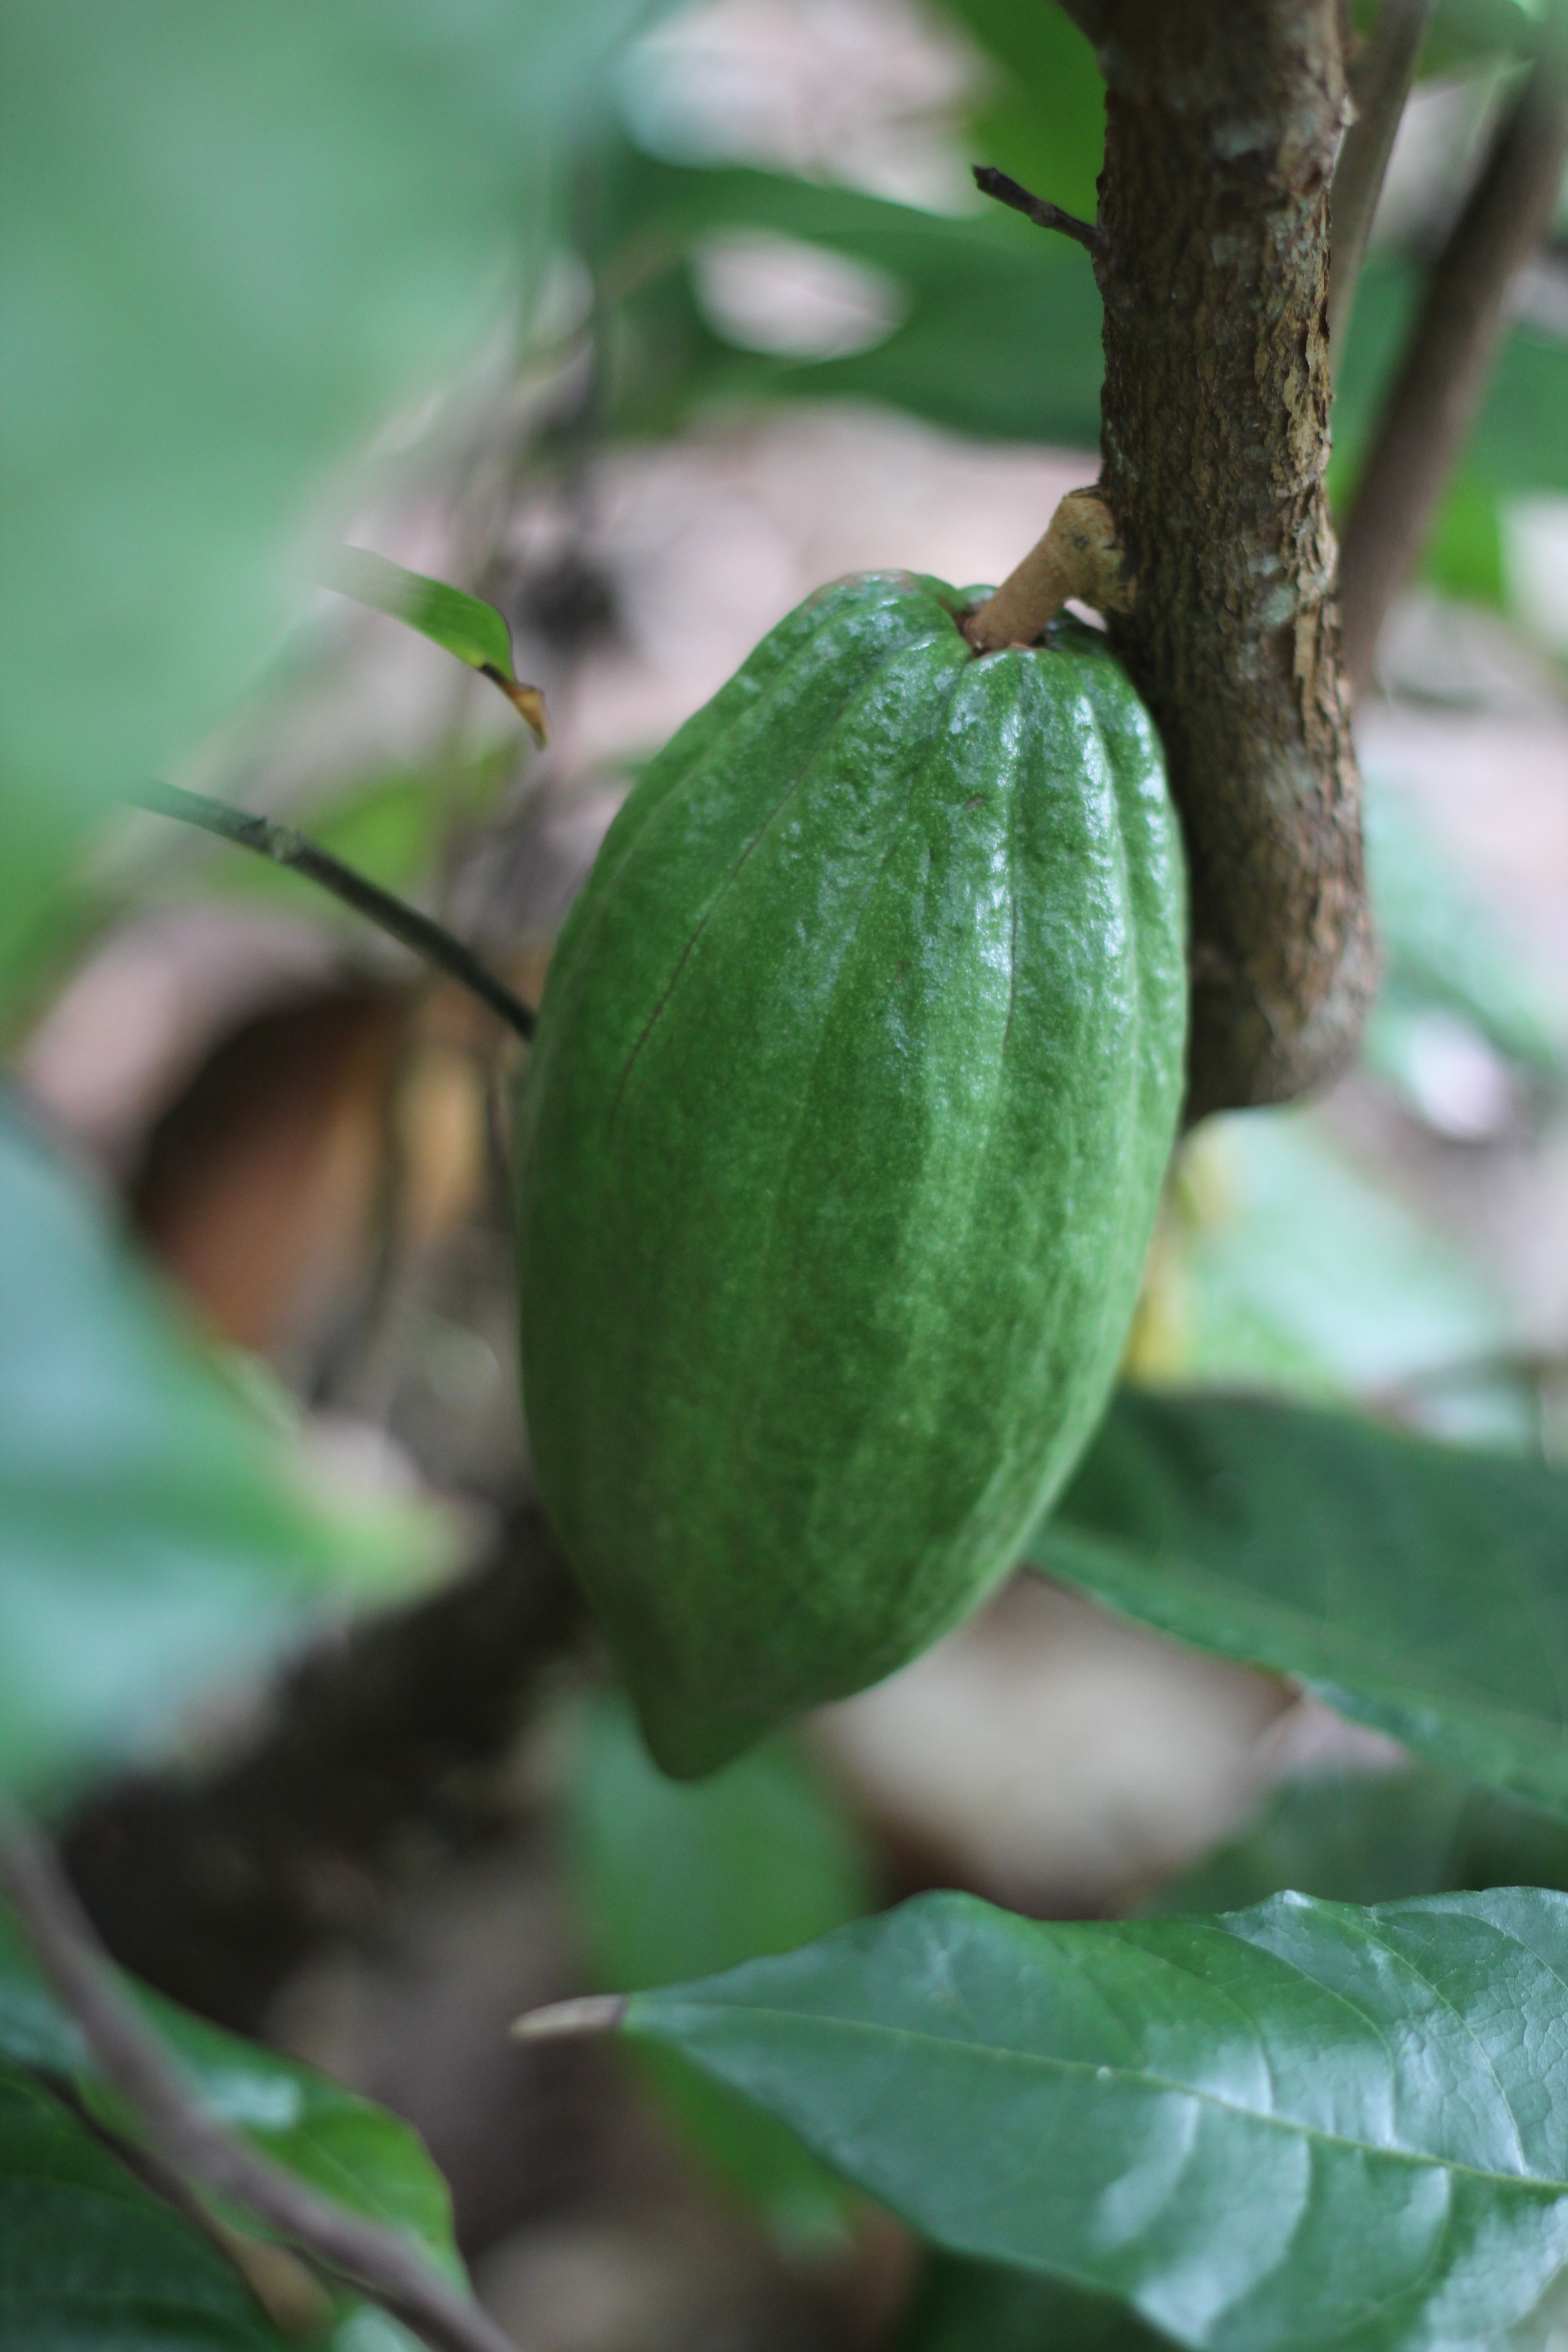
a green pod - full size but far from ripe
some striped pods
some striped pods
they're just so beautiful!
cacao trees another view of the cacao grove cacao pods IMG_4397.JPG some grow right off the base of the trunk!  To check whether they're ready to be harvested, we nick the skin. If it's yellow, they're ready. If it's green, it needs more time. You can see the nick I made in the upper left - this one's ready! tiny baby pods! this is a big one! they come in a variety of shapes and sizes a green pod - full size but far from ripe some striped pods they're just so beautiful!

First, we harvest the cacao. It grows here year round, and we harvest roughly once a month when enough pods are ripe enough for a decent batch. Click through the photos above for more details on trees and pods.

step 2: crack open & get the fruit and beans out!

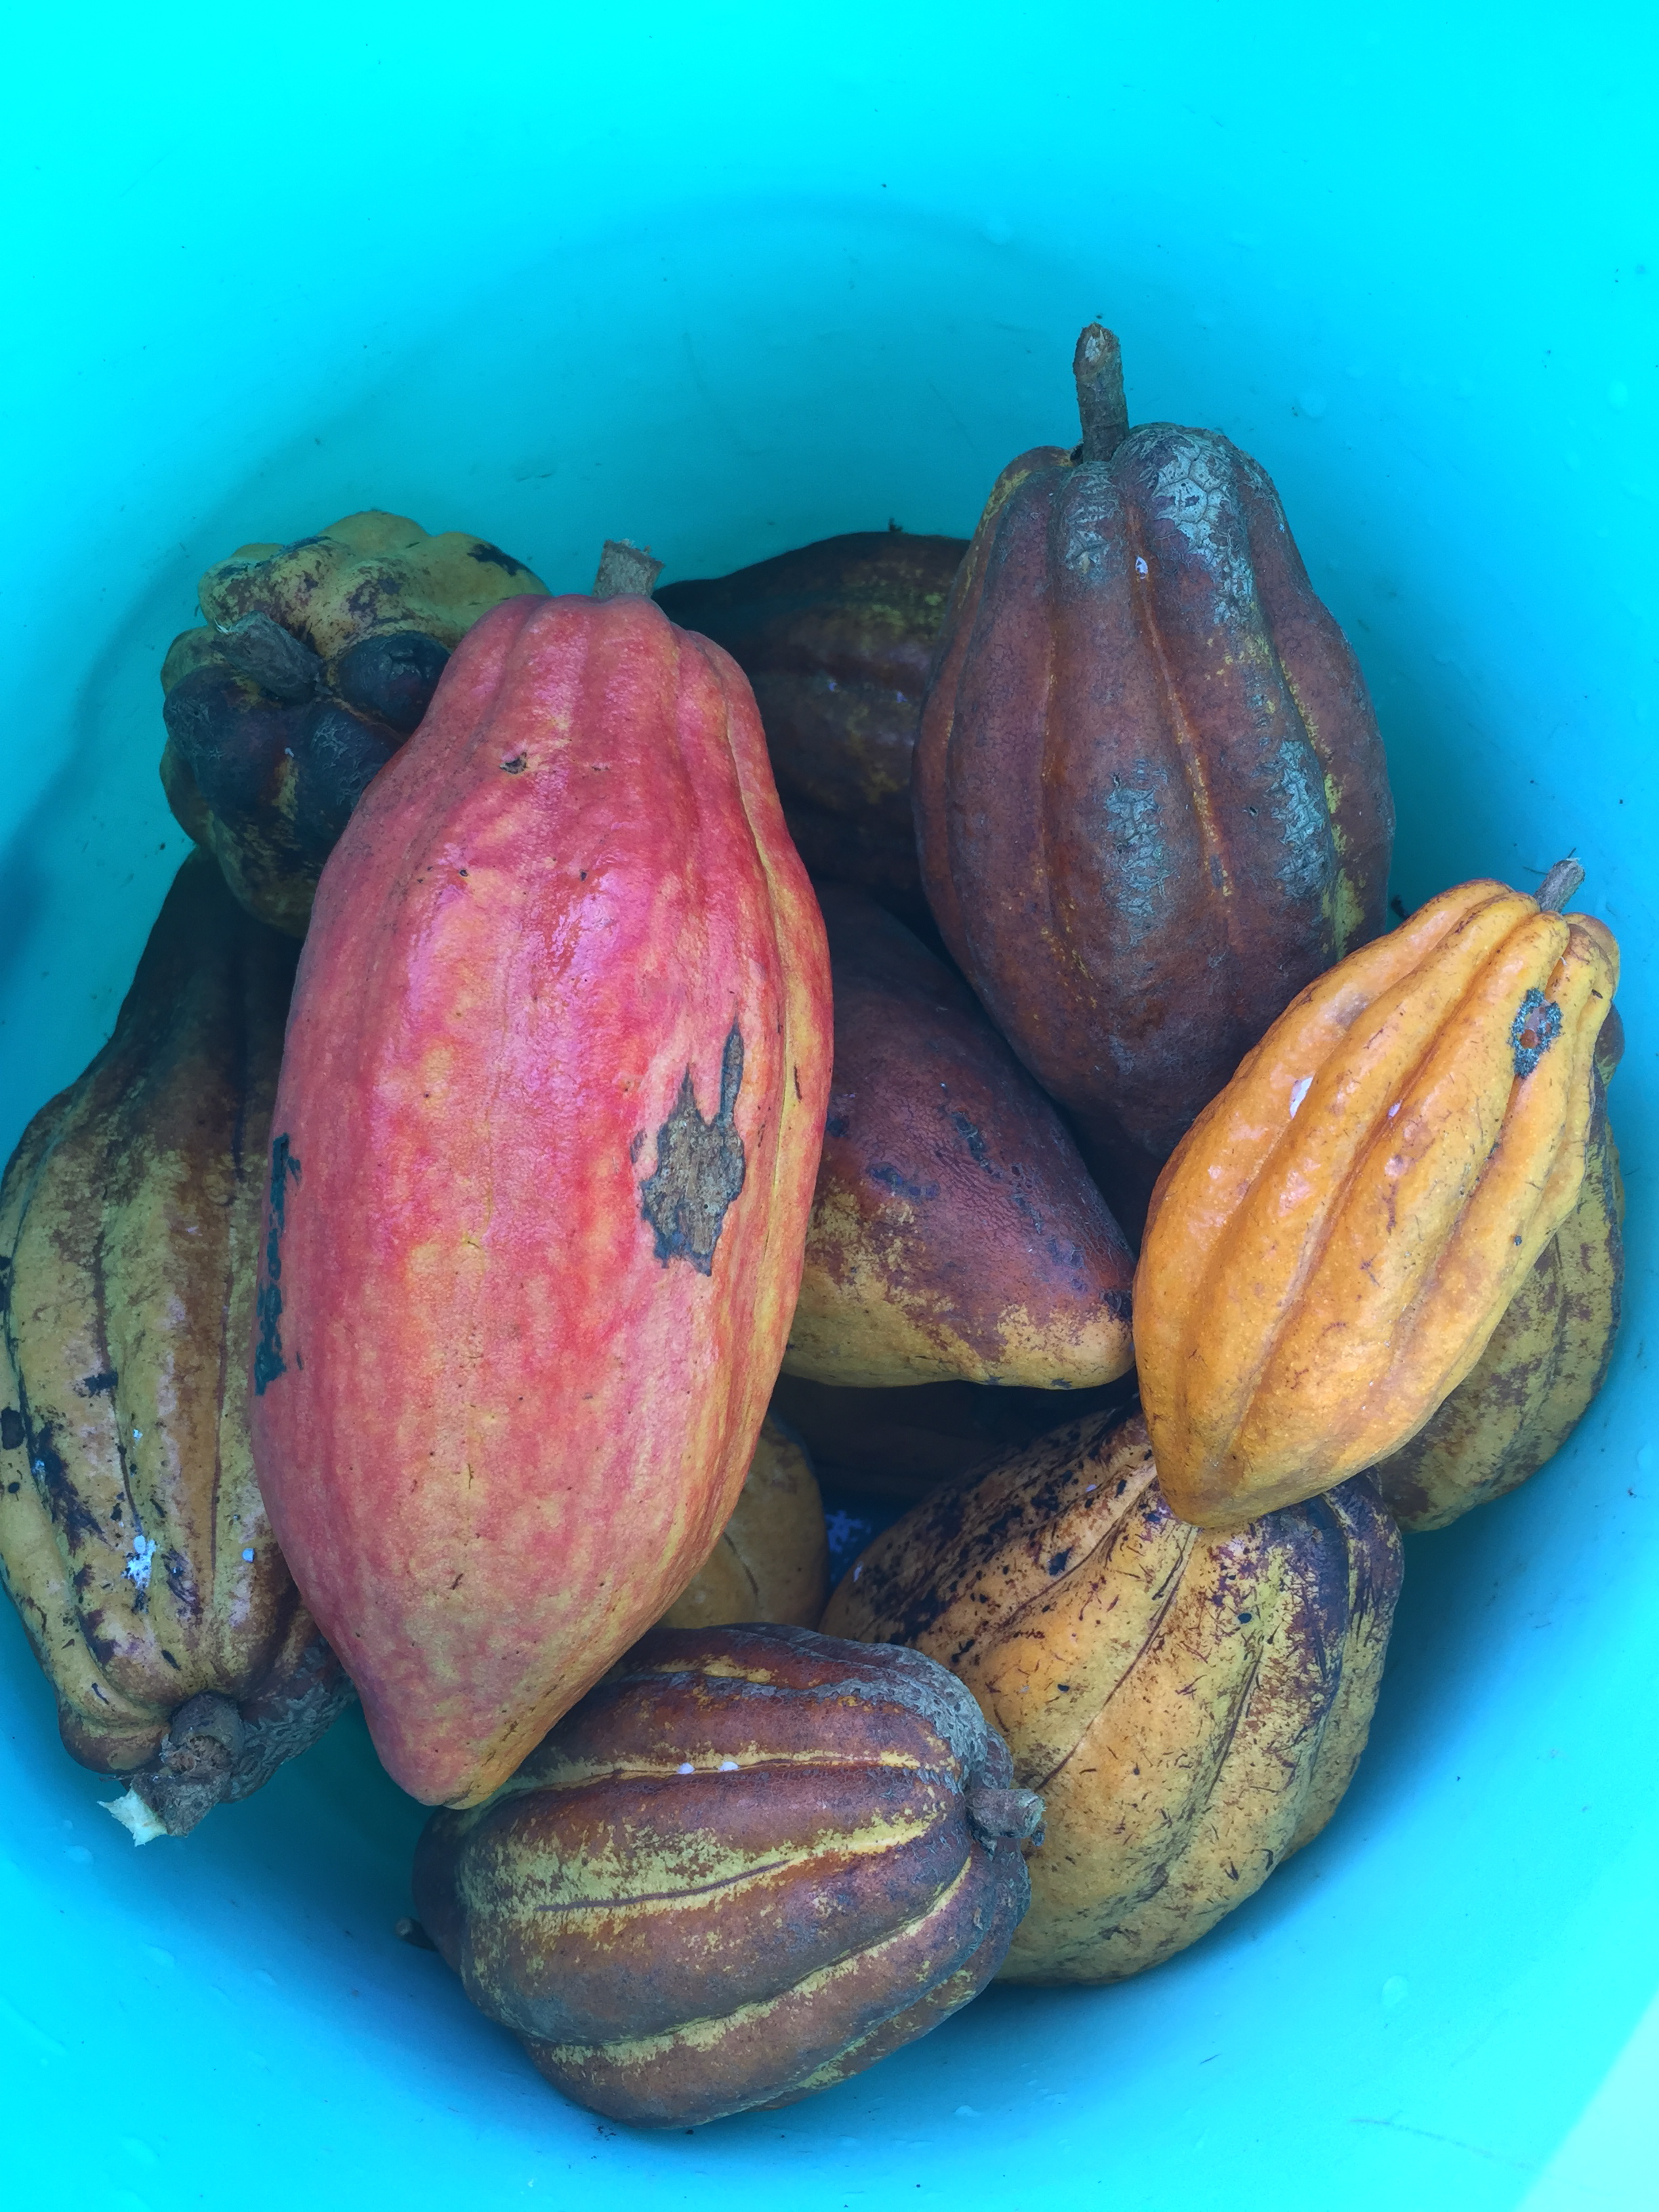
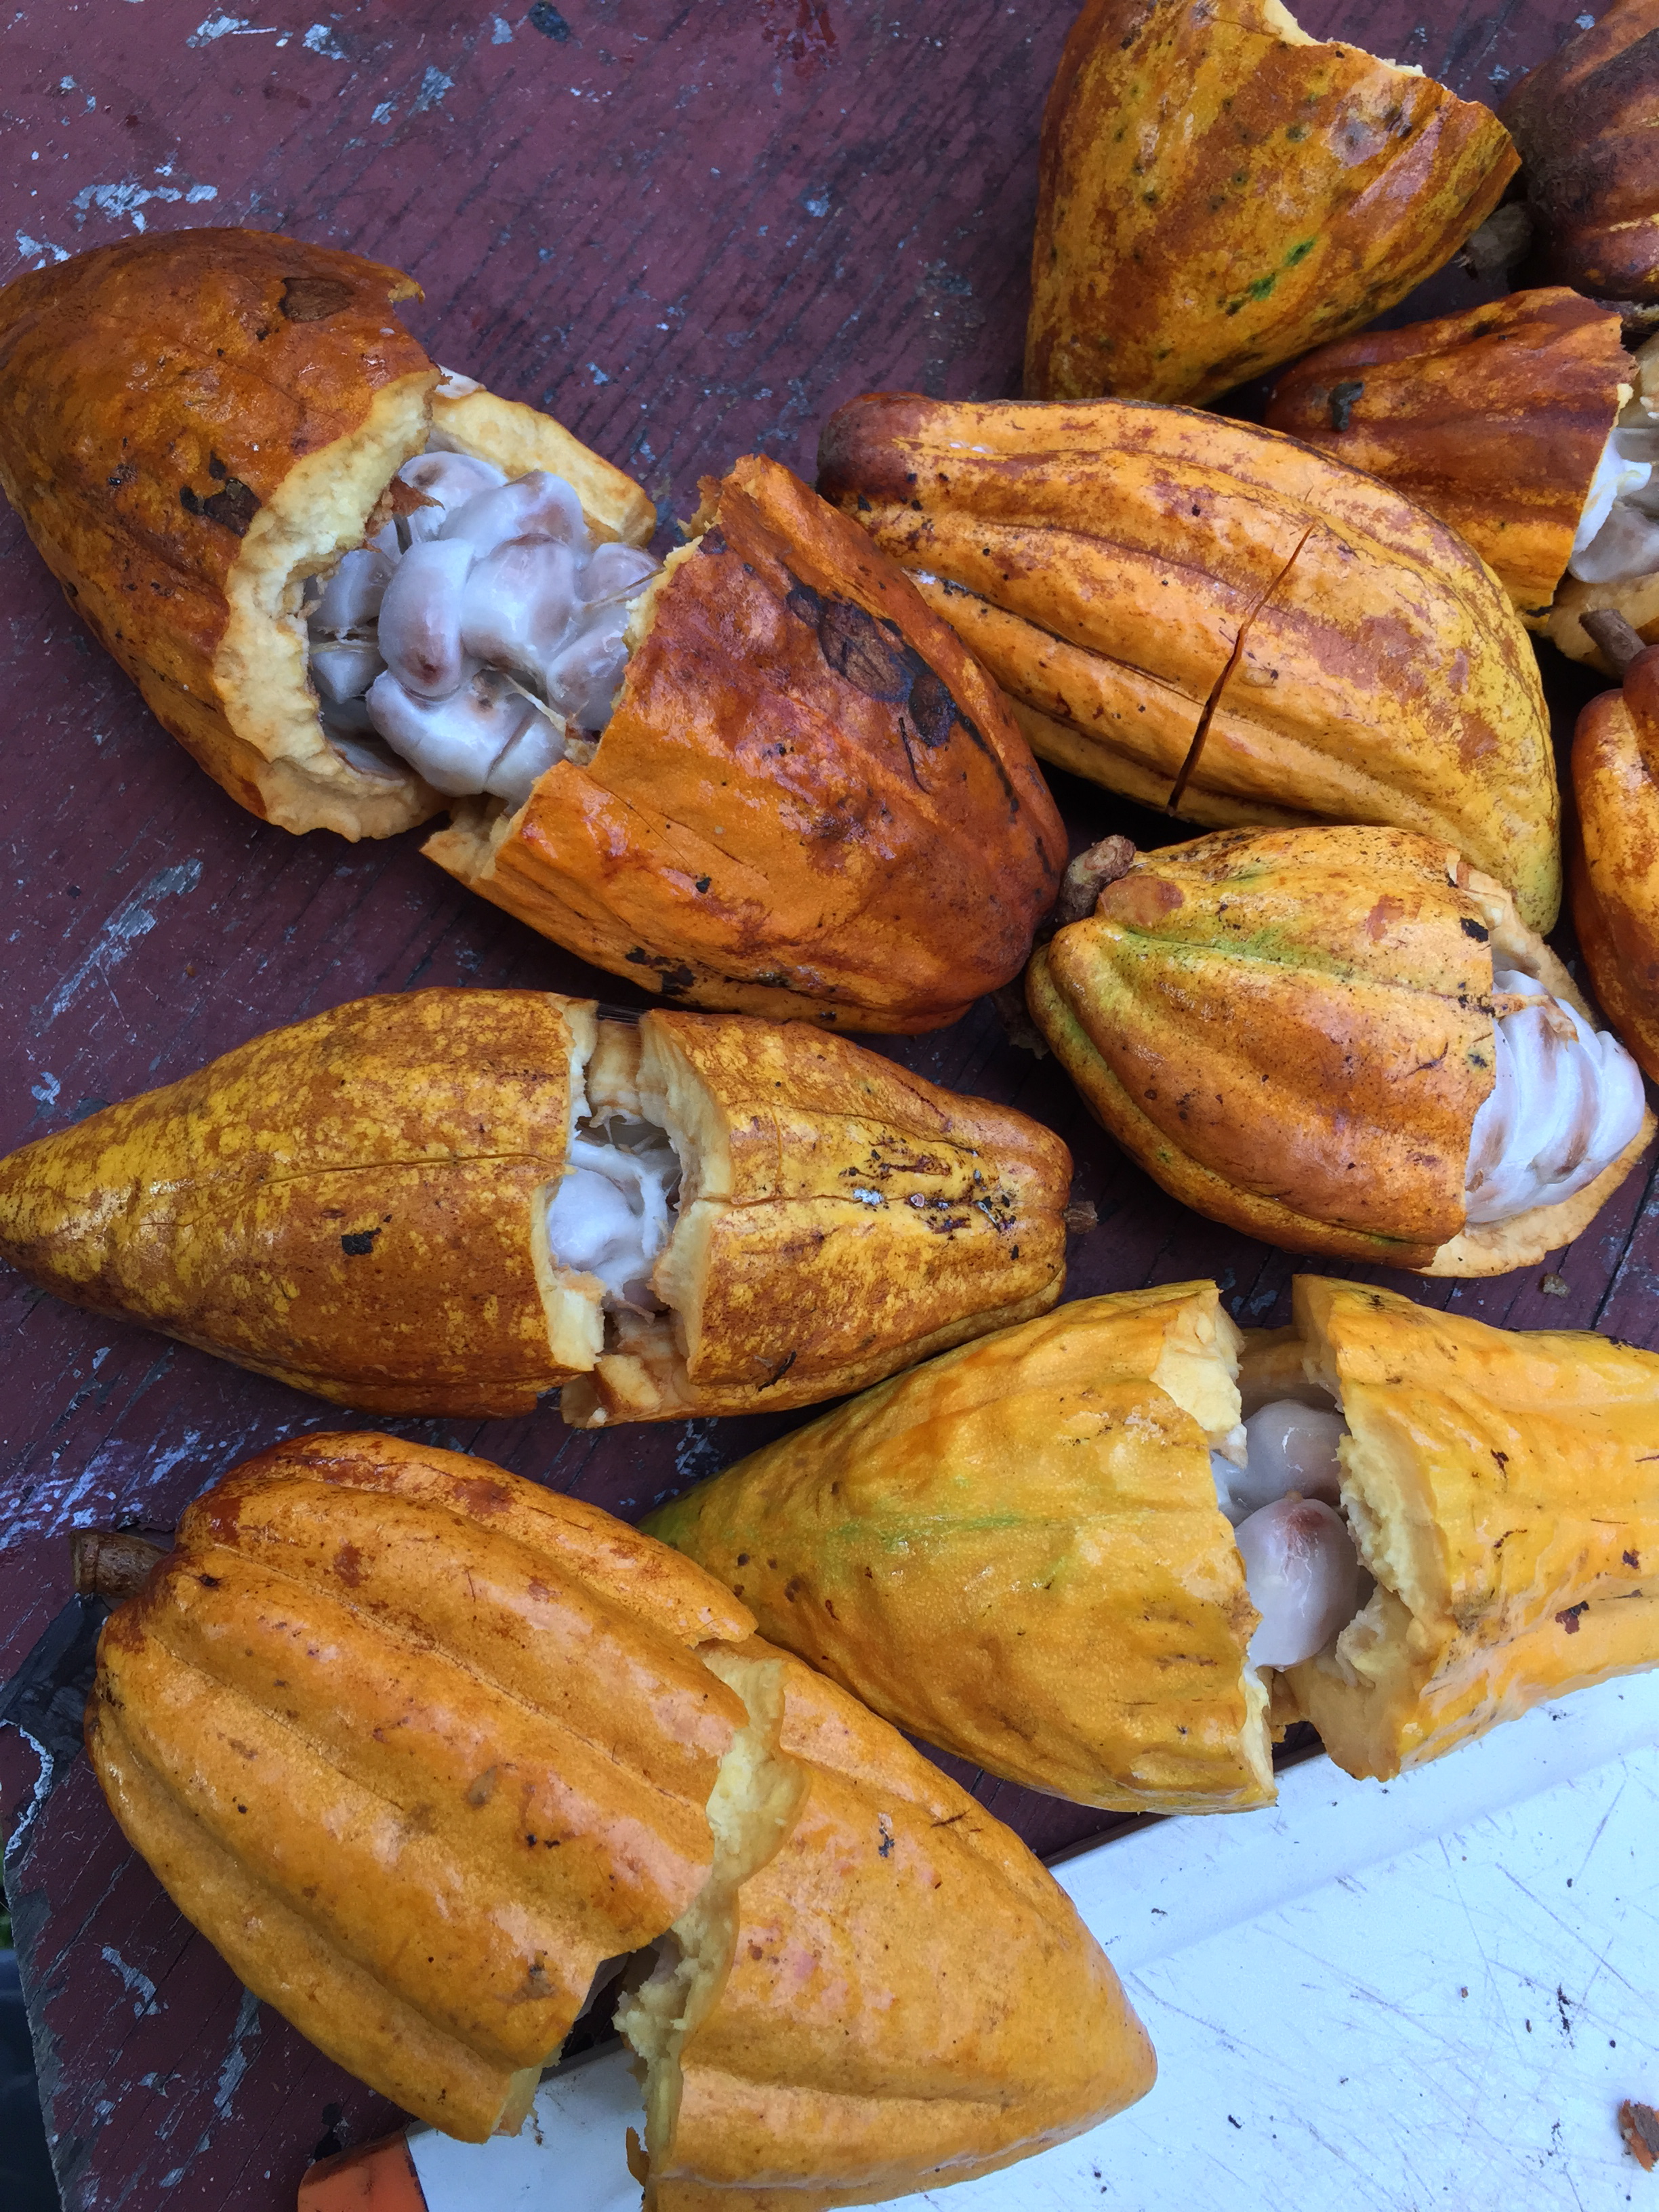
harvested cacao pods

the brown means some of these are a tad overripe 

File_002.jpg
File_004.jpg
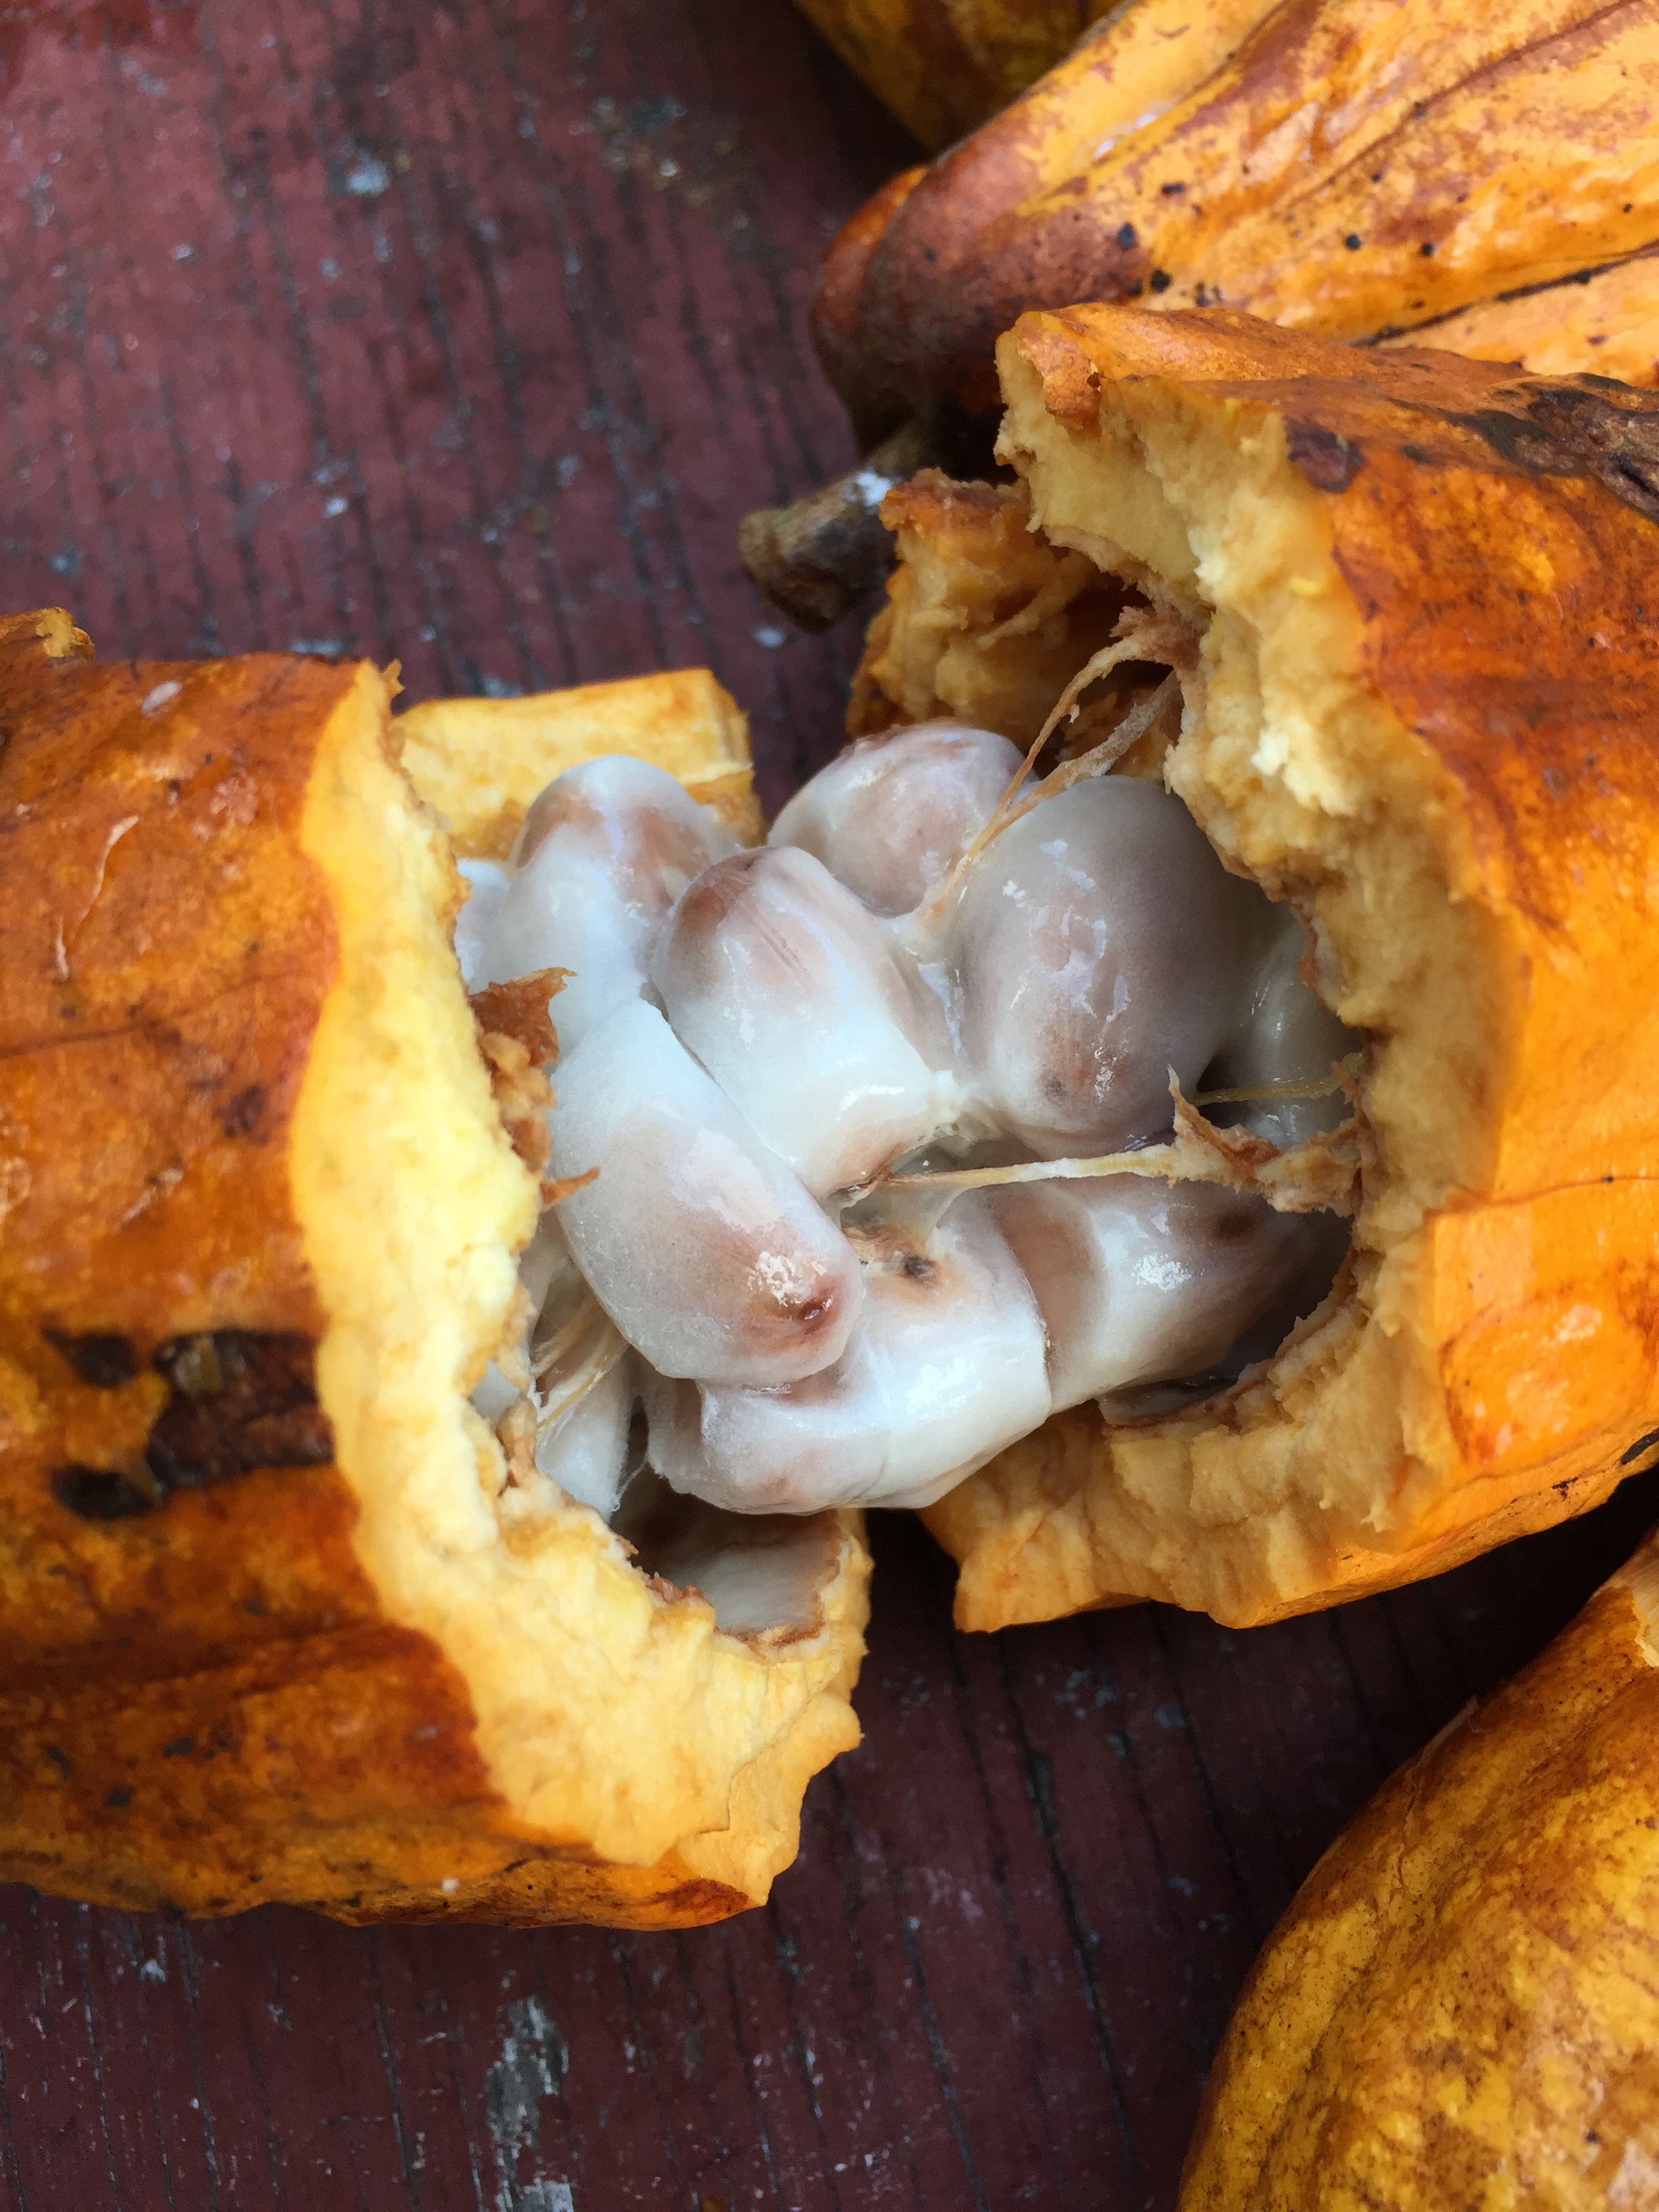
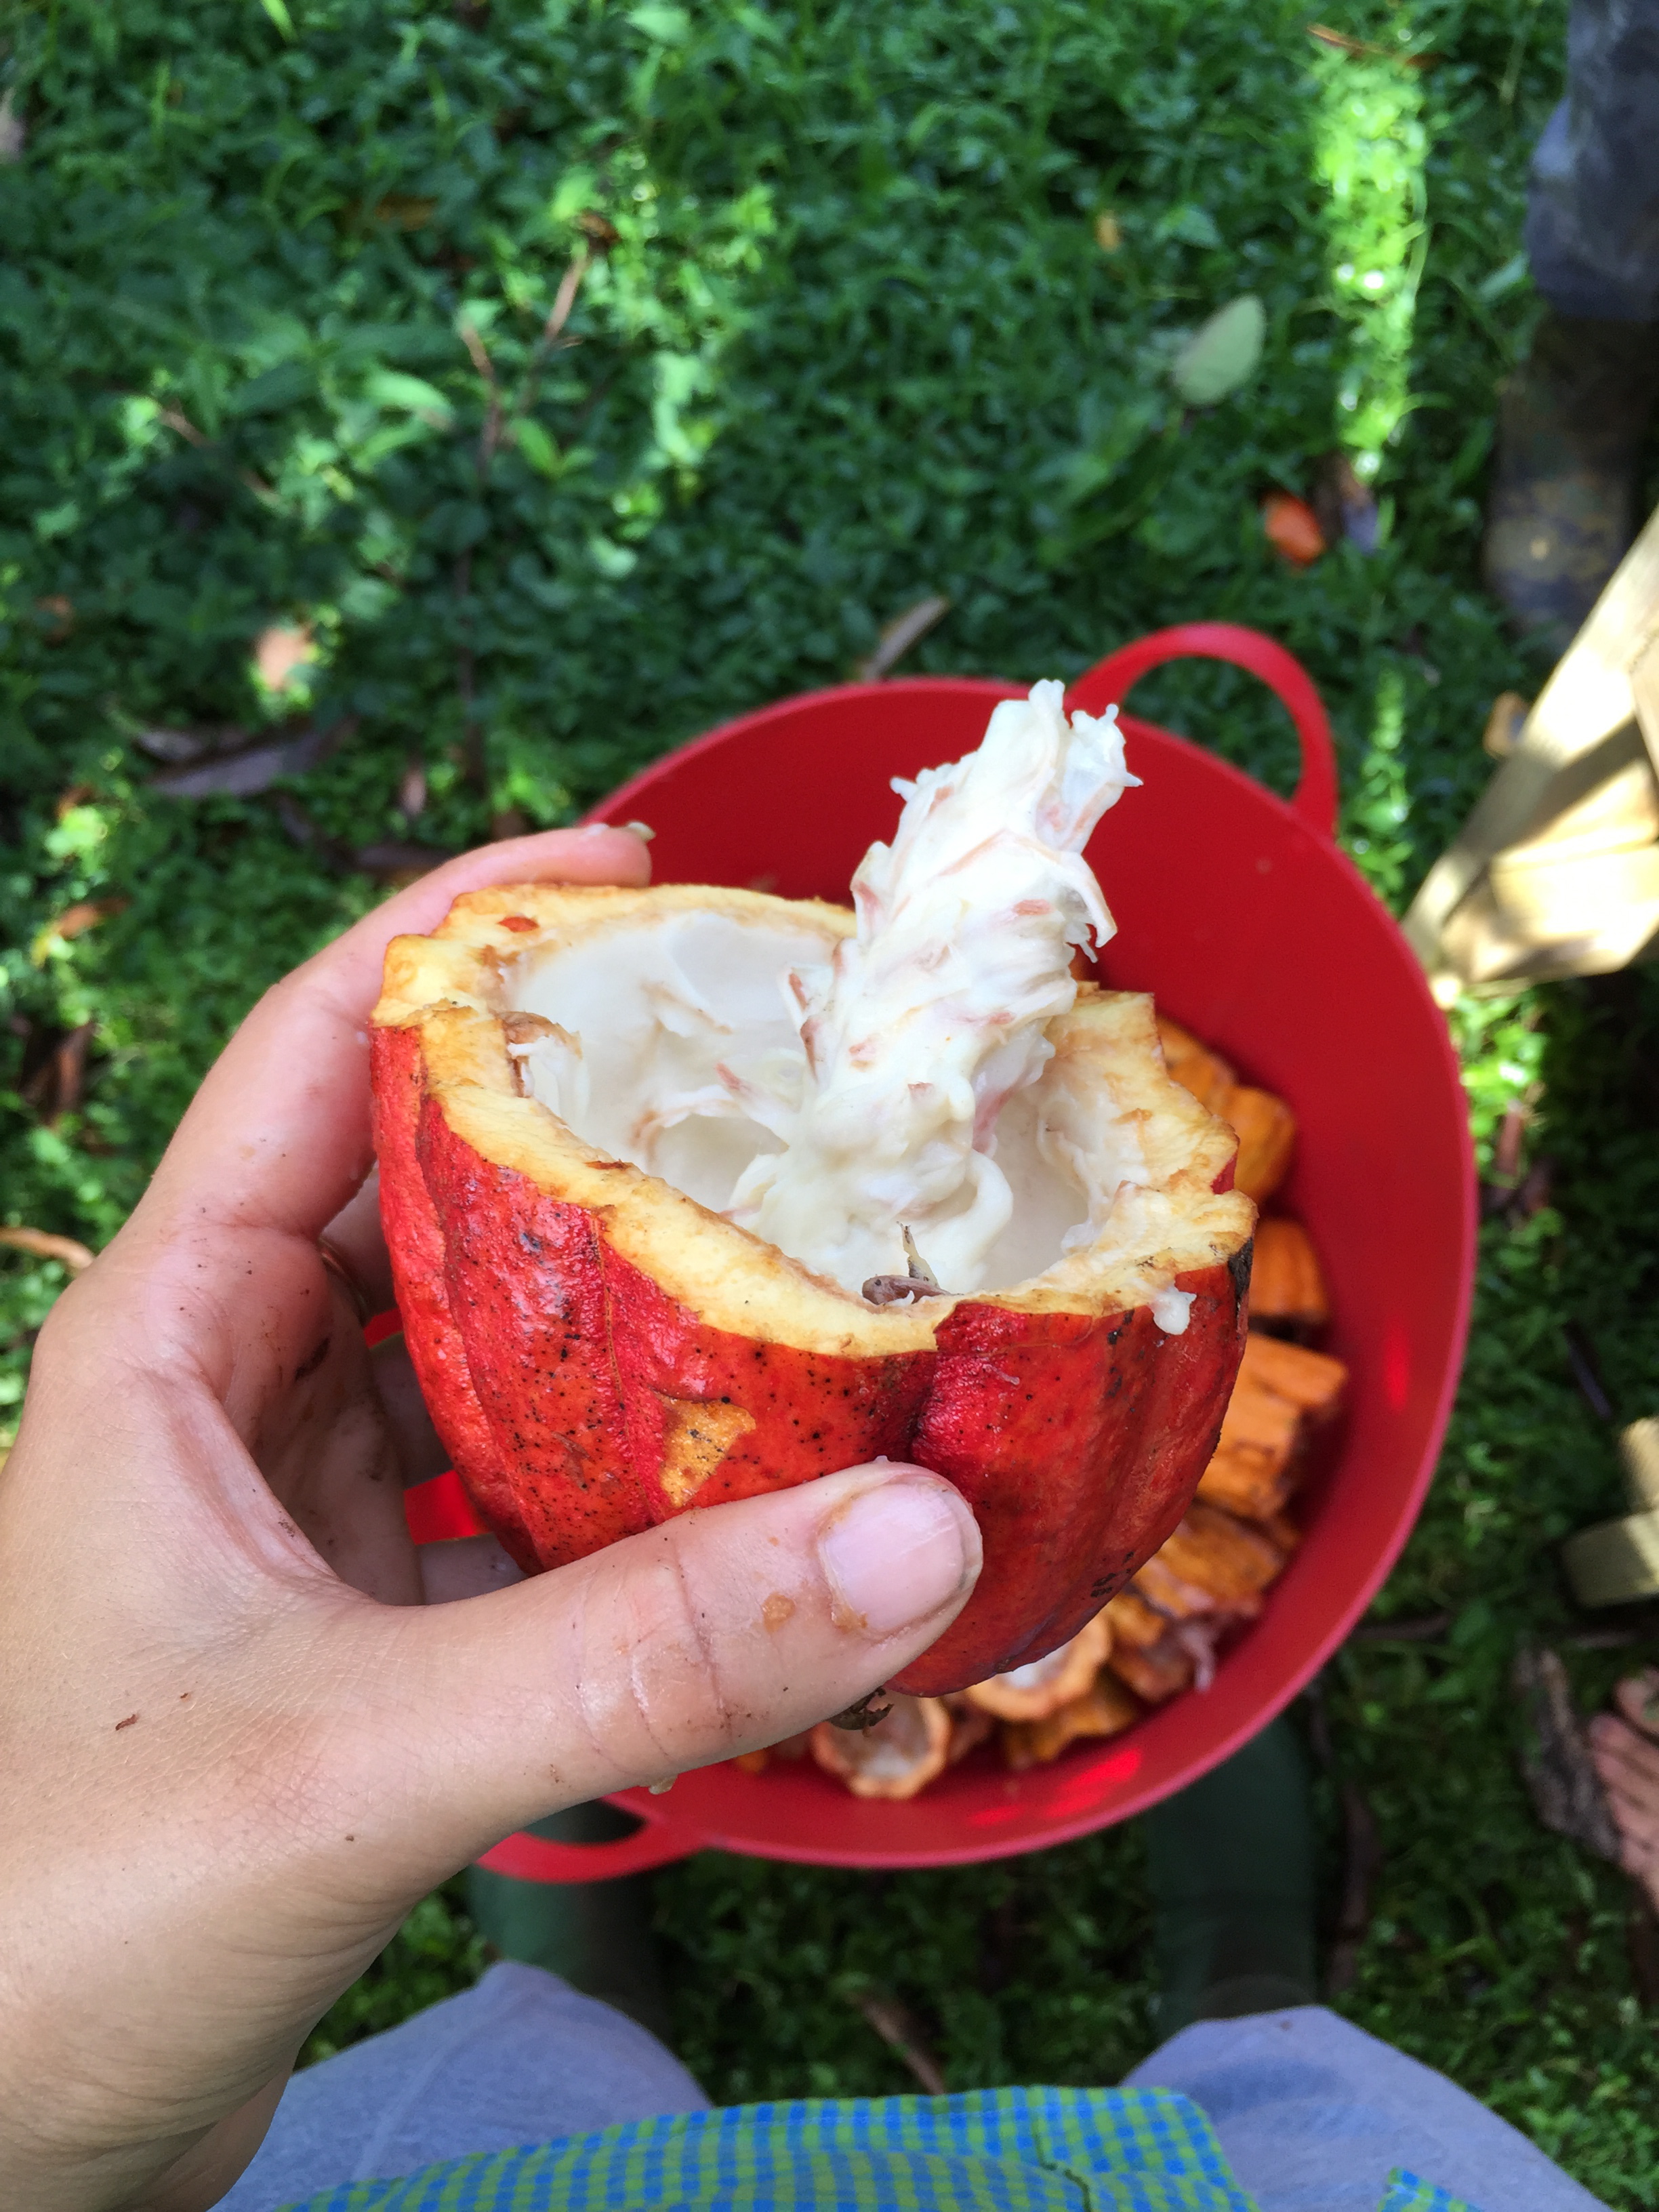
 milky white fruit coating the beans inside

milky white fruit coating the beans inside

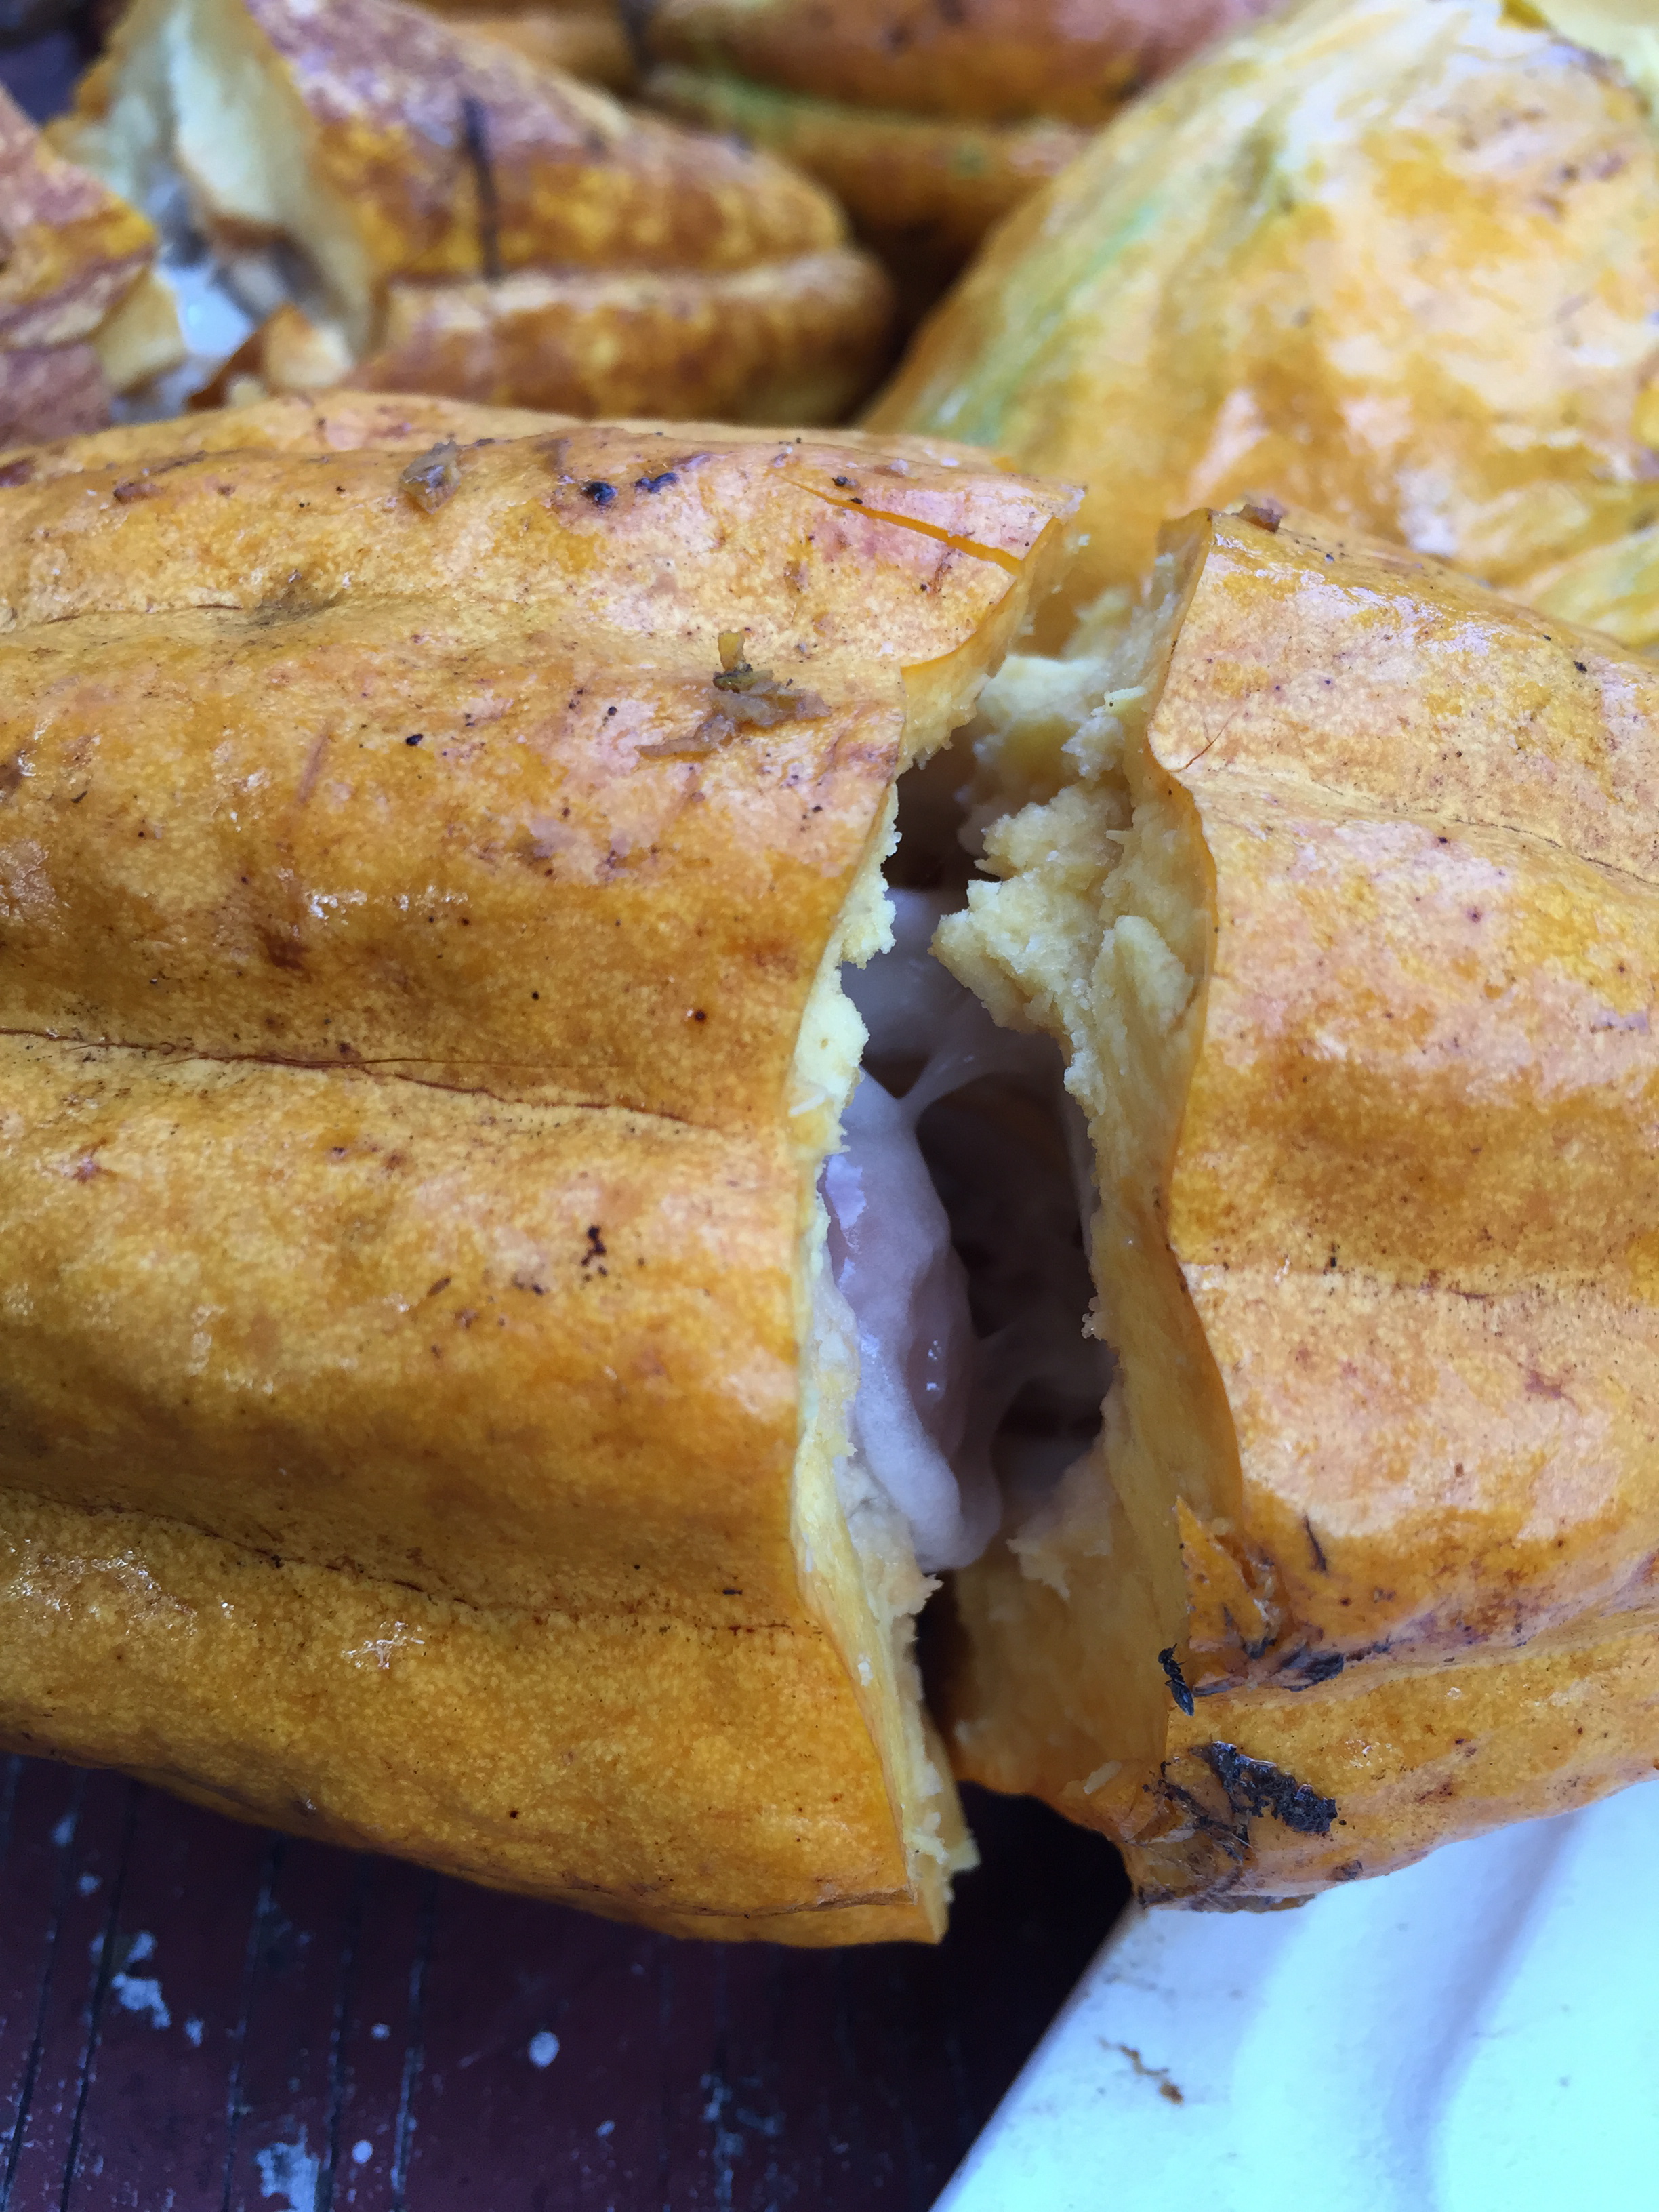
 you can see that the pod's outer layer is extremely thick - at least a half inch all the way around - so our nicks to test ripeness don't hurt it at all

you can see that the pod's outer layer is extremely thick - at least a half inch all the way around - so our nicks to test ripeness don't hurt it at all

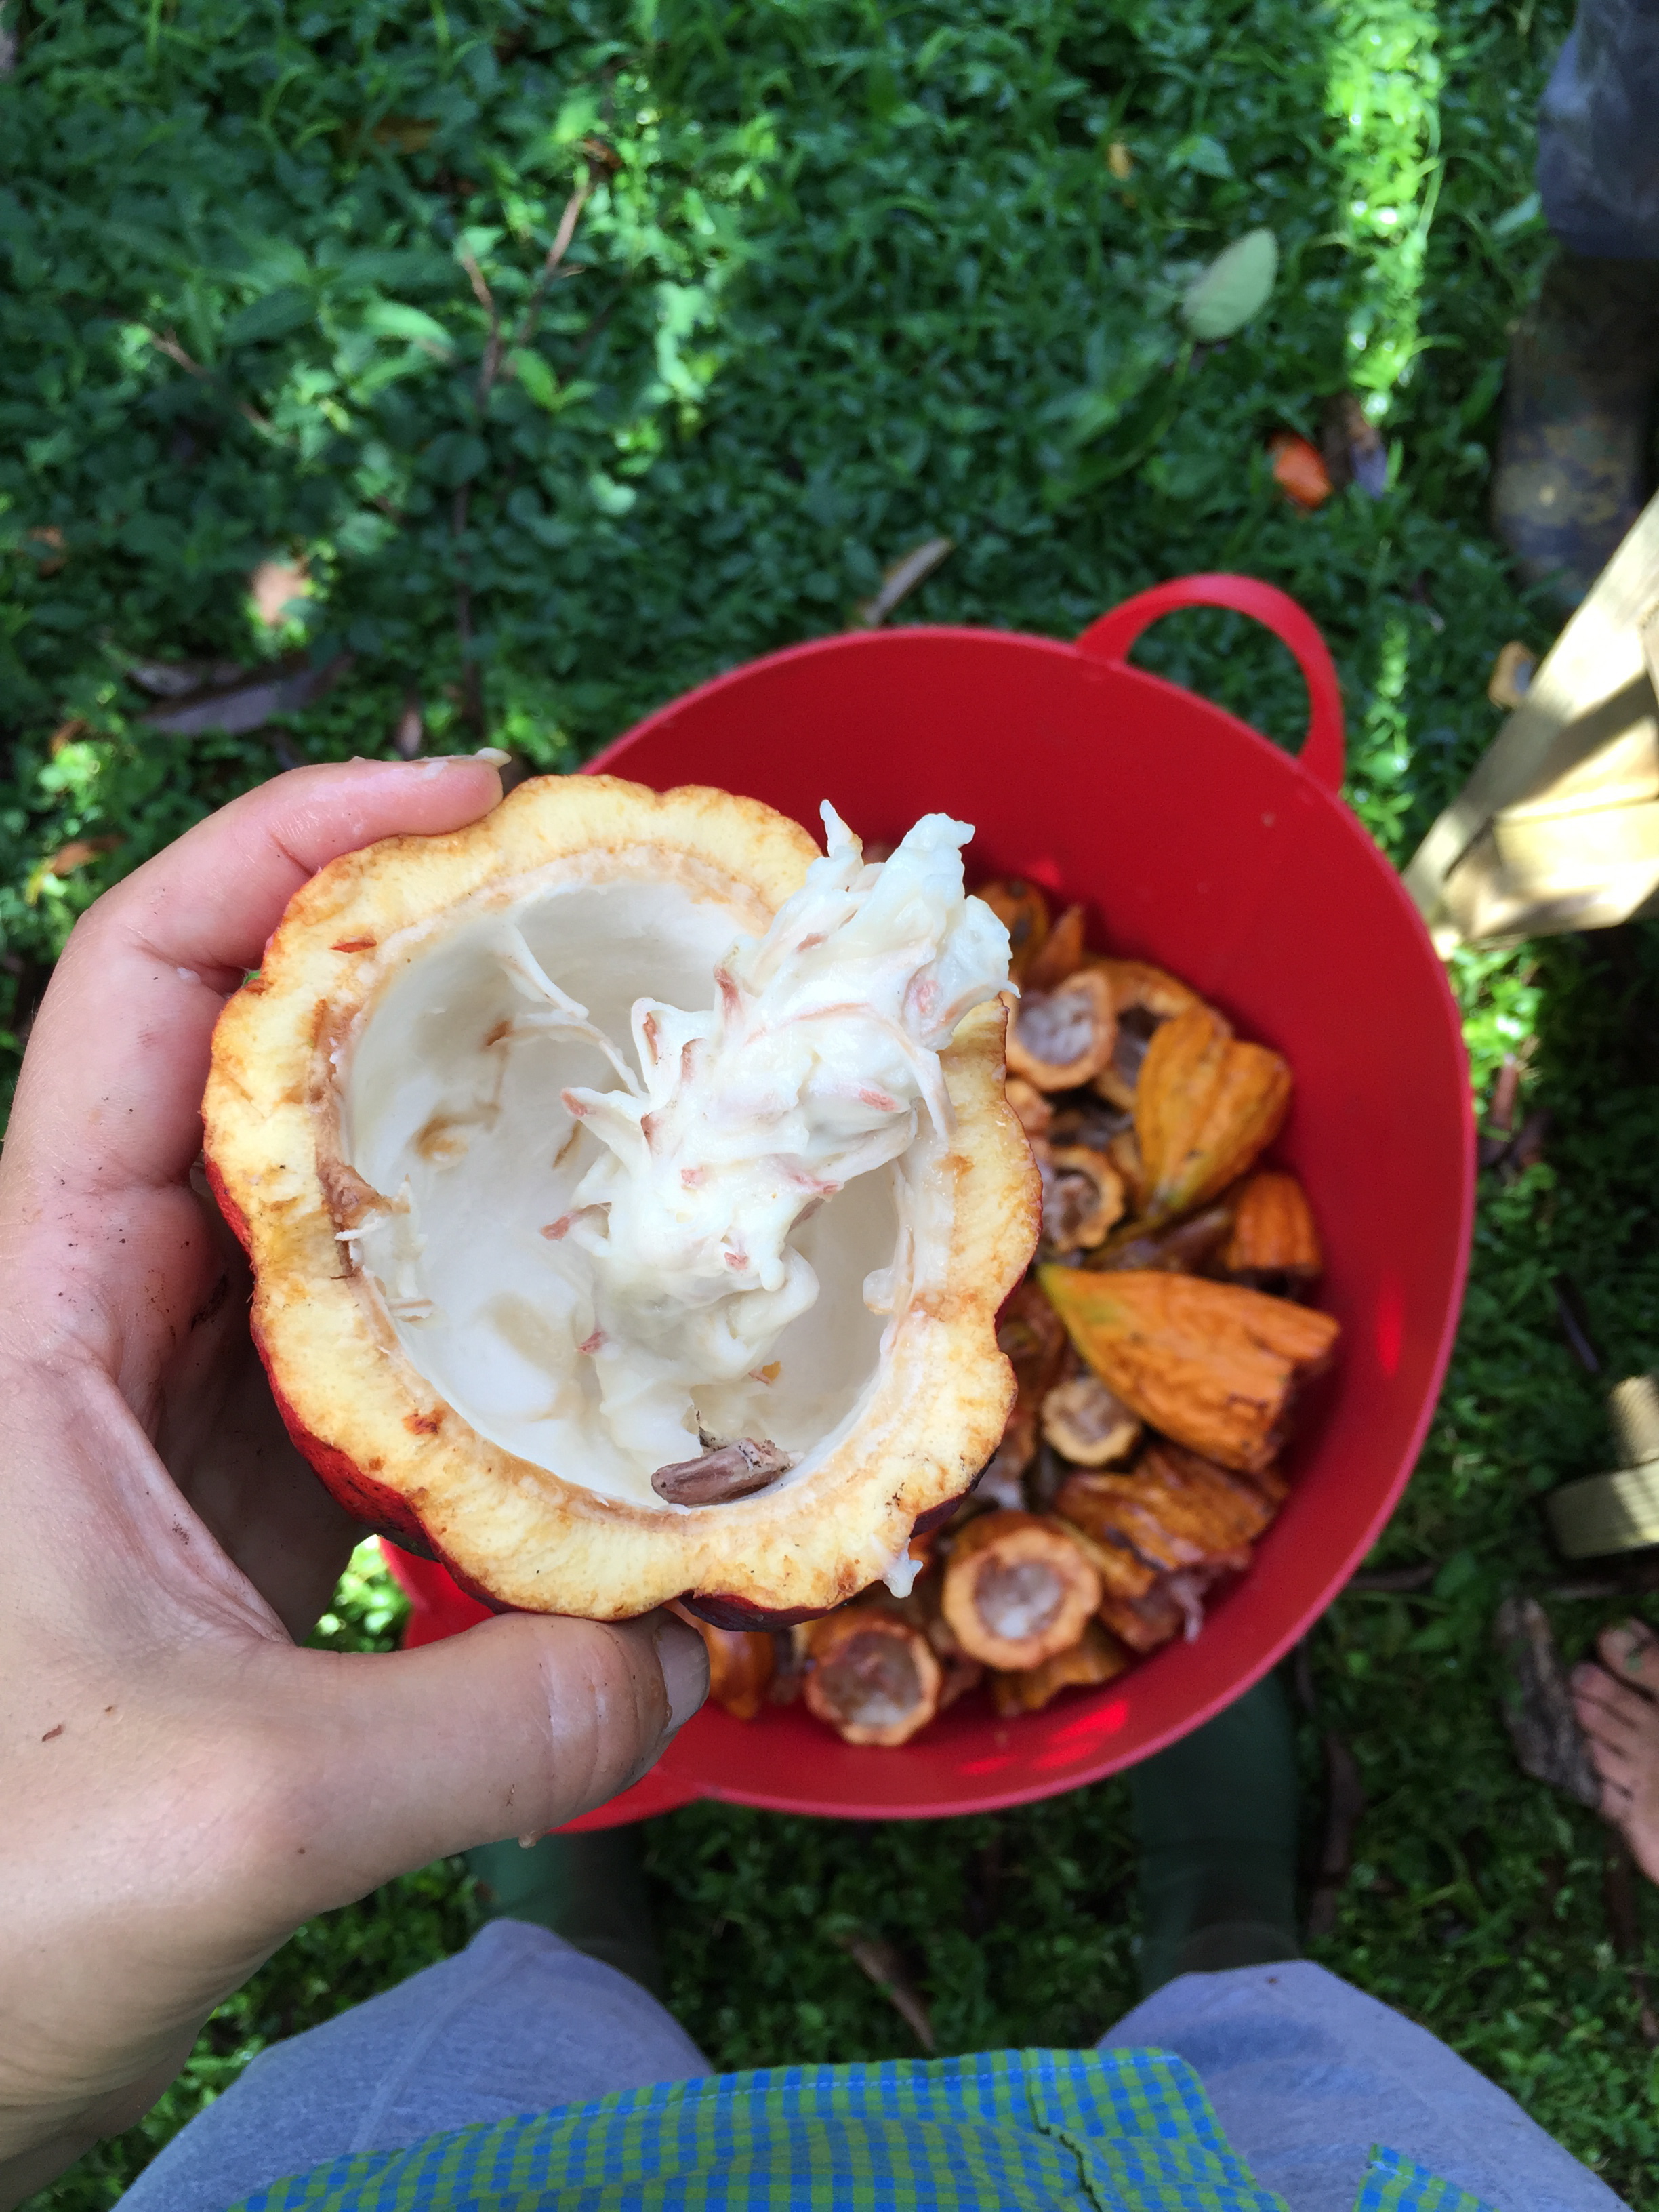
pod with fruit taken out
i ate the middle stringy part

it's just more fruit - I couldn't get enough!

harvested cacao pods File_002.jpg File_004.jpg  milky white fruit coating the beans inside  you can see that the pod's outer layer is extremely thick - at least a half inch all the way around - so our nicks to test ripeness don't hurt it at all pod with fruit taken out i ate the middle stringy part

Immediately after the harvest, we clean the pods of any dirt and then crack them open by pounding each one a few times with a mallet. Inside is a spiral of milky white fruit that coats the beans. The way the pieces of fruit fit together in their spirals remind me of a honeycomb - so beautiful! The frothy fruit-covered beans may look a little unappetizing but, let me tell you, that white fruit is DELICIOUS! I can best describe it as bright, clean and refreshing - if you've ever tasted a lychee, it reminds me of that a little but a bit sweeter. Inside the white fruit are the cacao beans from which we make chocolate. The beans have funky shapes and sizes that vary throughout each pod. You can eat the bean at this stage - of course, I tried it just to see! - but they are extremely bitter and astringent, much more so than a dried raw cacao bean or nib.  

As we remove the fruit-covered beans from the pods, we put them into a colander with a bowl underneath to catch any extra juice. The next day we drink this juice - lovingly referred to as the "honey of the cacao" - there isn't a ton of it (maybe three small glasses from this harvest) but BOY IS IT DELICIOUS!!!!!! Same flavor as the fruit but in juice form - light and refreshing like fresh coconut water but with a completely different and delicious flavor.

step 3: fermentation

fruit-covered cacao beans as they drain and start fermentation

fruit-covered cacao beans as they drain and start fermentation

Once the fruit-covered beans are in their colander over a bowl, we let it drain on the counter overnight to collect the delicious juice. The next day they go into a banana-leaf-lined bin, tightly covered and then put inside a big wooden box, where they ferment in their fruit for 8 to 10 days.

the cacao fermentation box

the cacao fermentation box

step 4: drying

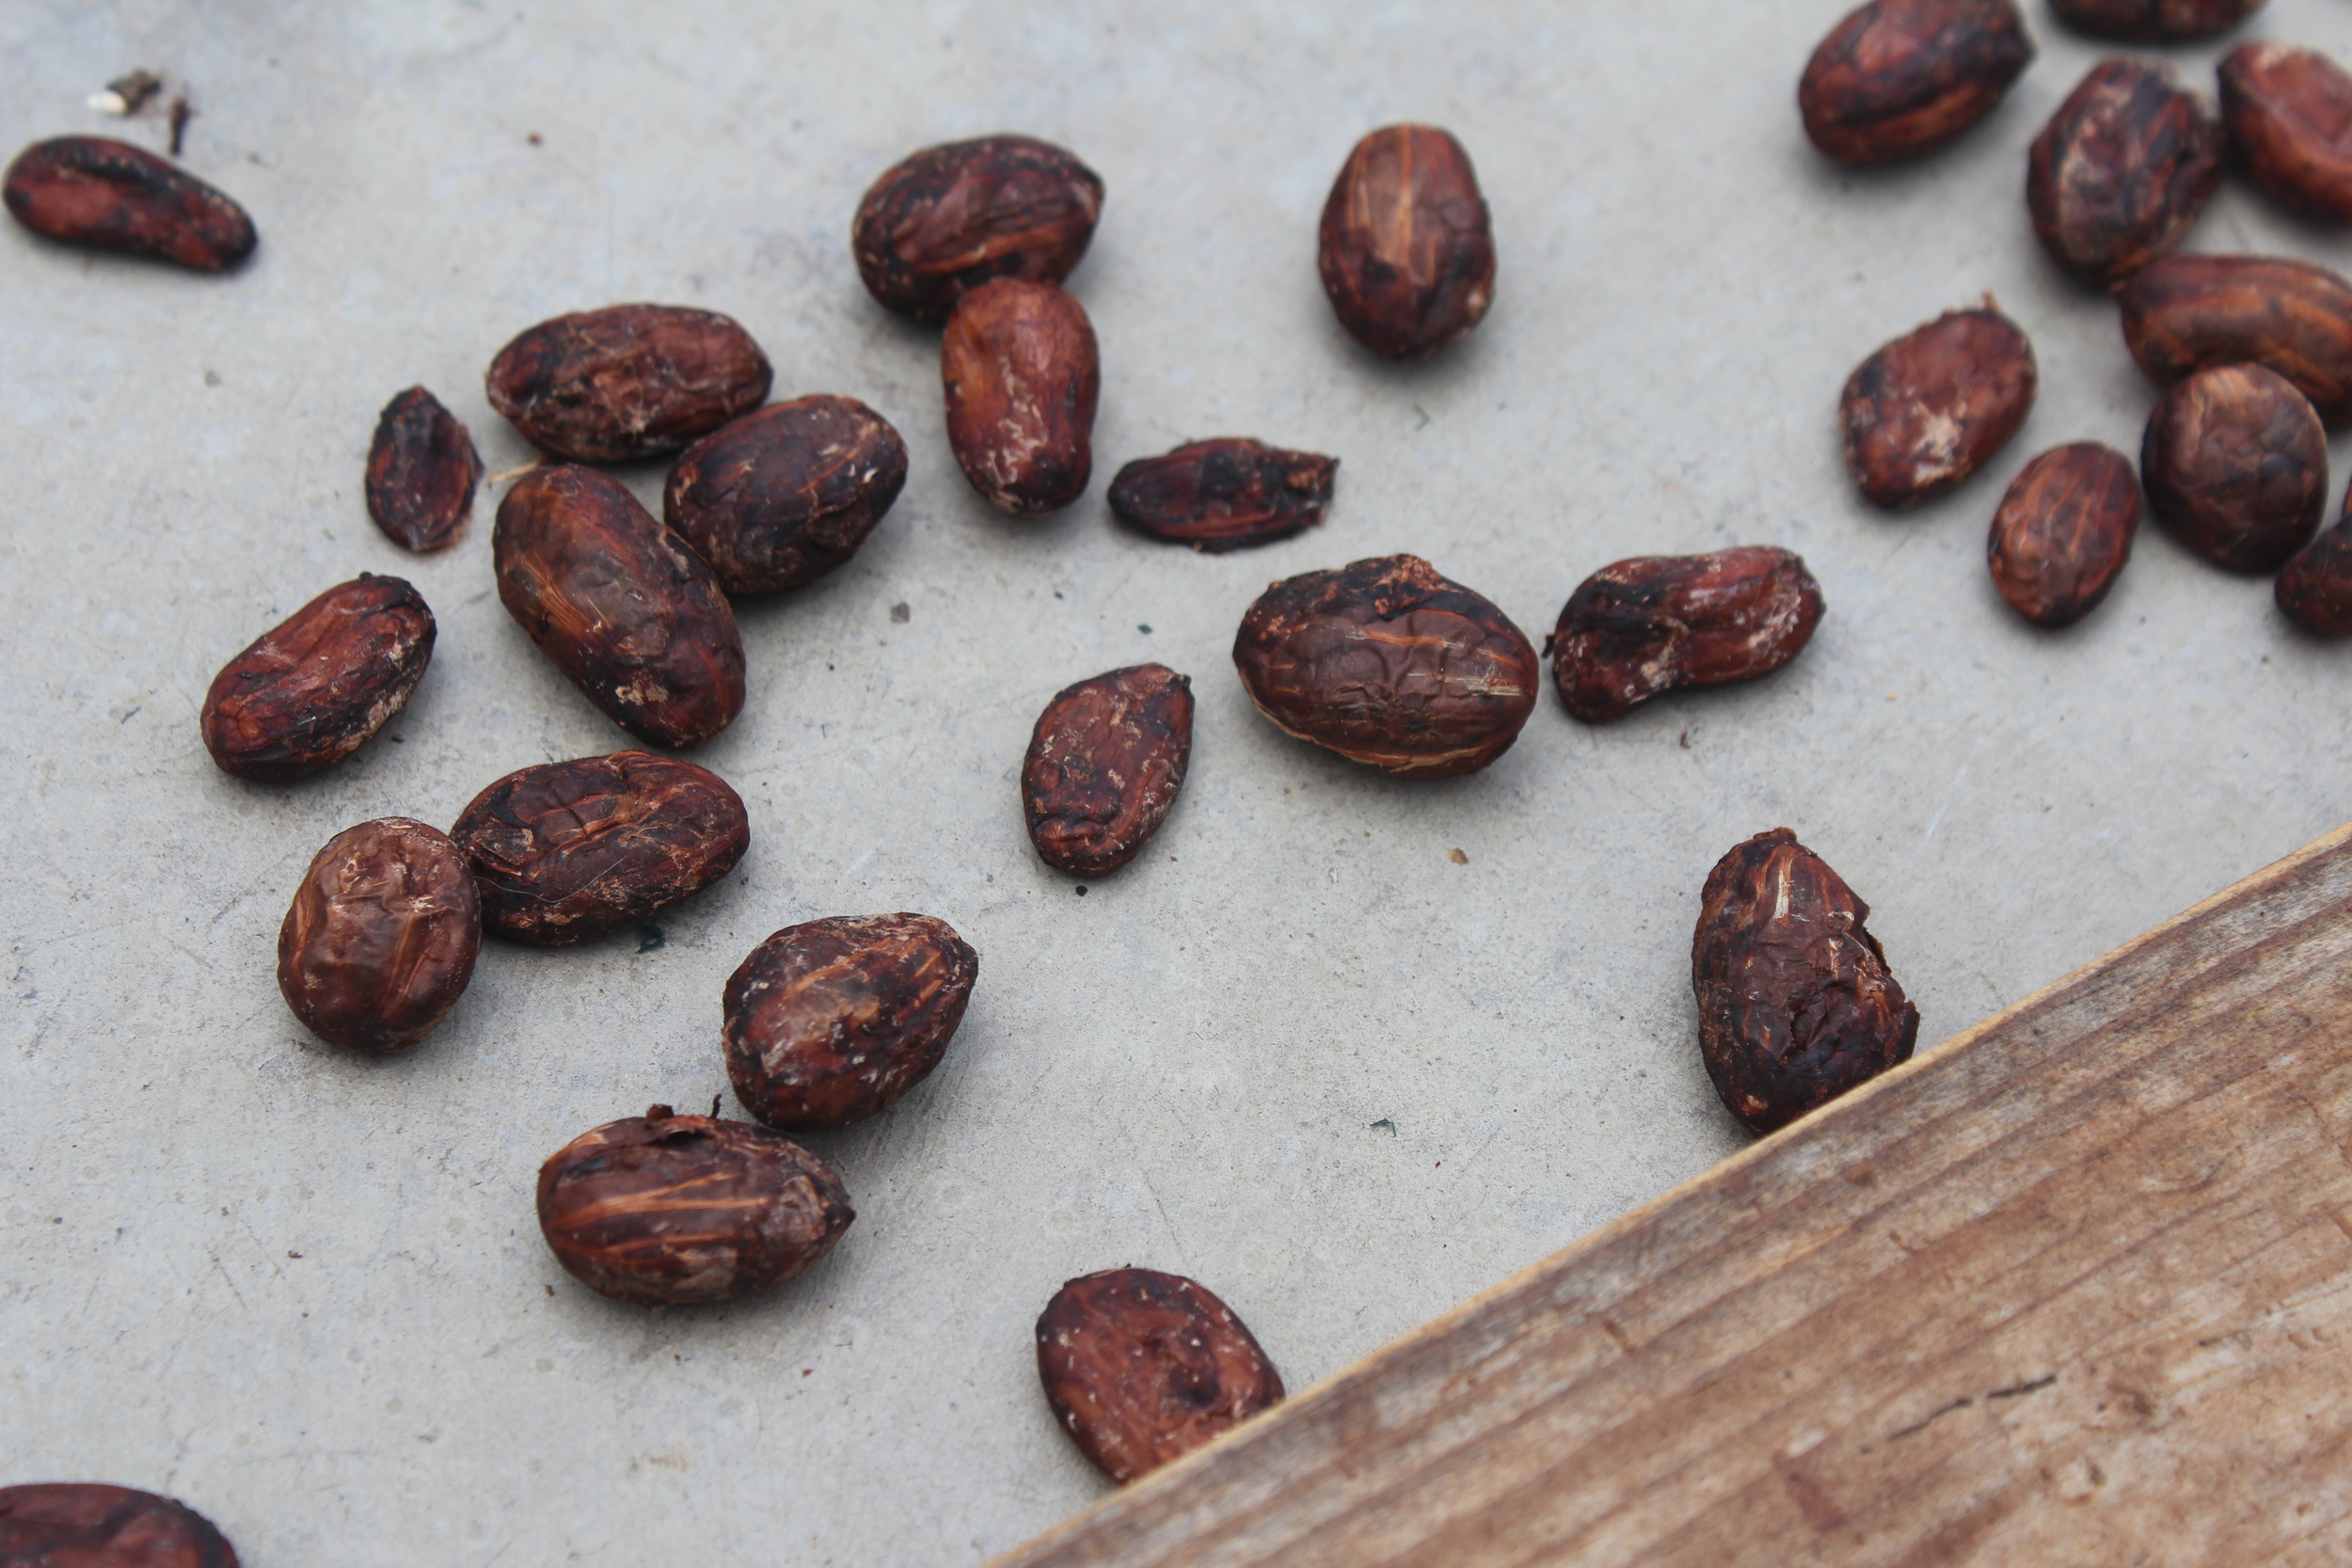
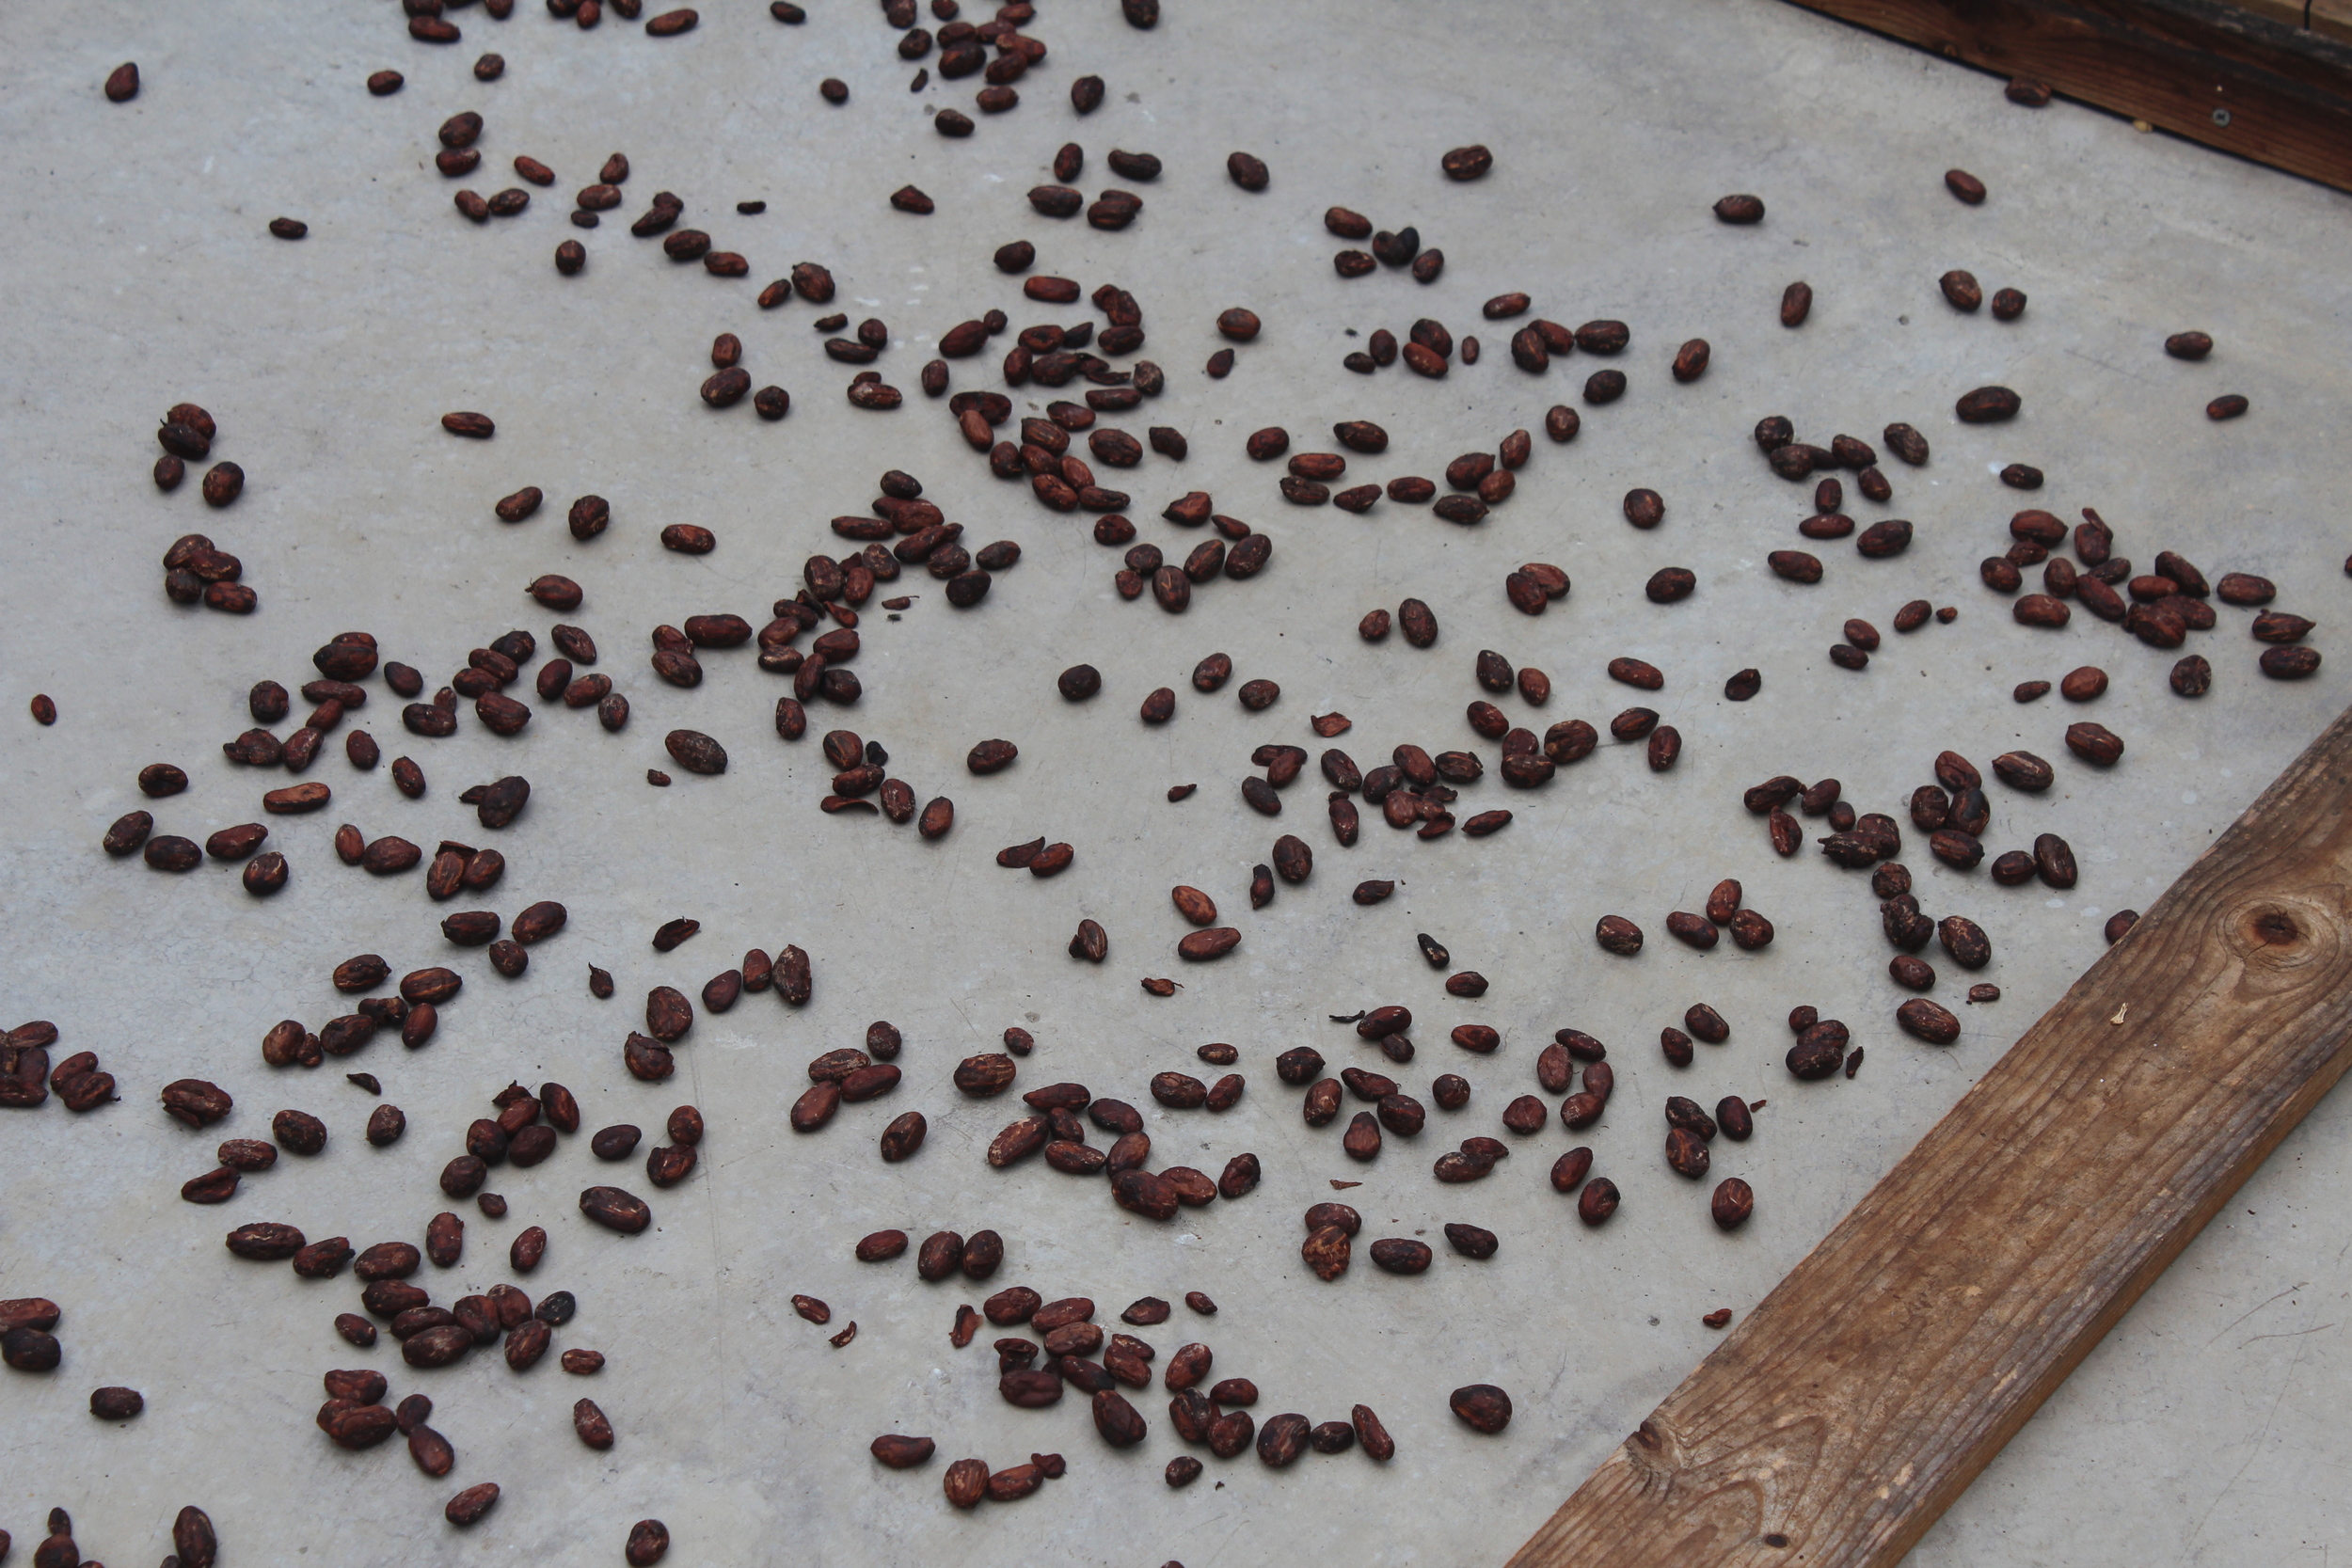
After fermentation is complete, the beans are washed and then dried in the sun for 2 to 3 weeks. The amount of time varies based on sun and weather.  

IMG_4443.JPG
IMG_4444.JPG

Coming soon - part two detailing the bean to bar process! Stay tuned!

In {garlic press} adventures
1 Comment
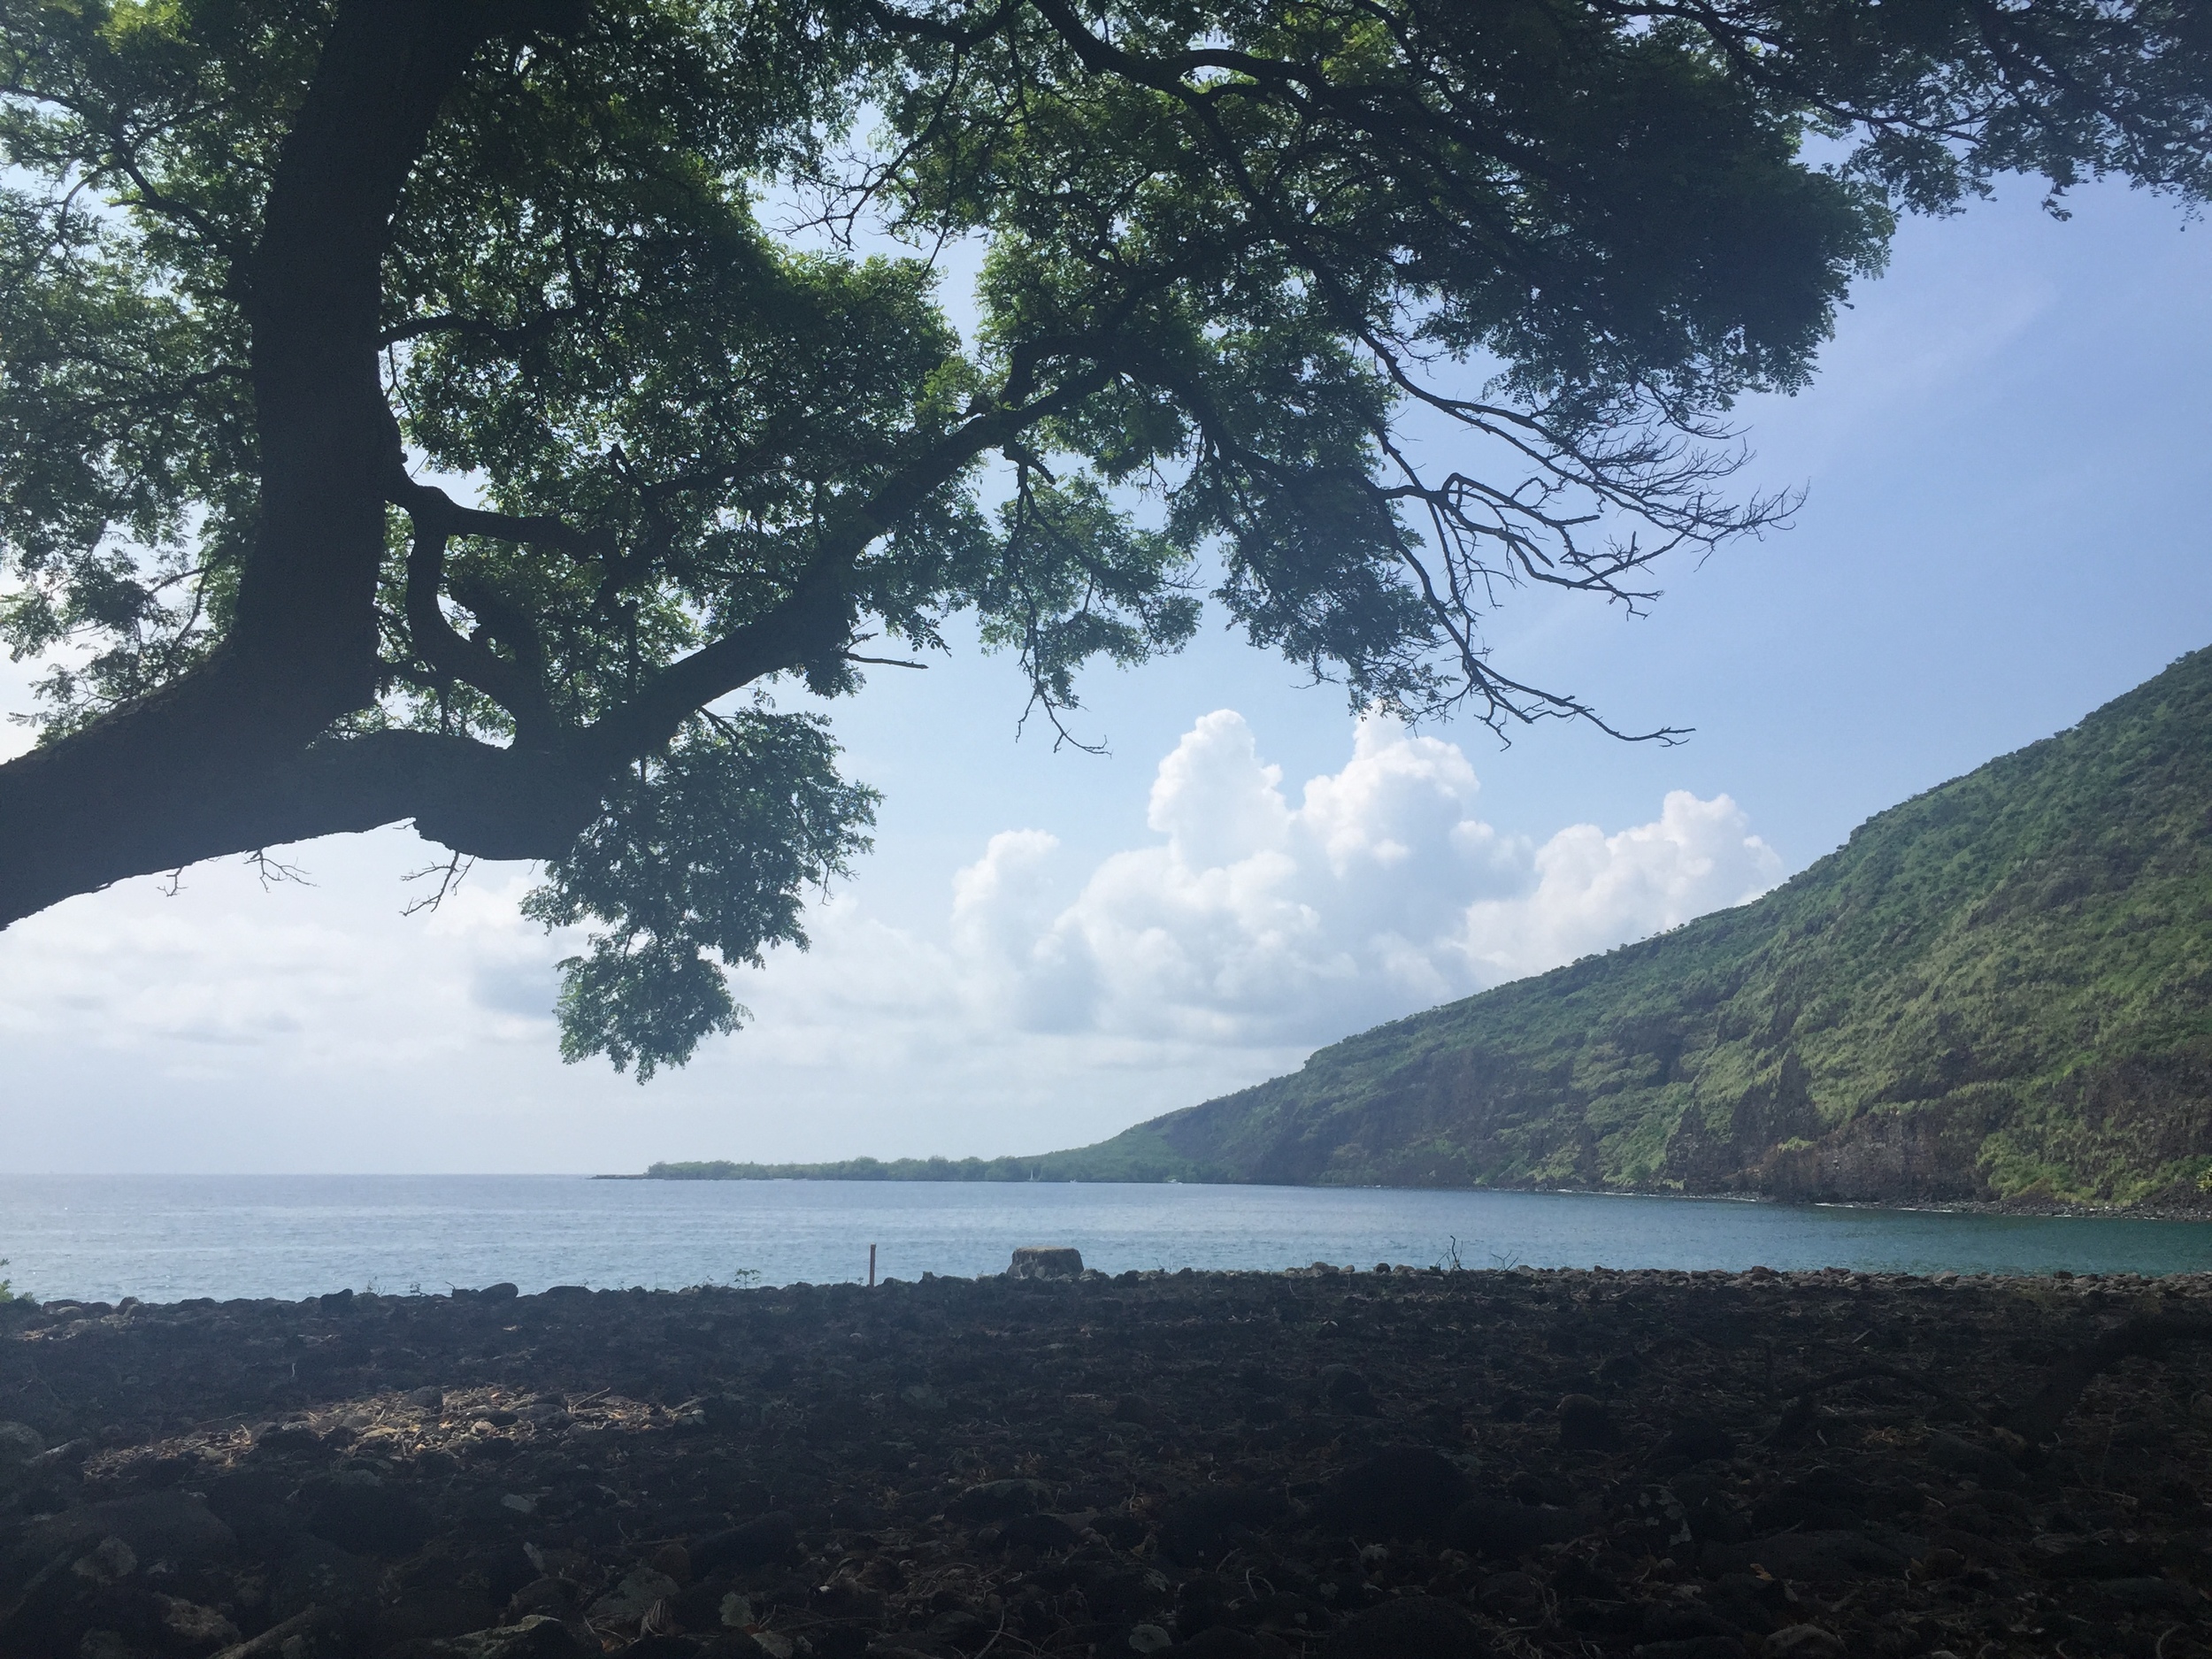
Kealakekua Bay
Kealakekua Bay
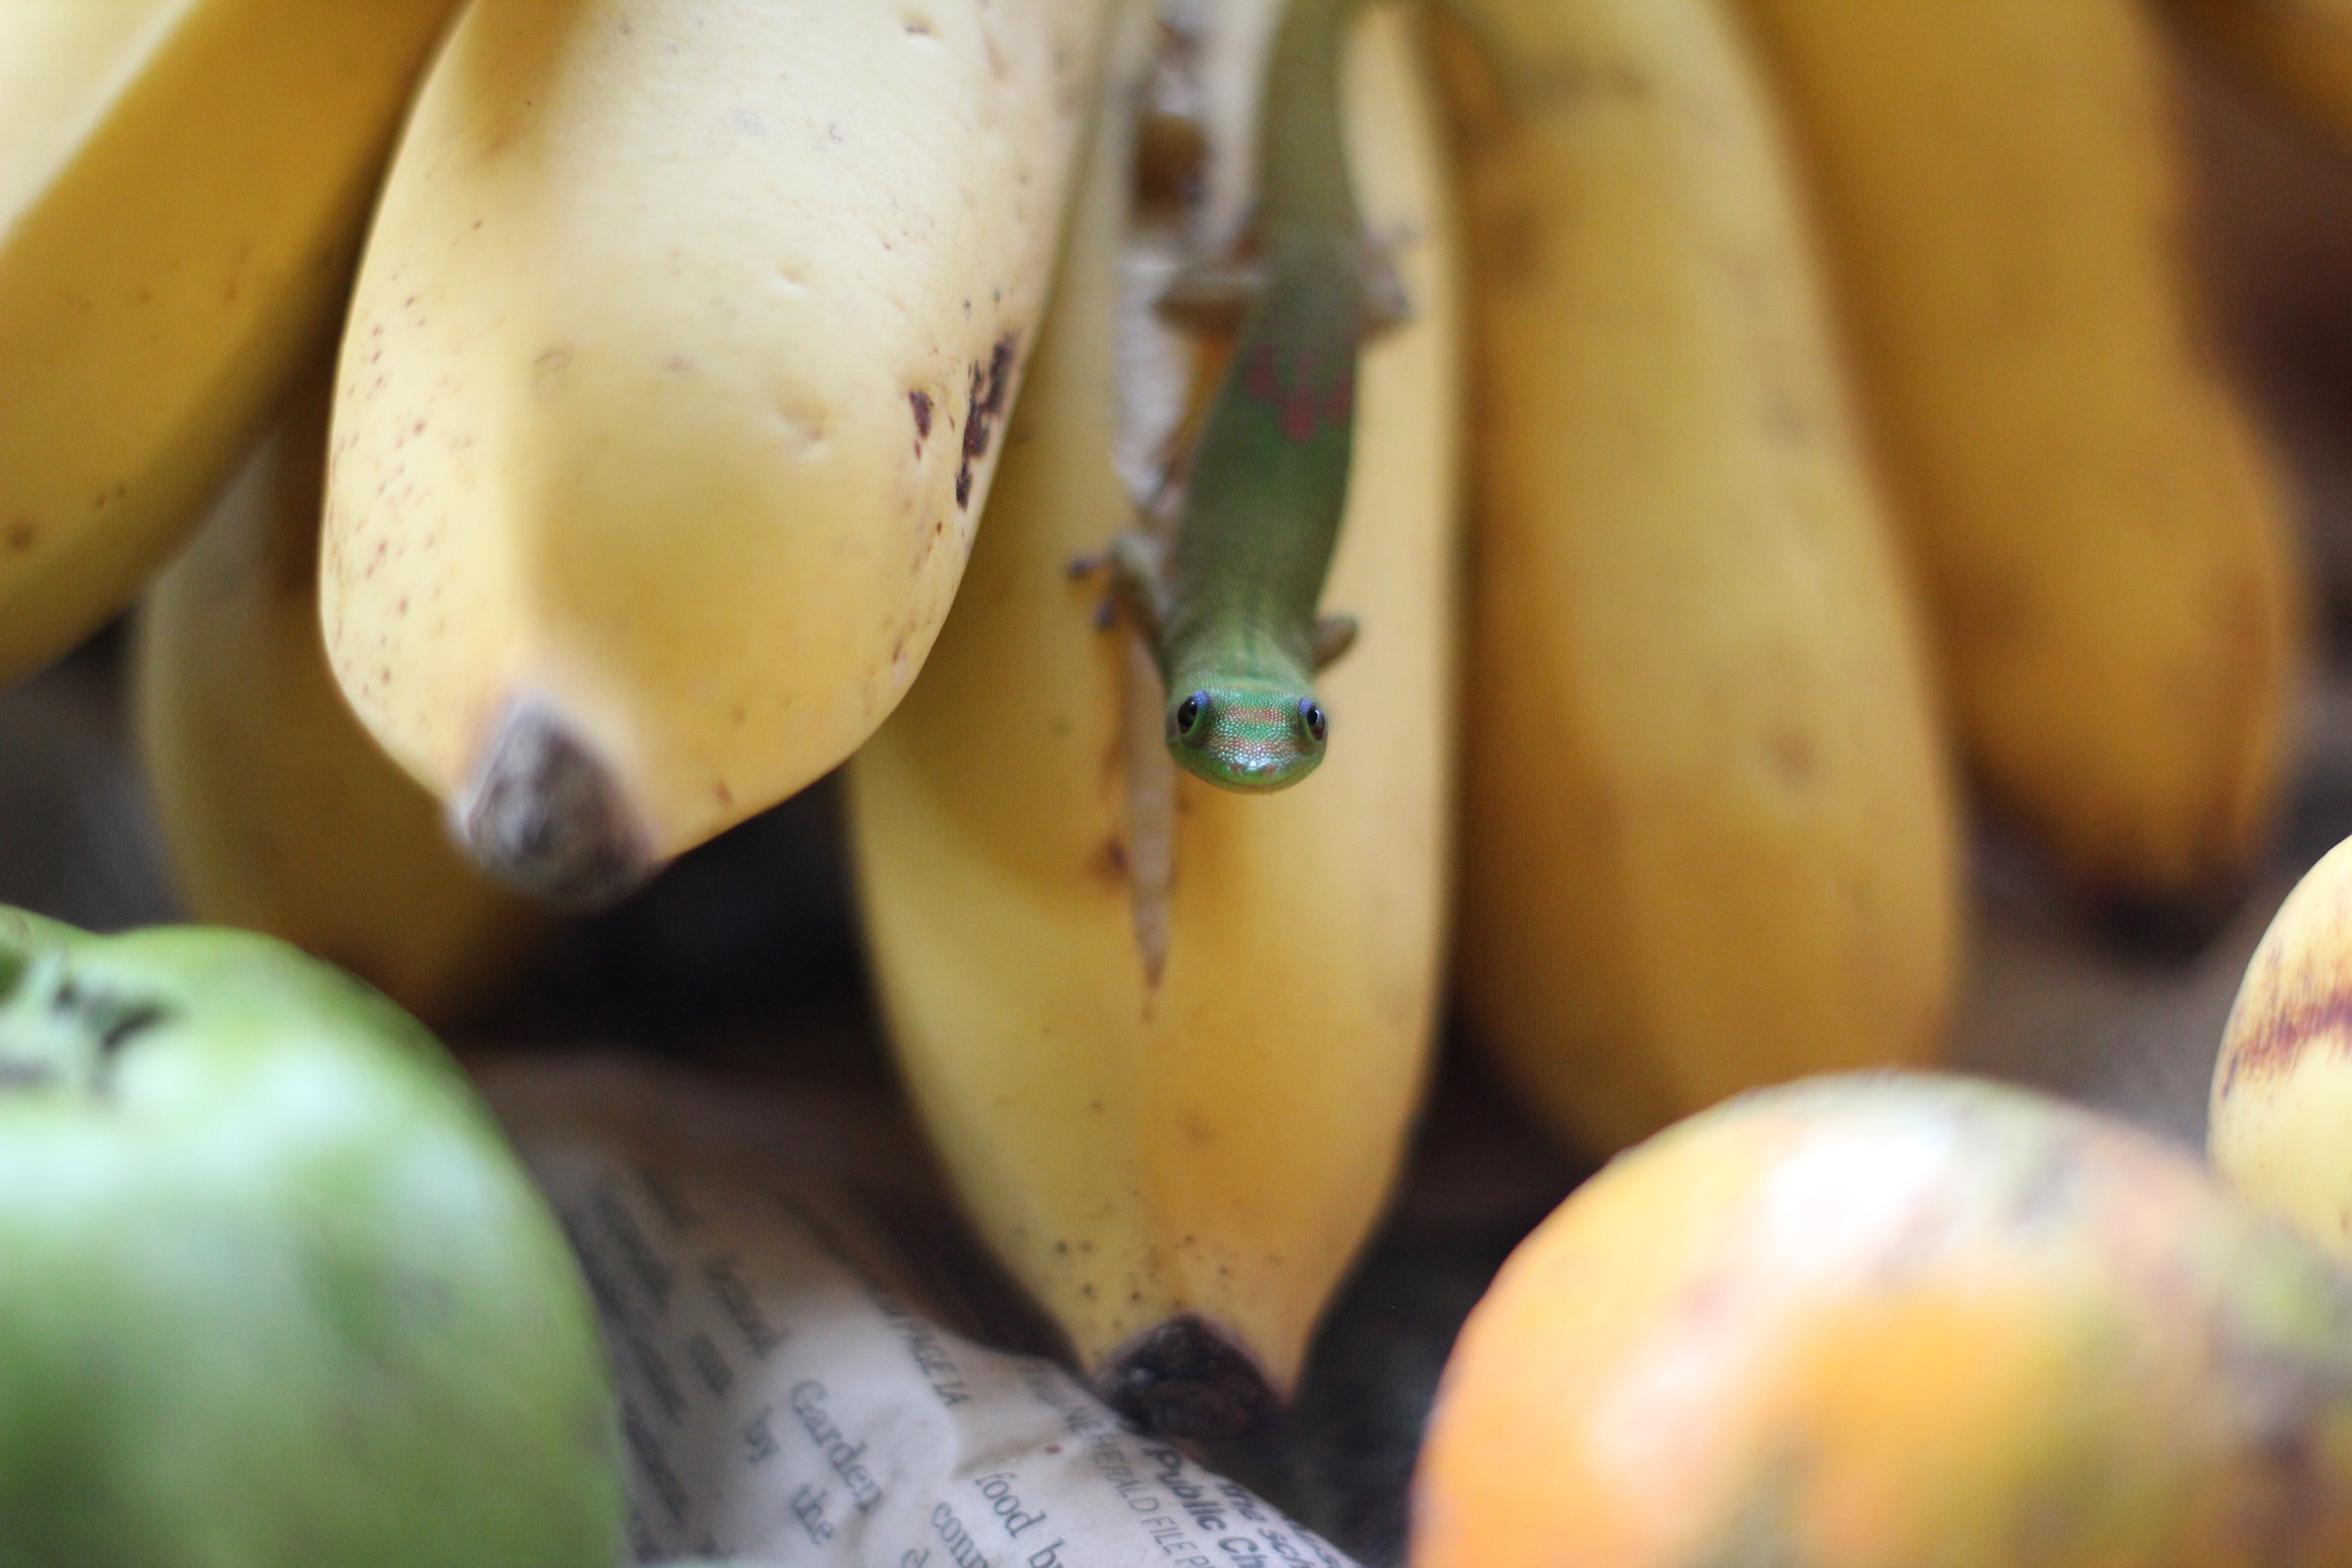
geckos are now a part of daily life

they're good! they eat bugs!

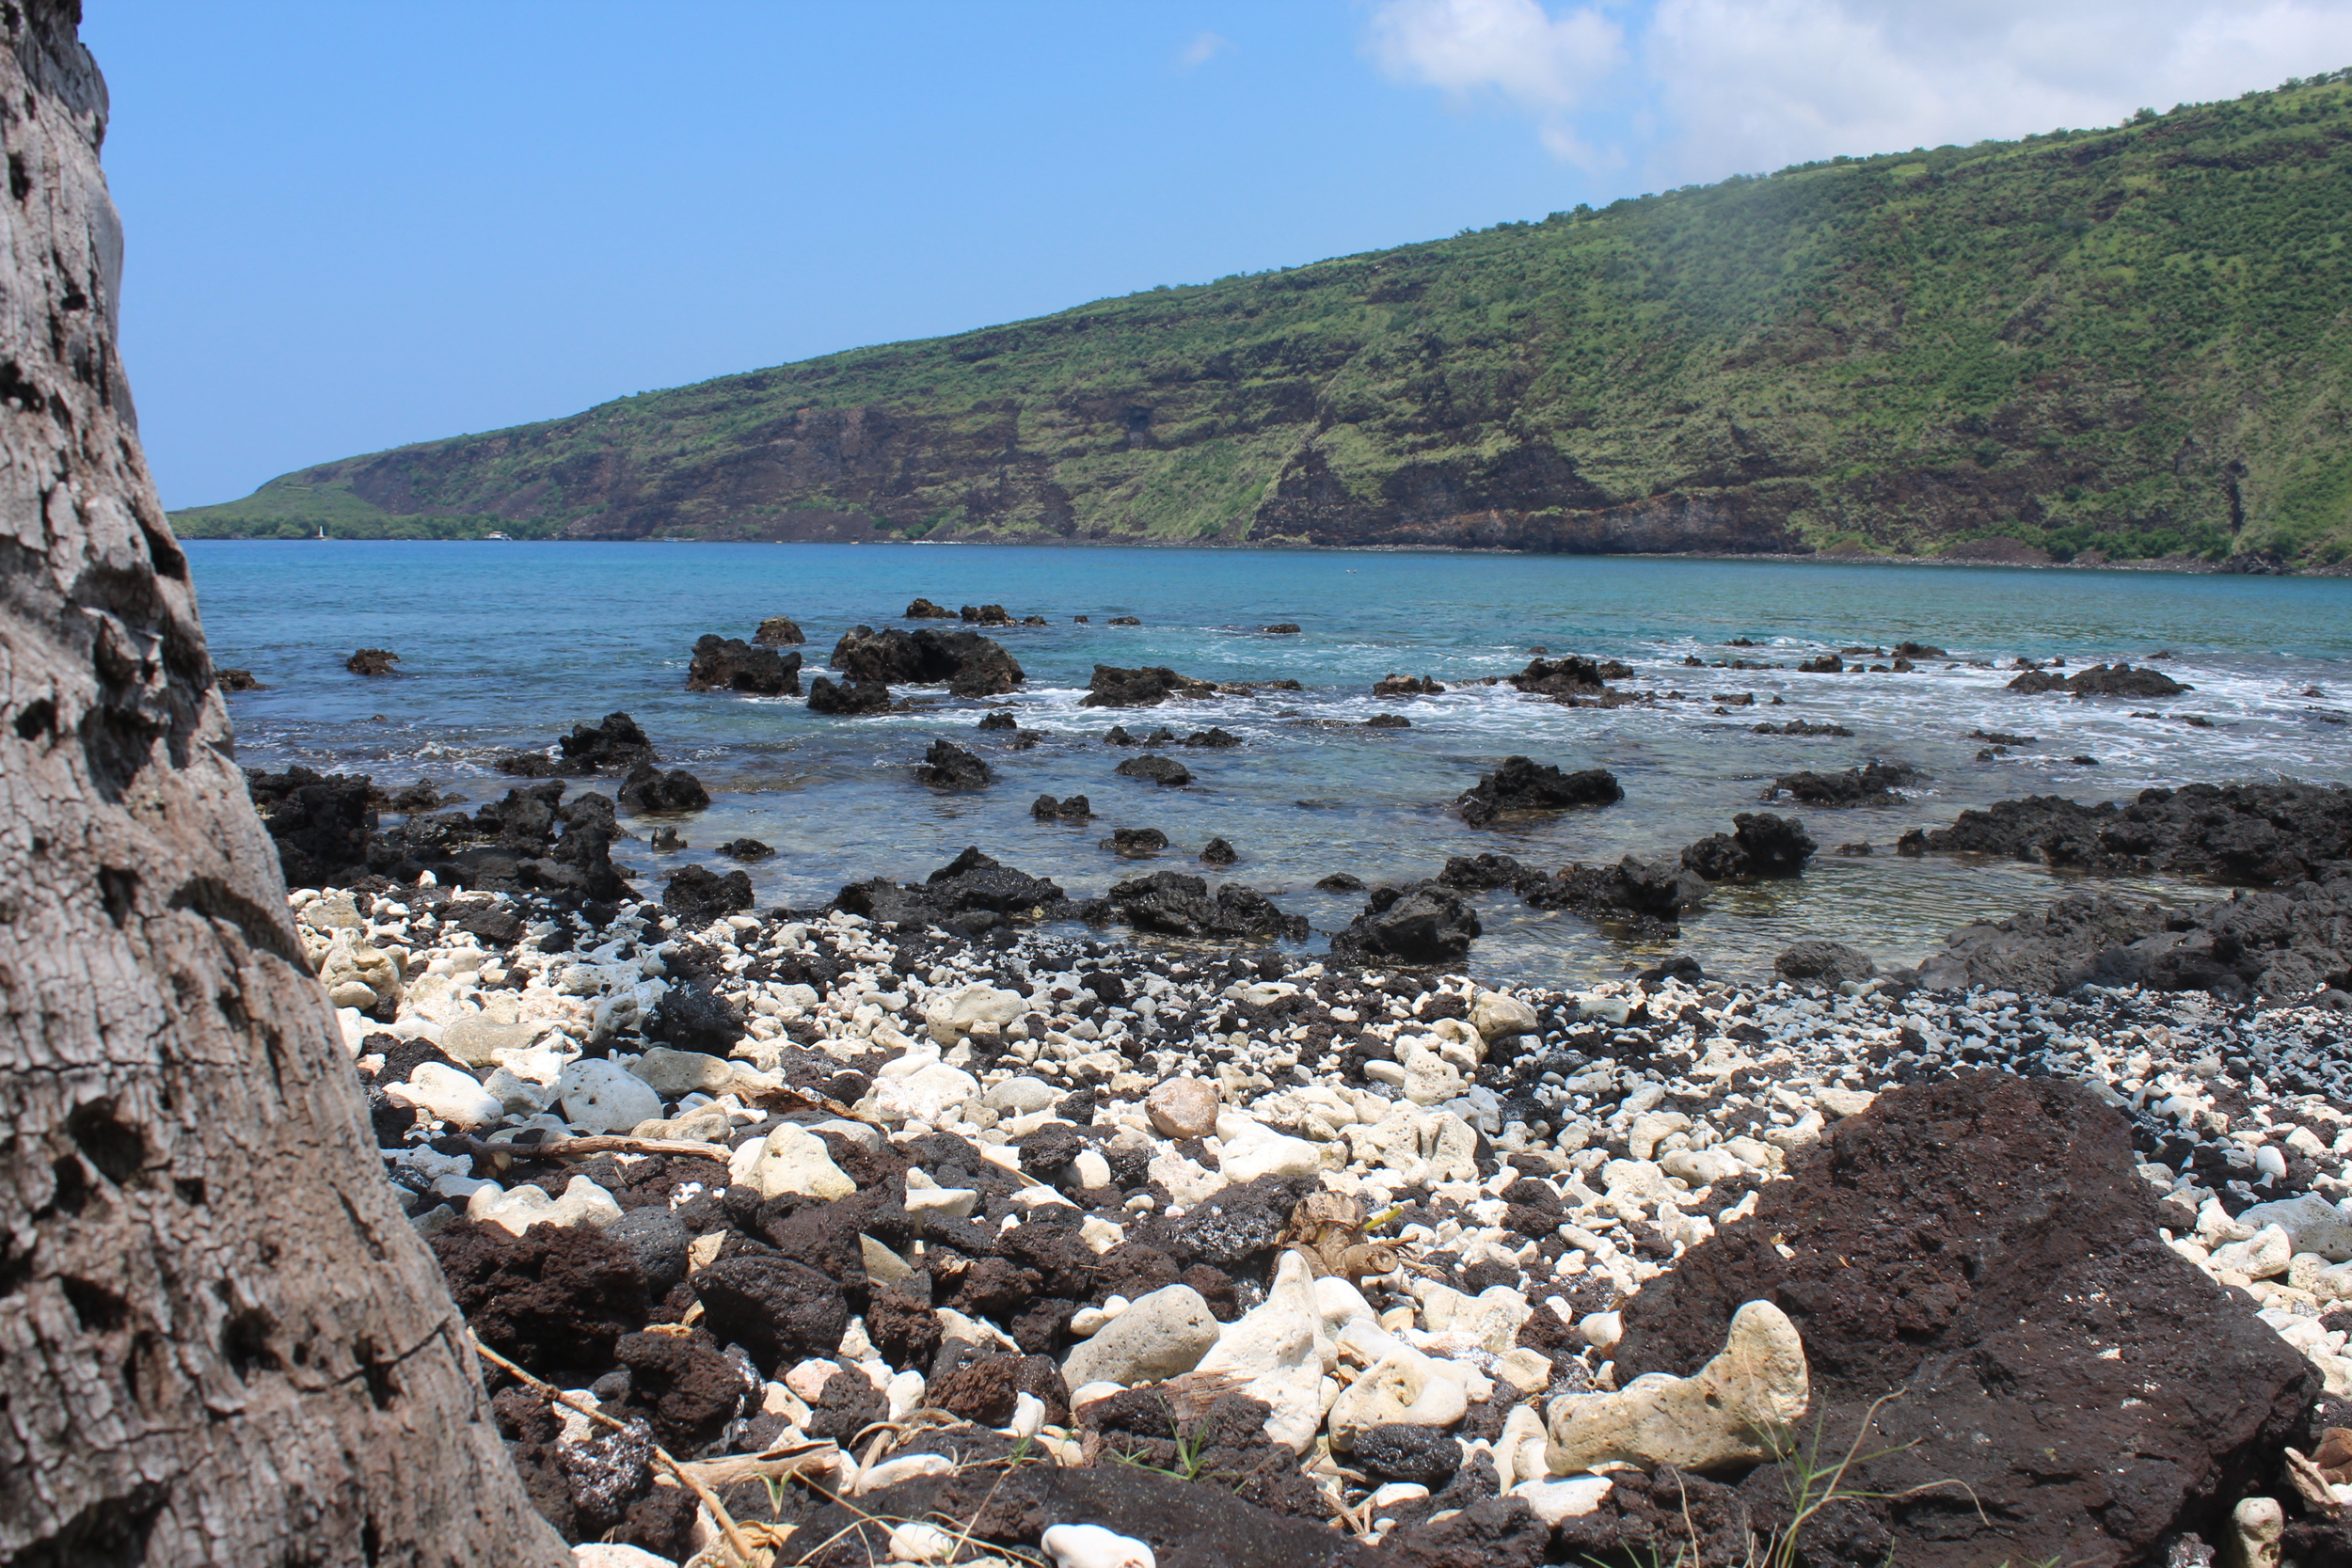
Manini Beach
Manini Beach

closest beach to the farm - no sand though, just lava and coral rocks

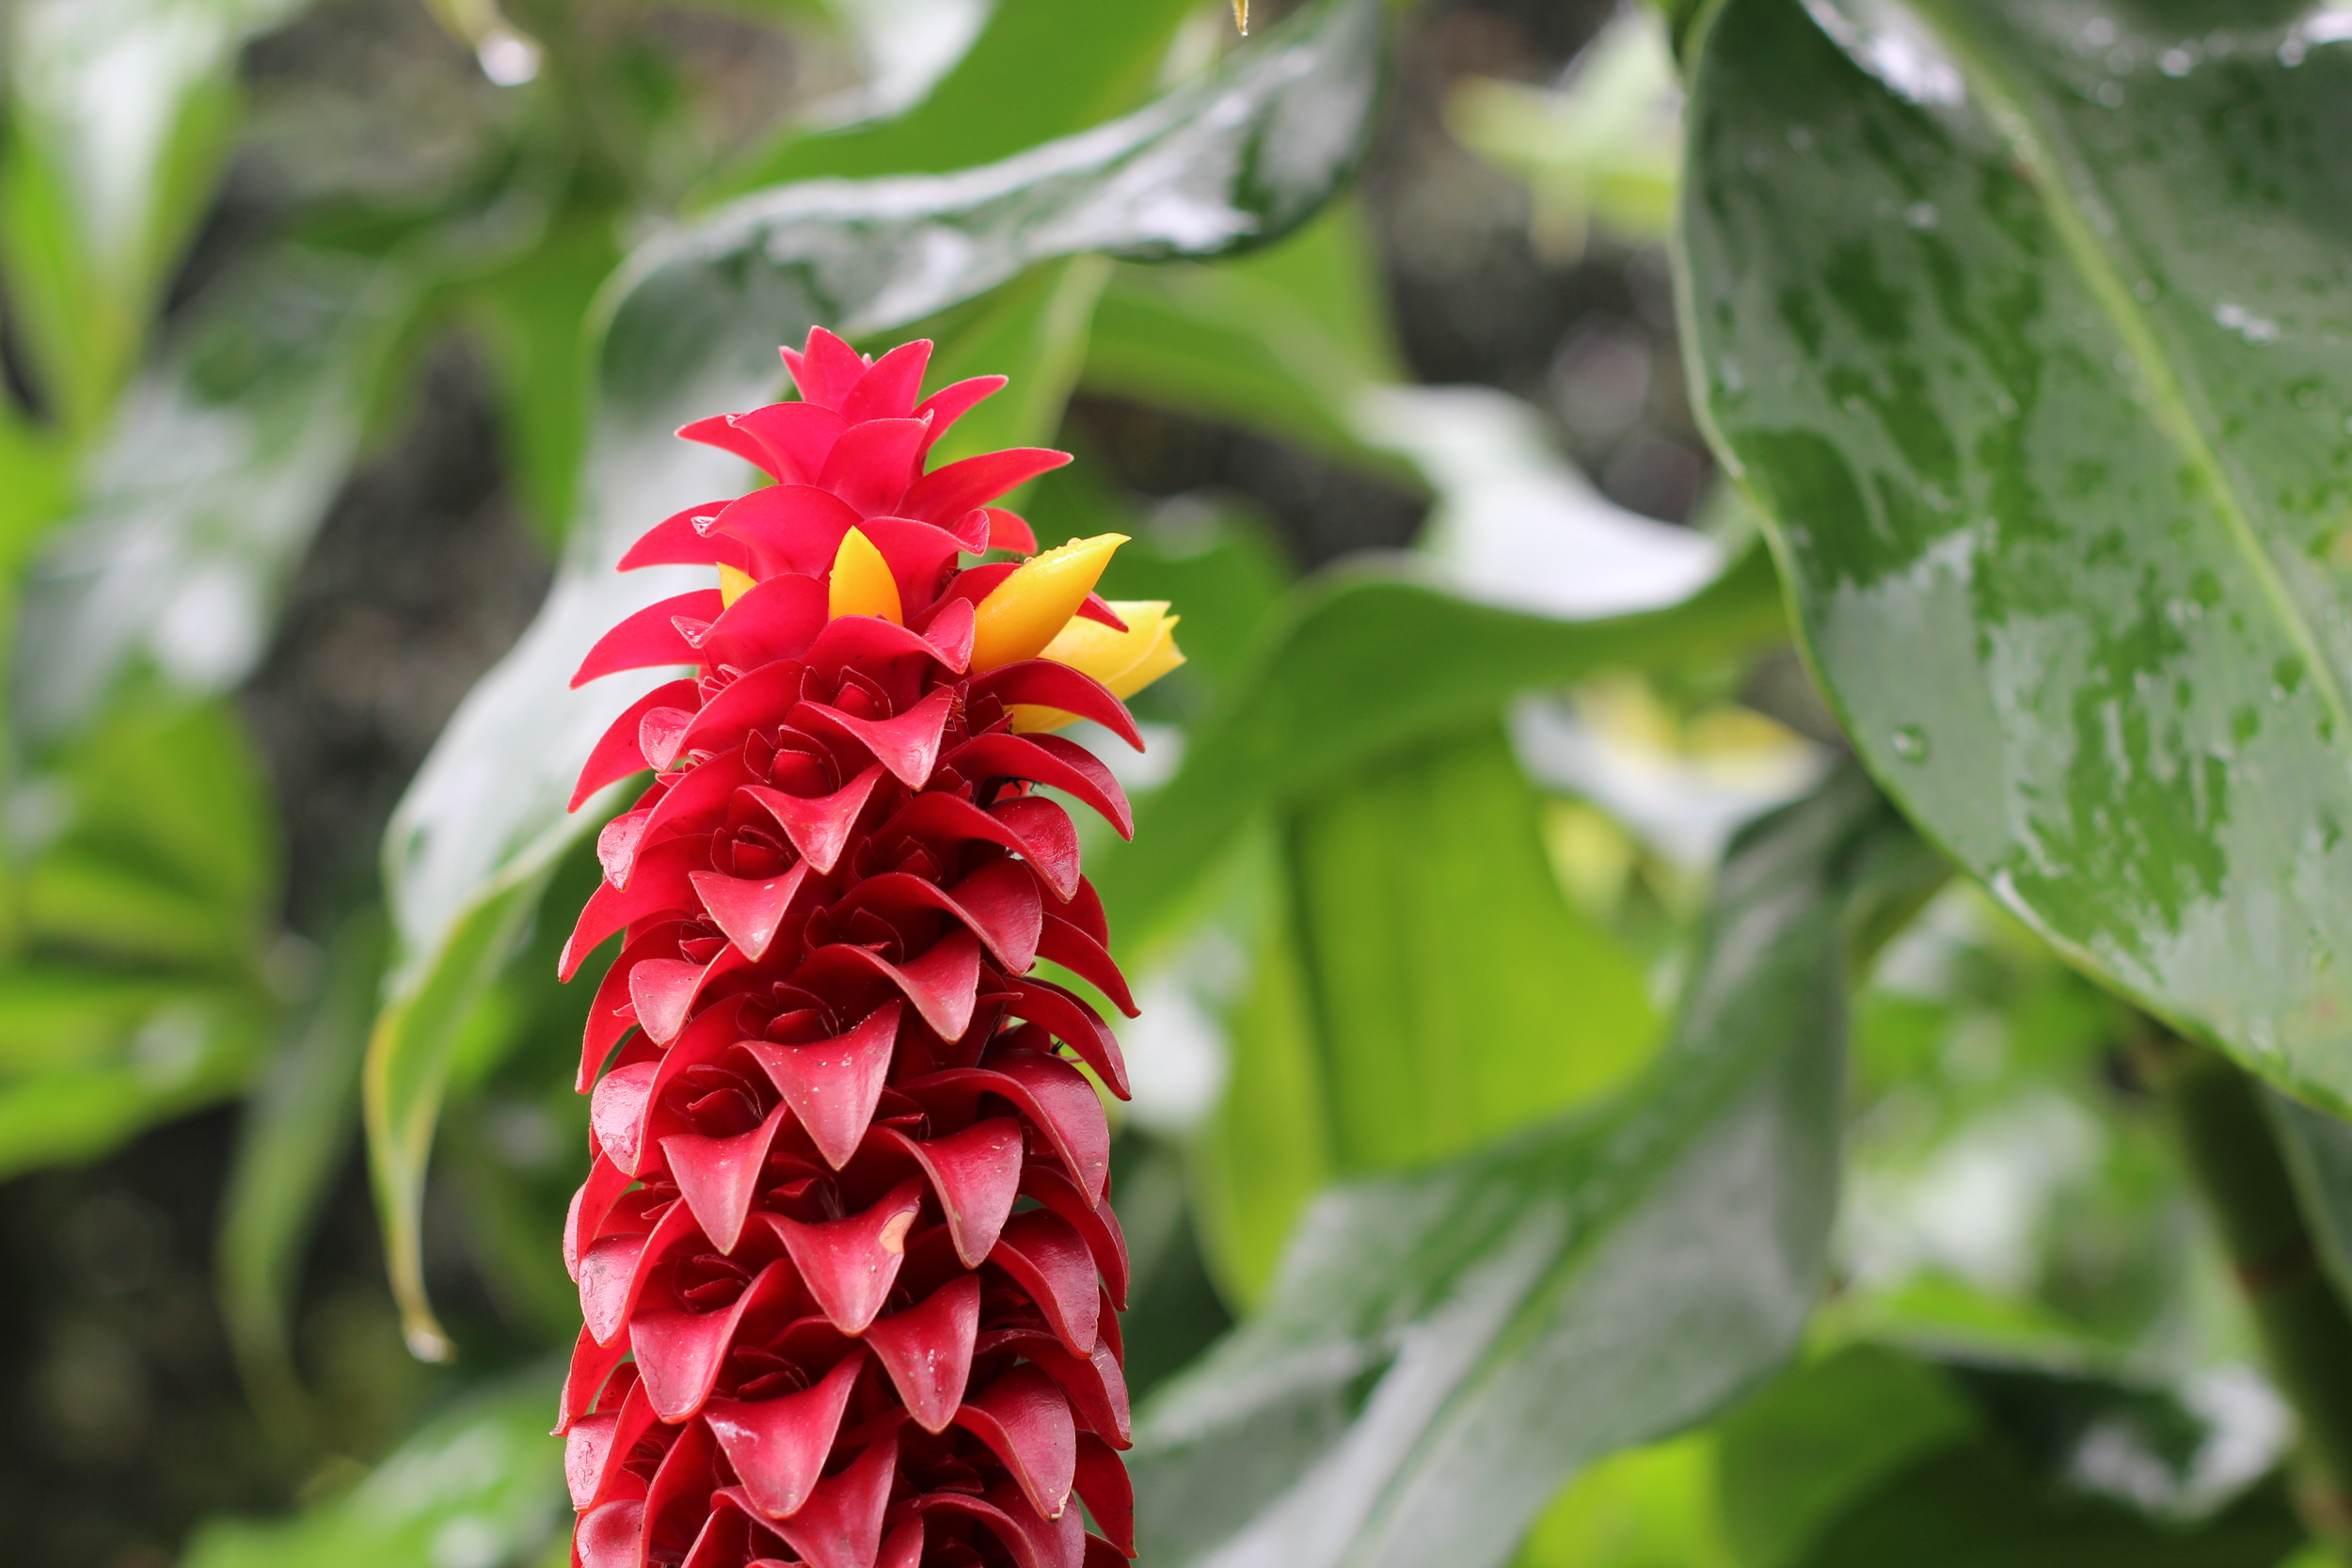
tropical plants are so cool
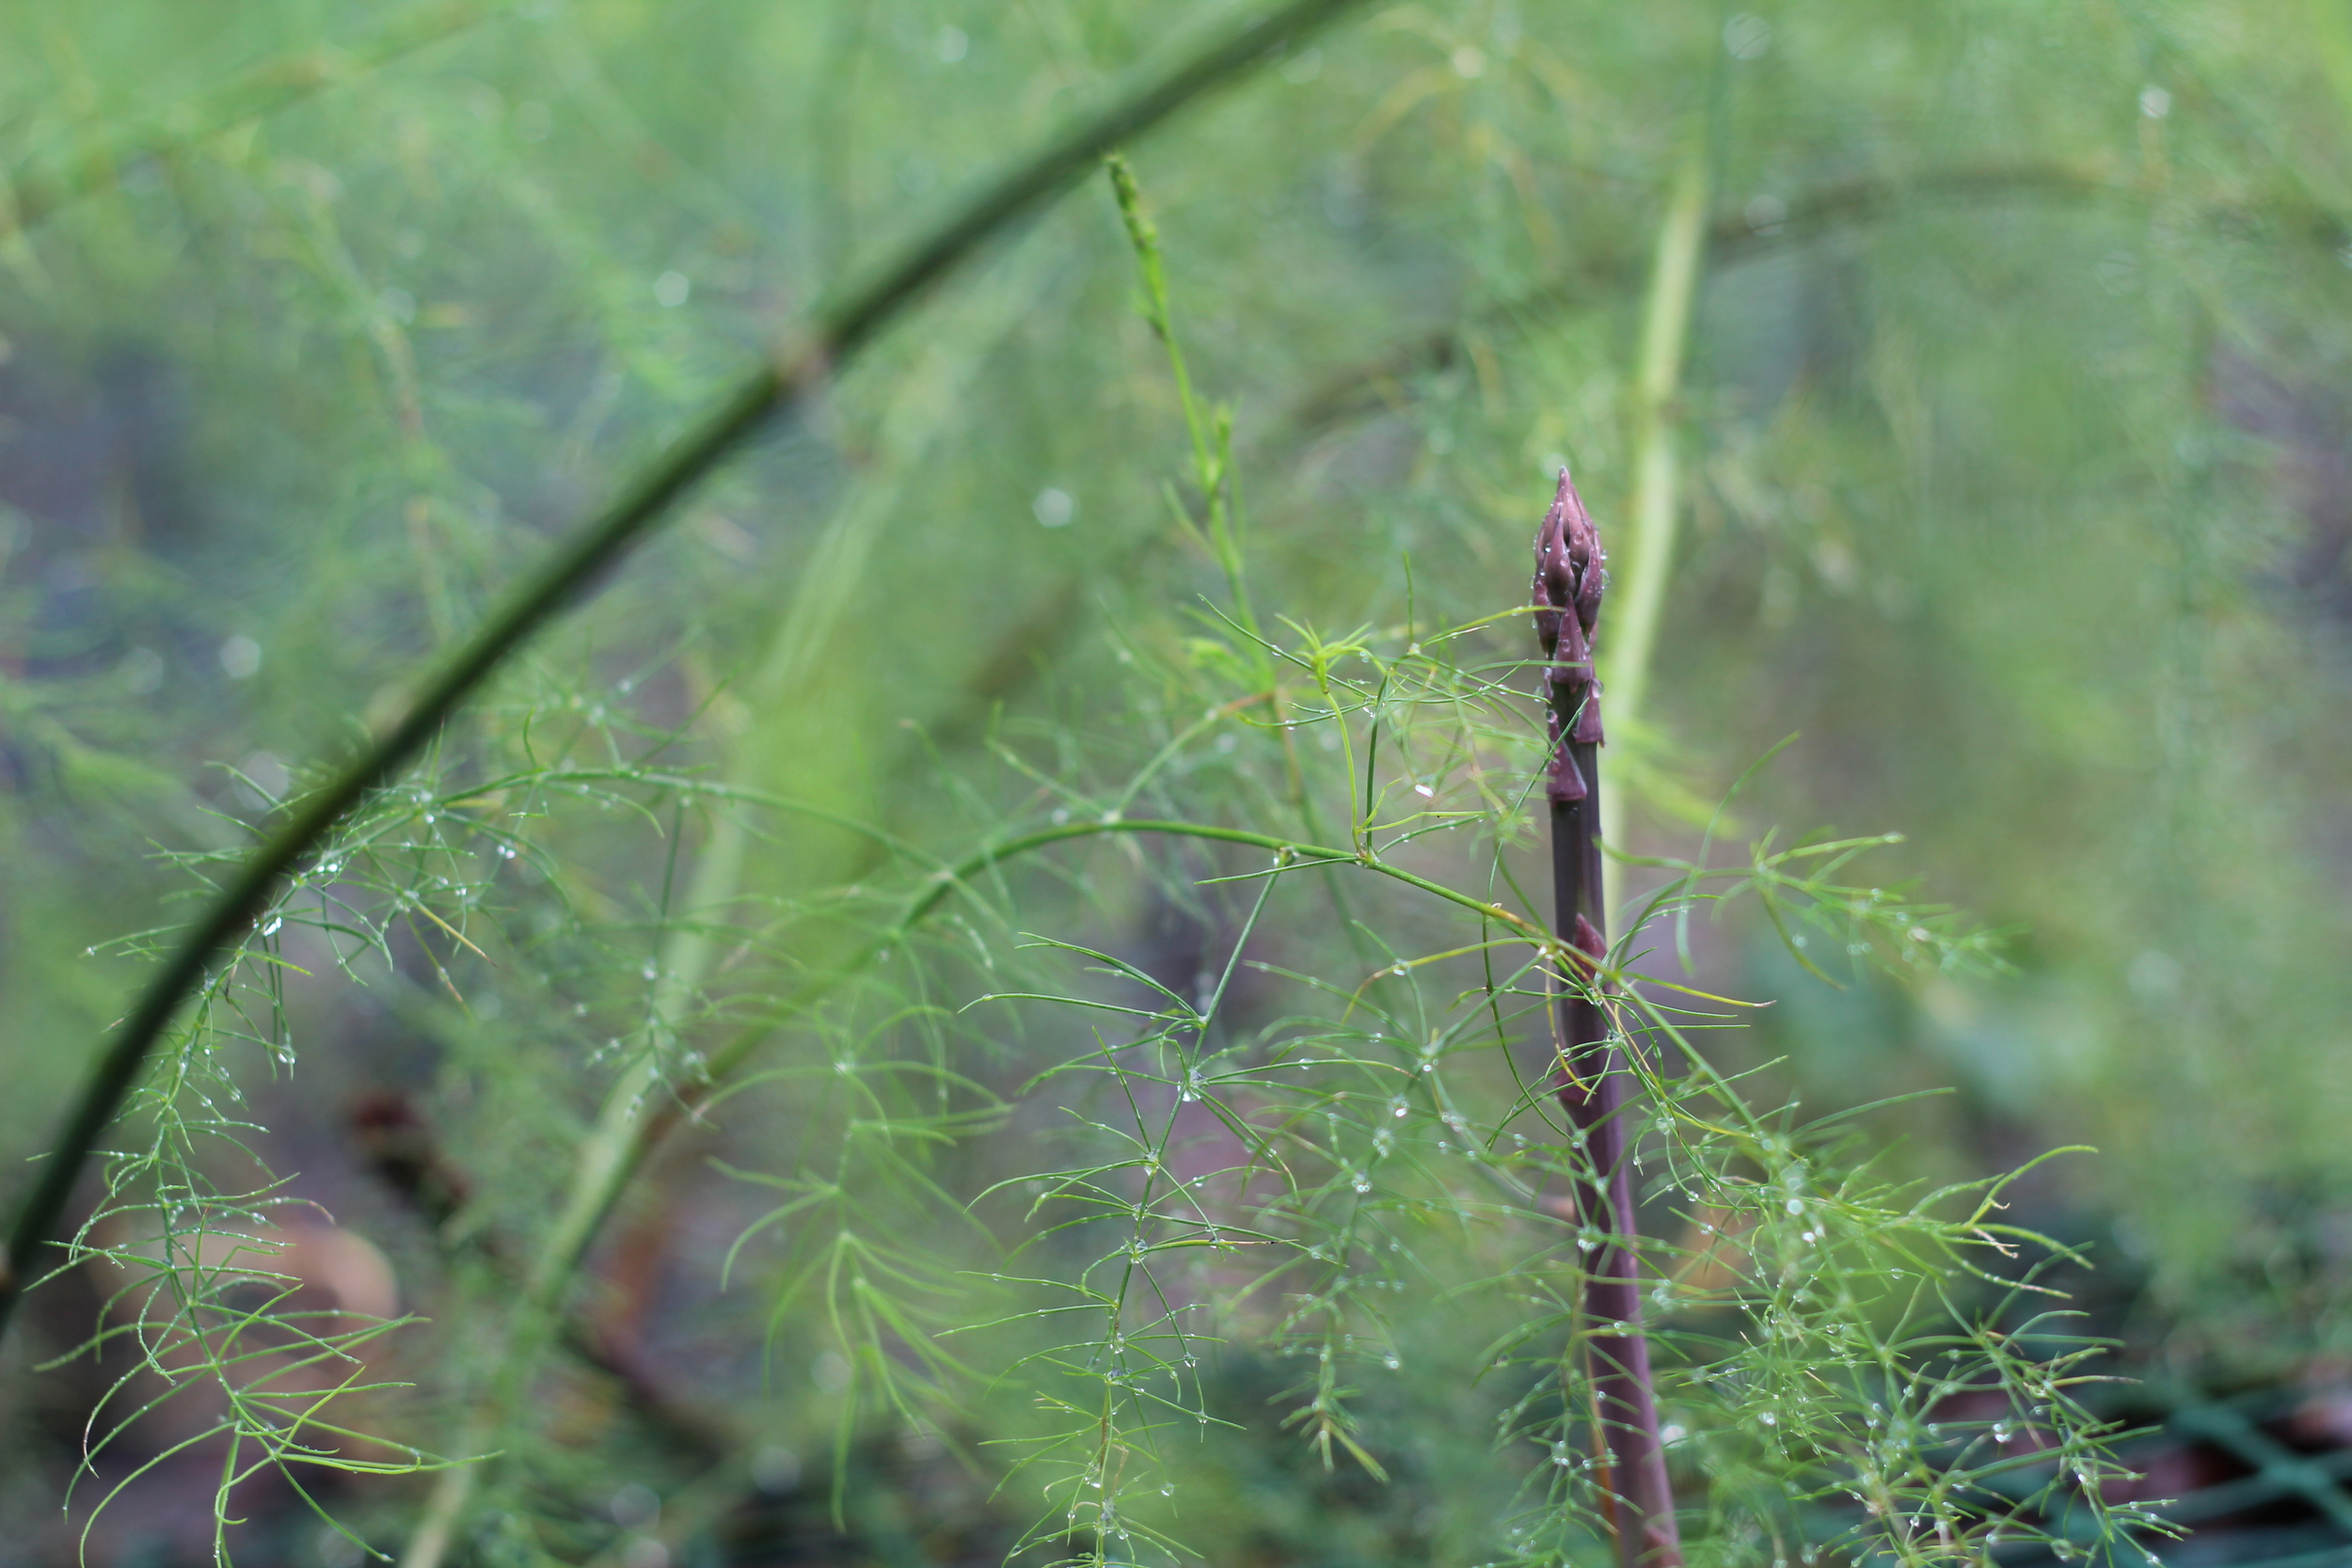
the asparagus patch!
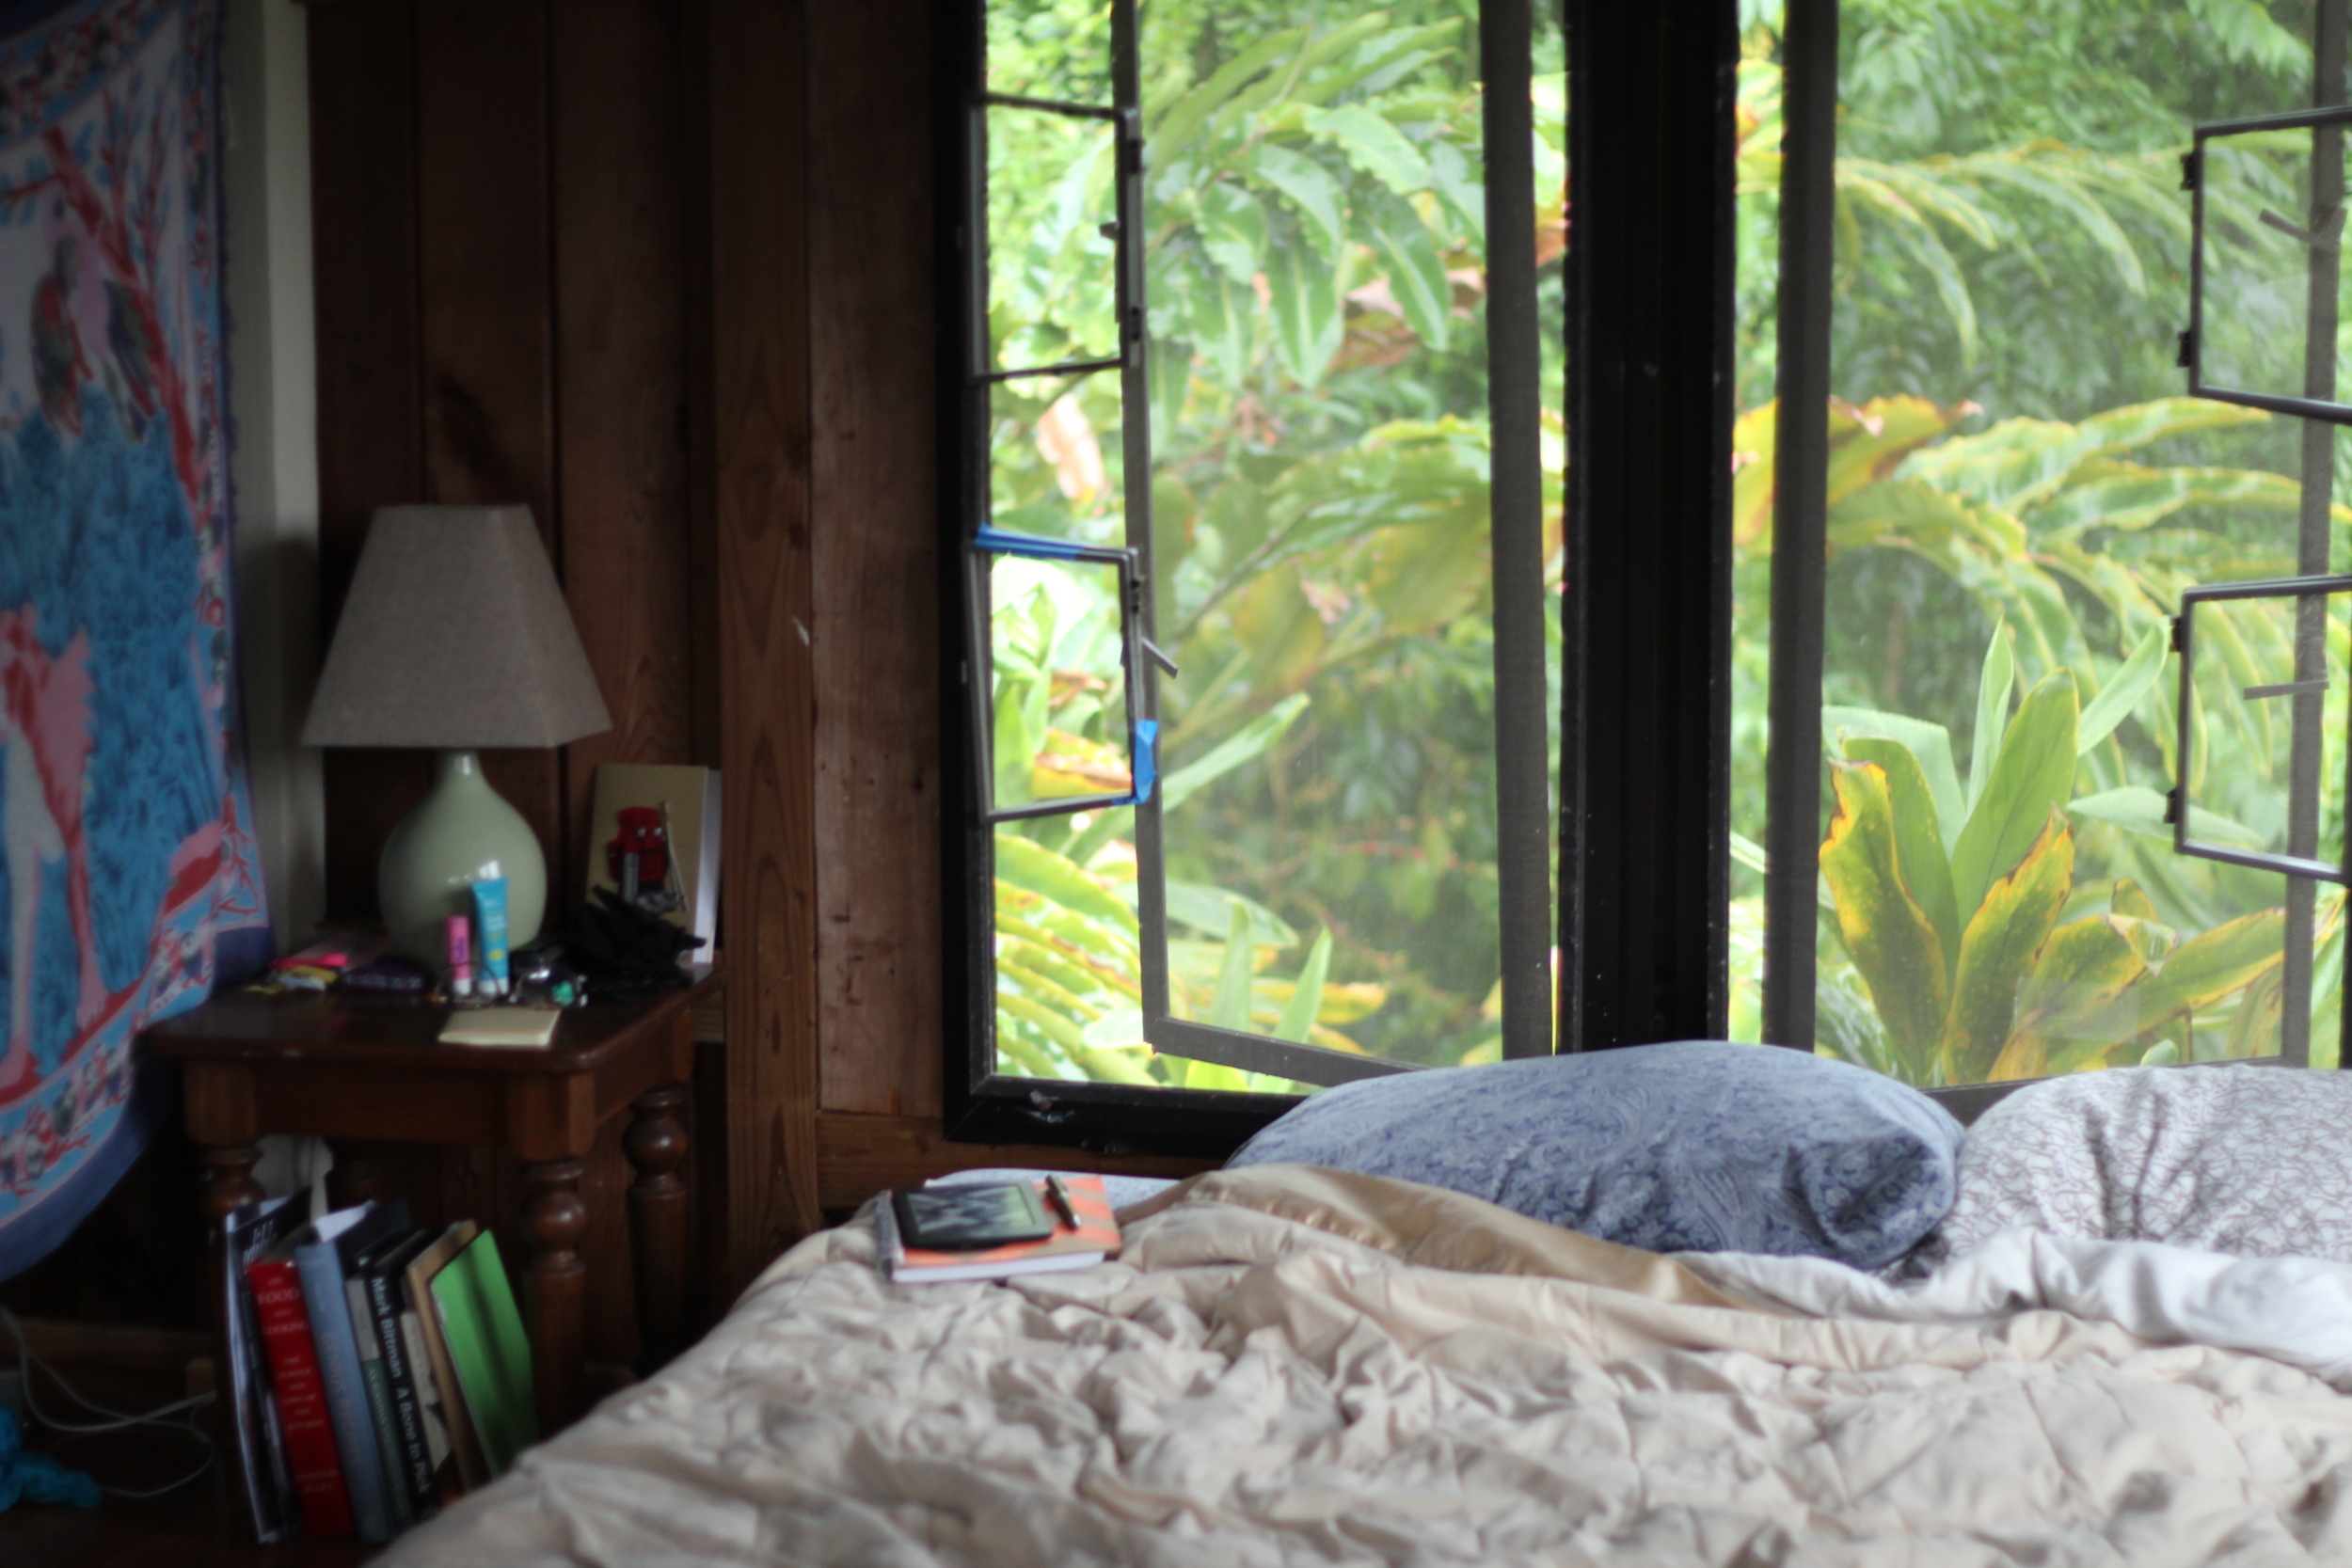
my farm bedroom
my farm bedroom
Kealakekua Bay geckos are now a part of daily life Manini Beach tropical plants are so cool the asparagus patch! my farm bedroom

aloha for now

September 17, 2015

The beauty of all-encompassing stillness.
A dogged hunt for that one mosquito that got in the house. 
Tasting a new fruit I didn’t know existed: every. single. day.
Feeling psychologically stripped-down (in a good way).
Waking up to real live rooster-song.
The creamiest avocados – all you can eat, all day every day.

These are just a few of the things I’ve experienced in the last week since I stepped foot on the 5-acre Hawaiian farm I’m calling home for the next three months. 

Let’s step back for a second. In my previous two posts, I wrote about how I got into food and the goals of my blog. Since then I’ve been on hiatus, and I still haven’t posted any recipes… I know – LAME!

The truth is, a few things have been holding me back:
a. I don’t have a crystal clear direction for what I want this blog to be.
b. Posting my writing publicly is scary (!) and
c. Writing recipes is harder than I thought because I never measure anything - oops!

But I'm moving past all of these. I know that I need to write about food, and I really want to share the food I make and inspire people to build confidence in the kitchen. I know I need to just do it. So I commit to doing it. Regularly. For the next three months (and hopefully well beyond).

Ok - I’m sure you’re wondering how I ended up on a farm in Hawaii. Since those initial blog posts back in June, I quit my food job in favor of the freedom to very intentionally figure out my next food/career move. I’m 90% sure I don’t want to be a chef, but I knew that I wanted to try being “closer” to food to determine whether I’d like to be some kind of artisan, farmer, or other food producer. At the very least, I knew that I wanted to experience firsthand what it’s like to work at growing food every day – for my love of food and new knowledge if nothing else.

Being single and 27 with a big case of the travel bug, I thought I should have some adventure before anything else. Hawaii was at the top of my travel list and working on a farm was at the top of my food to-do list, so marrying the two seemed like a perfect, intentional adventure. To top it off – Hawaii is the only place in the United States that grows coffee – my one true love. A little research, two emails and a phone call later, and I was accepted as an intern at the Big Island coffee farm I’m on now. The deal is – I work 30 hours a week in exchange for housing and food. I’m at an all-organic farm that grows mainly coffee and macadamia nuts to sell, as well as cacao for chocolate, and a variety of tropical fruits that get processed into jellies, jams, dried fruit and fruit leathers. Naturally, a variety of vegetables, herbs and bountiful tropical fruits are grown for our own consumption. Oh - and there are some wild chickens that occasionally leave eggs, though I’m still waiting to find one.

When I arrived last Wednesday, aside from the sheer disbelief that I was actually doing this, I was first overcome by the peaceful stillness of the farm, especially at night. We’re in a pretty remote area about 30 minutes south of Kona, at 2,000 ft elevation. The only “neighbor” sounds I’ve heard are an occasional dog bark or lawnmower. Otherwise, it’s just the crickets, birds, rain, and rustle of the wind.

Now that I’ve been here for a week, I’m realizing how utterly ideal this situation is for me at this moment in my life. For the next three months I'm embracing a simple lifestyle on the farm. From 7:30am - 1:30pm I get to work with my body (weeding, picking coffee, harvesting fruit, planting seeds, making jam, etc) and mind (trying to absorb as much information as possible from farmer & owner Una, with some food policy discussions sprinkled in among my unending questions).  And then from 1:30pm on I’m free to read, write, cook, and reflect. It’s like a food lover’s learning & writing retreat. I couldn’t be more excited and I hope you’ll follow along with me to see how this adventure unfolds!

Other than here on the blog, you can find me on my Instagram (@garlicpressjess) and SnapChat: (jslioon/garlic press jess) for the daily dirt. More on Hawaii later, and get excited for at least two recipes coming within a week. Promise!

yeah, it's pretty great here

yeah, it's pretty great here

In diary, {garlic press} adventures
5 Comments
Featured
IMG_7074.JPG
Cauli-faux-caccia: the recipe that came to me in a dream!
the tinder message I'm still thinking about 1 year later 🔥
IMG_5175.jpeg
Magic Cold Elixir / how I stop the sniffles before they start
the "diet" I live by
91DD3A77-66D3-446C-9BA1-792E415598A0.jpeg
CAESAR SALAD DRESSING, TWO WAYS
7569A20C-08EC-4201-B5B7-871CA173D477.jpeg
Beginner's Guide to Kombucha
showstopper stuffed squash
GIFT GUIDE 2019: for the kitchen and beyond
IMG_5428.JPG
The 2-Minute Habit that Saves Time, $, and Energy in the Kitchen
fullsizeoutput_223b.jpeg
Lemon Bars, a Homeless Guy, and the Big Questions (An Essay)
IMG_6146.JPG
Five Minute Red Curry Sauce, hello old friend!
IMG_5390.JPG
Resourcefulness to Preserve my Reggiano (Parmigiano-Reggiano, that is)
Brandless Dinner-24.jpg
Getting back to blogging
IMG_6720.JPG
WHEN RECIPES GO WRONG: SALT, TASTE, QUESTION!

BLOG ARCHIVE


© Garlic Press Ventures  •  privacy policy  • terms of use •  follow on Instagram