In preschool, I thought I didn't like chocolate because my best friend Anna didn't. We only liked it in the form of chocolate covered popcorn and pretzels. Luckily this phase didn't last too long. I don't remember exactly when I realized my taste buds diverged from Anna's, but I do remember when I started to truly appreciate the wonder of high-quality chocolate. It was my junior year of college in my "Anthropology of French Food" class. Yes, the class was as amazing as it sounds. The syllabus was divided into bread, cheese, wine, and chocolate, and we read a book about each. For the chocolate section, my professor conducted a long and involved tasting of different brands of dark chocolate with different cacao percentages. I remember her instructing us to let the chocolate melt on our tongues versus chewing it - to better appreciate the flavor and help us savor it as the French would.
In the further development of my chocolate education, I've since taken a chocolate-making class while on vacation in Peru, and toured the amazing Dandelion Chocolate - a "bean to bar" chocolate factory in San Francisco. So, before coming to Hawaii I knew at least a little bit about chocolate-making, though almost nothing about cacao harvest and processing.
Here at Kuaiwi Farm where I'm WWOOFing in Hawaii, we grow AND make our own chocolate - cacao seed to mature pod to chocolate bar. The process is lengthy, but has definitely been the most interesting (and rewarding) thing I've done here so far. The surprises and treats along the way are the kind you only get when you're doing the hard work of making this stuff yourself from start to finish.
Below I'll outline the process from pod to dried beans. (And I'll follow up with the beans-to-bar process in a coming post):
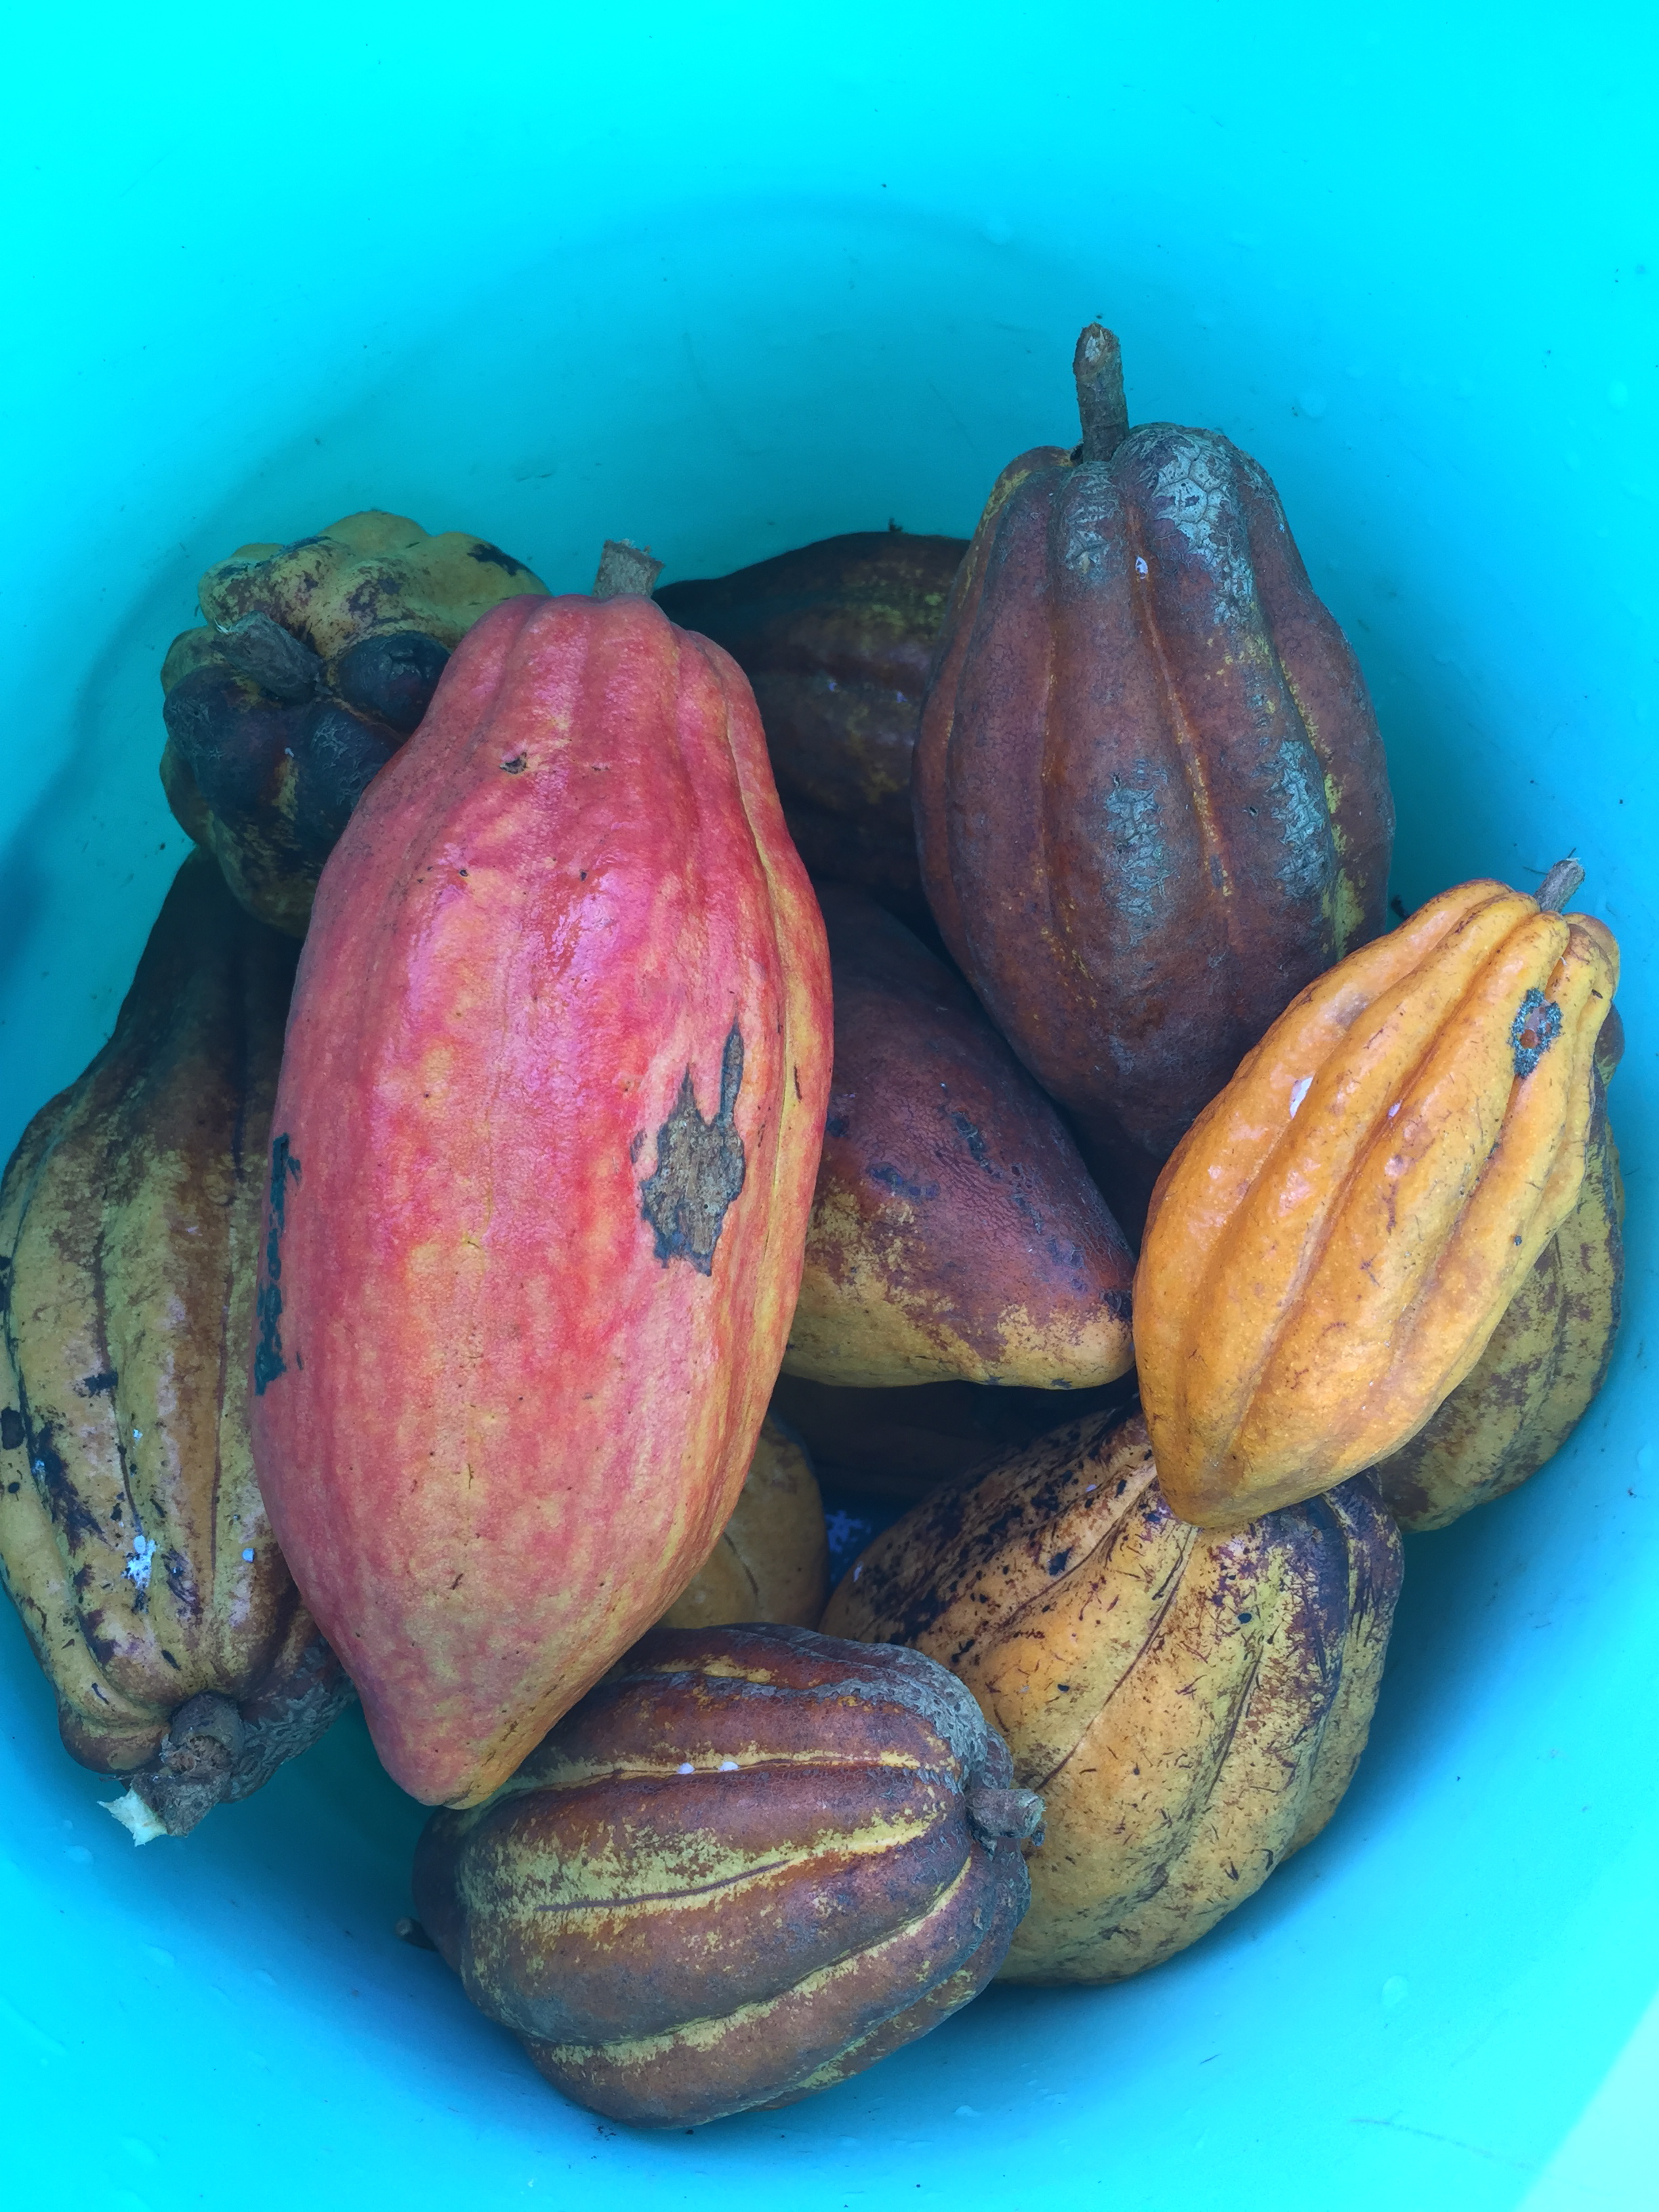
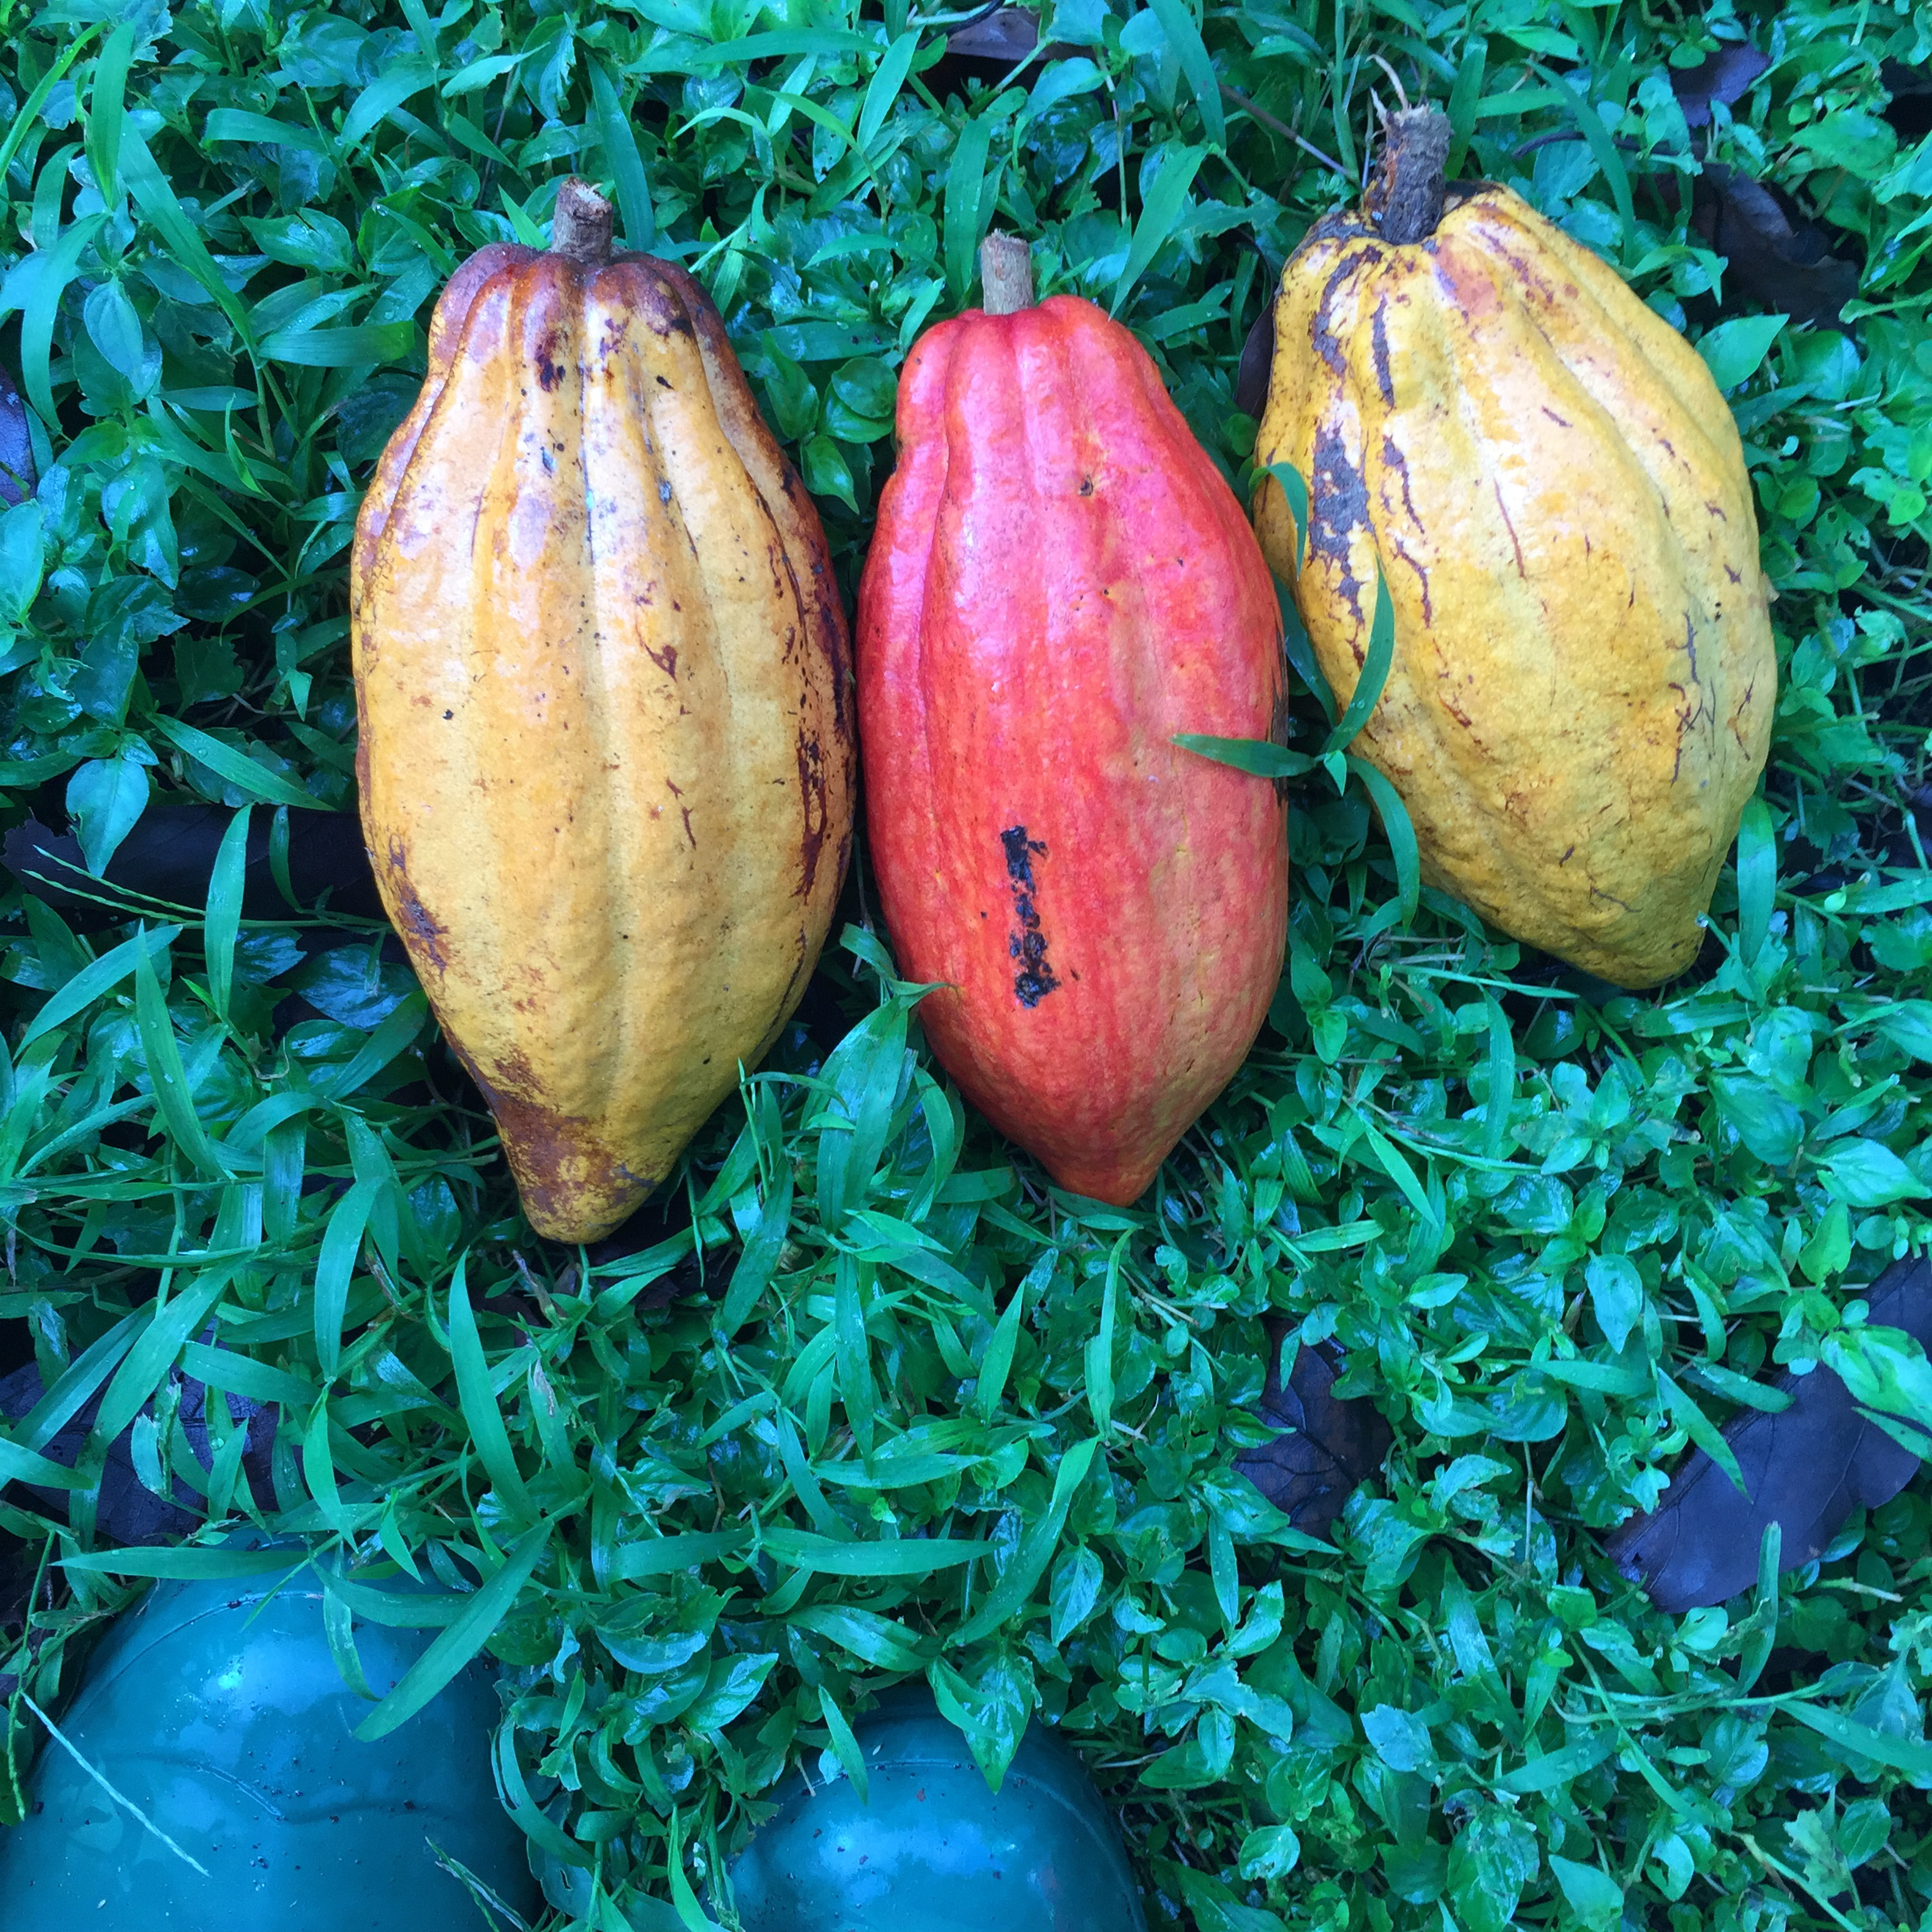
step 1: harvest
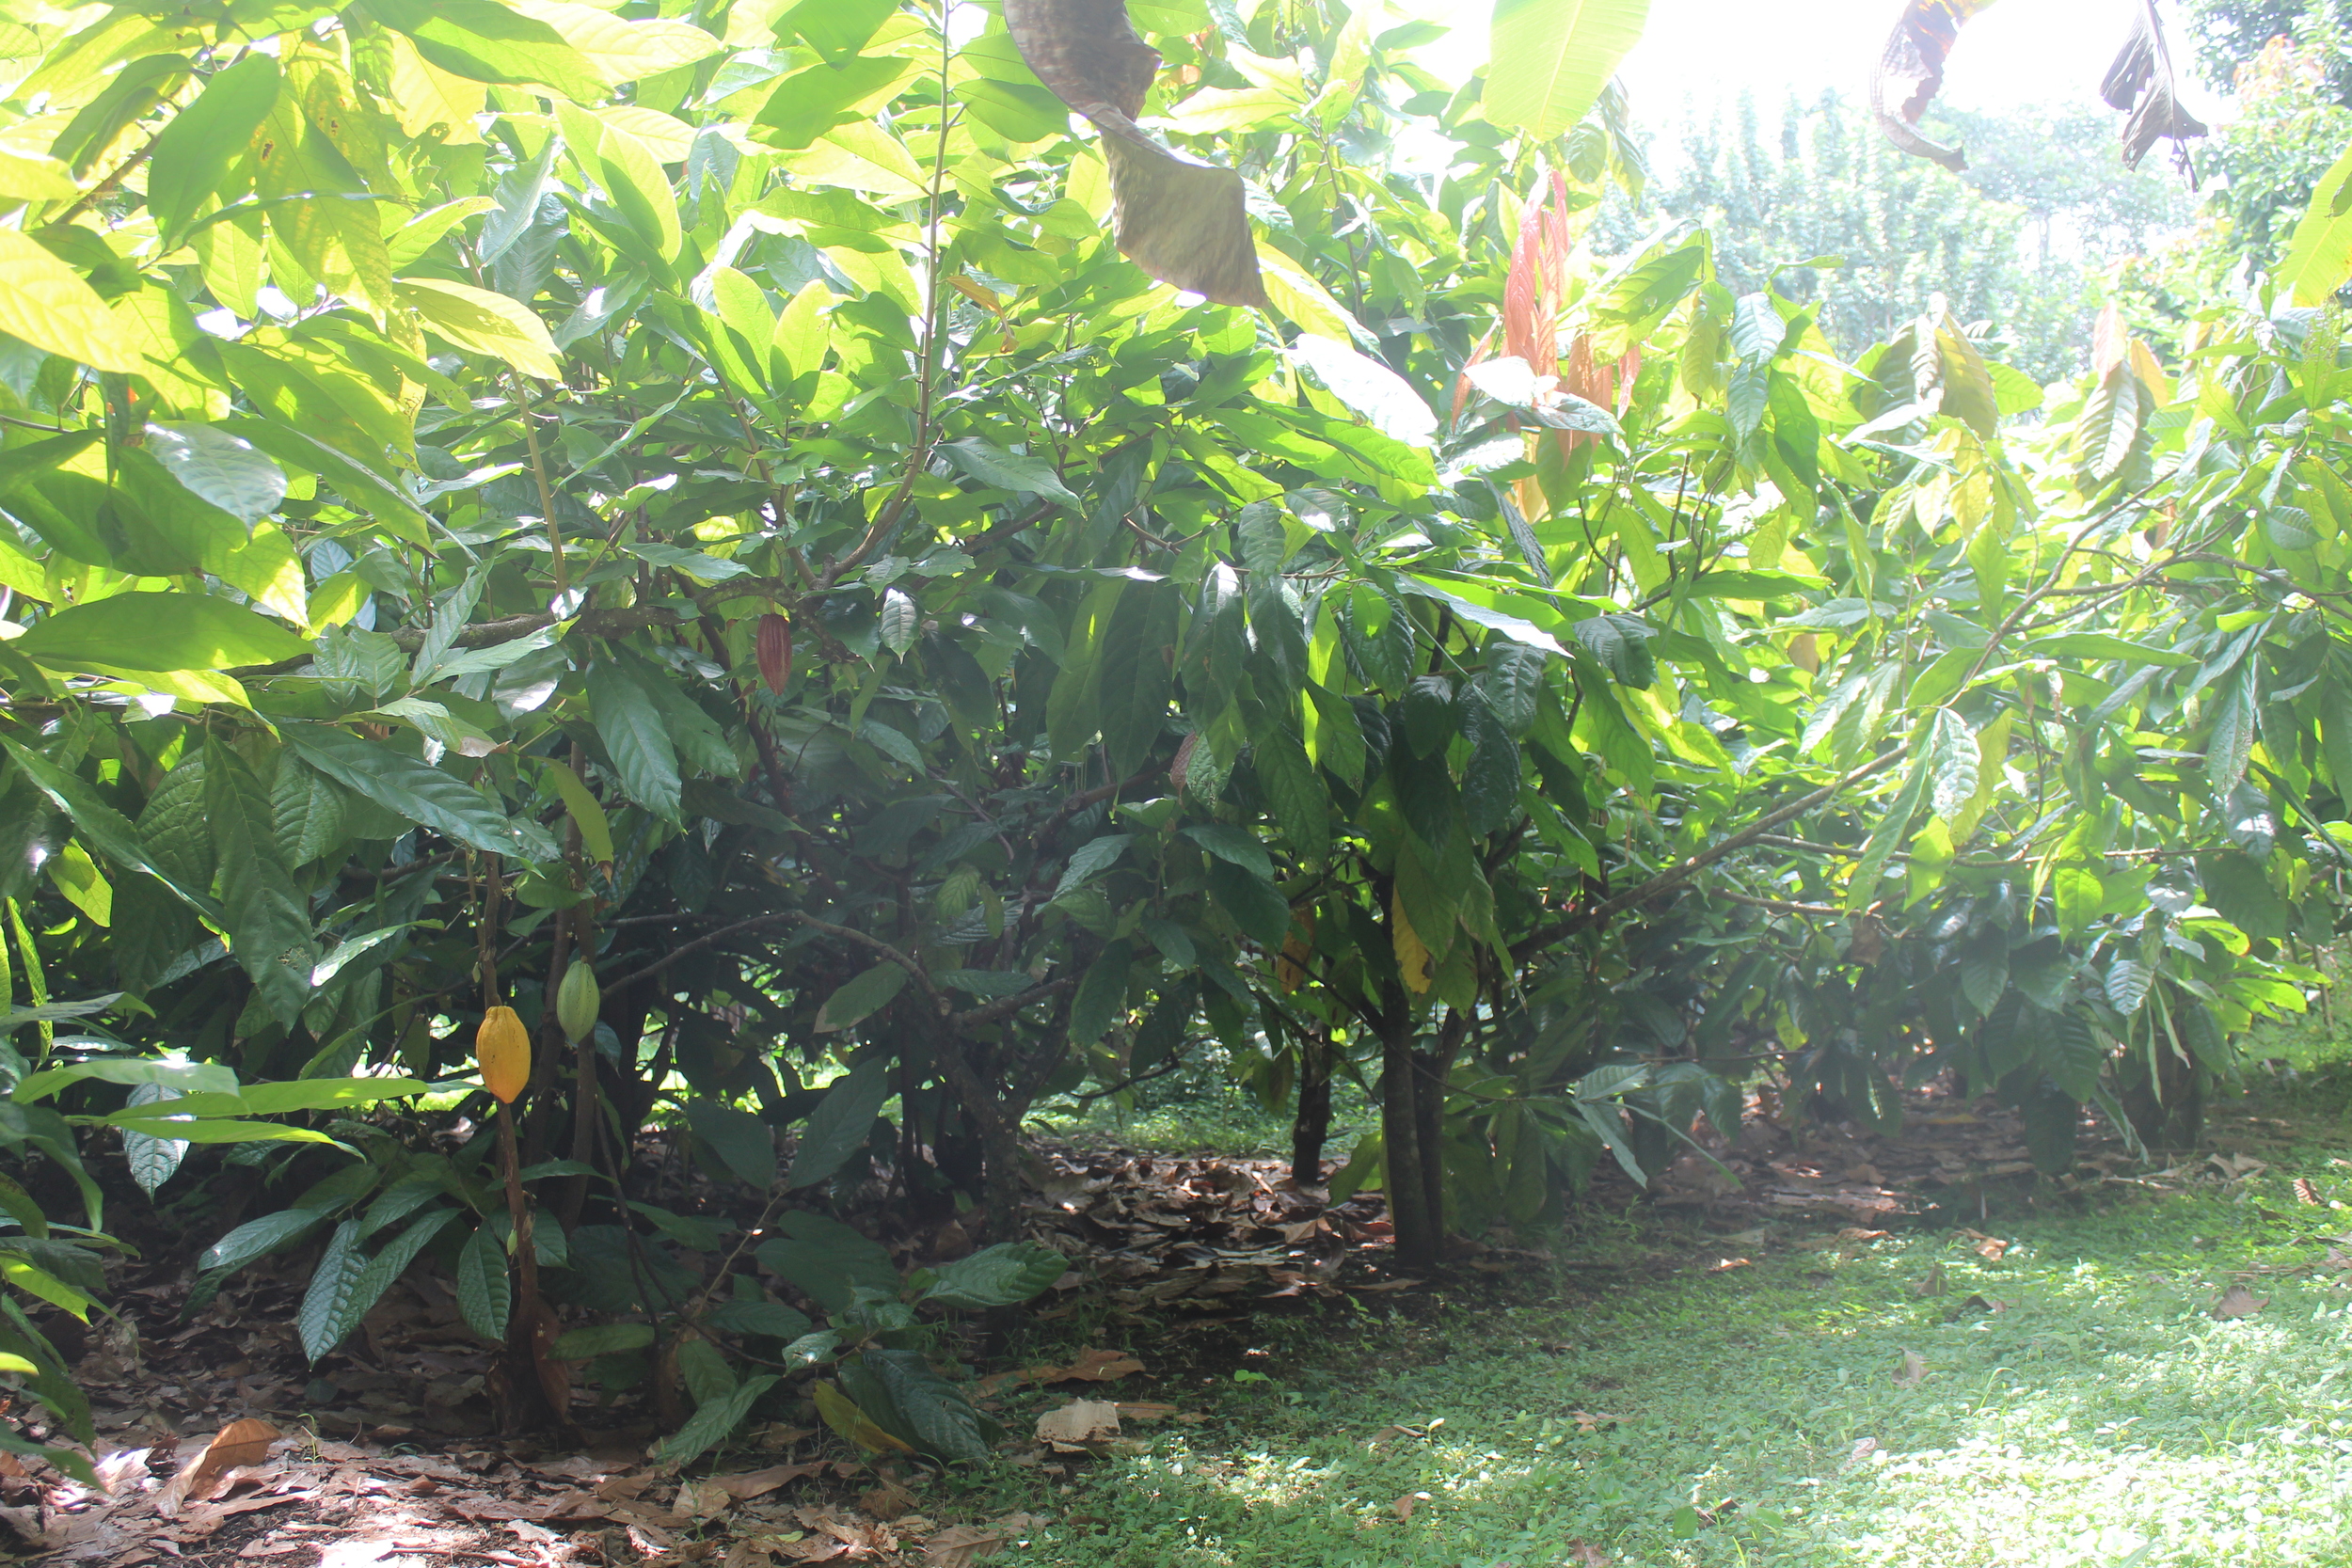
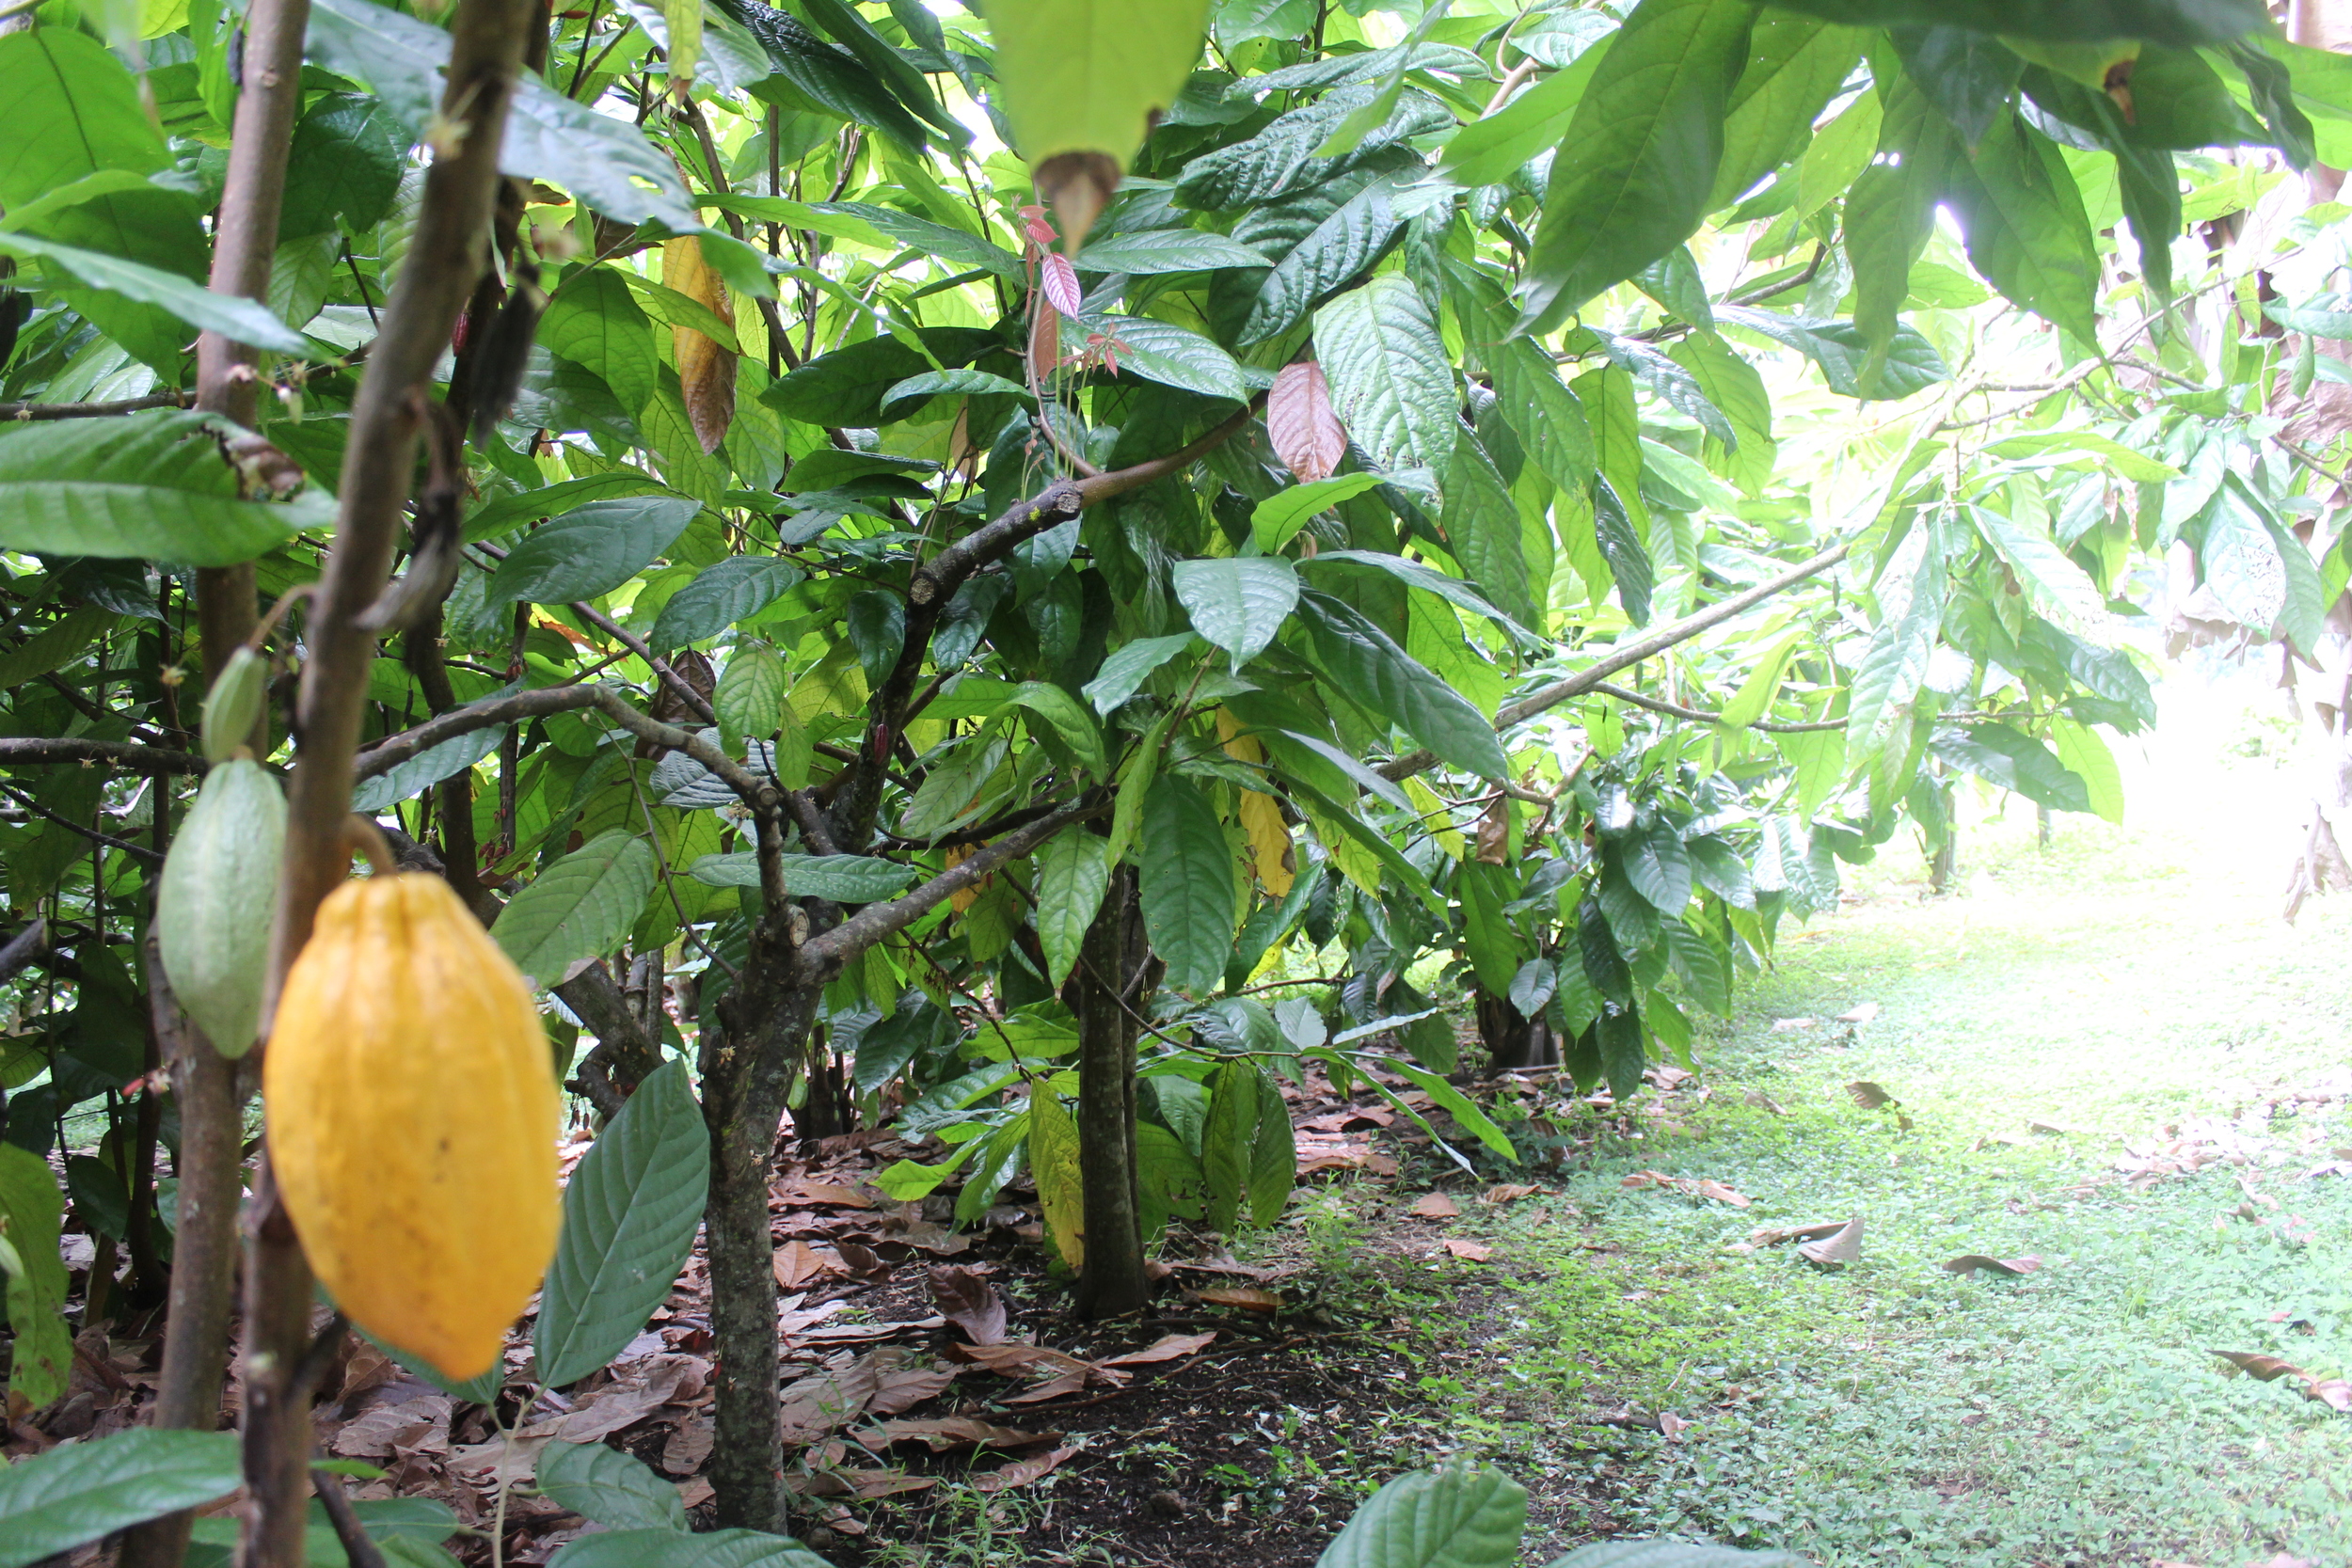
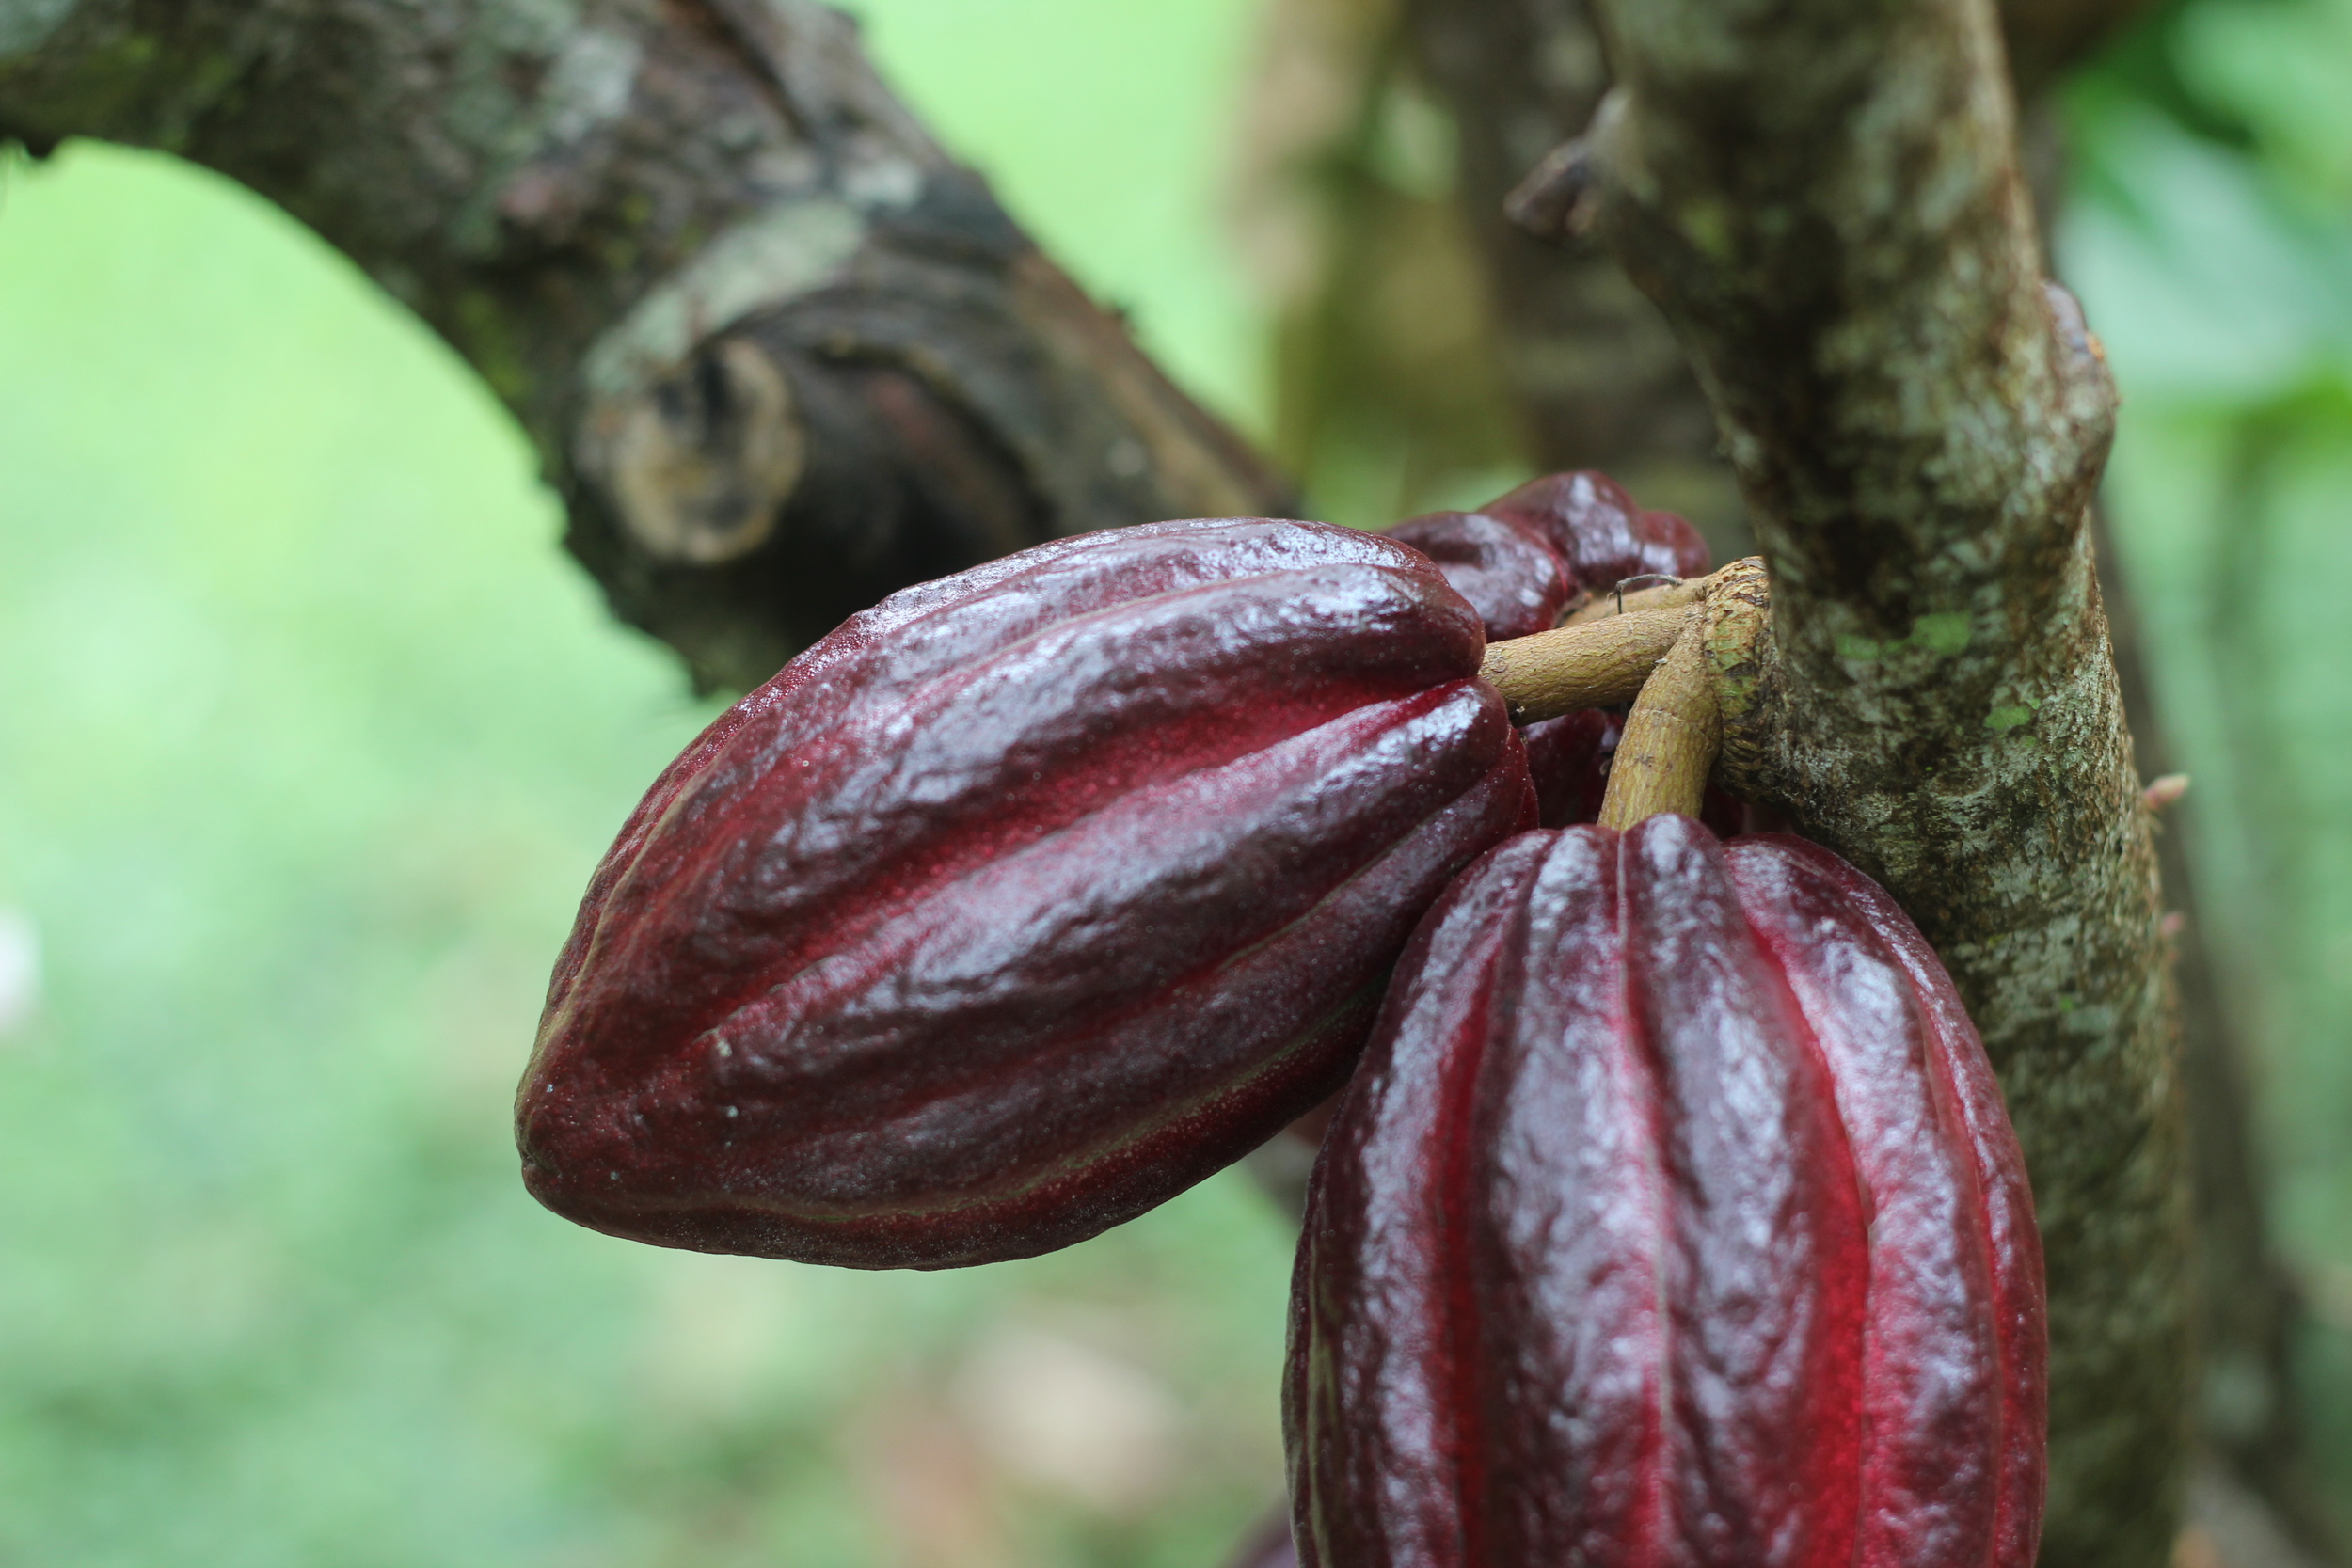

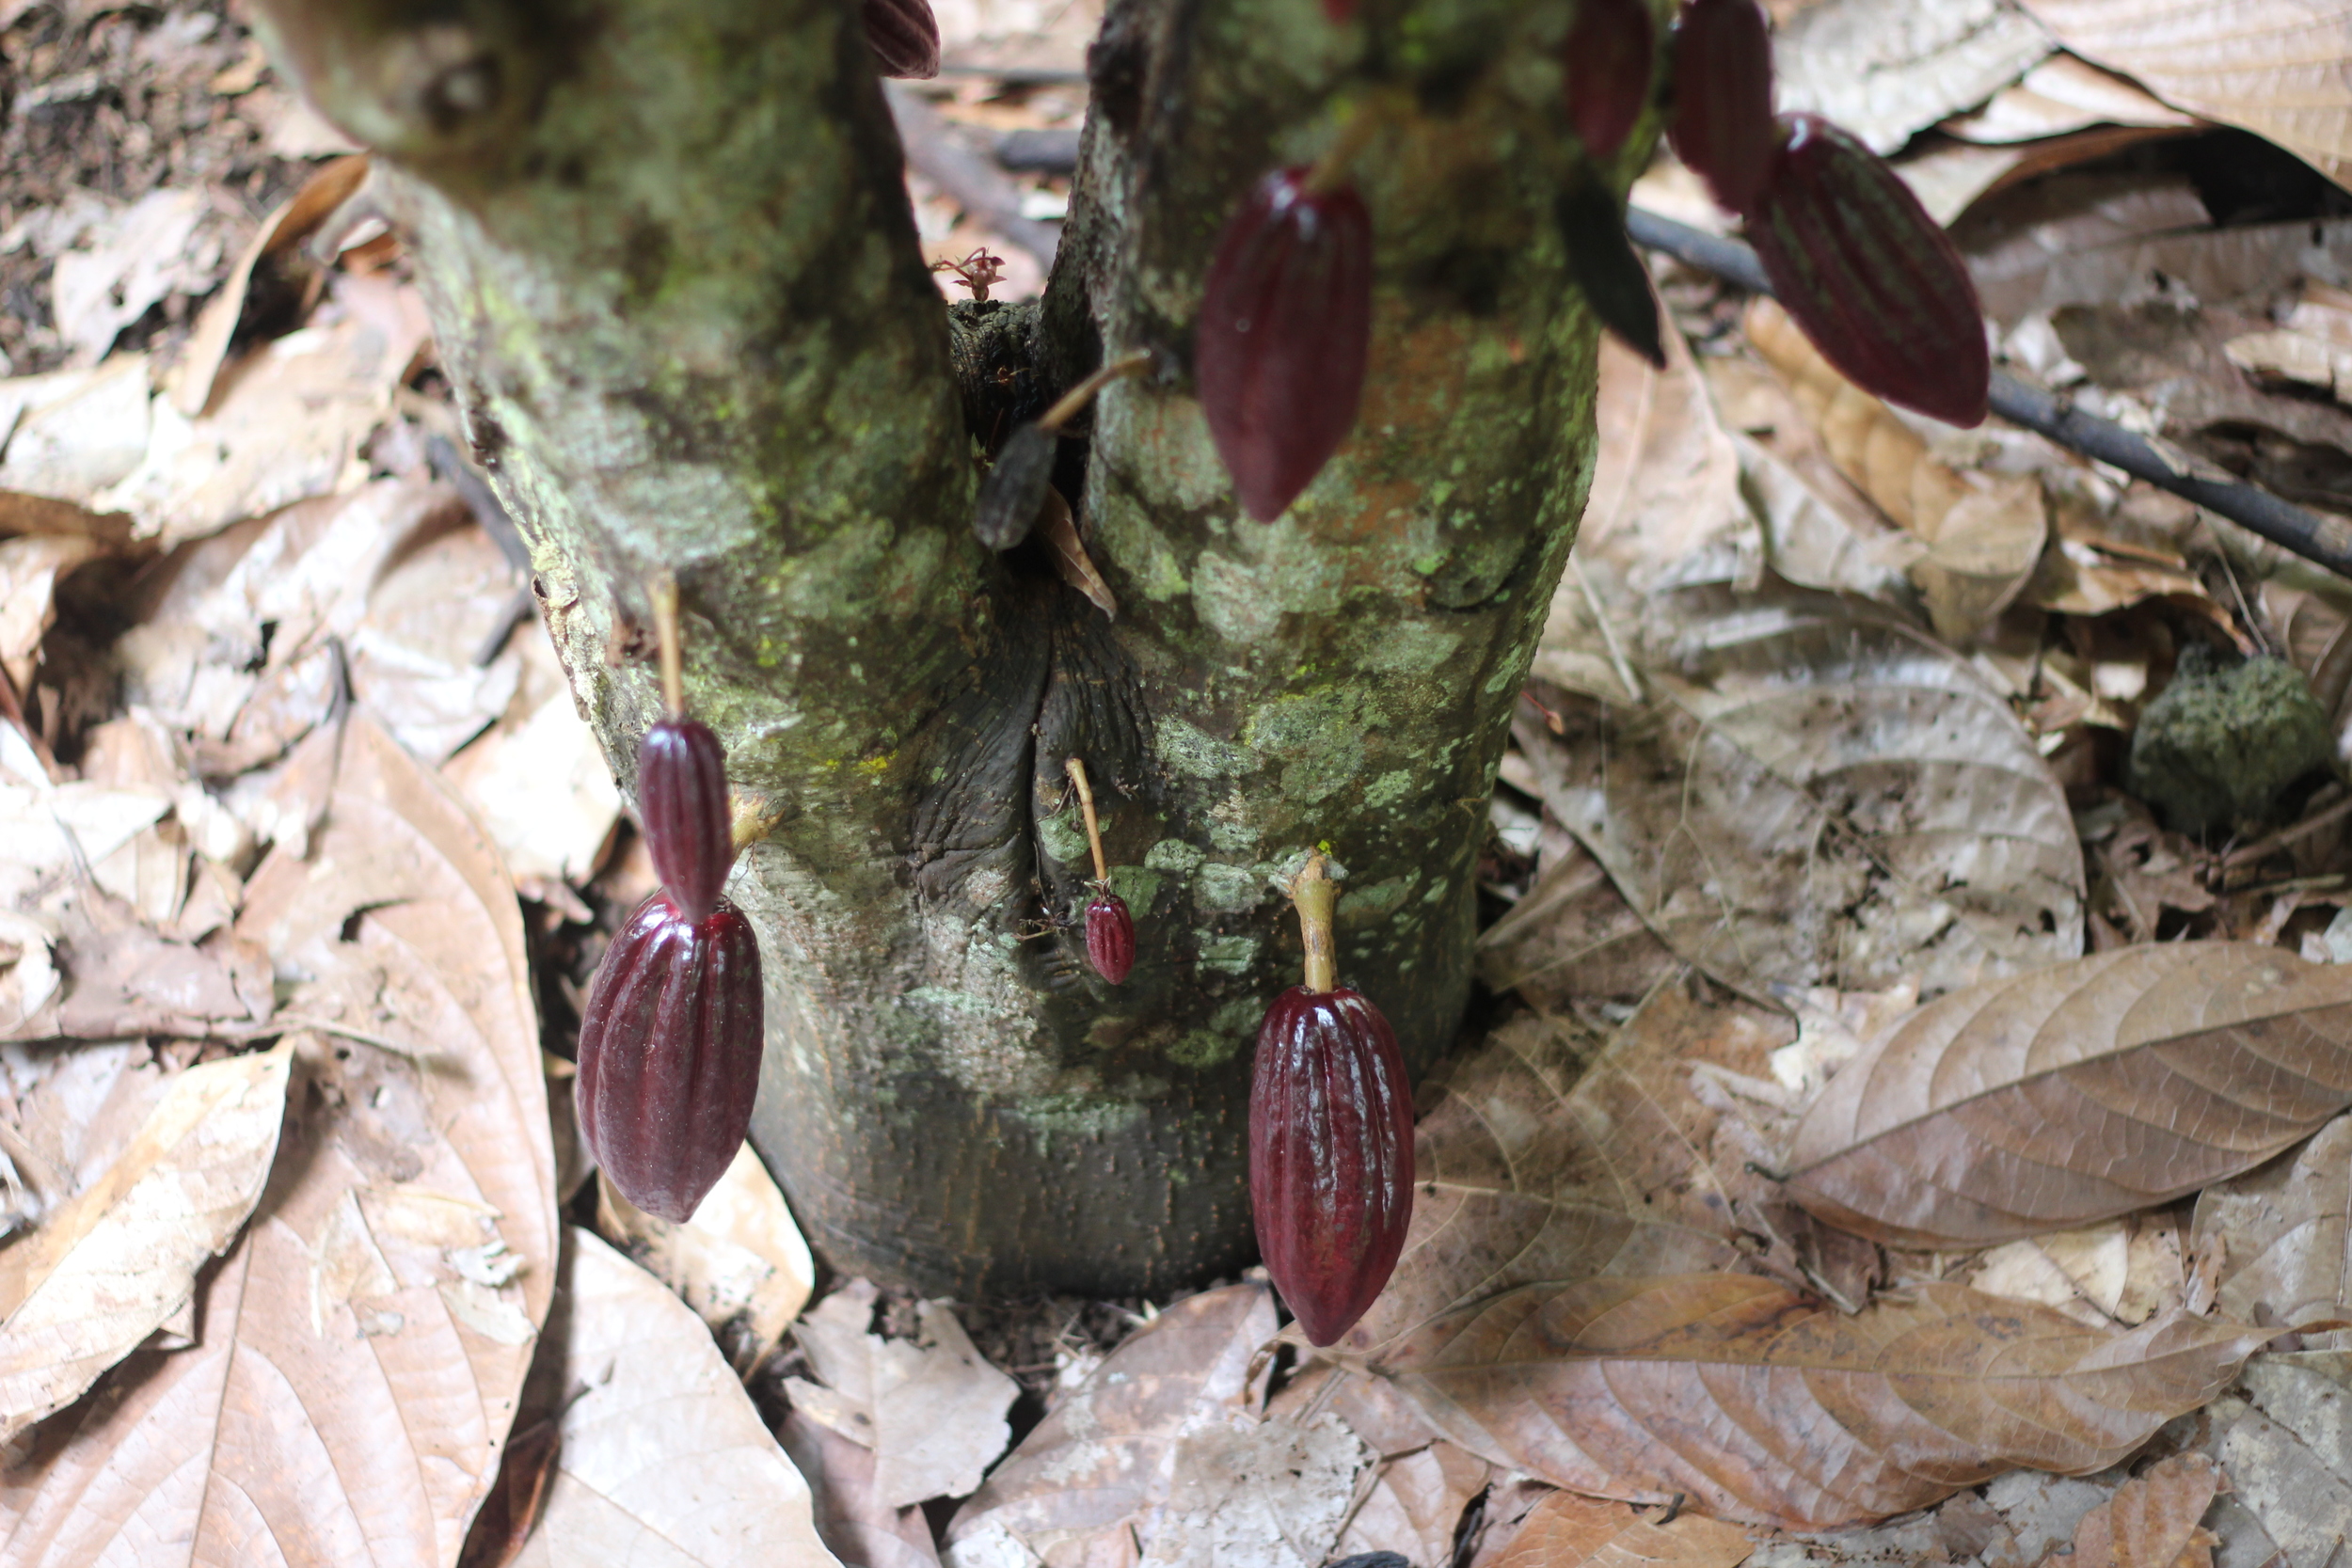
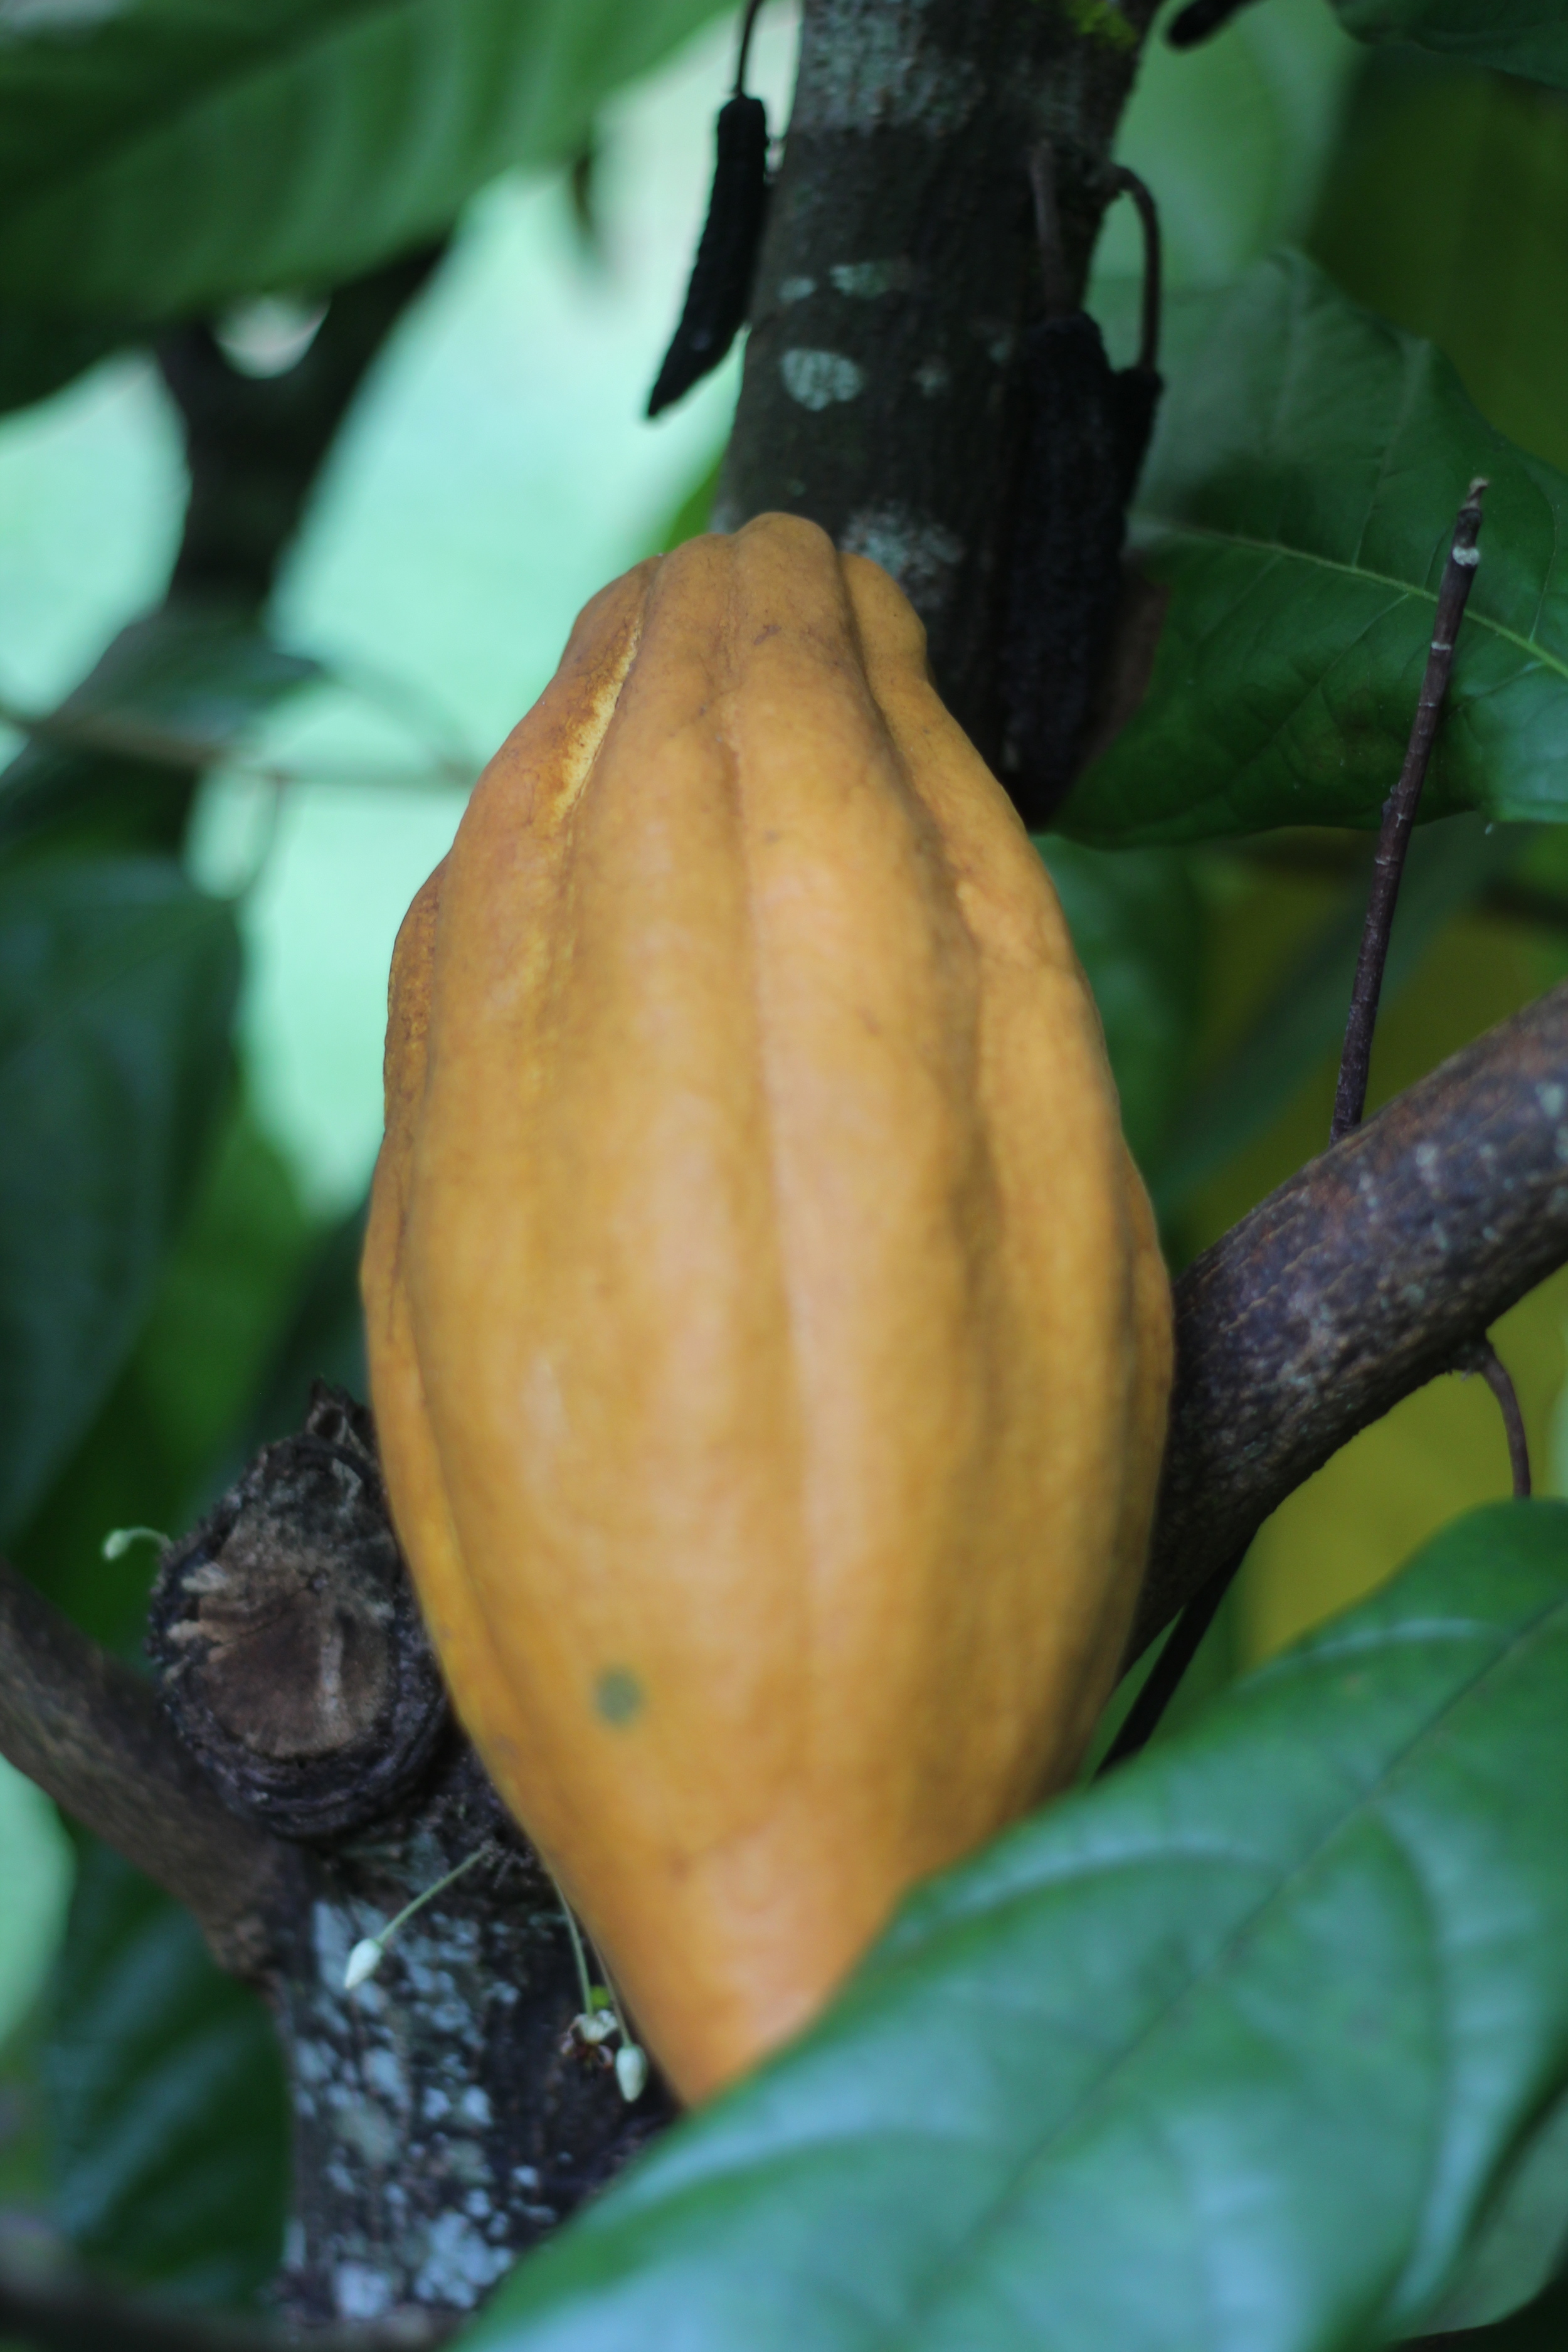
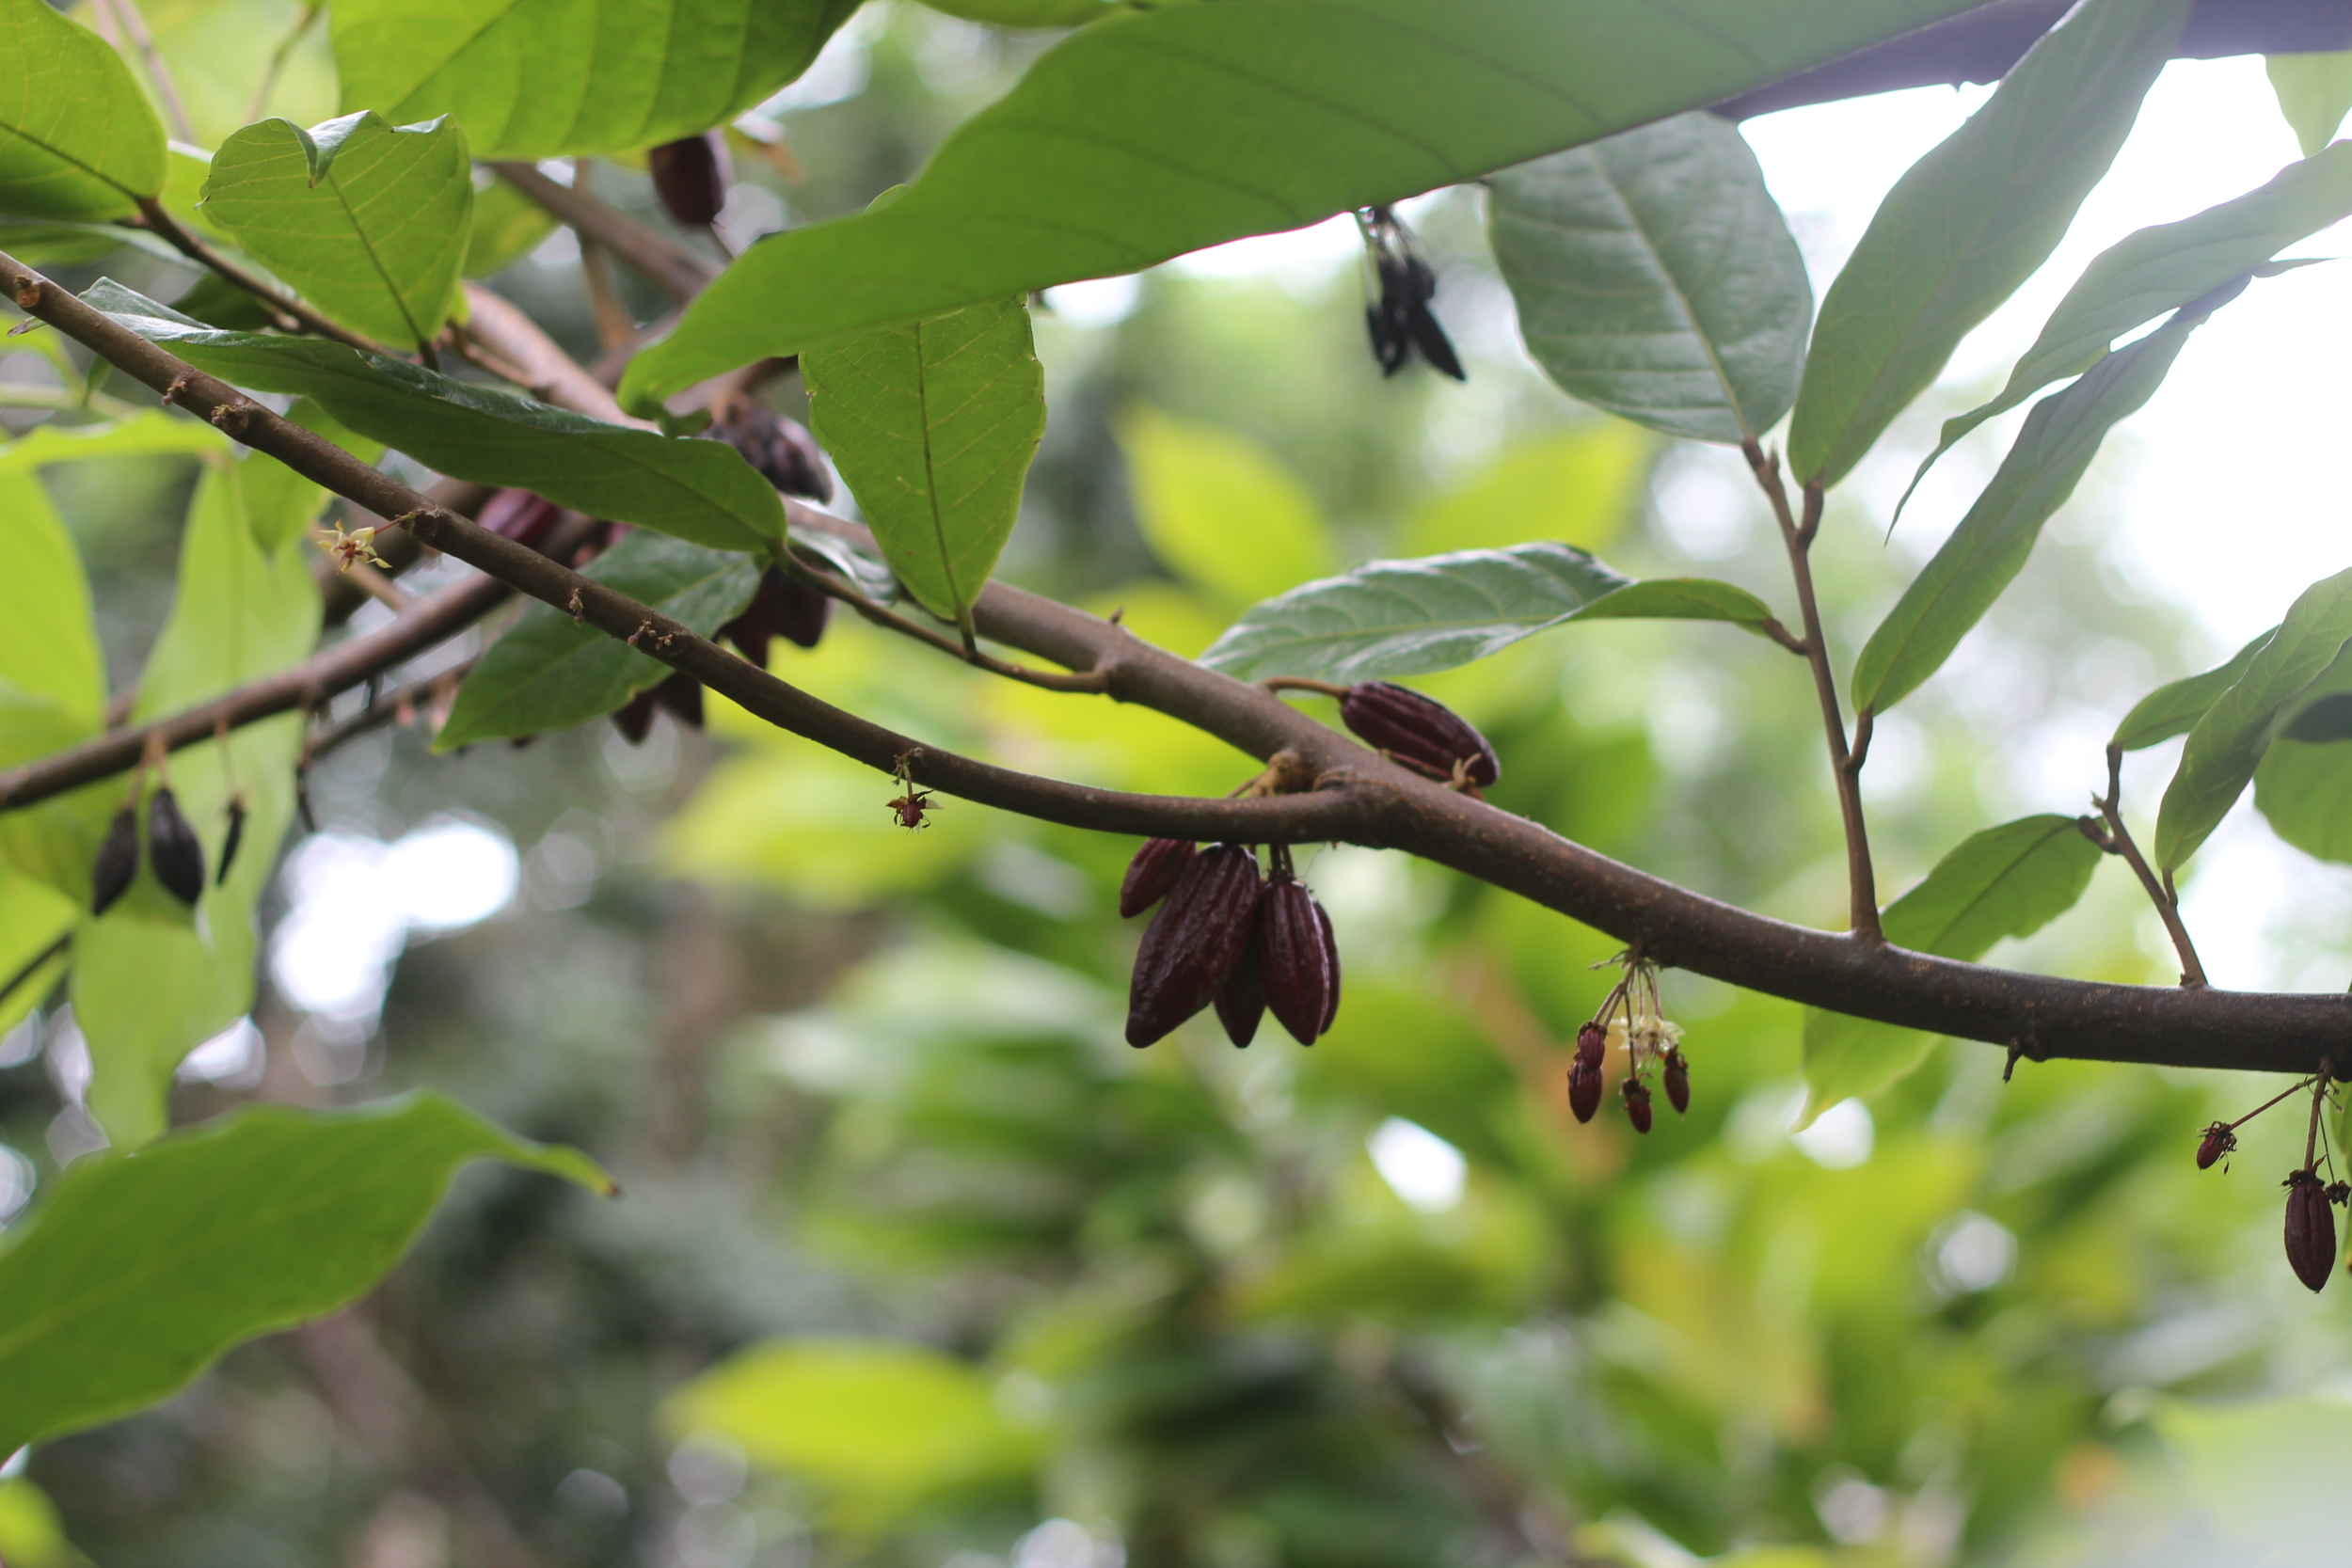
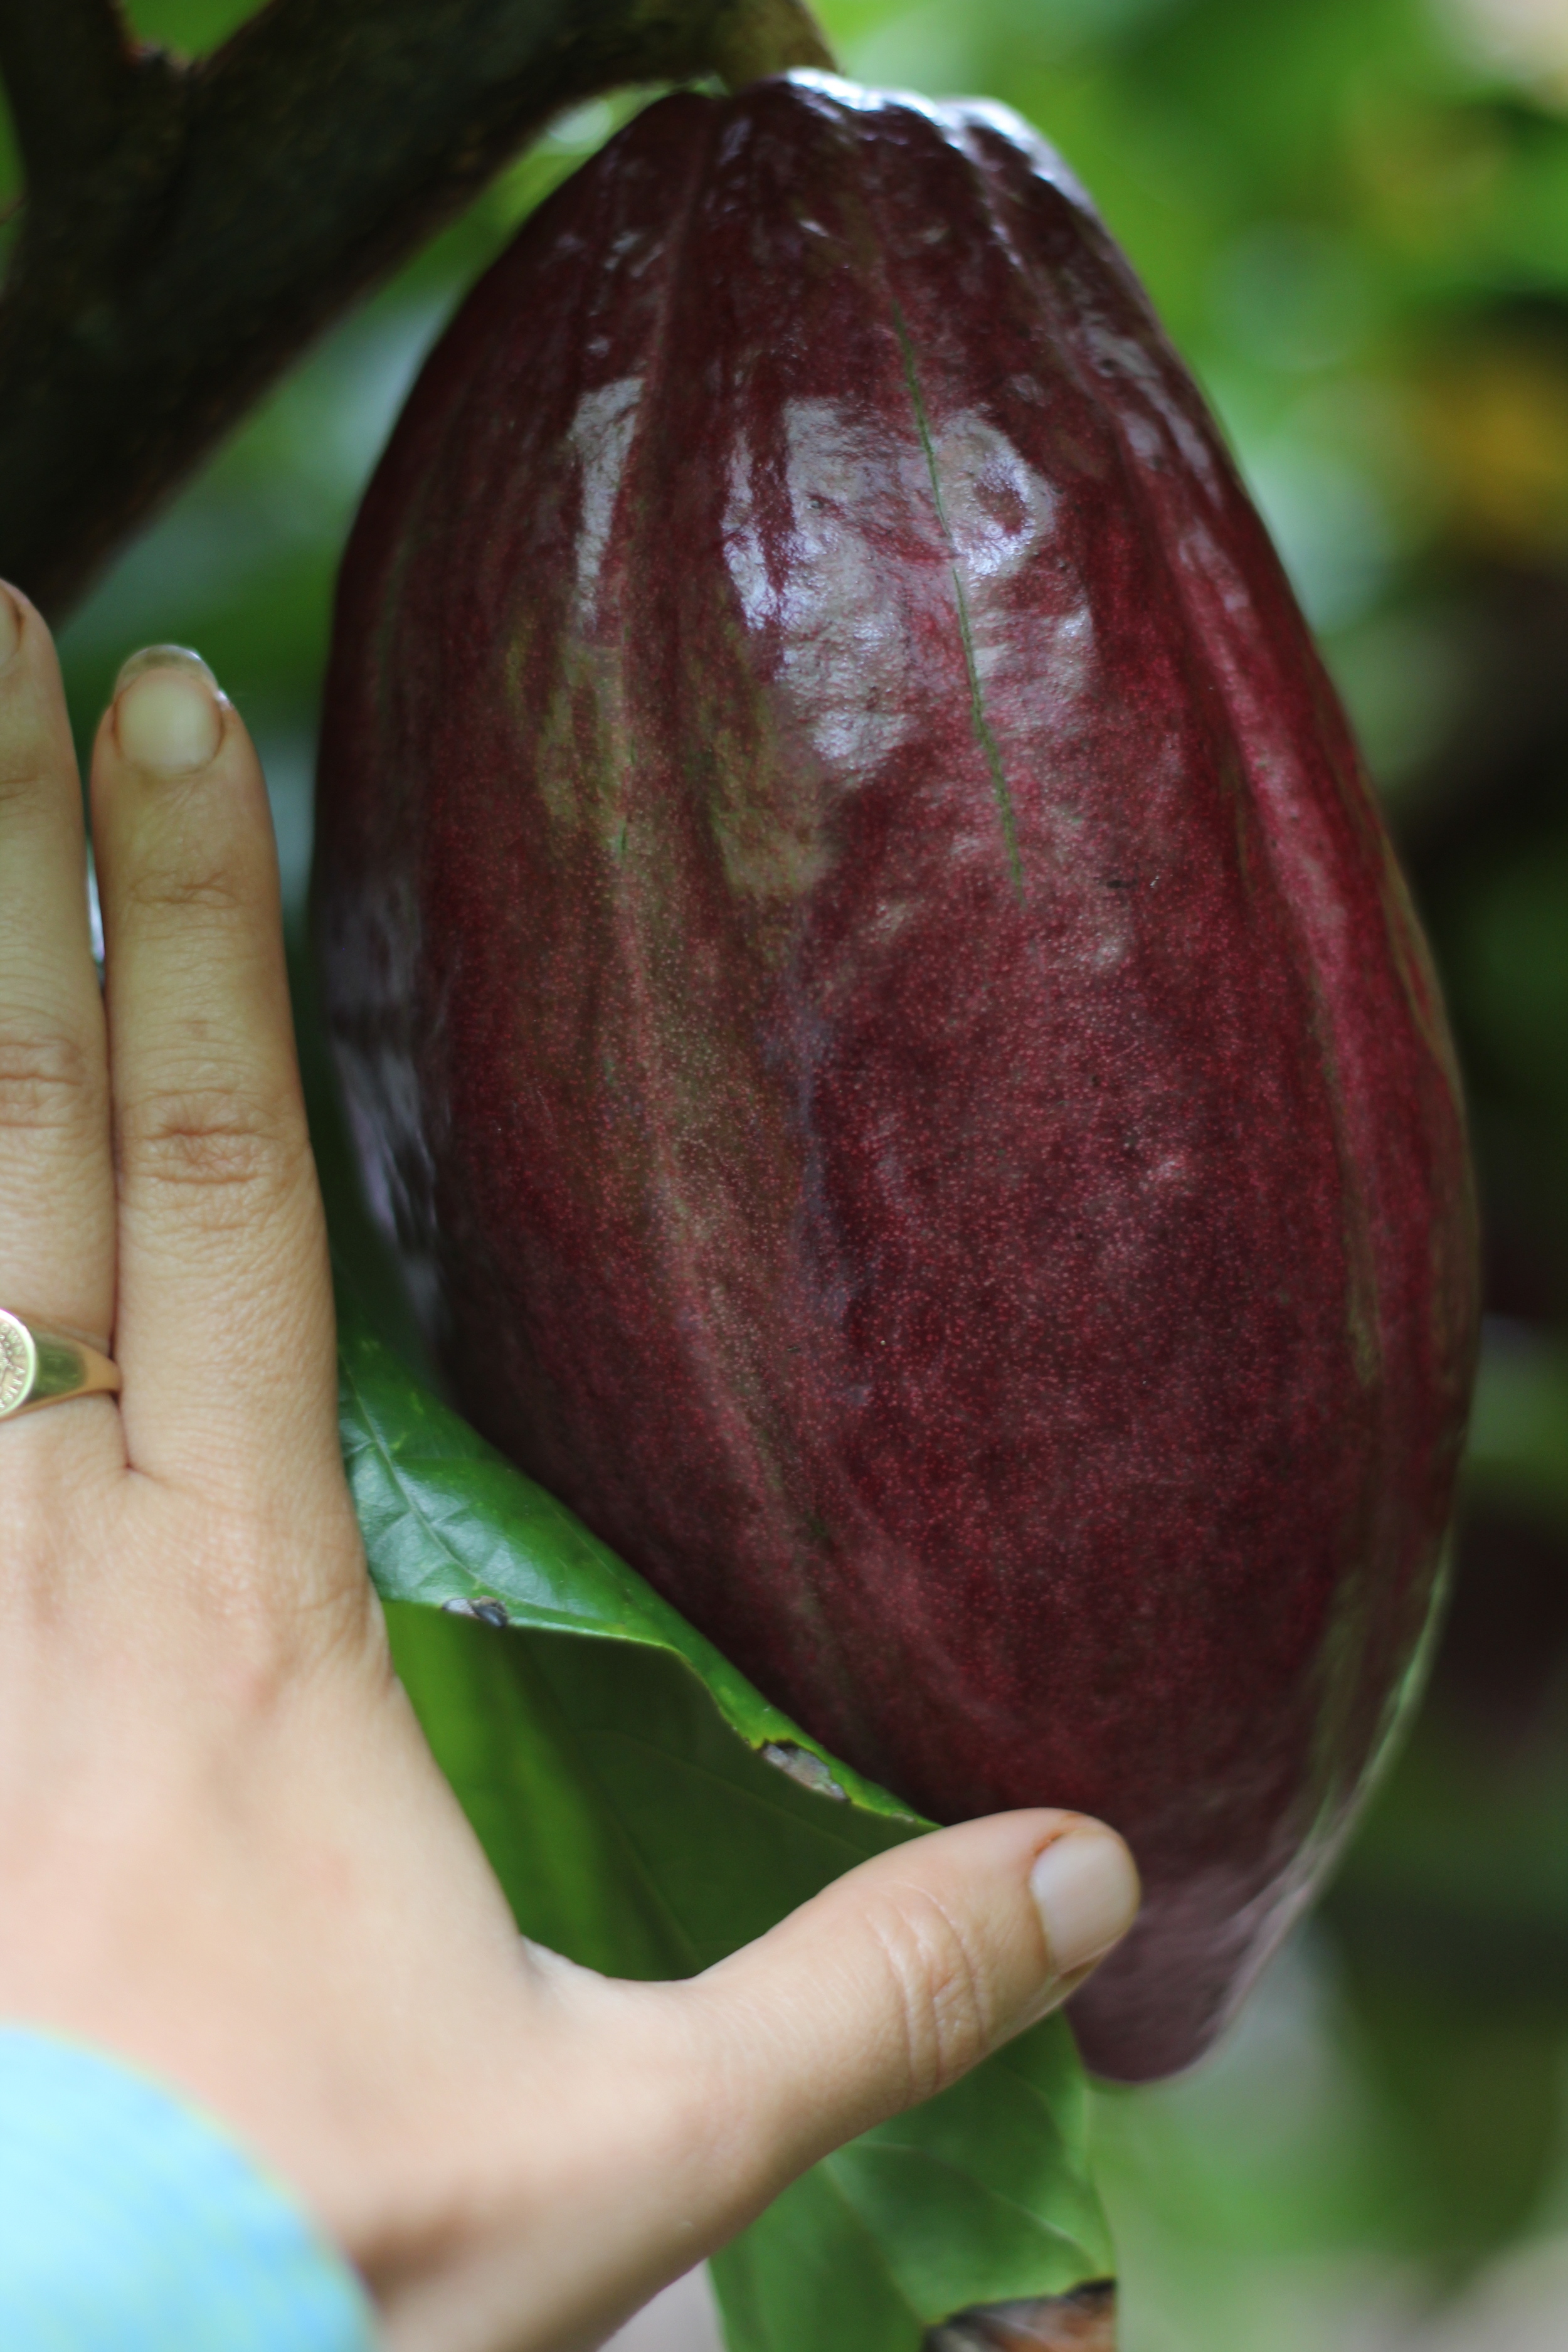
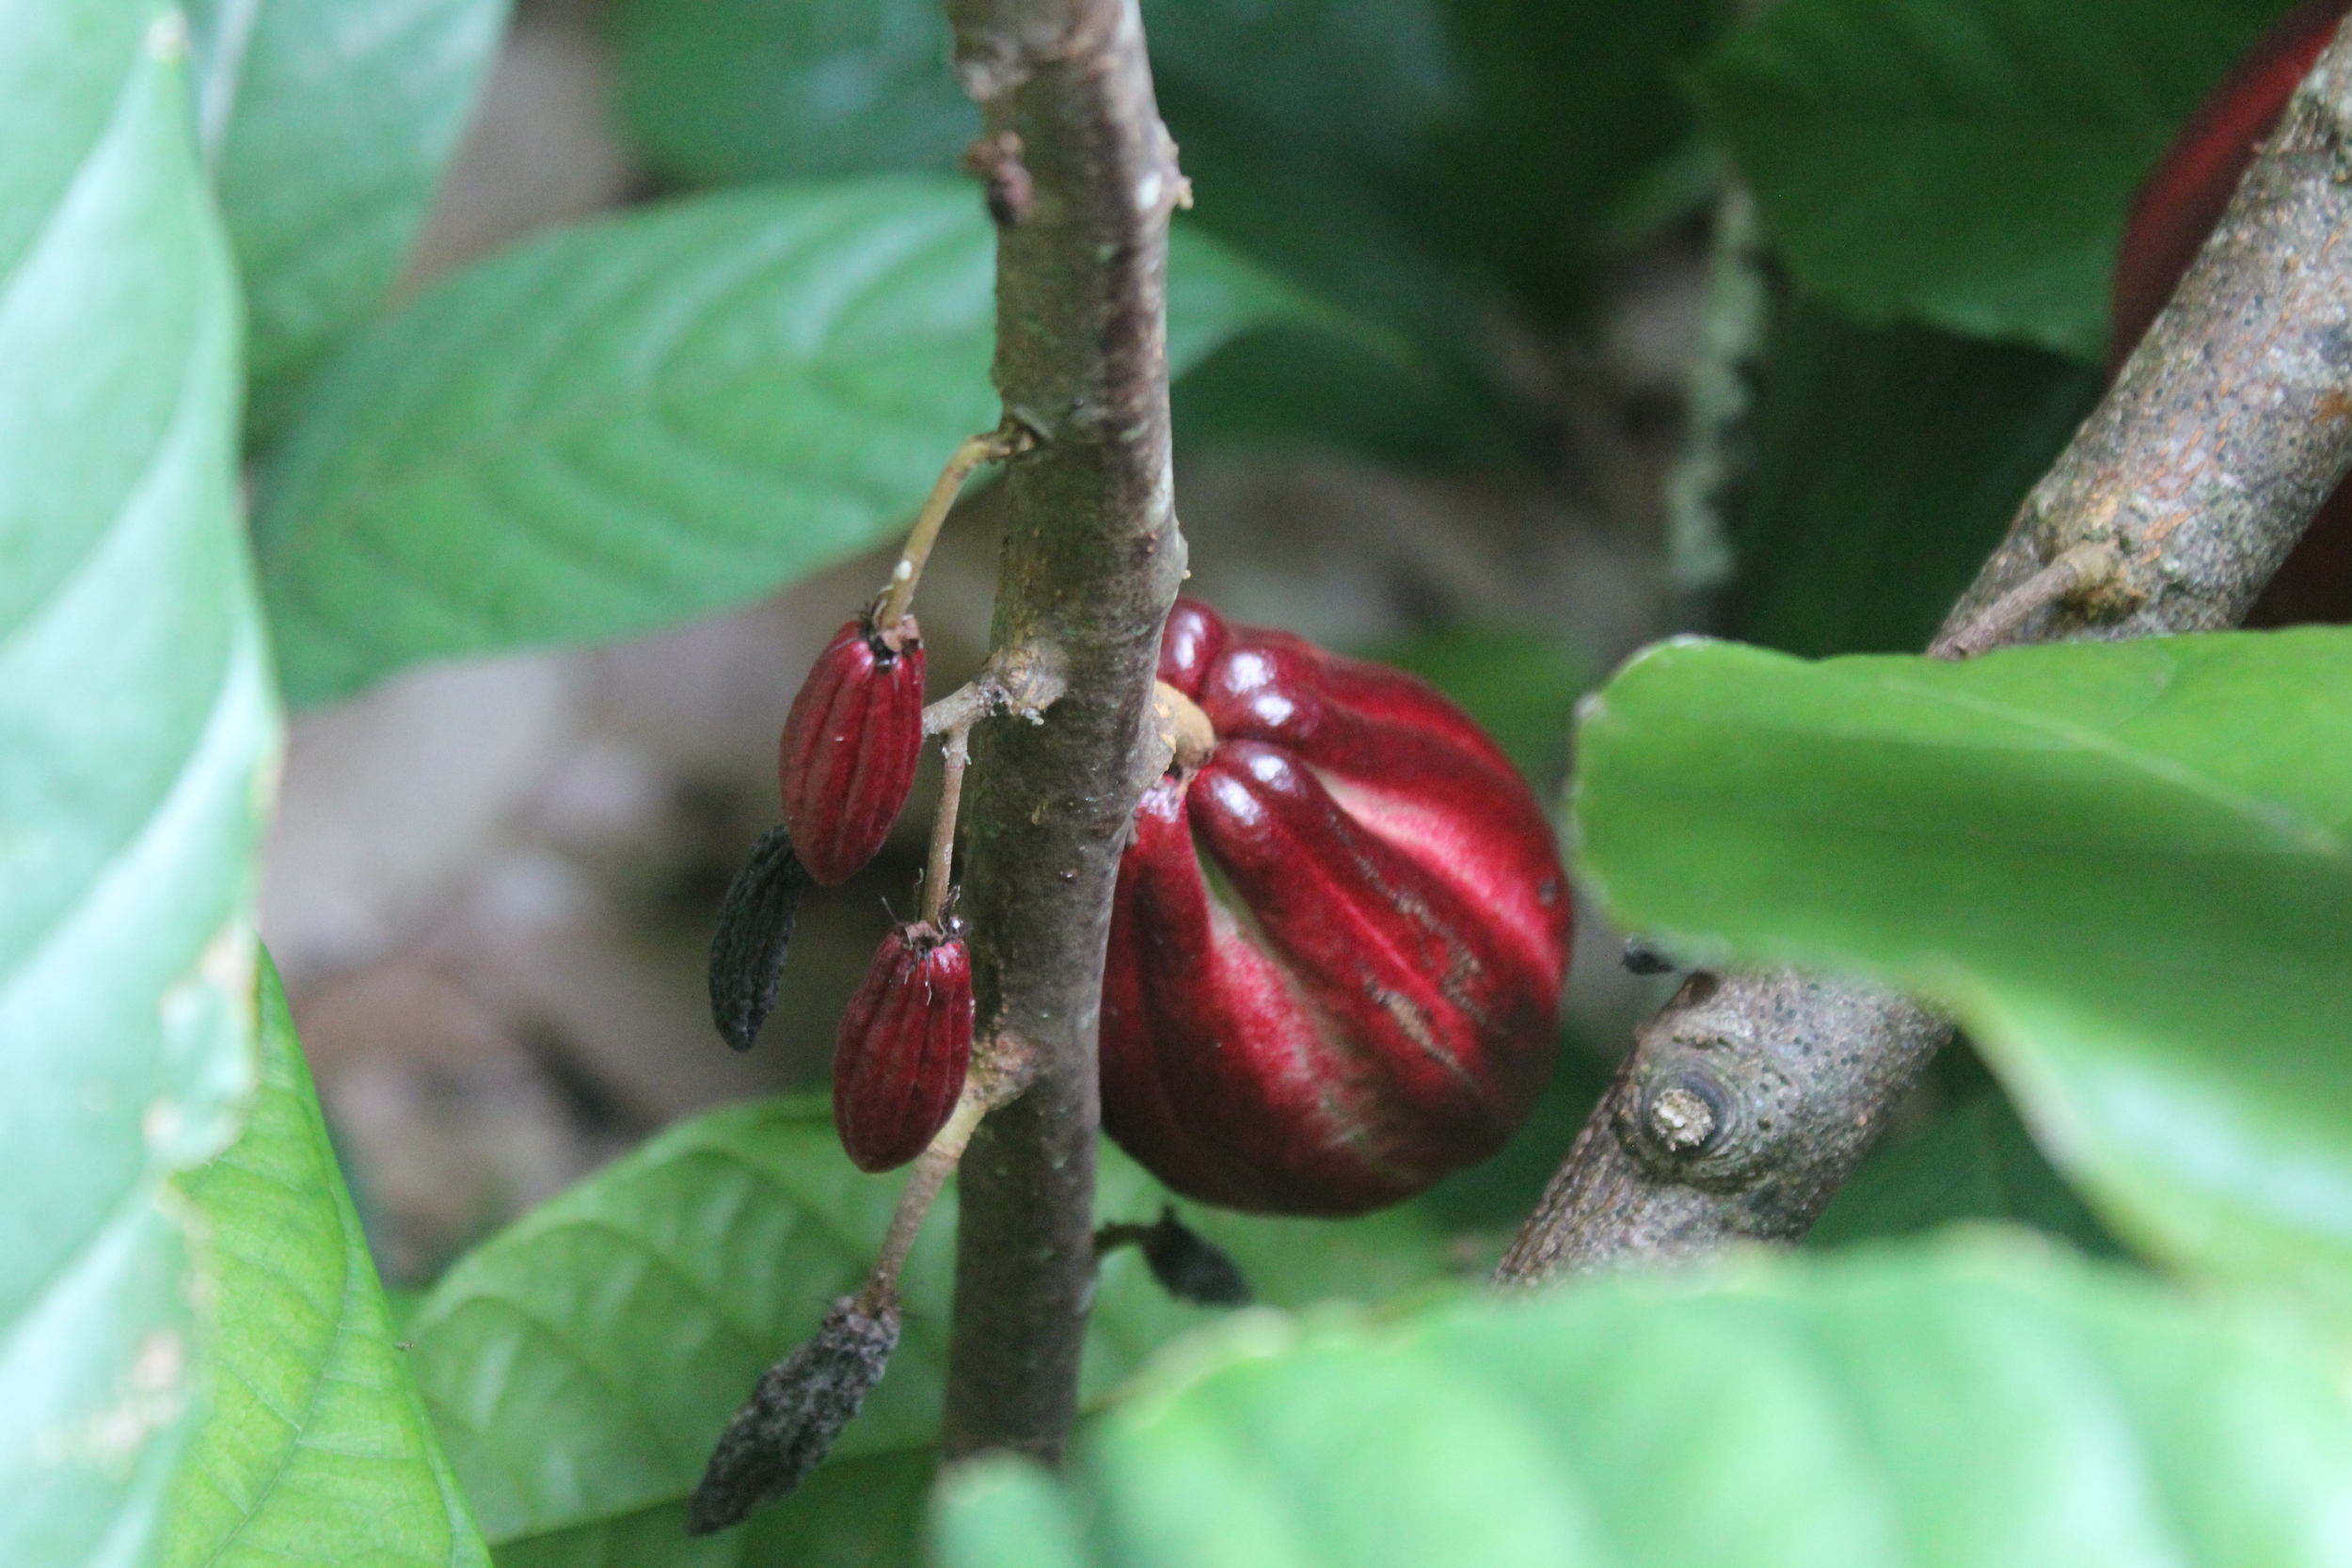
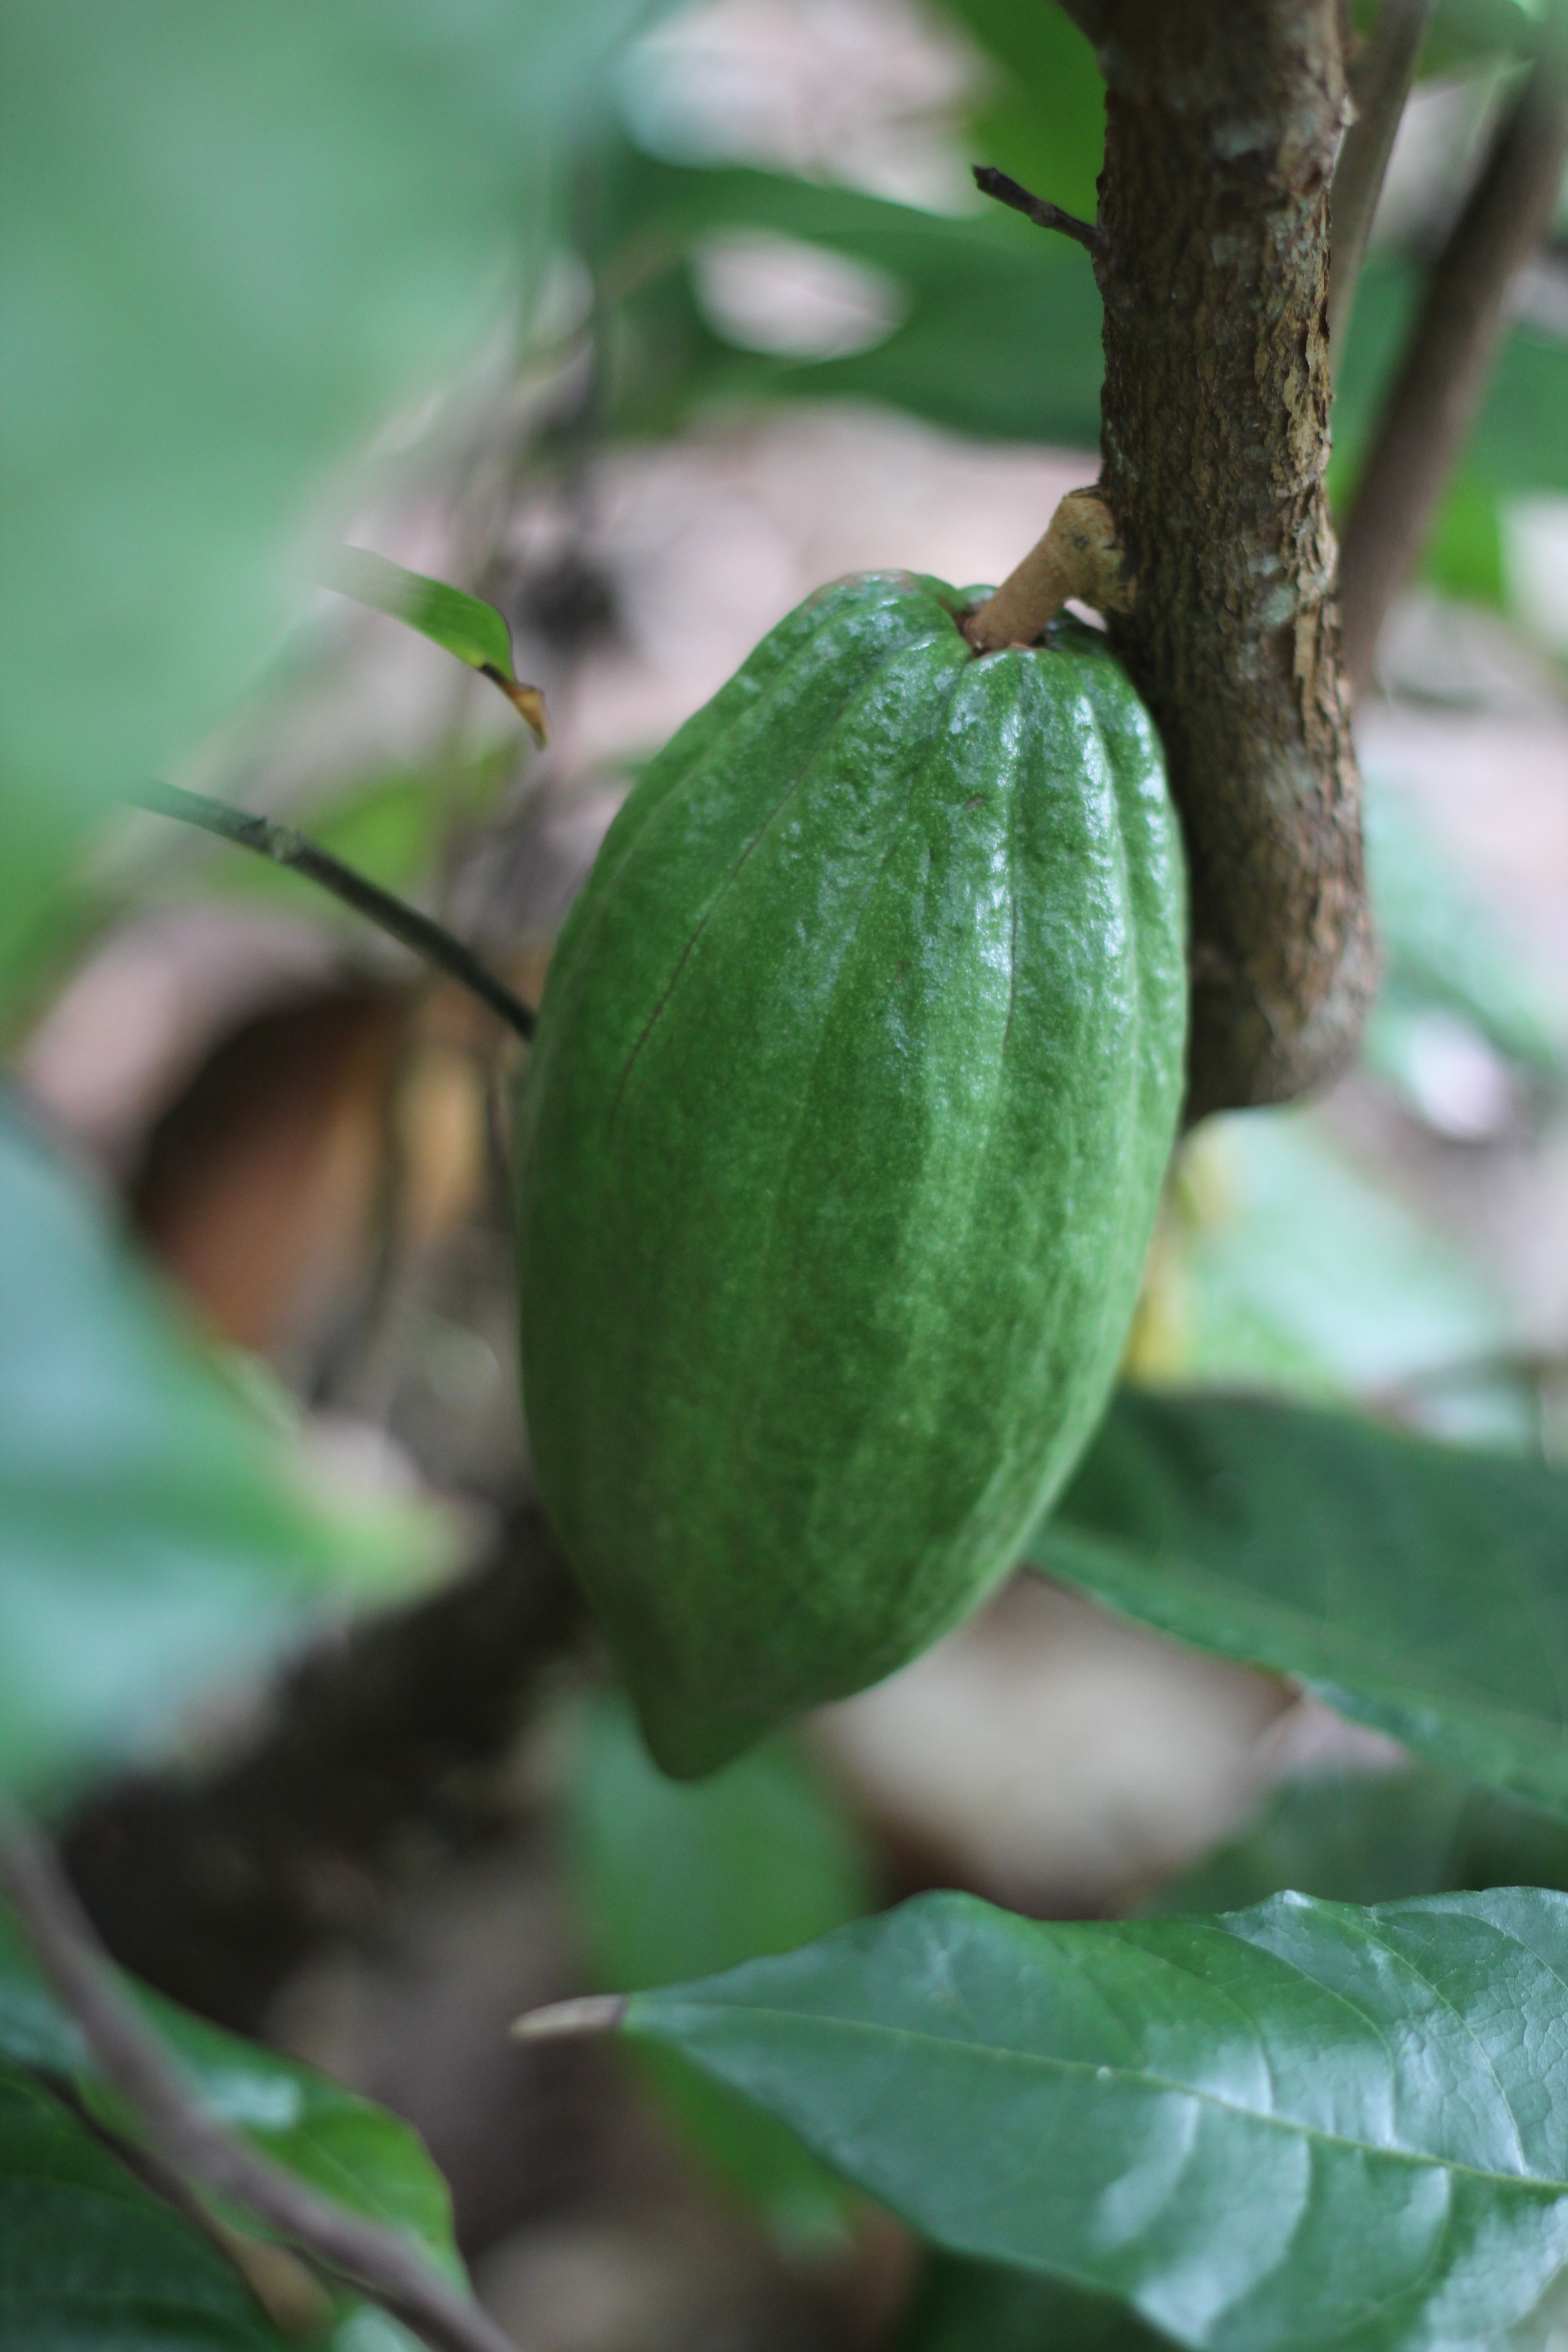
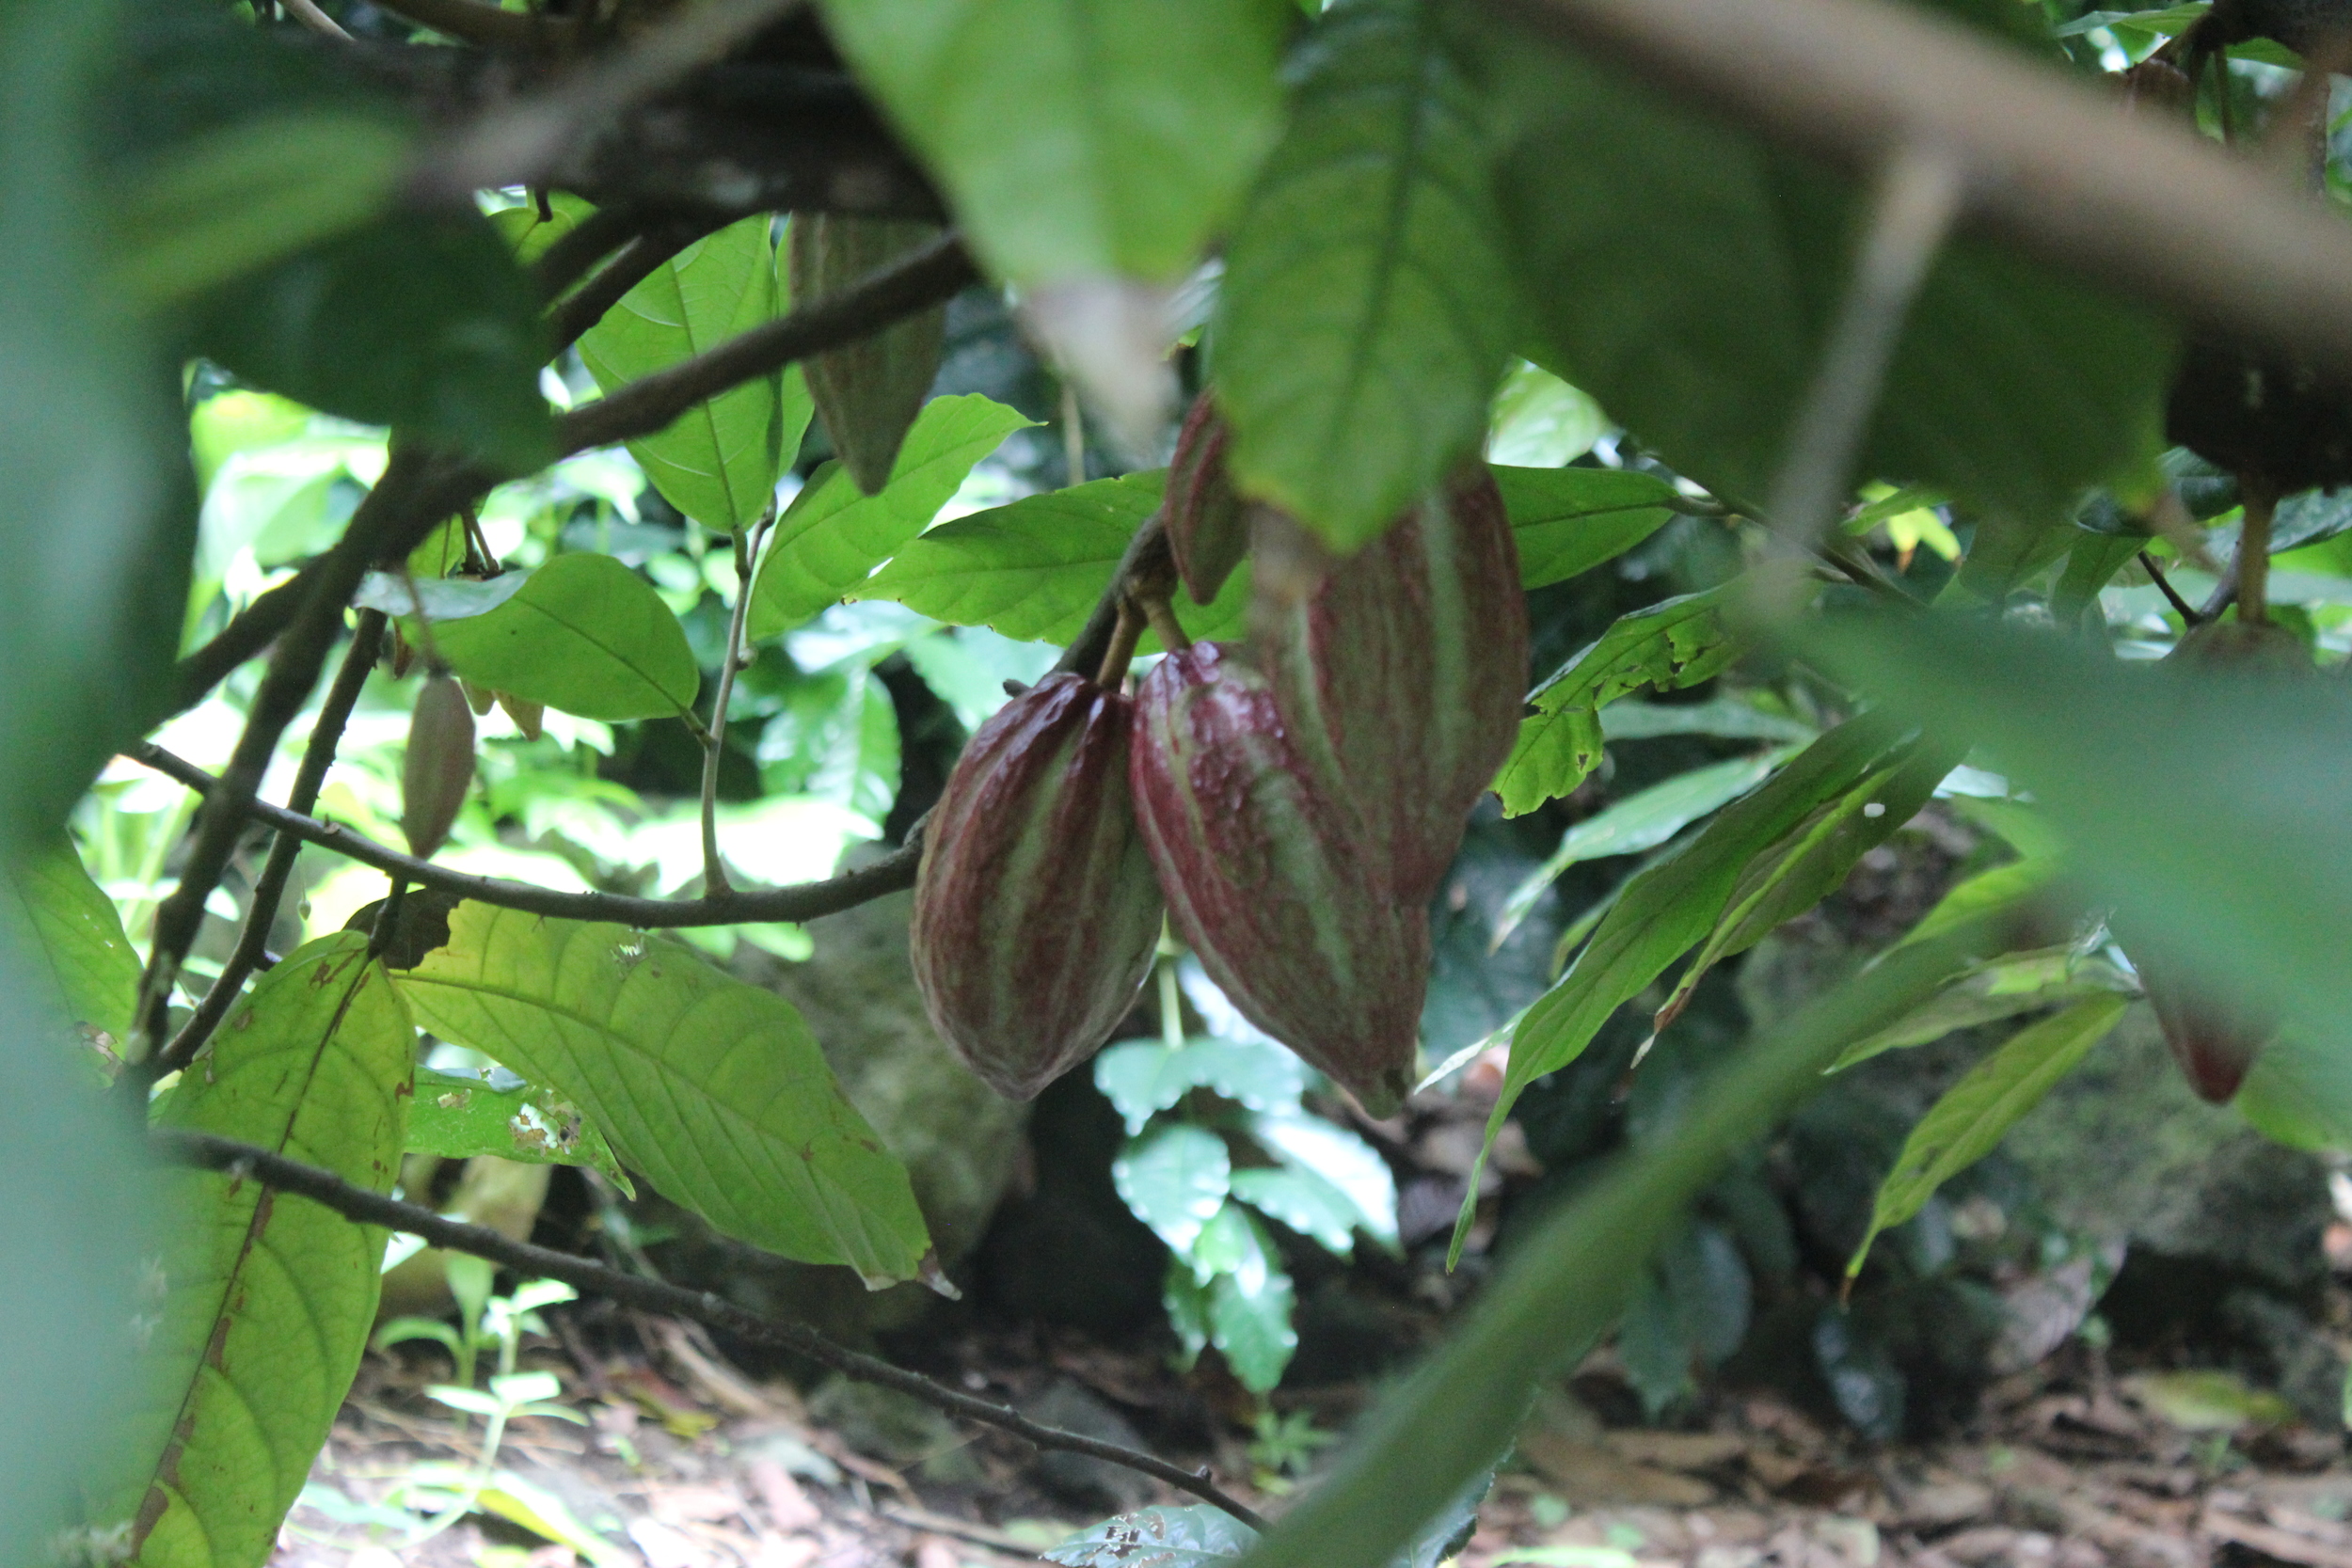
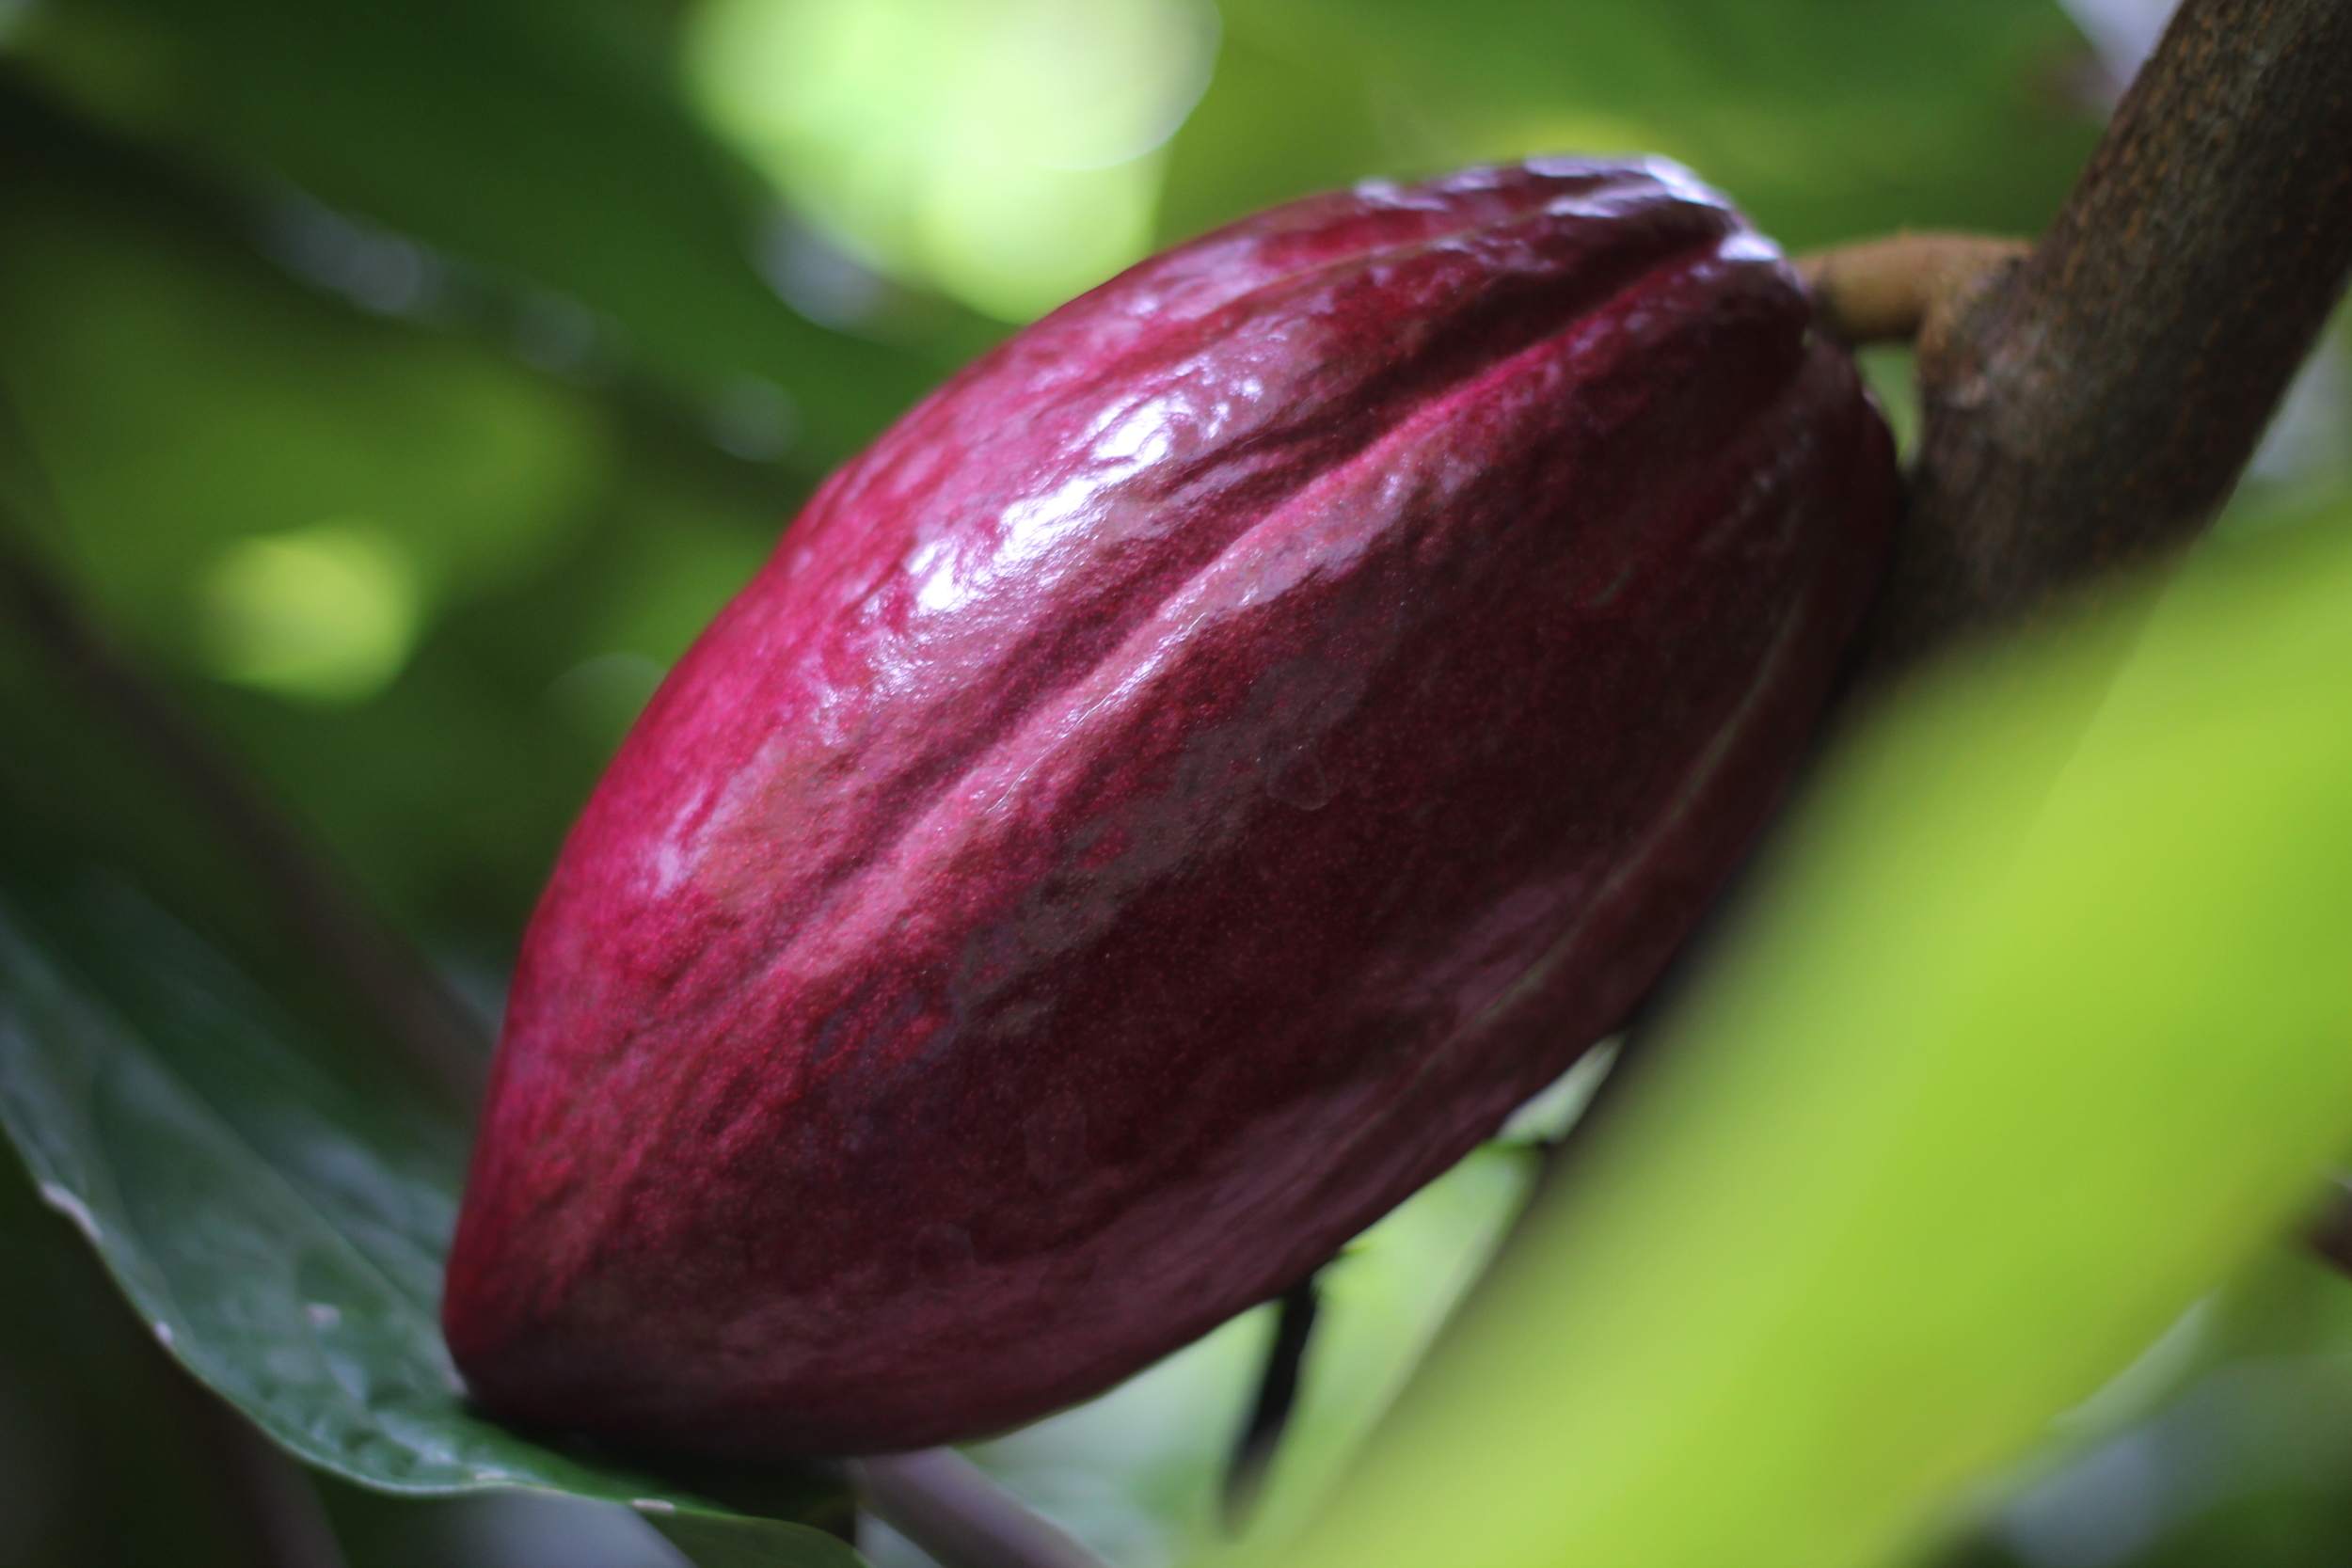
First, we harvest the cacao. It grows here year round, and we harvest roughly once a month when enough pods are ripe enough for a decent batch. Click through the photos above for more details on trees and pods.
step 2: crack open & get the fruit and beans out!
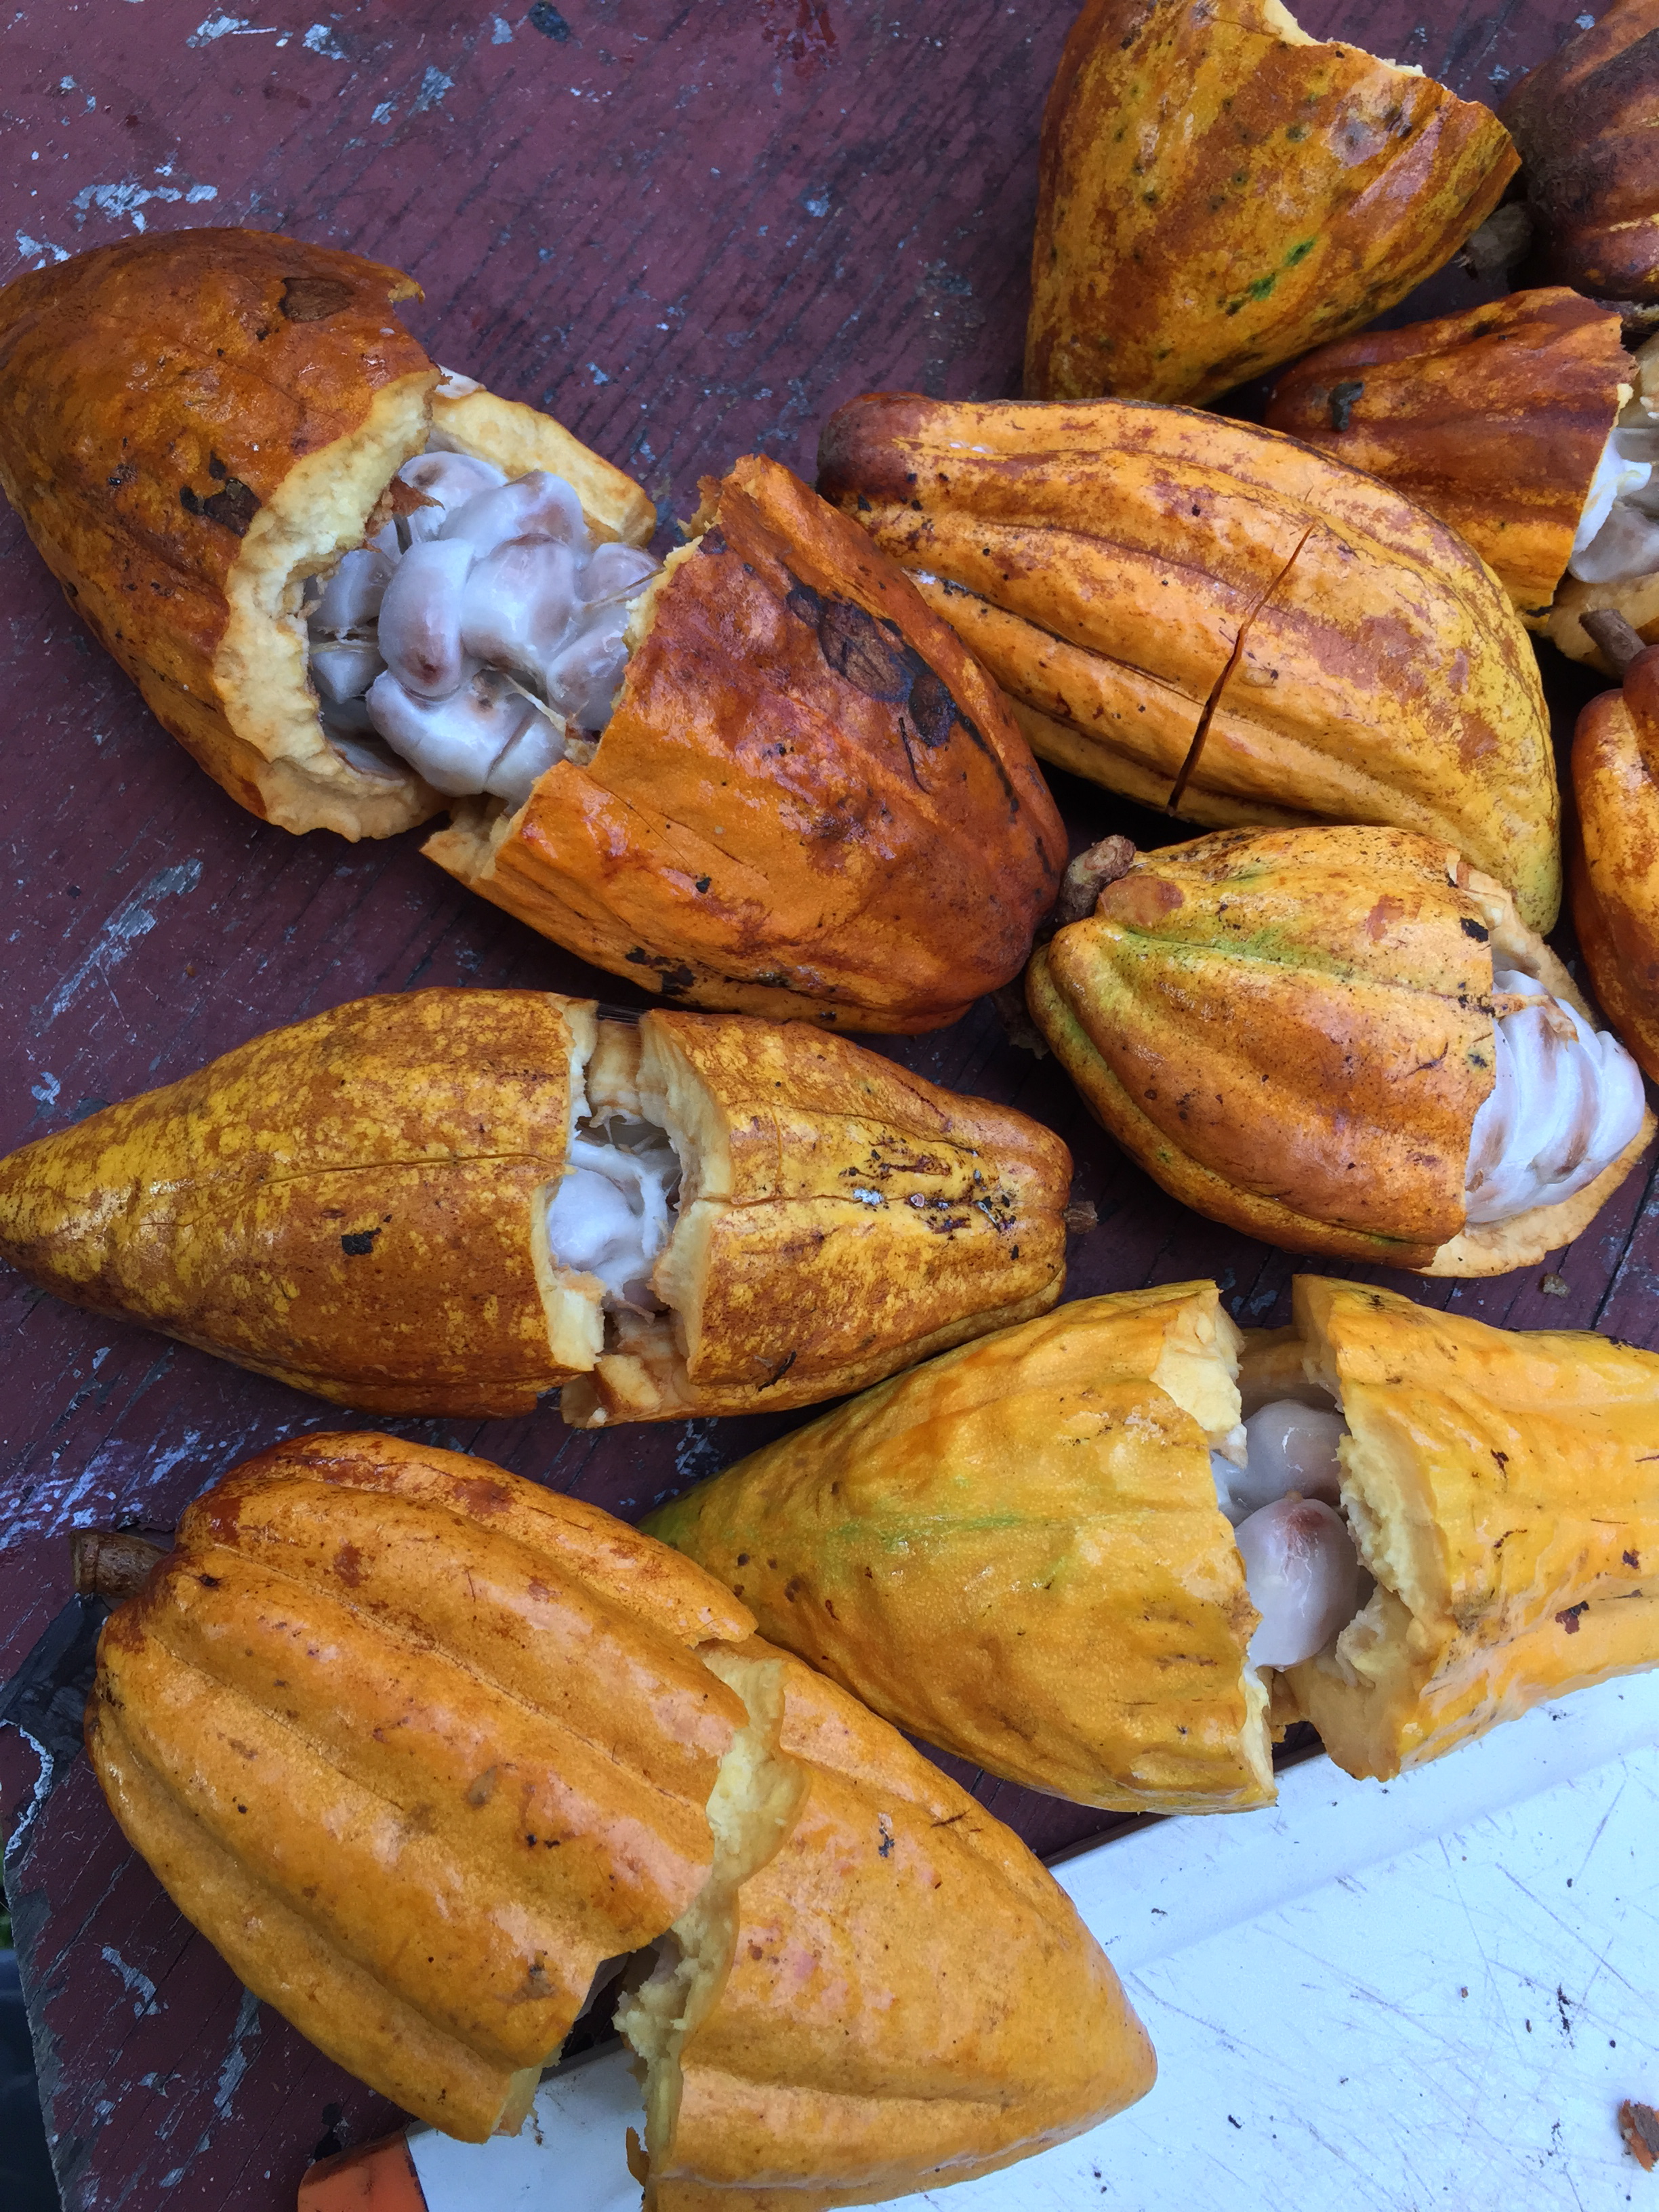

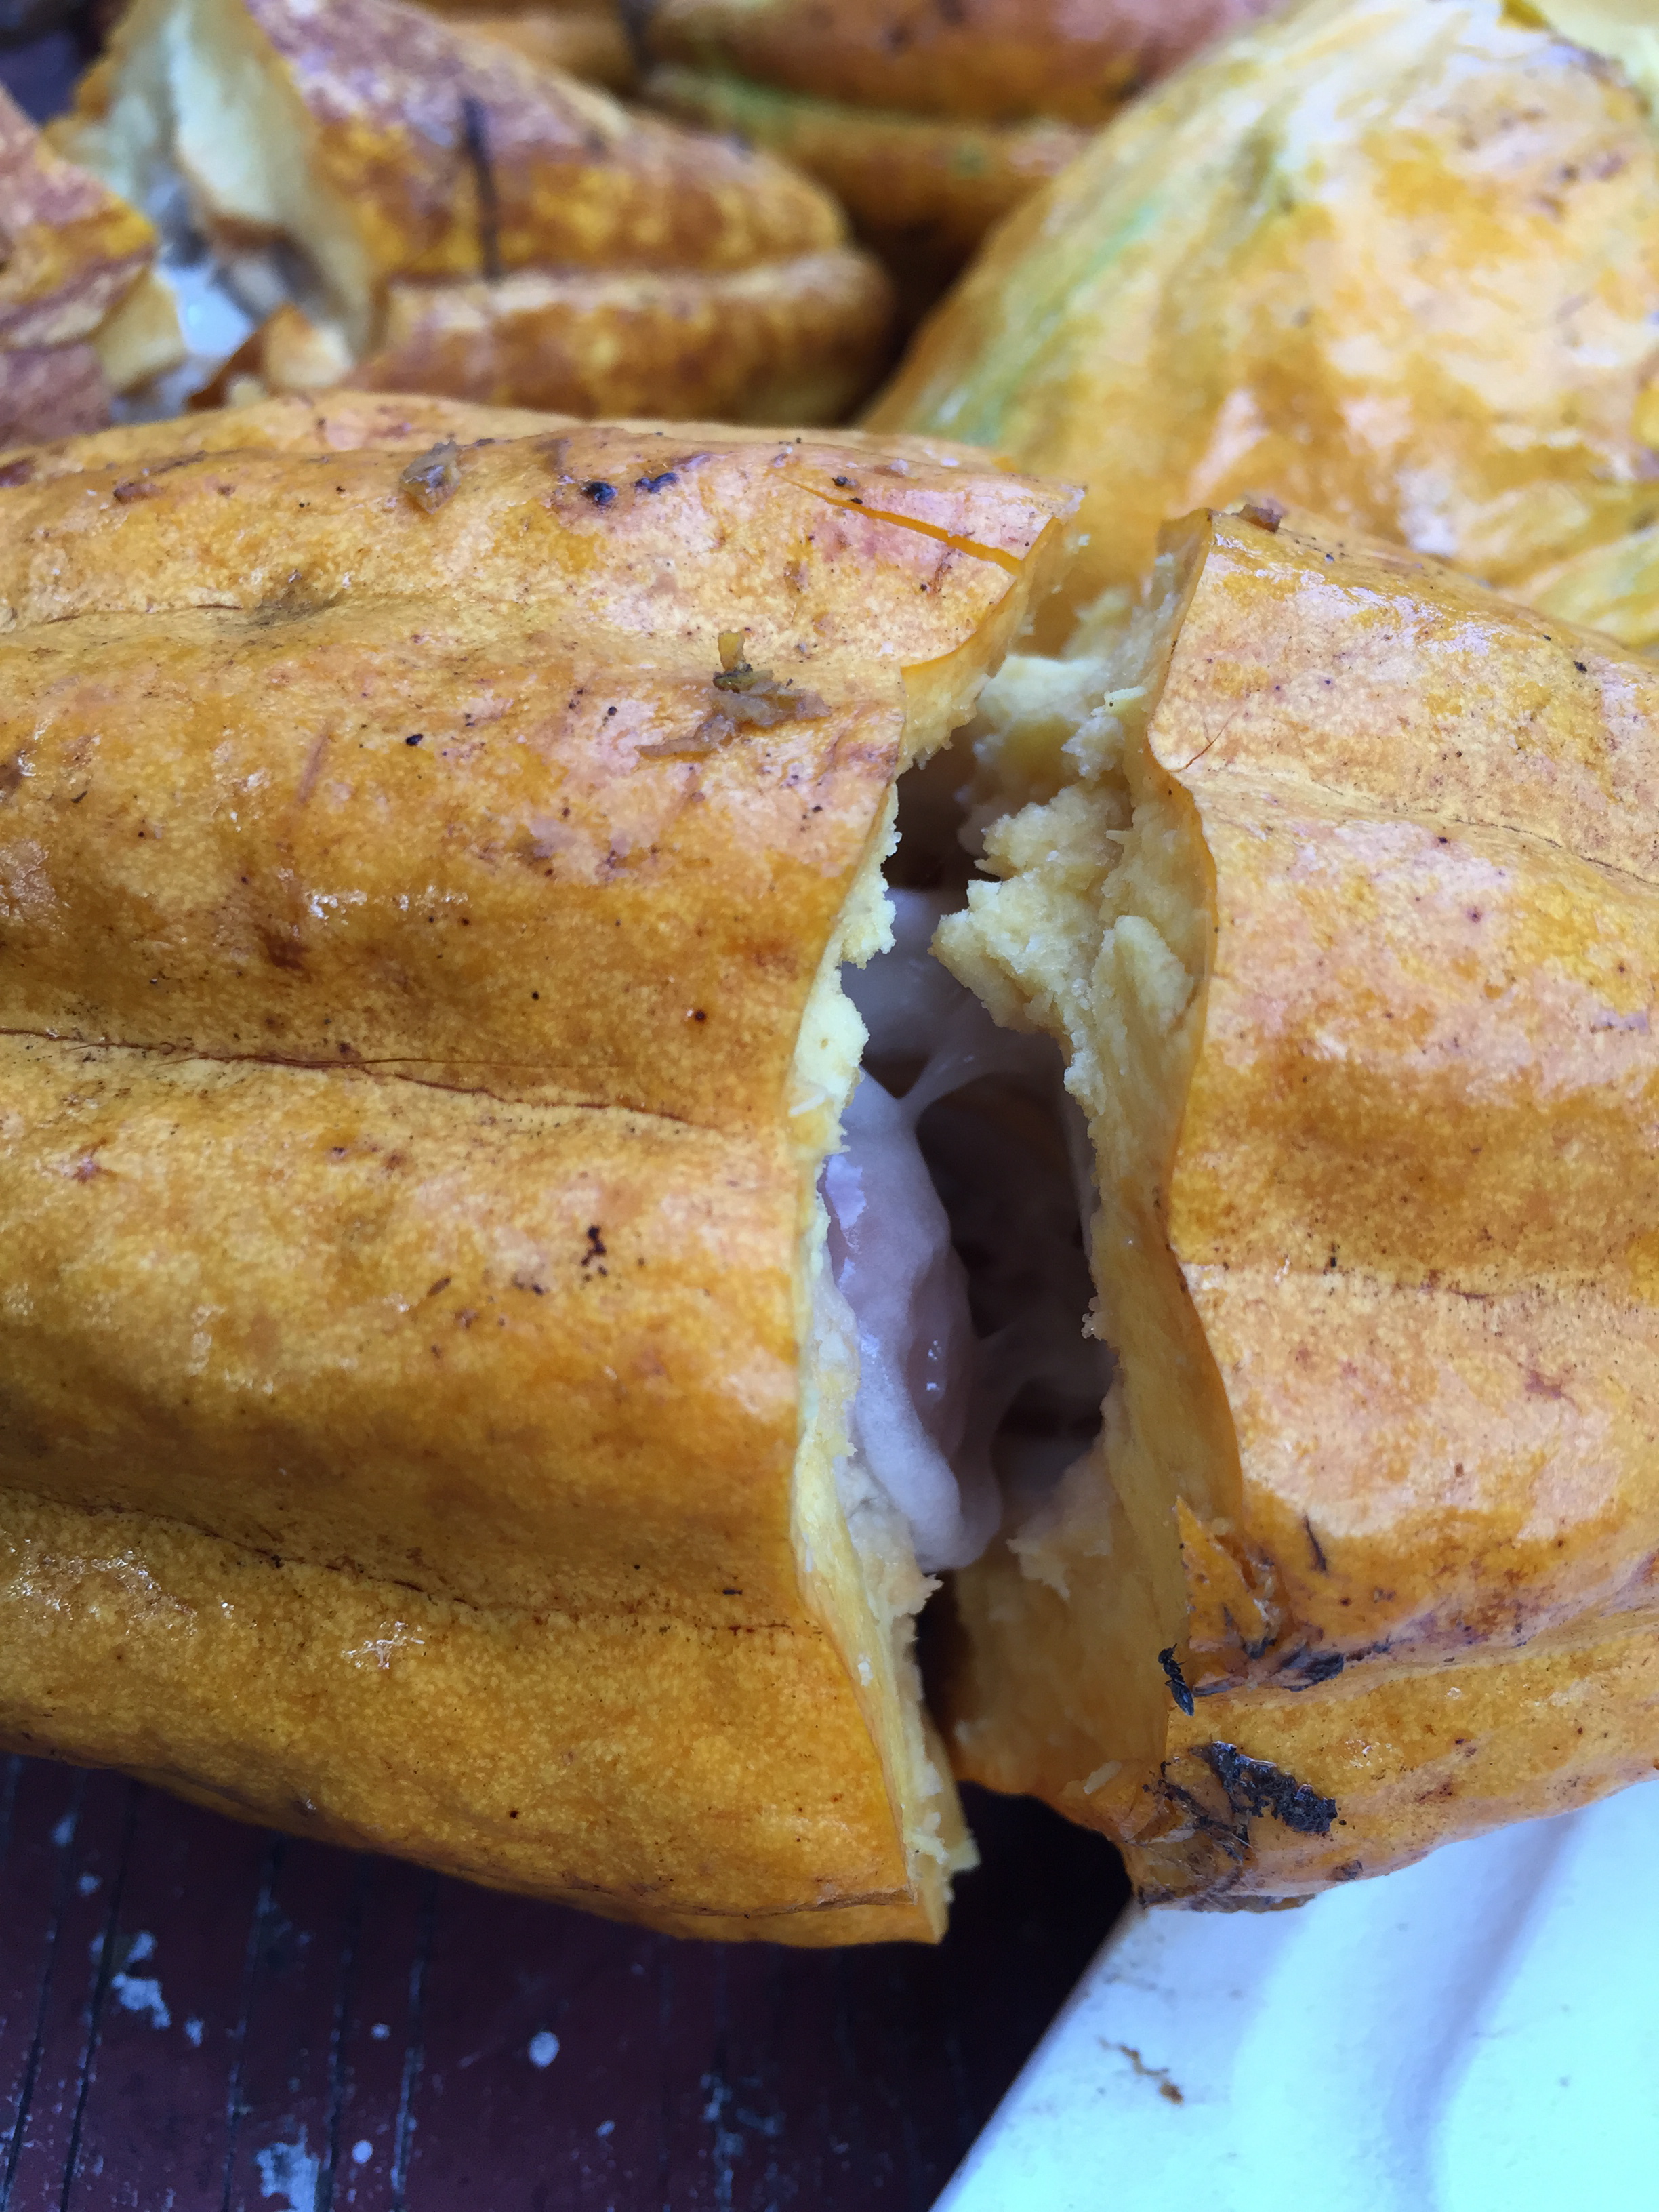
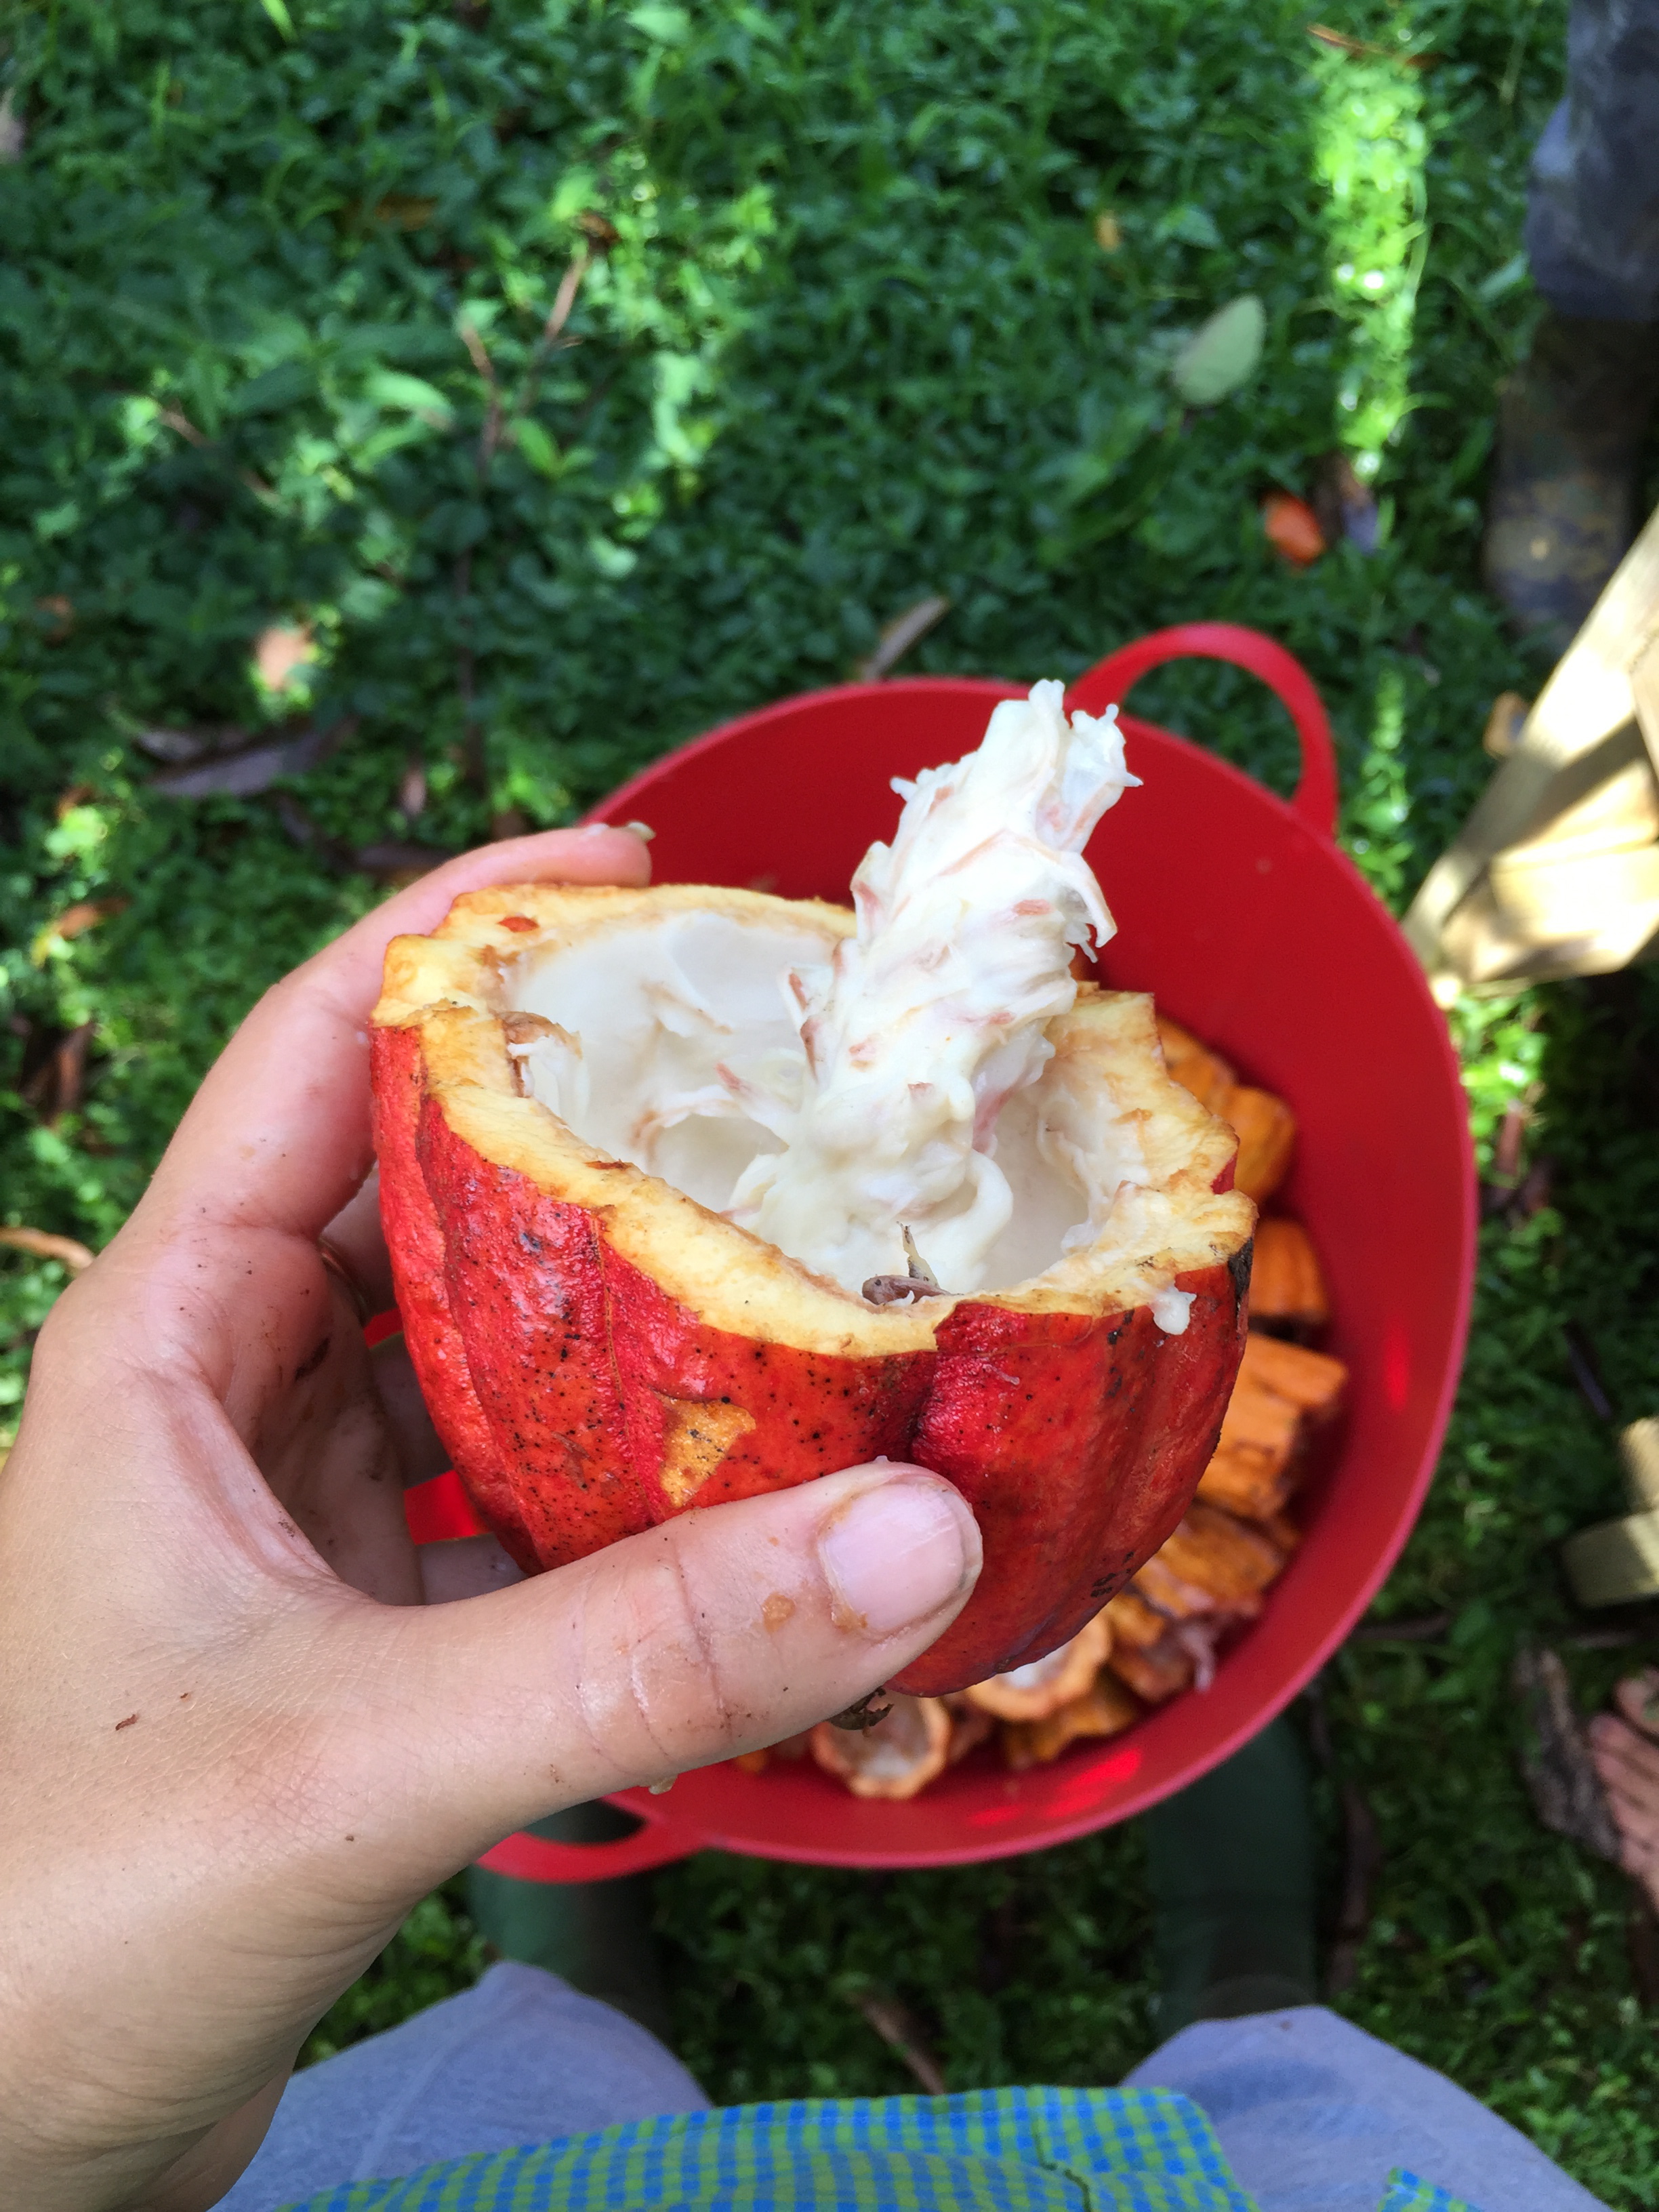
Immediately after the harvest, we clean the pods of any dirt and then crack them open by pounding each one a few times with a mallet. Inside is a spiral of milky white fruit that coats the beans. The way the pieces of fruit fit together in their spirals remind me of a honeycomb - so beautiful! The frothy fruit-covered beans may look a little unappetizing but, let me tell you, that white fruit is DELICIOUS! I can best describe it as bright, clean and refreshing - if you've ever tasted a lychee, it reminds me of that a little but a bit sweeter. Inside the white fruit are the cacao beans from which we make chocolate. The beans have funky shapes and sizes that vary throughout each pod. You can eat the bean at this stage - of course, I tried it just to see! - but they are extremely bitter and astringent, much more so than a dried raw cacao bean or nib.
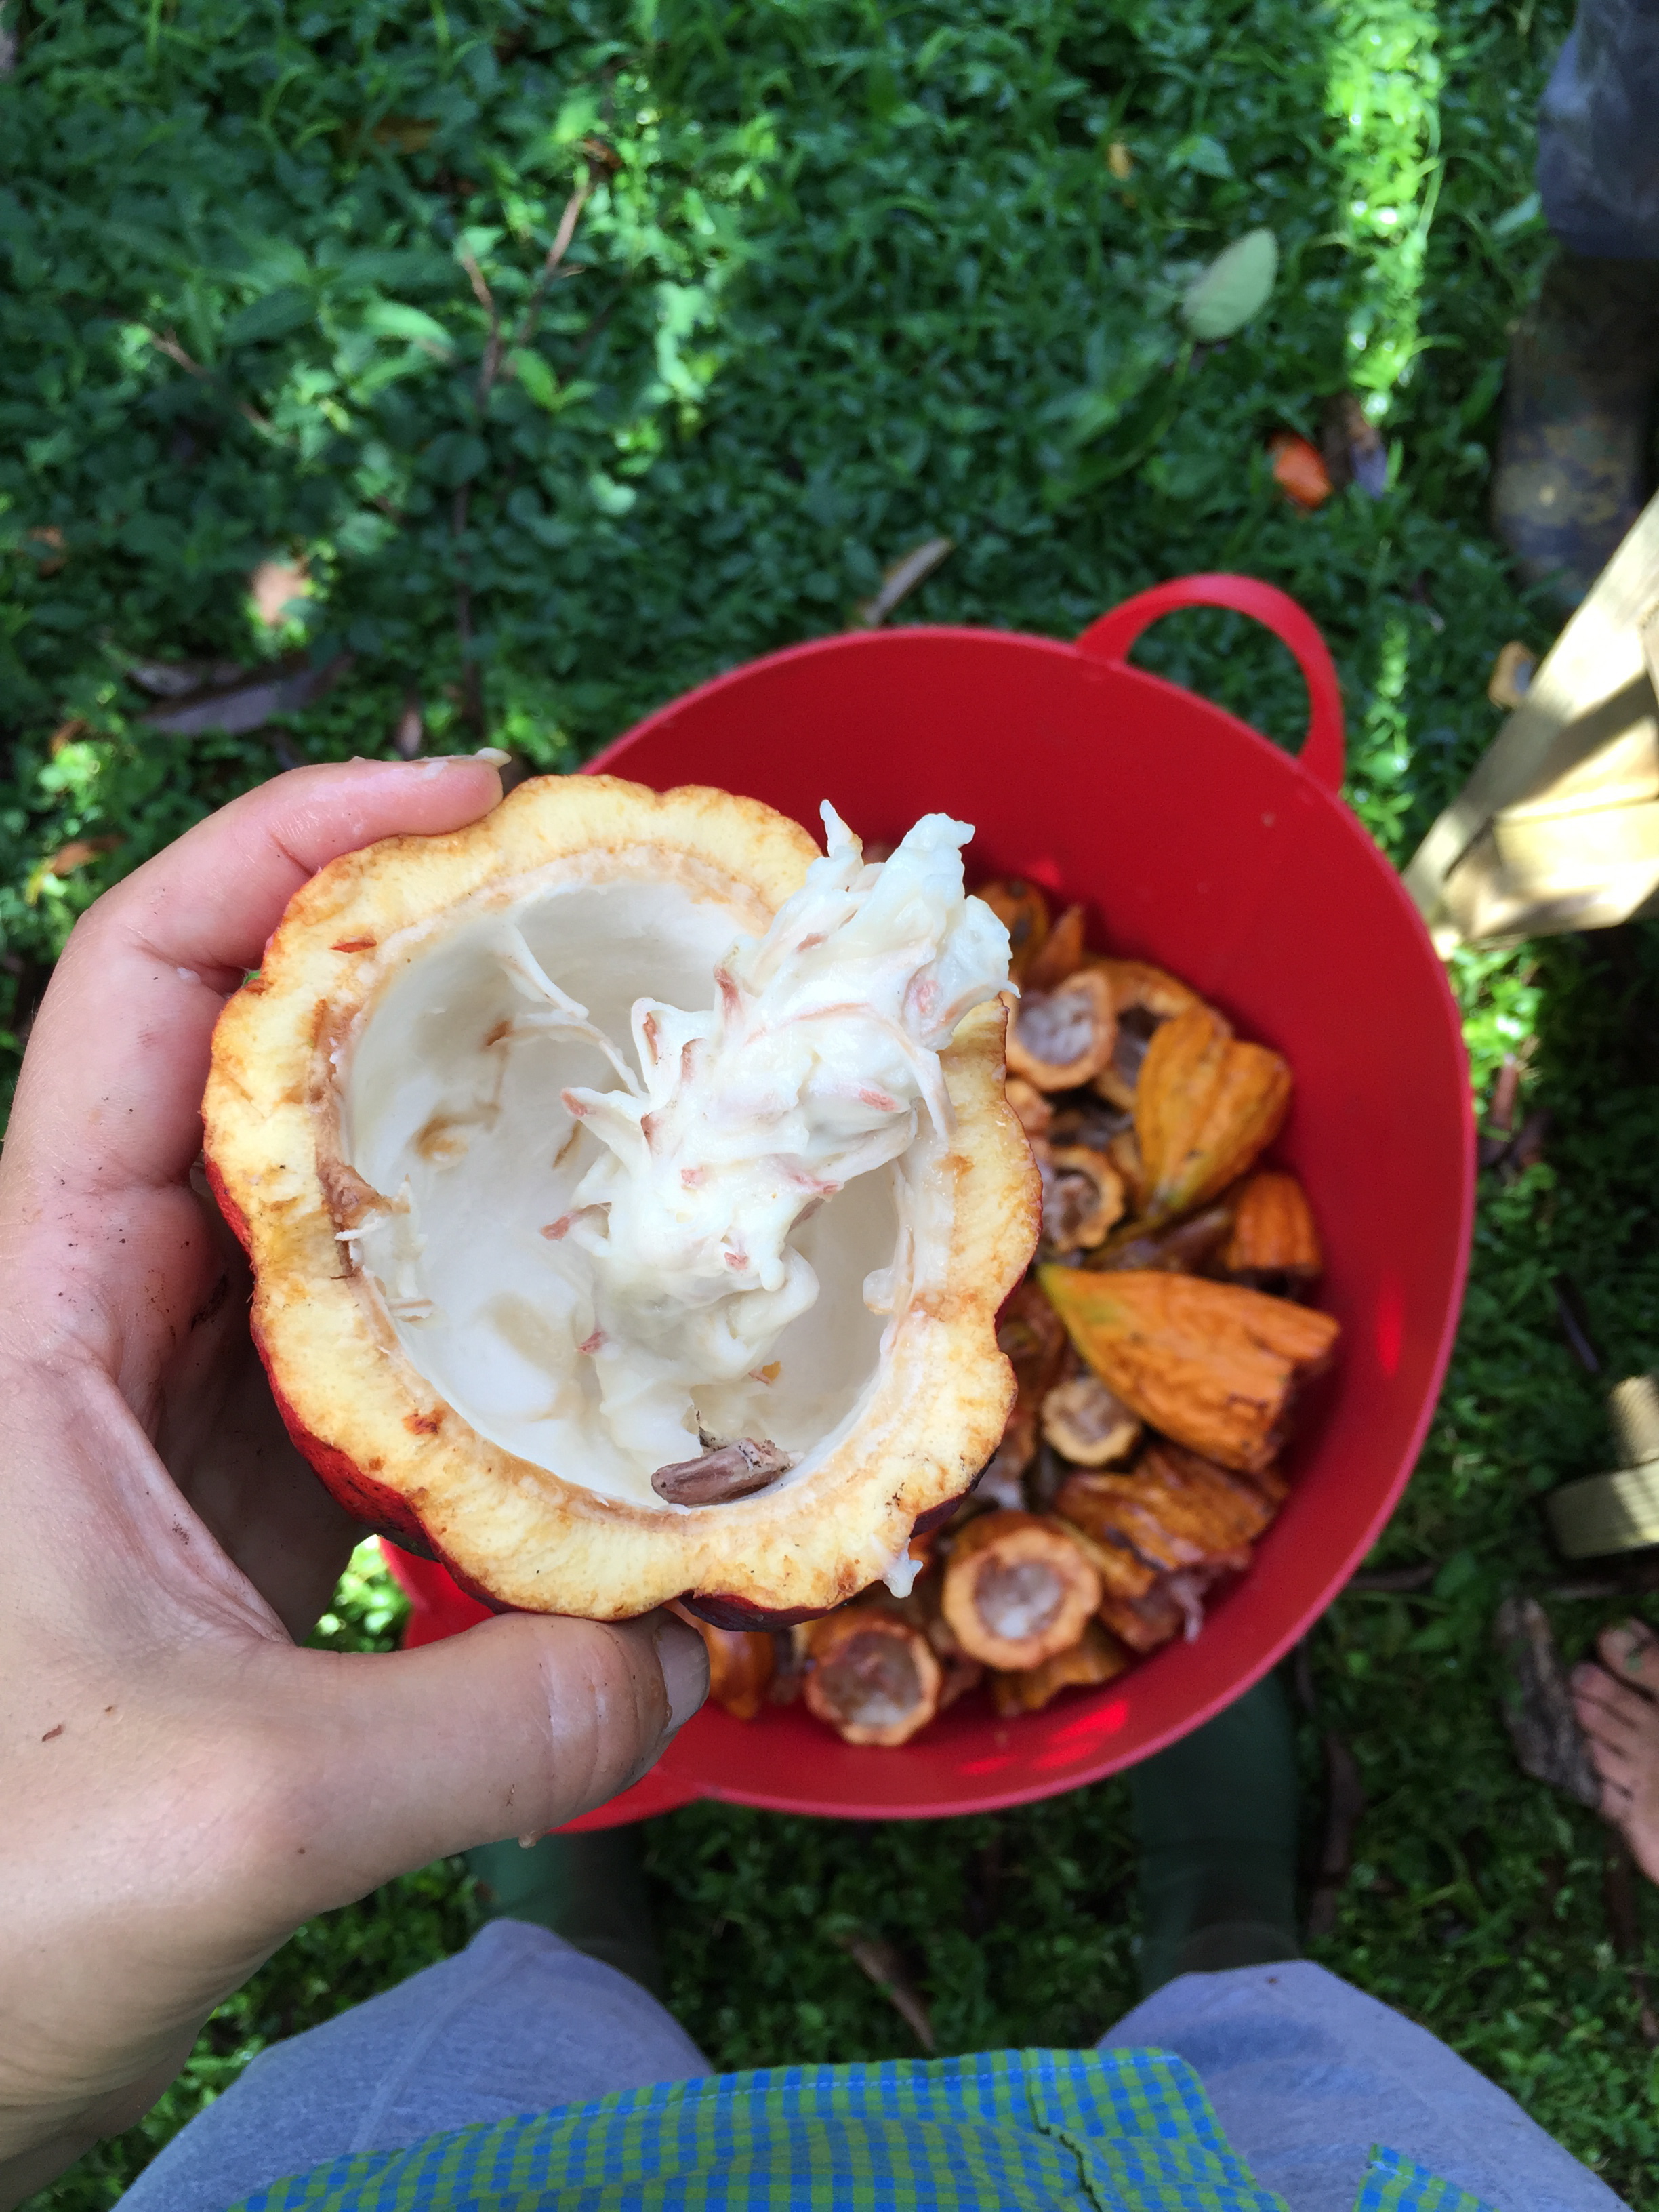
As we remove the fruit-covered beans from the pods, we put them into a colander with a bowl underneath to catch any extra juice. The next day we drink this juice - lovingly referred to as the "honey of the cacao" - there isn't a ton of it (maybe three small glasses from this harvest) but BOY IS IT DELICIOUS!!!!!! Same flavor as the fruit but in juice form - light and refreshing like fresh coconut water but with a completely different and delicious flavor.
step 3: fermentation
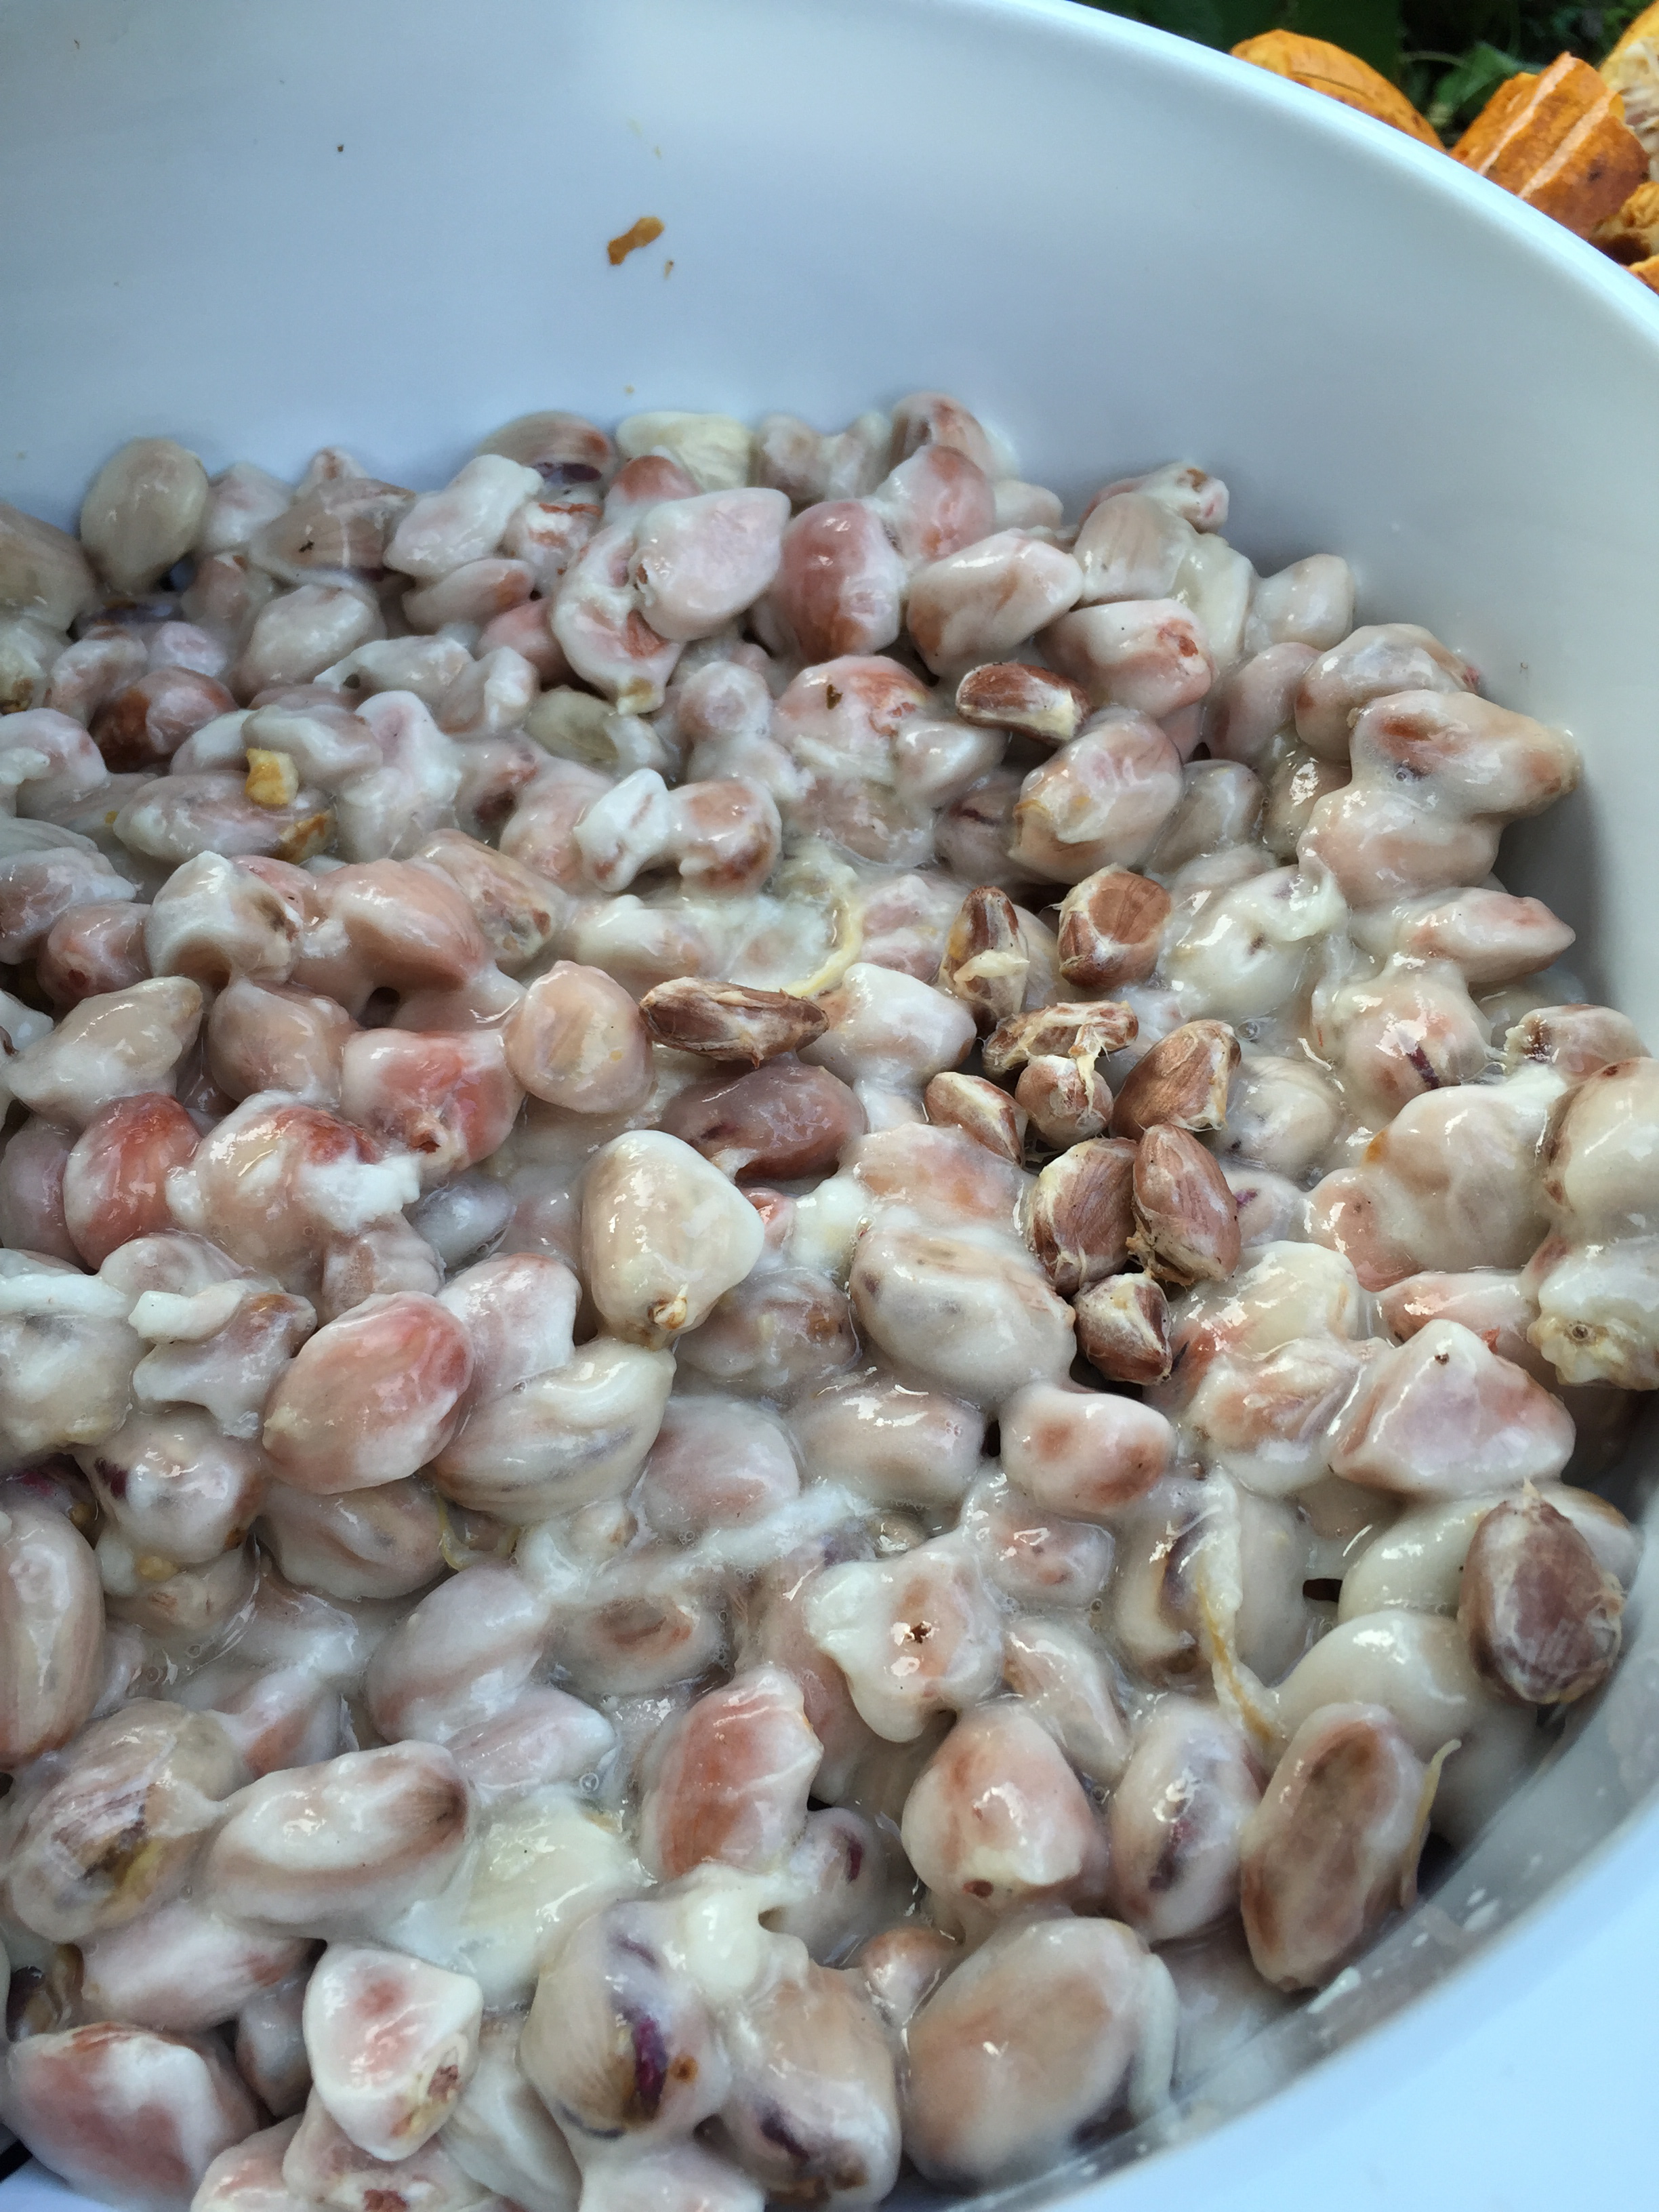
fruit-covered cacao beans as they drain and start fermentation
Once the fruit-covered beans are in their colander over a bowl, we let it drain on the counter overnight to collect the delicious juice. The next day they go into a banana-leaf-lined bin, tightly covered and then put inside a big wooden box, where they ferment in their fruit for 8 to 10 days.

the cacao fermentation box
step 4: drying
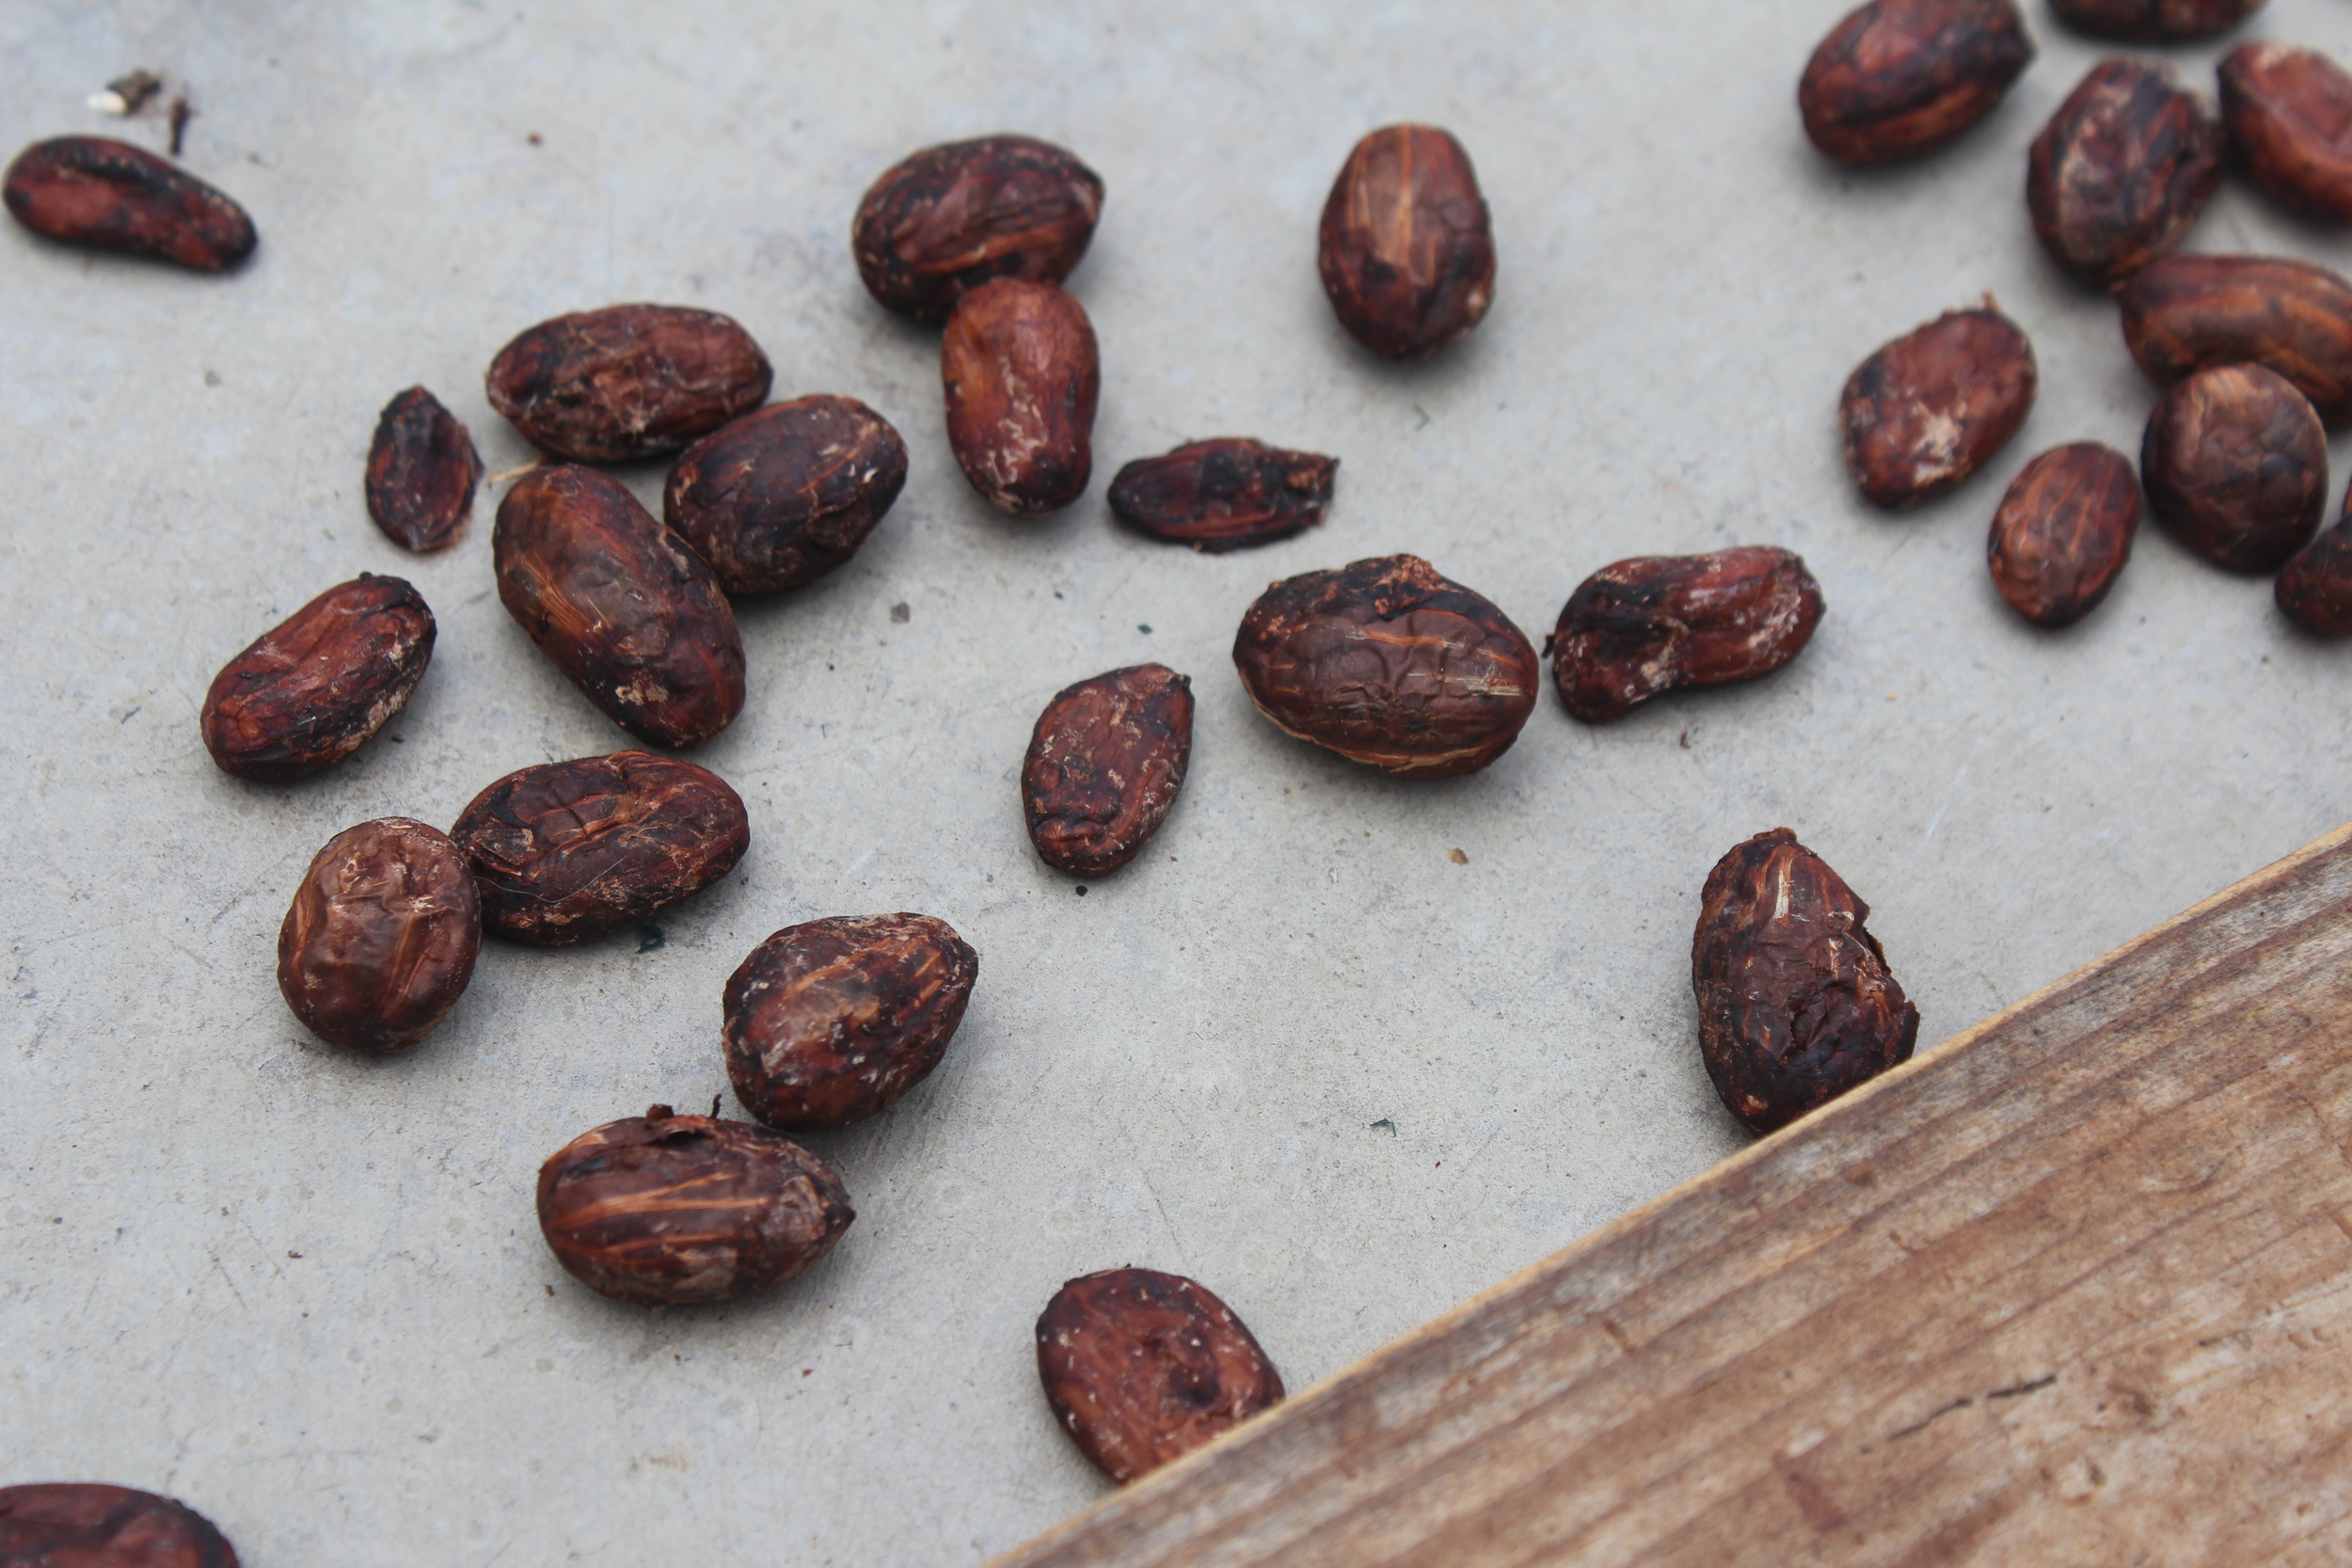
After fermentation is complete, the beans are washed and then dried in the sun for 2 to 3 weeks. The amount of time varies based on sun and weather.

Coming soon - part two detailing the bean to bar process! Stay tuned!