
It’s about time I told you about part two of chocolate making, also known as THE FUN PART! Warning: you will very likely feel compelled to go out and buy a chocolate bar after reading this post... SORRY!
We'll start where we left off - you may remember the final step of part one was drying the beans. Once the beans are dried, they are then stored until we decide to make chocolate. (At this point, I am pretty sure you could also sell them as “raw cacao” if desired.) Here at the farm, they store the beans for up to a year, so when we made the chocolate in these photos, we were actually using beans from last year’s harvest.
Making chocolate from the raw cacao beans takes two days, and at the end of each day there is a special “treat” that happily involves some waste-reducing cleanup of the chocolate :)
DAY ONE
step 1: roasting & cracking
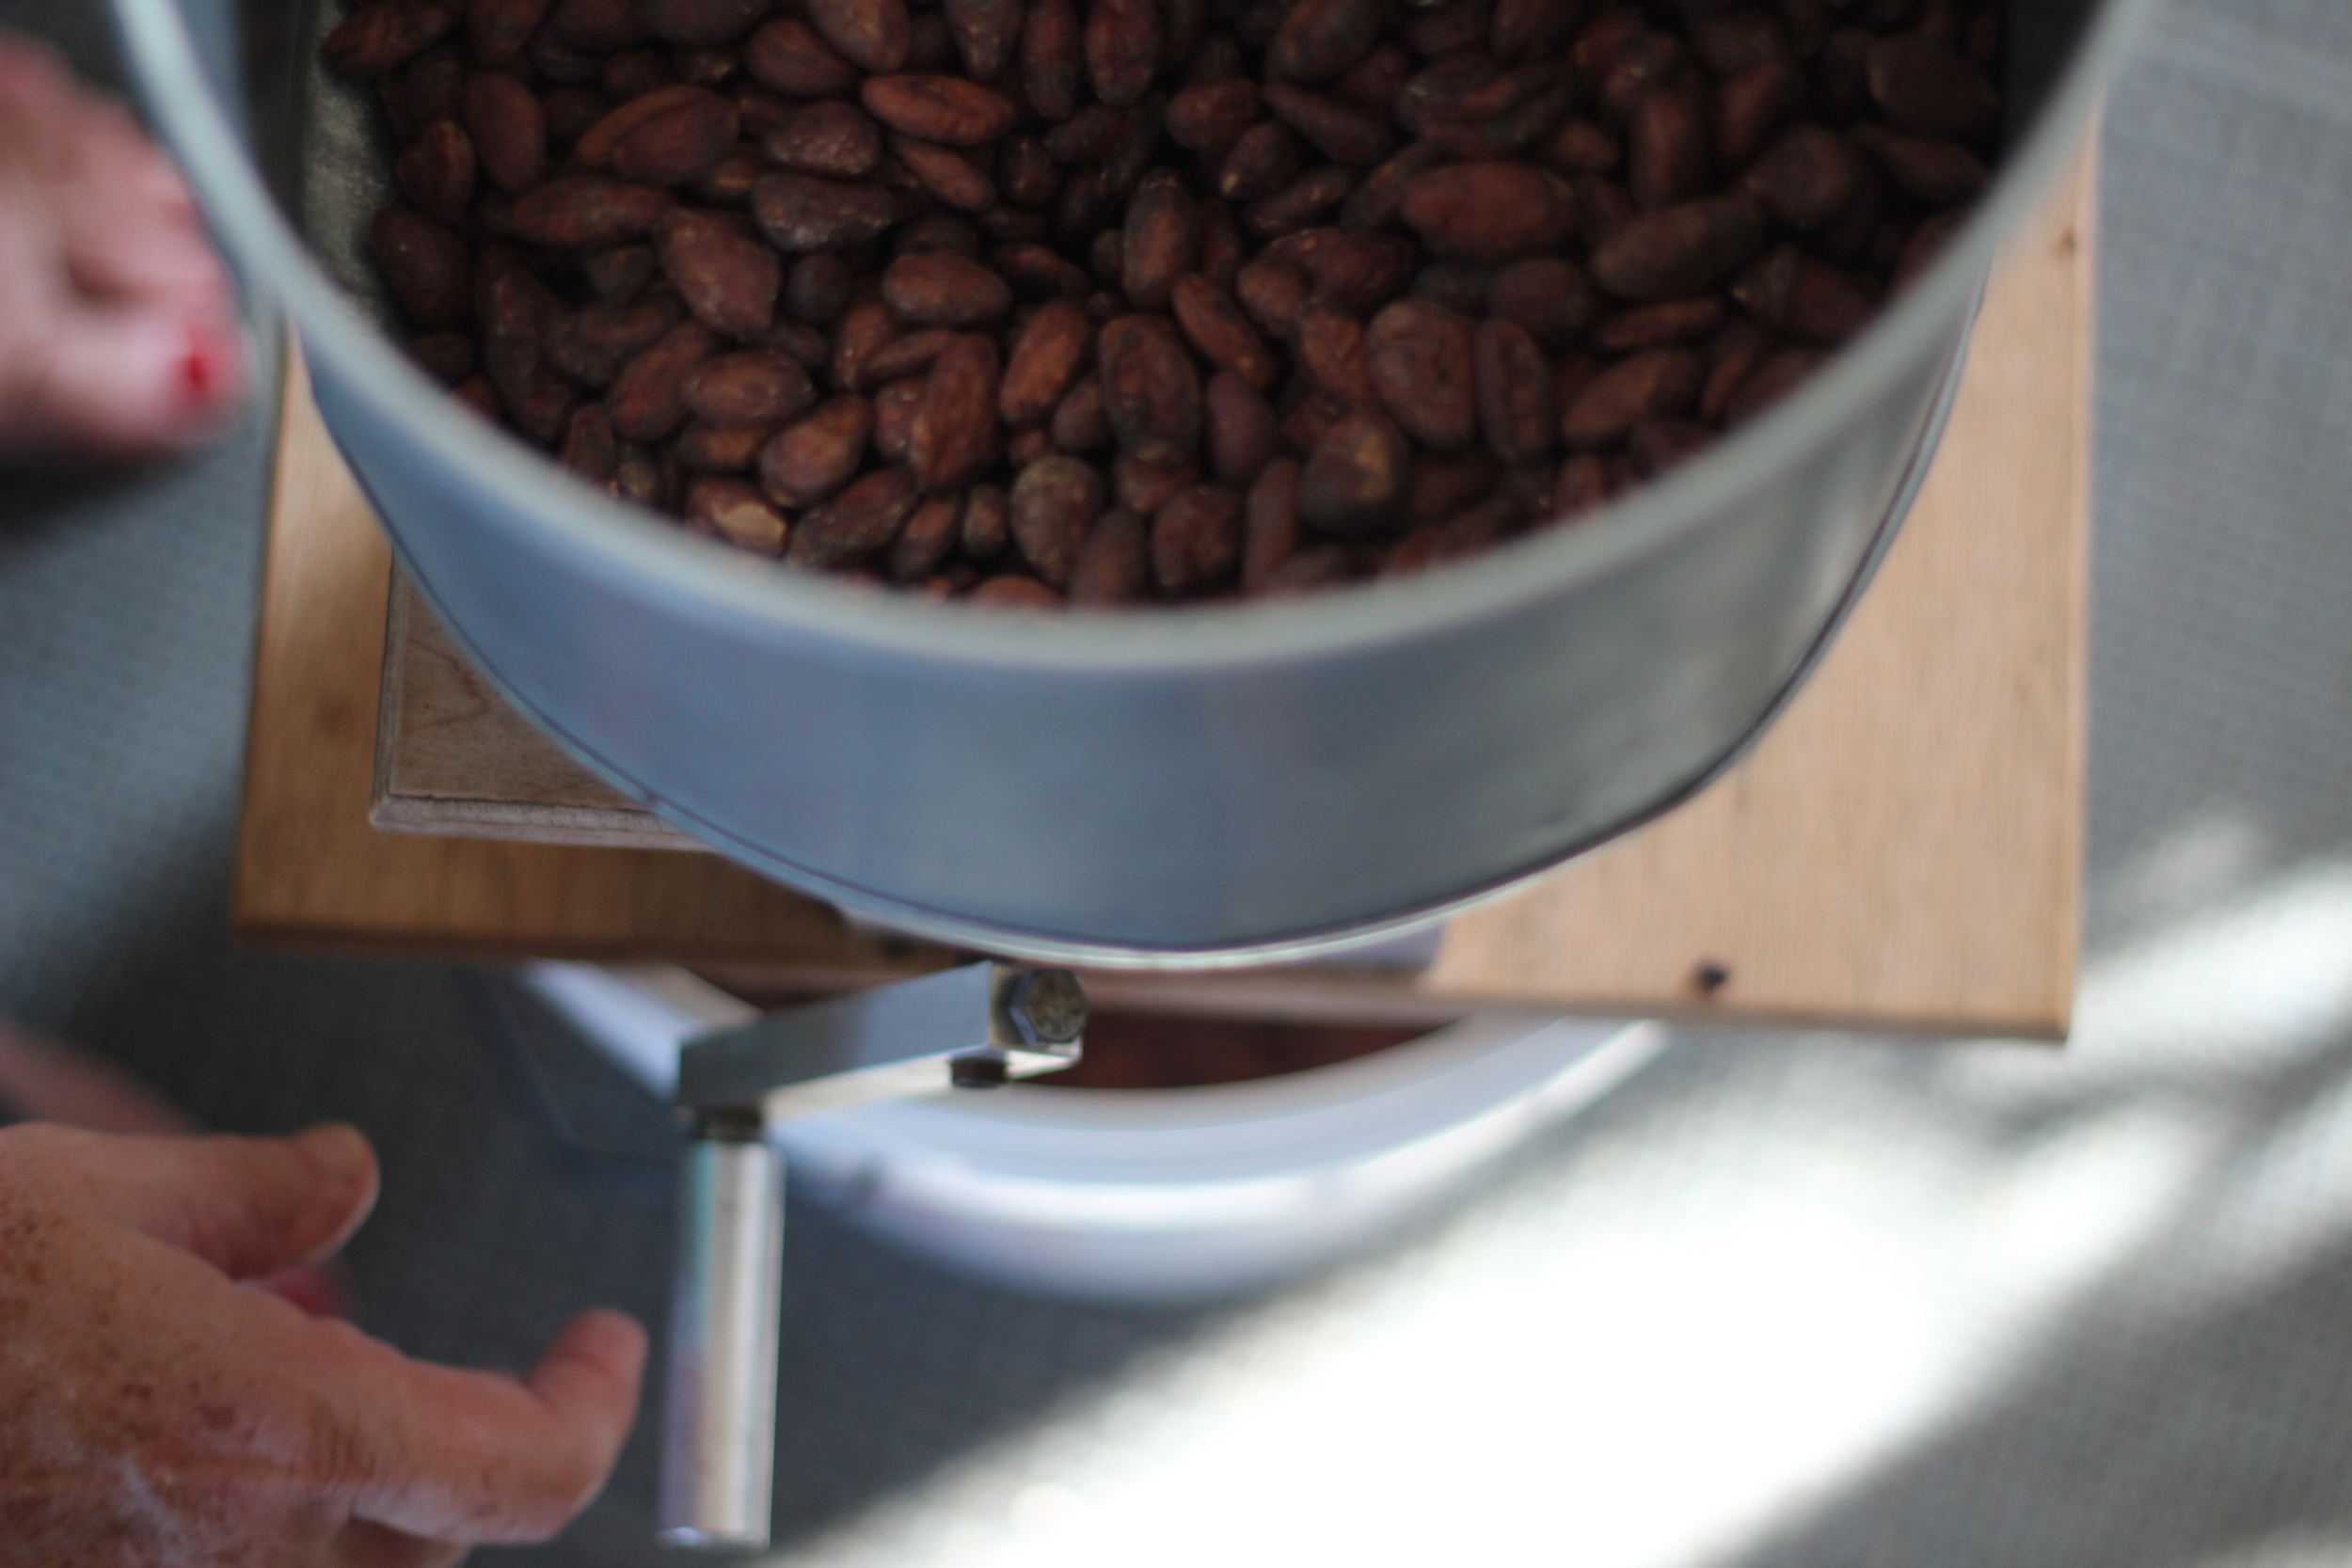
First, we roast the beans to bring out their rich, delicious flavor. Here at the farm we have a very small roaster (about the size of a toaster oven) that holds only 2.5 pounds of beans, so for one batch of chocolate we have to do two rounds of roasting, each of which takes about 30 minutes. So, one batch of chocolate around here requires about 5 pounds of raw cacao beans.
After the beans are roasted, we let them cool slightly, and then crack them to remove the shells. Each cacao bean has a thin shell that coats the "meat" of the bean - referred to as the nib. You can crack the roasted cacao beans easily just by rolling them in your hands. The shell is very thin and both shell and nib break easily into small pieces.
Rather than cracking by hand, we have a cool gadget called a "CRANKANDSTEIN" that helps us quickly crack the beans. It's essentially a funnel that feeds into rollers powered by a hand crank.


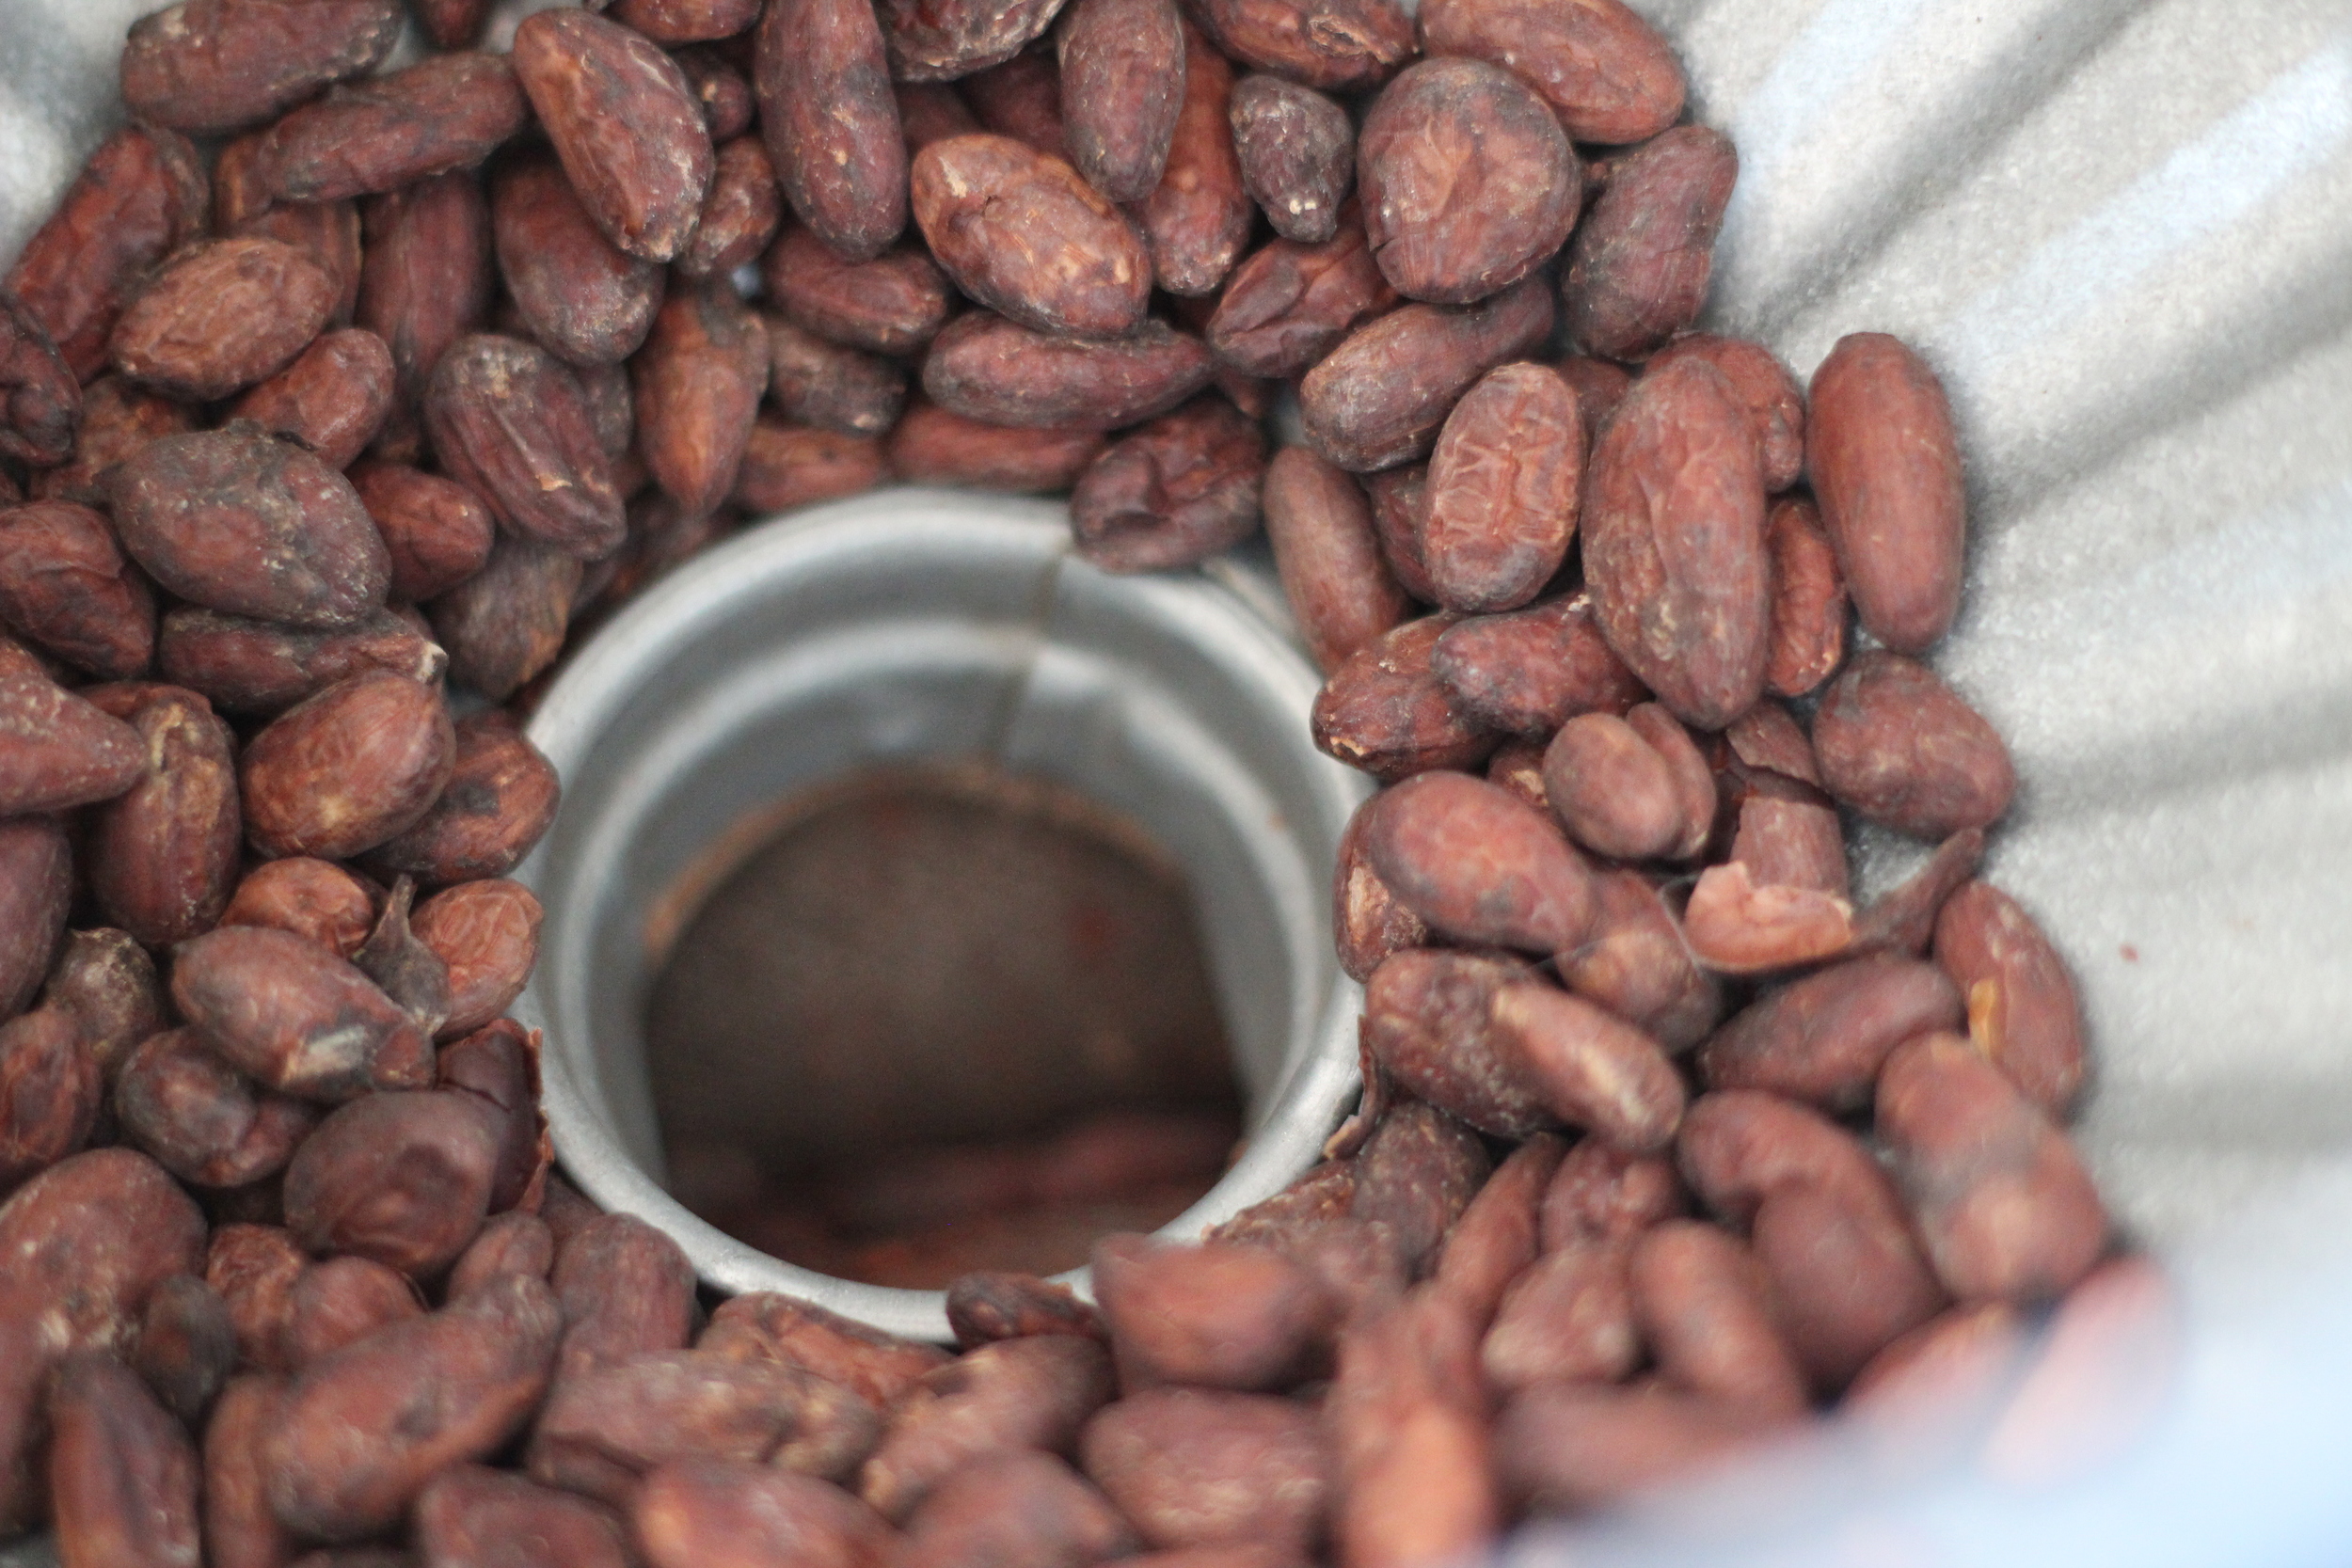

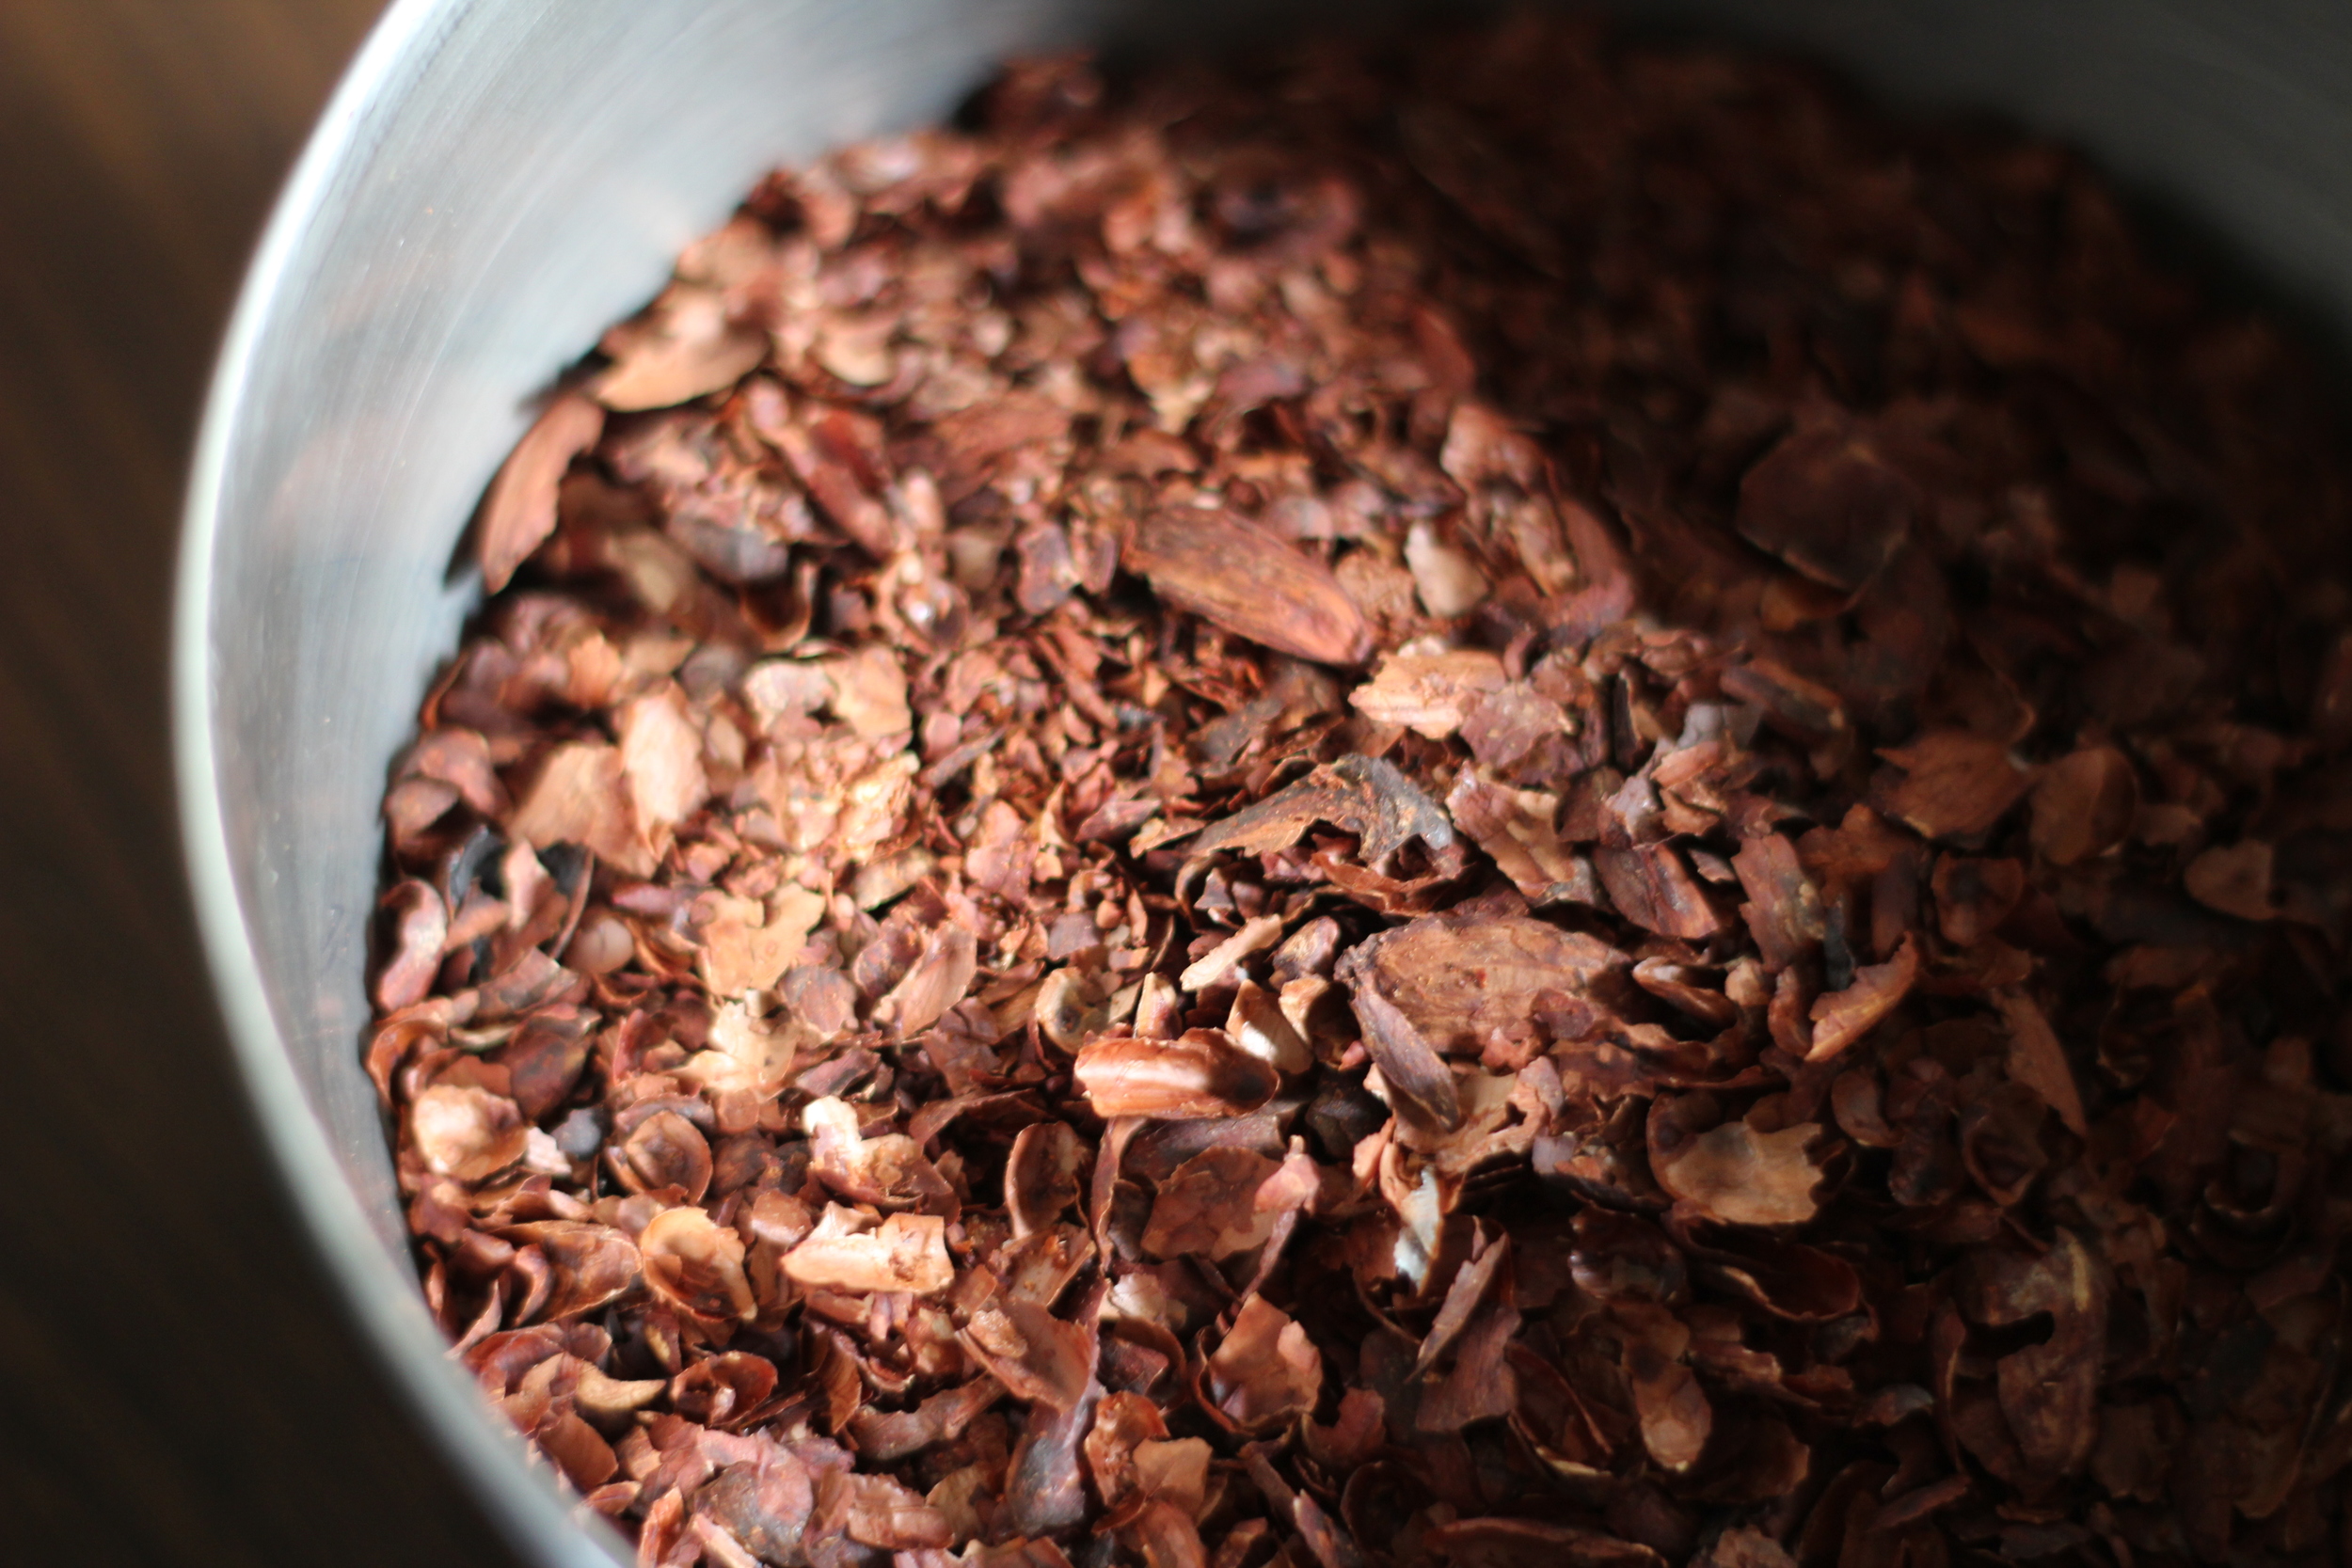
shells and nibs out of the CRACKANDSTEIN
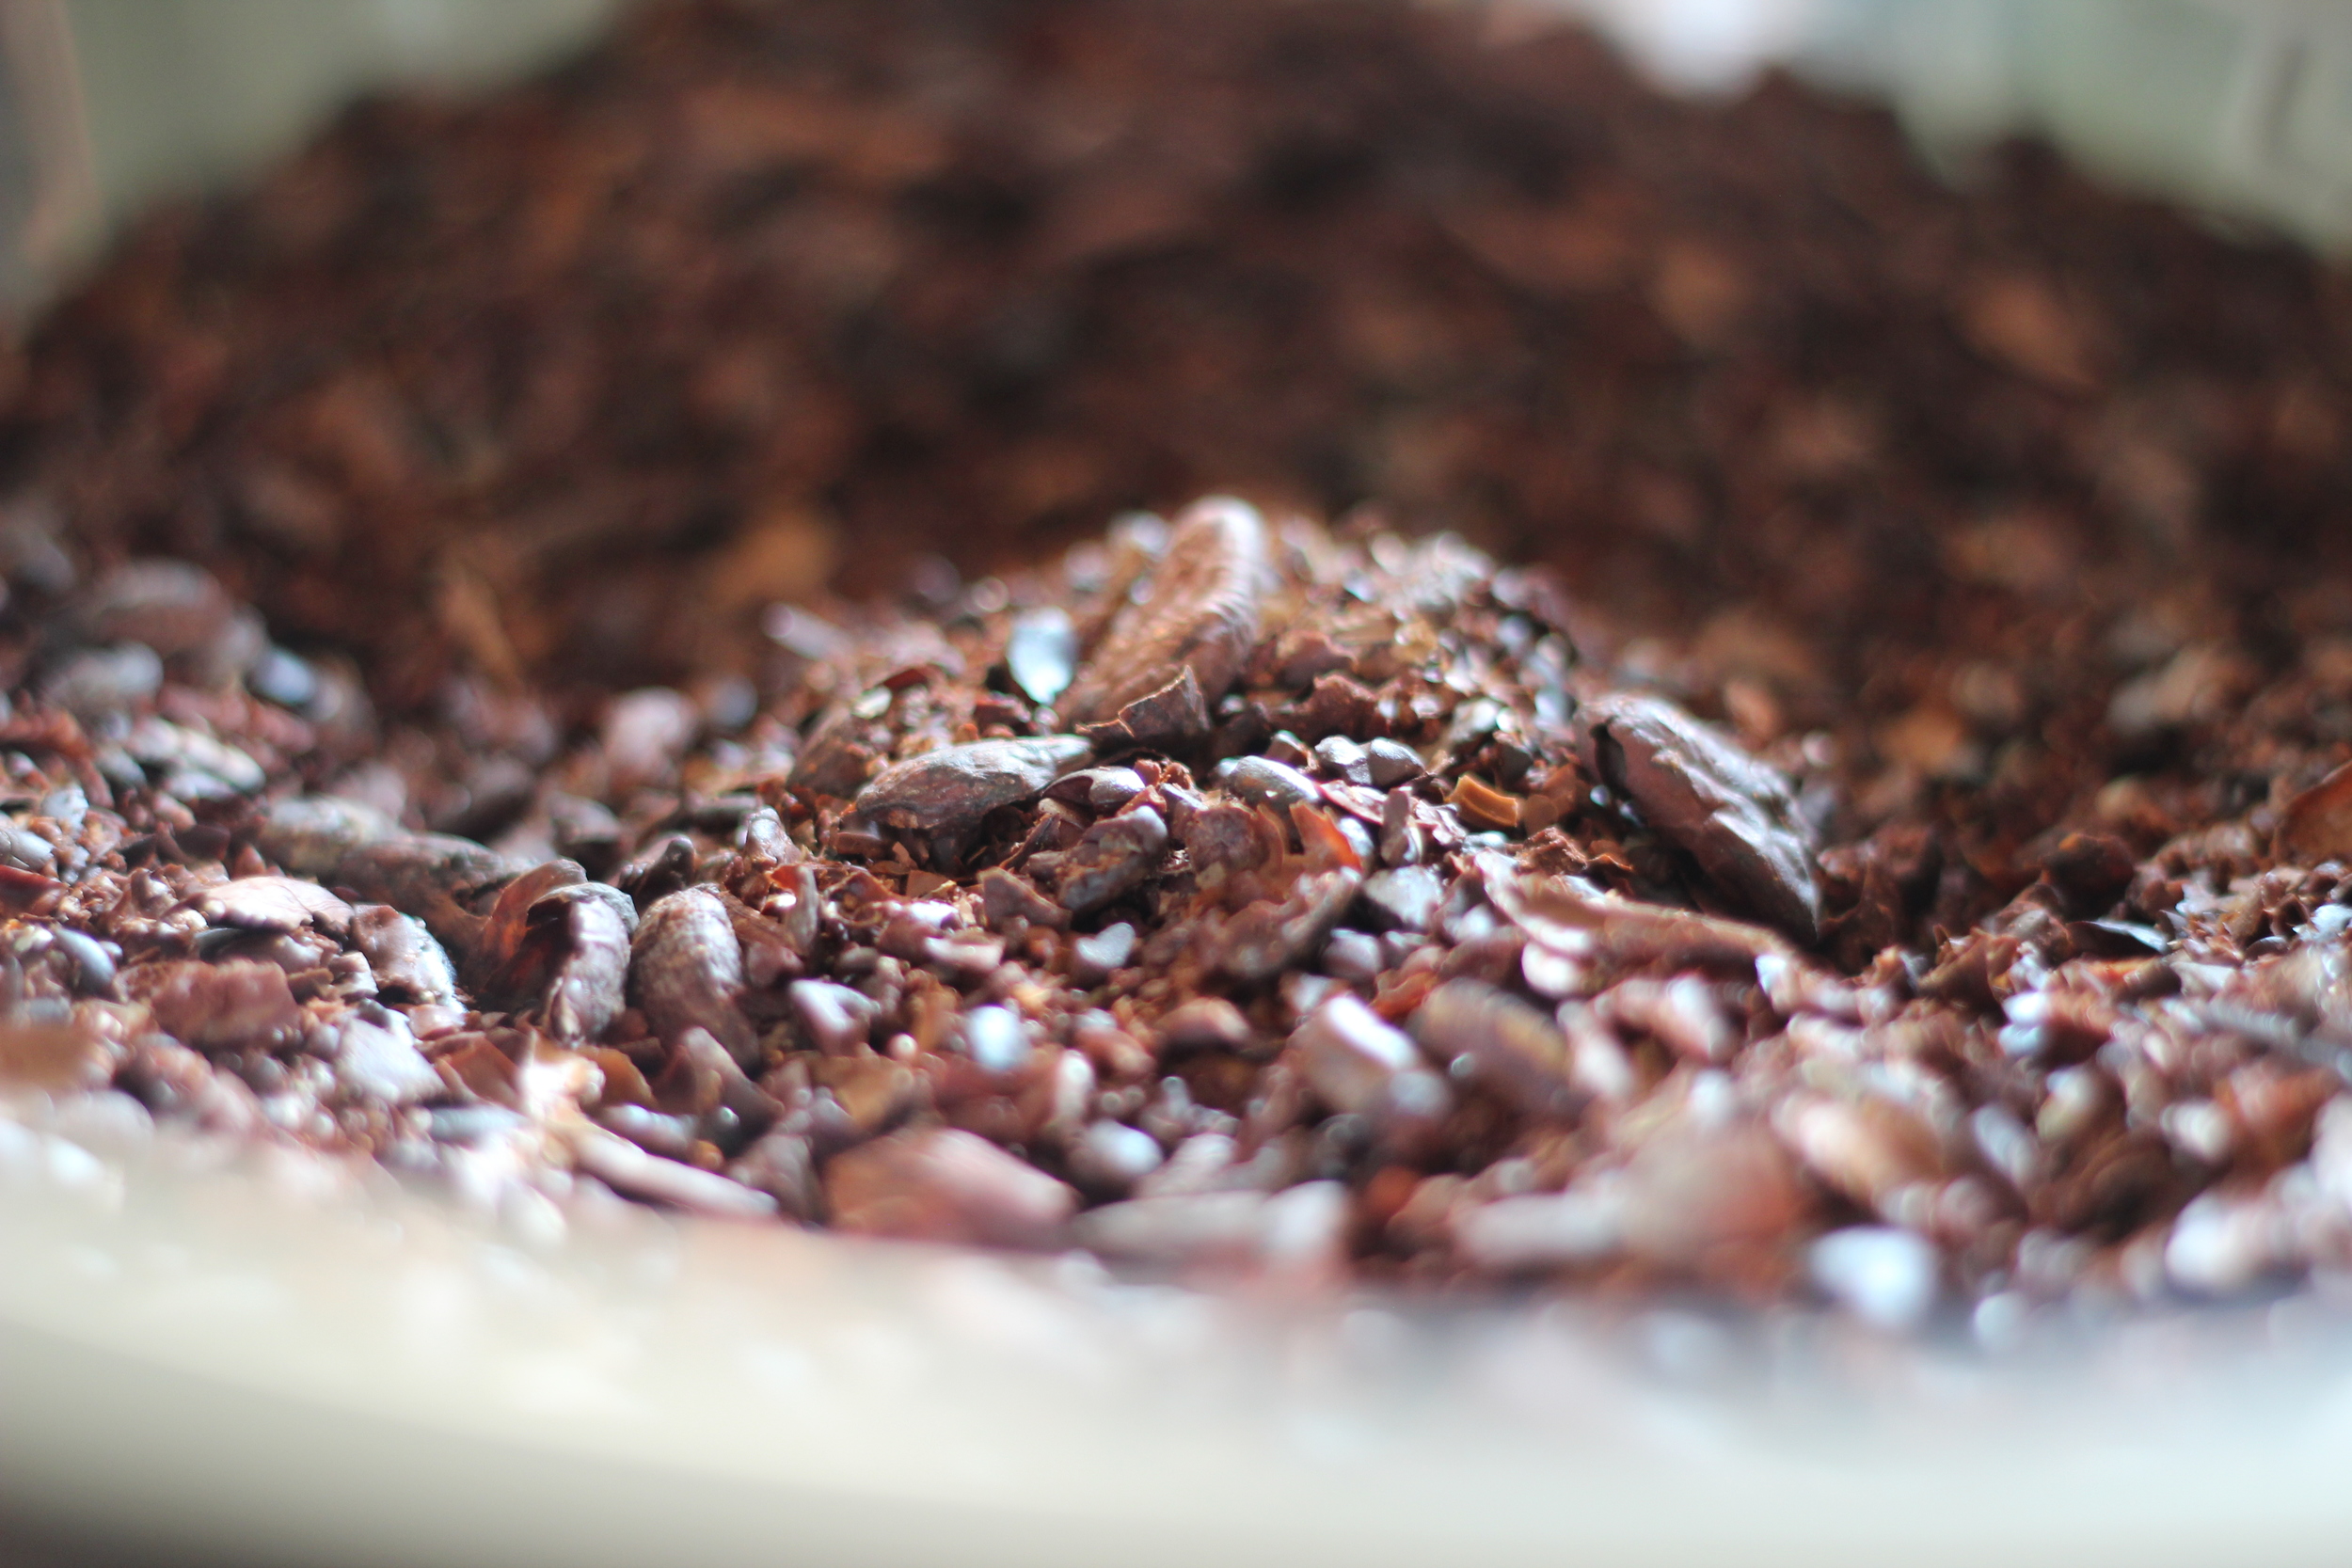
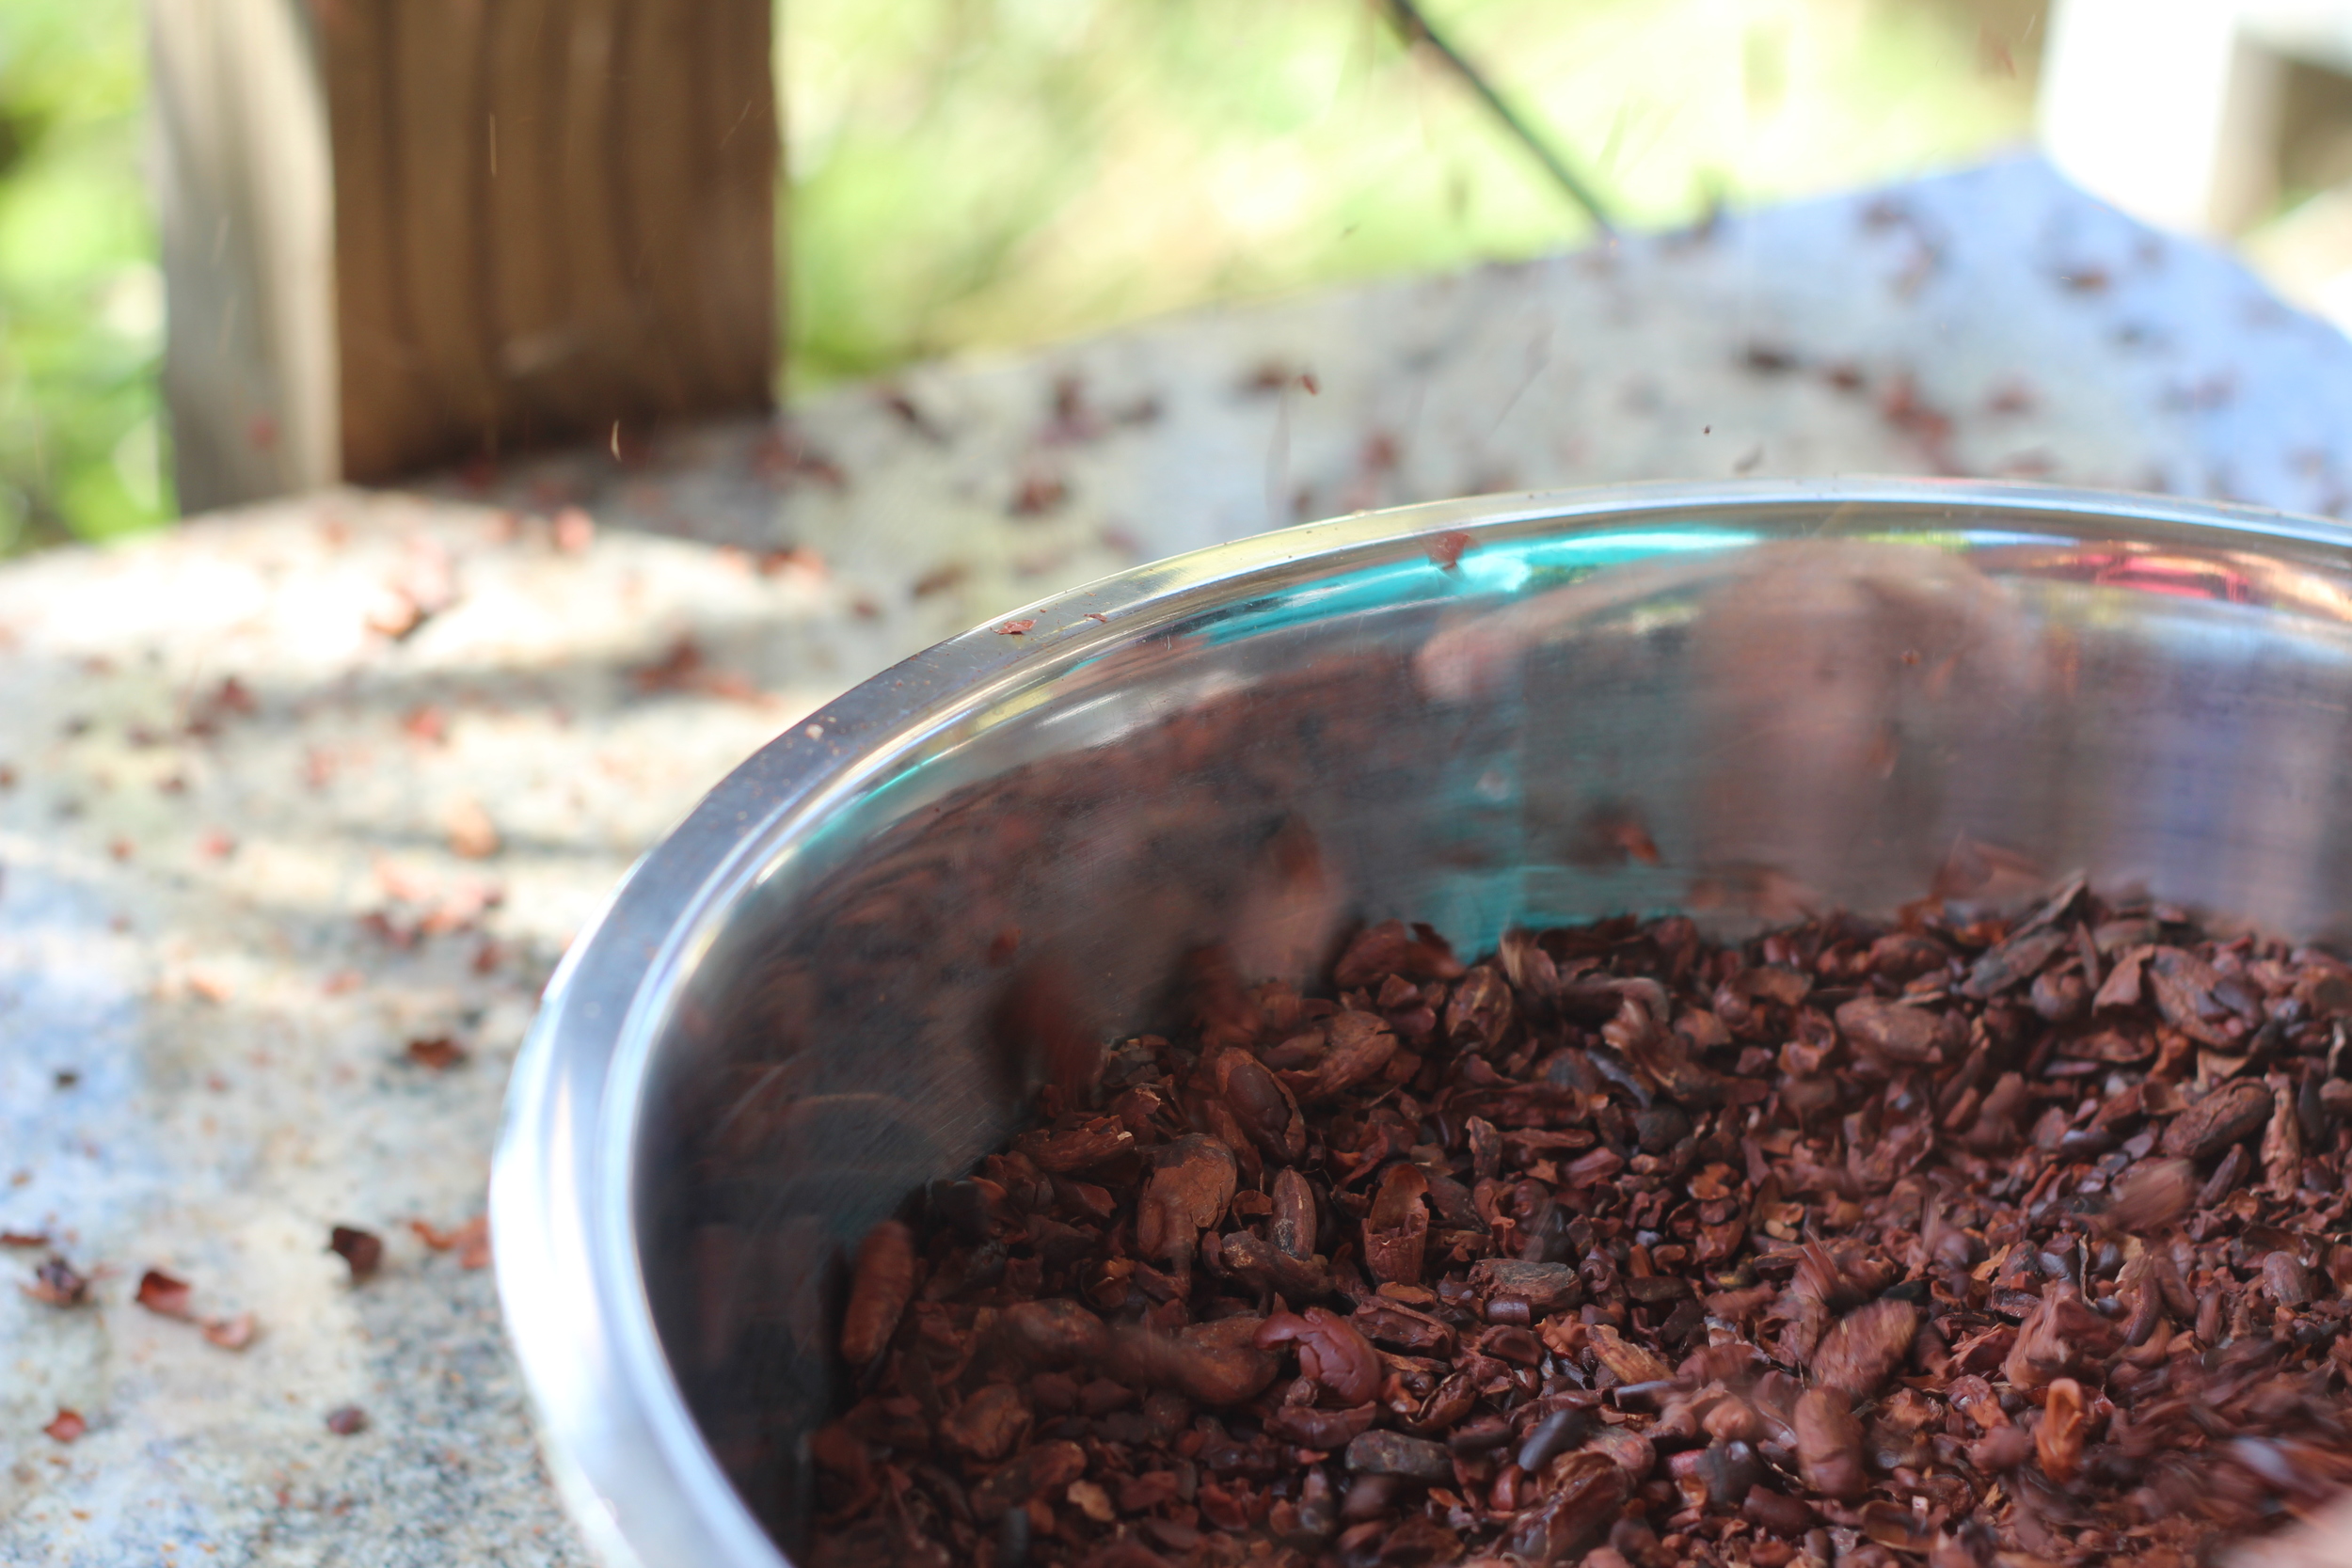
step 2: winnowing
So now we have cracked shells and nibs in a large bowl. Though you can eat the shells if you want to, all the flavor is in the nibs, so we need to separate the two. In chocolate shops, they have machines to do this, but here we use a hairdryer! We take the bowl outside on a clean counter and spin the bowl while gently agitating the nibs with the hairdryer blowing on the surface. The feather-light shells fly out onto the counter and the heavier nibs remain.
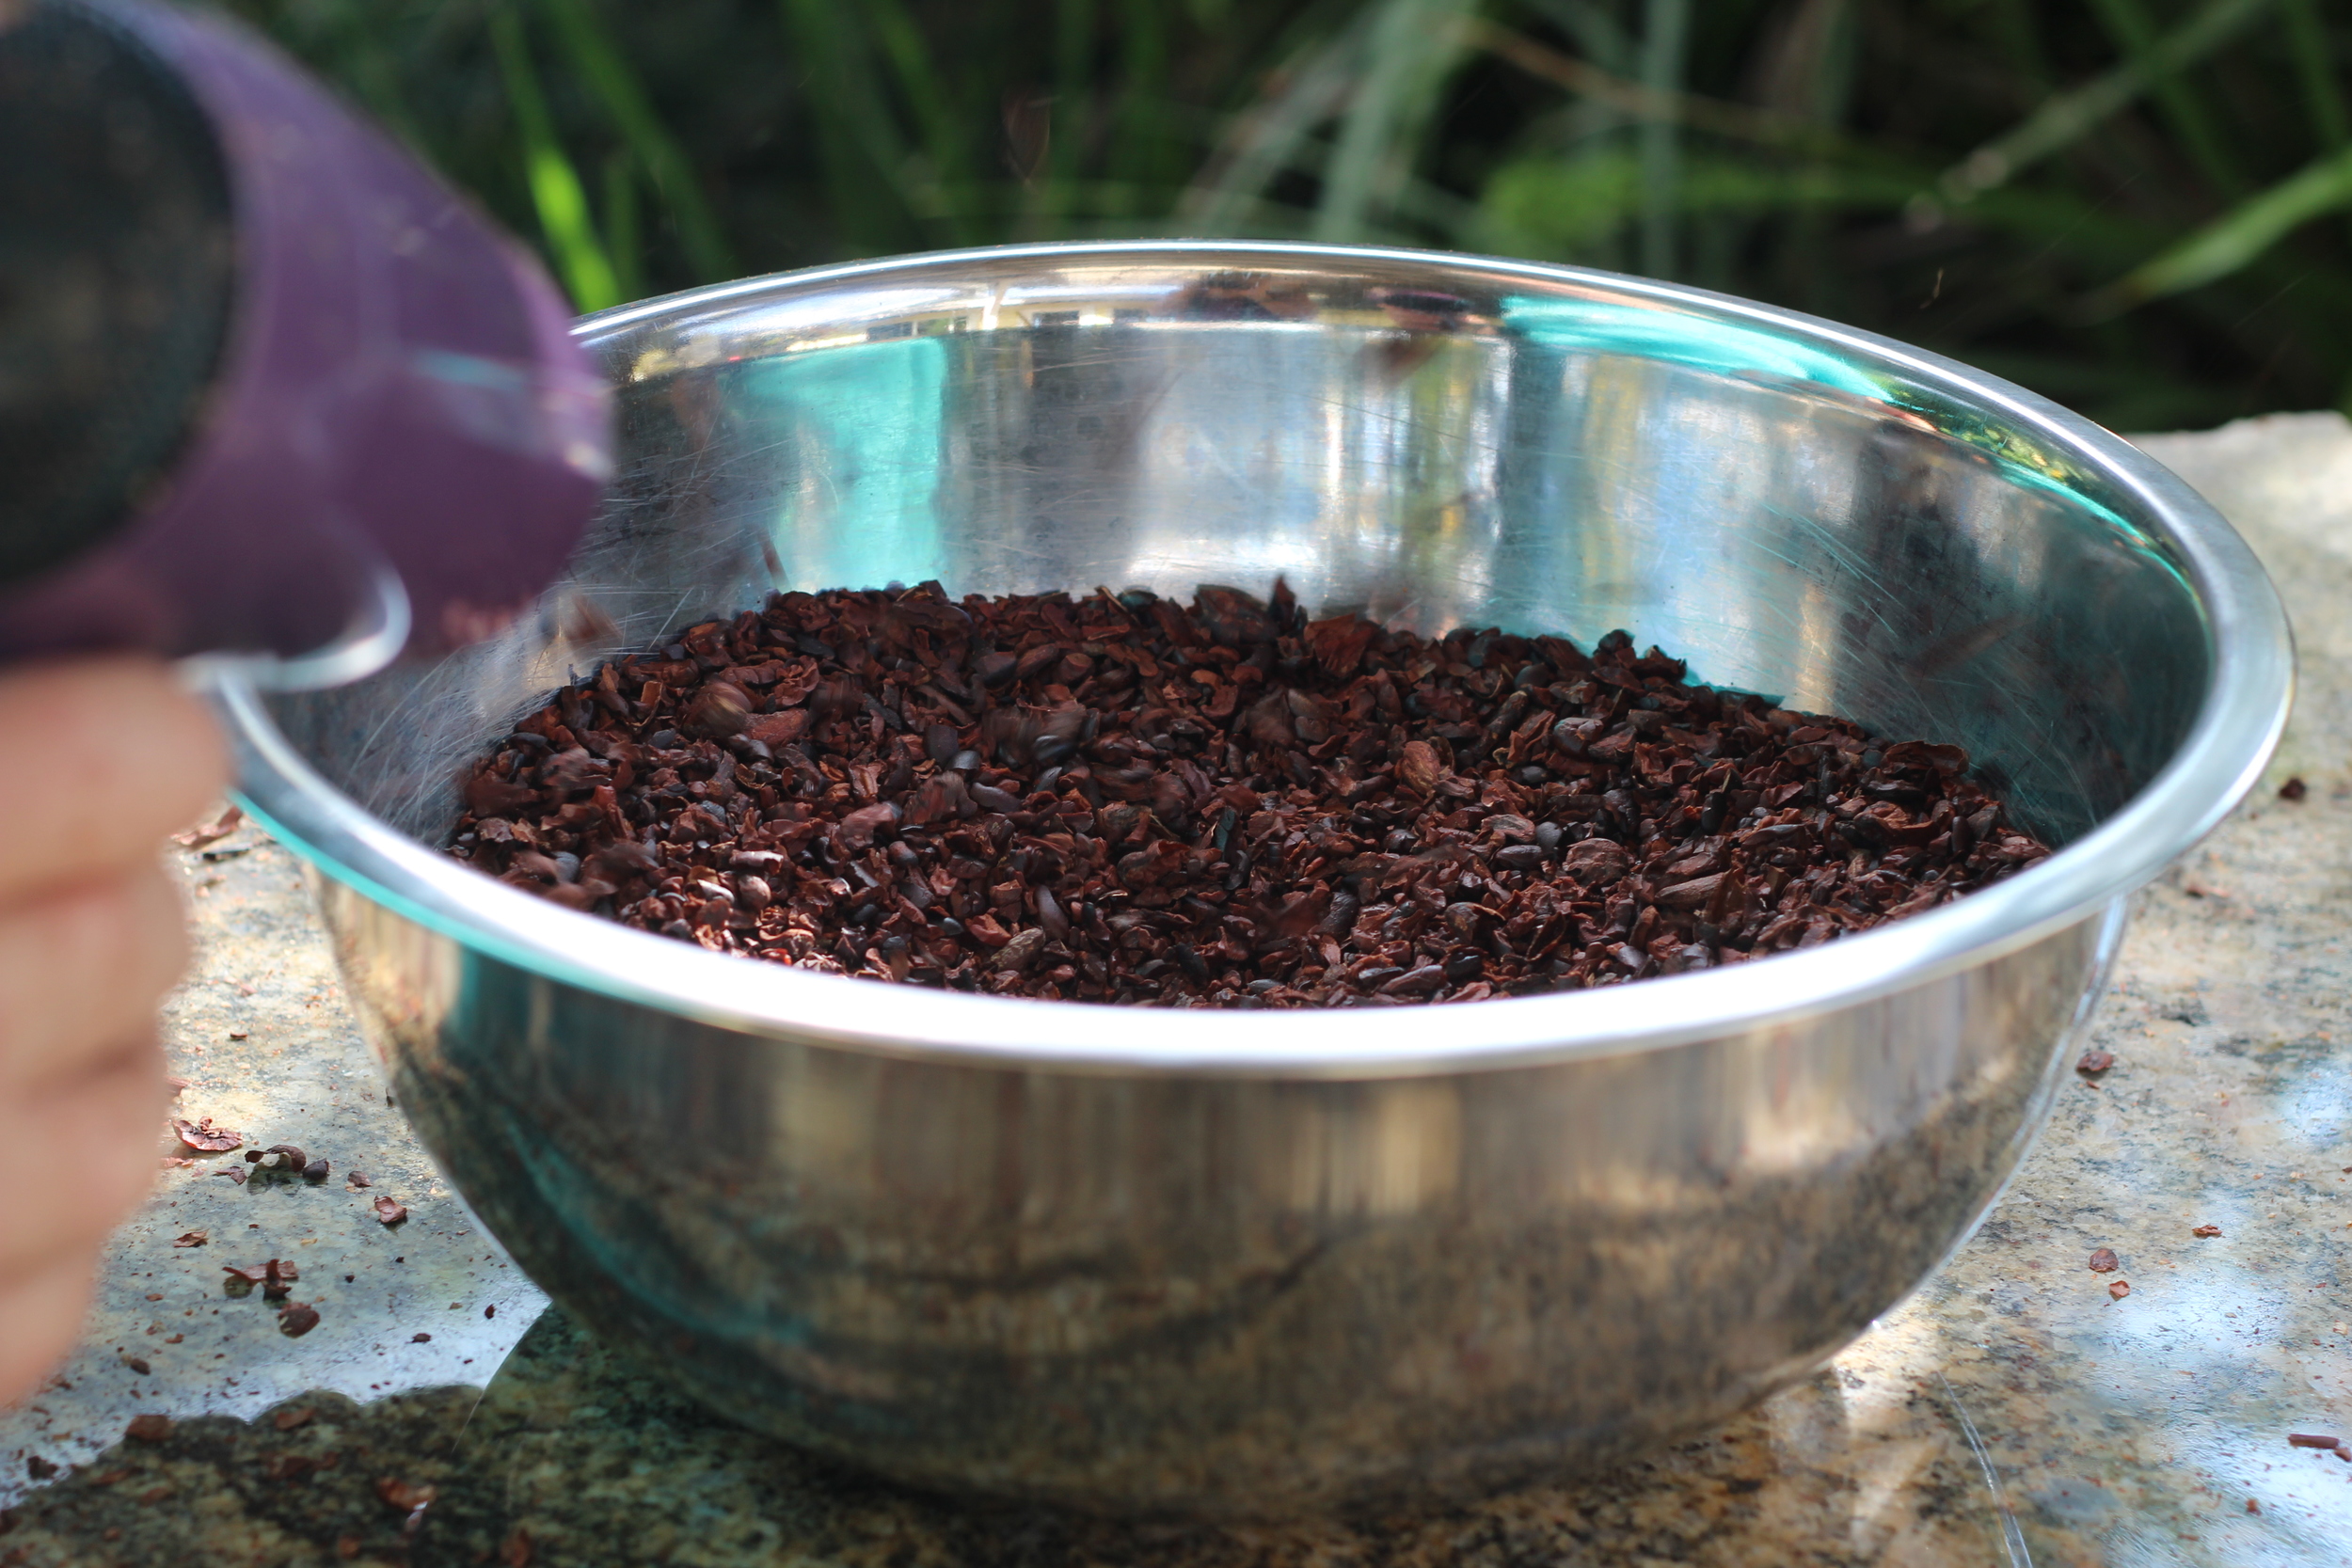

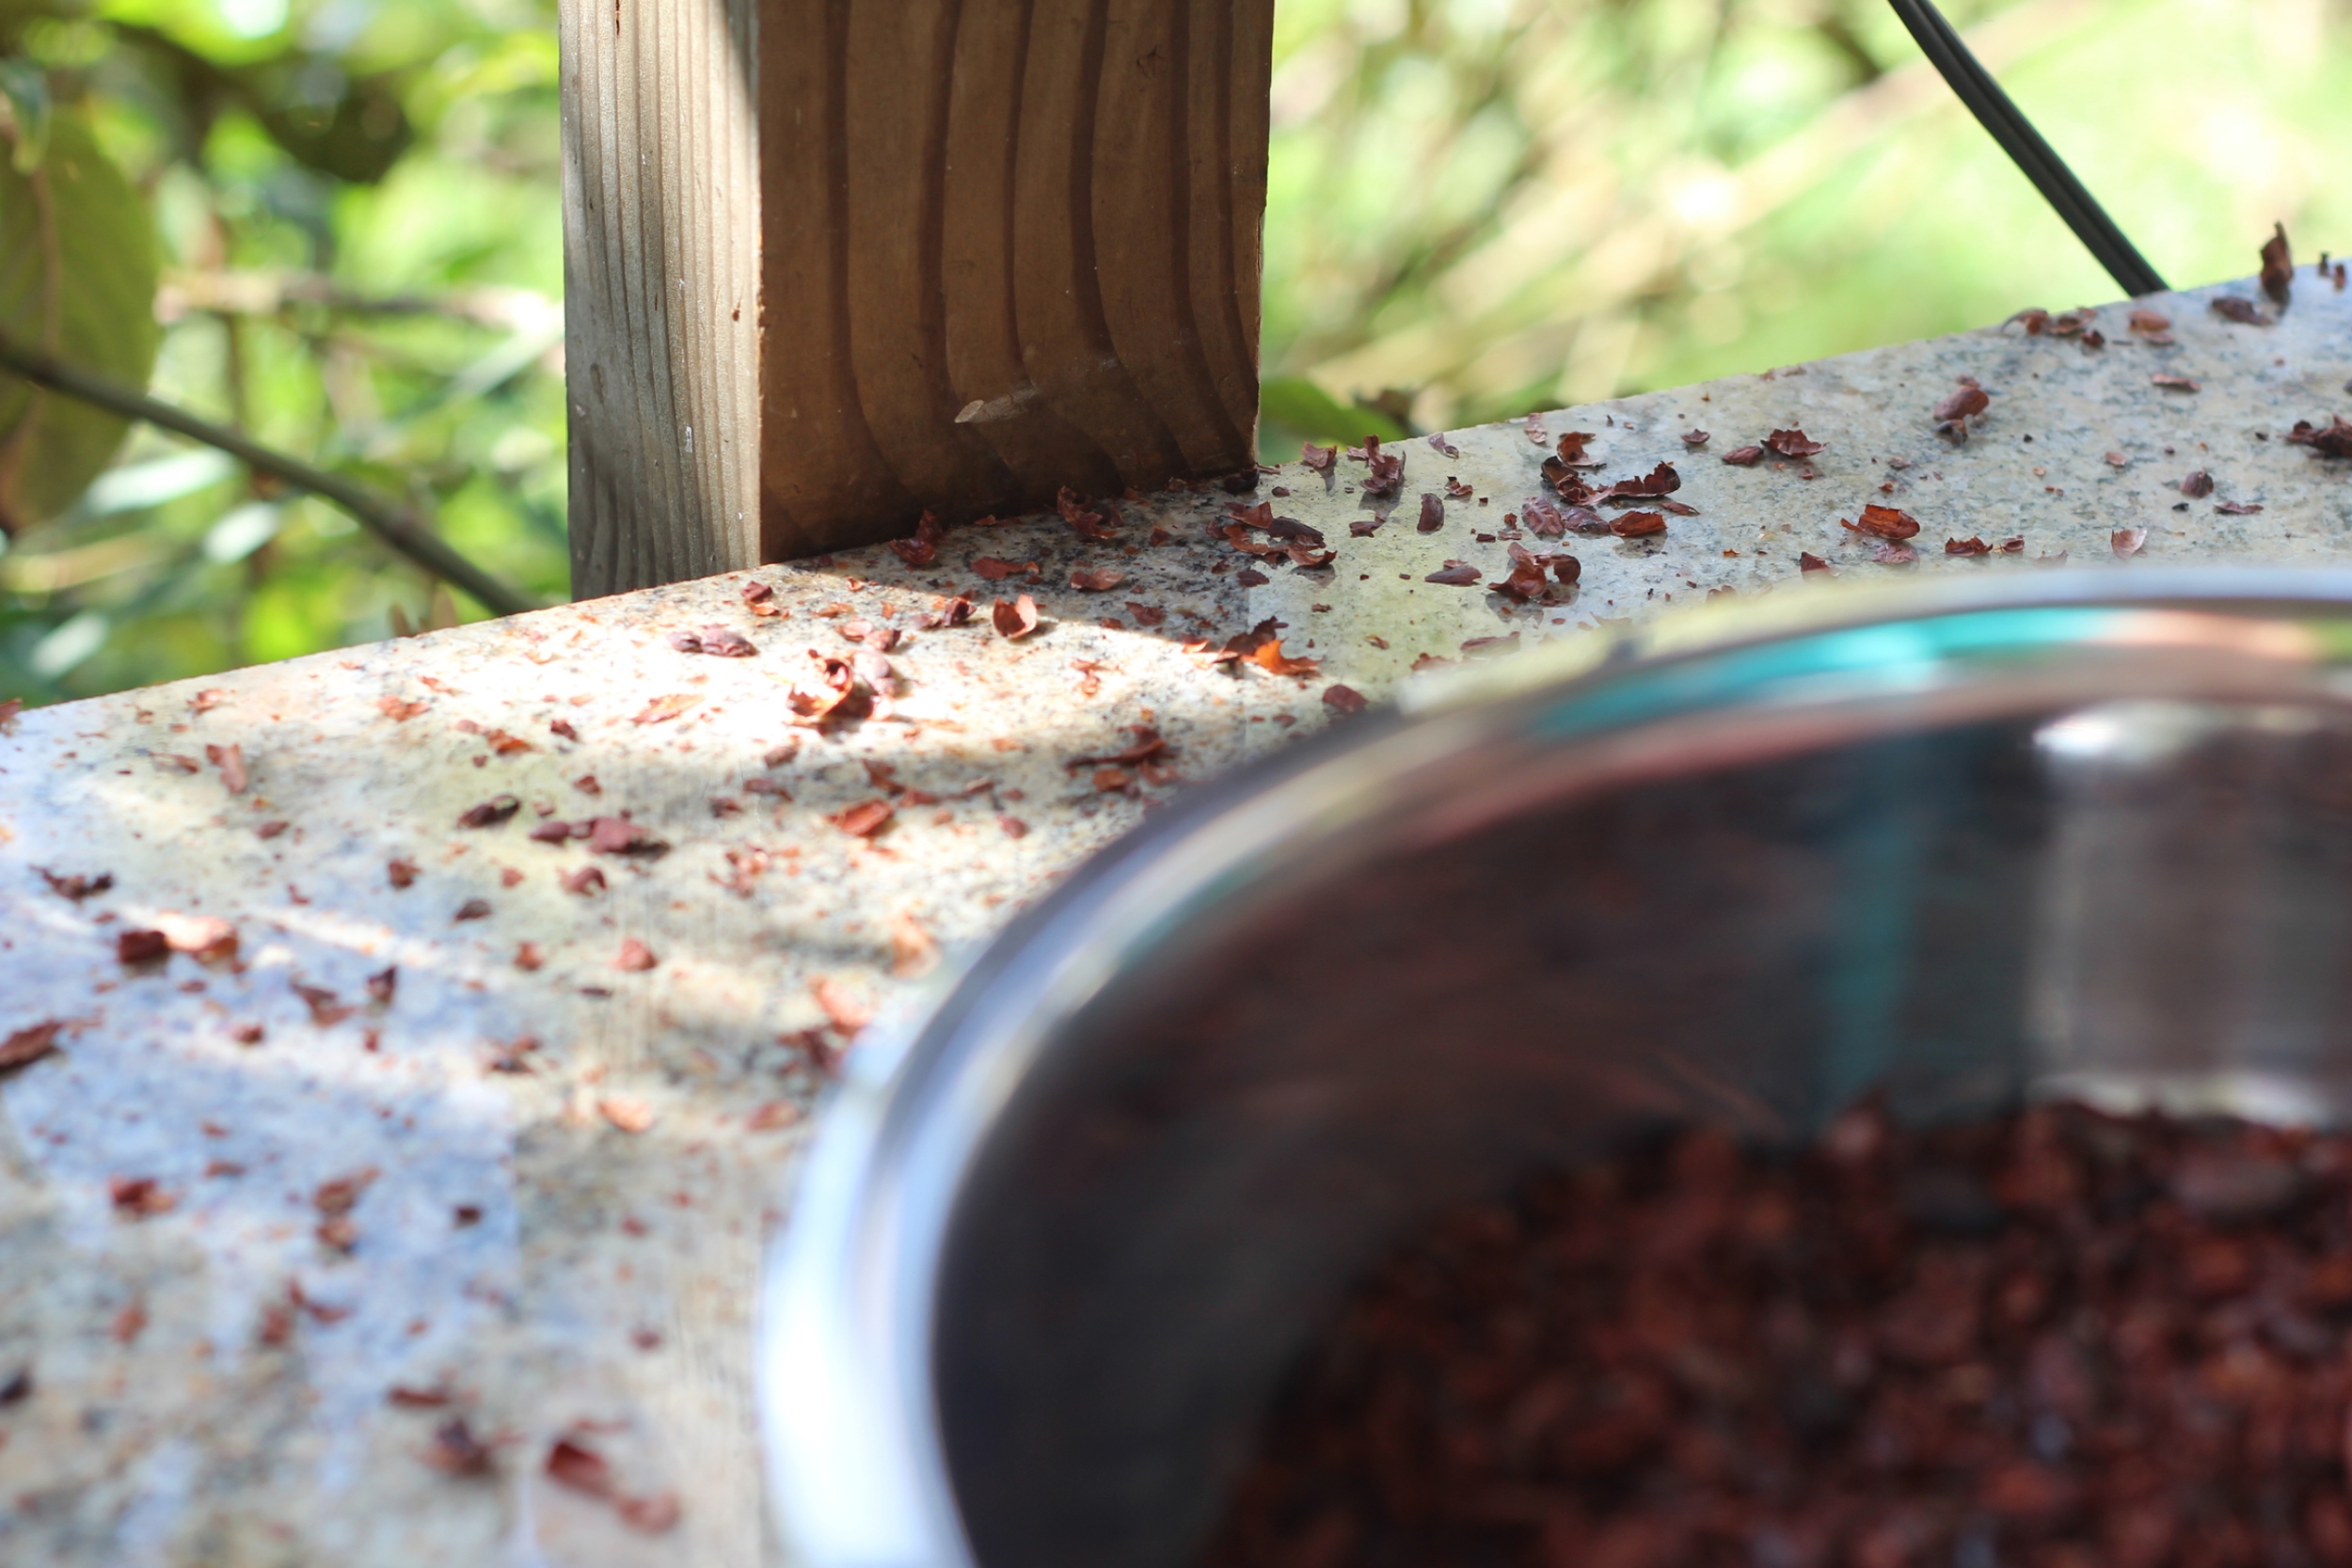
Periodically, we stop and swipe up the shells on the counter to save them. You can brew delicious tea out of these! It is lightly chocolatey and delicious as a faux-dessert! Lately I've been making iced tea with it and throwing in an orange slice - so good!

step 3: grinding
Now that we have mostly nibs (a few shells inevitably remain, but that's ok), it's time to grind the beans. Una and Leon (the farmers extraordinaire who I'm working for) use a Champion Juicer that they reserve solely for chocolate making, and it works amazingly well! The result is called "chocolate liquor," a technical term in the chocolate world for "ground cocoa mass" - it has nothing to do with alcohol. Start reading your chocolate bar ingredient labels and you'll likely see this listed.
ground nibs, aka chocolate liquor, fresh out of the grinder-juicer
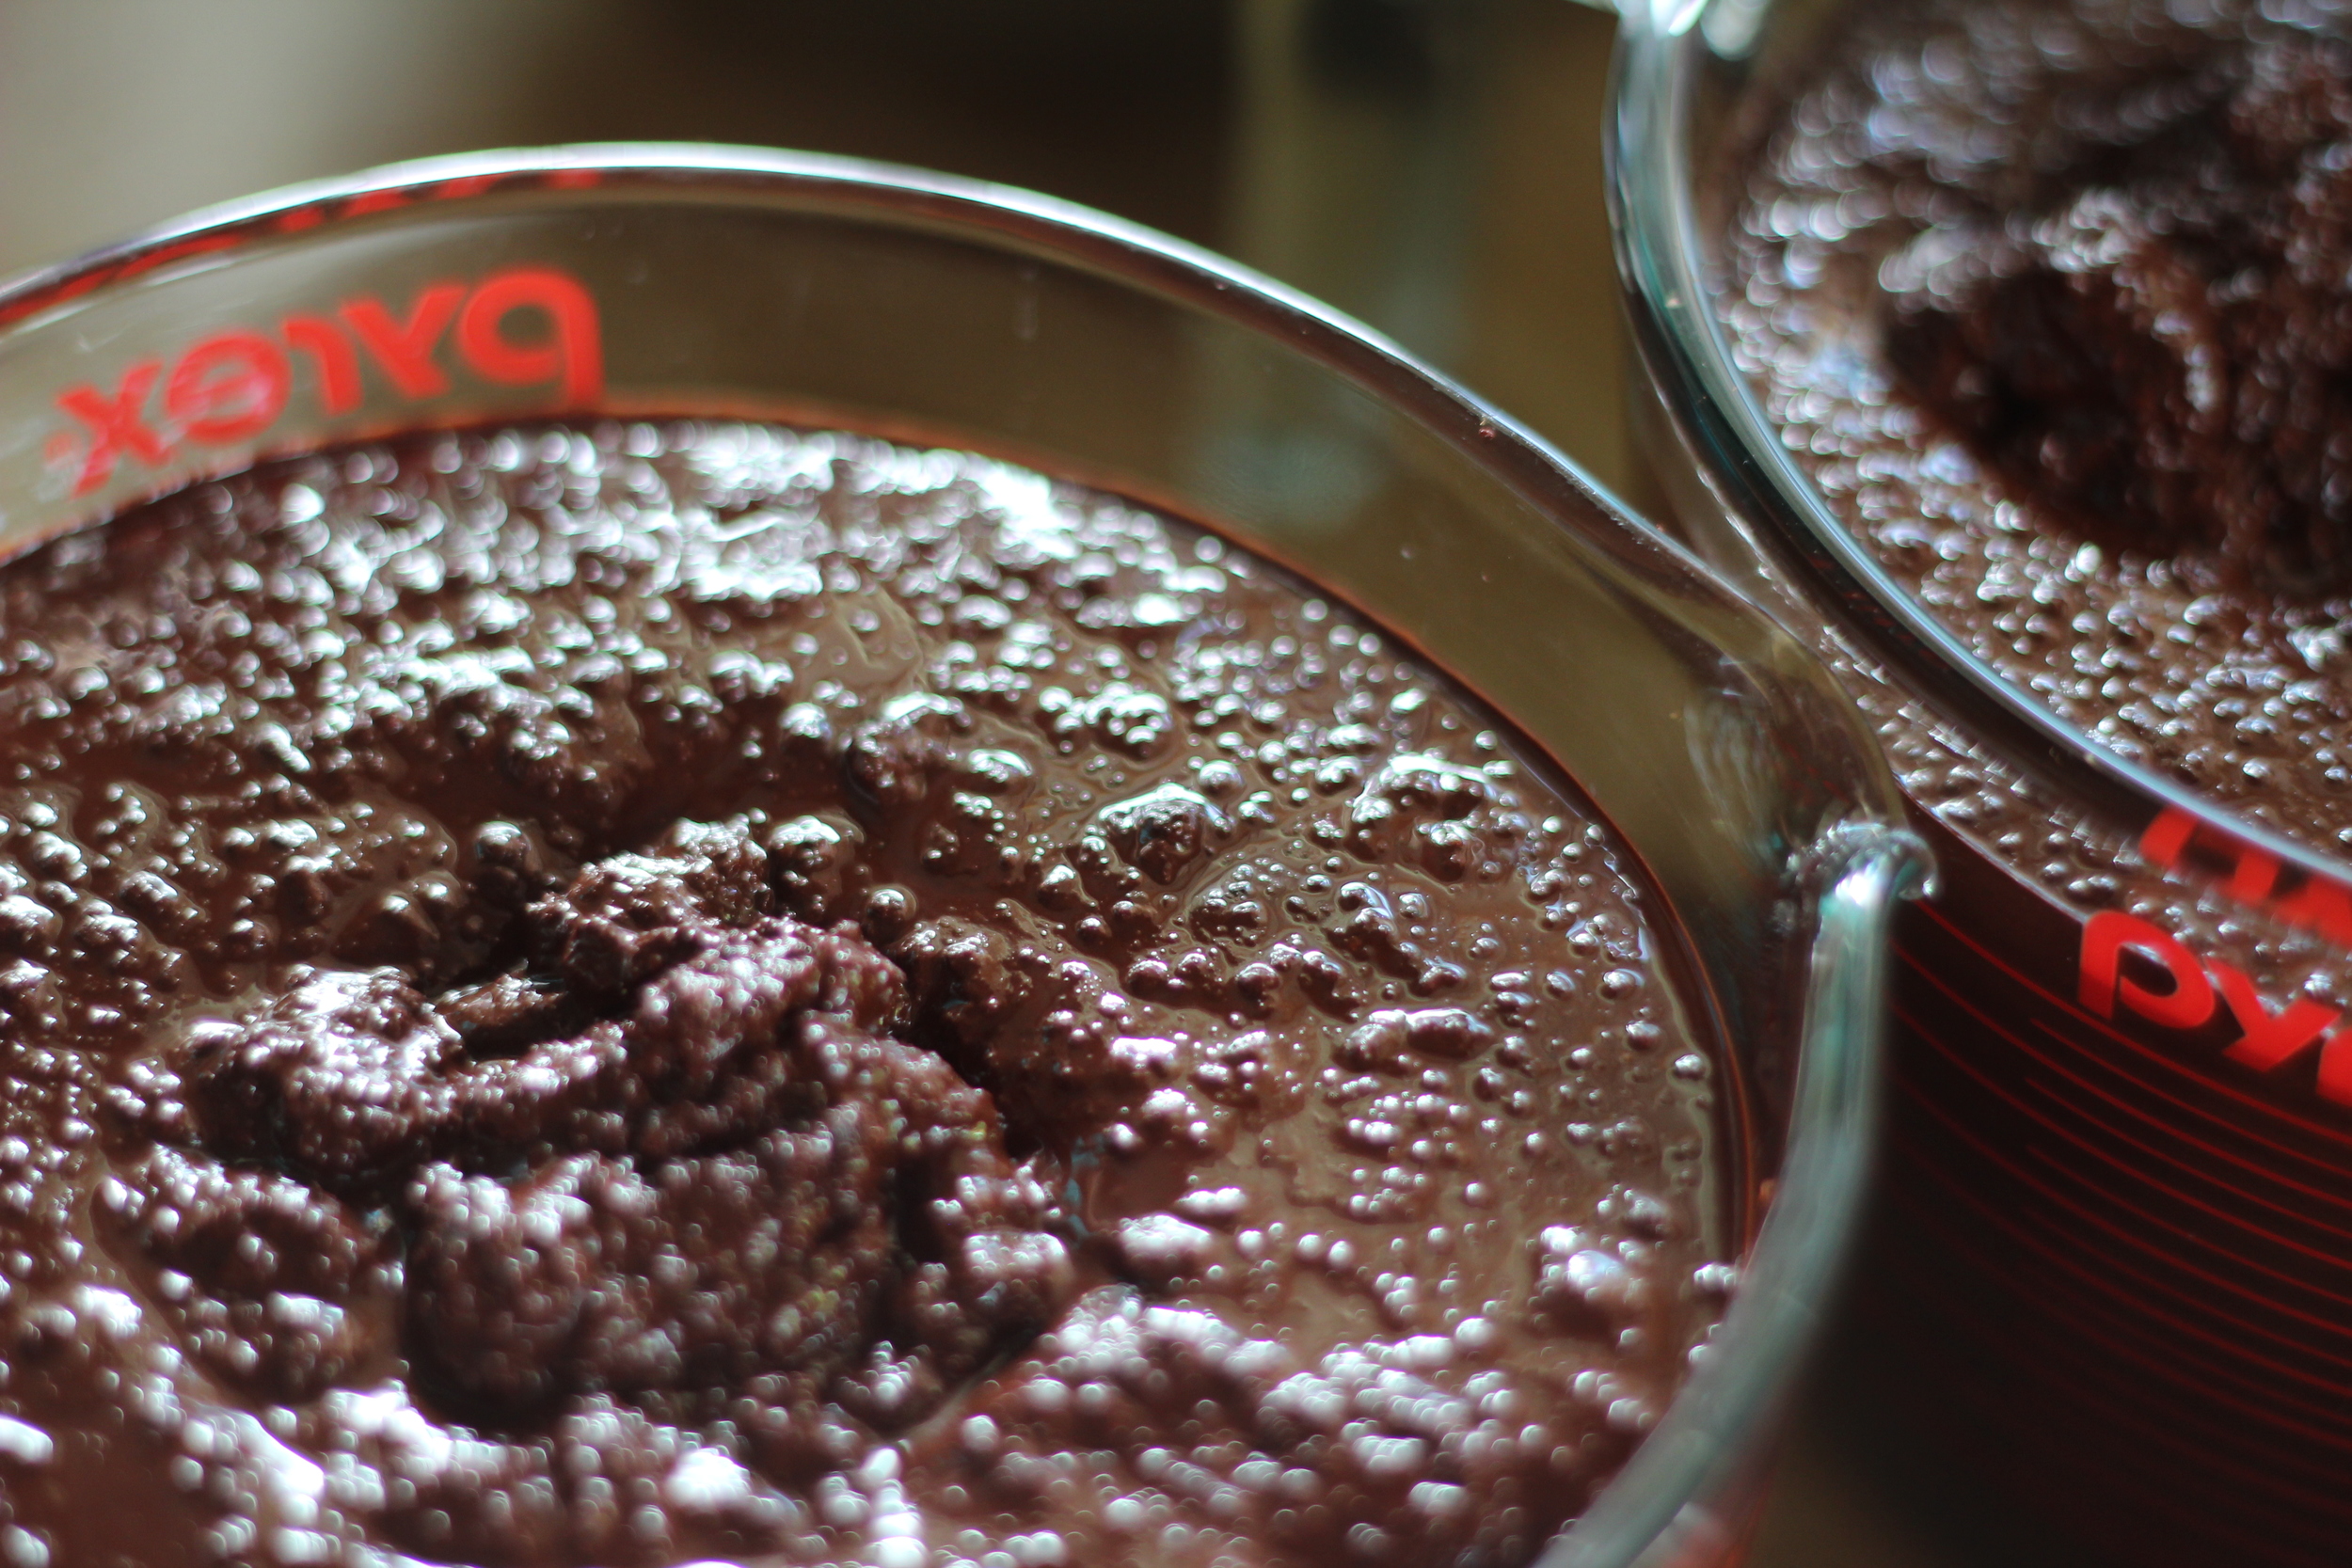
our 5-pound batch of raw beans resulted in about 8 cups of chocolate liquor
step 4: ingredient prep
Next it's time to quickly prep the other ingredients. Una's recipe for chocolate involves three ingredients - this chocolate liquor that we just made from our organic cacao, organic cocoa butter that she buys from another a small chocolate company, and organic sugar.
Cocoa butter is what you would get if you took the ground nibs and separated out the fat (this requires special equipment). As soon as I saw it, I realized why white chocolate is white and still allowed to be called chocolate!
This is cocoa butter in its solid form. Looks kinda like white chocolate, right?!
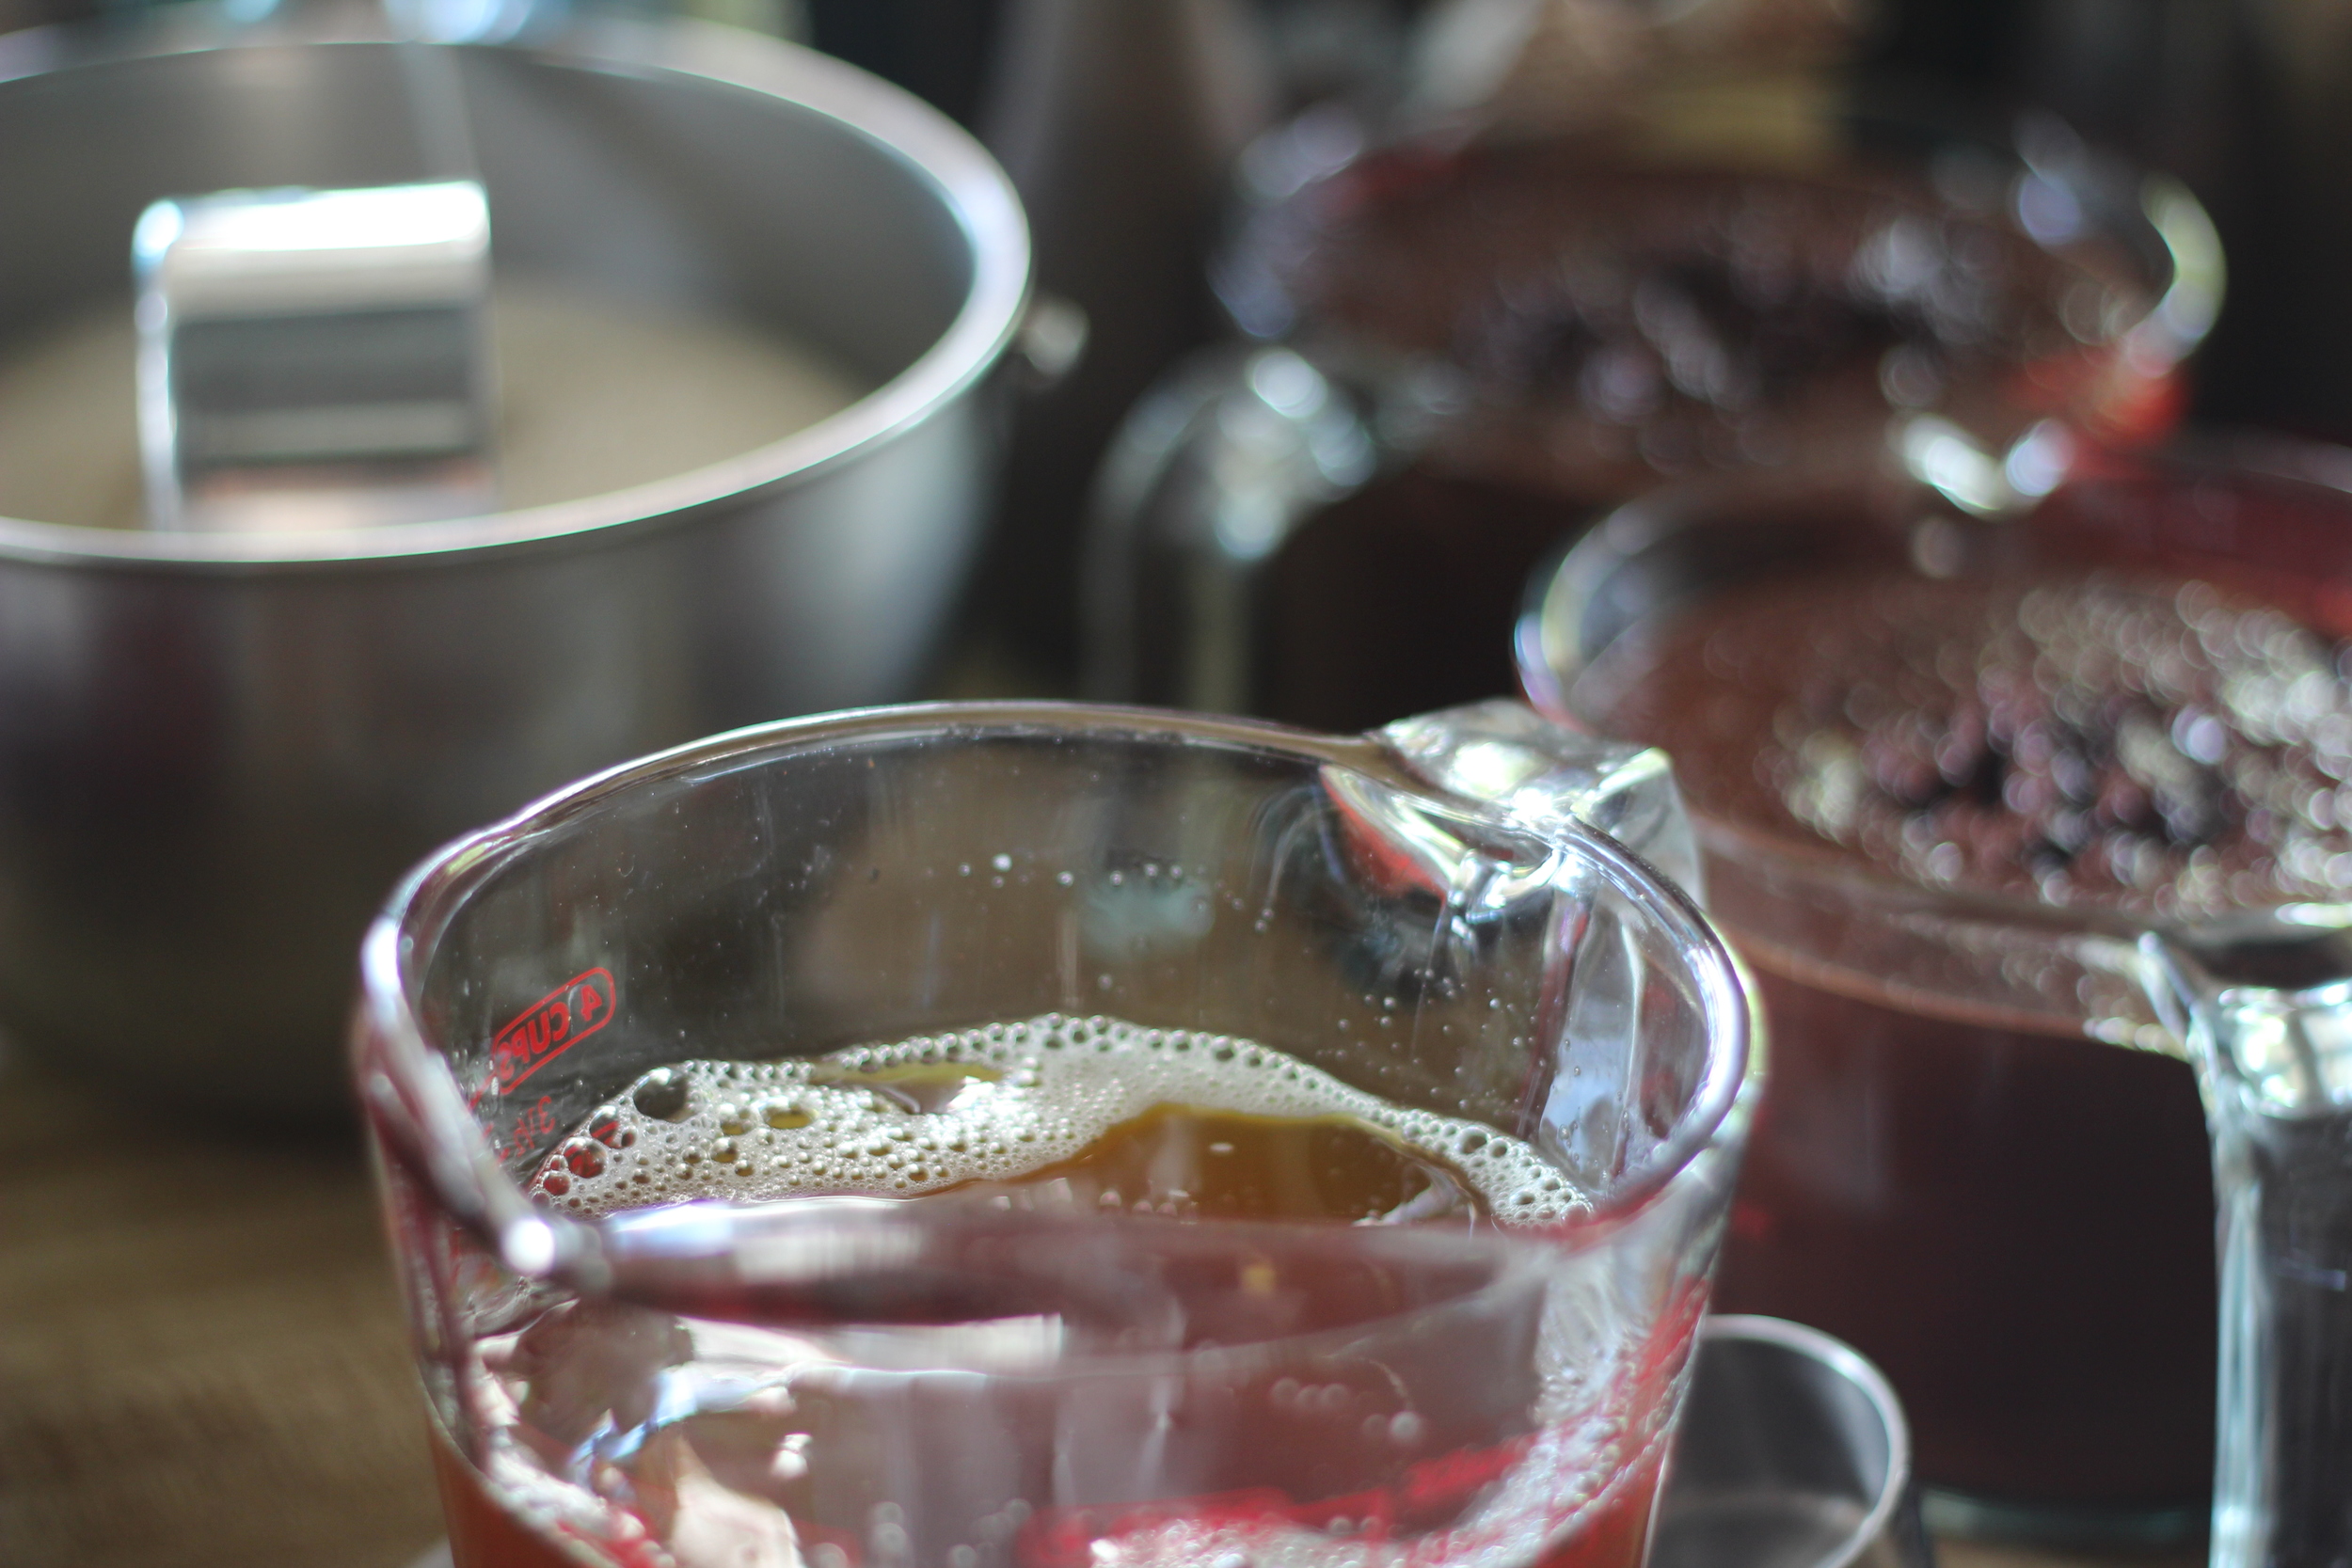
To prep our ingredients, we measure them out and melt the cocoa butter. Amazingly, it turns slightly brown when melted - I was fascinated by this stuff!

melted cocoa butter
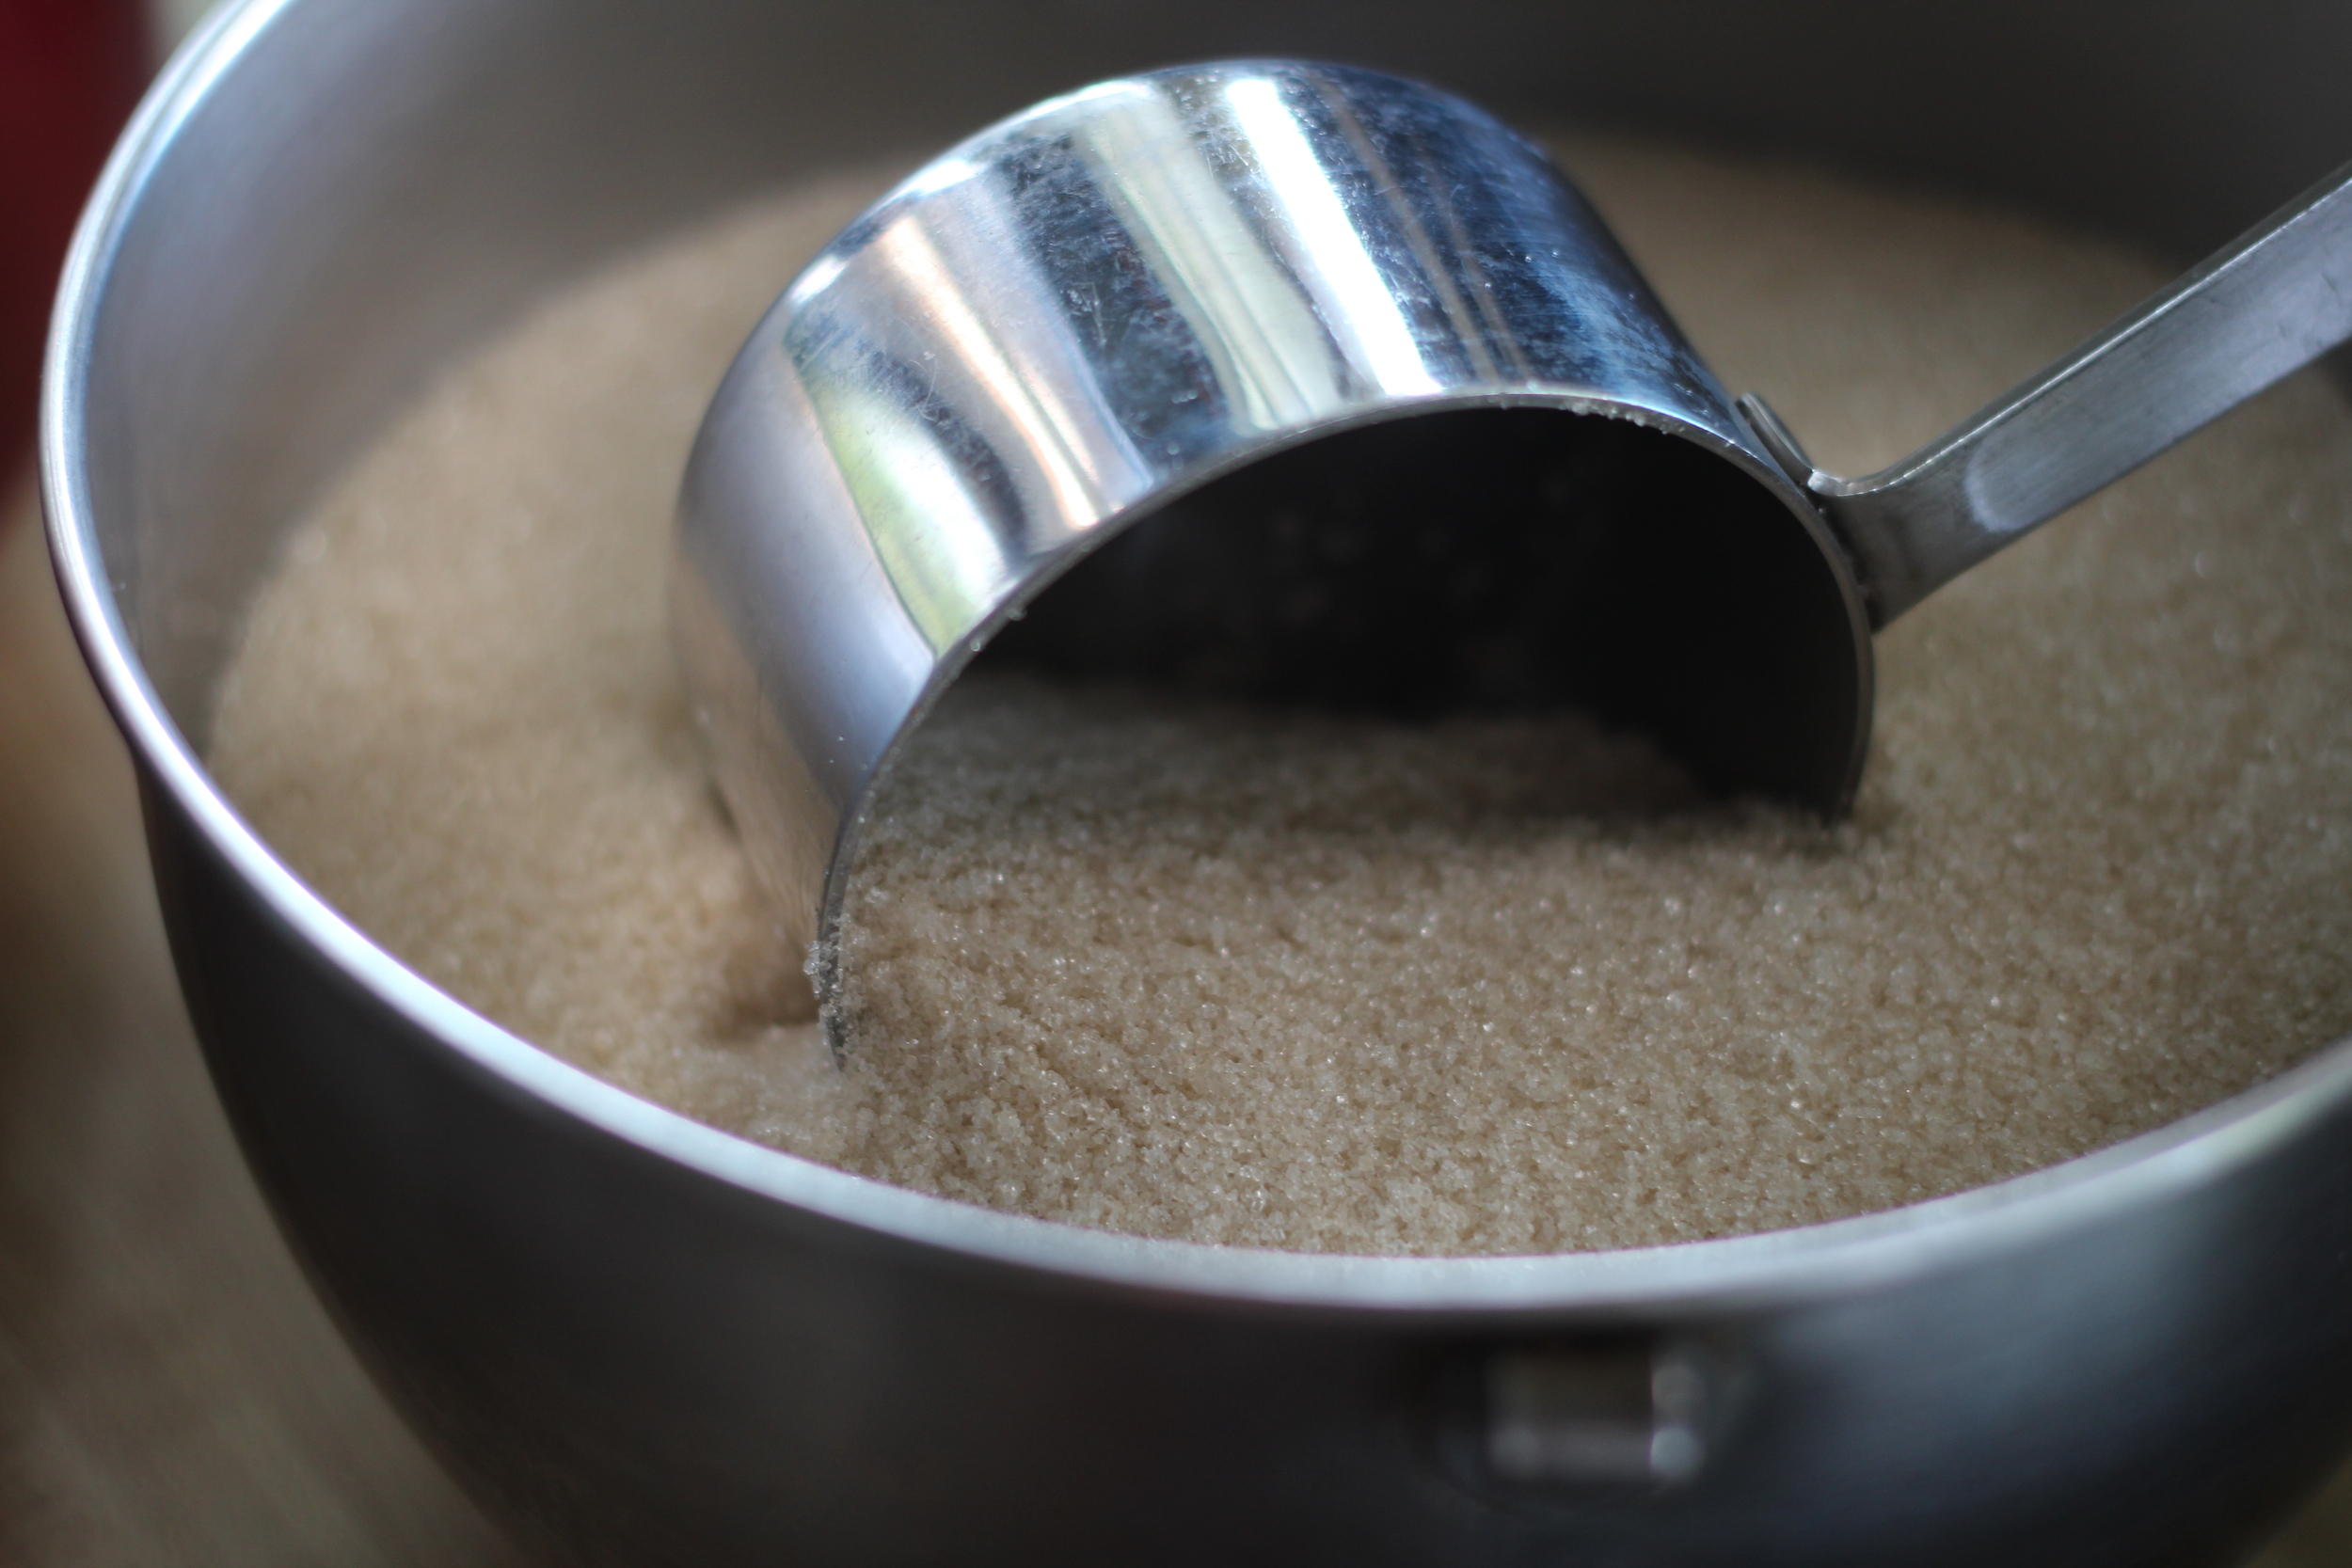
organic sugar
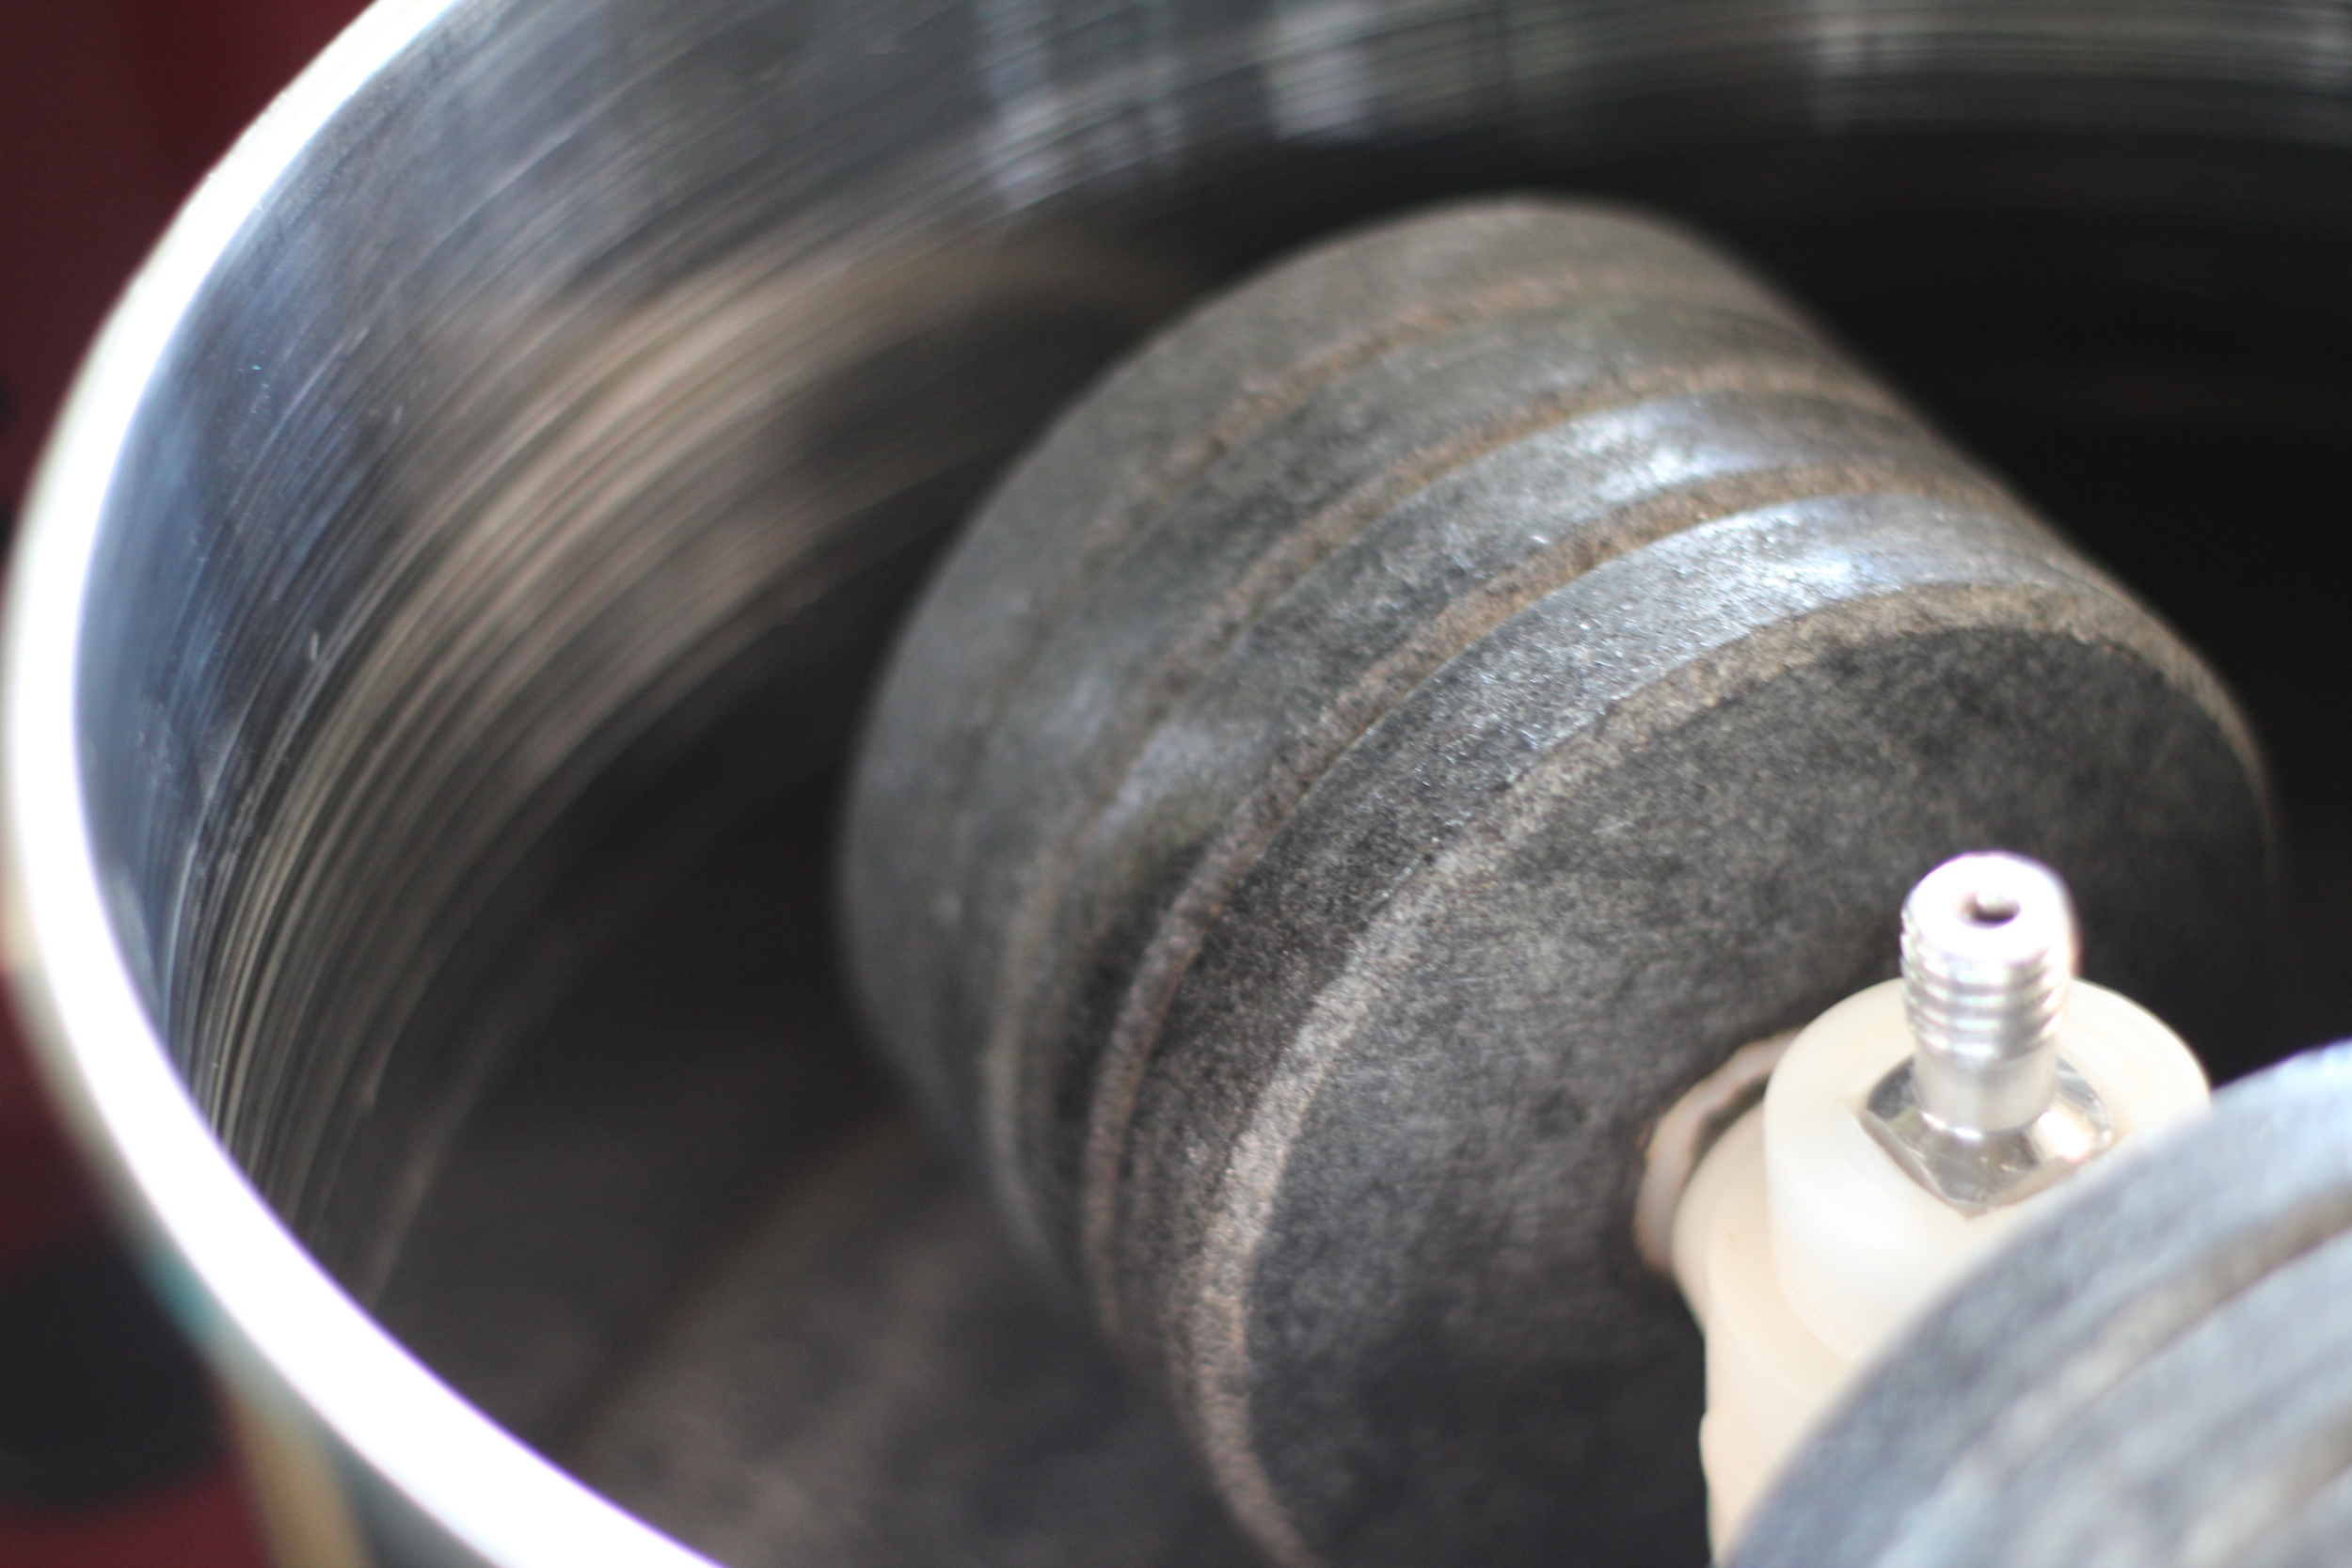
step 5: melanger time
In our final step for day one, it's time to mix everything together! For this, we use a melanger - another special piece of equipment used for chocolate making. It's essentially a spinning bowl with a stone bottom and cylindrical stones inside that slowly grind the chocolate and other ingredients into smaller and smaller particles. Once the machine is up and running, we add the ingredients slowly, a little of each at a time, until everything has been added.
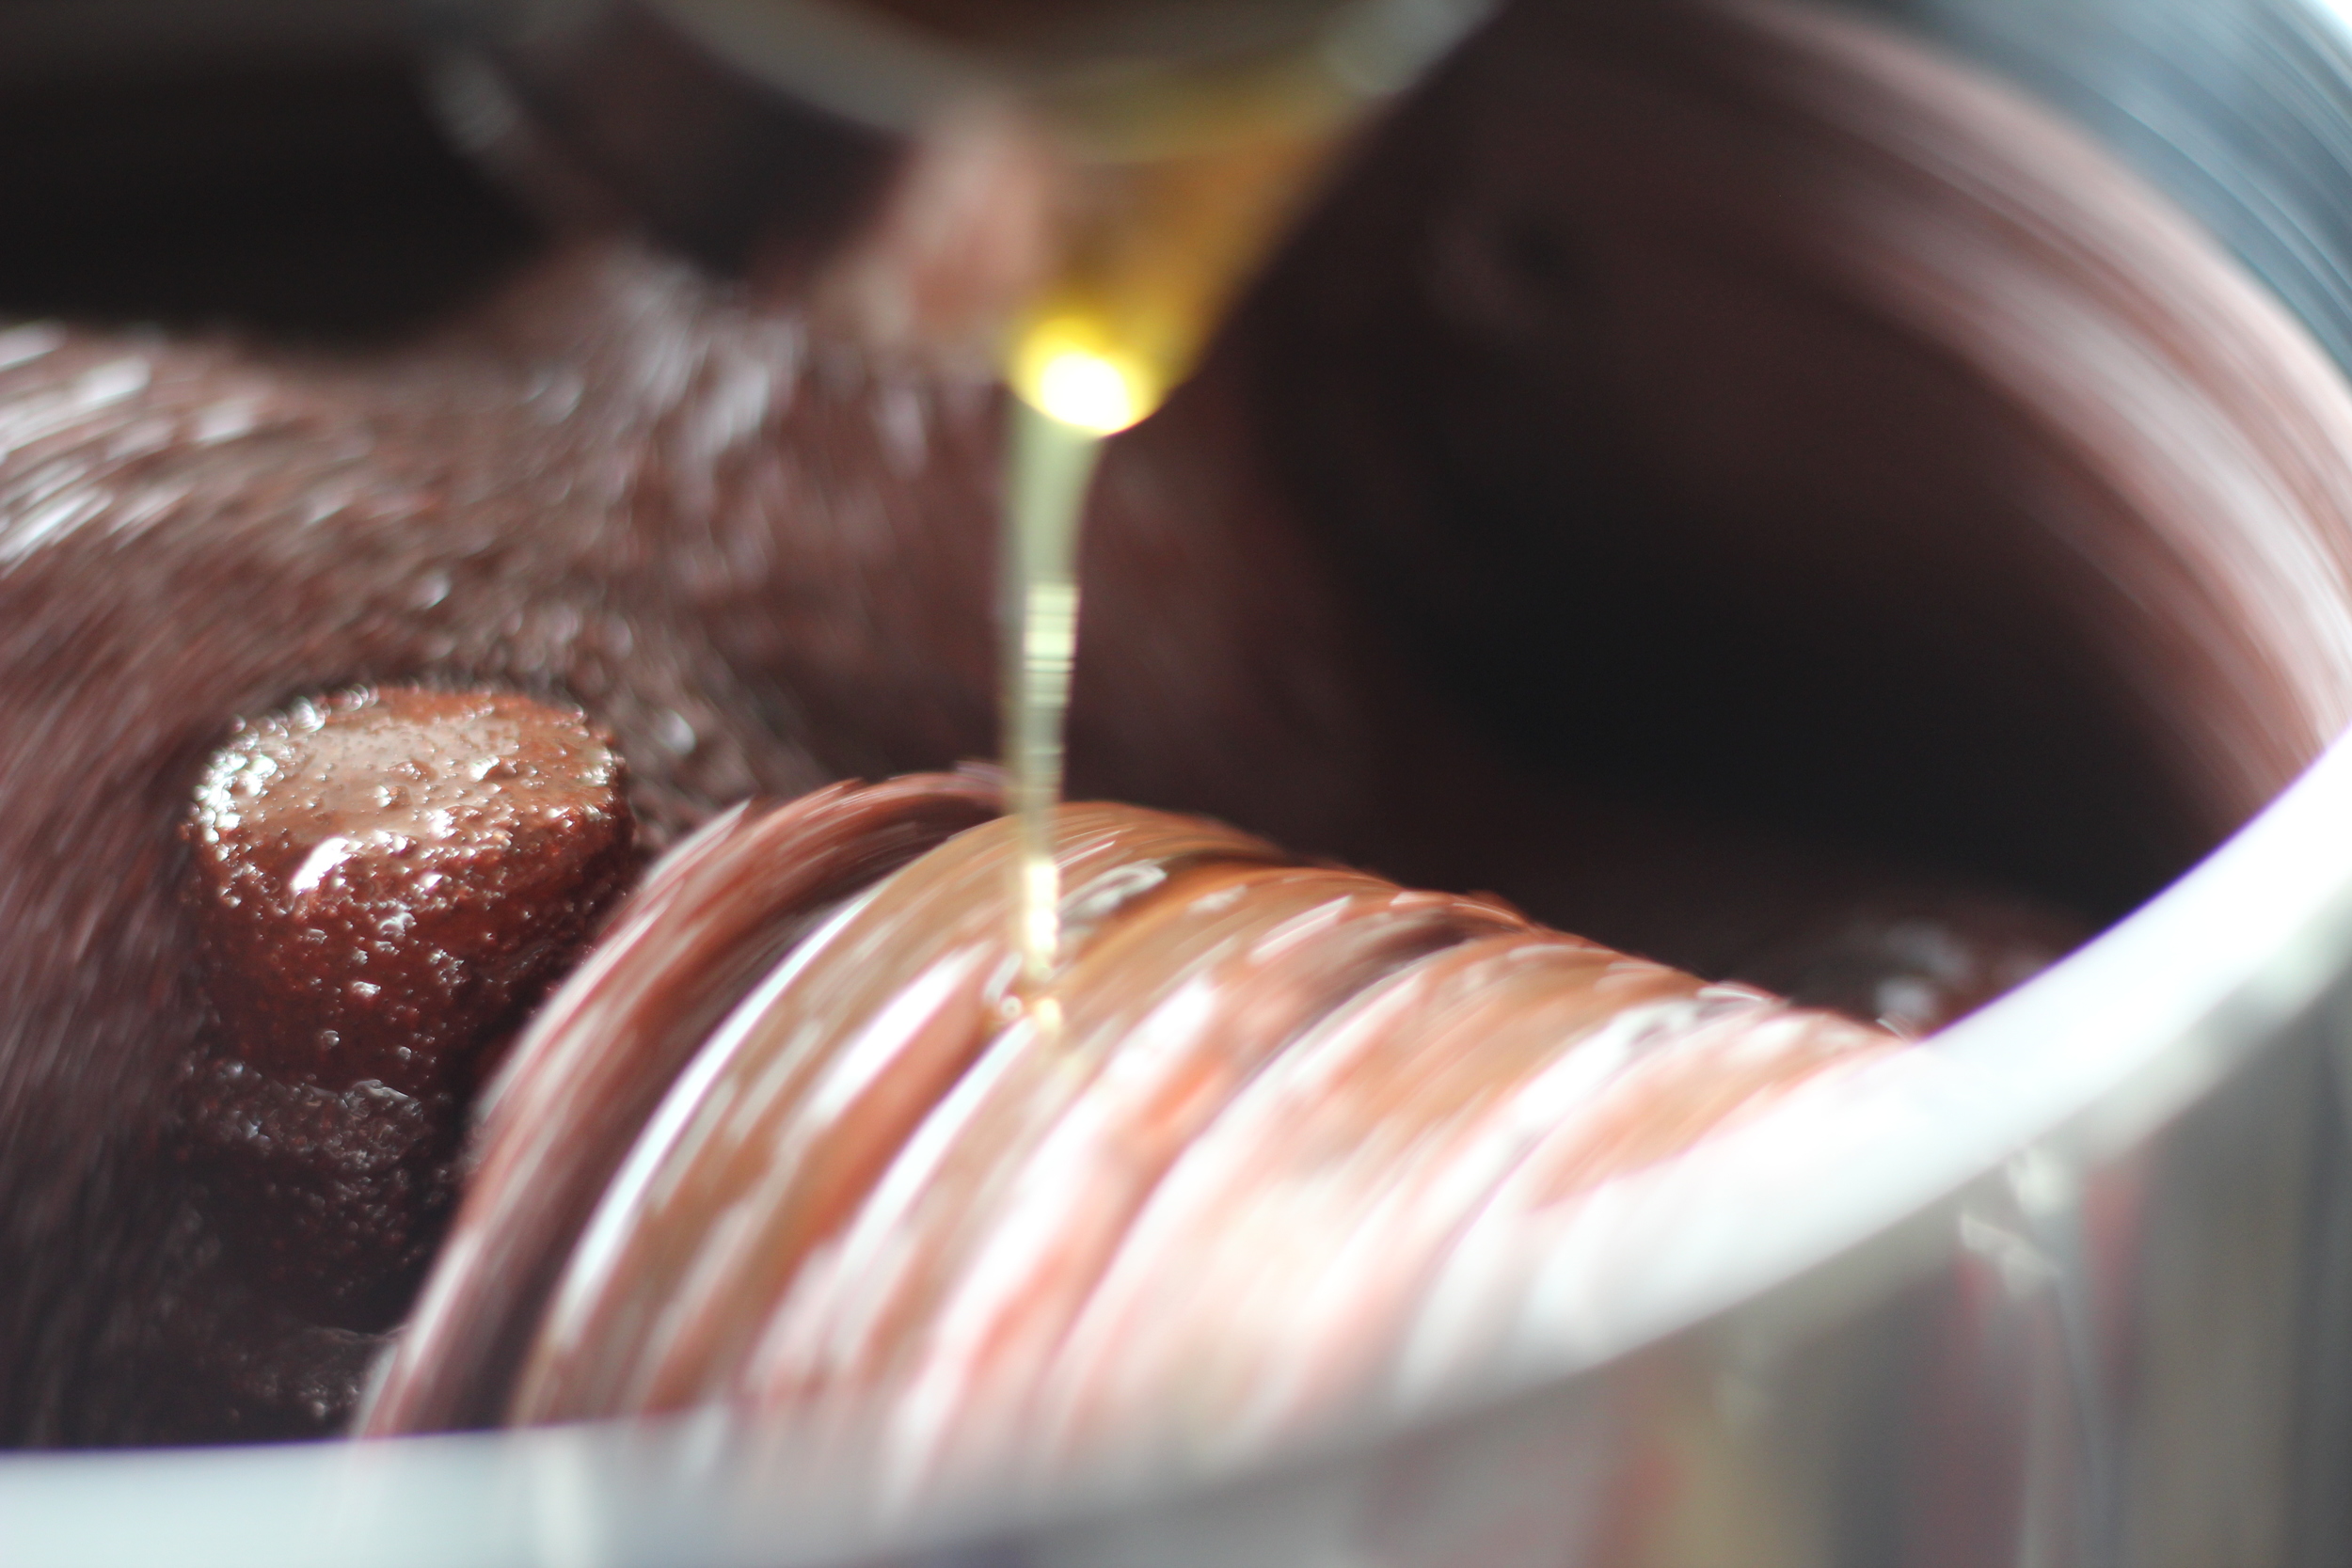
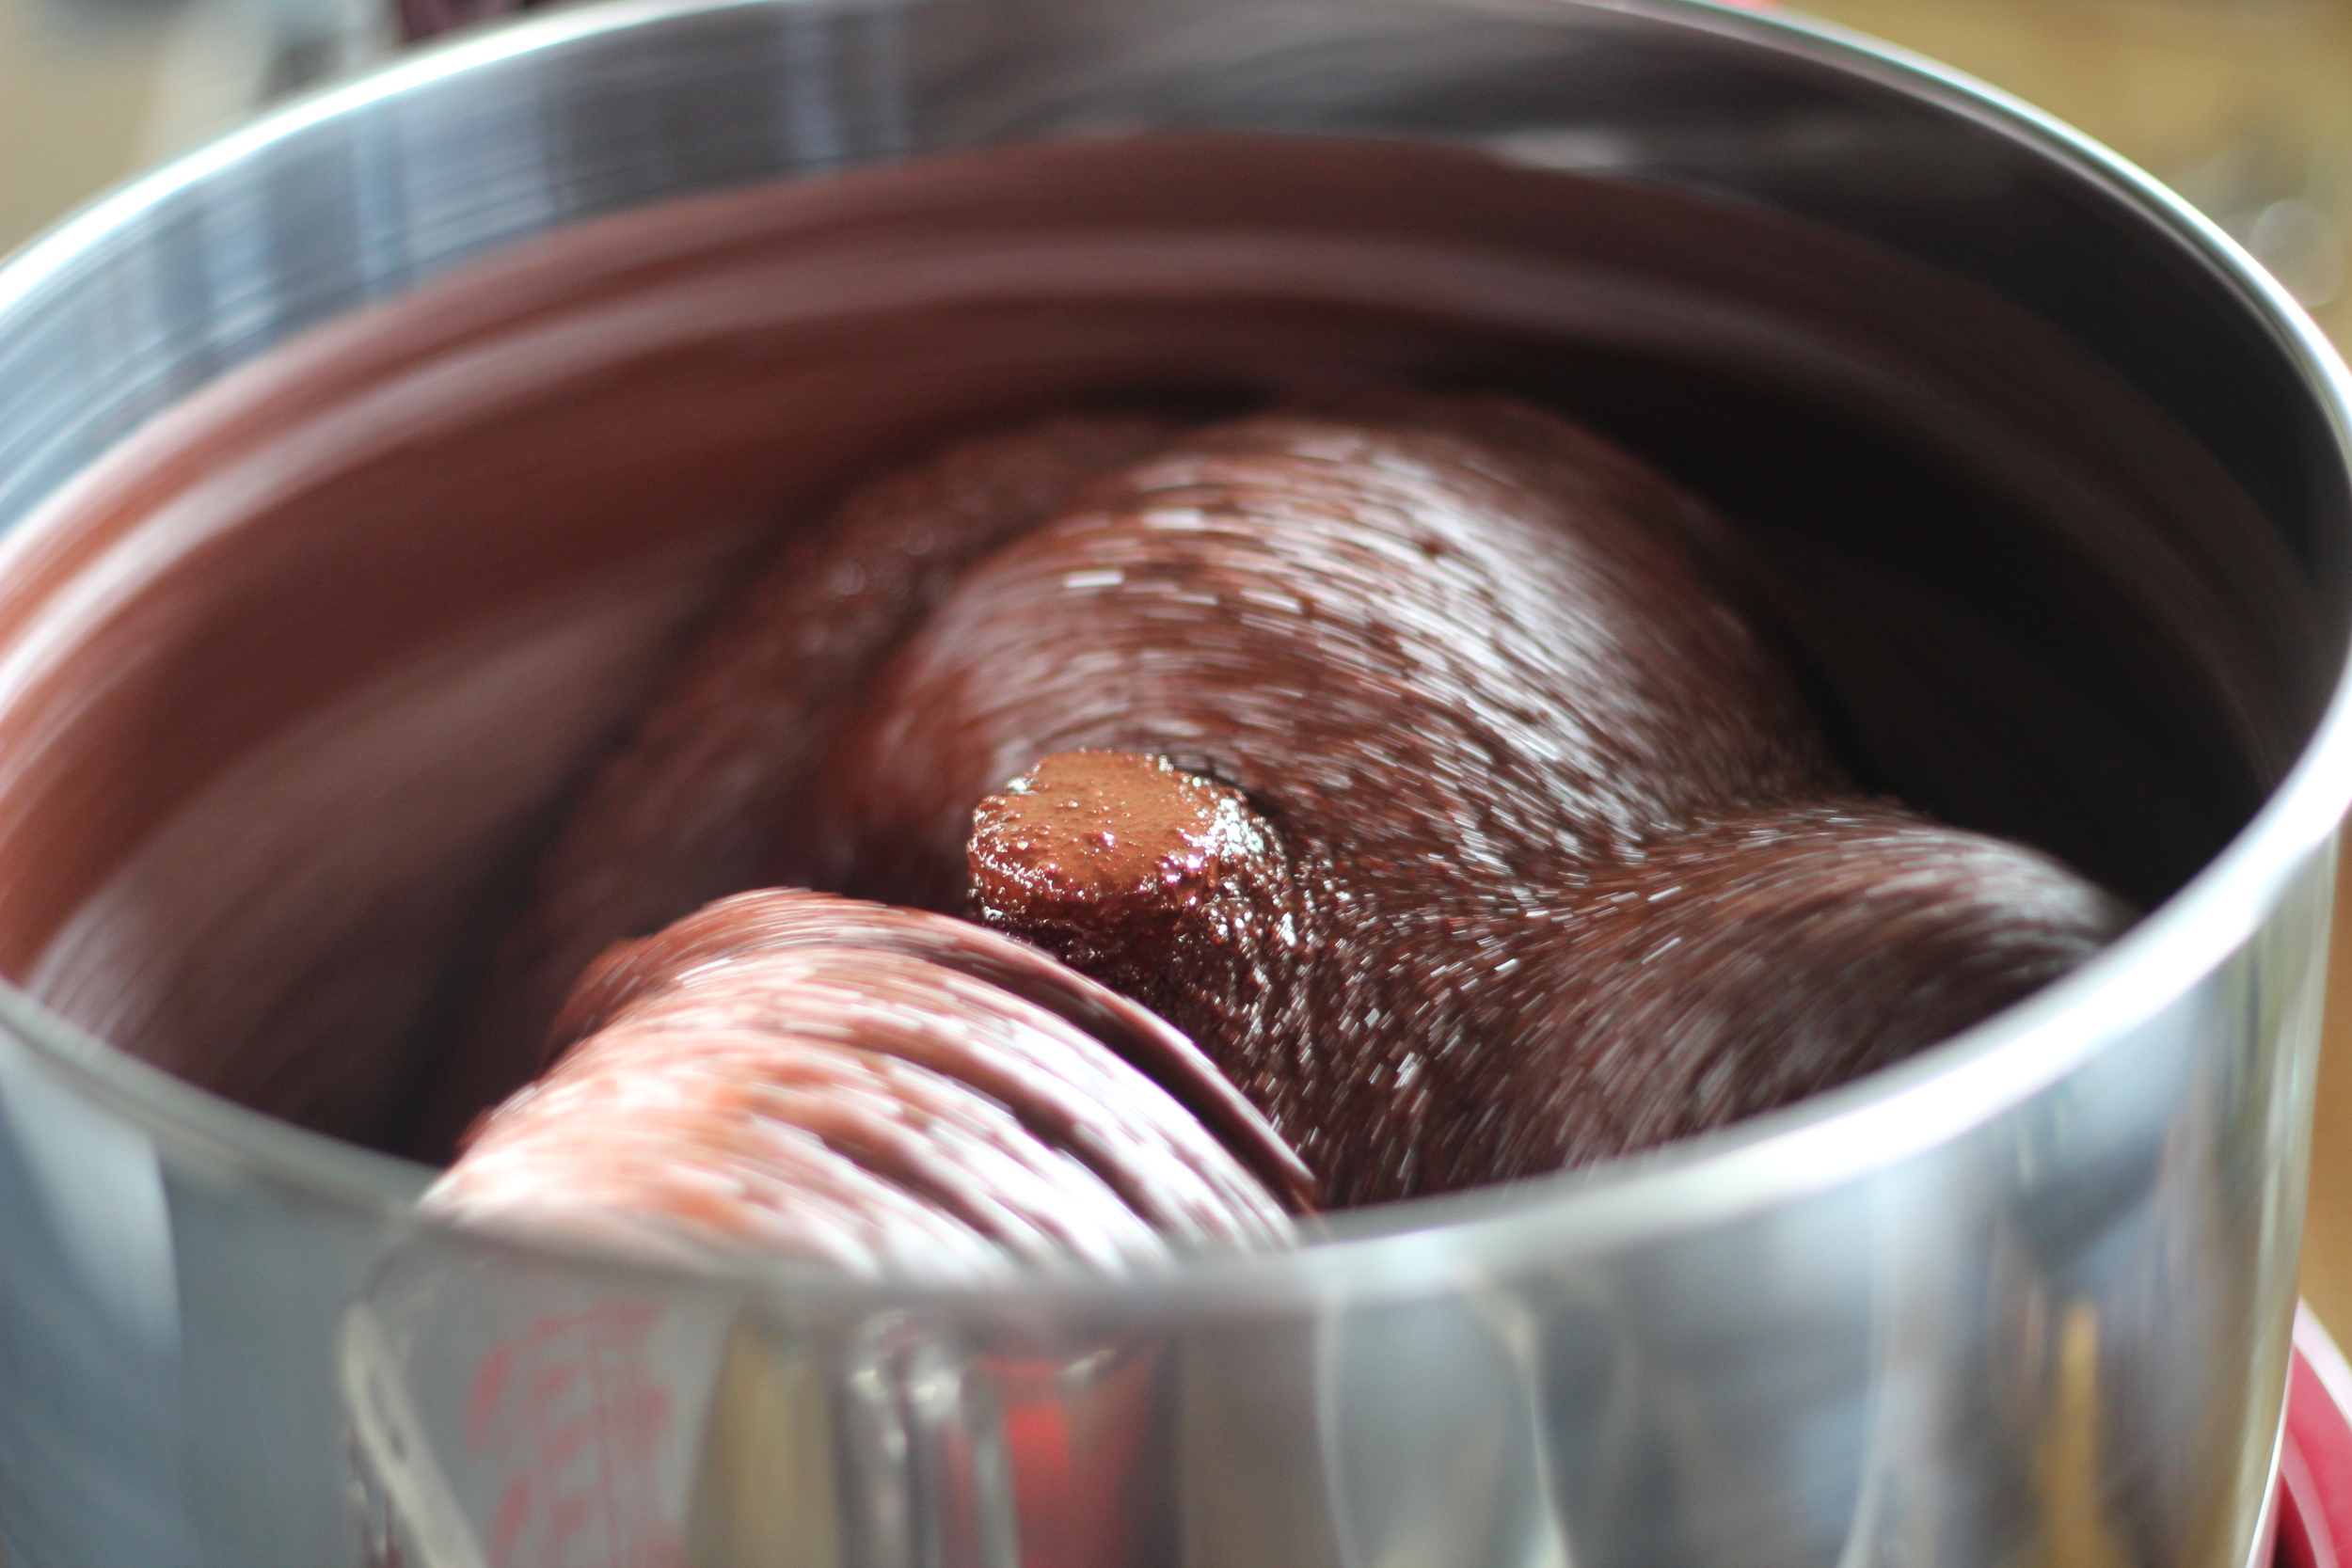
We let this machine run for about 24 hours, periodically using a special tool to scrape down the sides of the bowl. By the afternoon, I could see the mixture becoming smoother.
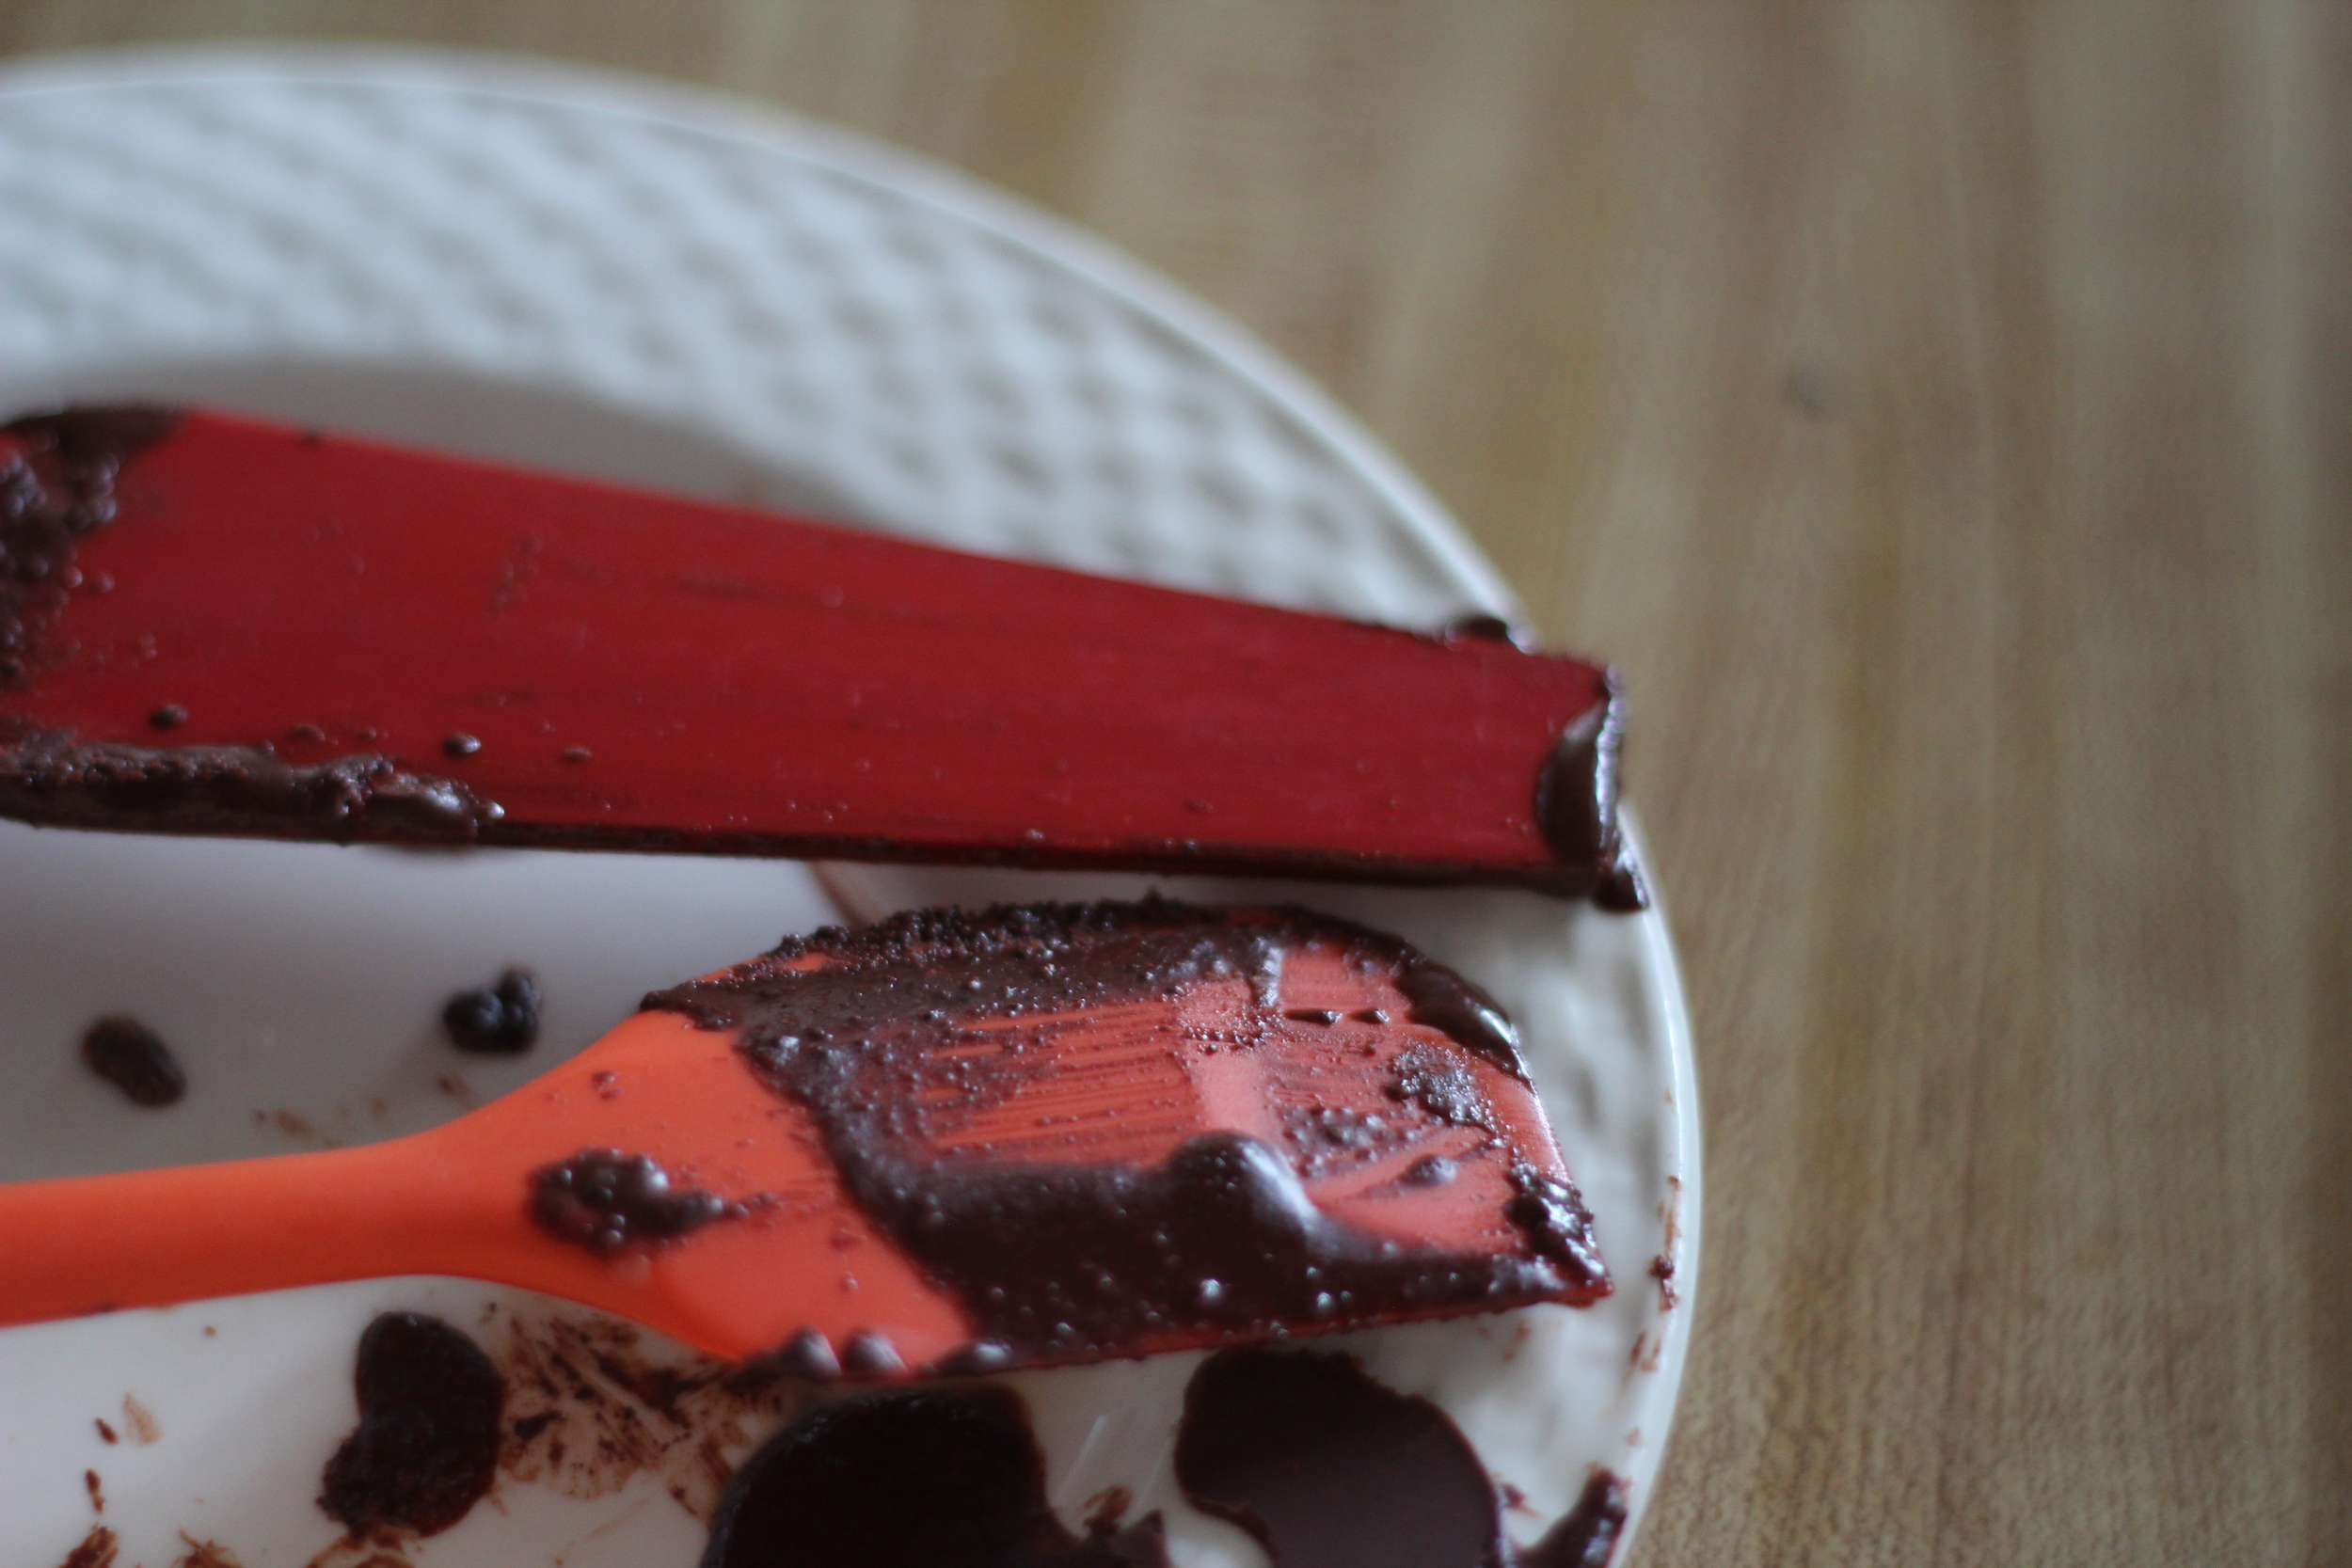
the top red one is a special scraper - we'd stick this in along the side of the bowl as the machine was running to scrape down the sides
it's getting smoother!
Now it's time for the day 1 treat! To "clean" out the juicer-grinder where we first ground the nibs, we put frozen bananas through it to make banana-chocolate soft serve. No sweetener needed, and let me tell you it's AMAZING!
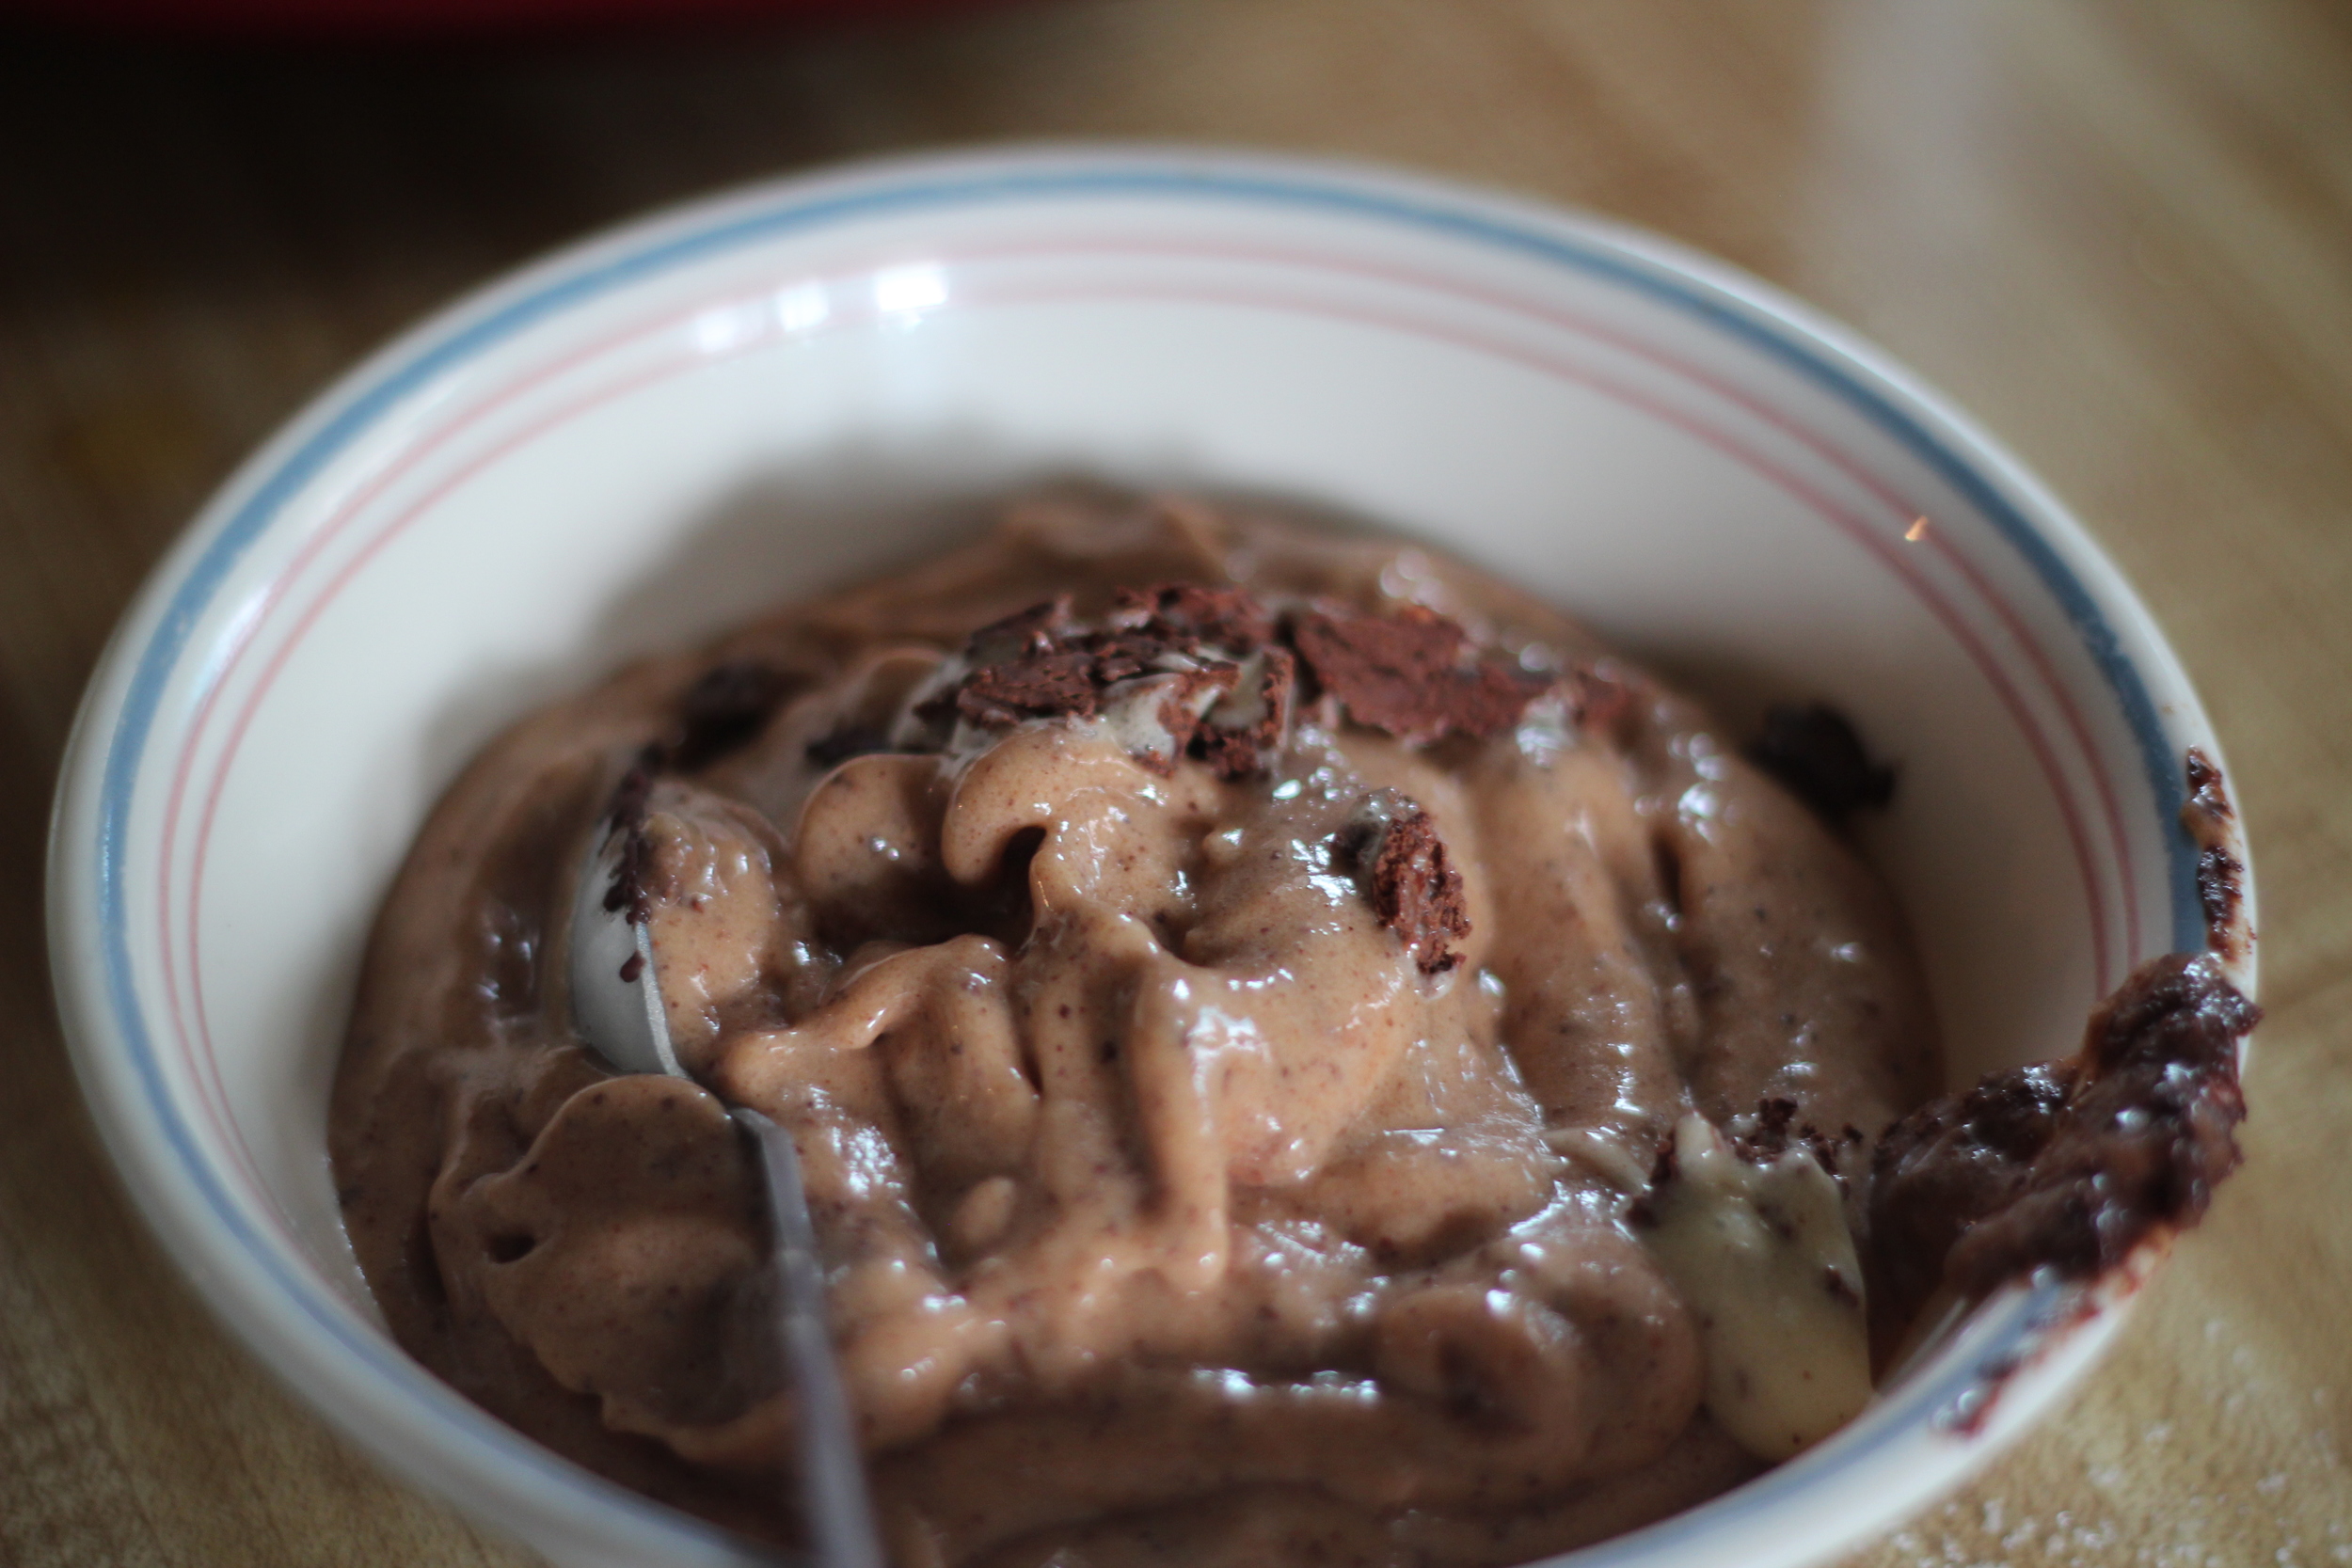
I was SO excited to eat this I didn't take the time to get a great photo...
DAY TWO
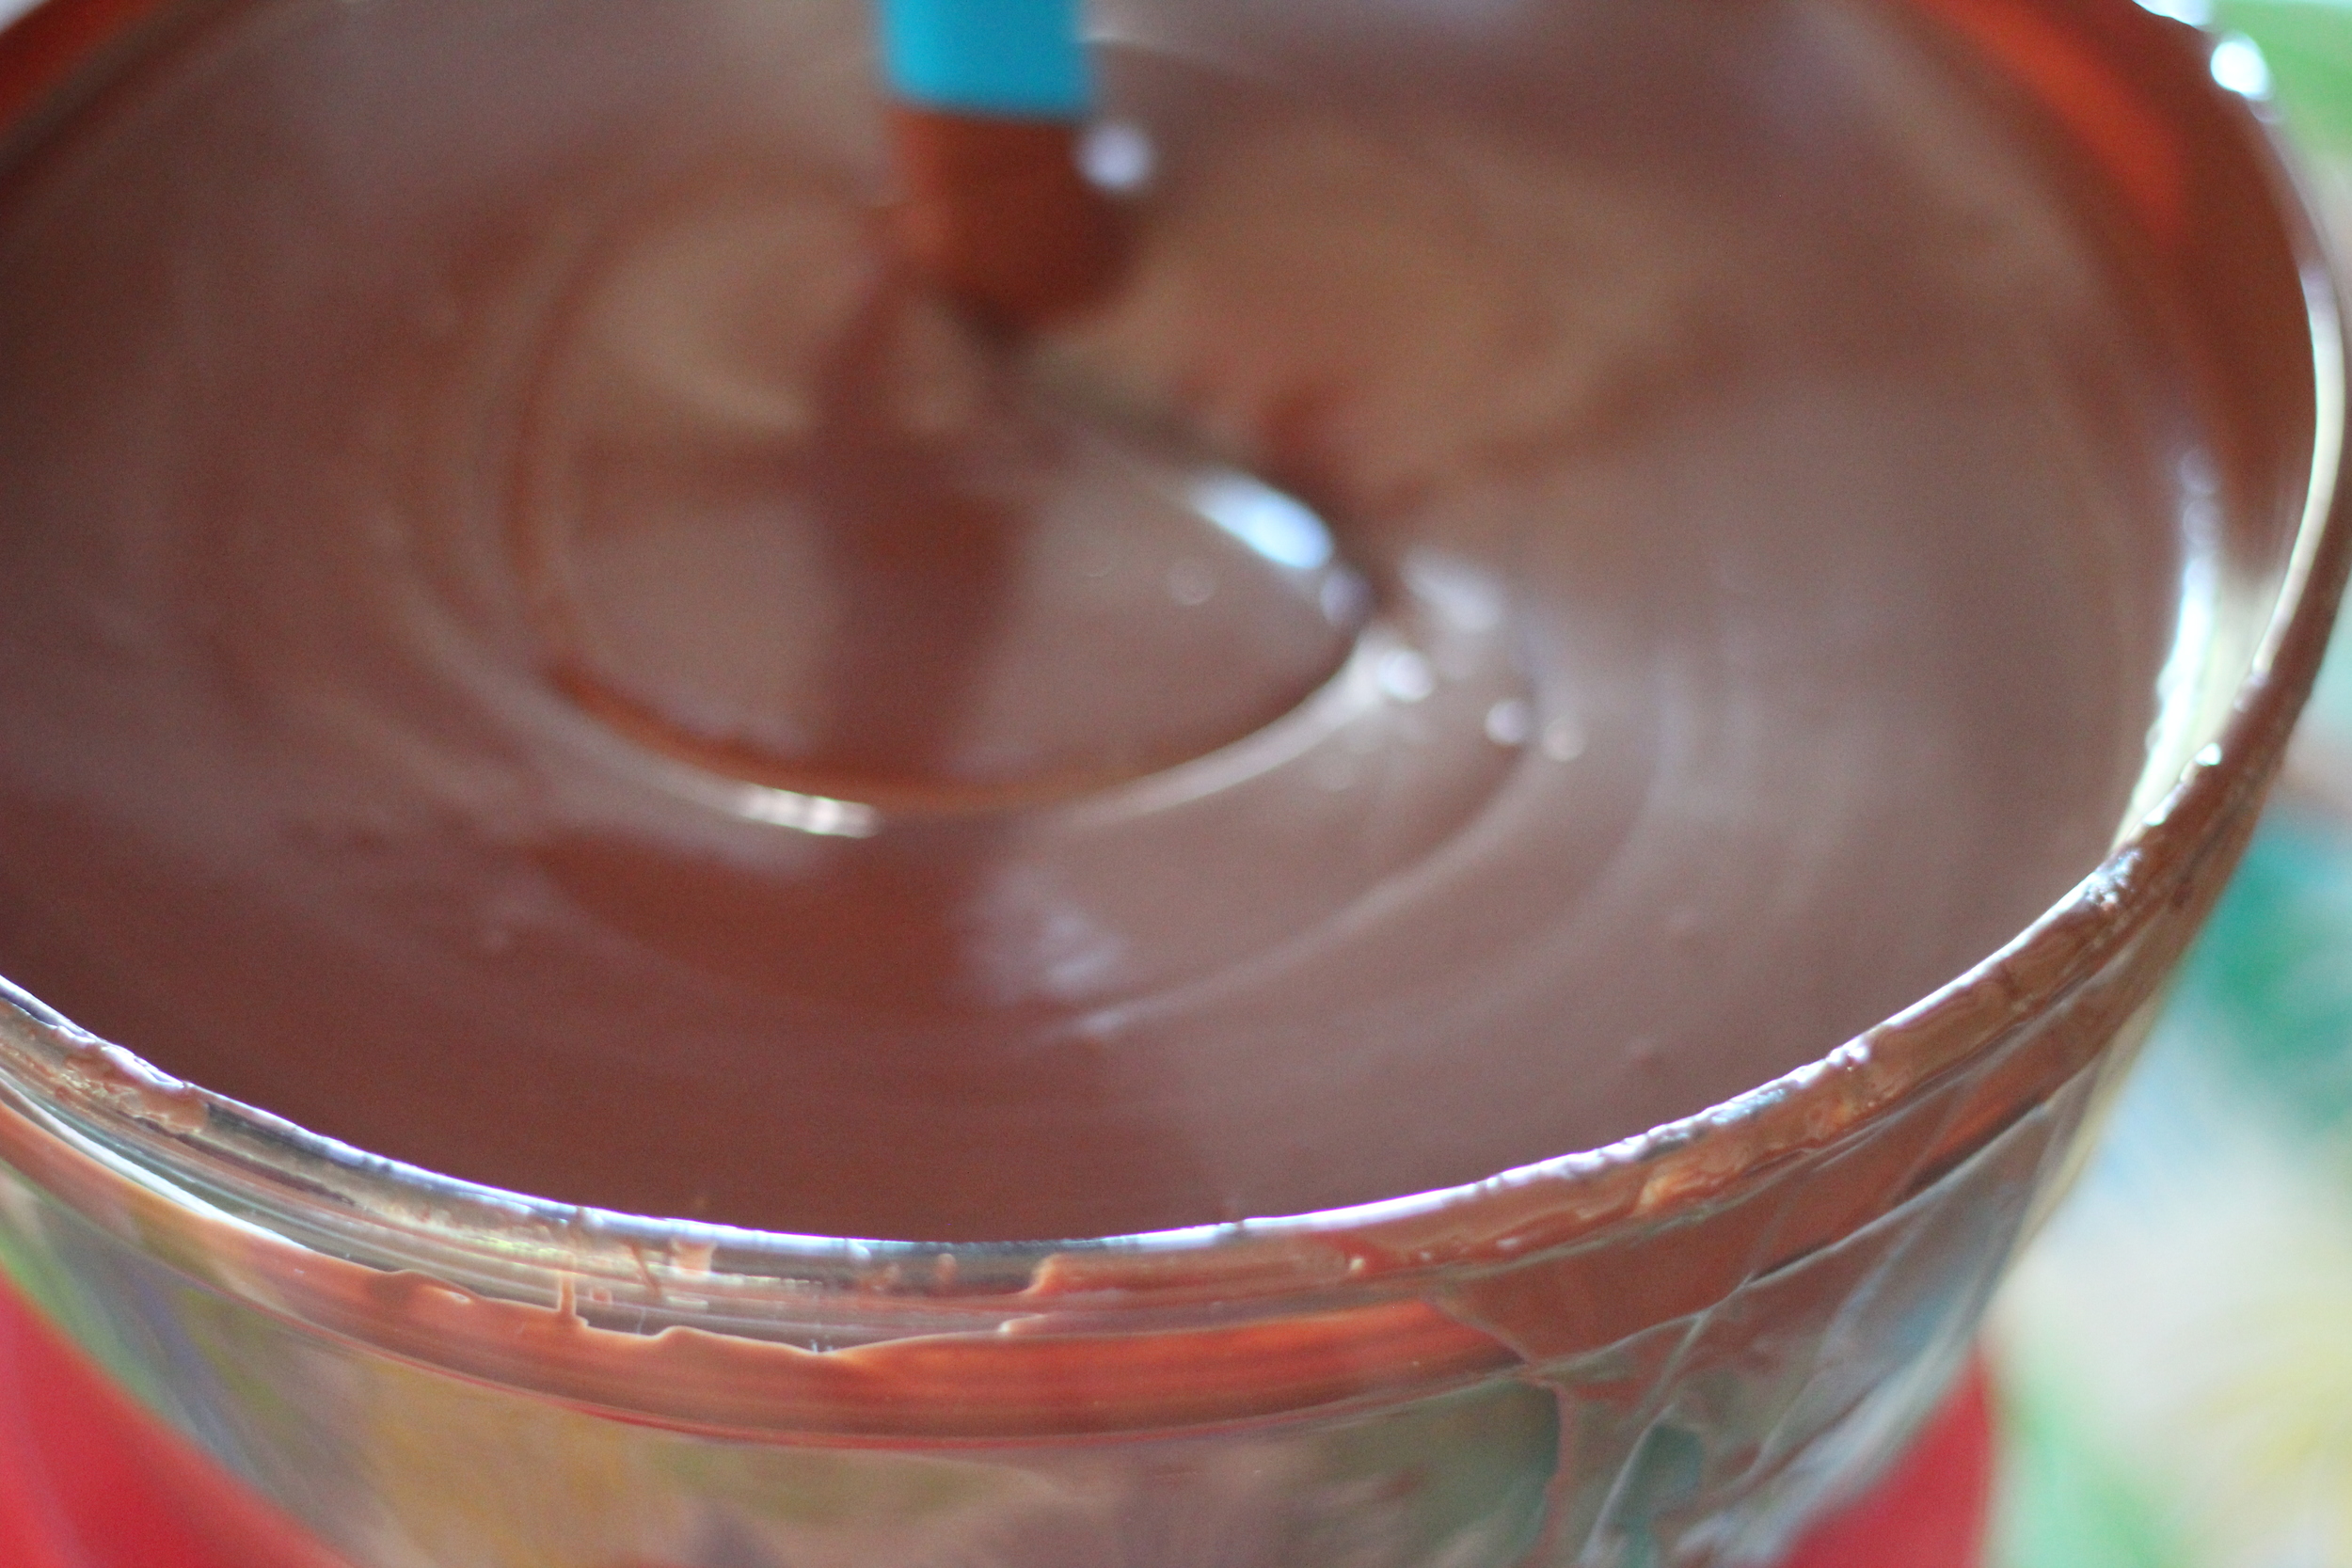
It's been 24 hours and IT'S READY...


isn't it just... GORGEOUS?! BREATHTAKING?! Making you want to run to the nearest store for a good bar of dark chocolate?!
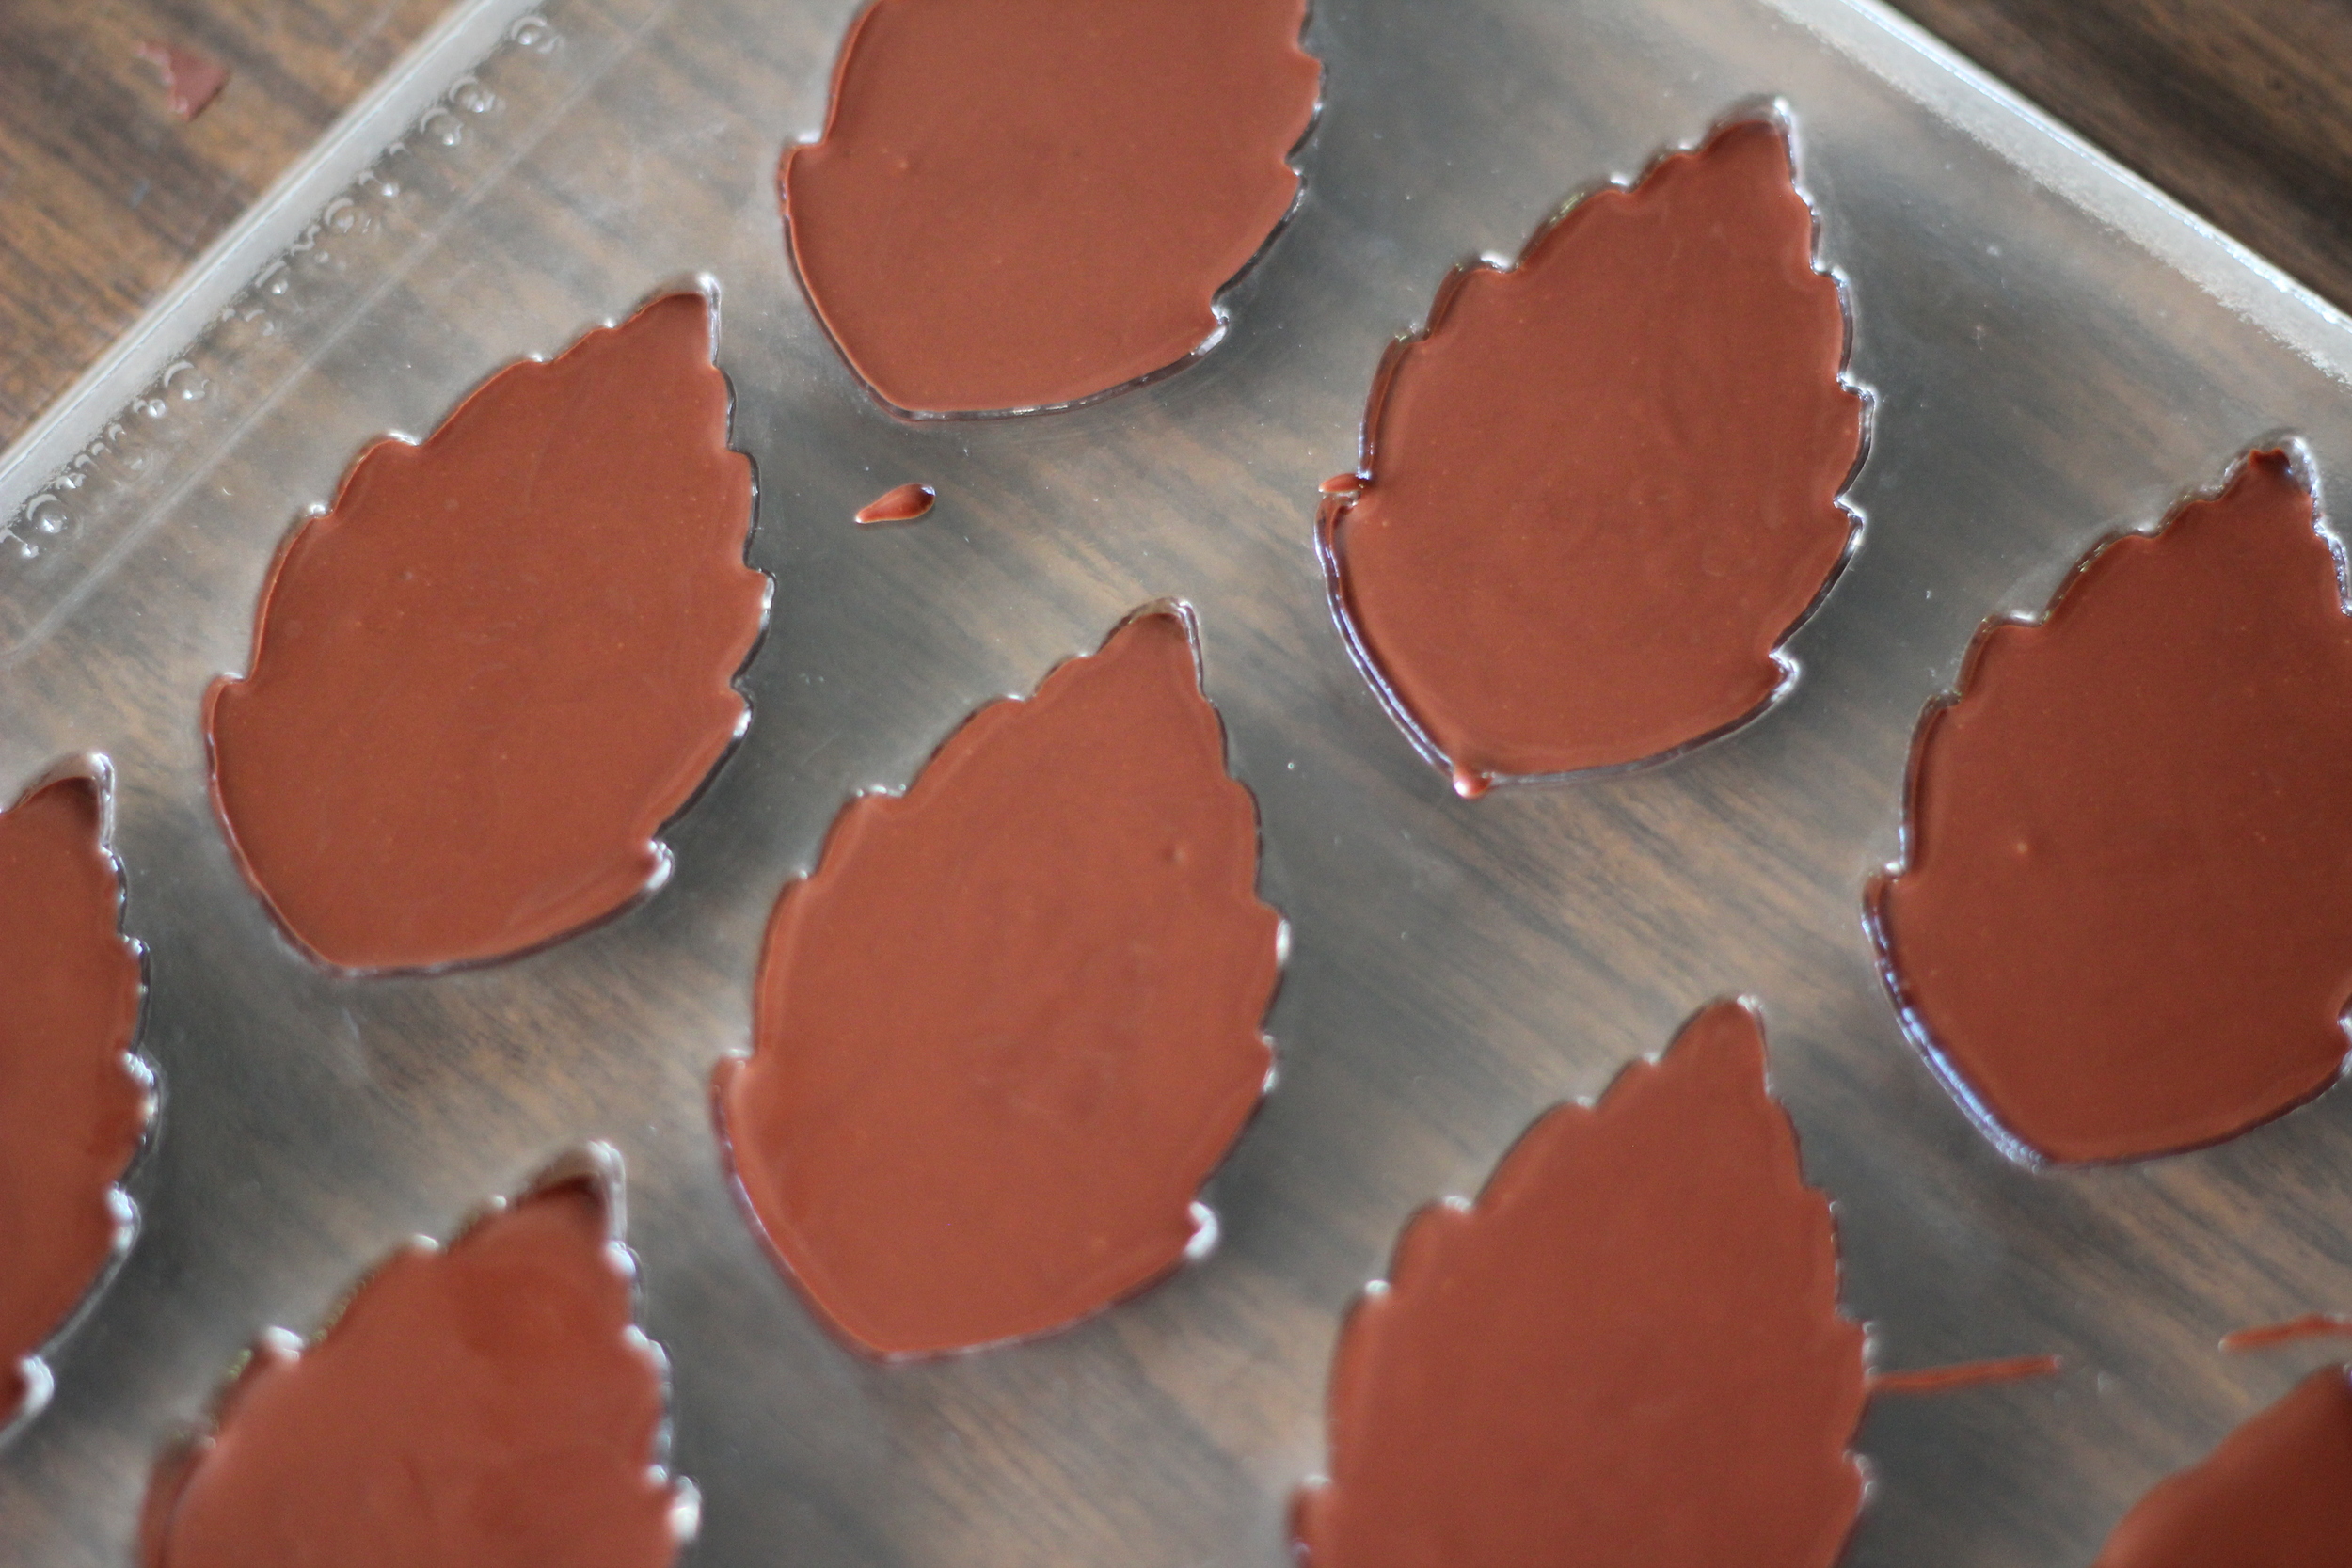
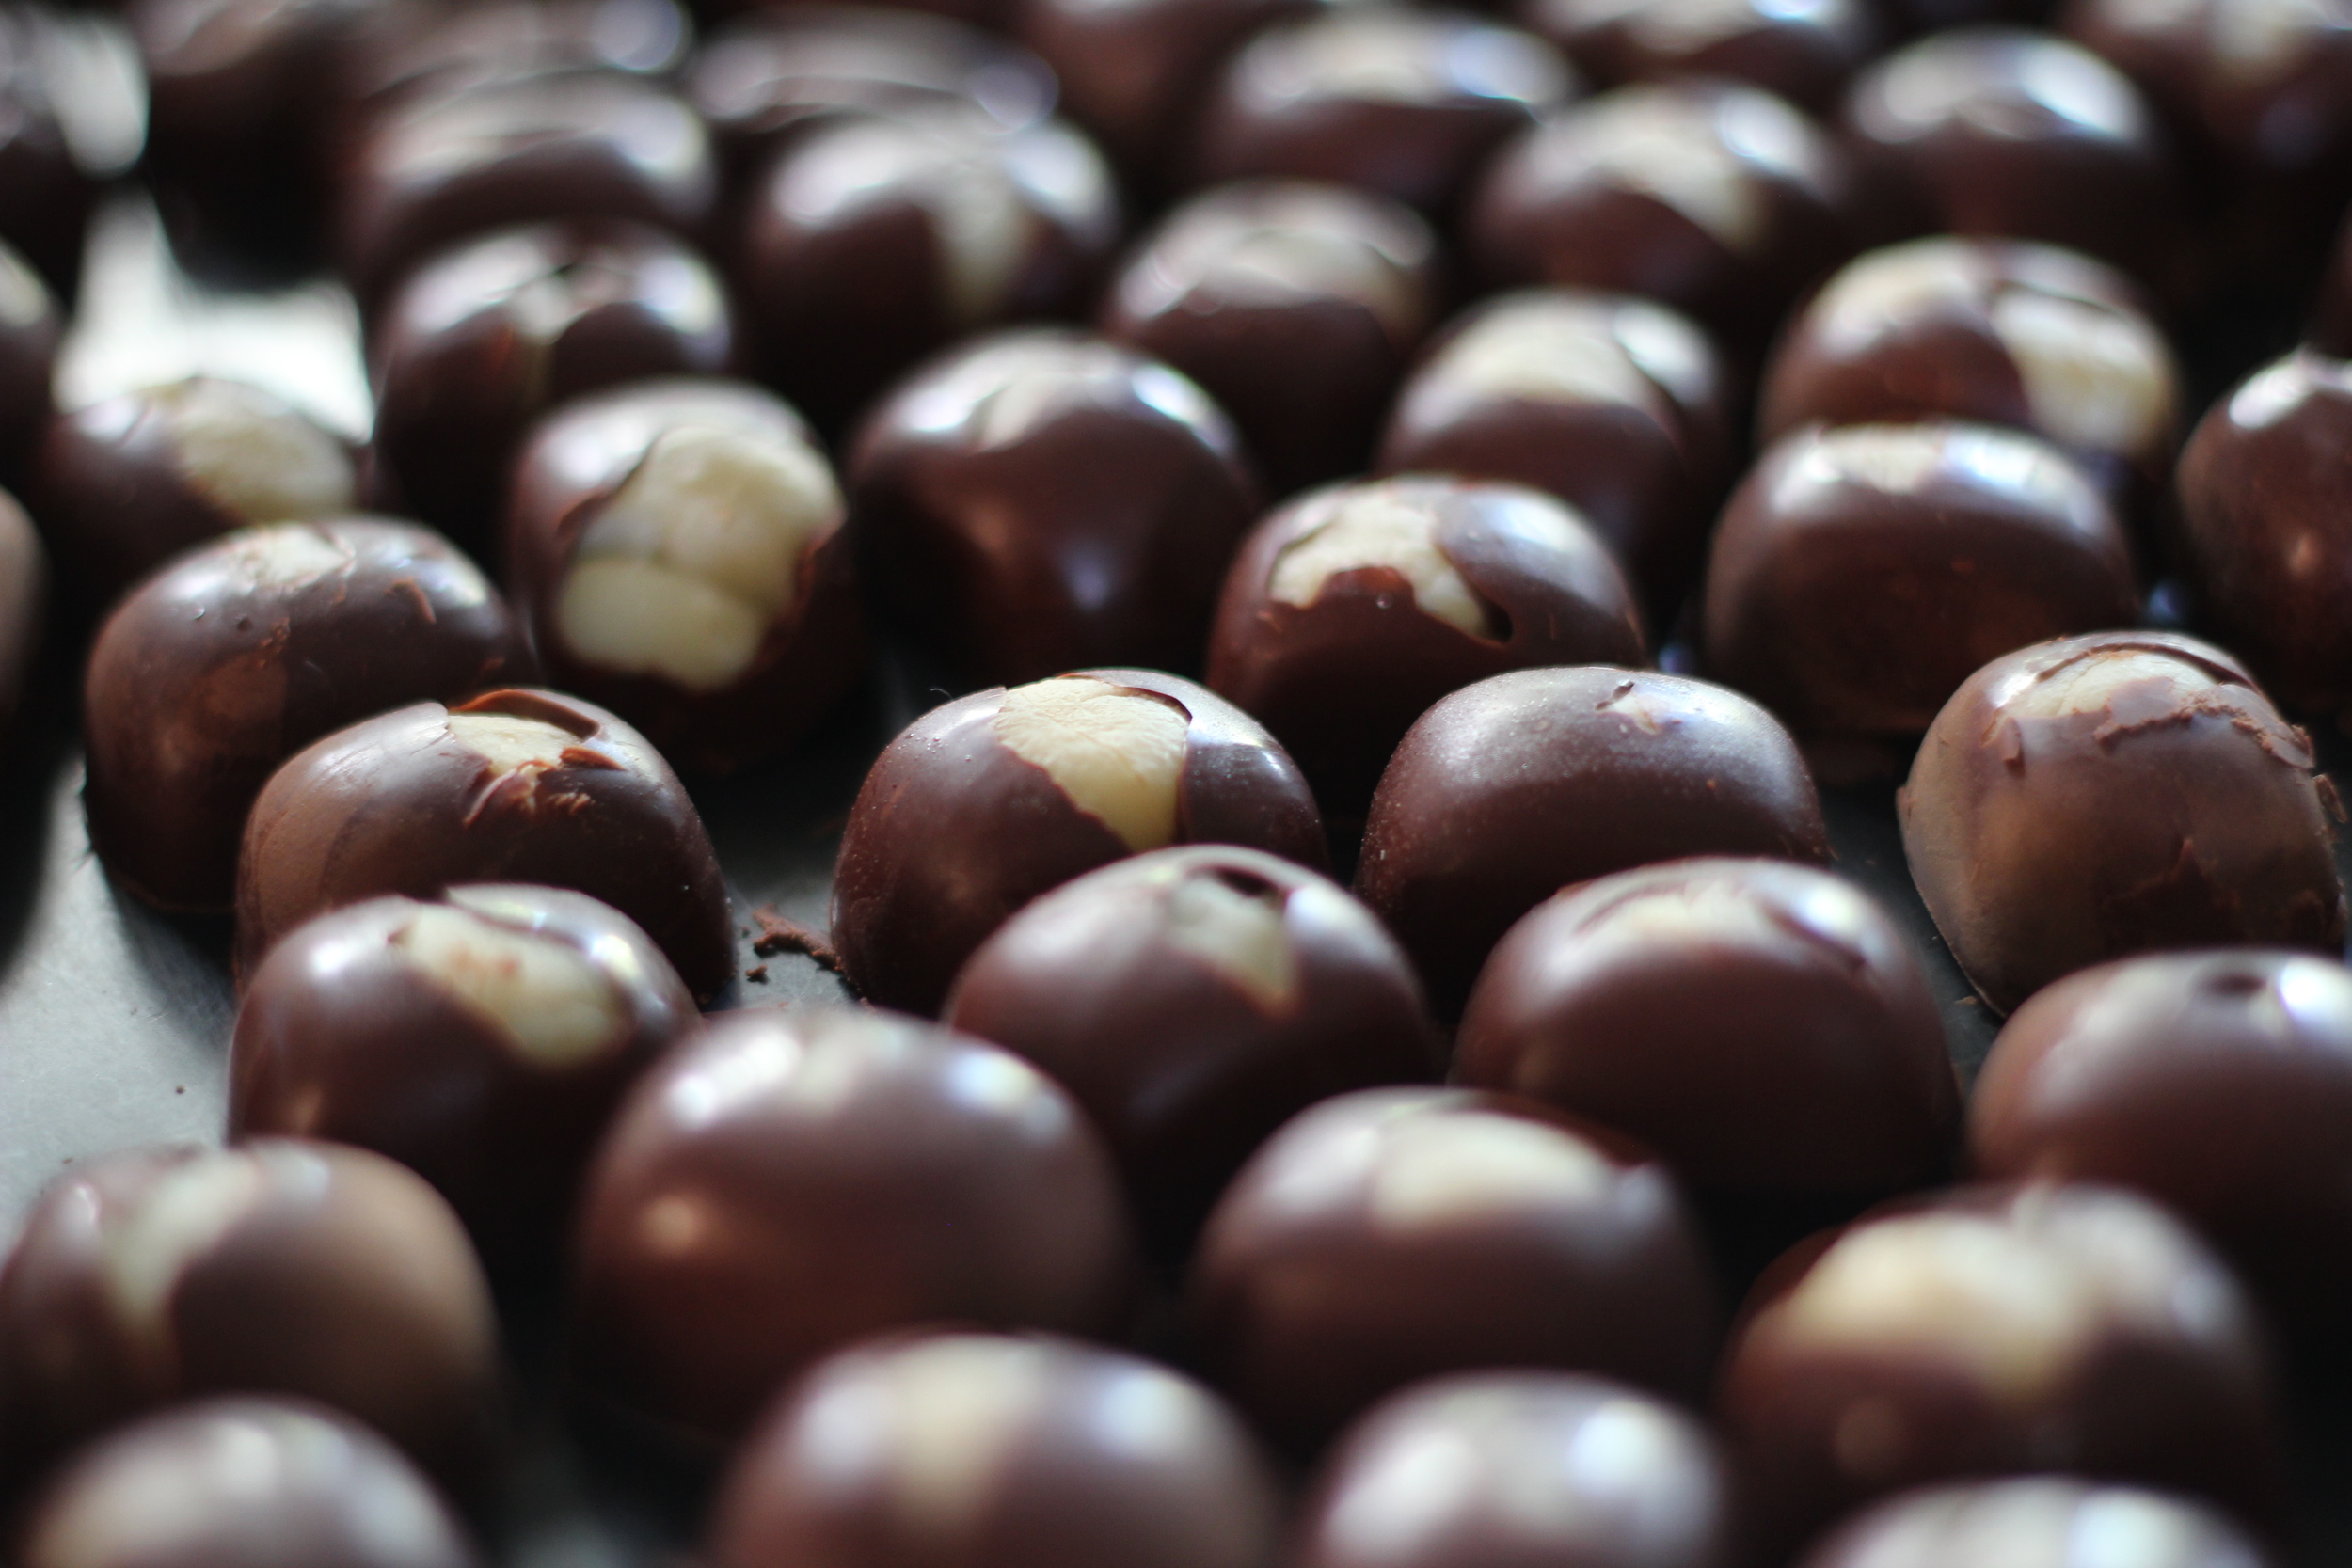
We wipe out the molds and prep some with our macadamia nuts and coffee beans:


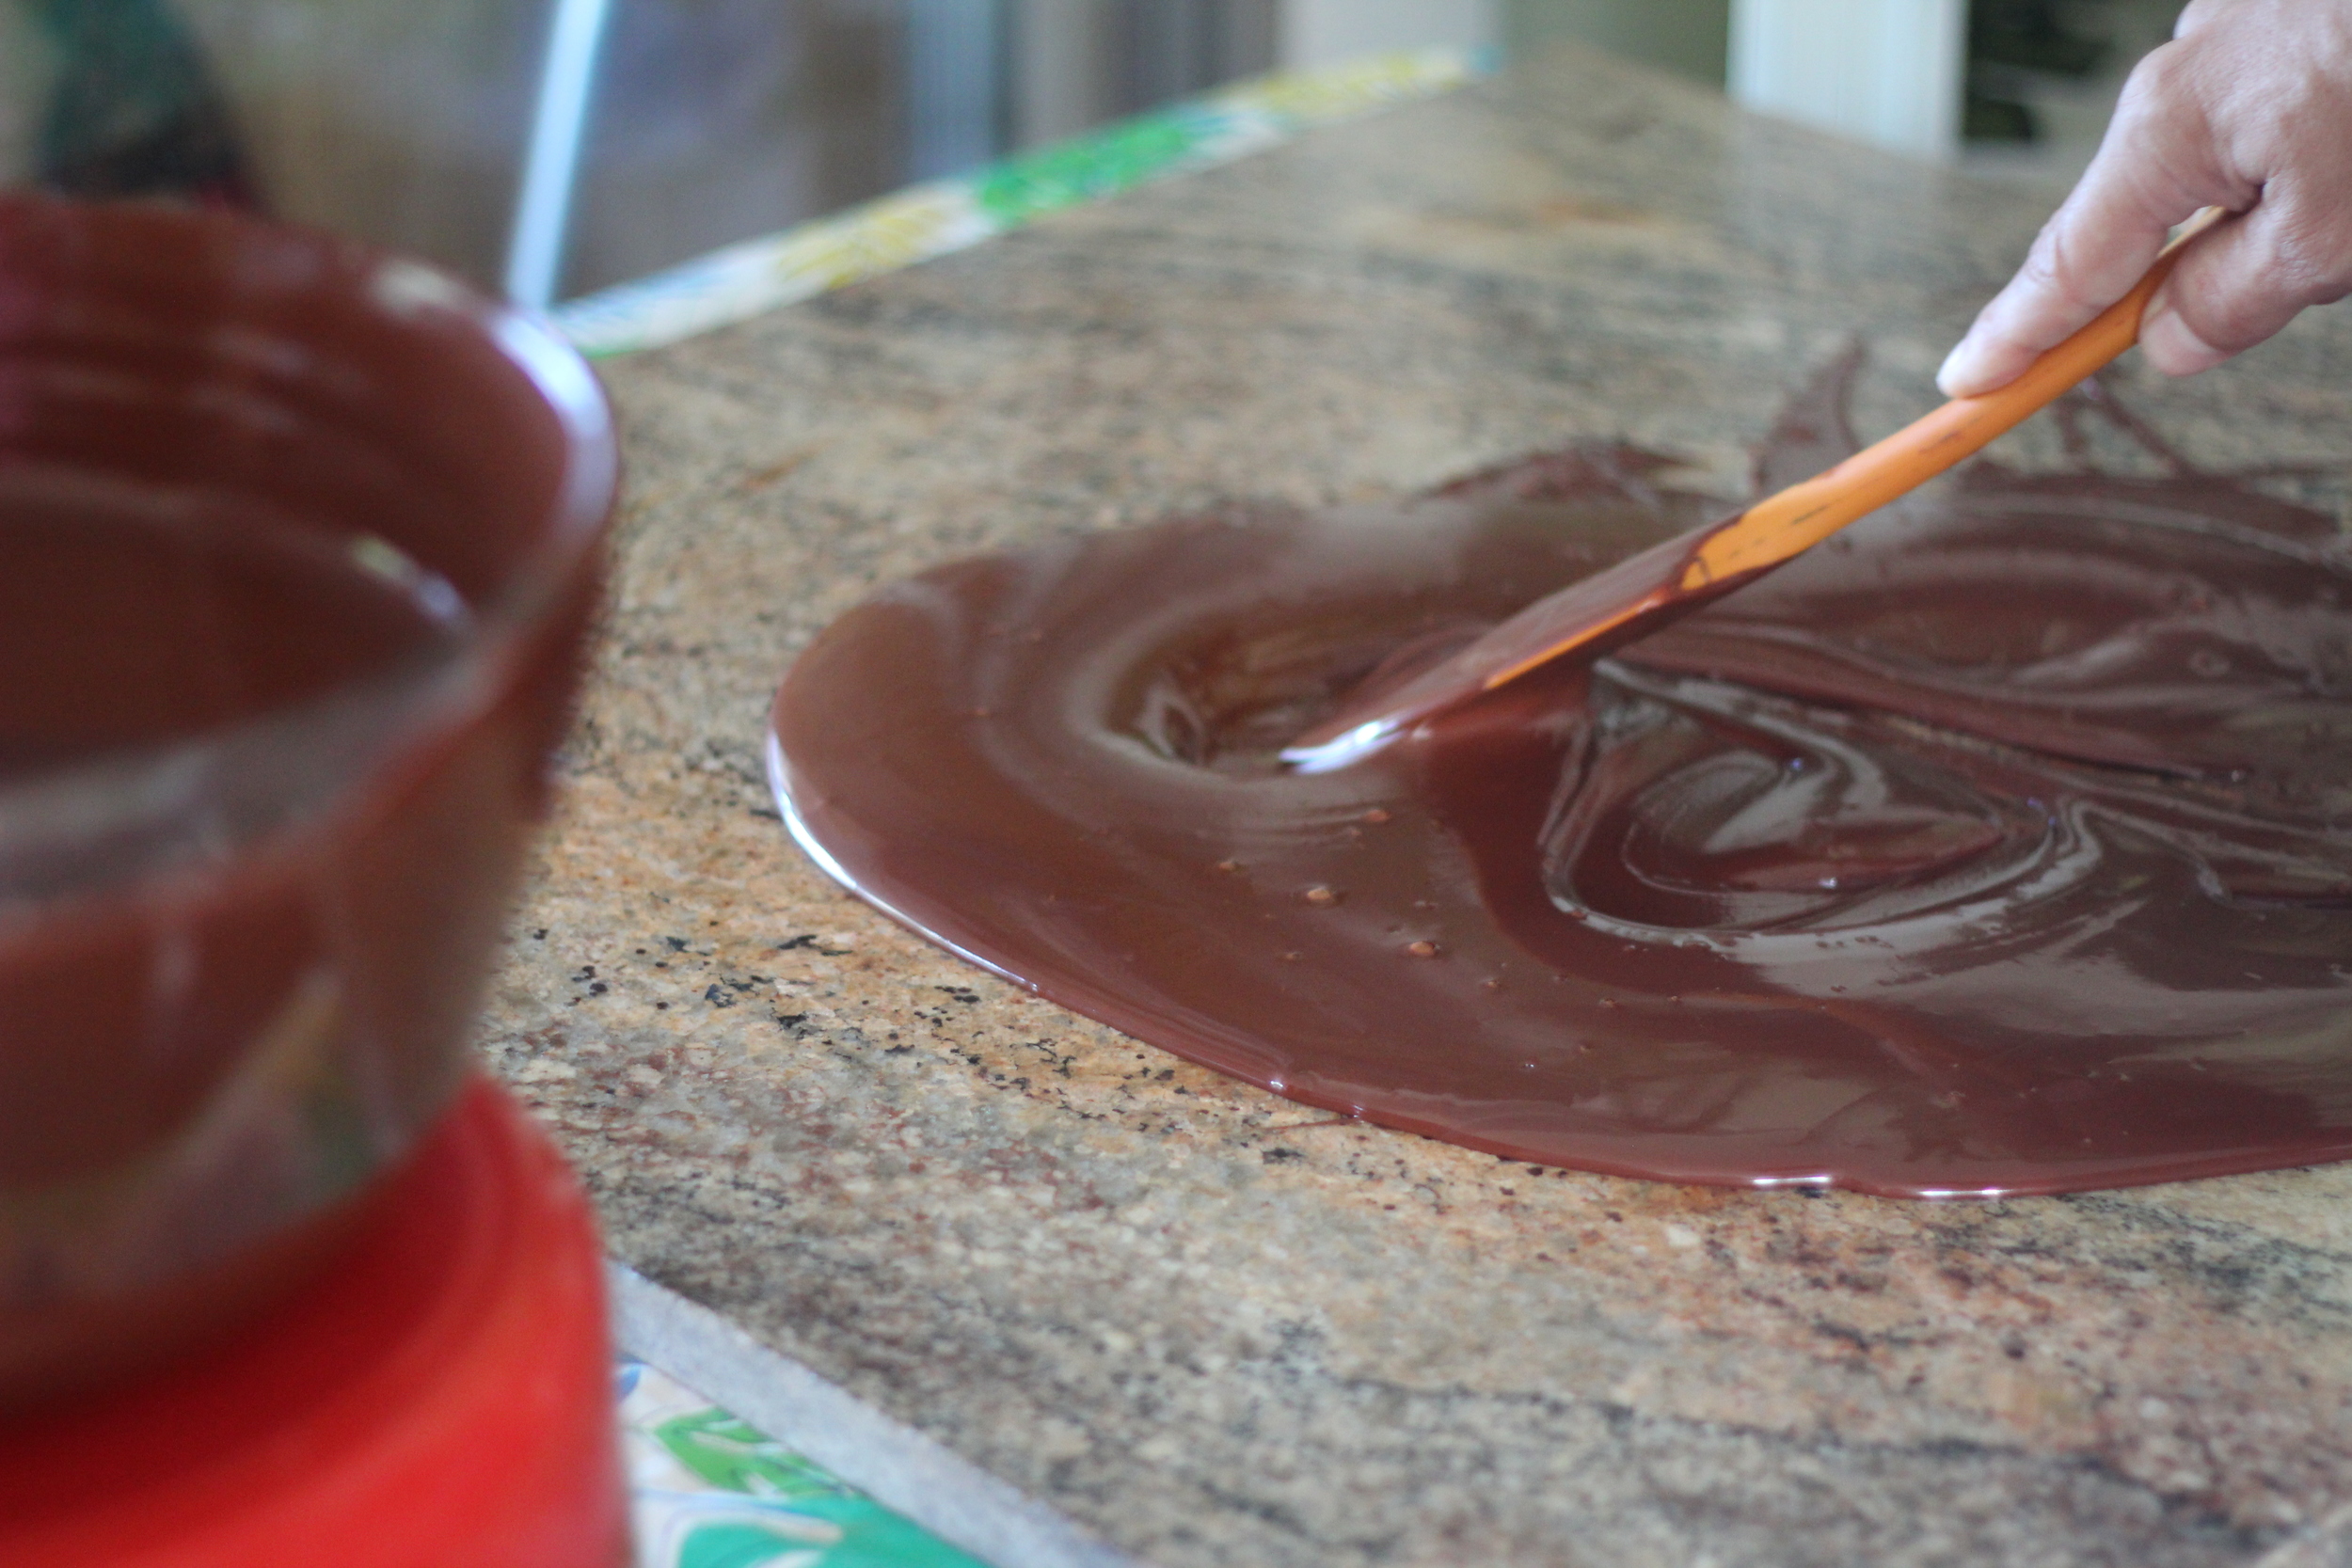
step 6: tempering
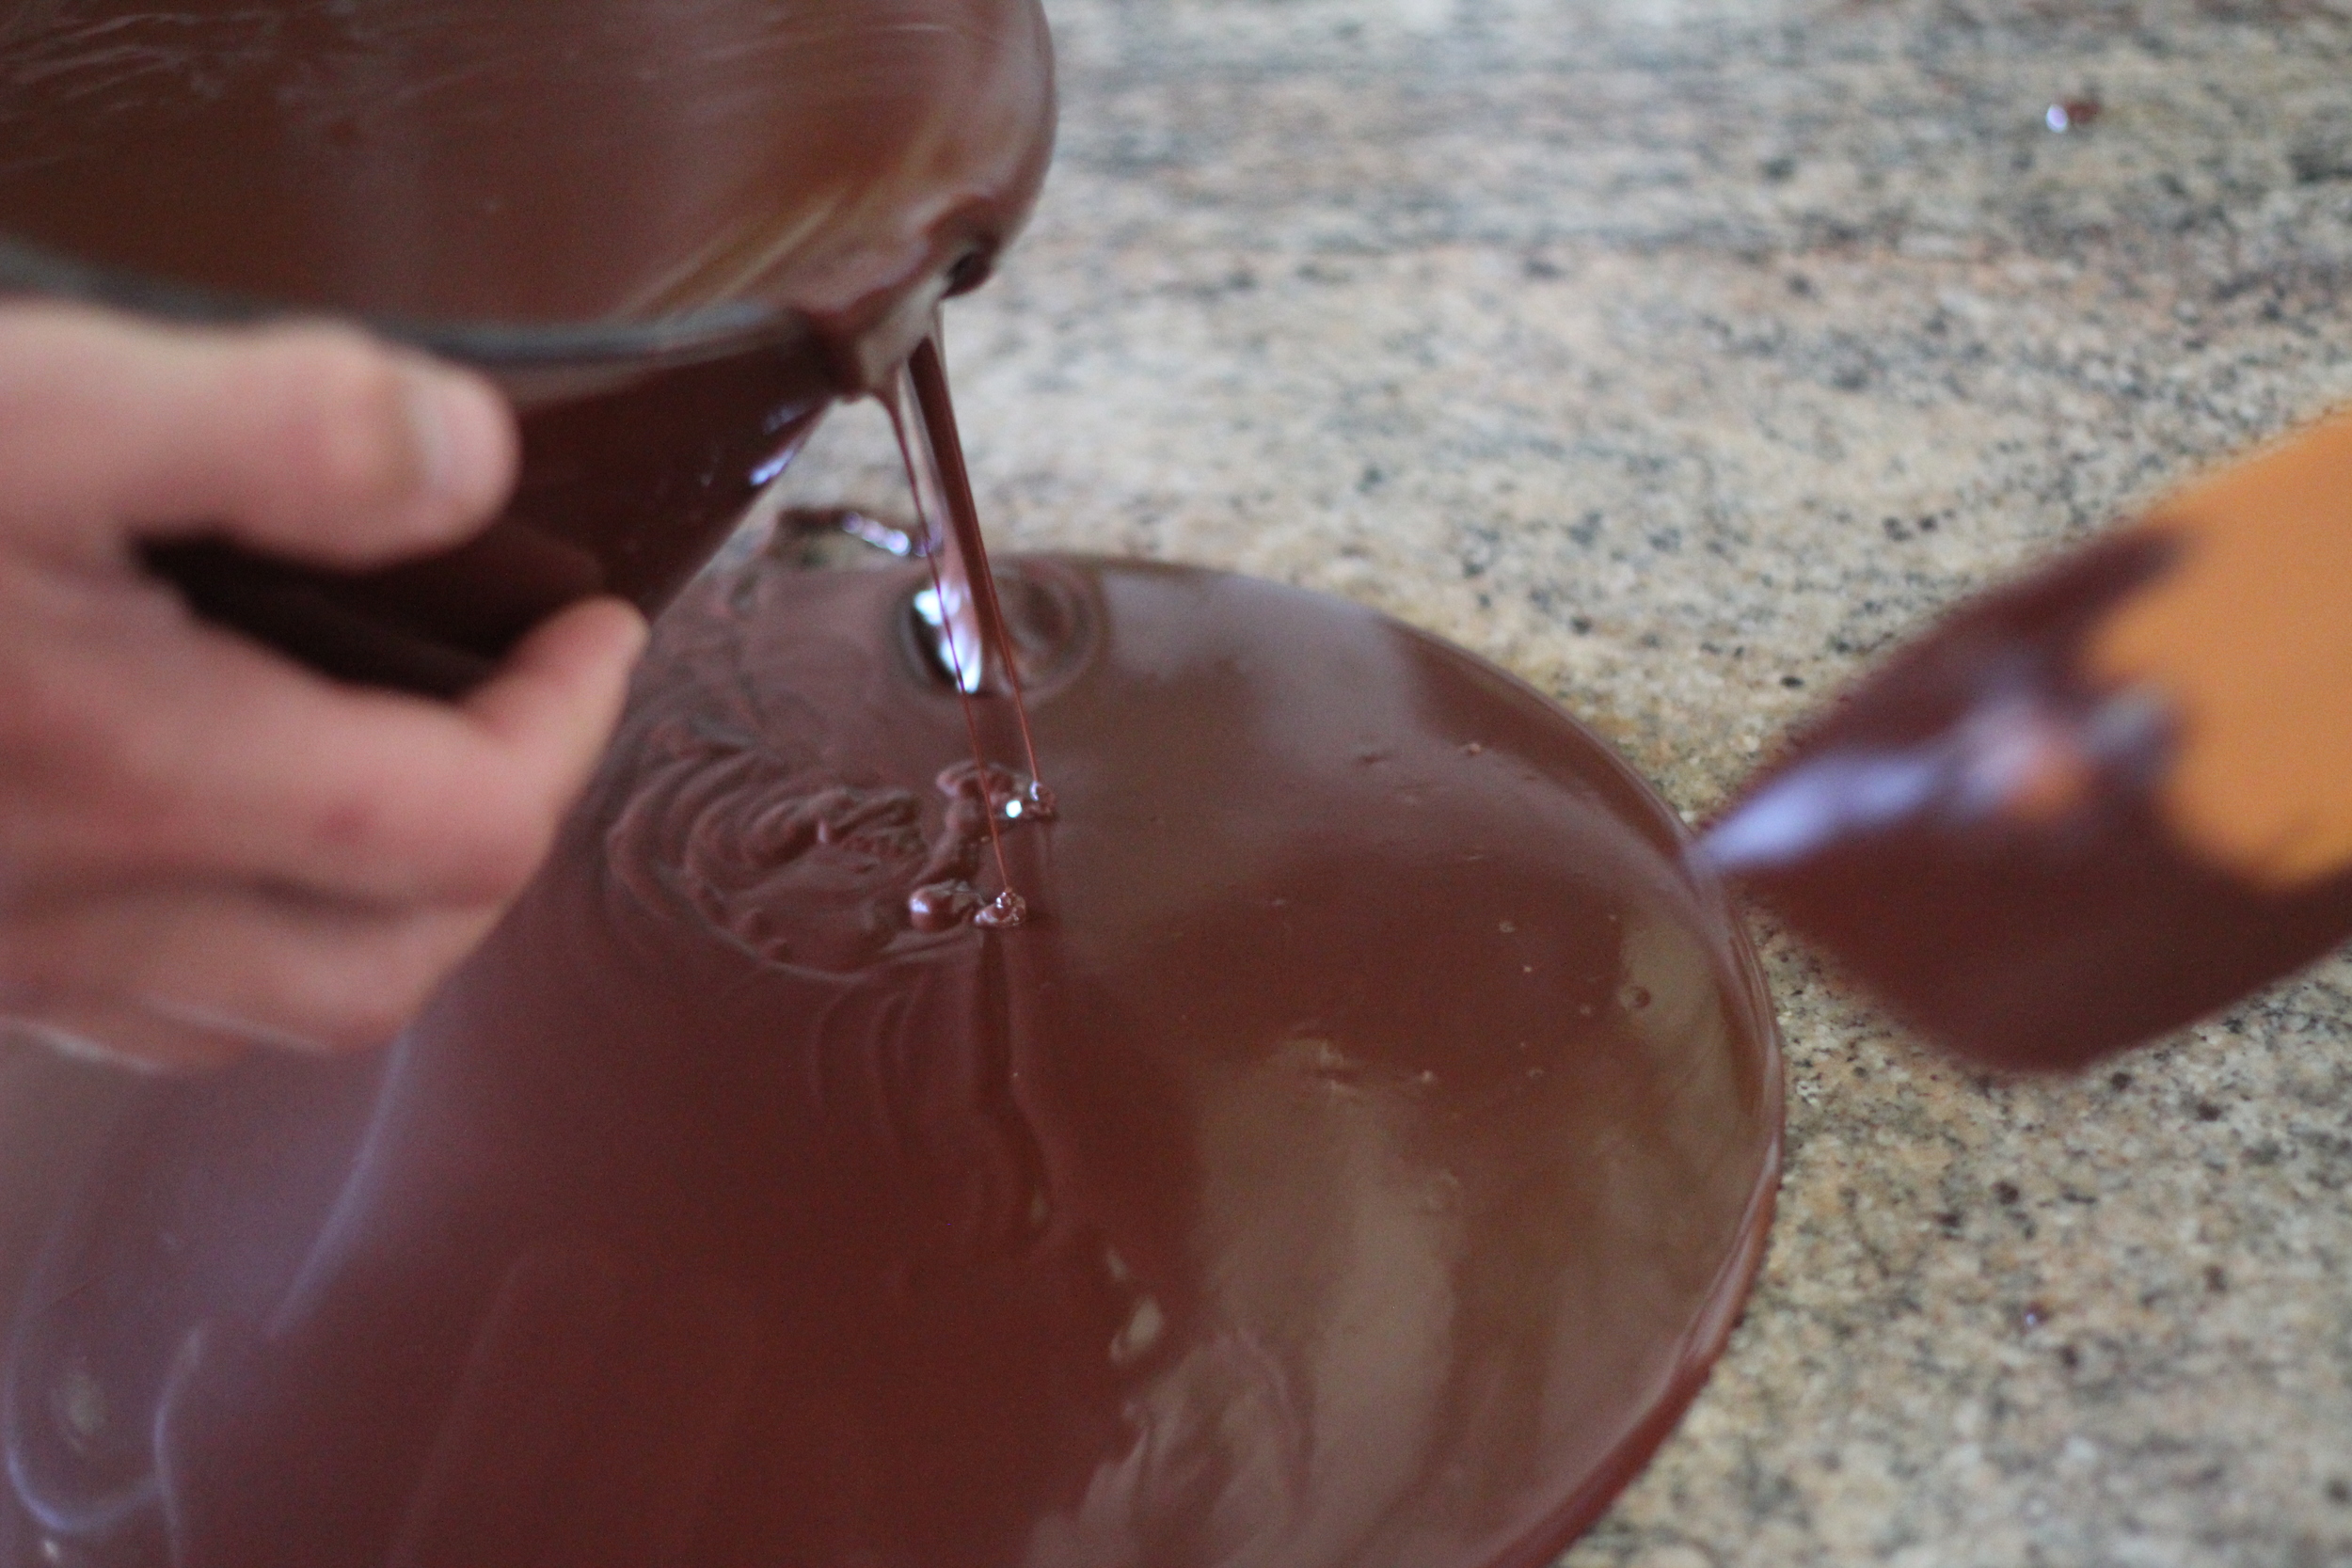
This is the trickiest part of the chocolate-making. We need to cool the chocolate down slowly to just the right temperature before we put it into the molds. If we don't do it correctly, when it hardens the chocolate can "bloom" - making that white, gritty stuff you may have seen on older bars before. You can still eat it that way, but it's not as pretty.
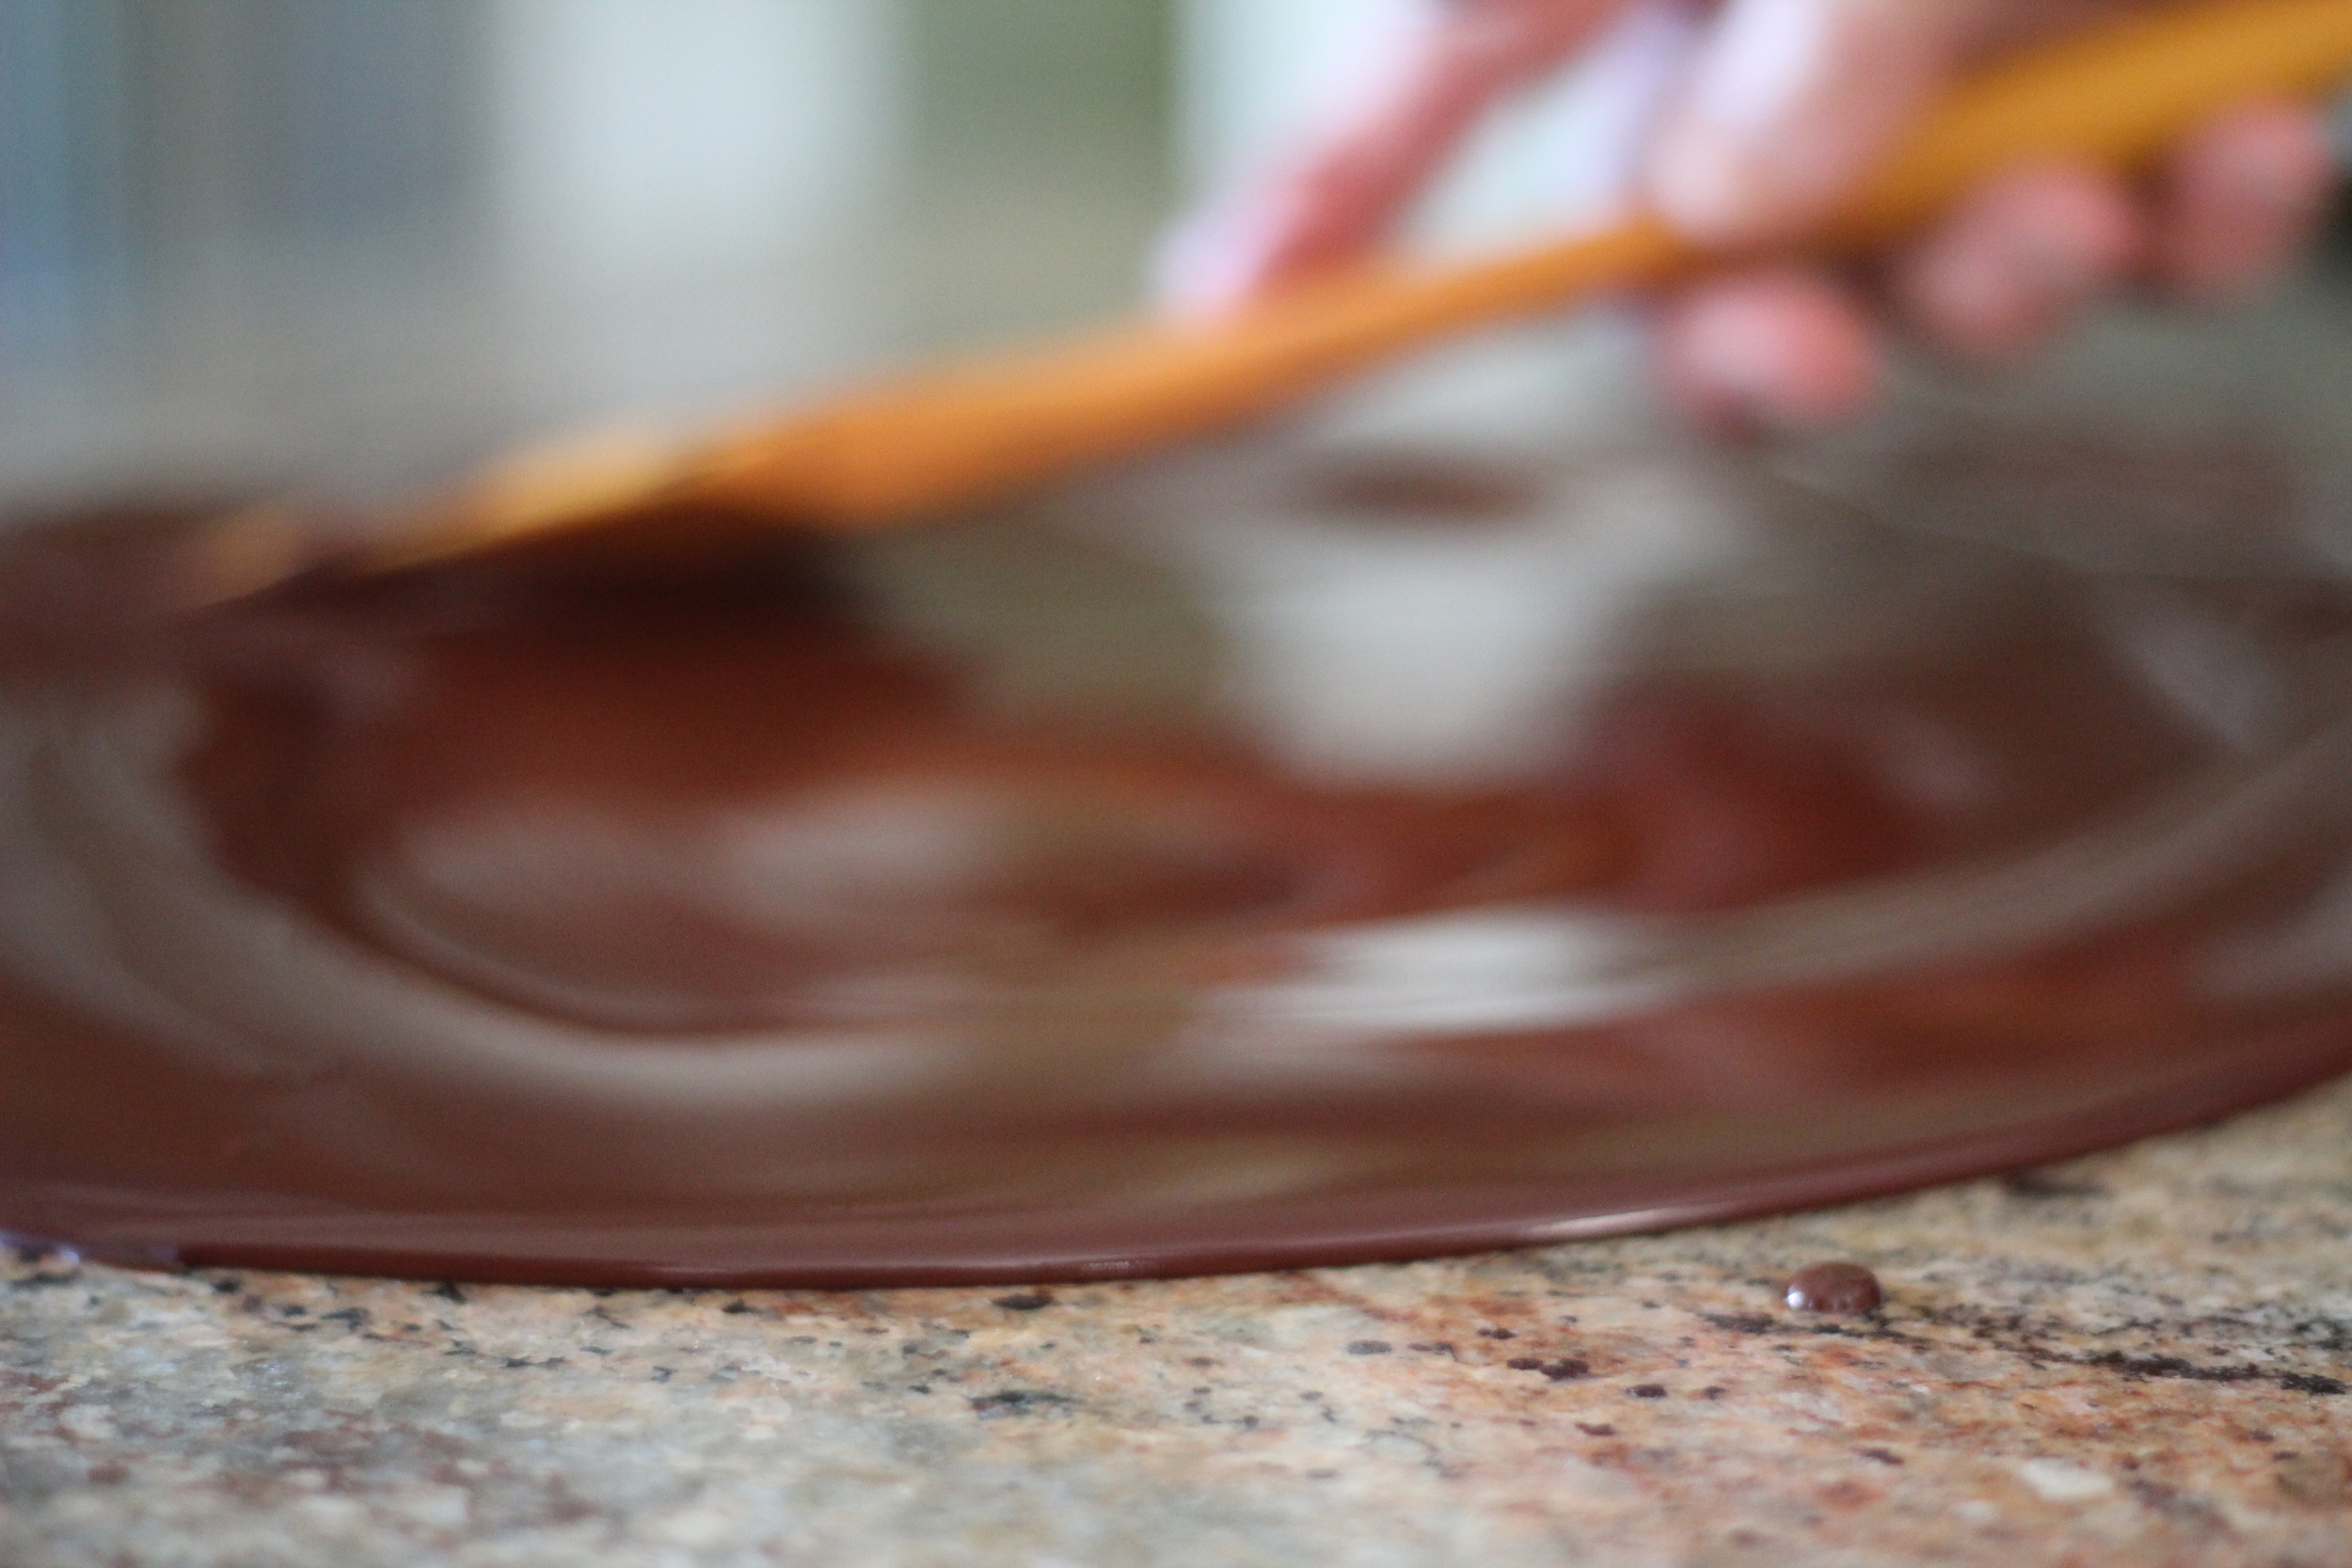
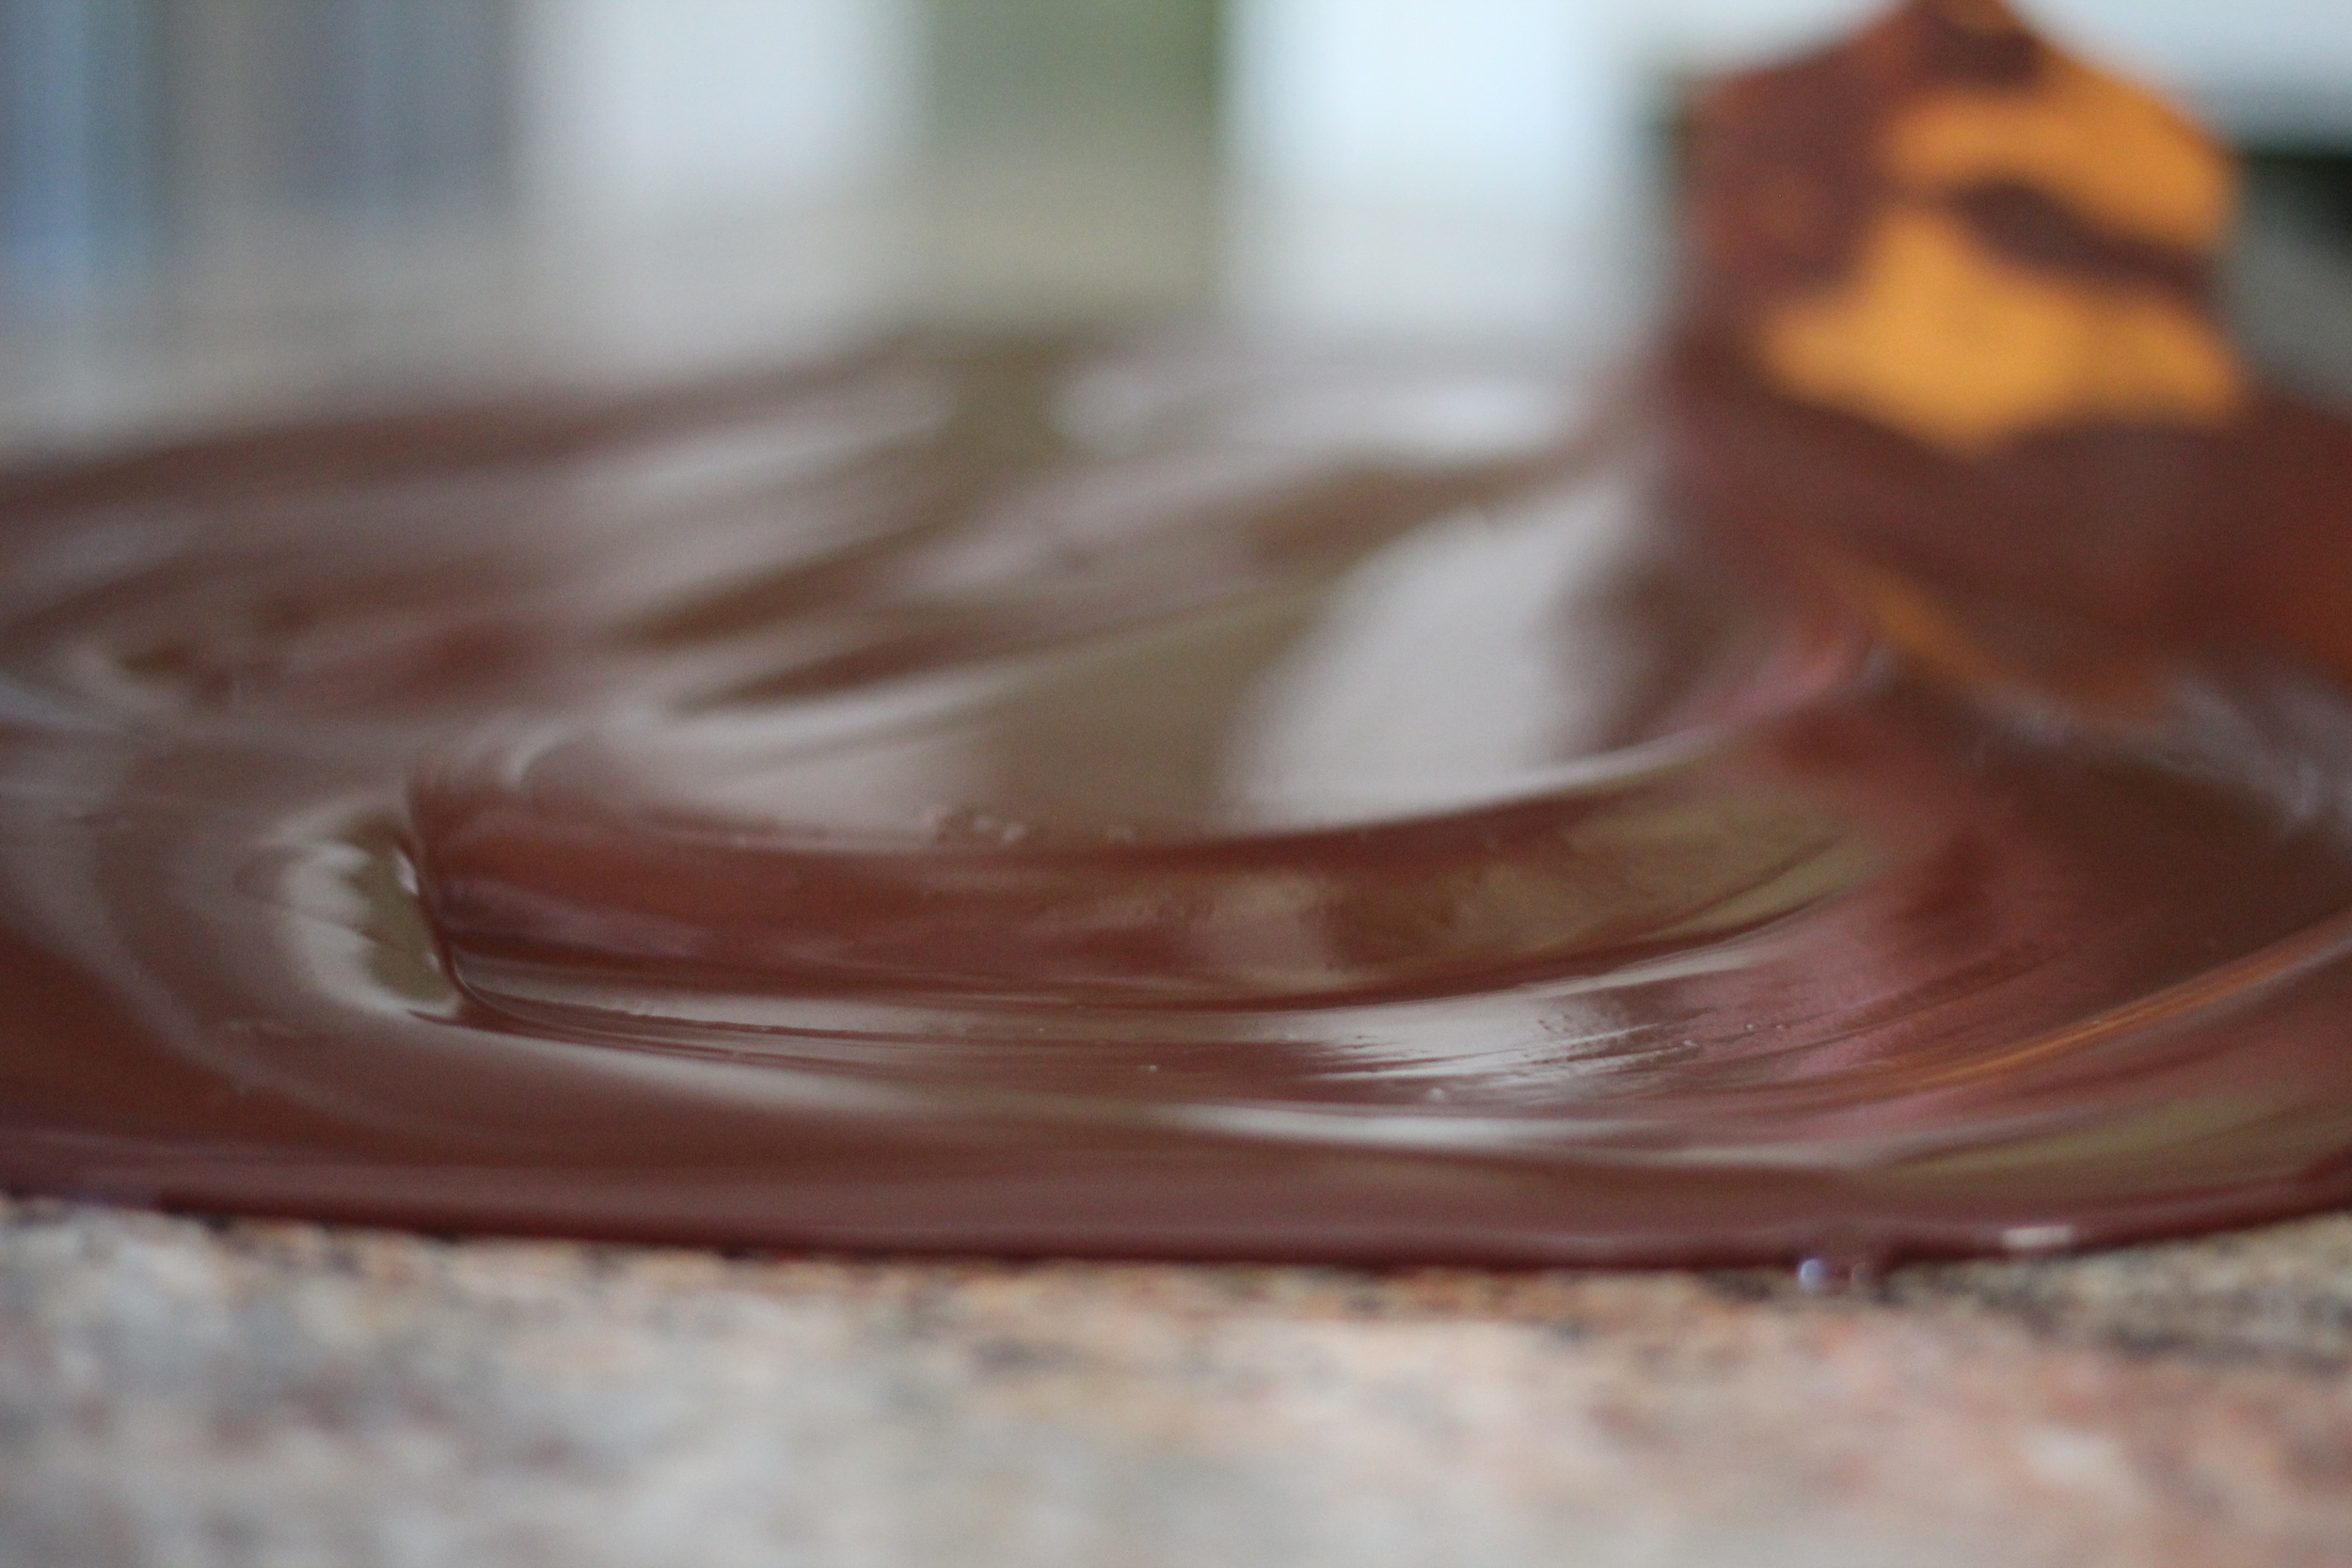
To slowly cool it, we spread about a third of the chocolate mixture on a granite slab and mix it around, agitating it for several minutes. Then we add another third and do this again. Finally we add these back to the remaining third and, again, mix to even out the temperature.
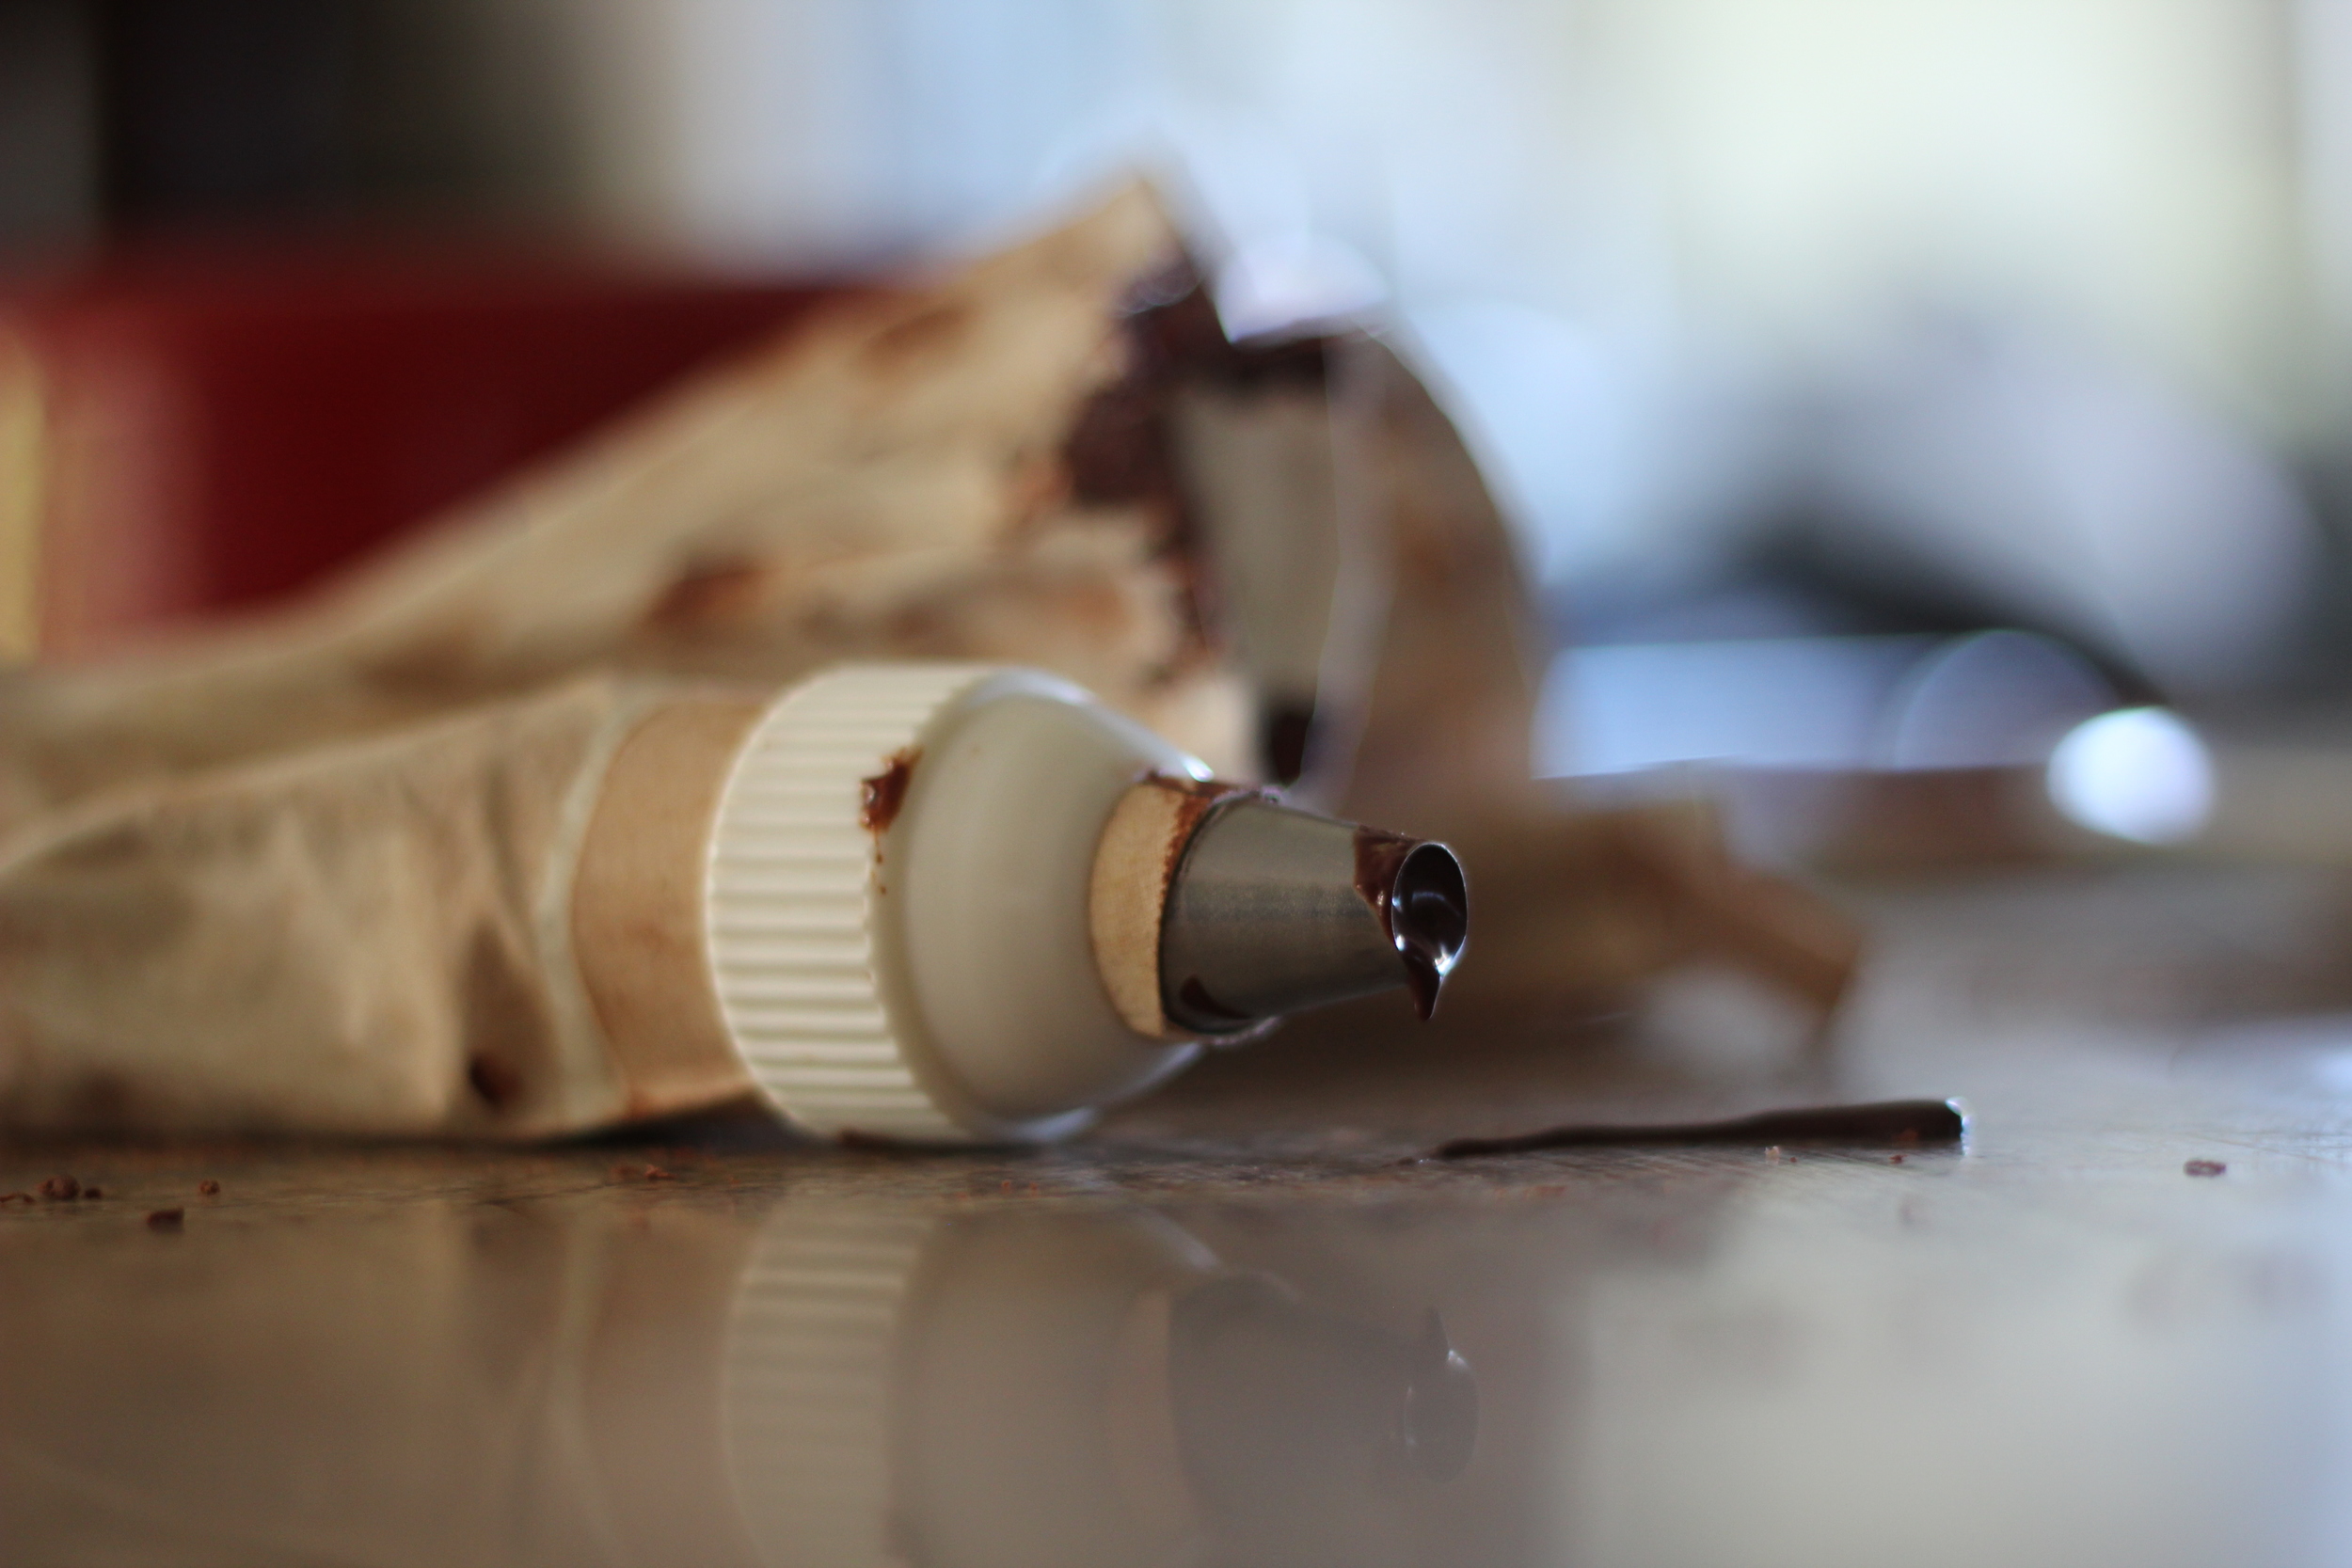
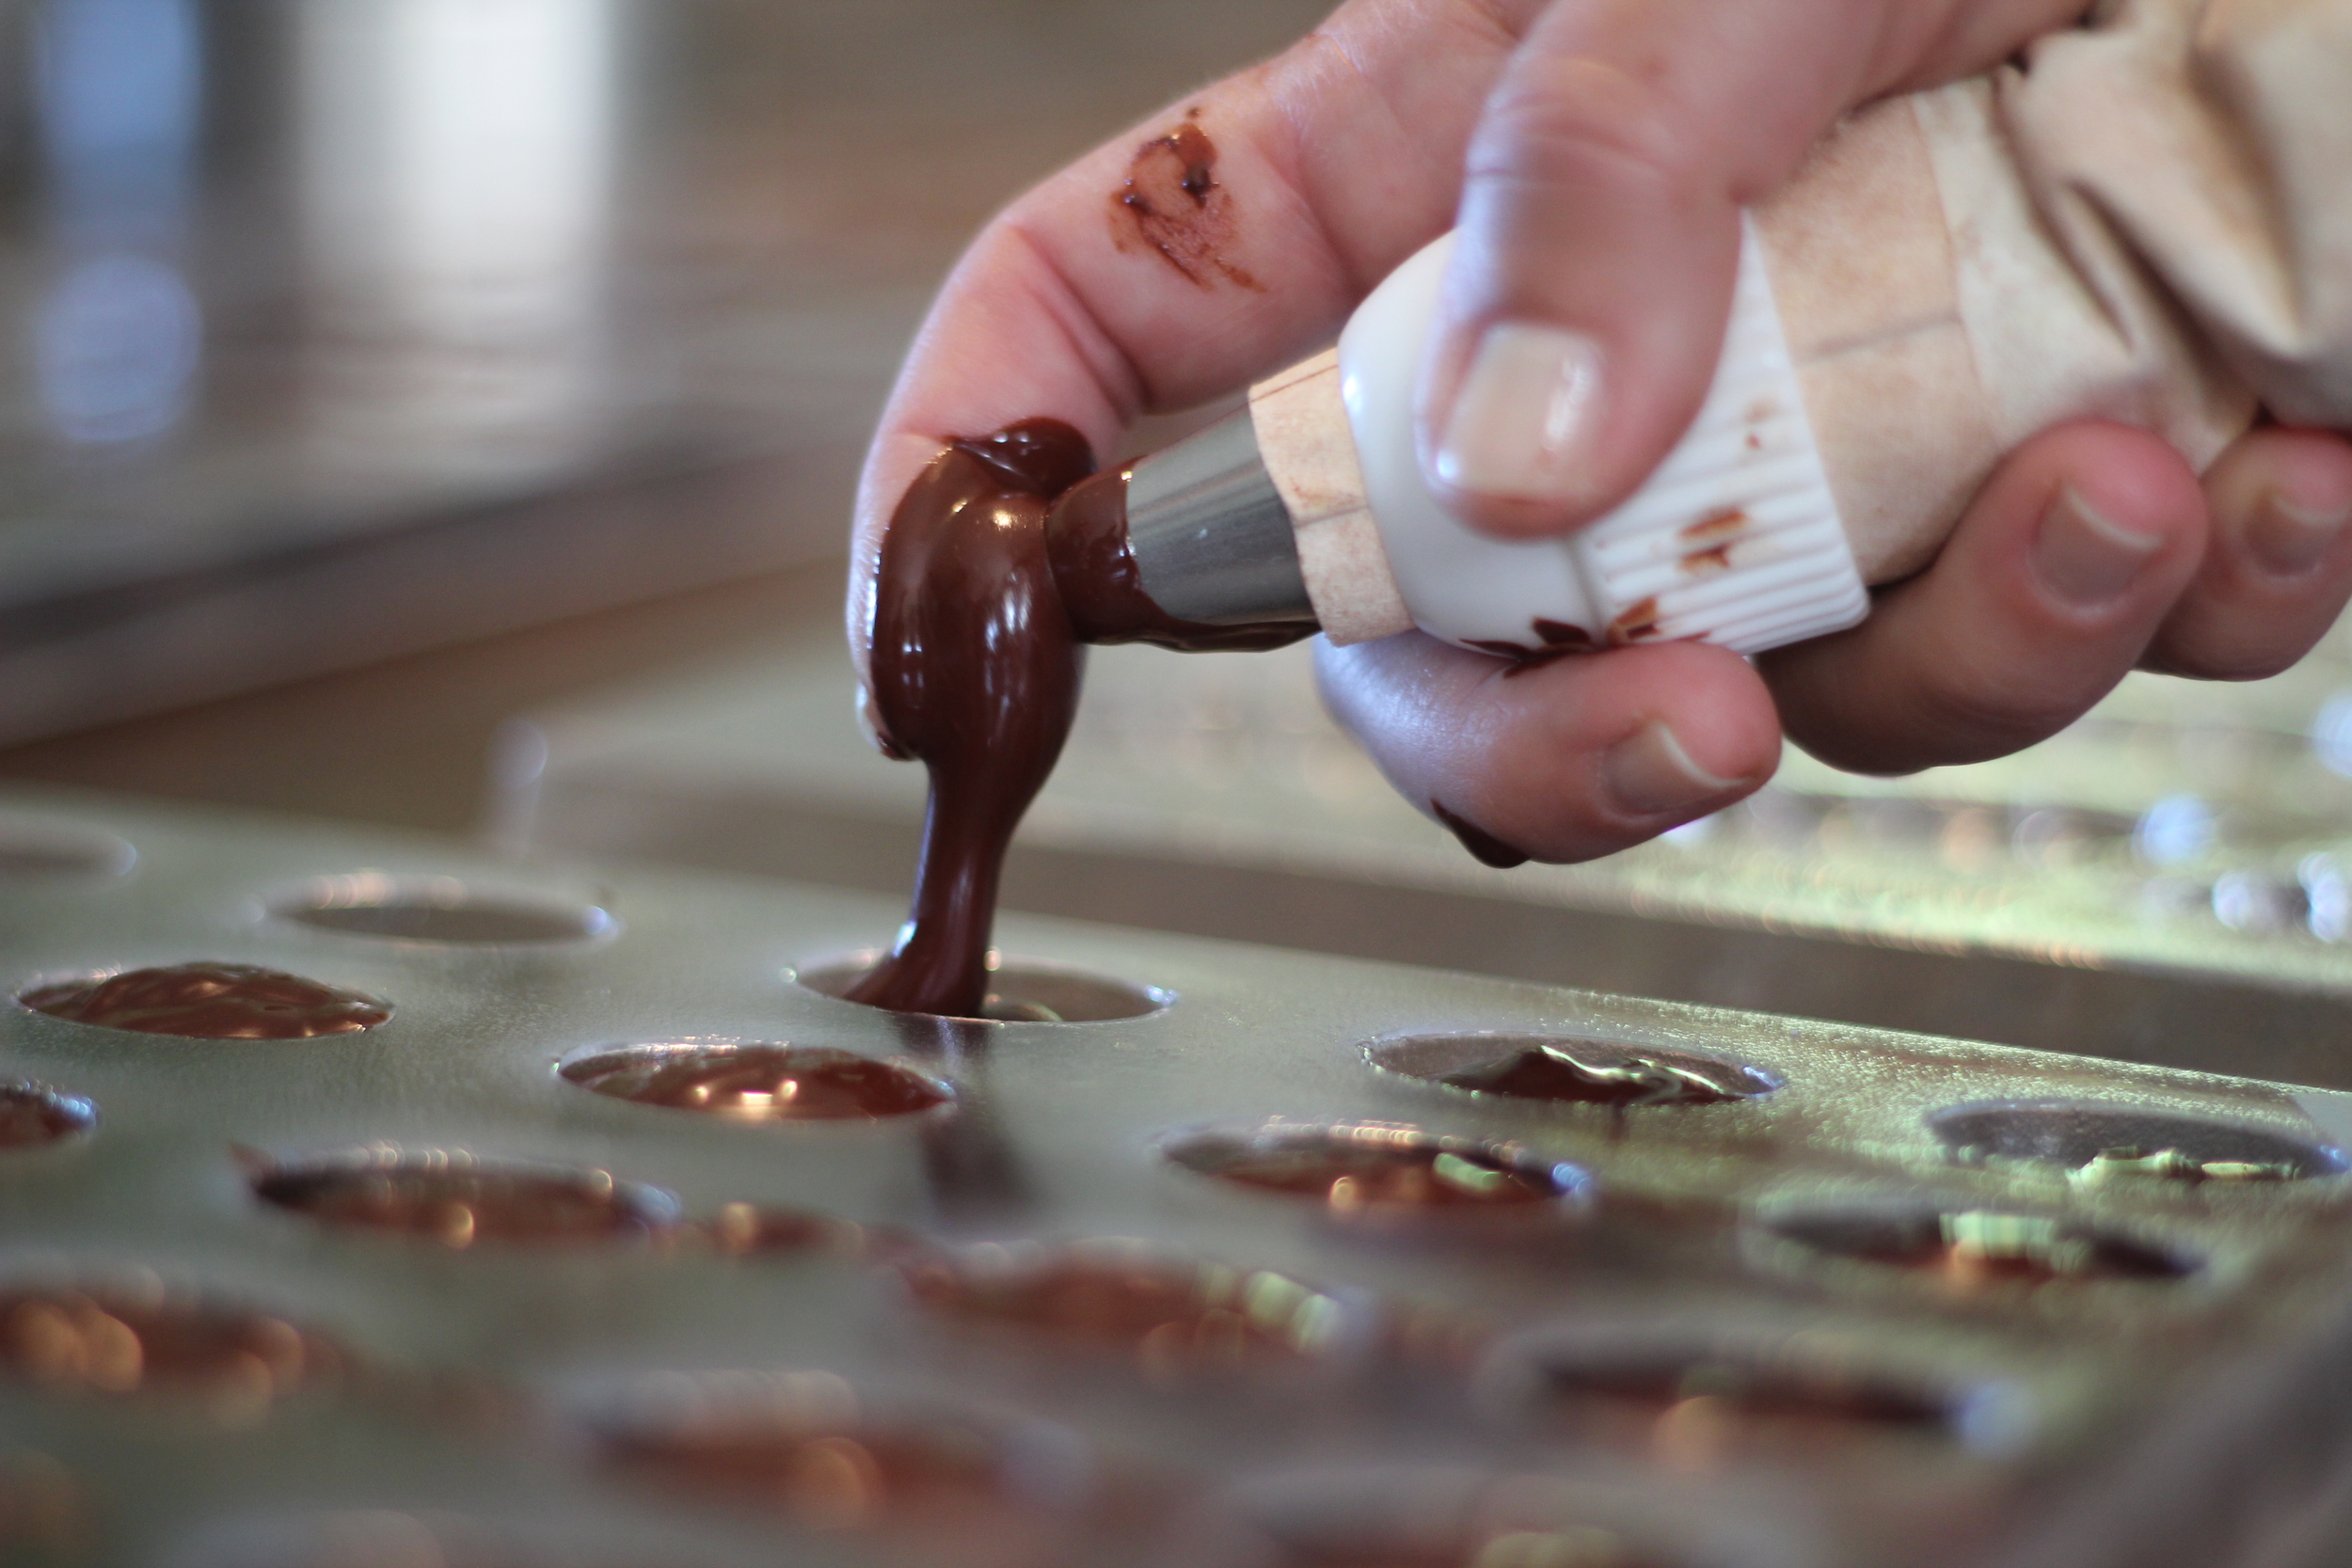
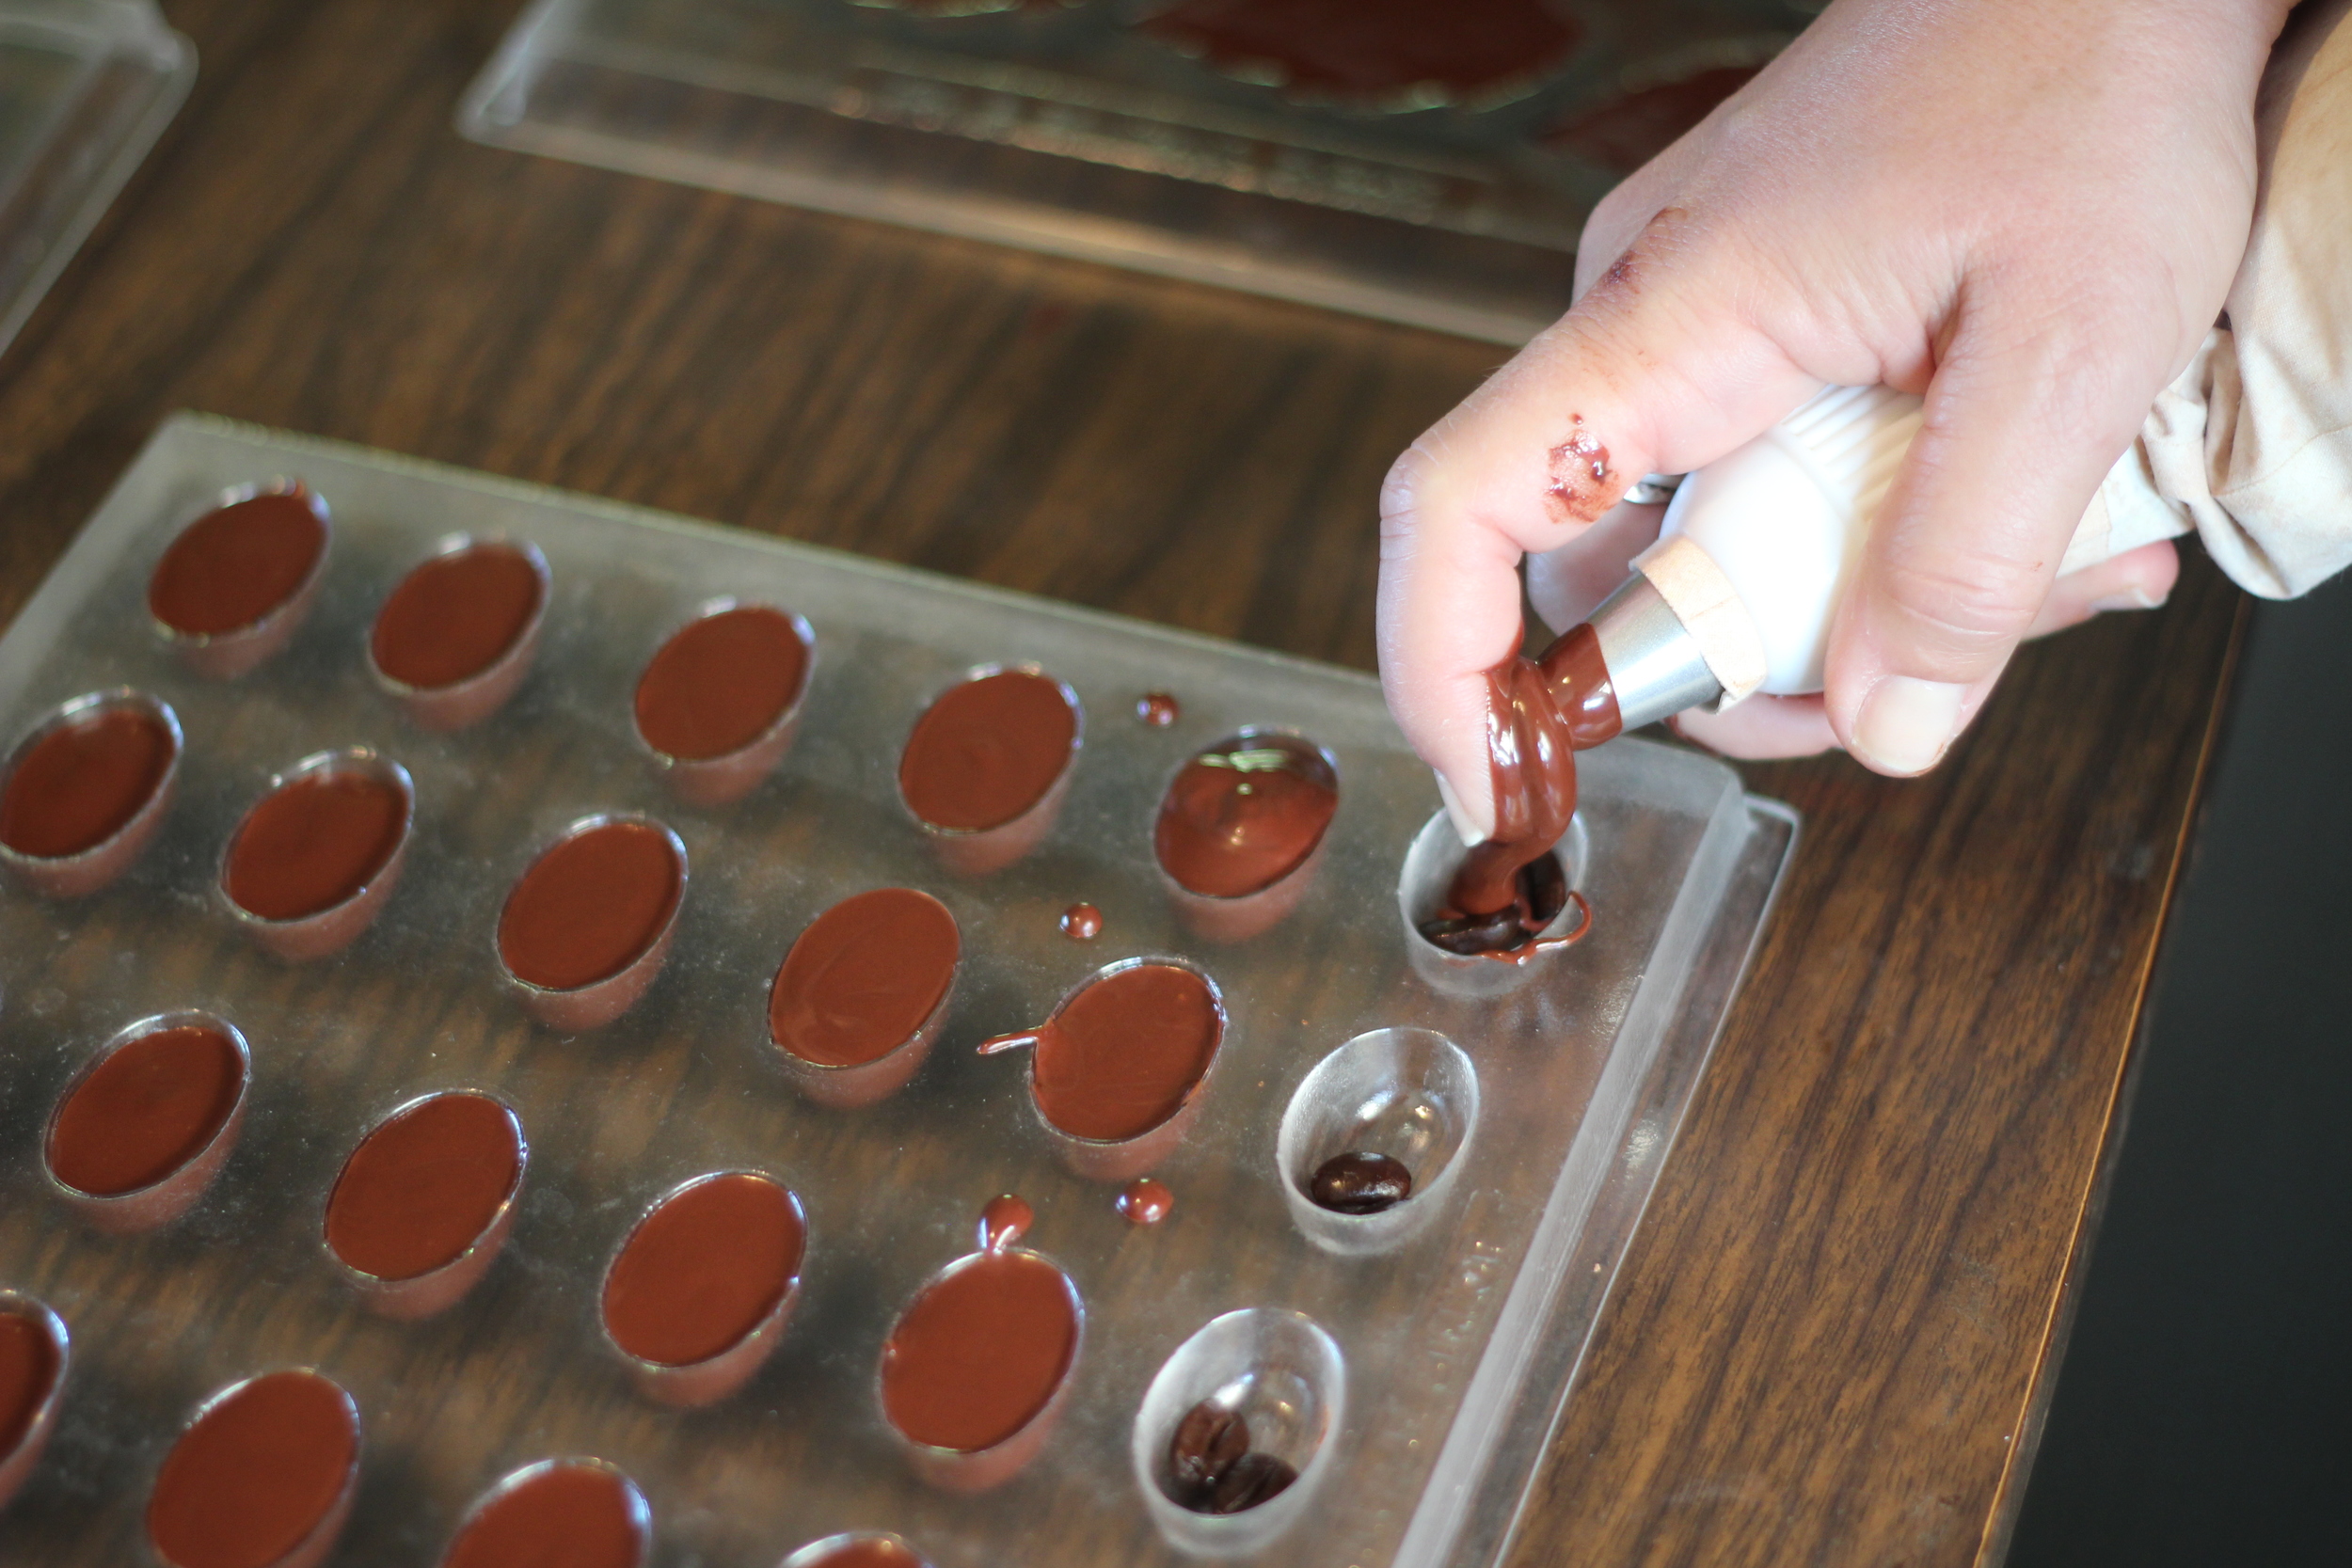
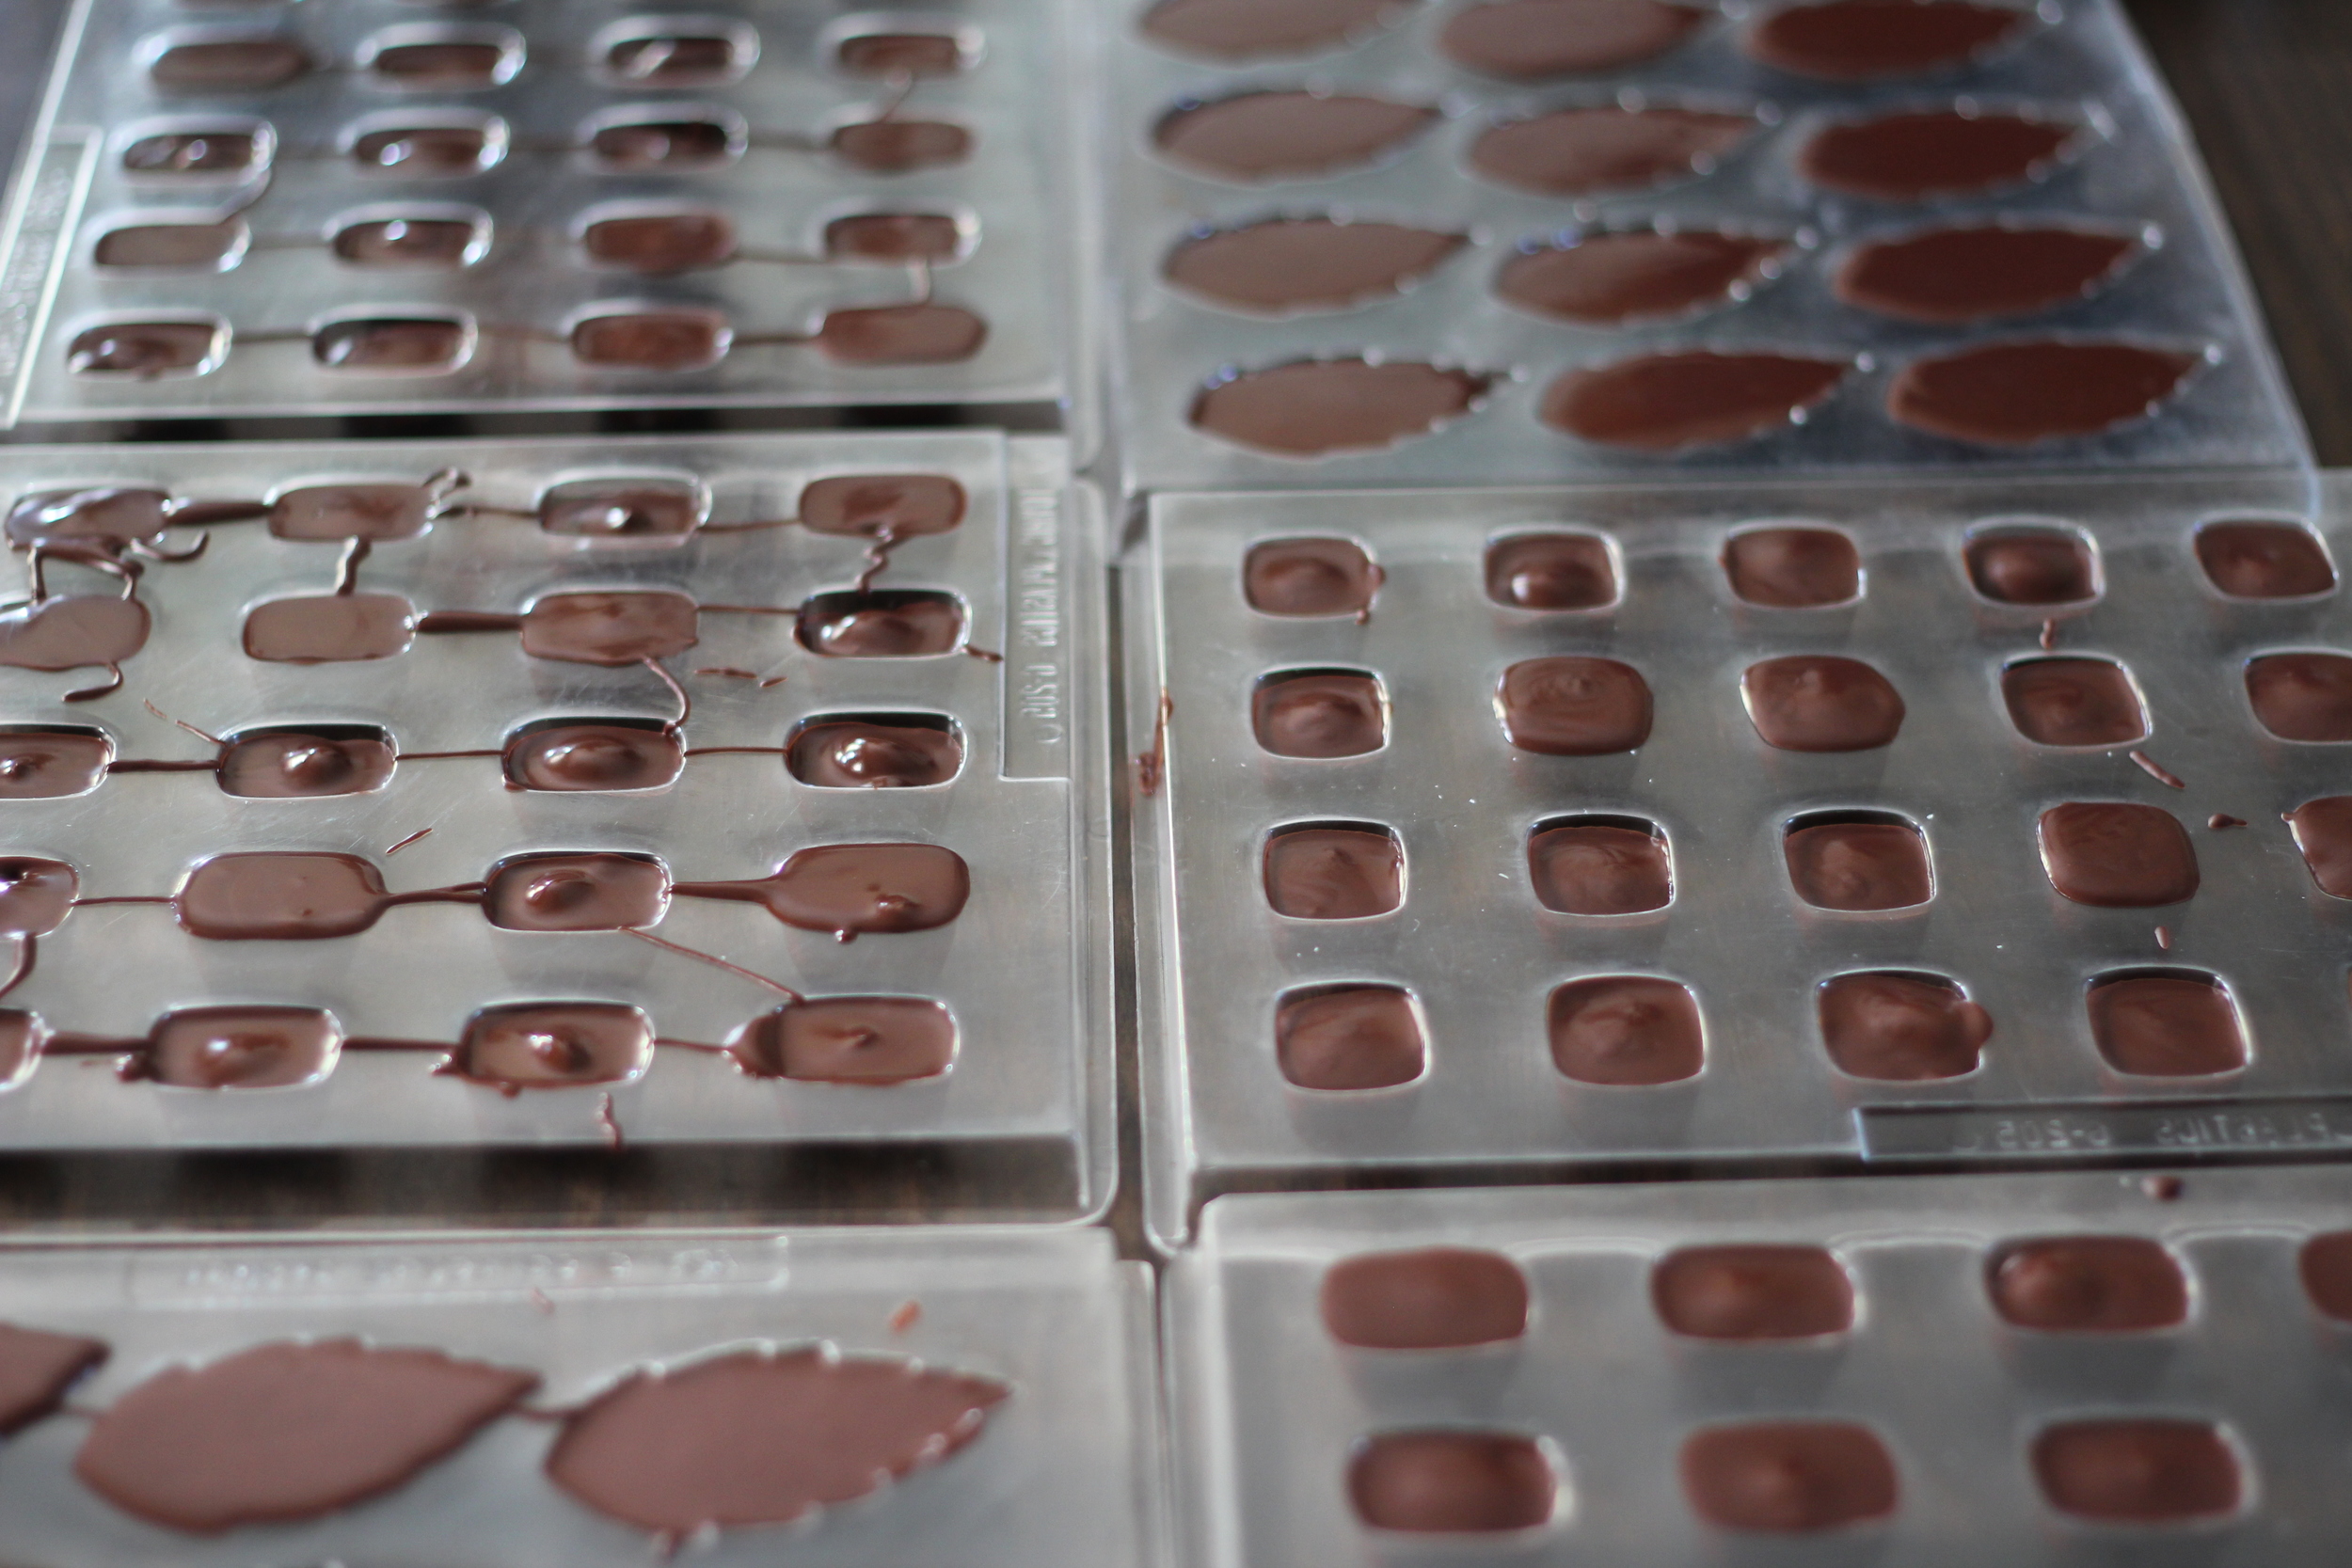
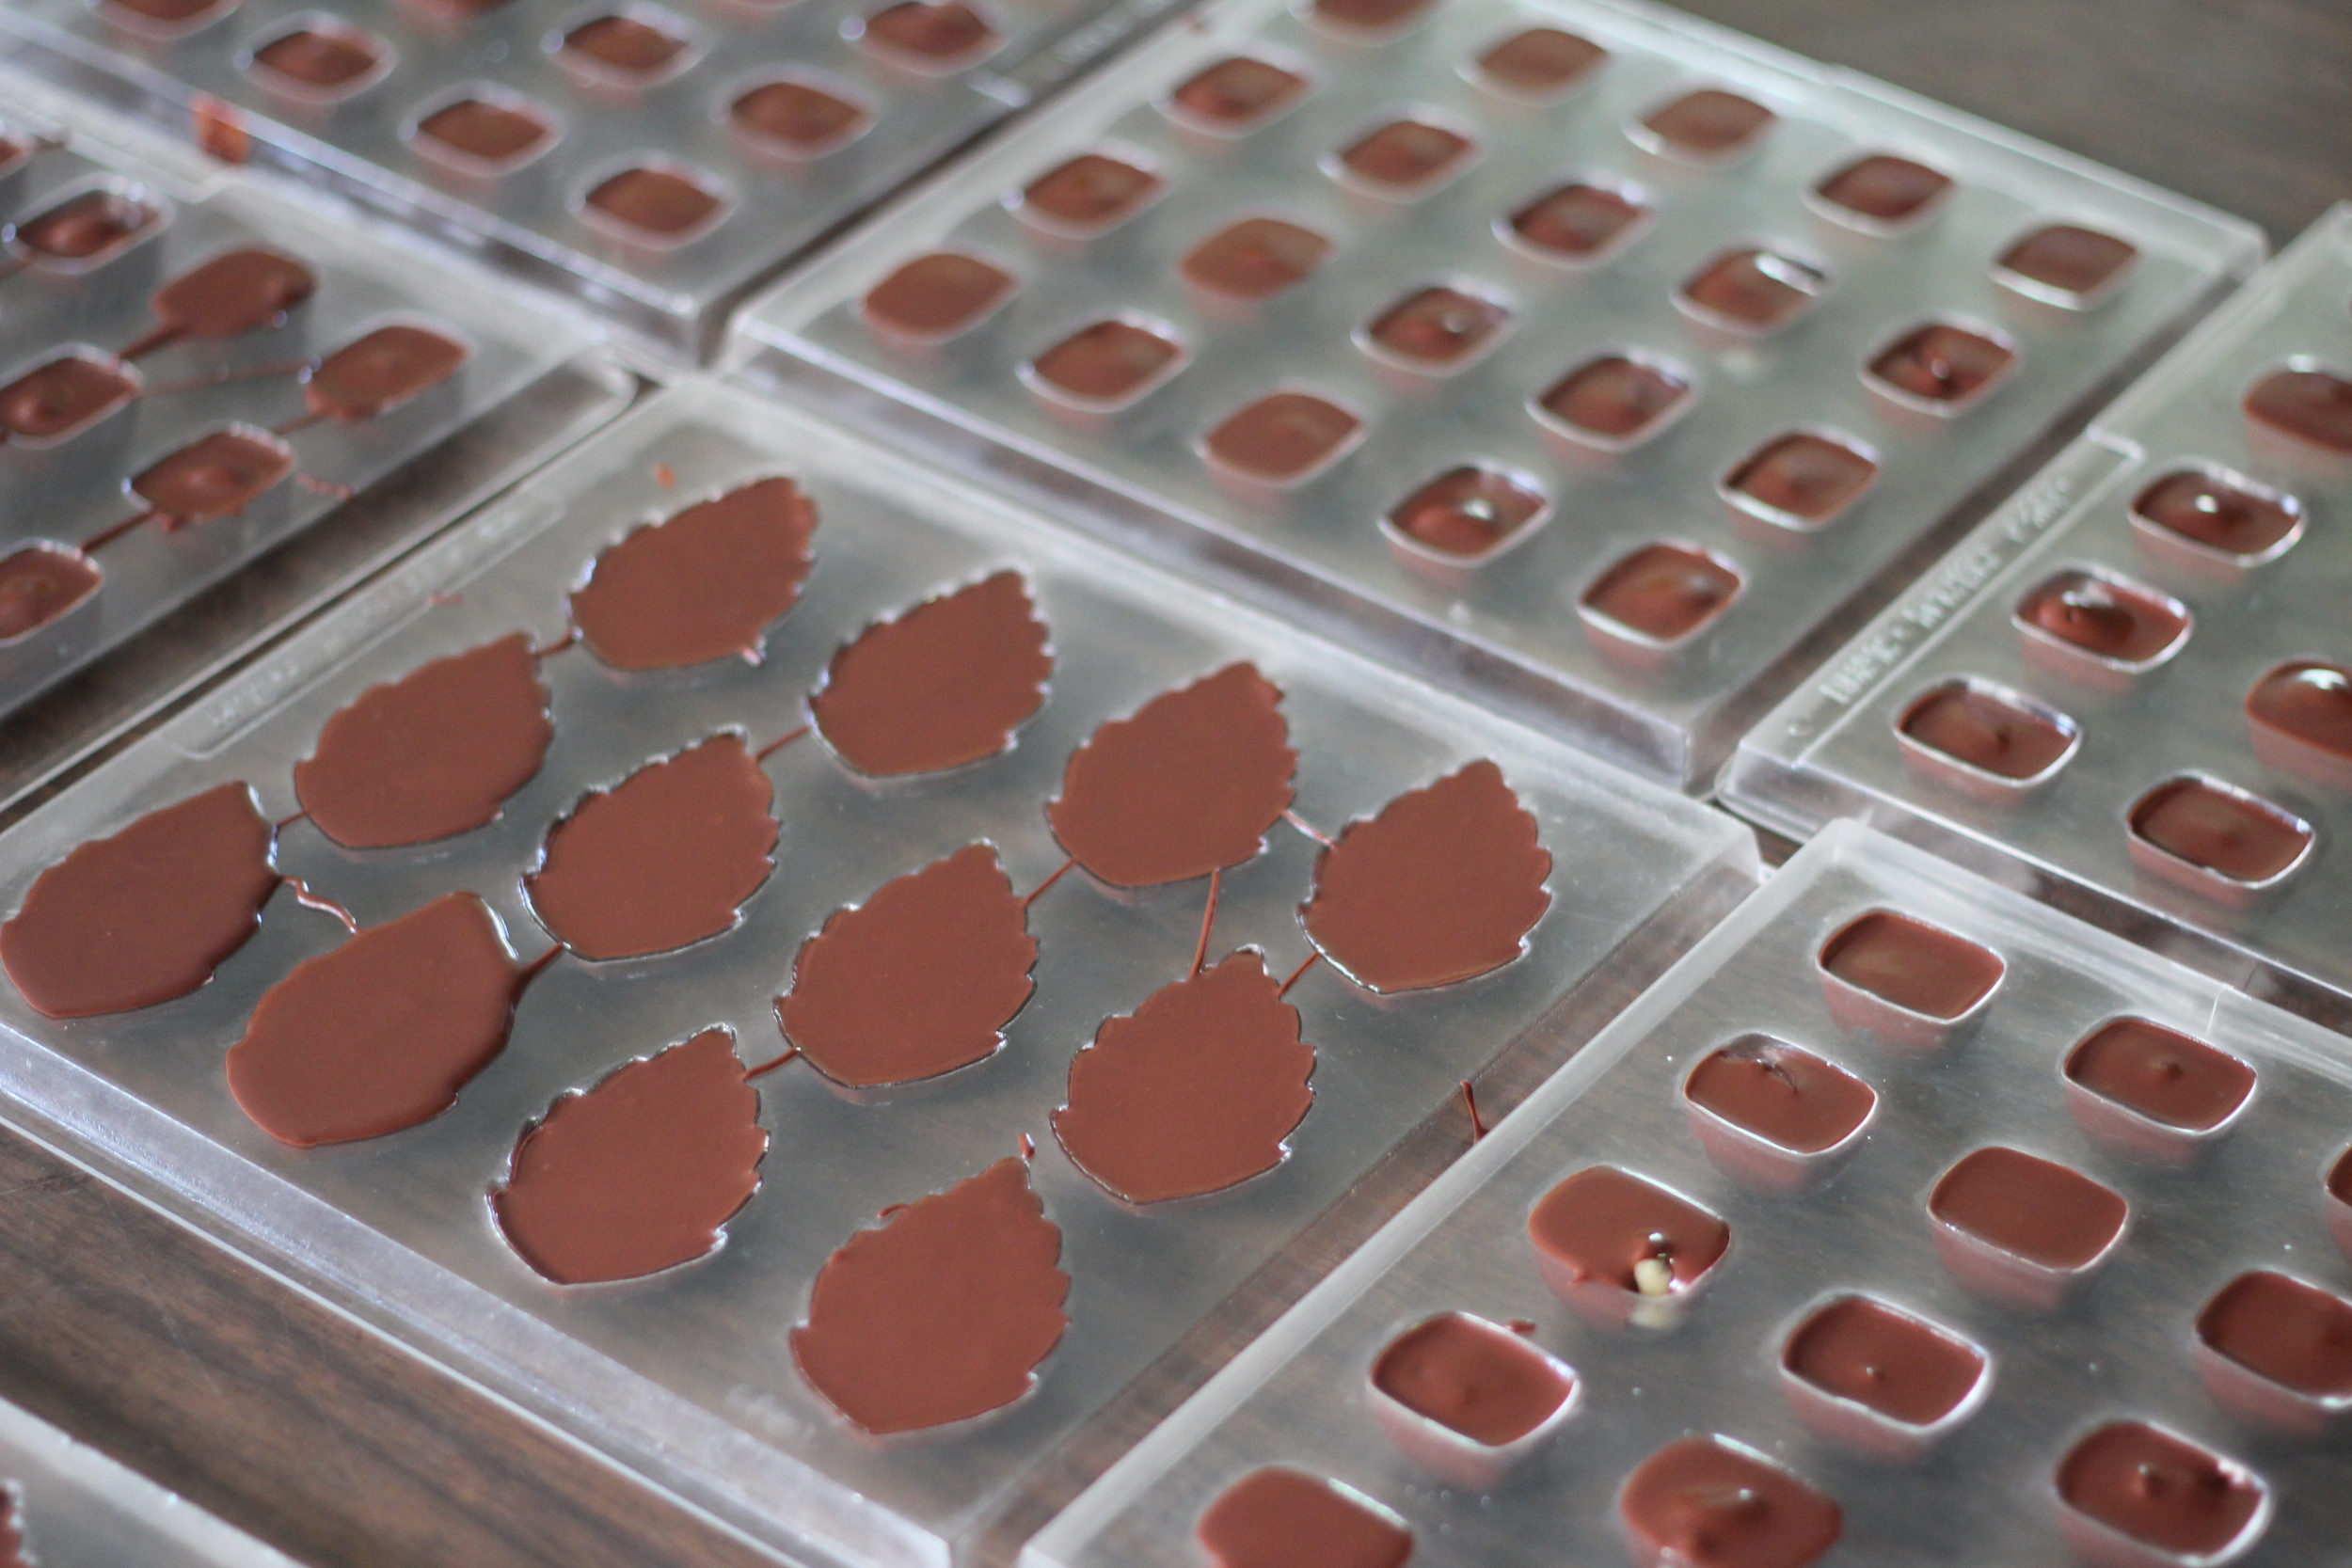
step 7: piping into the molds
This is the MOST FUN PART! We pour the tempered chocolate into a pastry piping bag (keeping finger tightly on the end!) and then pipe the chocolate into the molds. We had already prepped the molds with our own roasted coffee beans and macadamia nuts. I absolutely love the preciseness required for this task - my perfectionist tendencies found their outlet!
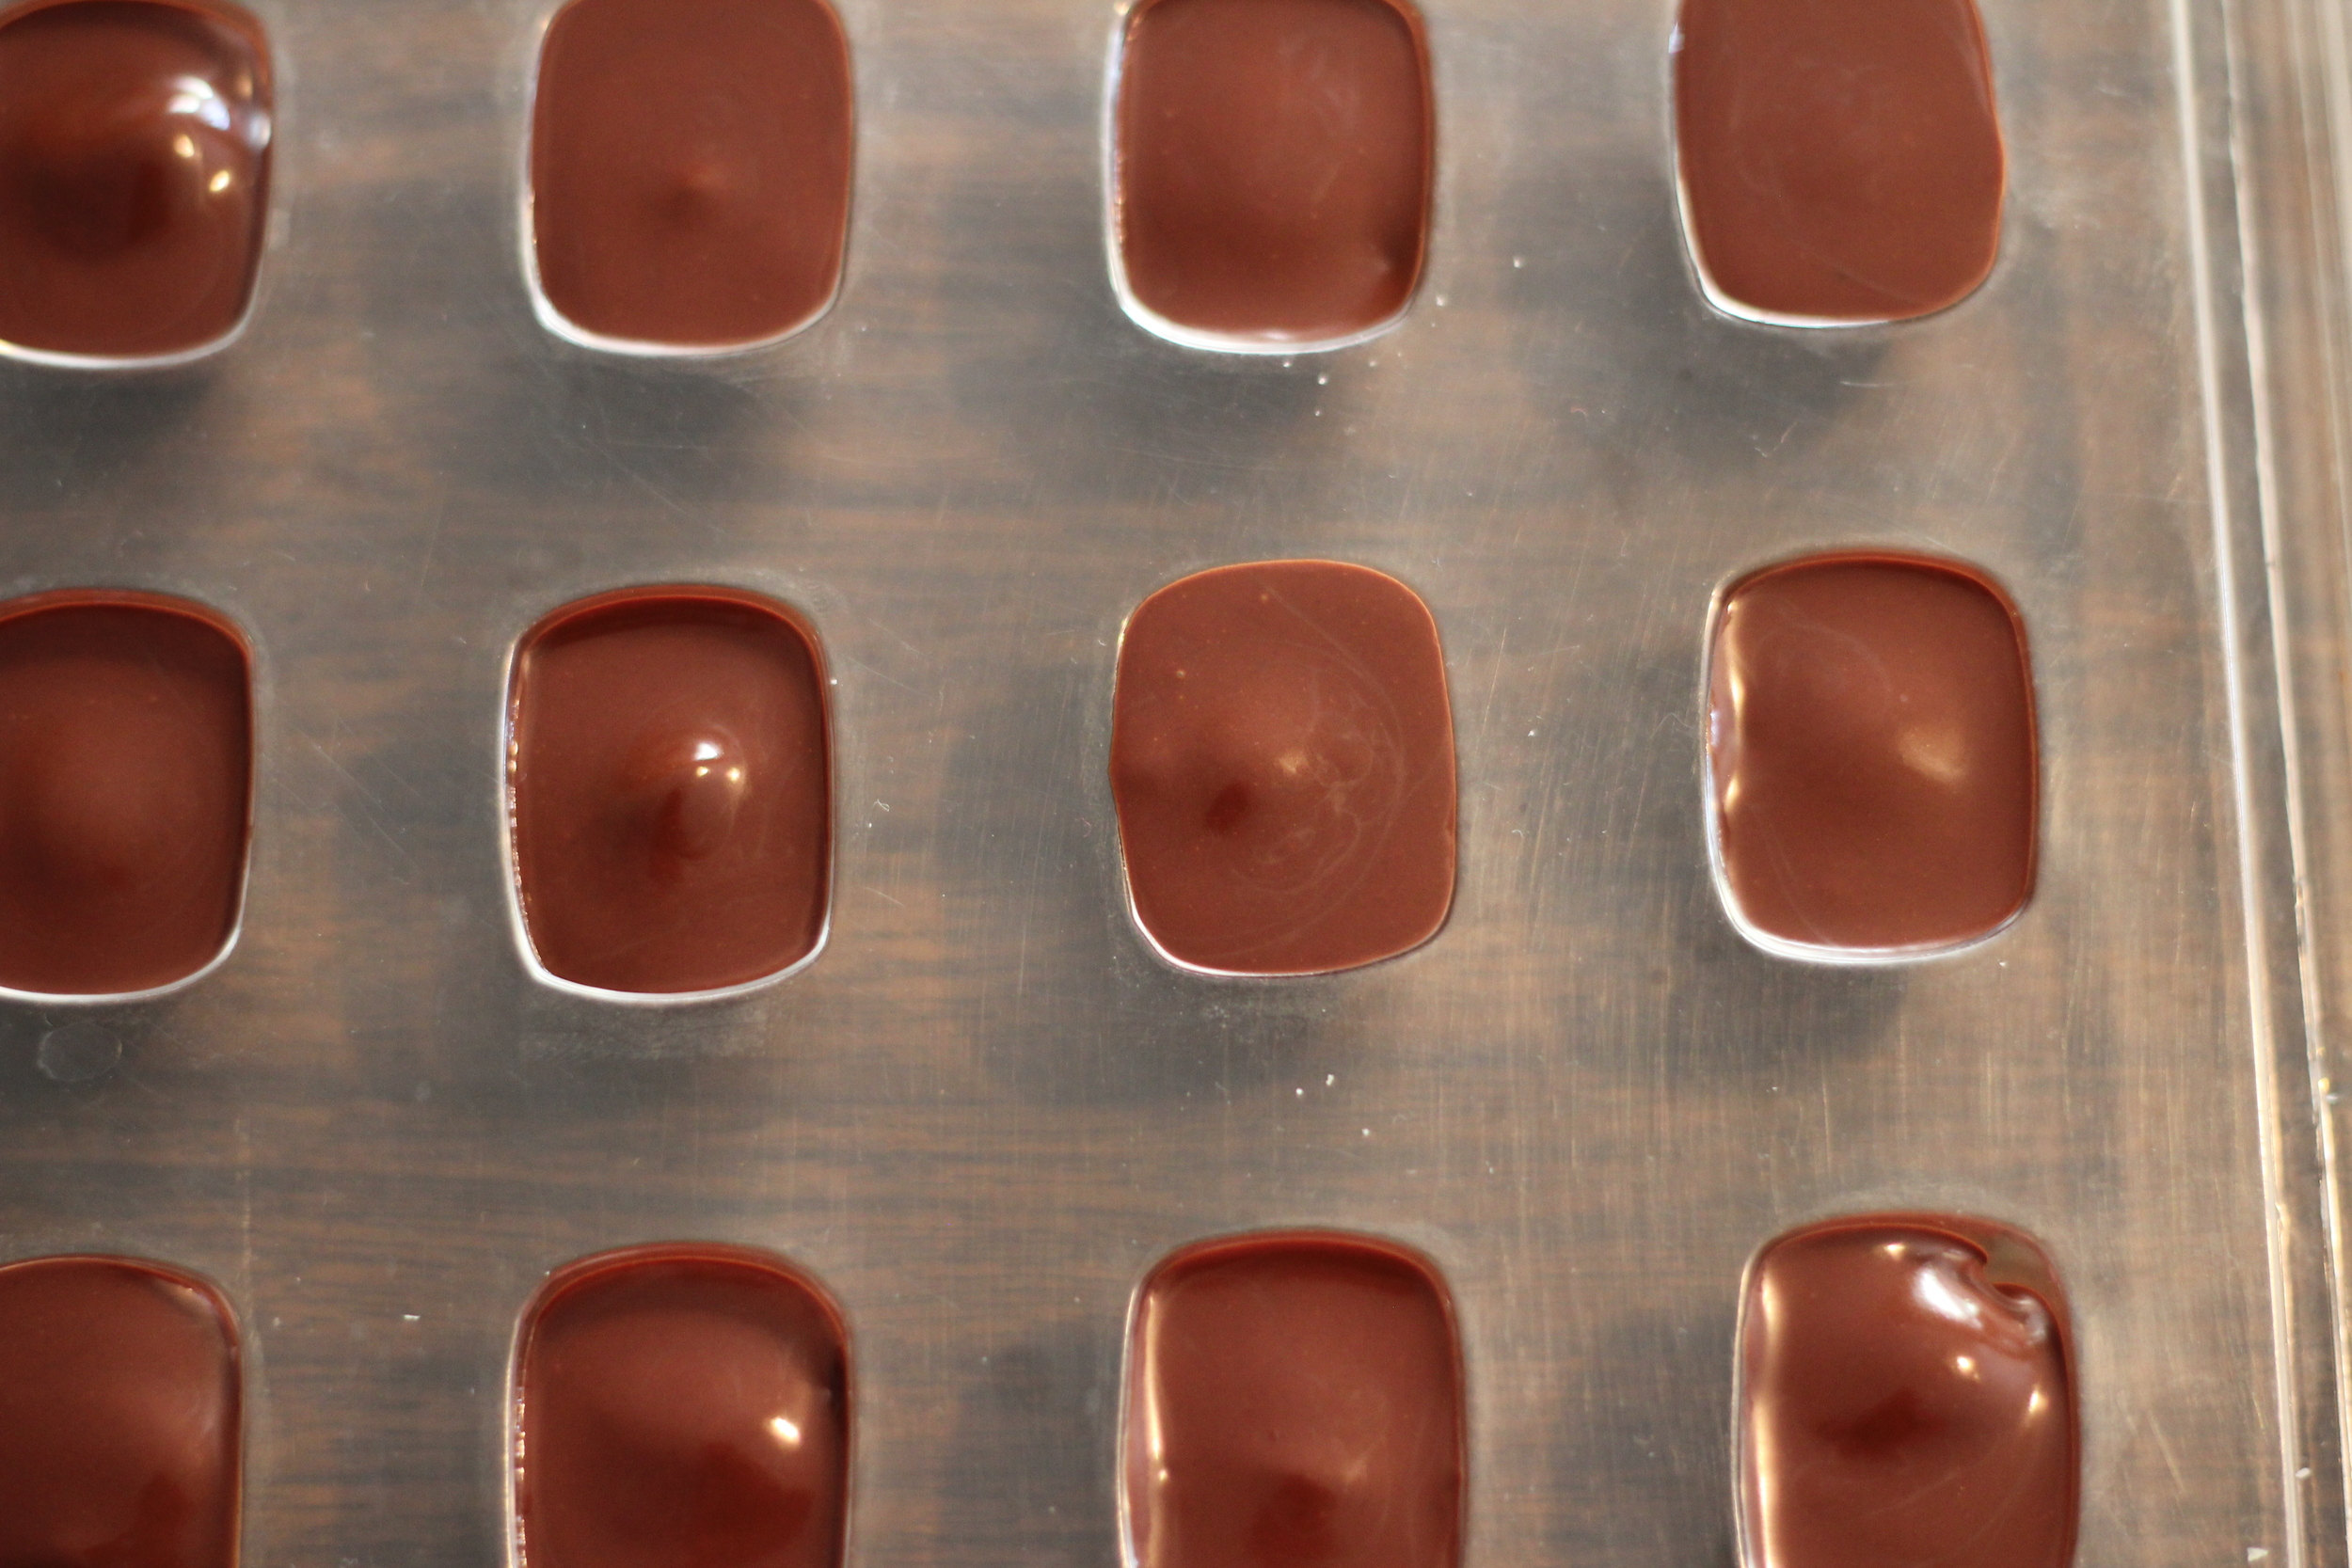
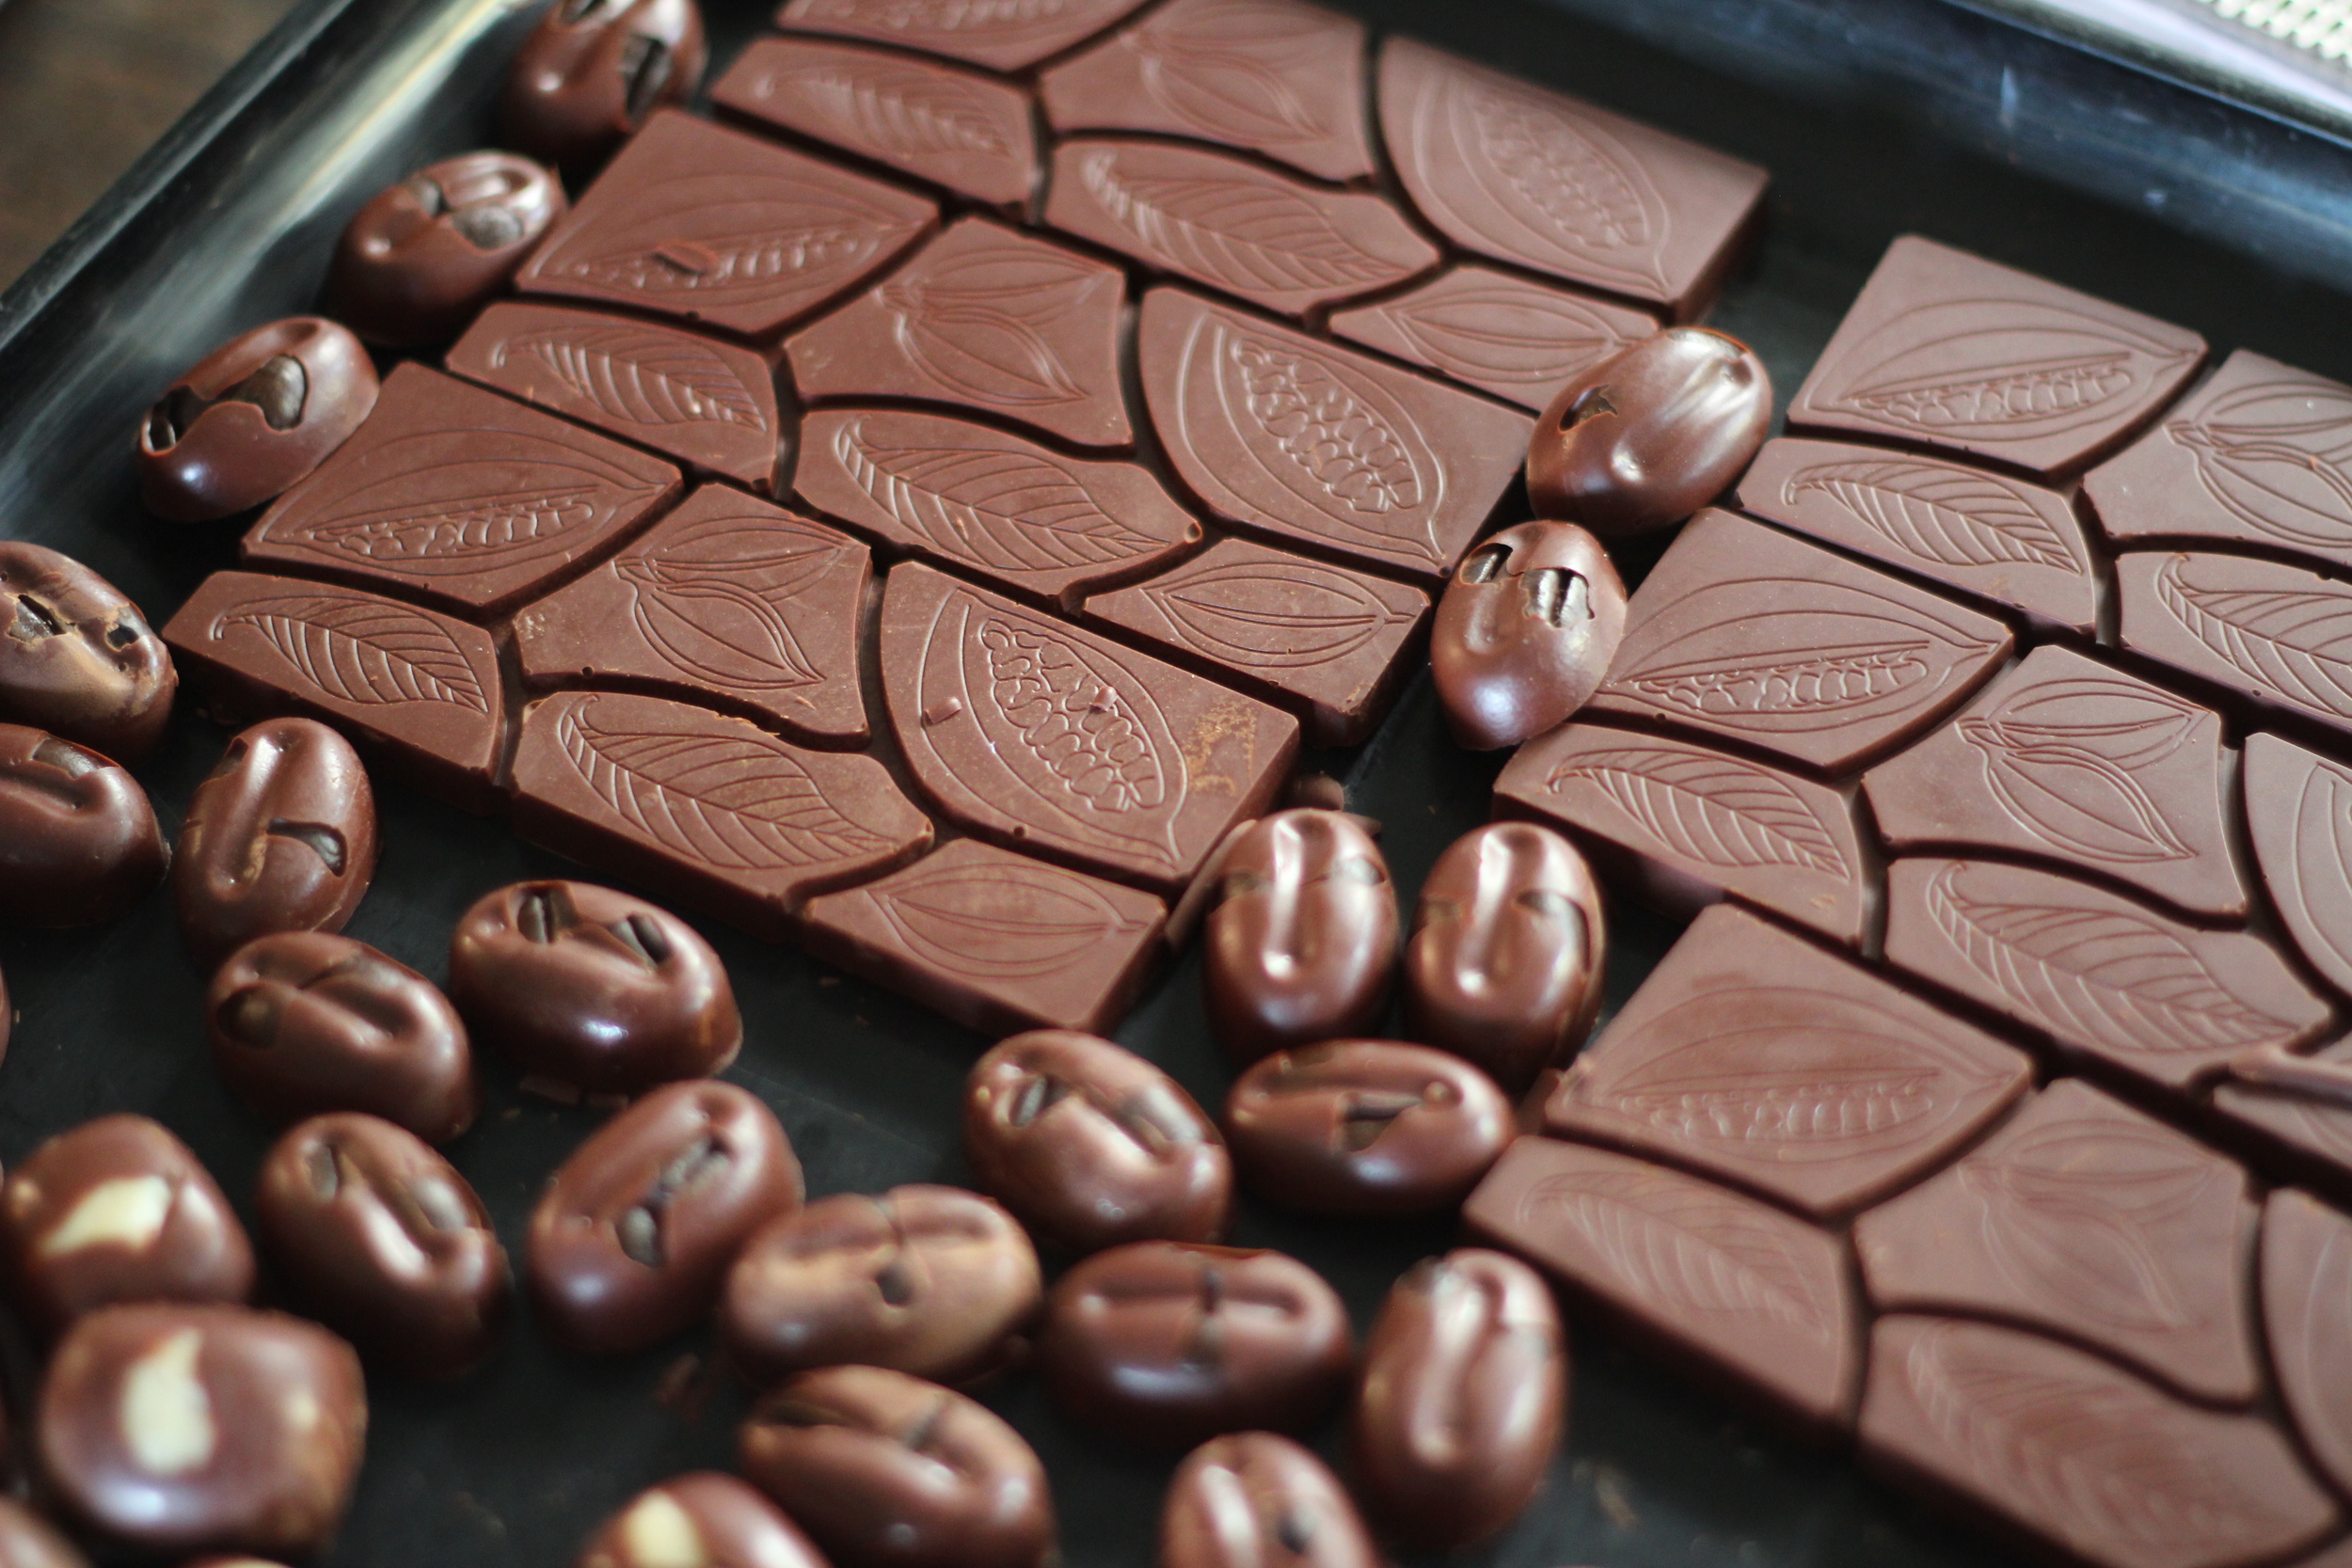
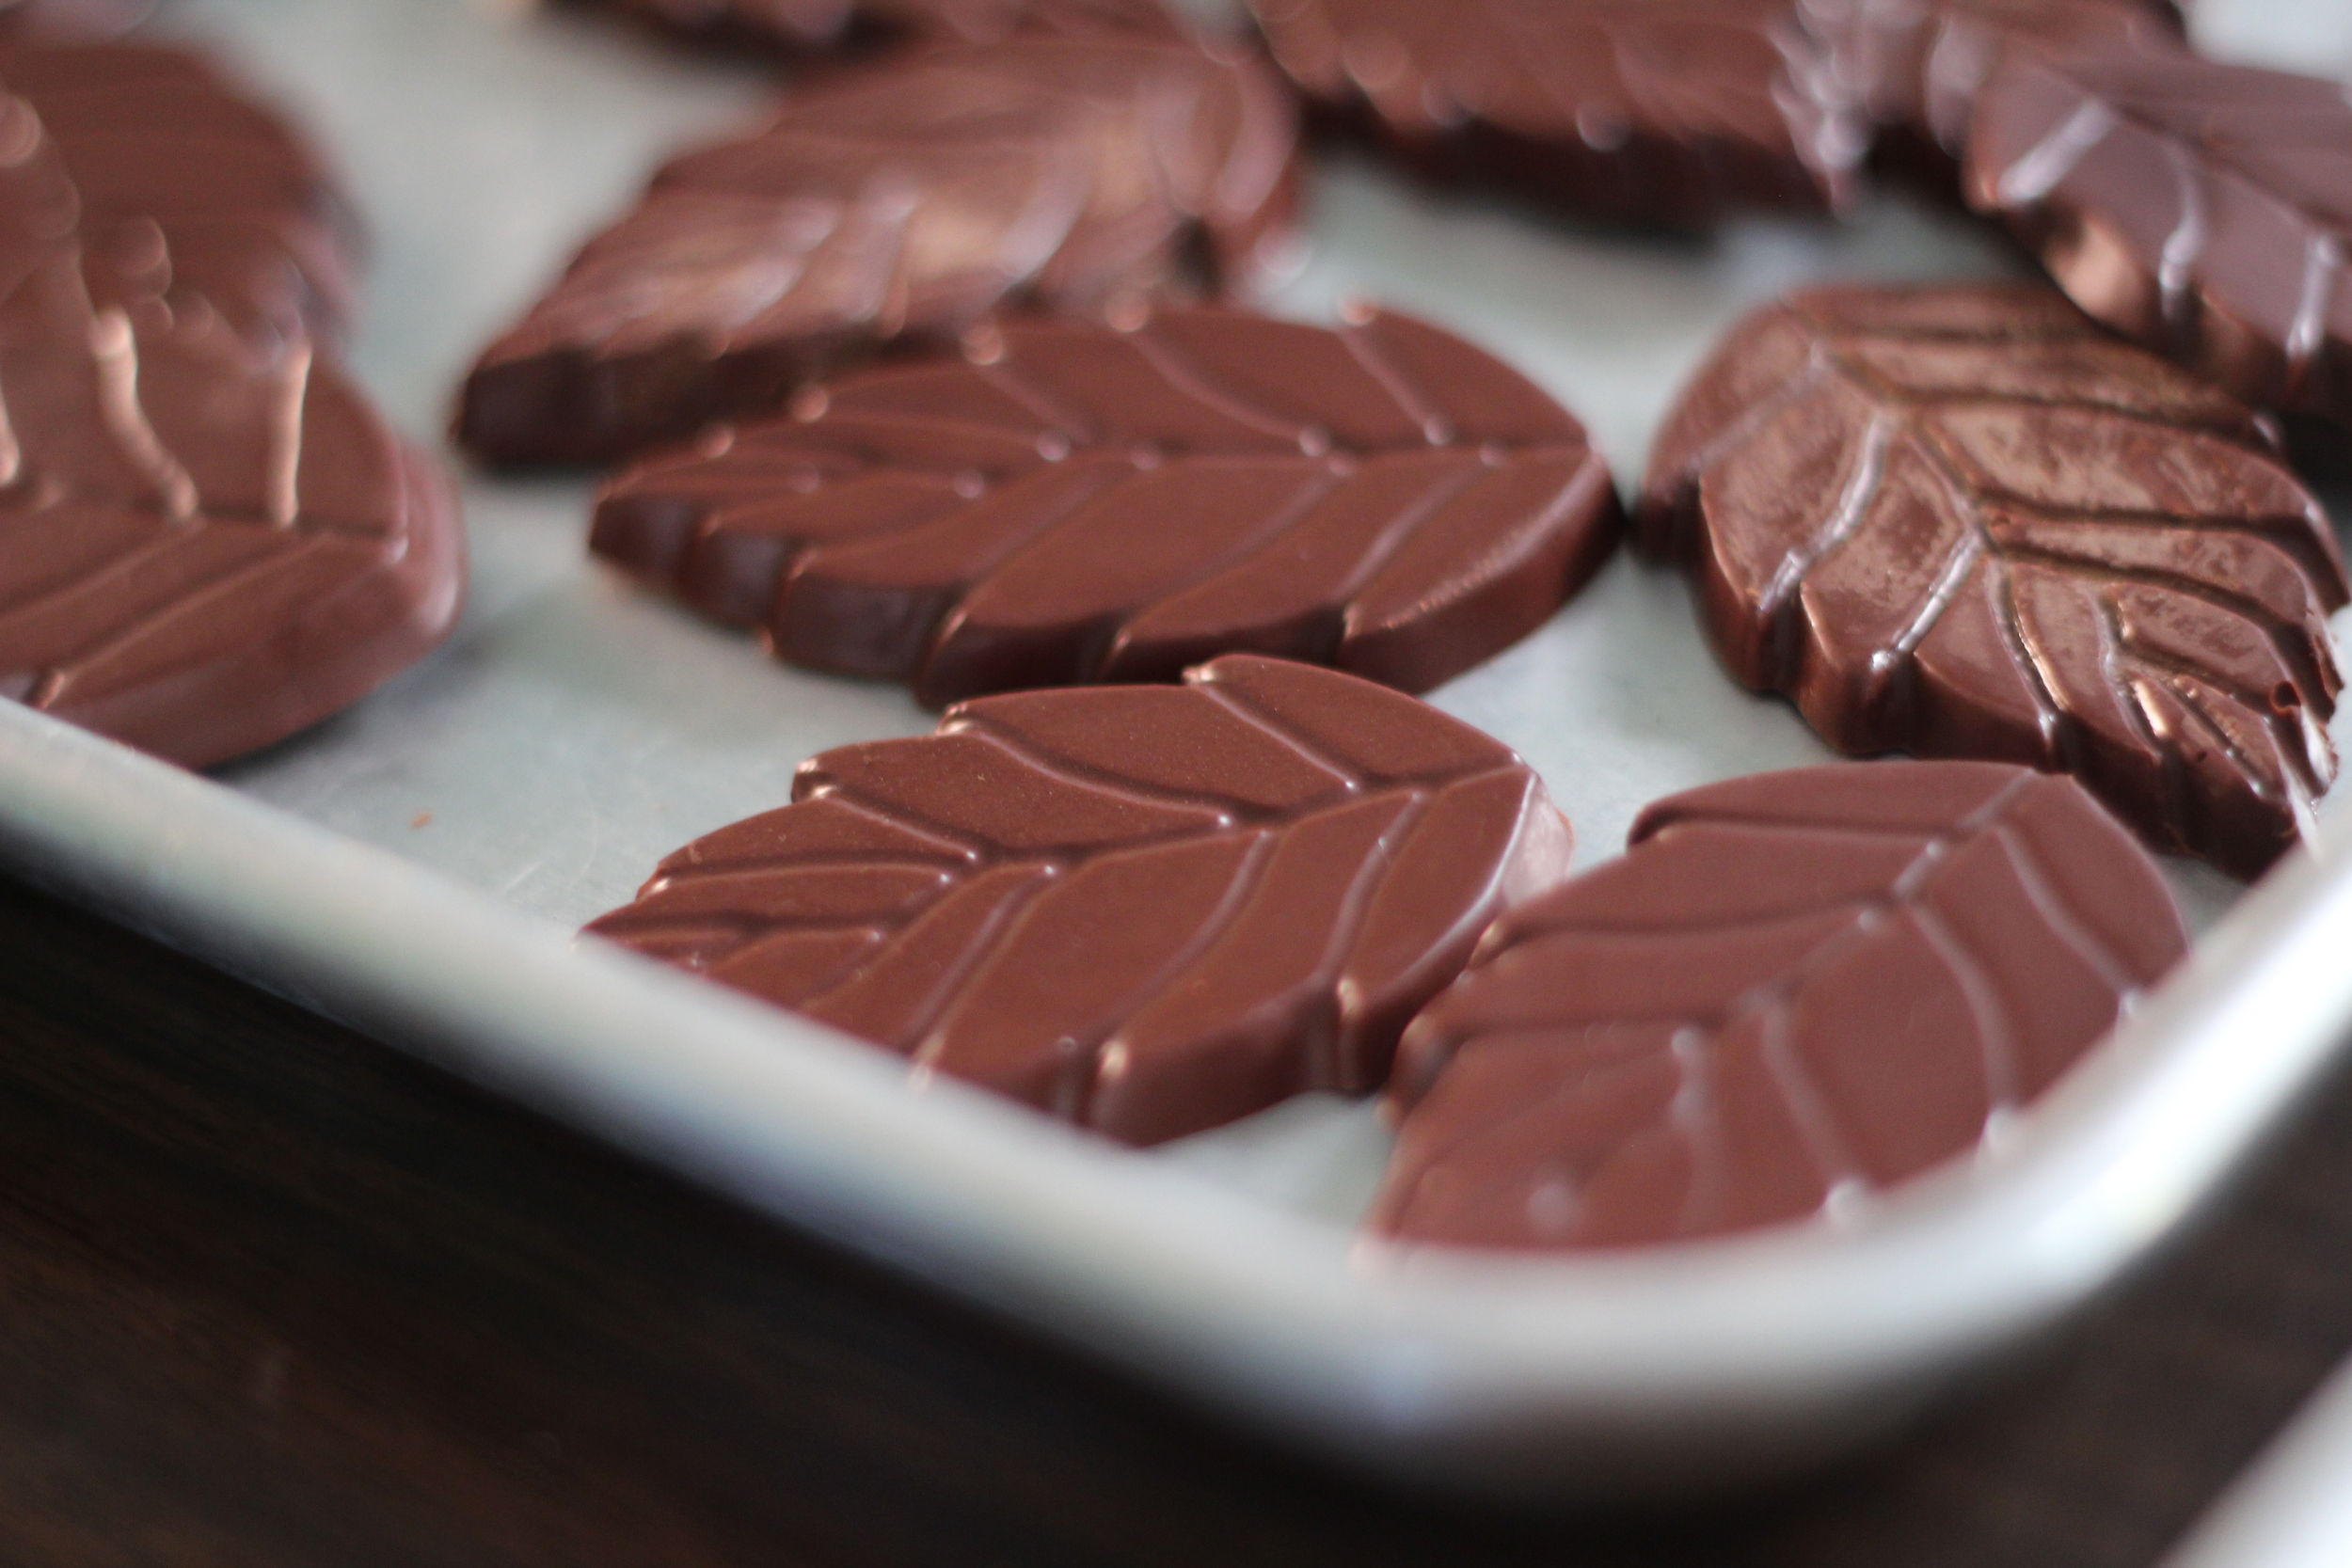
step 8: pop & package
Finally, after a few hours, we pop the chocolates out of the molds, wrap up the bars, pop the specialty ones into bags and call it a day!
And last but not least - our "cleanup" treats for day 2 are...
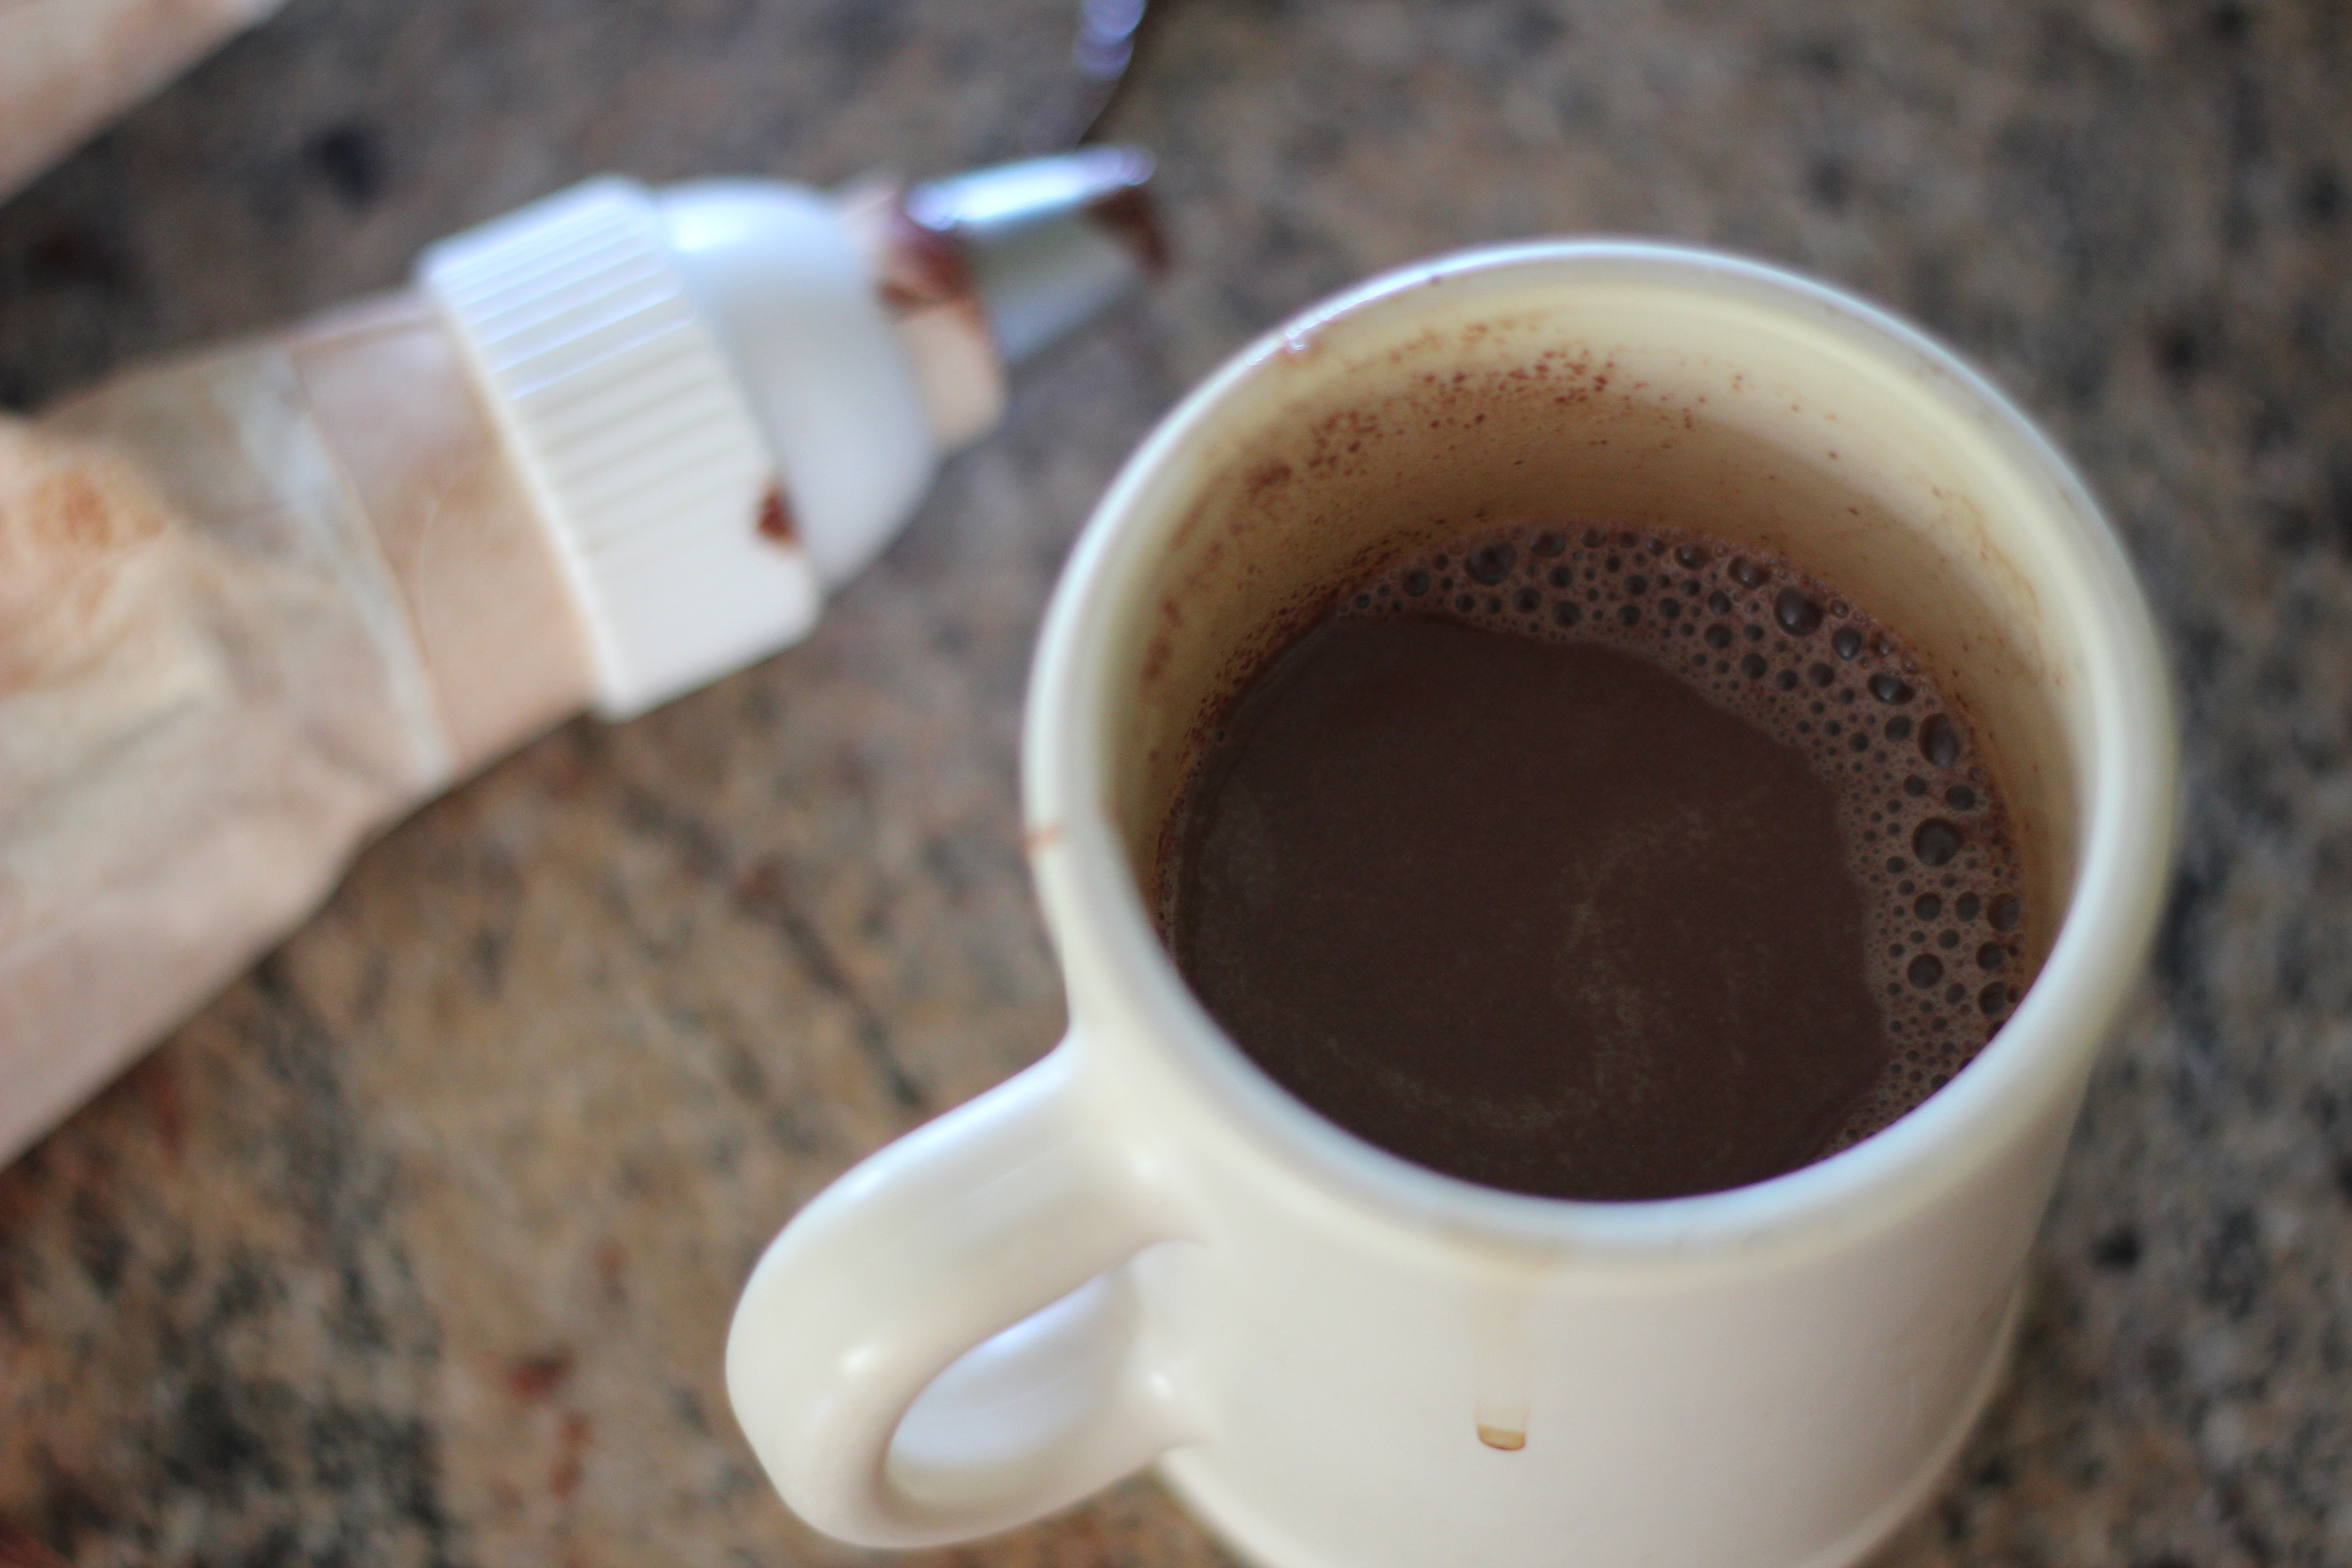
THE MOST DELICIOUS CHOCOLATE MILK made by cleaning out the piping bag and...

Chocolate covered dried bananas made by swiping the extra chocolate out of all the bowls. YUM.

And now, my chocolate conclusions! Congruent with most of my realizations here on the farm - making chocolate from scratch is HARD WORK! You need special equipment that you would only use for chocolate making, and if one thing goes wrong, you might lose your whole batch (for example - we had an issue with the melanger and ended up spending an hour looking for spare parts from friends and in the hardware store. If we wouldn't have found a solution we would have wasted all that cacao!).
Despite the work, chocolate is simply MAGICAL and I can see why people become chocolatiers. I could have piped into those molds all day - I couldn't get enough! This is definitely my favorite thing we've done on the farm. The smell alone is enough to make you happy all day long. Hope you enjoyed this, and stay tuned for the next installment in my "educational" type posts: coffee picking and processing!
PS. To my professional and/or pastry friends who may be reading this, I apologize if I got any of the terms wrong and please correct me if I did! Thank you!