Are you ready to enter the wild world of ferments?! If you’re even just a little bit curious, keep reading because kombucha is definitely the best place to start on your fermentation adventures.
Maybe you like kombucha and are a little over paying $4/bottle every time you want some. Well - get ready to save some serious cash without much effort! Or if you’re just bored of drinking water and looking for an alternative healthy and interesting beverage, homemade kombucha might just be the solution for you!
Before we dig in to kombucha specifically… what IS fermentation in the first place?!
So glad you asked! Fermentation is an ANCIENT way of transforming “raw” foods into more edible, delicious (and healthy) substances. Fermentation uses naturally occurring bacteria to transform veggies, beverages, dairy, and other raw foods into wonderfully scrumptious treats. Coffee, chocolate, sourdough bread, wine, beer, cheese, yogurt - ALL OF THESE are fermented foods. Fermented foods include “good bacteria” that promotes a healthy gut and helps with digestion. People have been fermenting things for thousands of years. Before there was refrigeration, fermentation was a way of preserving foods for the winter. As society swings the pendulum away from processed foods and back to more natural, whole foods - fermentation is becoming a bit more normal for the everyday home cook.
SO - kombucha is one of the easiest ferments. If you can make tea, you can make kombucha!
Now, before we get started, a key thing you need to know: Fermentation projects like kombucha take TIME. Time is the KEY ingredient here. These are weeks- and months-long cooking projects. They require very little active time and are mostly hands-off, but they DO require some maintenance, planning, remembering, and checking. I encourage you to take notes and set calendar reminders with your kombucha. Otherwise you will likely forget about it and end up with vinegar 🤣. Additionally - there are a few tools that I recommend you invest in to make the process easier.
before you brew you will need:
1. a SCOBY, or as I like to call it, a kombucha mother
SCOBY stands for a “symbiotic community of bacteria and yeast” - this is the living bacteria that transforms your tea into kombucha! SO COOL!
You can either buy a SCOBY, get one from a friend (or Craigslist), or start one yourself! It should come with at least a cup of strong kombucha tea, which you also need to start your brewing!
To start one yourself, simply buy a bottle of PLAIN, UNFLAVORED kombucha. I recommend looking for the smallest-batch, most local brand you can find and looking for LOTS OF SWIRLY STUFF in the bottle if possible. Then pour at least half the bottle of kombucha into a clean glass jar. Cover with a small piece of cloth and a rubber band, and leave on the counter. In 1-2 weeks, a SCOBY should form on top of the kombucha. Some sources recommend letting it get at least 1/4 inch thick before using it to make kombucha. Note: I have only tried this twice and it has worked for me both times. However - I can’t guarantee it always works. If nothing grows, try again (maybe with a different brand) or buy/acquire one!) There are tons of places to buy online. I happen to like this website although I haven’t purchased from them (yet) myself.
2. a (sanitize-able) vessel:
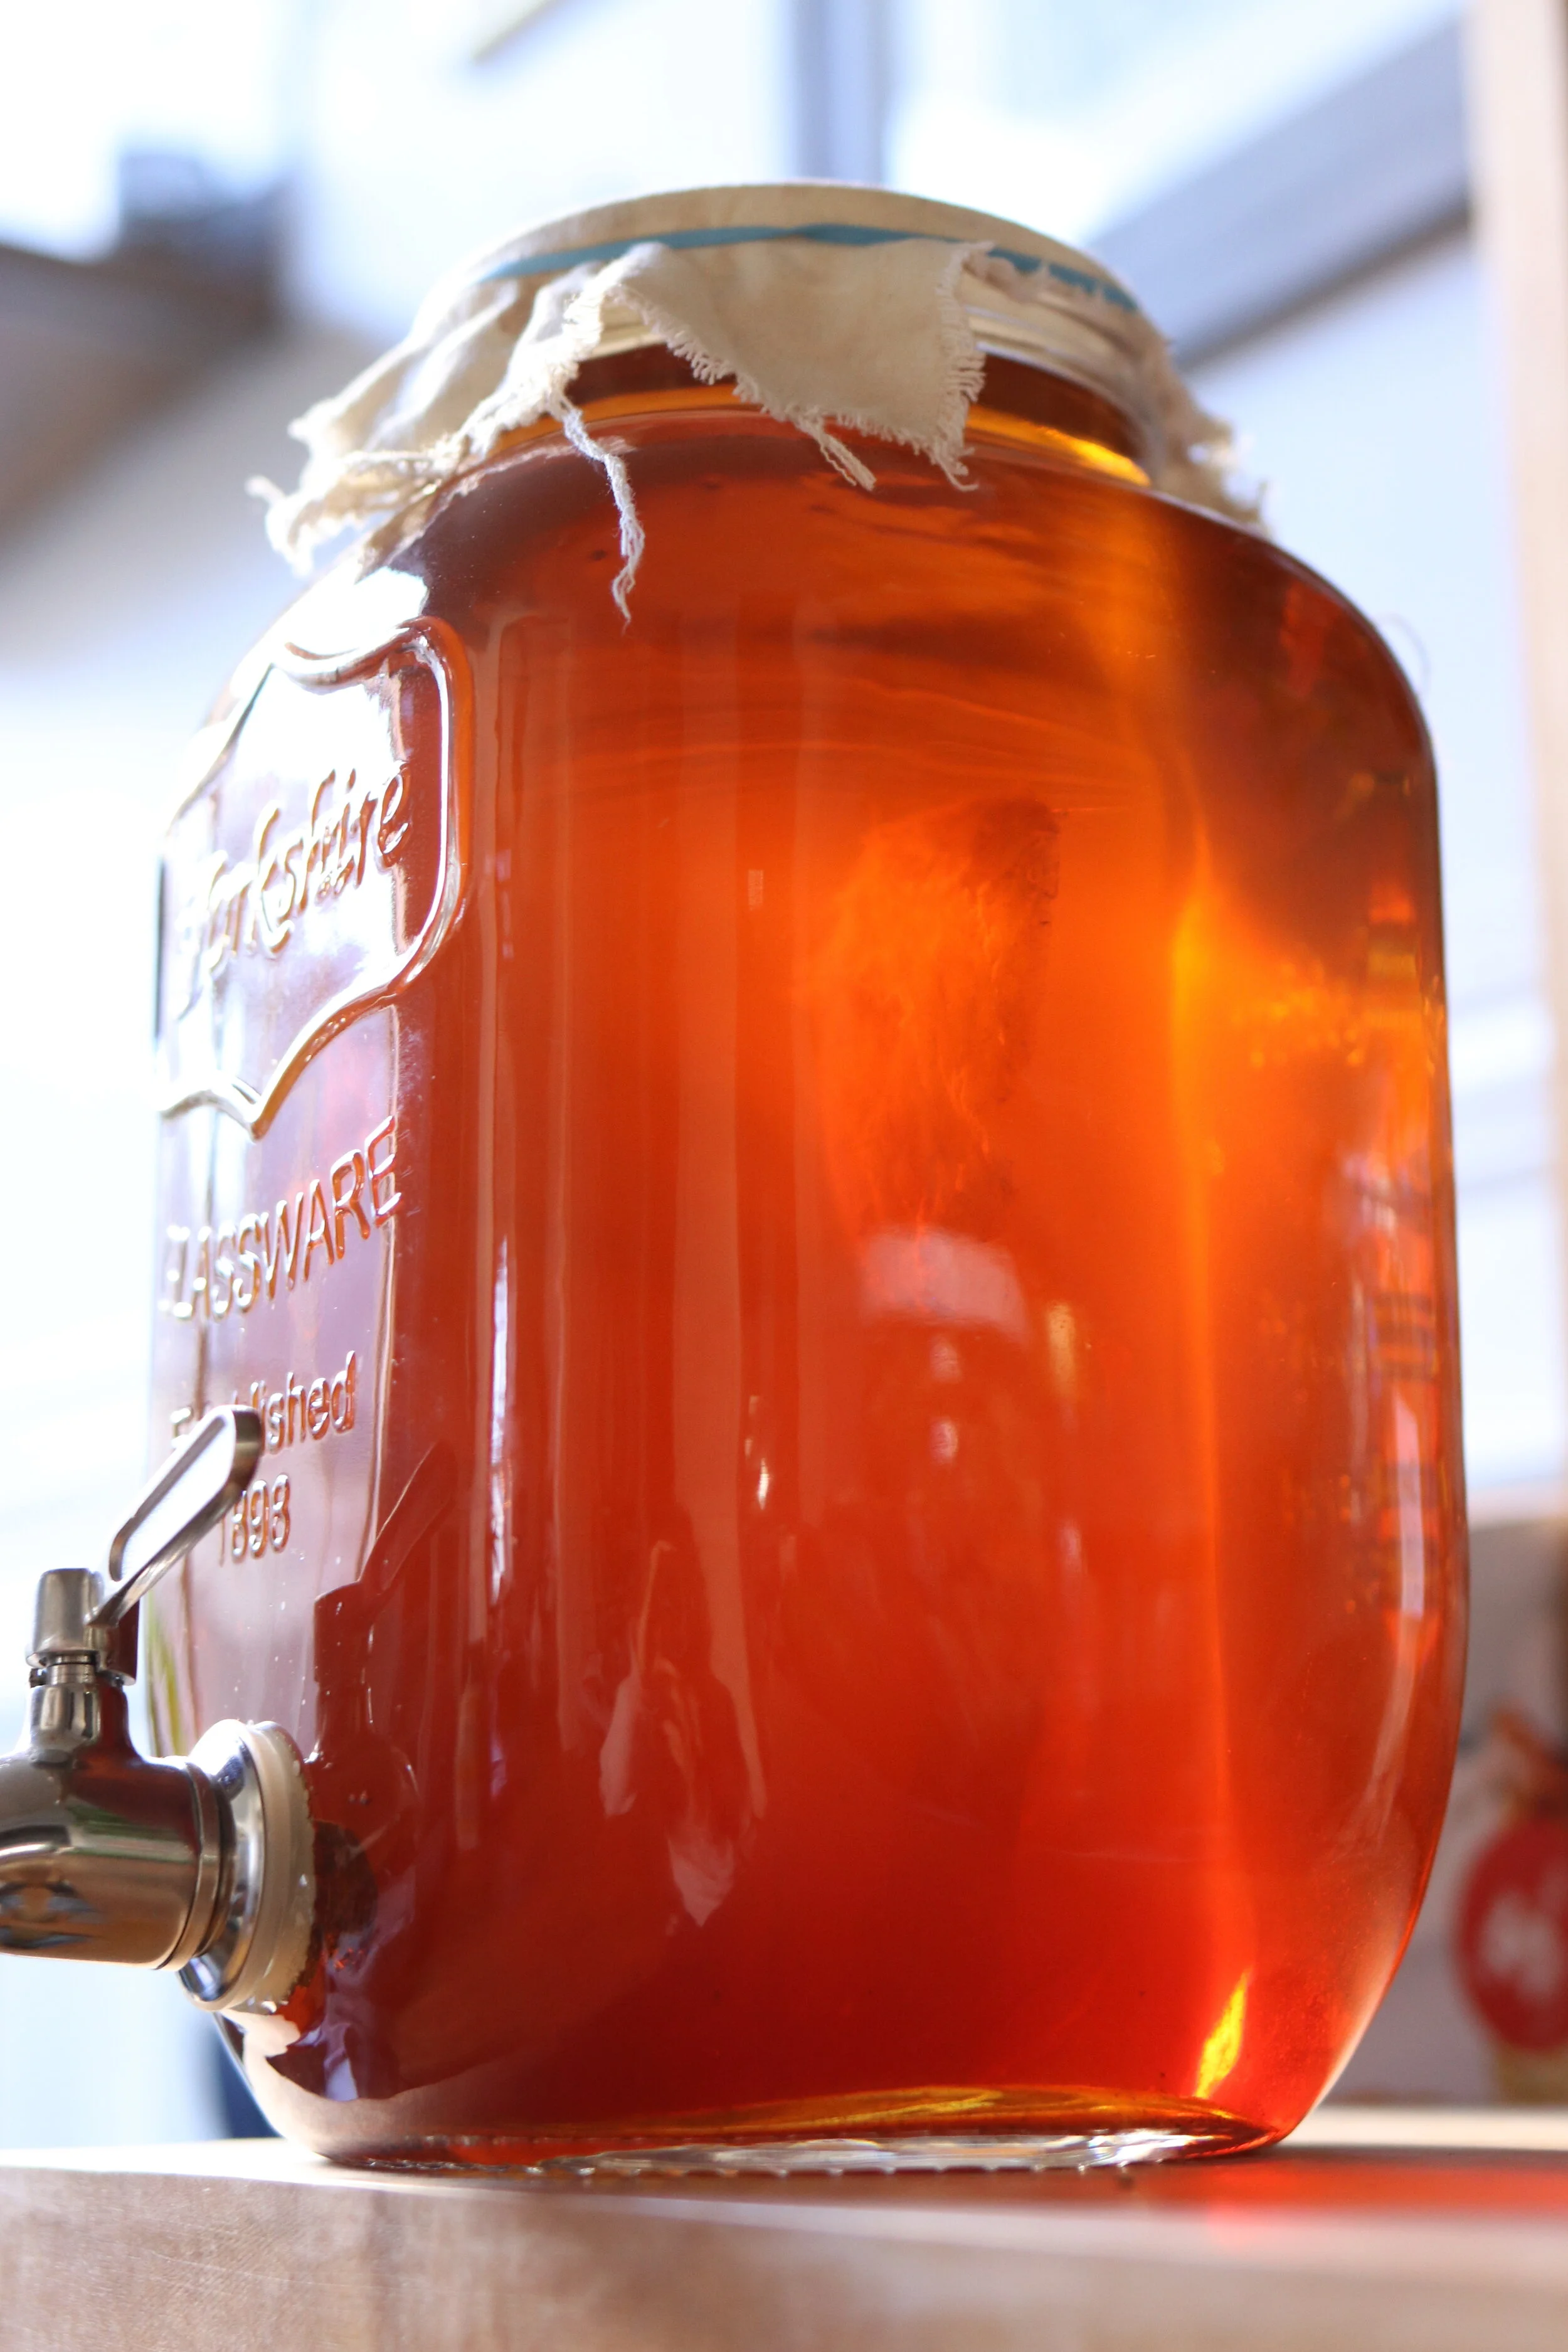
I HIGHLY recommend getting a 1-gallon beverage vessel with a stainless steel dispensing spout (I like this one). If you buy one of these, it must be glass and have a stainless steel + rubber spigot (there are multiple pieces to the spout) that you can completely take apart so you can clean it. I haven’t had too many issues with kombucha, but in order to avoid weird growths (mold or mysterious stuff) it's important to keep everything super clean and sanitized when fermenting. If you end up with any weird growths, you’ll have to toss the batch/SCOBY and start over, and you’ll want to be able to completely sanitize the vessel (see below). If it has plastic, then you won’t be able to do this.
The easiest way to keep kombucha around with minimal effort is to do a “continuous brew,” meaning that each time you "flavor & bottle" a batch from your jug, you replace it with a fresh brew. This assumes you're drinking it fast enough to drink a batch every 2-4 weeks, which I've found is pretty doable. If I happen to pause and start a fresh batch, I always sanitize my vessel and equipment in between.
The easiest way to sanitize (after washing with hot water + soap) is to put all your equipment (must be glass/metal) into a cold oven. Heat to 250 and let it stay there for 30 minutes. Then turn the oven off, open the door and let it cool down to room temp. This is why you want a glass + metal vessel so you can sanitize it in the oven. I think warm + soapy water probably works but I like to be extra safe with it (and I think this is what most serious brewers do as well). To clean the rubber parts, I usually pour hot/boiling water and vinegar on them and let soak for a few mins.
The spigot is SUPER helpful because it makes it really easy to taste. As the kombucha brews, the SCOBY will float to the top and form a new layer on the top, so with the spigot, you won't have to disrupt the mother to get a taste, plus it seems more sanitary because you're not reaching an un-sanitized spoon in to do the tasting.
Also- don't be freaked out - sometimes from the outside the new mother looks like mold because it's white-ish and there are all these bumps and stuff, but when you take off your cover to check, you'll see that it's just the mother. Also note that there is "sediment" that forms - brown wispy stuff that will be at the bottom and floating around. This is normal too, no worries. I find that the spigot helps with not getting that stuff in my actual bottled tea, another perk.
Ok - now for the actual recipe! I prefer to make this when I'm already cooking/cleaning on a weekend day around the house. It's not at all hard but there's a bit of down time/waiting around for things to cool.
I retyped the recipe I use below. I have no idea where this recipe is from, actually. My mom printed it out and gave it to me, but there’s no website listed so I can’t credit whoever wrote it. It has worked well for me over many years. My personal notes along the way are in brackets, in addition to the top and bottom.
KOMBUCHA RECIPE THAT I USE:
(original source unknown)
Items needed:
kombucha SCOBY/mother
starter tea (small amount of strong kombucha, comes with the scoby)
water
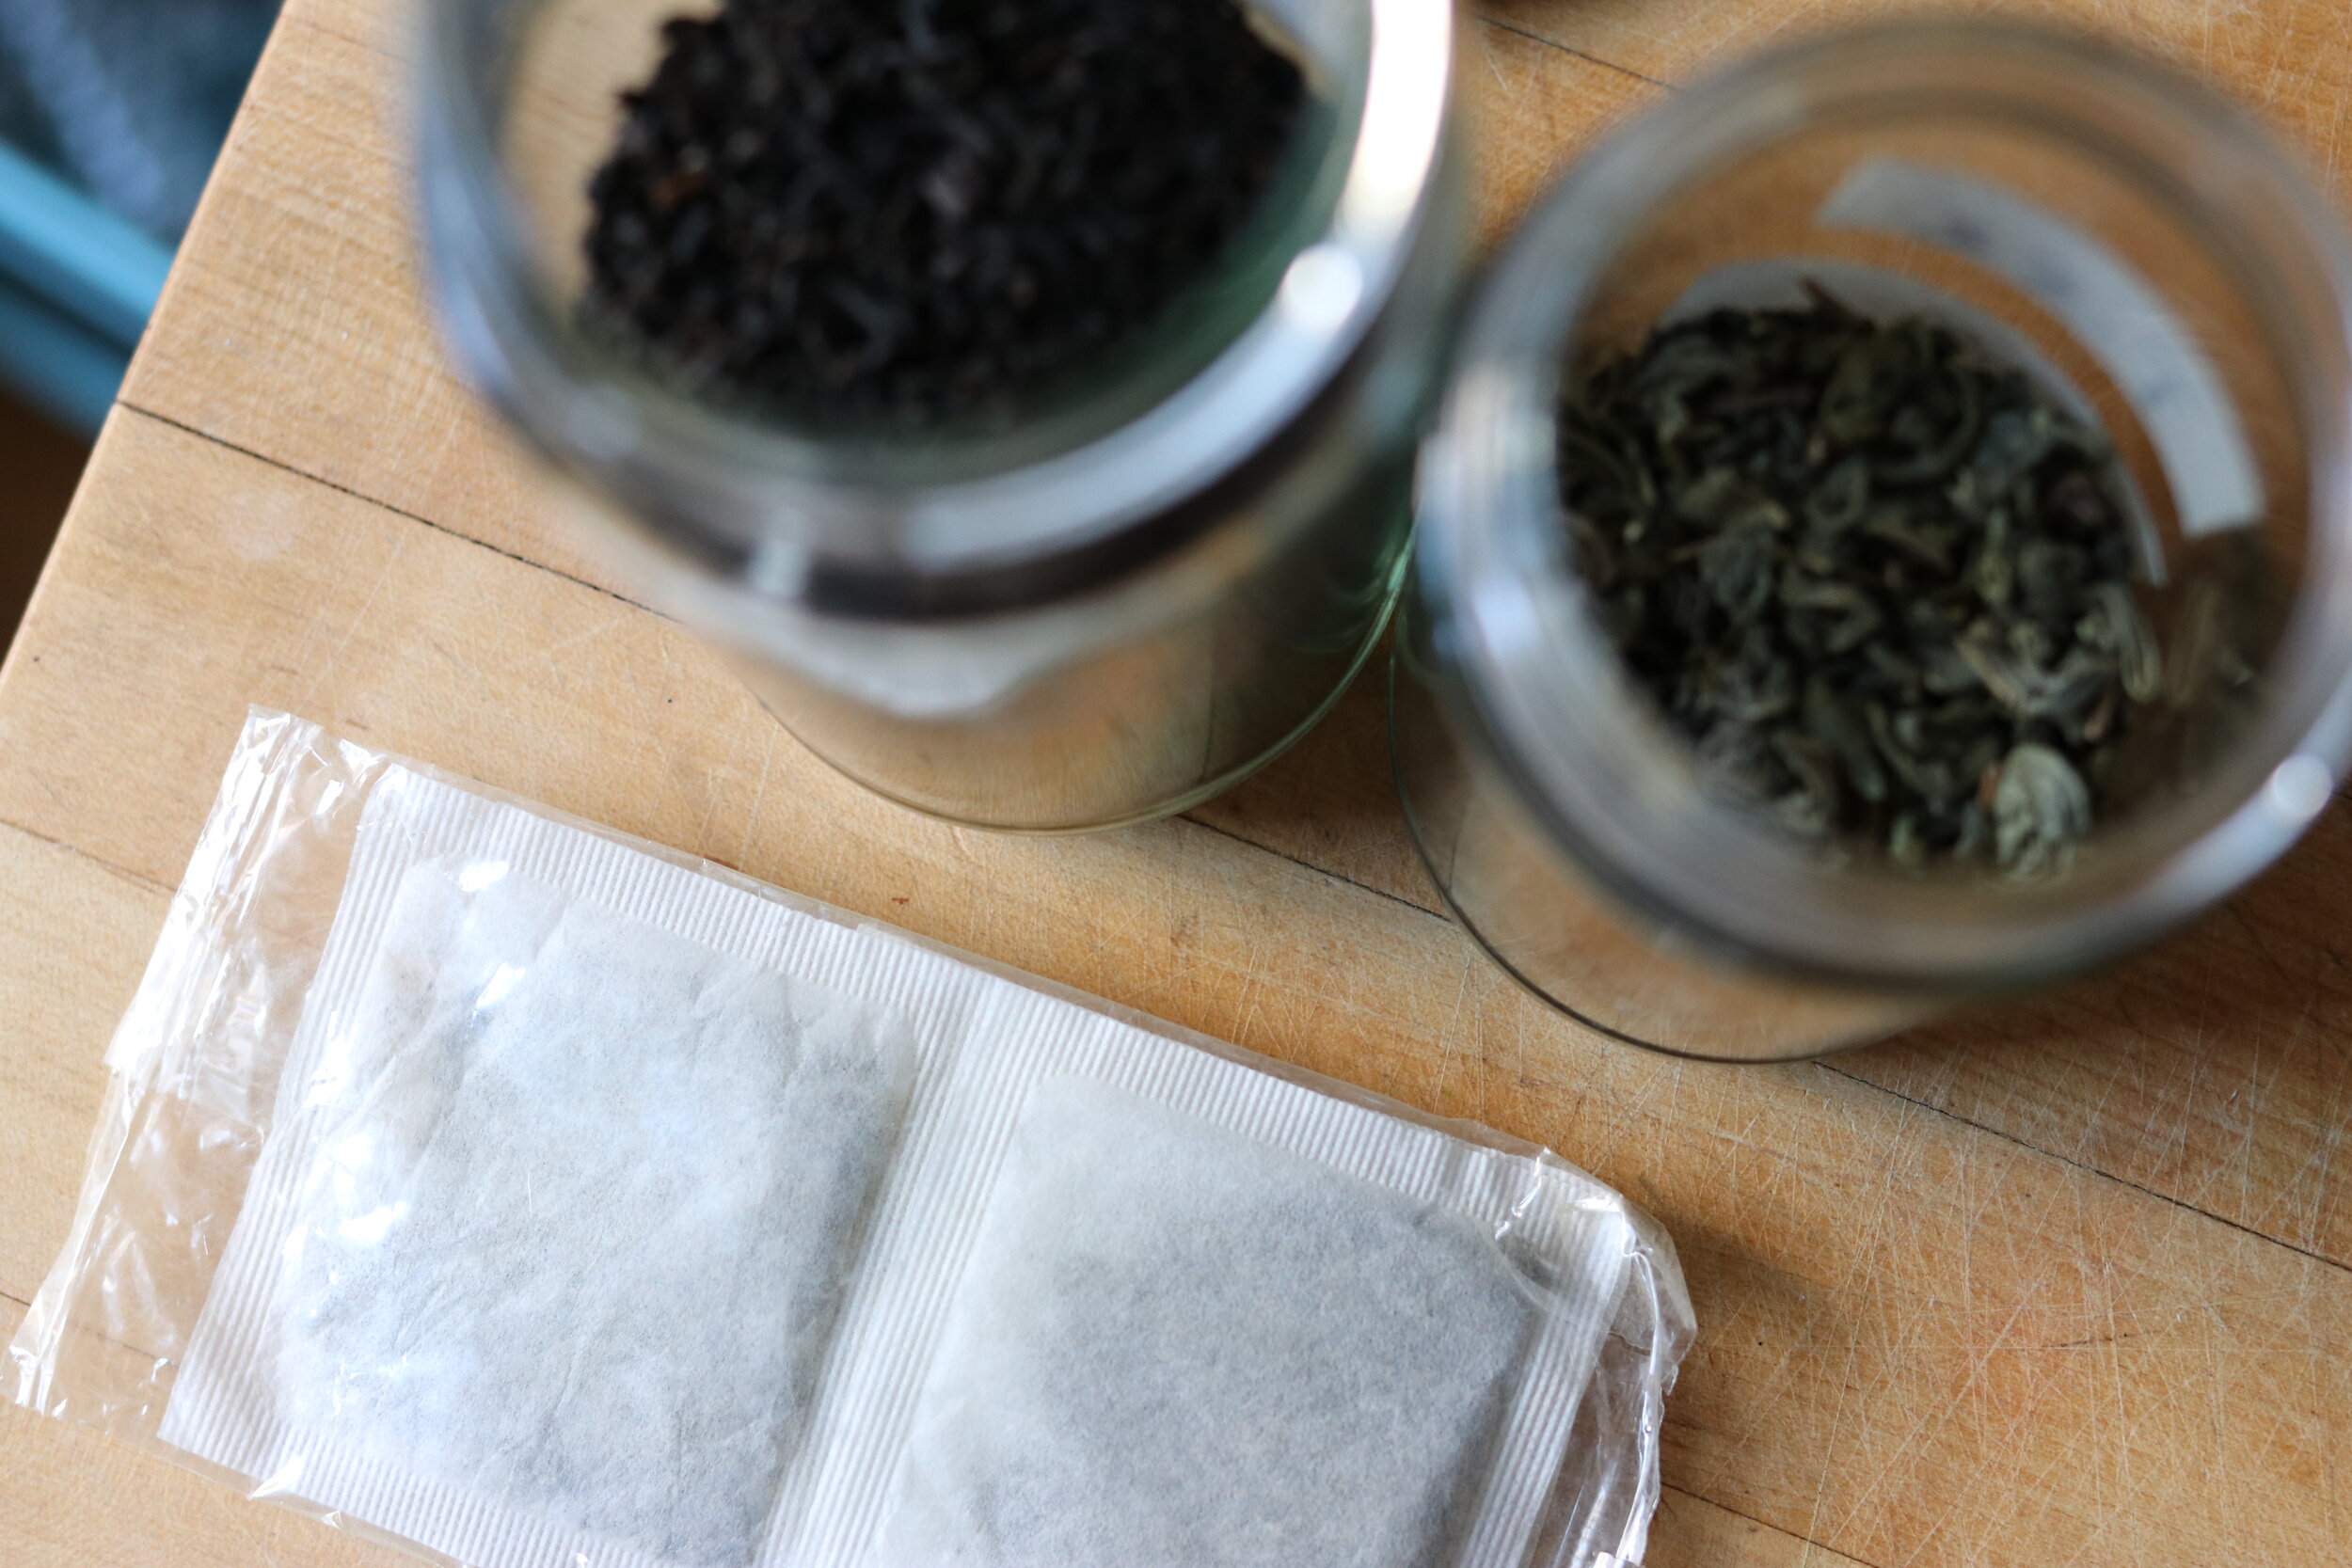
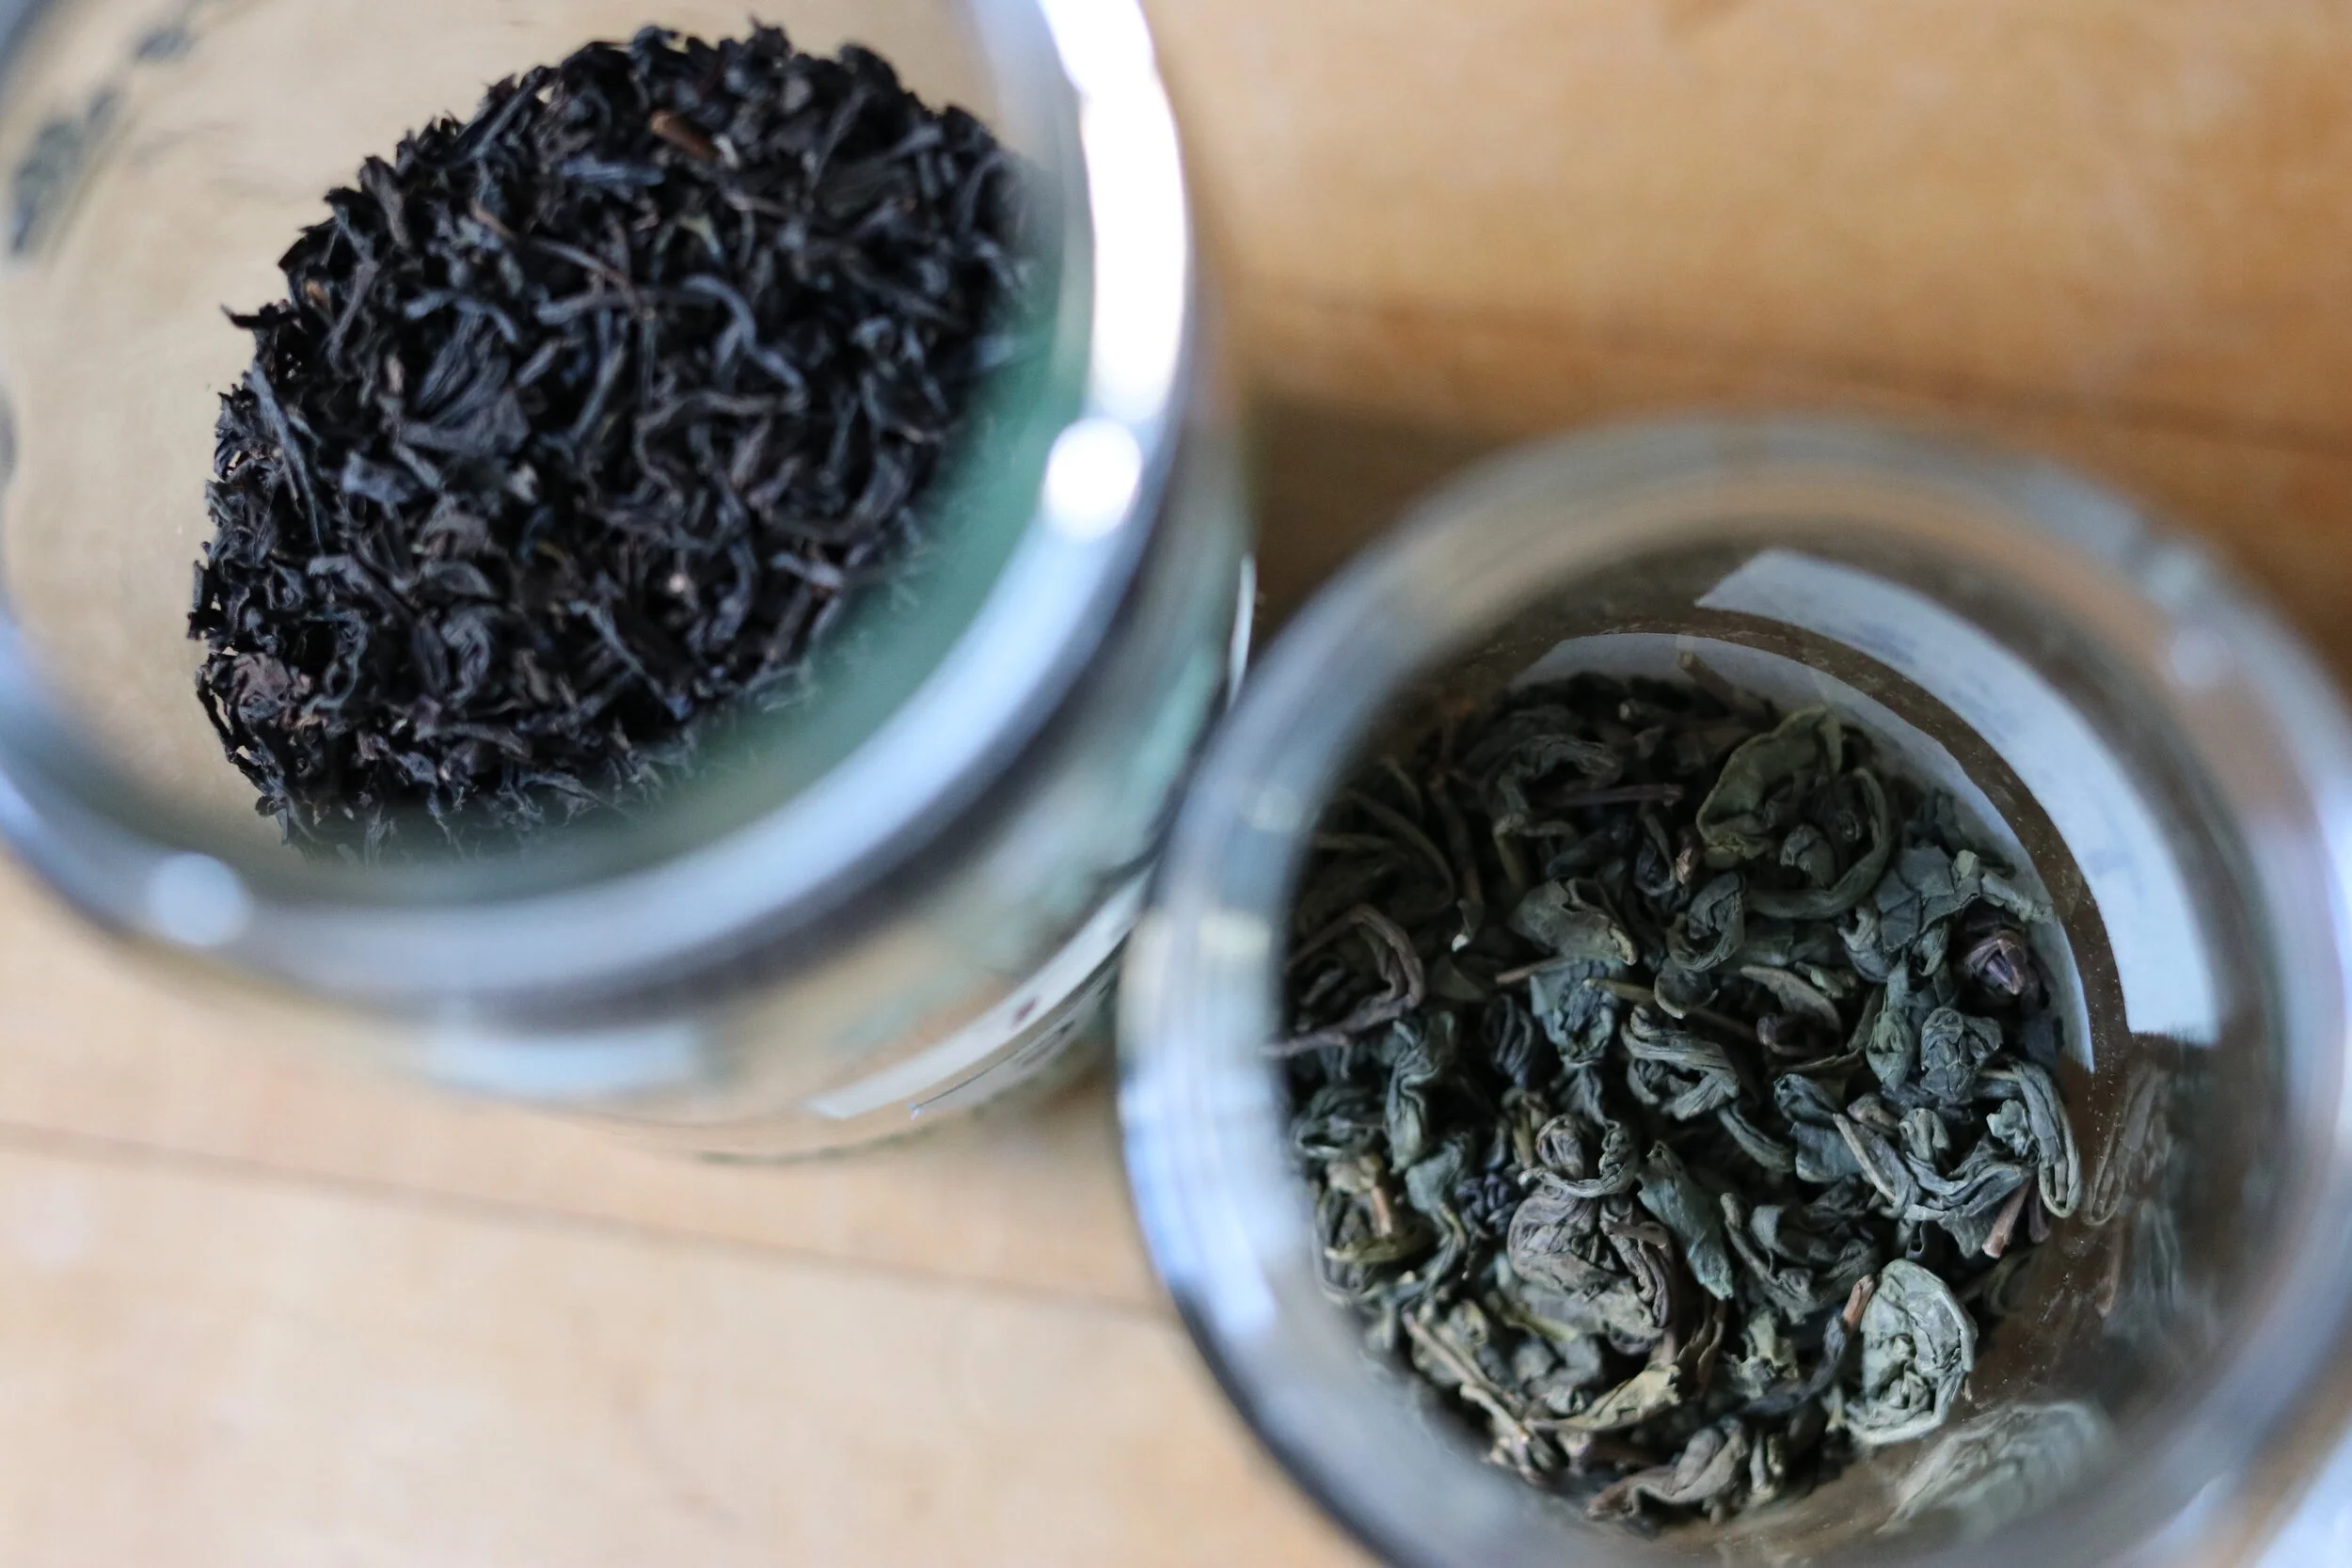
tea (black or green is best) {I use a combo - half & half of black and green - I now use loose leaf tea, but for many years I used the generic whole foods brand tea bags sold in bulk, with great success}
sugar (we use unrefined, but refined white sugar works just as well) {I use organic evaporated cane sugar - it's off white/very light brown}
glass jars or crocks or other vessel {glass beverage dispenser with stainless steel spigot recommended, see above}
1st Fermentation - Directions for 1 gallon:
{Sanitize your glass vessel, large spoon & small spoon. You can remove from oven as soon as they are cool enough to handle}
Heat half a gallon of water
Add 1.25 cups of sugar and stir well
Bring to a rolling boil
Remove from the heat
Add 10 tea bags (6 Tbsp if loose)
Let set to steep until the tea has cooled a bit {I usually give it 10-15 mins}
Remove tea bags or pour through strainer to remove tea leaves. {Slightly different than the above, I use my electric tea kettle to heat the water, then pour the water into my vessel, and then add the sugar and stir it until all the sugar is dissolved, then add the tea bags, allow to steep, and then remove the tea bags with my sanitized large spoon.}
Add half a gallon of cold water - this helps cool the tea even more.
Once the tea has reached room temperature, add the SCOBY and starter tea.
Cover the jar with a permeable top (coffee filter with a rubber band or the like). {I use a tea towel and rubber band}
Set jar in the dark at room temperature (60-80 degrees F, the warmer, the faster the fermentation). {I never put mine in the dark - I just have it away from the window next to my butcher block, so I remember to check it!}
Wait about 5 days. On day 5 or 6, start sampling your tea each day.
It is finished when it tastes the way you want it. This can be anywhere from day 5 to day 10 or longer. {I find I like mine at about 1.5-2 weeks. The longer it goes, the more sour/vinegar-like it gets as the SCOBY eats the sugar. I write down my start and end dates and I start tasting on day 10 and usually bottle after 2 weeks, but it’s a little different every time.}
We usually stop our first fermentation when there is still a faint hint of sweetness left in the tea. The remaining small amount of sugar will be used to make carbonation during the second fermentation. Or, if you like your Kombucha without fizz, there is no need to do a second fermentation.
{Note - start collecting old kombucha bottles or other drink bottles for your bottling. If you really want to get the "fizz," you might consider buying these swing top bottles. If you want to learn how to easily take labels off of jars - this article was practically life changing - I do this all the time now!}
2nd Fermentation (optional) {RECOMMENDED - this is the most fun part!}
Bottle the entire gallon of kombucha, except for a cup or two to save for starter tea for the next batch. {You can use any bottles, but if you want to increase carbonation, you’ll want to get some bottles with swing top lids}
If you like - add flavorings to the tea when you bottle it. An all-around favorite is ginger or ginger & lemon. Simply add a slice or two of ginger root to the bottle before you seal it. For the lemon, add a slice of lemon. {See below for my favorite flavors and tips.}
Let the bottles sit at room temperature for 1-2 weeks or longer for best carbonation and flavor. {To be safe and avoid explosions, I keep my swing top bottles in a box (so that just in case they explode, they will have some kind of barrier). I try to “burp” them once a day or every other day as a safeguard against explosions. “Burping” them just means opening the bottle to let some of the carbonation out so that they don't explode from too much carbonation. I haven’t had an issue/explosion yet, and I prefer the additional carbonation
*Another note - Whenever I bottle, I always just brew another batch of the first one. So, I remove the mother and the extra kombucha tea (always leave a little bit in there) to another container, I rinse out the vessel with water (or wash it if it seems gunky), and then I repeat starting at the beginning. While the tea cools, I add my flavorings to the bottled kombucha.
Favorite flavorings:
blood orange by far my fav!! and with herbs too! I like to add tarragon or dill or rosemary in there with the orange or lemon - yum
turmeric lemon ginger (use whole, fresh turmeric root slices)
meyer lemon - really good
strawberry in the summer - SO GOOD!
whatever fruit I have! Berries are amazing, berry lime is also great
If I let it get too sour, I'll add a tiny bit of maple syrup when bottling. You can also always water it down, or mix with regular ice tea to mellow it out if it's too strong.
OK, that’s all for kombucha making! Hit me up with your questions below and/or tell me how it goes when you try it! Happy Fermenting!
Love,
Jess
Recommended equipment:
Glass 1-gallon beverage dispenser with stainless steel spout
Swing-top bottles (yes you’ll want 4 of these to go with your 1-gallon brew)
loose leaf tea and bulk tea bags (from whole foods)
loose leaf tea